
We noticed you are blocking ads. DO THE TON only works with community supporters. Most are active members of the site with small businesses. Please consider disabling your ad blocking tool and checking out the businesses that help keep our site up and free.
You are using an out of date browser. It may not display this or other websites correctly.
You should upgrade or use an alternative browser.
You should upgrade or use an alternative browser.
1973 1/2 BMW R60/5 restoration.
- Thread starter Kanticoy
- Start date
Re: Re: 1973 1/2 BMW R60/5 restoration.
Couldn't agree more Tim, and they are in the top 3 of the ones I'm considering. Put them on yours and tell me how they ride!
Tim said:HAGON is always an option - decent prices. Come to think of it... where the heck are my HAGONs from my XS650? I guess I know what I might put on mine")
Couldn't agree more Tim, and they are in the top 3 of the ones I'm considering. Put them on yours and tell me how they ride!
beatnic
Coast to Coast
I like the ikon's over the bob's replica oem replacements. Aluminum body vs steel, larger body ( more oil volume ), infinite preload adjustment with threaded collar vs 3 steps, rebound adjustment vs no damping adj, gas pressurized ( nitrogen ) vs emulsion shock. I think ikon offers a steel body for the same price as the bob's shock.
Re: Re: 1973 1/2 BMW R60/5 restoration.
Harbor freight 6" buffer with black/brown/white compound in succession. Works great, even with chrome.
Redbird said:Kiley, what are you using to polish those bits out with?
Harbor freight 6" buffer with black/brown/white compound in succession. Works great, even with chrome.
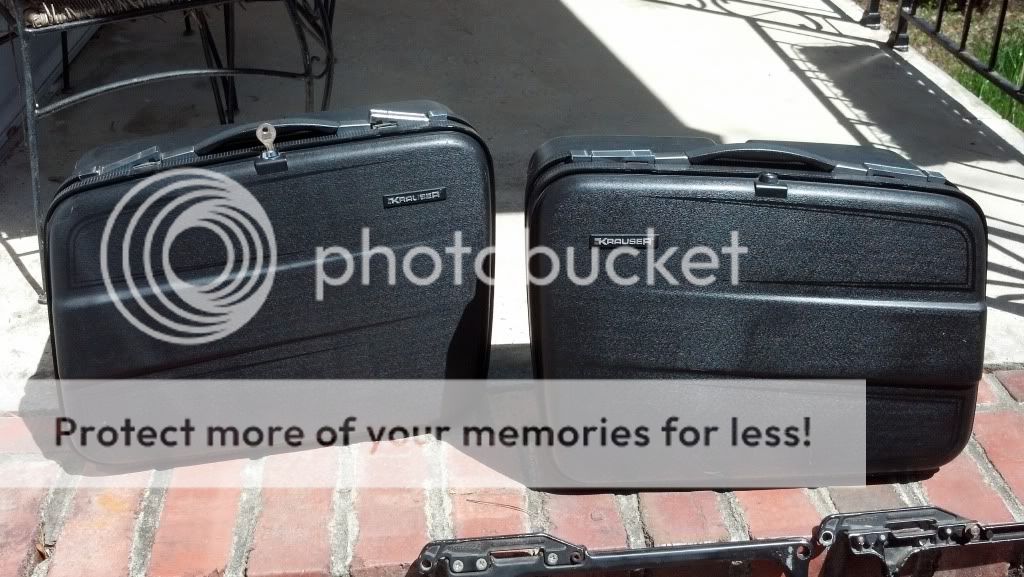
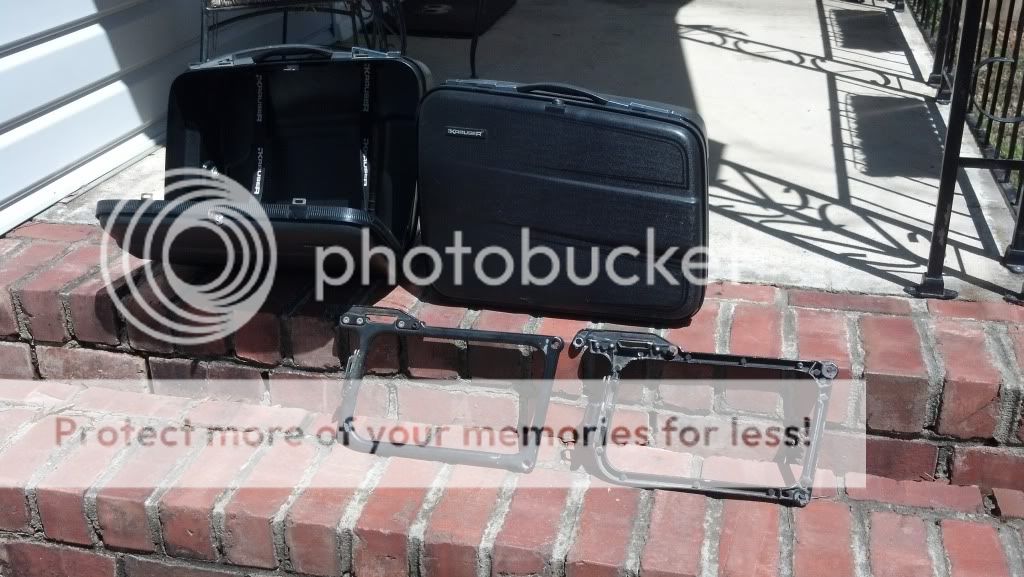
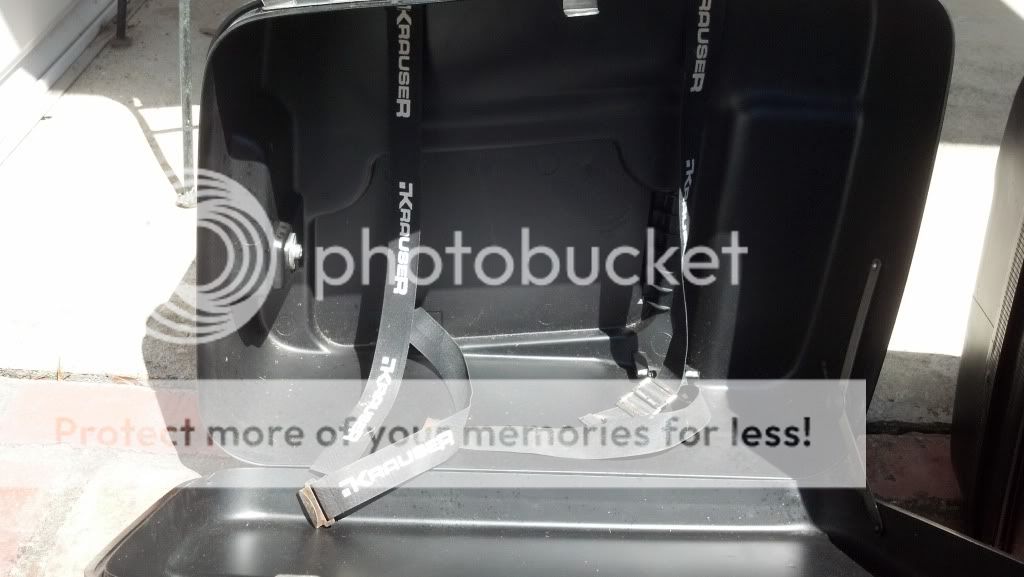
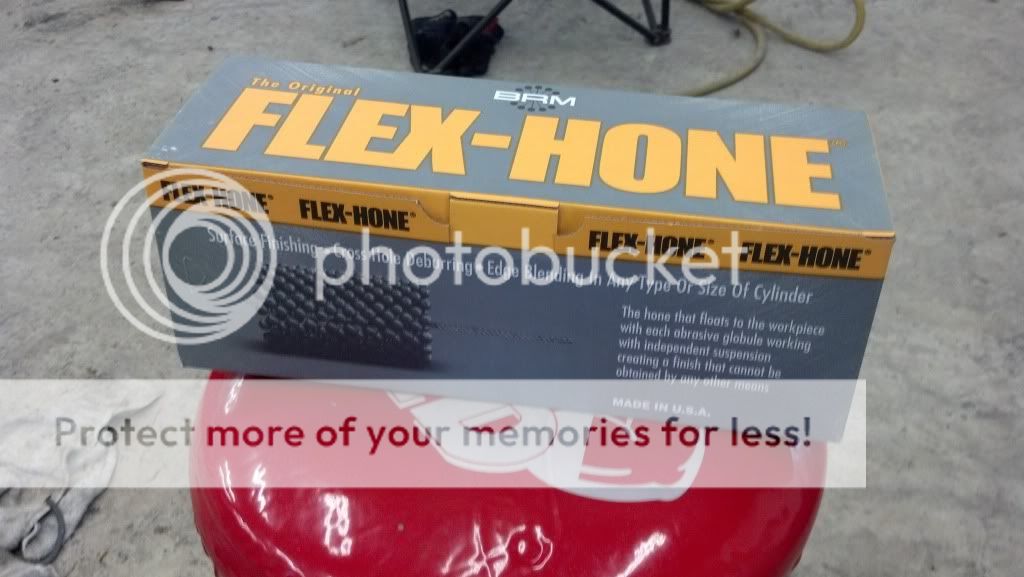
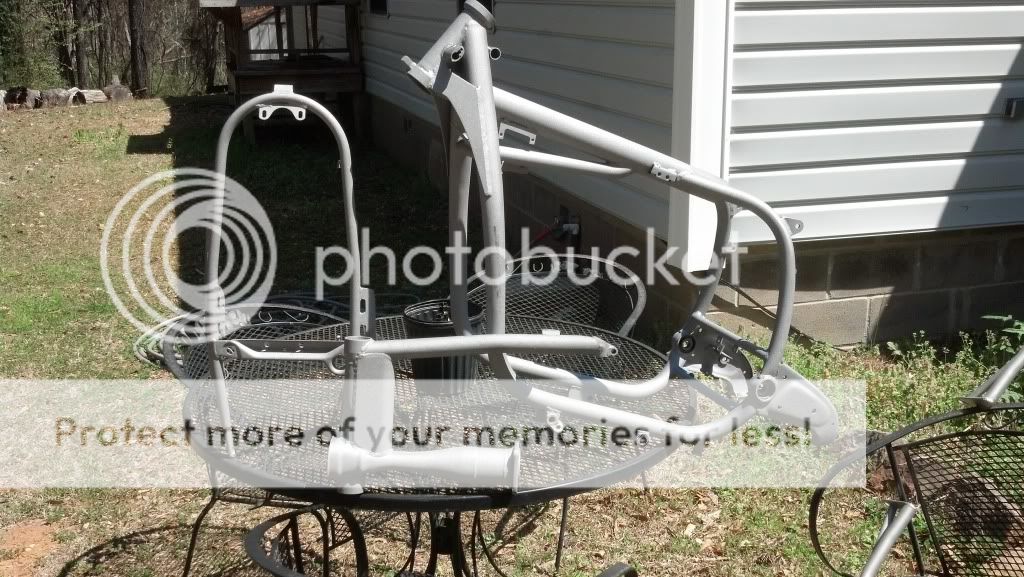
Soo, been a rough couple of weeks. My grandfather passed away last week, and we spent the weekend in Kentucky with my wife's family for her grandfather's 90th birthday. Spent the last few days in the shop and am making some good progress. I have been blasting and cleaning, blasting and cleaning. The motor is ready for reassembly, but still waiting on rings, gaskets, seals, etc to get there. I need one more cylinder, as one of the ones that I picked up is too badly pitted, and will not hone out. The motor was soda blasted, flushed, rod end bearings inspected, oil pump inspected, and on and on. Basically, the bottom end is good to go (thankfully). The clutch and flywheel were pulled, and it took me the better part of a day to clean 30 some odd years of crap off of the block. It looks pretty good now though. The oil pan was pulled, and no foreign metal was found in it, so that is a great sign. All in all, I'm pretty happy with everything. The frame, subframe, swinger, and crash bar are blasted and ready for powder, so in the next few days hopefully the run of black powder will get done. While in Kentucky, I was perusing CL while we were driving and scored an excellent condition pair of Krauser bags and mounts. I've been looking for some, but they are high dollar when they are available. My spokes, wheel bearings, swingarm bearings, steering bearings, brake pads, and lots of other small tidbits are on order. The waiting game is wonderful. Tim sent me a goody box of turn signals and I polished a few of them up, and buffed out the lenses. Thanks Tim, this saved me a lot of money and trouble!
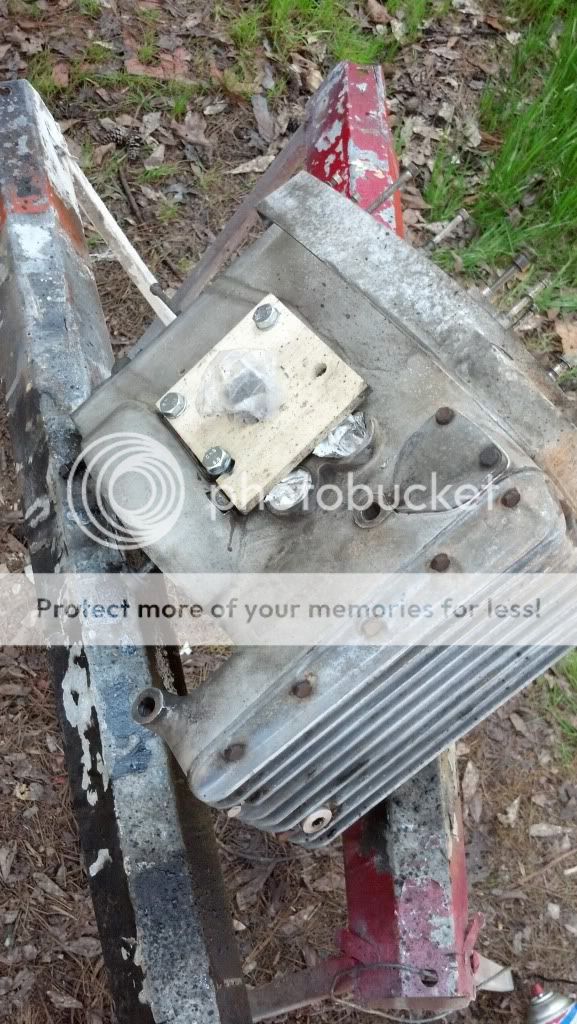
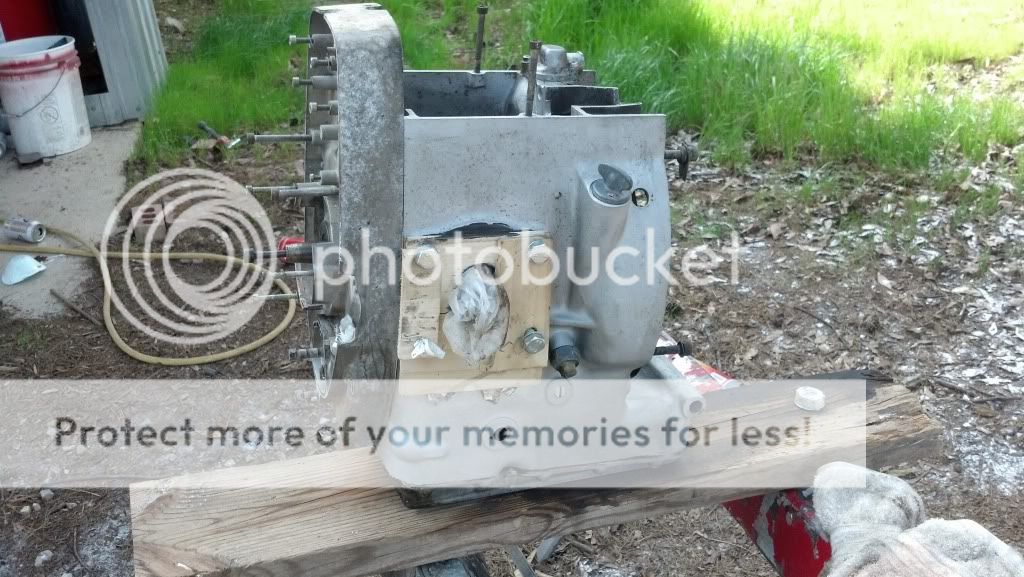
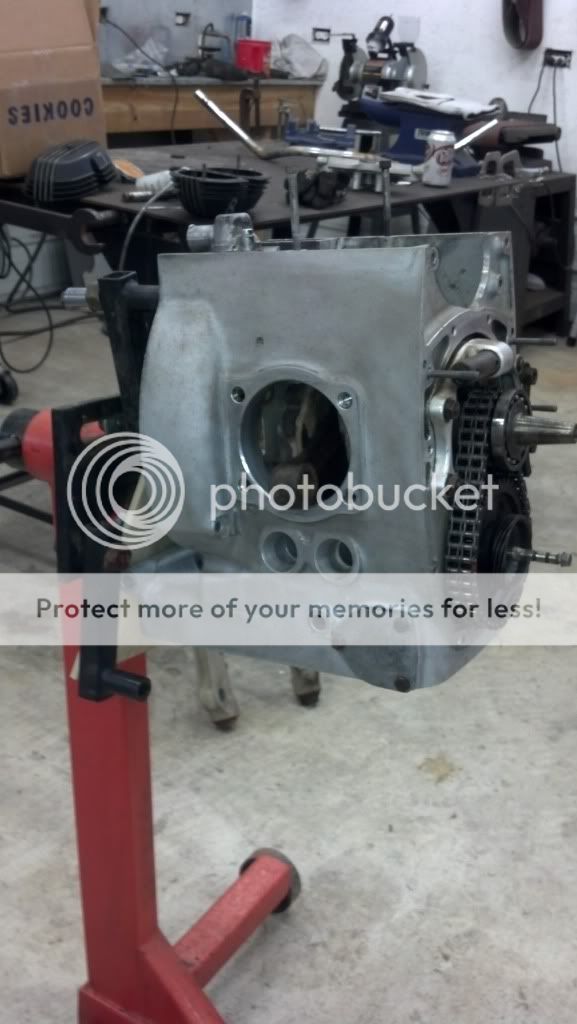
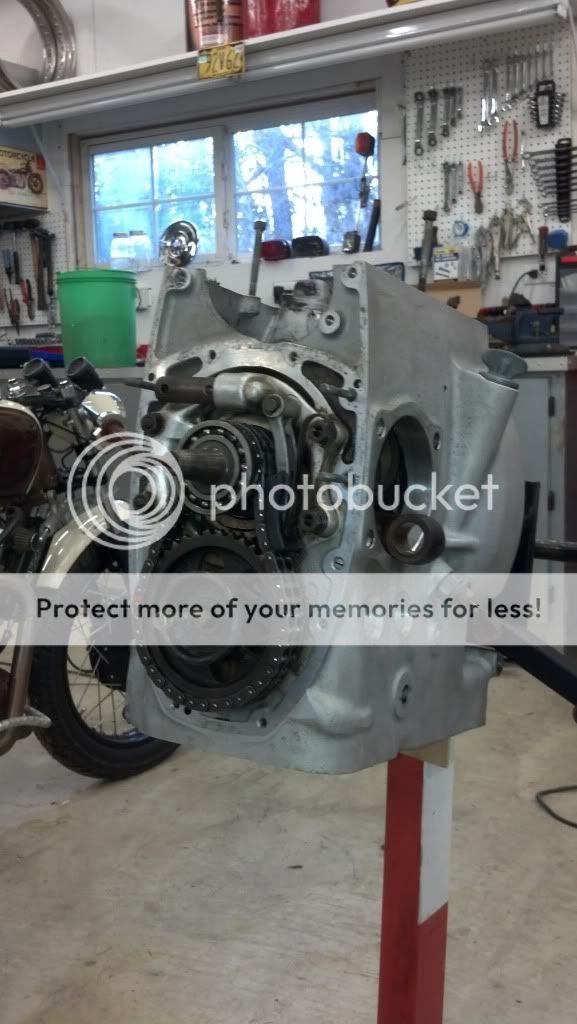
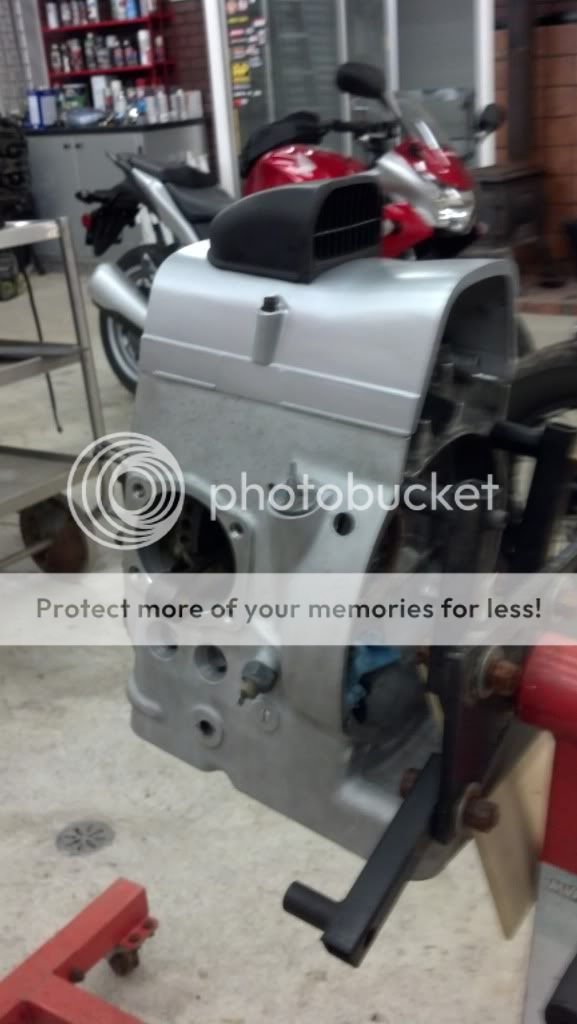
On to the pictures. The engine block.
Before:
During:
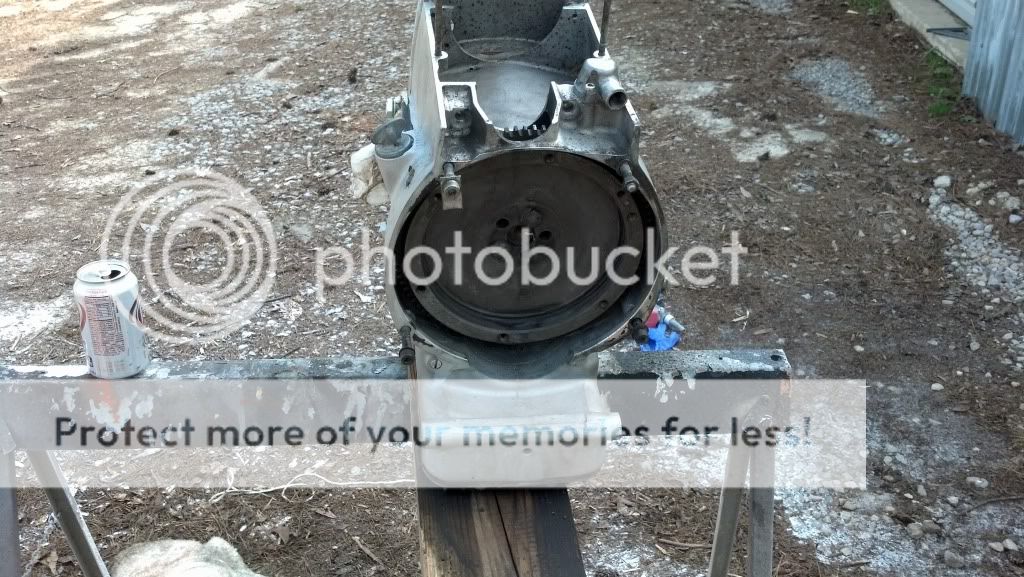
After:
Refurbished the breather hood for the starter cover and put it and the freshly painted cover on to see how it will look. Brand new.

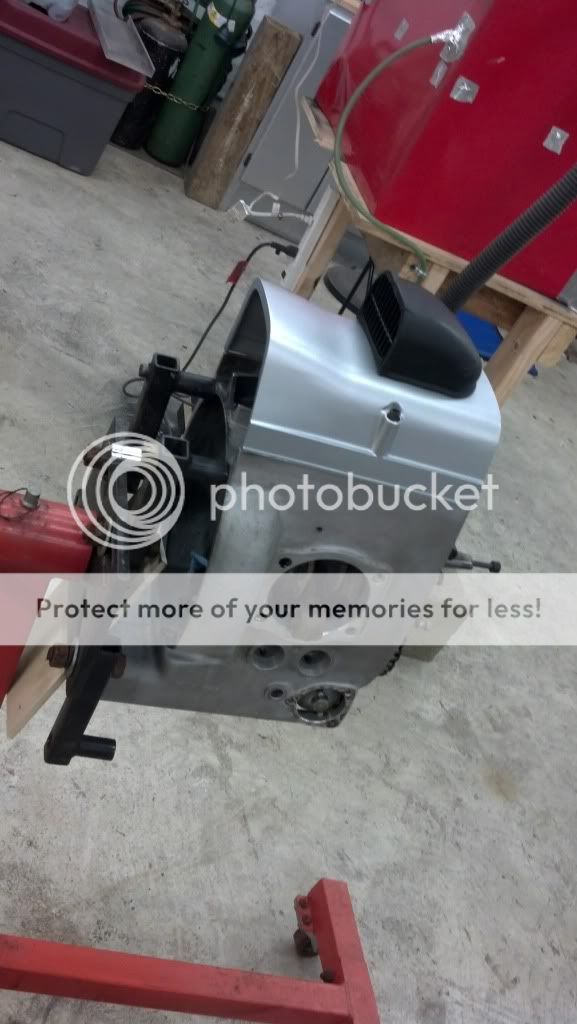
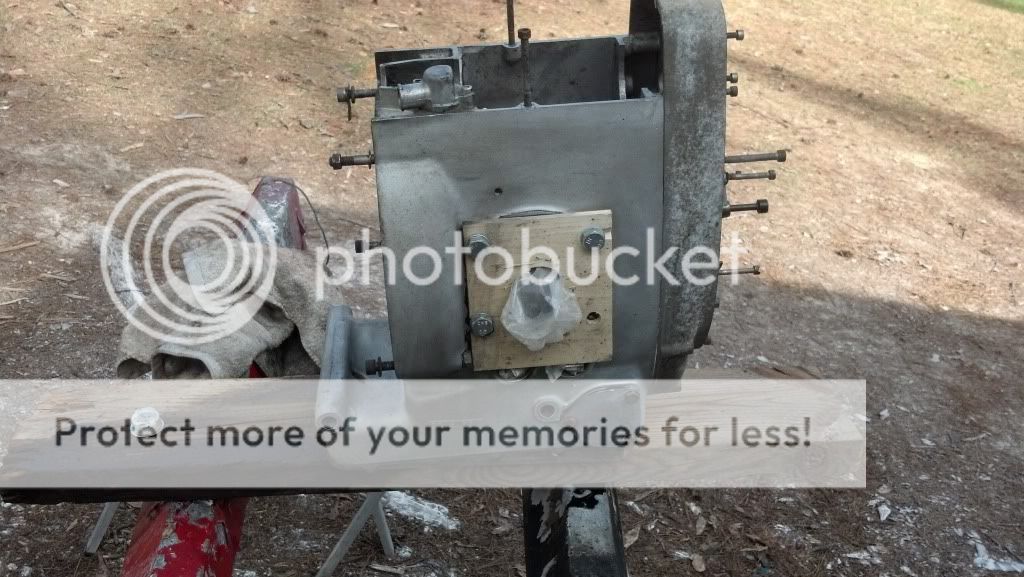
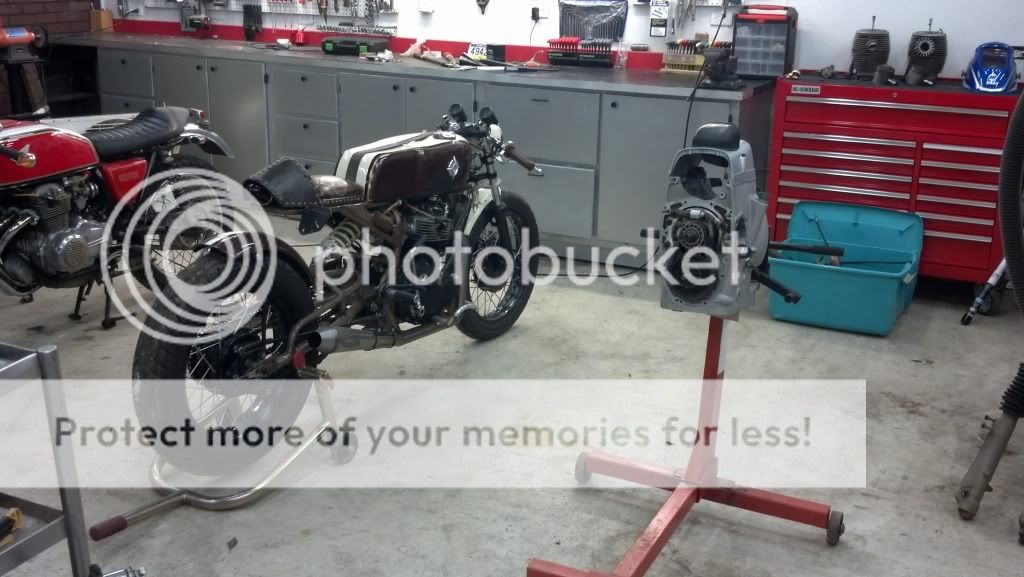
Just a cool shot. Engine is mounted to my $10 CL engine stand:
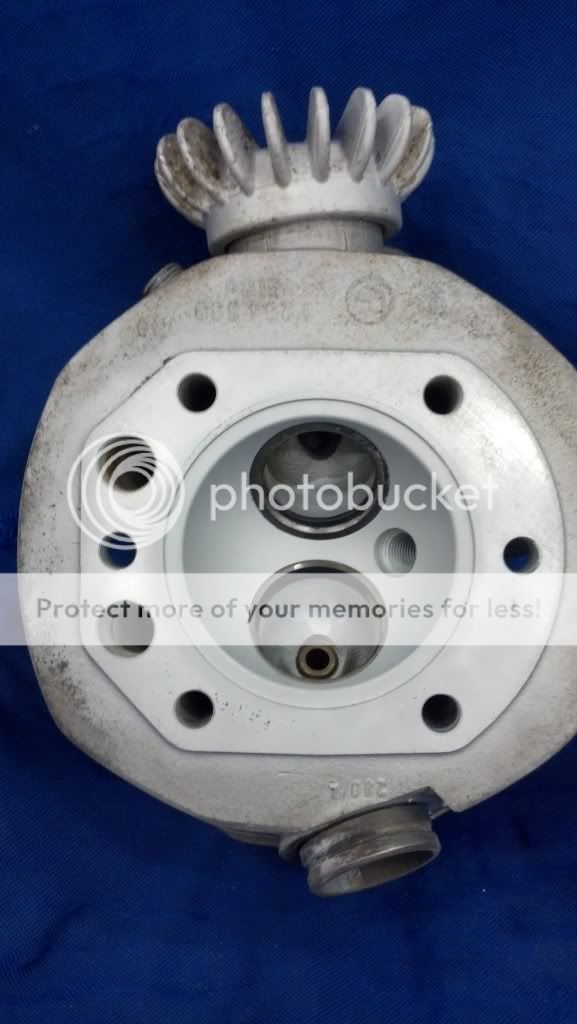
De-coked the heads after pulling the valves. Seats and valves still look good. Should work out after a fresh lap. No bent valves (whew).
Here are the new Krausers after a wipe down with Armor All:
Here's the correct hone I used for the jugs:
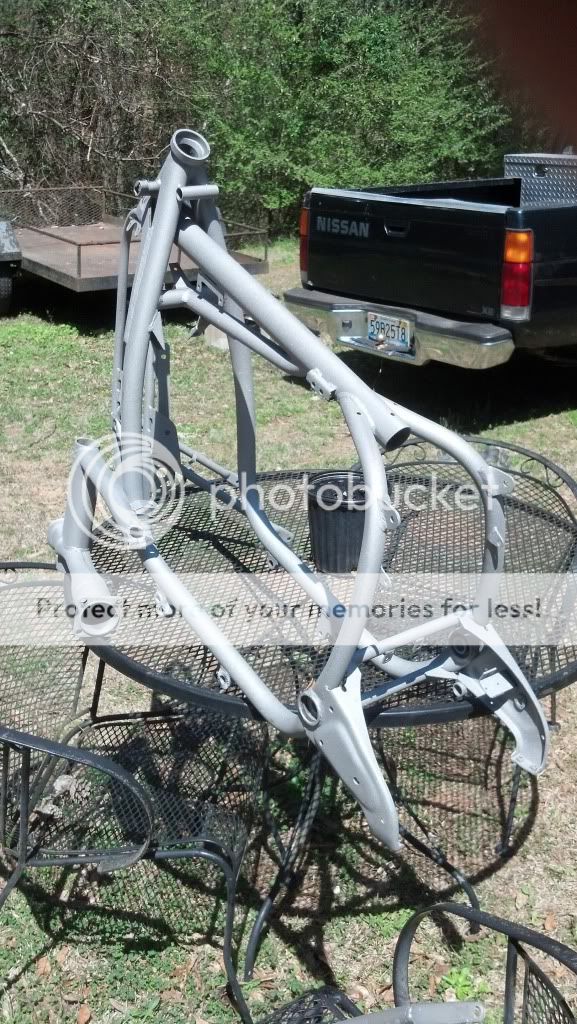
And the freshly blasted frame, etc:
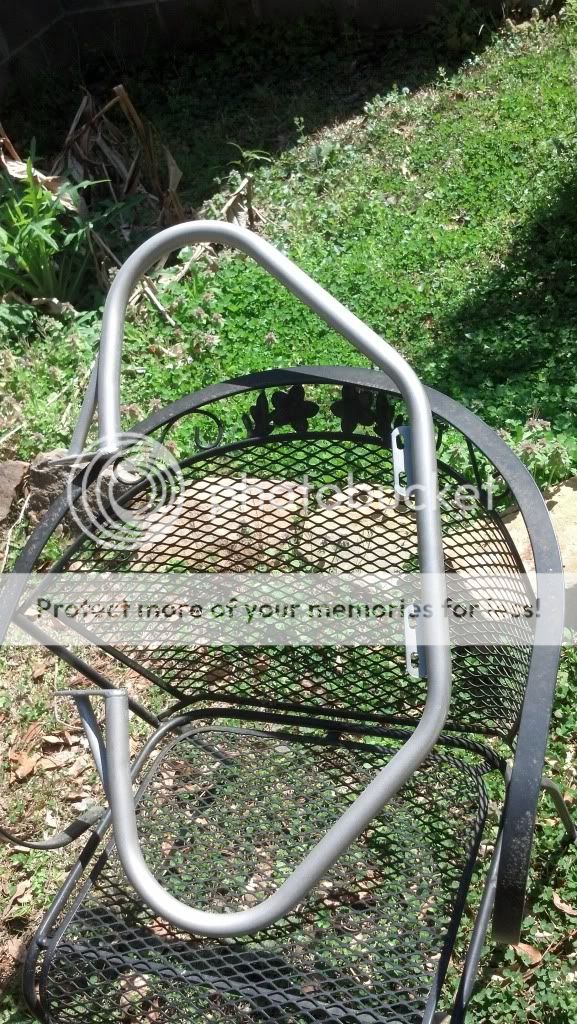
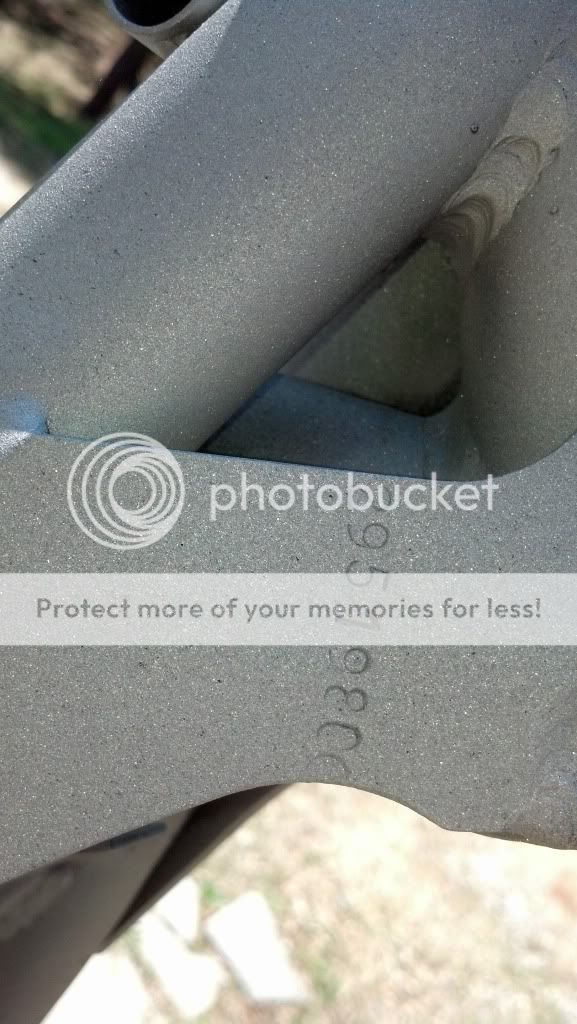
the Vin was saved:
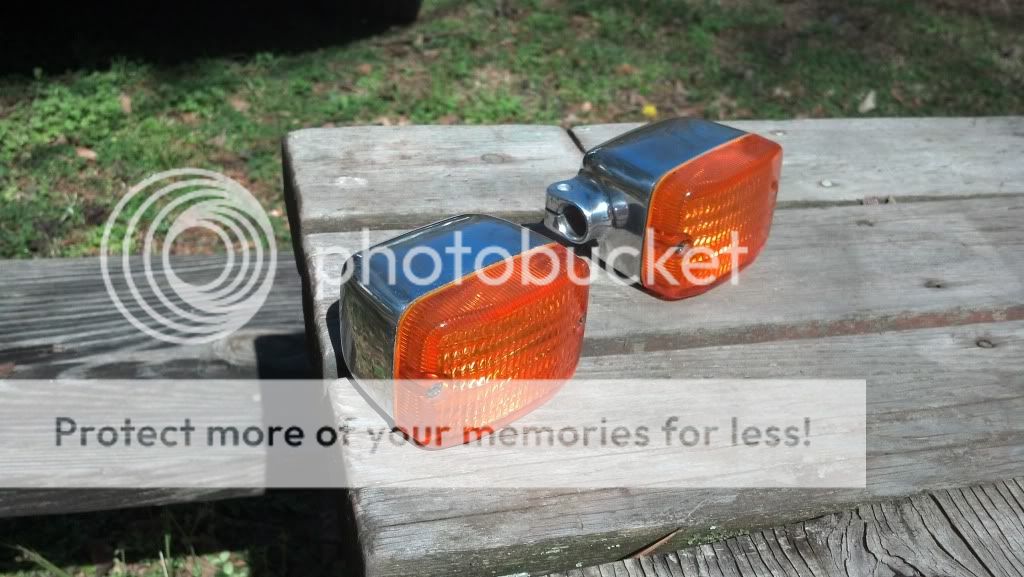
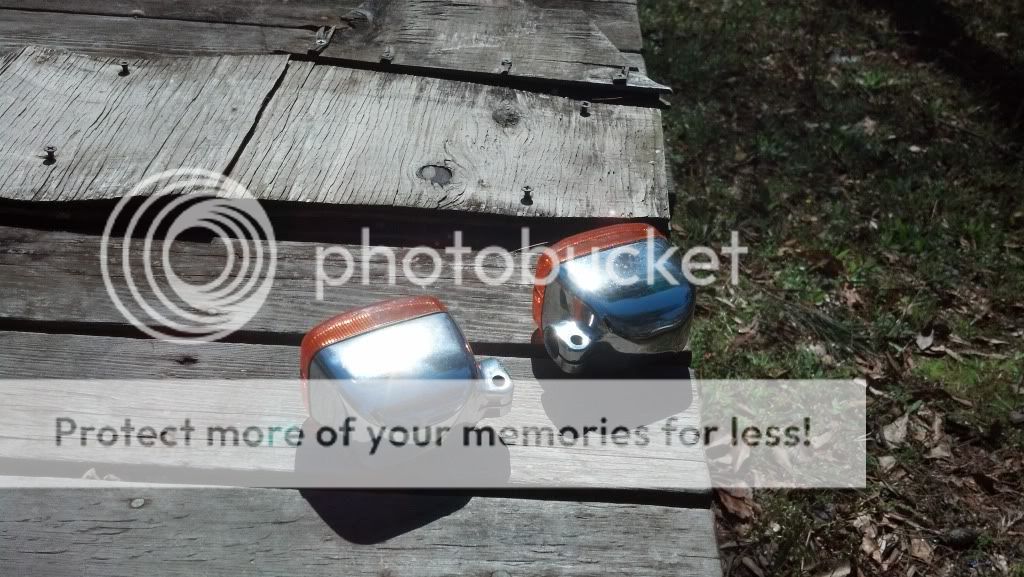
Freshly polished turn signals:
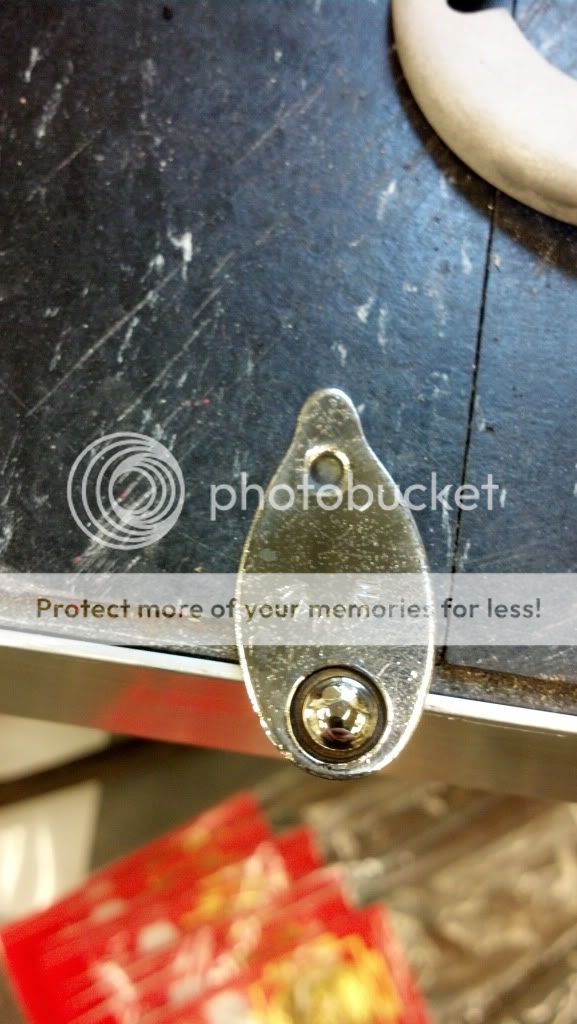
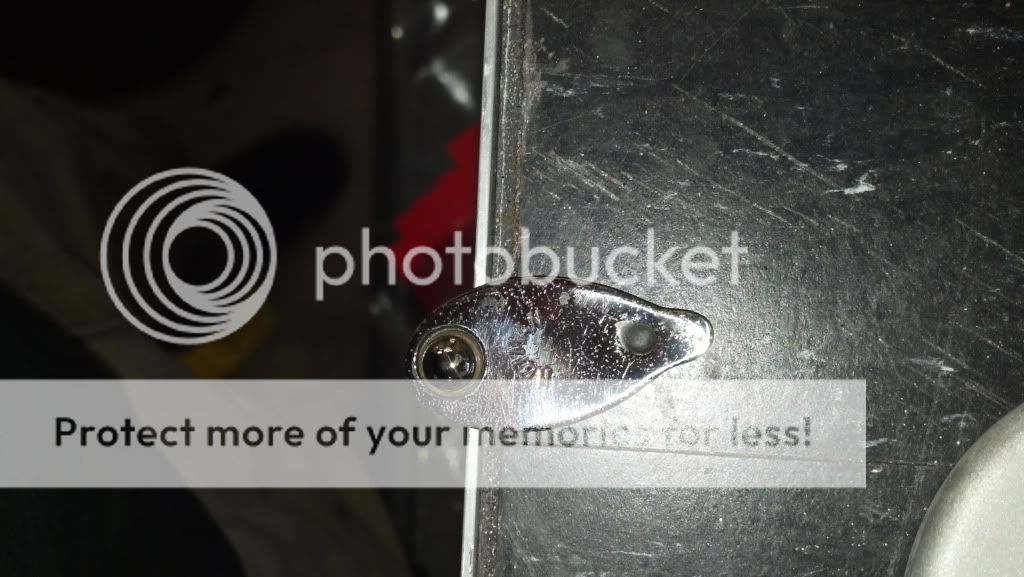
Popped the steering lock cover and polished it up. Had to drill out the lock since this bike came with no keys:
More to come, I'm pretty motivated with this ol' gal.
On to the pictures. The engine block.
Before:
During:
After:
Refurbished the breather hood for the starter cover and put it and the freshly painted cover on to see how it will look. Brand new.
Just a cool shot. Engine is mounted to my $10 CL engine stand:
De-coked the heads after pulling the valves. Seats and valves still look good. Should work out after a fresh lap. No bent valves (whew).
Here are the new Krausers after a wipe down with Armor All:
Here's the correct hone I used for the jugs:
And the freshly blasted frame, etc:
the Vin was saved:
Freshly polished turn signals:
Popped the steering lock cover and polished it up. Had to drill out the lock since this bike came with no keys:
More to come, I'm pretty motivated with this ol' gal.
Just browsed the thread and bookmarked..
Saw the 6" buffer riduculously cheap wish tool prices here in the UK were similar, I use a hand drill with mops and it's very slow and the results aren't as good.
I know it may irk the purists but I used a product called "rub n buff" on my forks and block, it's amazingly effective and resiliant with a fairly natural finish but easy removed if you dont like it.
Looking forward to the build, the turning point is near!


