Follow along with the video below to see how to install our site as a web app on your home screen.
Note: This feature currently requires accessing the site using the built-in Safari browser.
We noticed you are blocking ads. DO THE TON only works with community supporters. Most are active members of the site with small businesses. Please consider disabling your ad blocking tool and checking out the businesses that help keep our site up and free.
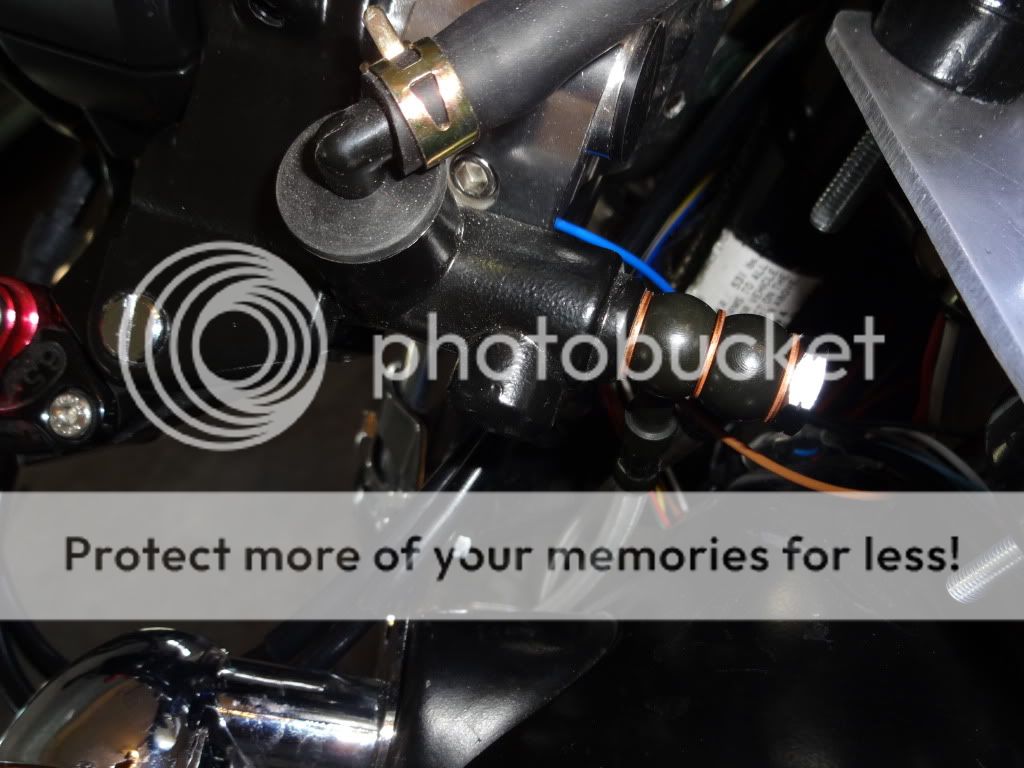
Well I decided to build my own wiring harness from scratch ordered 16 ga. thinwall auto wiring through this site http://www.vehicle-wiring-products.eu/VWP-onlinestore/cable/thinwall.php and the connectors through this site www.vintageconnections.com. I figured that I didn't want splice onto the existing wiring and this way it would have upgraded wiring and connections and cut everything to the correct length and create a cleaner wiring harness.
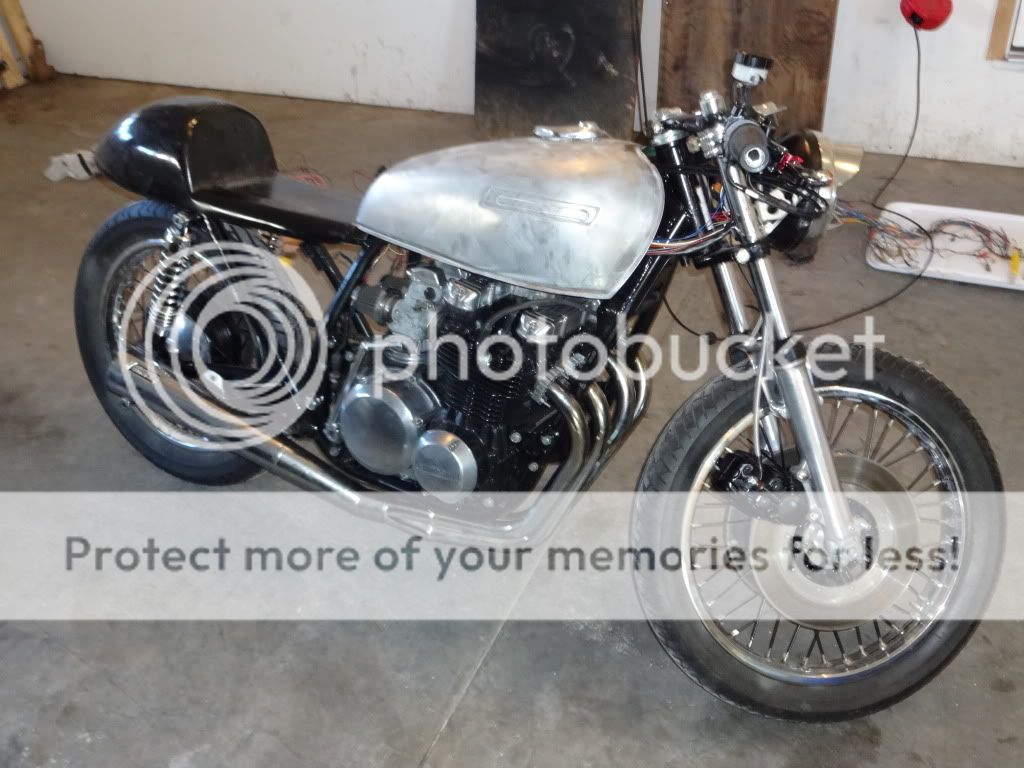
After getting everything mocked up and sitting down I realized the stock location for the pegs are not going work, too uncomfortable. I plan to use the stock location for passenger pegs fliping the gear shifter (now will be gp style). The rear brake lever I plan to flip and rotate the brake rod so it still works properly. I then plan to cut the brake lever and straighten it and then weld on a 90 degree peg. Will post pictures as I progress on it and document for a cheap way to move the rear sets instead of paying the $300+ for the ones offered for my bike.
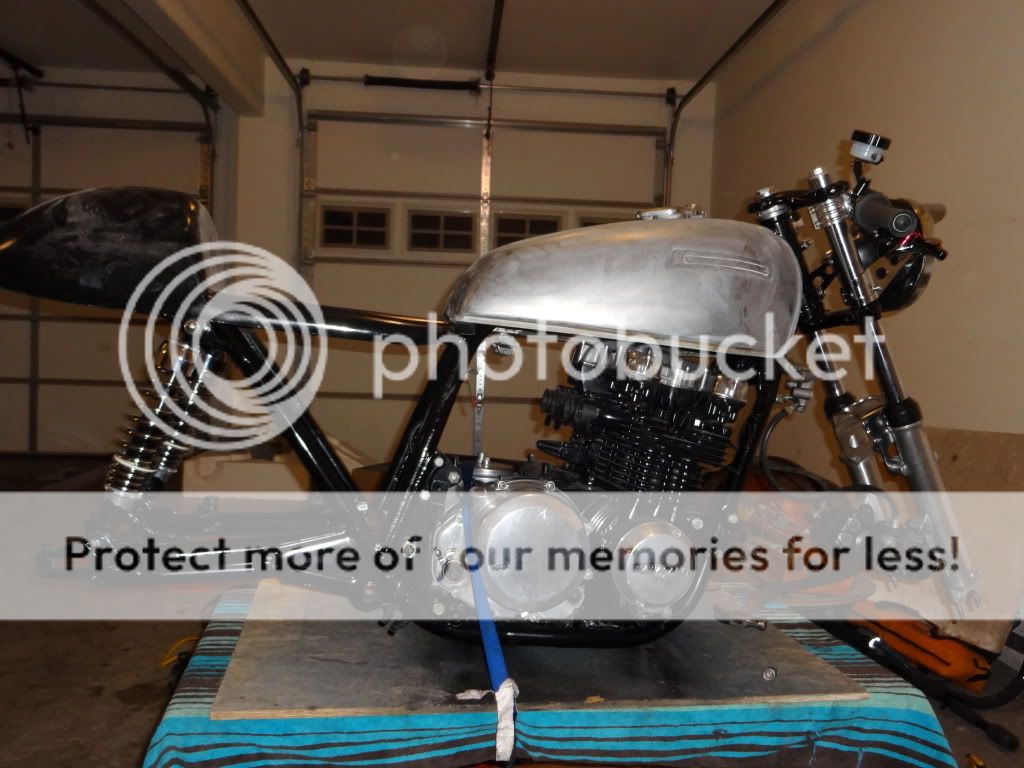
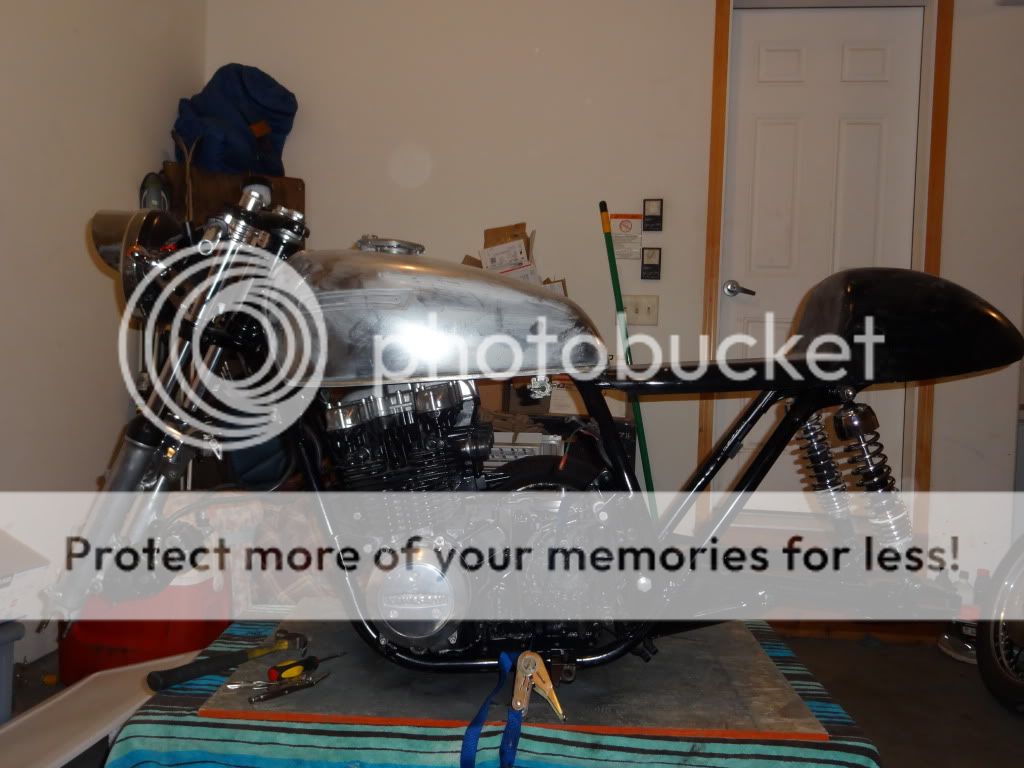
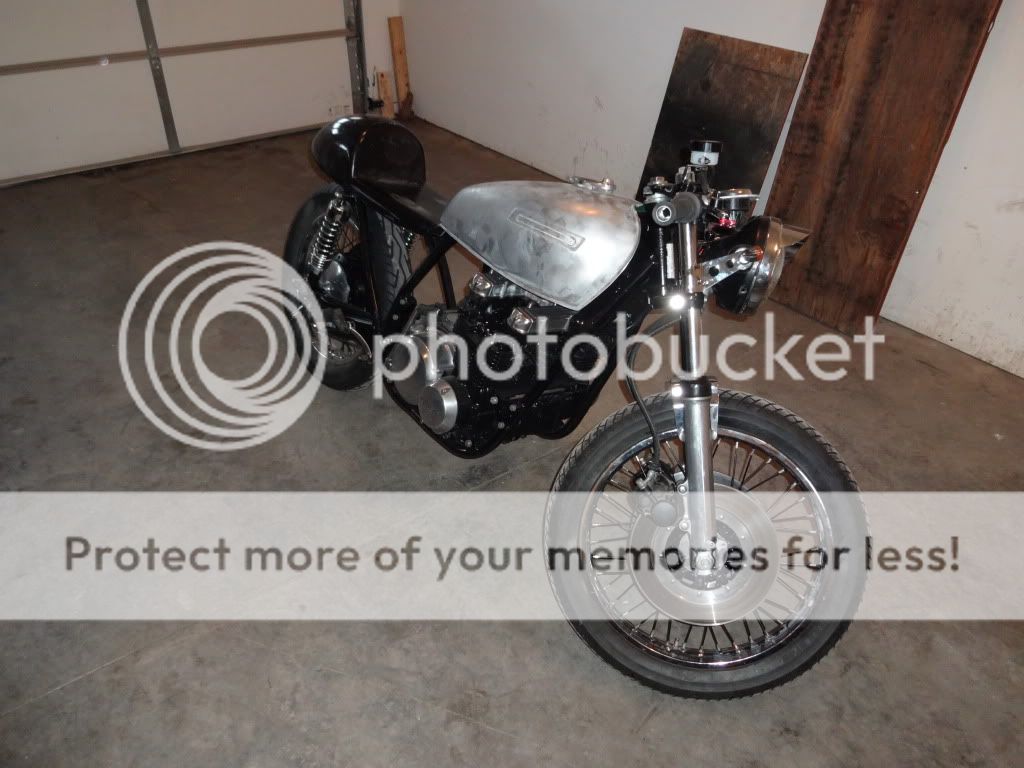
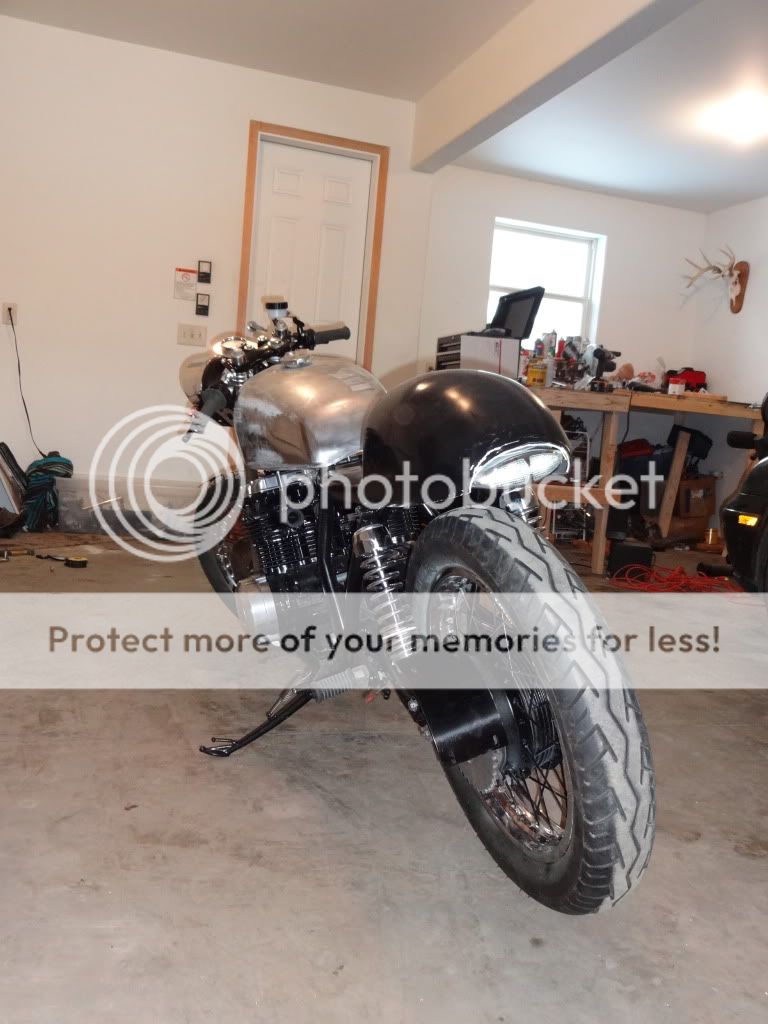
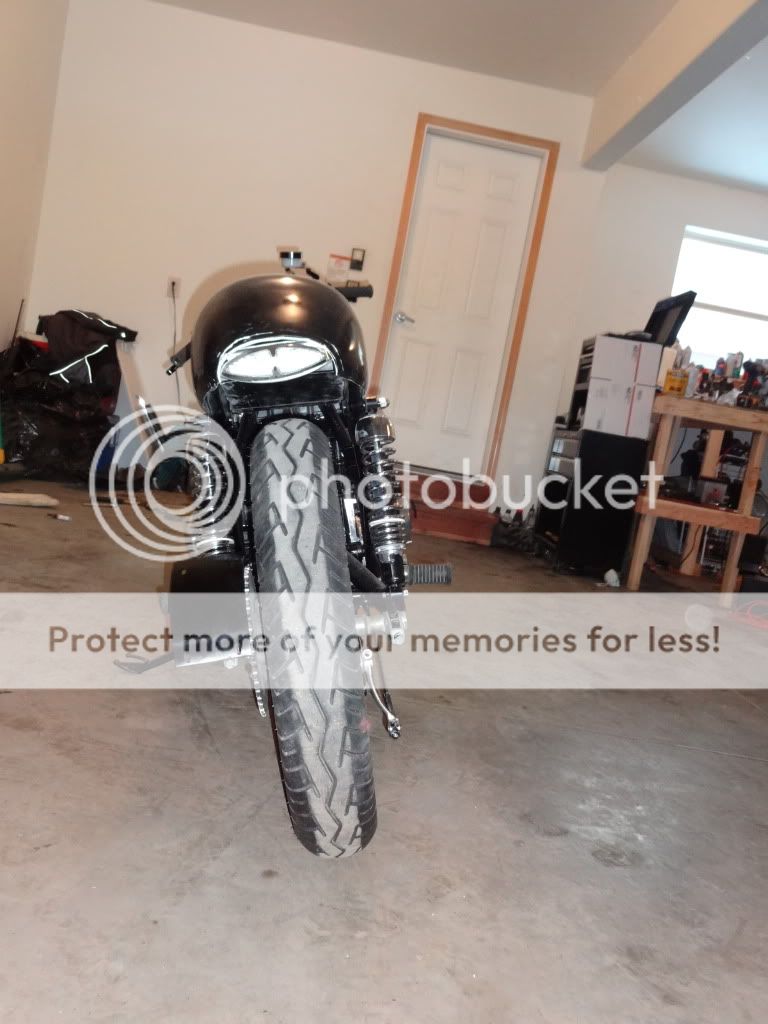
More progress on the bike, replaced all the bearings. I got the brackets fabricated, just have wiring and misc. parts to go.
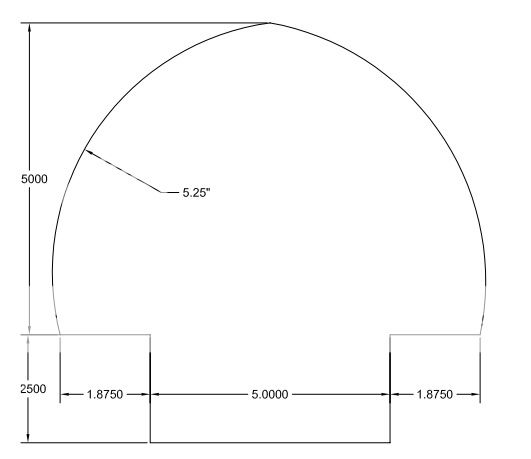
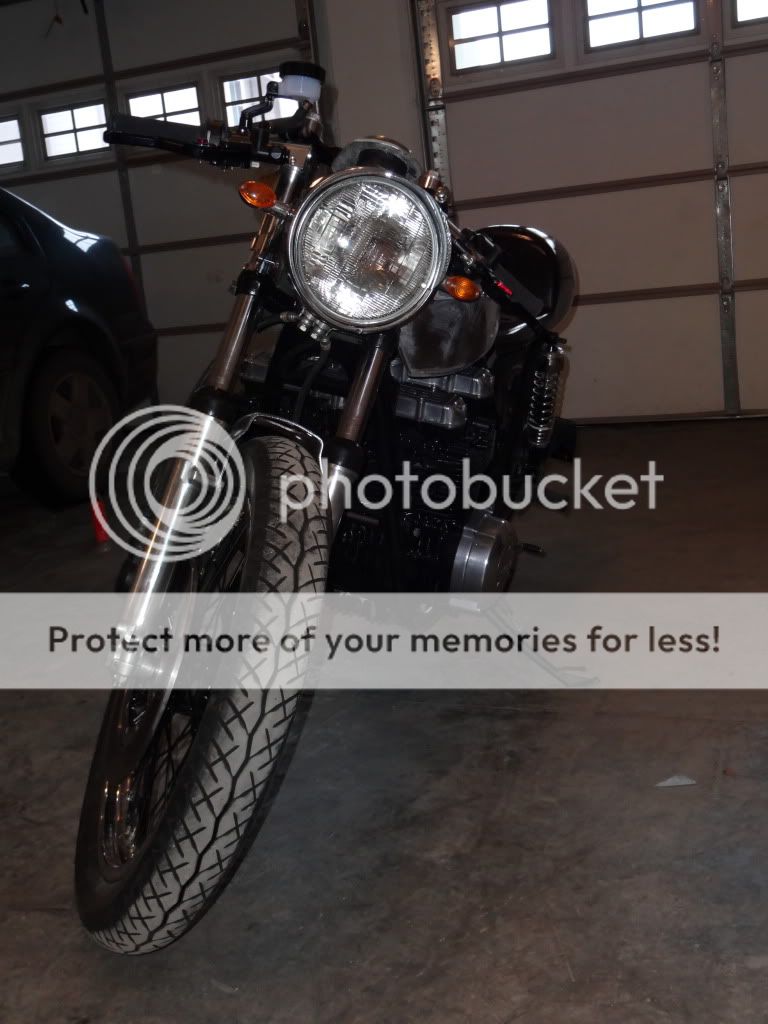
Front bracket that will attach to triple tree and house the gauge & ignition
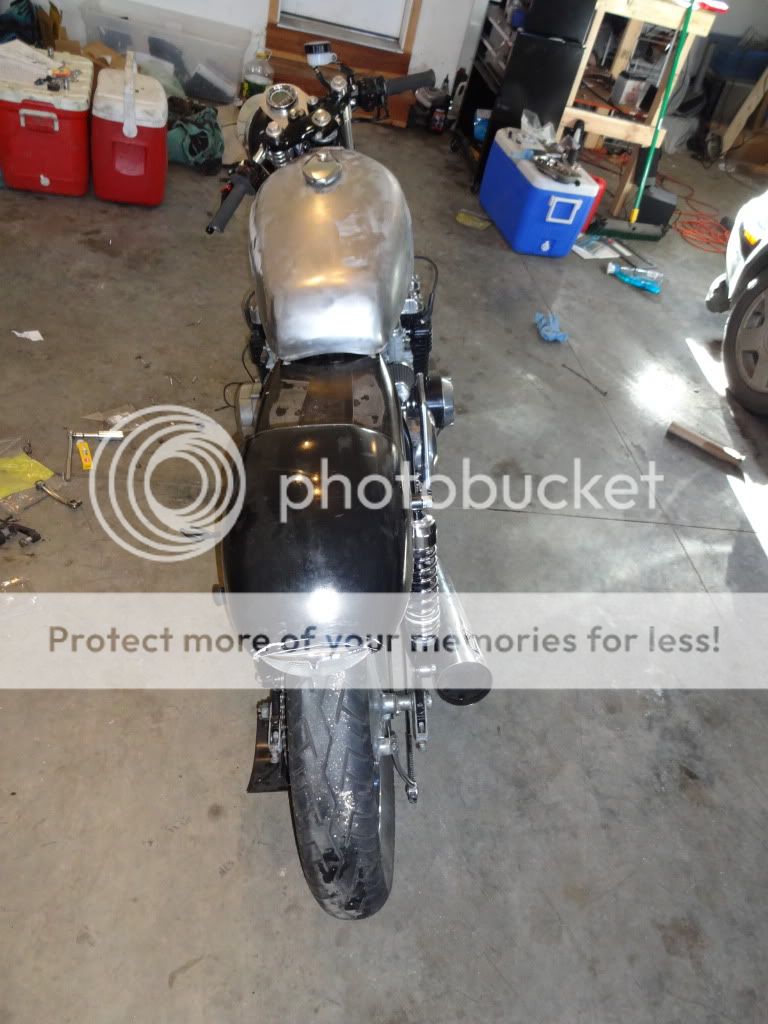
Rear bracket that will fill in the space below hump & act as a plate to attach my rear tail light to (will house battery and maybe a few other electronic bits)
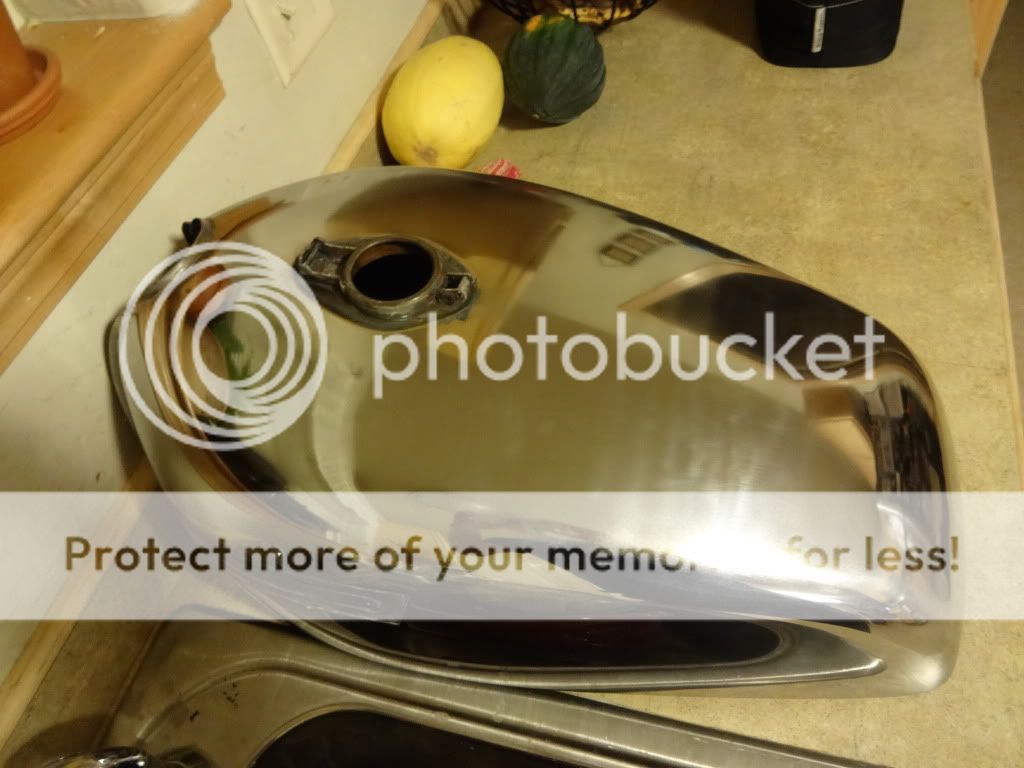
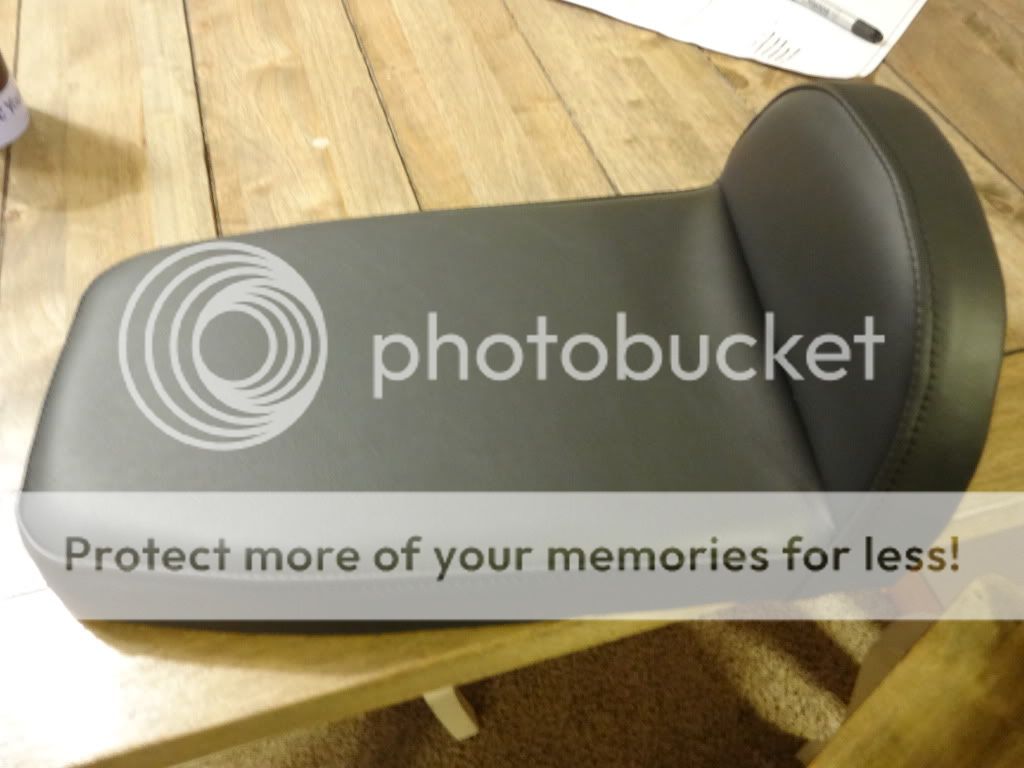
I got this seat pad ordered http://www.roccitycafe.com/store/cbfbpad/0118121818.jpg should be pretty comfortable and look way better than my first attempt at a seat pad. I plan to get the tank polished up to the next level a few minor scratches that I want to get rid of and have somebody powdercoat clear 8). I will get some photos posted up this weekend with the brackets shown and a rollling chassis.
Decided to try this product for bare metal tank http://www.amazon.com/Sharkhide-Metal-Aluminum-Protectant-Quart/dp/B002W8MXTO instead of the powdercoat clear due to the possibility of yellowing over time plus this is going cost about 1/3 to do
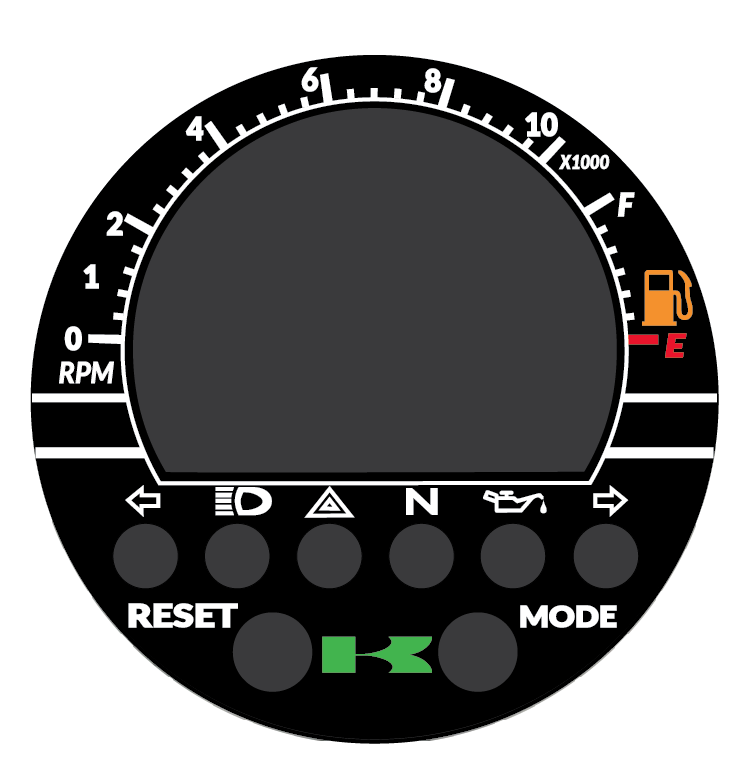
Just finishing up the last bits of the electrical, I can see the light at the end of the tunnel just a few minor jobs to go. Went ahead and ordered new clutch plates & springs. I had a guy on dotheton design me a gauge face for digital gauge (danmoto). I think it turned out pretty good and should add a nice finishing touch to the gauge and tie it in with the bike and get rid of some of silly symbols that it had before
Pretty straight forward, haven't fired it up yet to see if everything works but seemed to be a straight forward following wiring diagrams and the one it came with. Definately eliminated some of the wiring that the original system had which is nice.
Hey Jeff, thanks again for the info you shared with me. Also realized I hadn't signed on to your build thread. I like what you've done with it so far! Will be watching.
After much head scratching deciding what I am going to do for rear sets. I have decided on these http://oldschoolspeed.com/products/#prettyPhoto (diy kit with solid pegs). I am going to run them out of the passenger foot peg location, at 6'-5" it's actually about right for ride position from testing out sitting on the bike with the clipons. This way I have no problem with the kickstarter as the ones offered by Raask interfere and cost three times as much.
Passenger spot seemed to be the most logical here too! 6'1" i sat on the bike several times to test. Let me know how you make out with the rear brake, keeping spring tension on the pedal.
Well I thinking of running linkage from the rear set to (e) pedal and creating some type of small lever to hook it to, If that doesn't work, I will see if I can create something that goes directly to the rear drum.
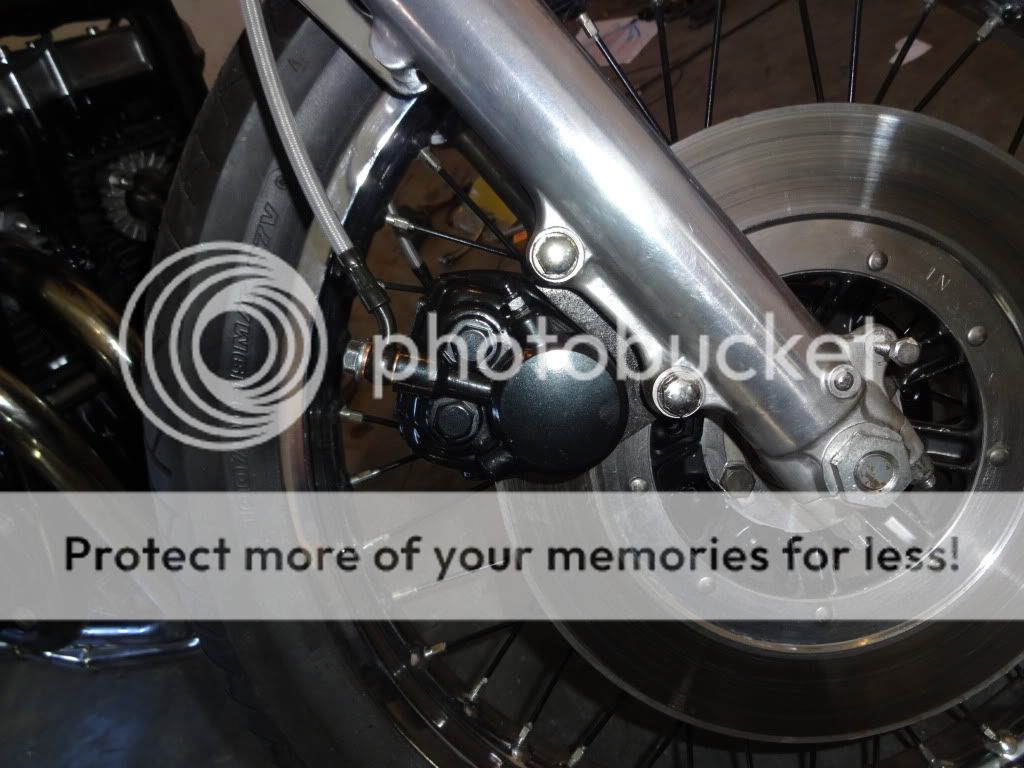
Is it an aftermarket M/C? If so what kind? Id like to do the SS lines on my suzuki and it seem's it probably be cheaper/easier to do what you did here.
http://www.ebay.com/itm/280977691728?ssPageName=STRK:MEWNX:IT&_trksid=p3984.m1439.l2649 this is the item I got, there was a guy over on kz650.info that used on his bike and worked pretty well. It has both the clutch lockout switch for the starter and the brake light sensor on the m/c
This site uses cookies to help personalise content, tailor your experience and to keep you logged in if you register.
By continuing to use this site, you are consenting to our use of cookies.


")