1978 CB750

Redbird

Dolor est Magister Optimus
DTT BOTM WINNER
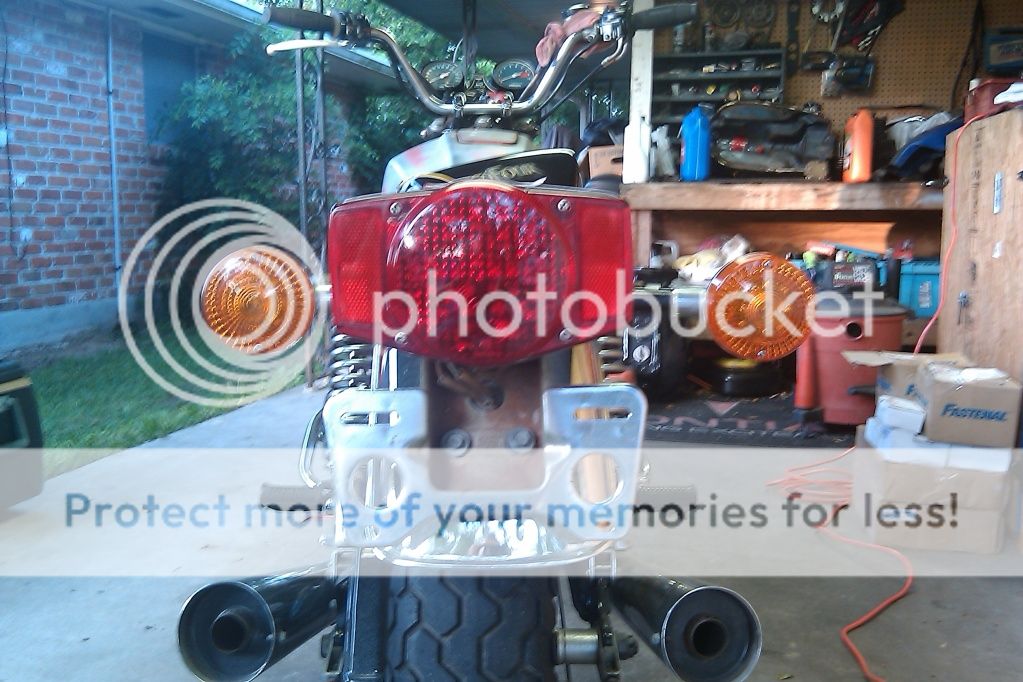
Figured I may as well start a "build thread".
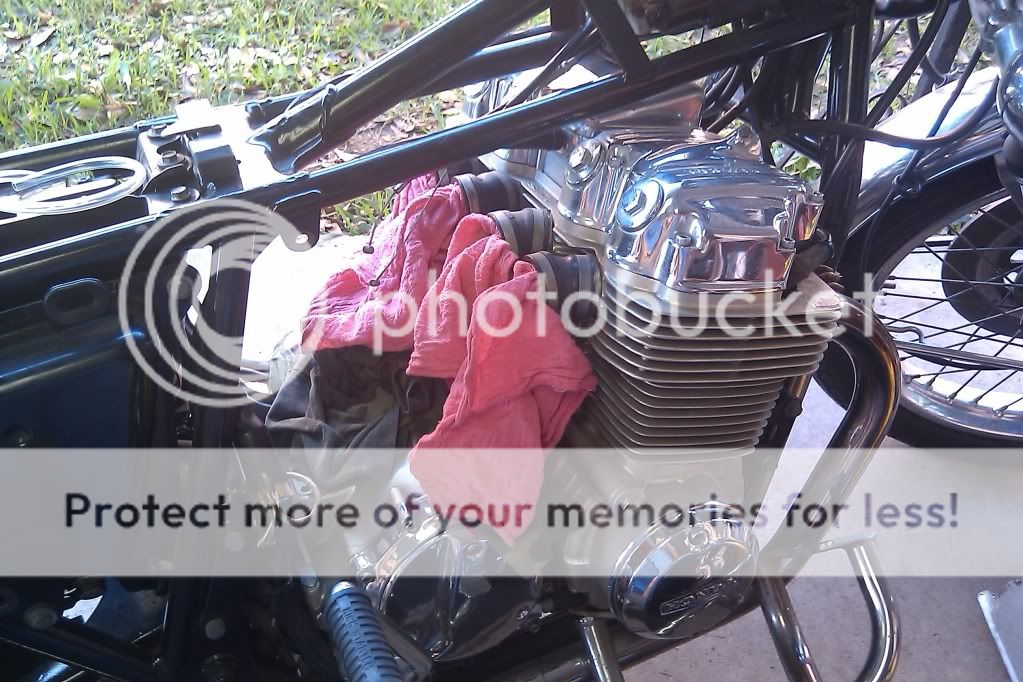
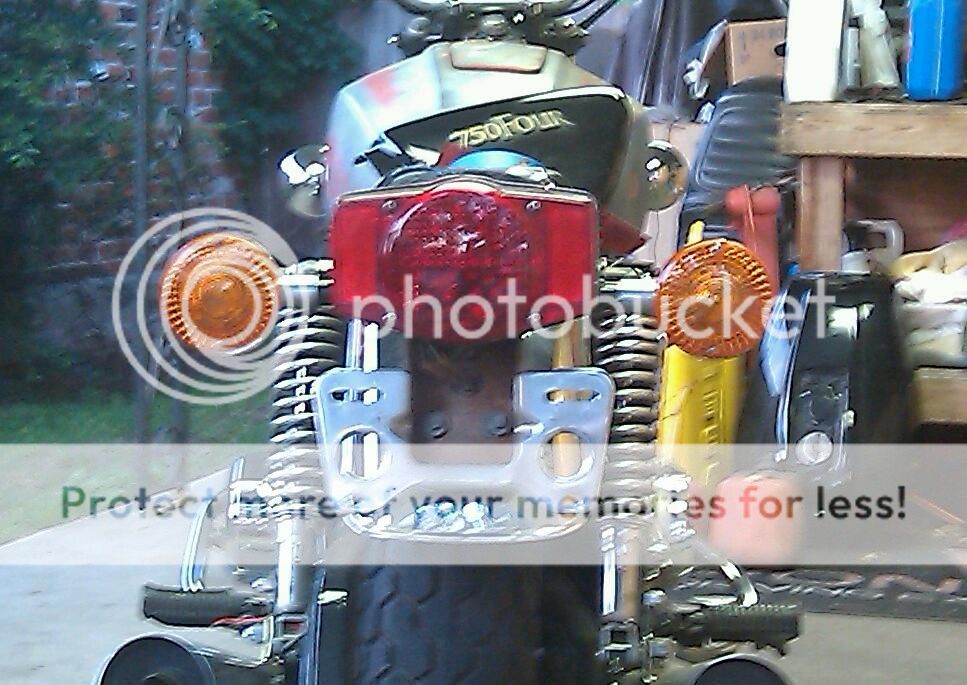
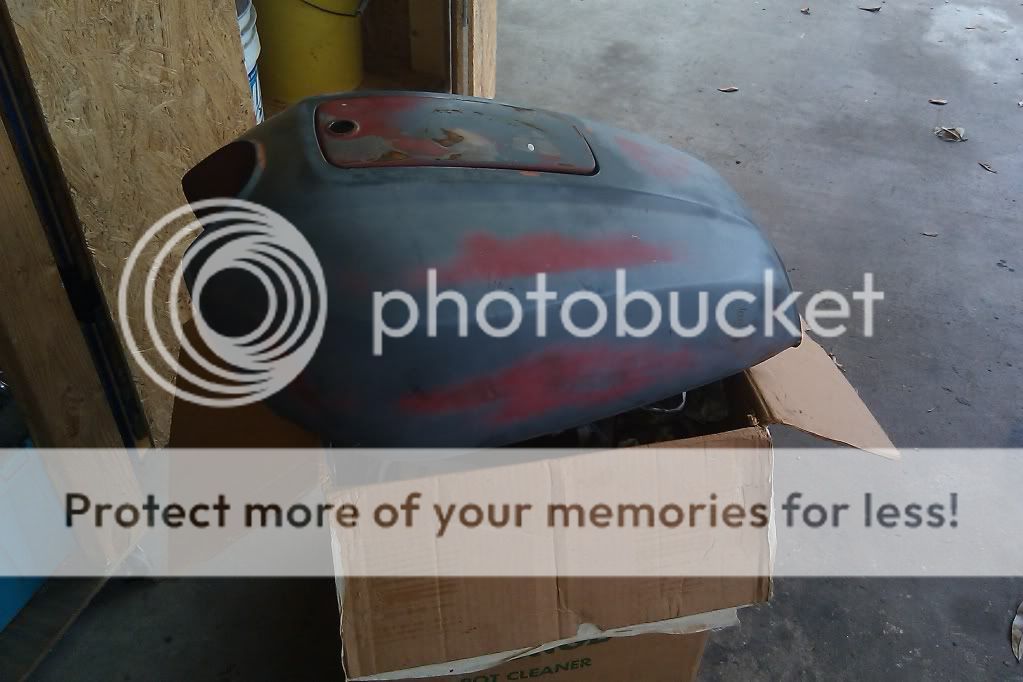
Here she is pretty much "as purchased"...
IMAG0470.jpg

IMAG0471.jpg

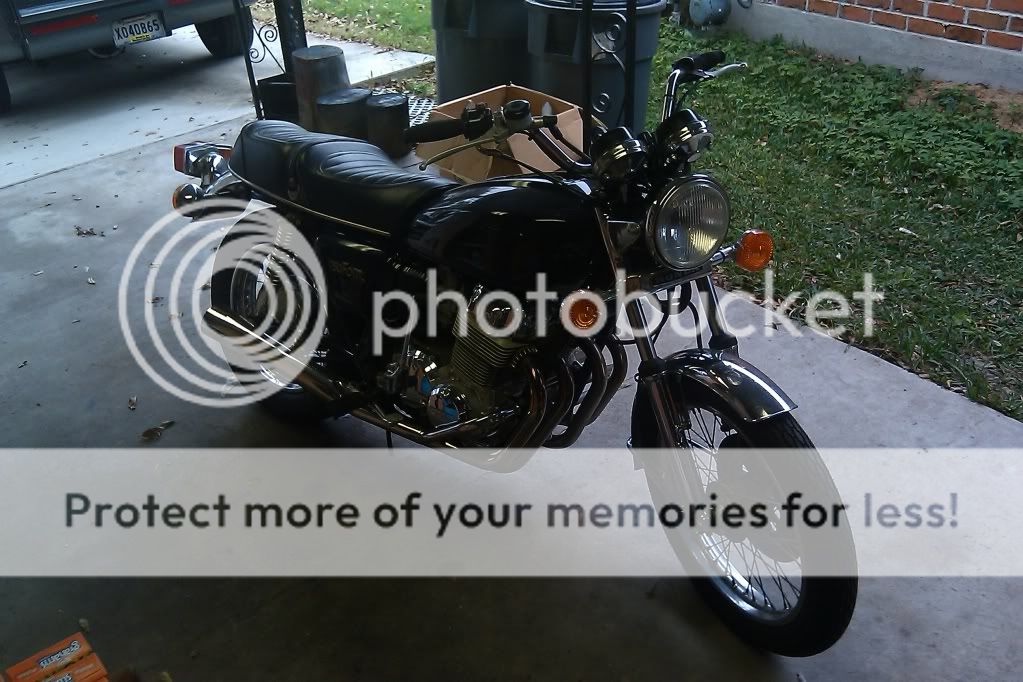
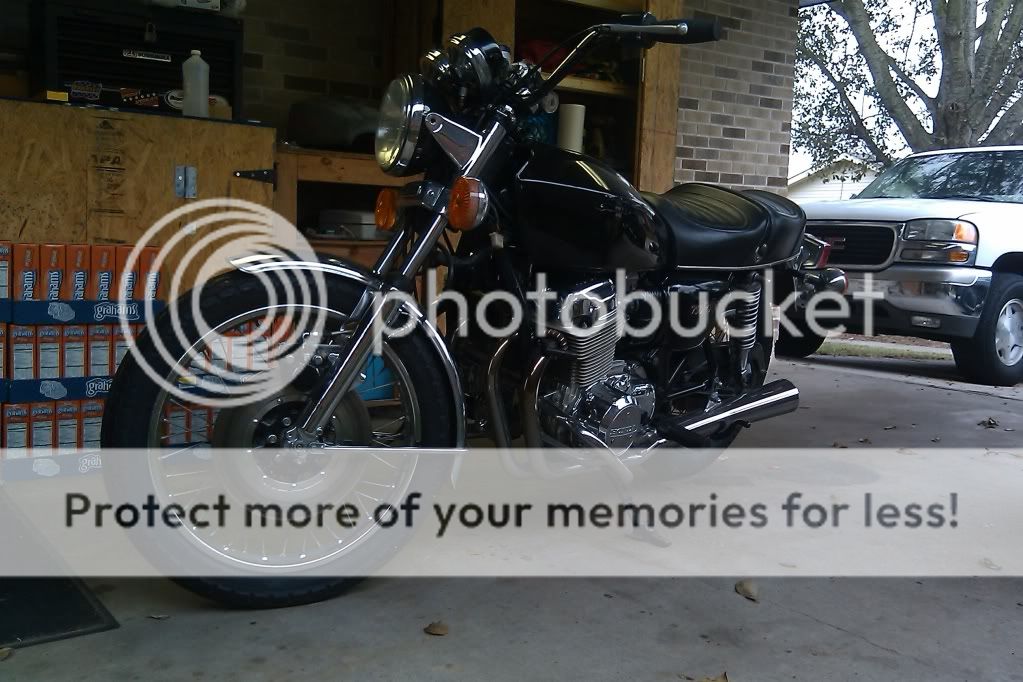
The game plan for her is a mild Cafe build. Not much more than clubmans or clip-ons, some rearsets, and a seat similar to the one on the Yamaha. And then just ride the fuck outta her.
Shooting for something like this...
CB2075020L20cafe20seat.jpg

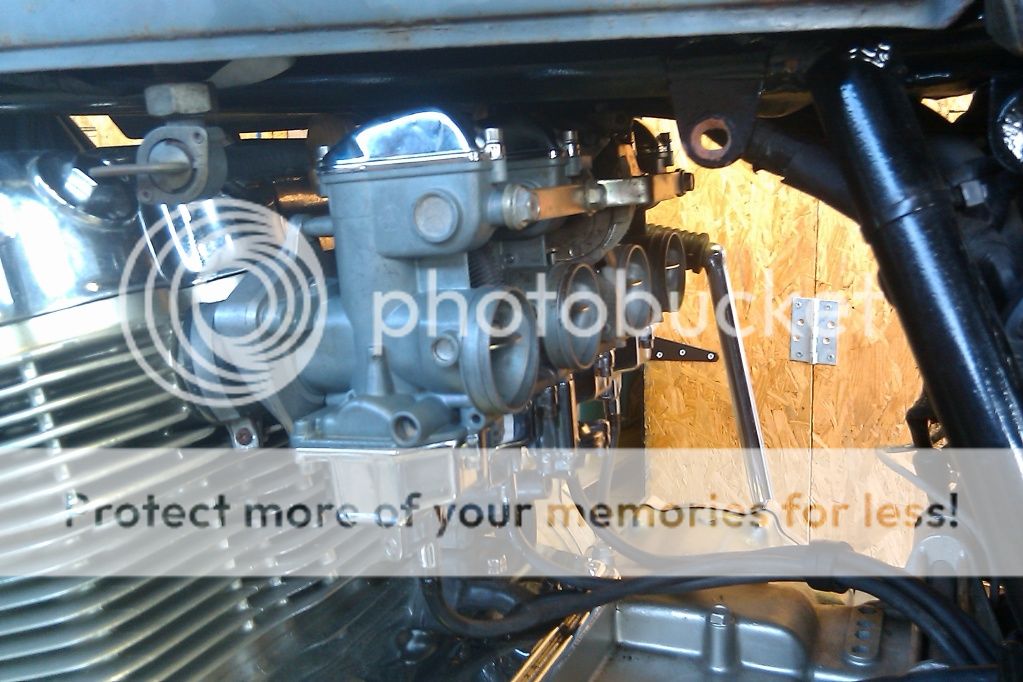
Since her purchase I've been doing some diagnosing, some inventory on MIA parts, and some mild cleaning.
What I've found so far is... the ignition switch, regulator and rectifier (seperate units), battery, flasher relay, all fuses, headlight bulb, clutch cable adjuster, and various fasteners and grommets are MIA. The fuel tank is a freshly painted, and freshly creamed, Paperweight. And the master cylinder is seized.
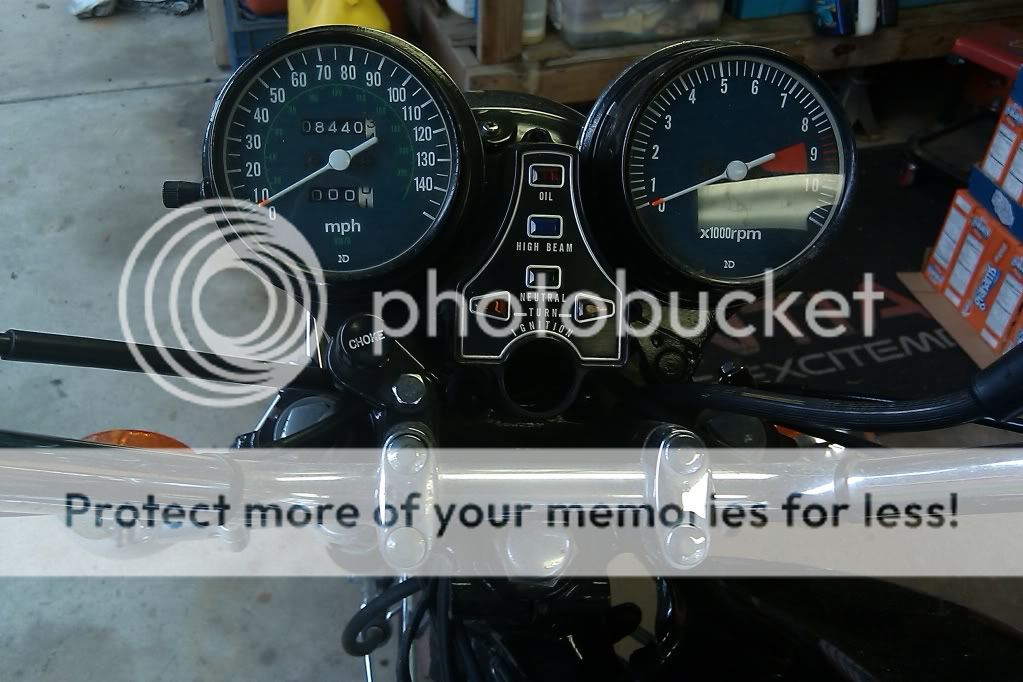
Missing ignition switch...
IMAG0474.jpg

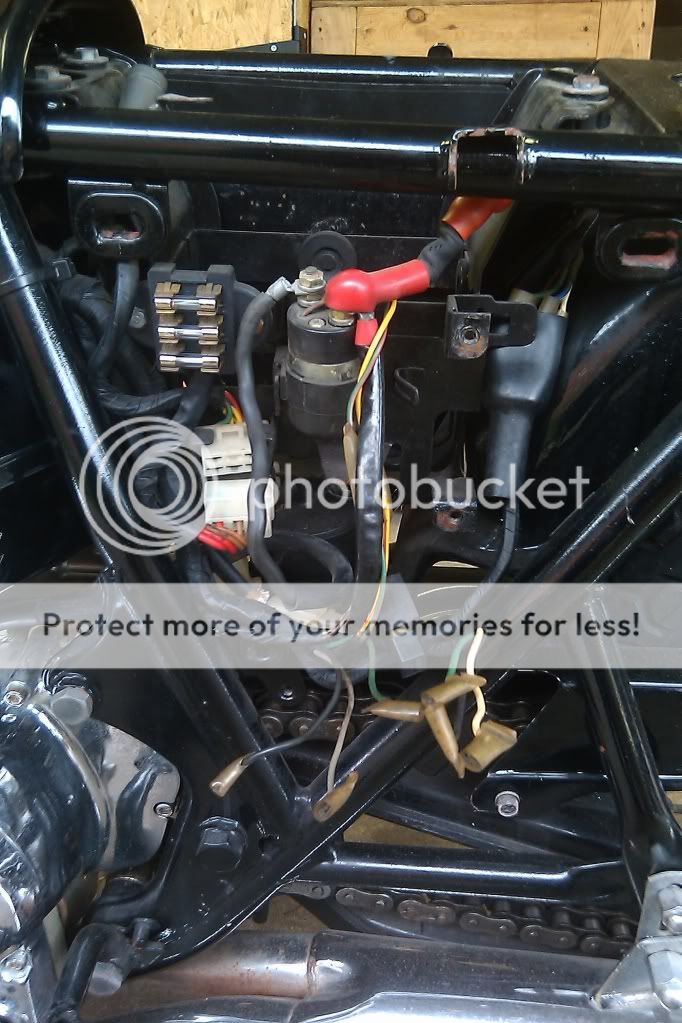
Raped and pillaged...
IMAG0476.jpg

New cream coating inside...
IMAG0477.jpg

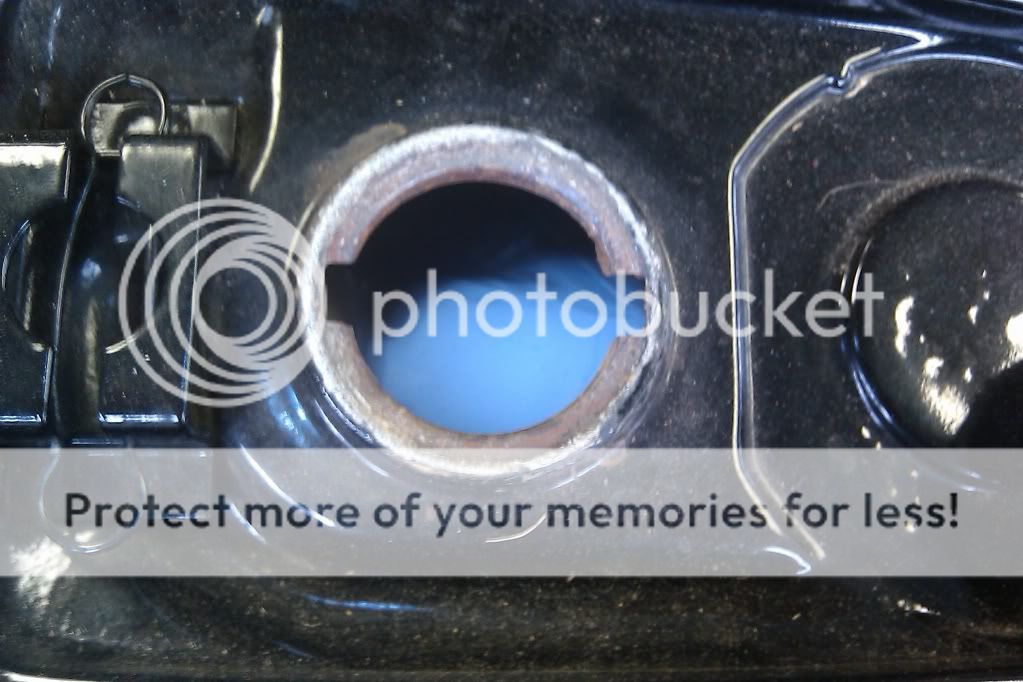
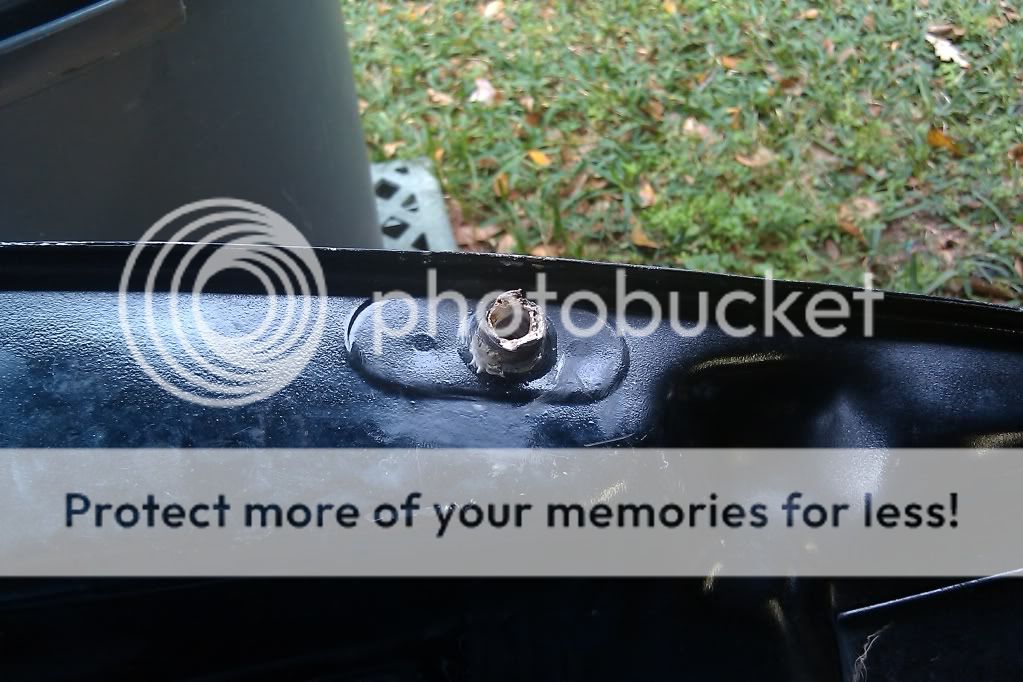
...but the petcock bung is rotted off...
IMAG0478.jpg

I'm guessing the PO had the tank painted before realizing it was rusted out on the inside (there's also a JB Weld patch at one of the seams), and tried to salvage it by creaming it. I have no idea what the plan to mount the petcock was.
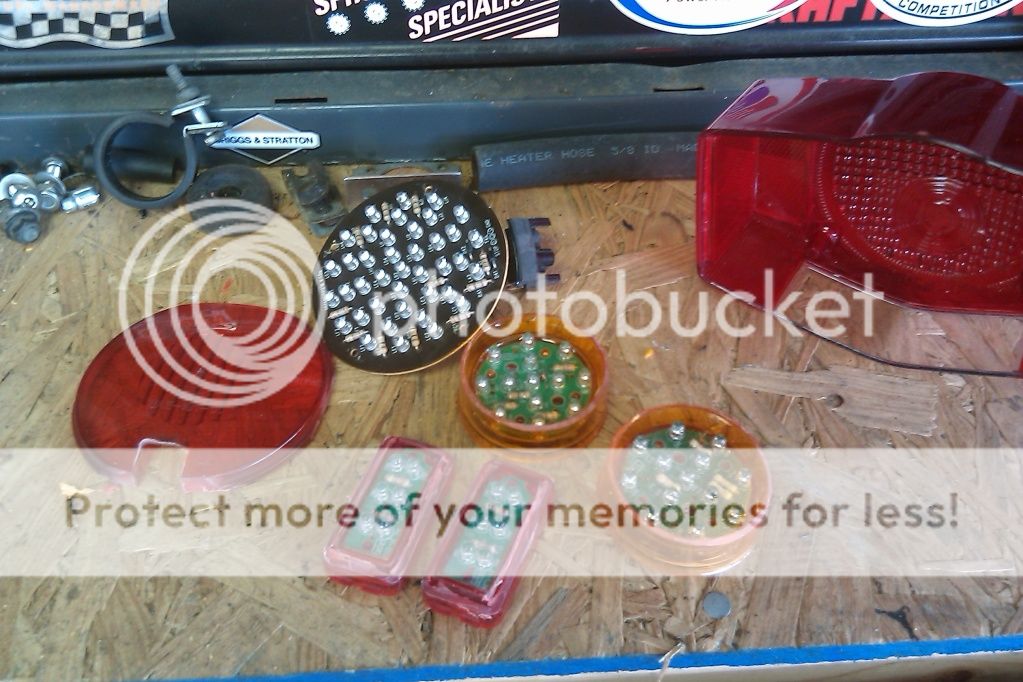
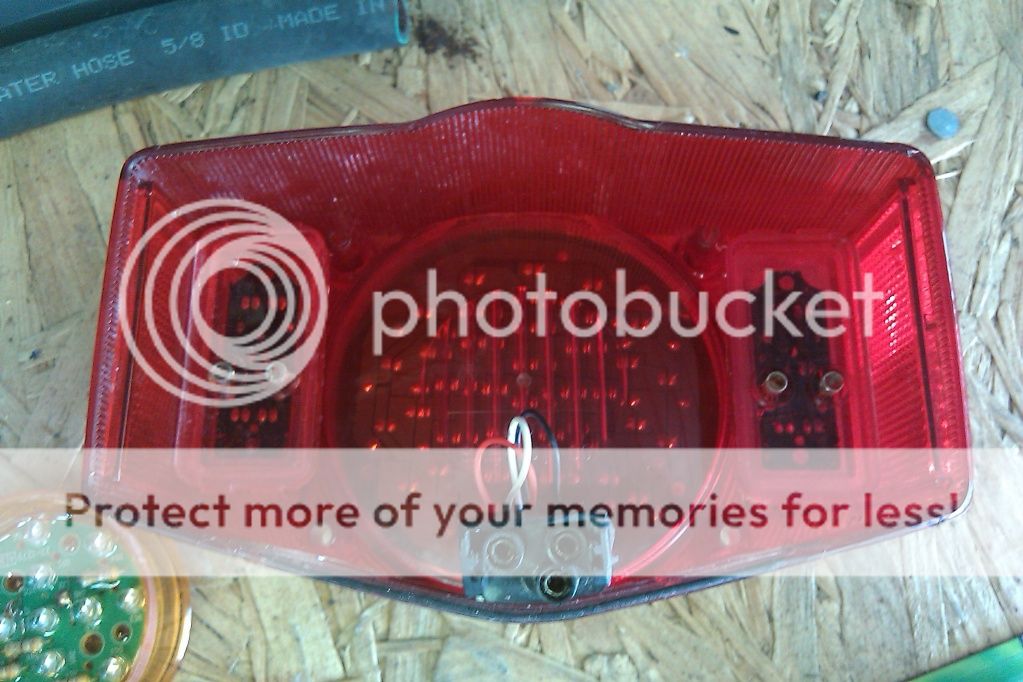
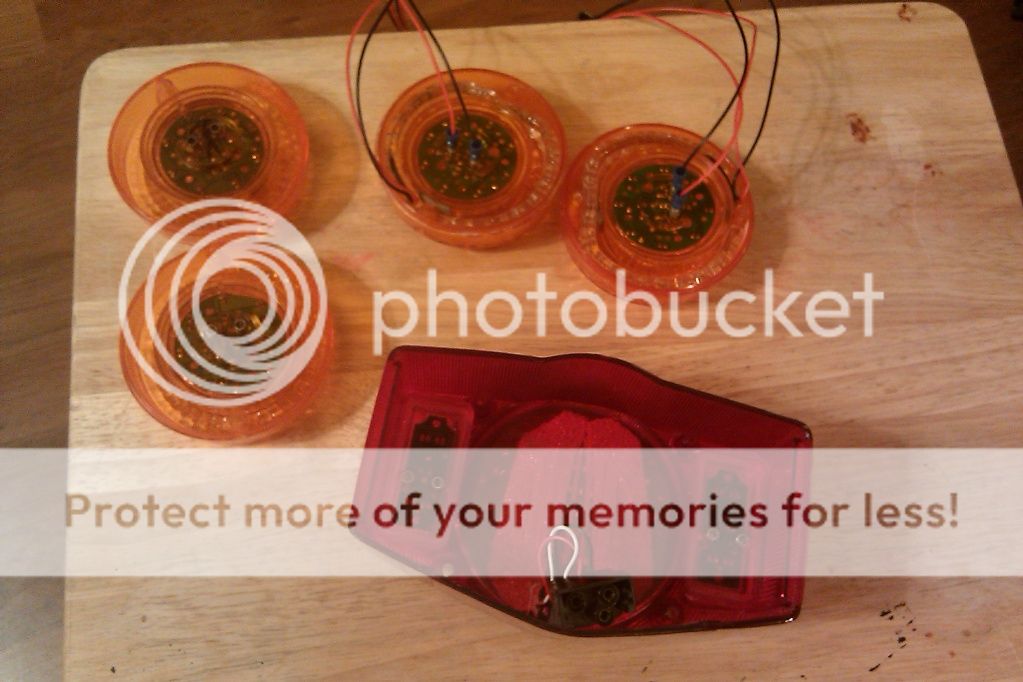
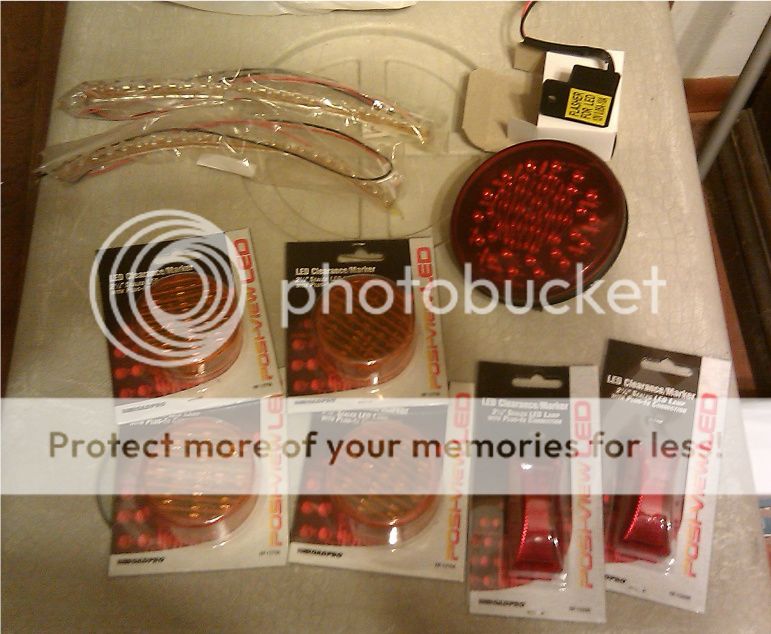
These have been arriving in the mail over tha last week and a half...
Used tank. Was stored with diesel fuel in it... the inside looks almost new. It also has the emblem mounts filled. Something I wanted to do anyway.
IMAG0469.jpg

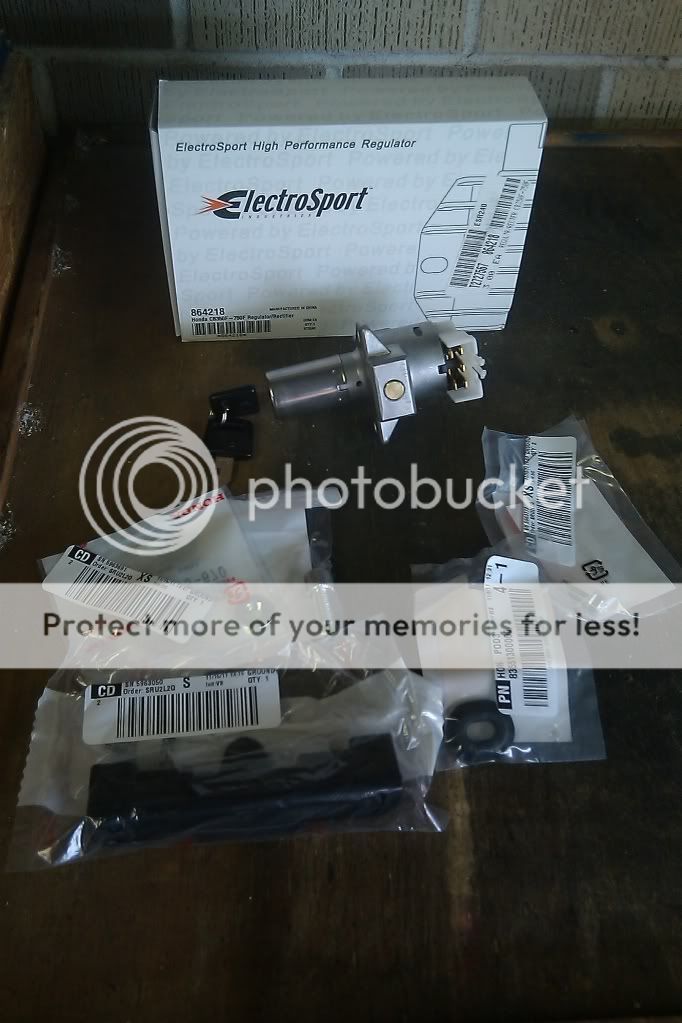
Spanking new Ignition switch, Electrosport Regulator/Rectifier (one unit), and various fasteners and grommets.
IMAG0468.jpg

As of now, I have the new ignition switch, regulator/rectifier, and various fasteners/grommets installed.
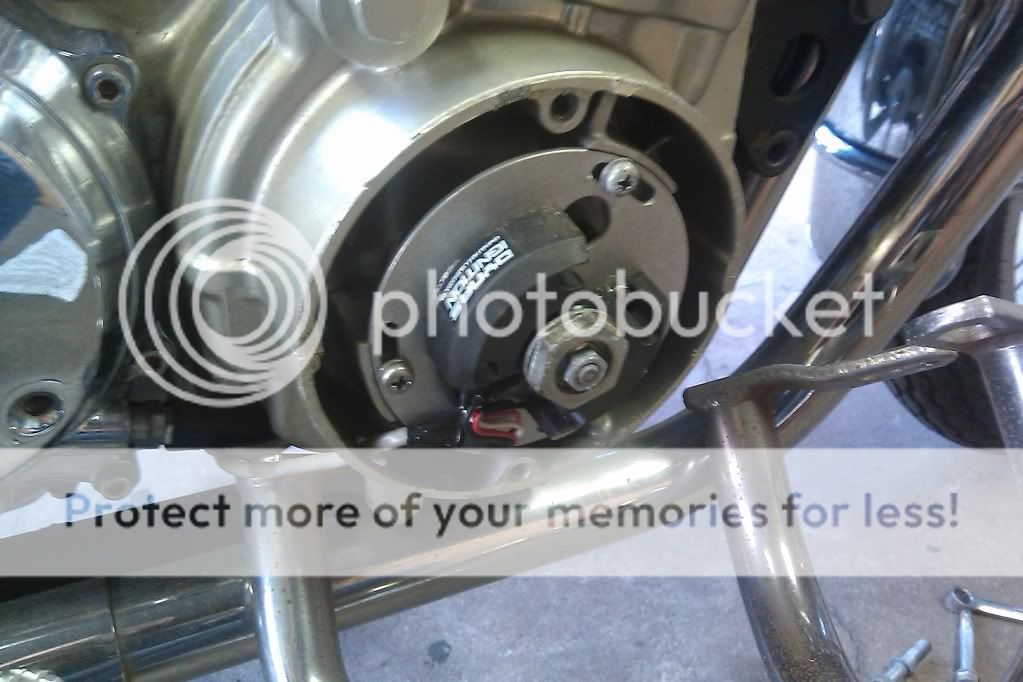
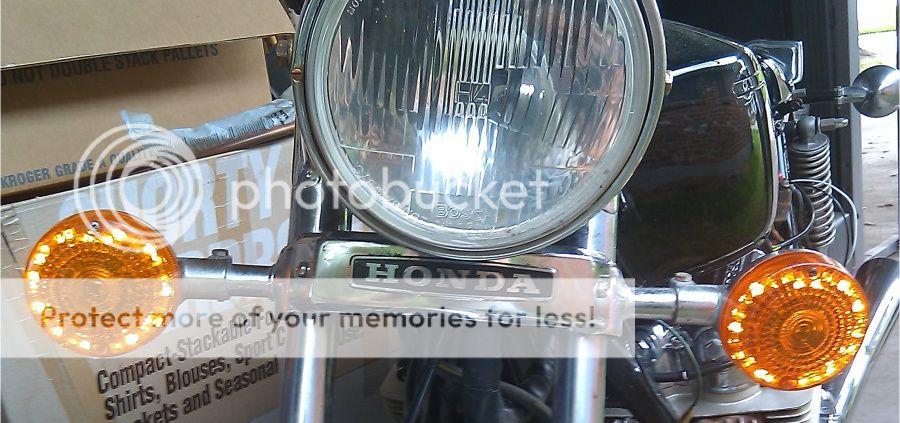
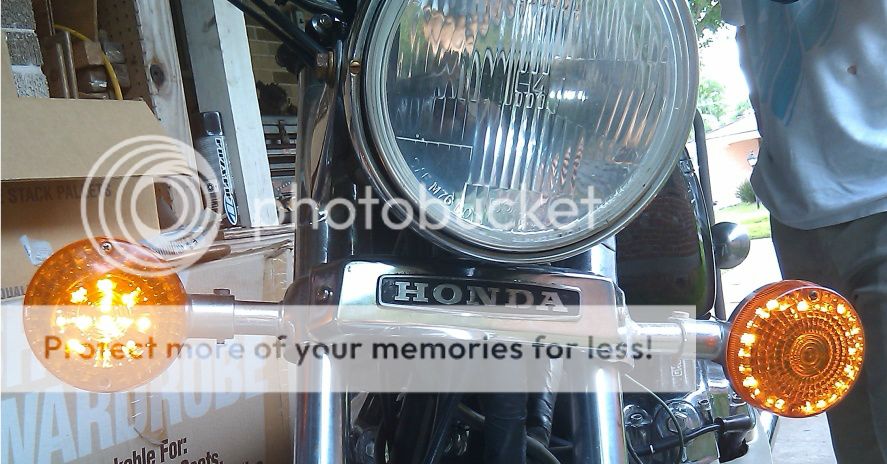
Of the known issues, she still needs a battery and the master cylinder repaired/replaced. But through my cleaning/checking I noticed a few interesting tidbids. She has a dyna ignition installed (no more points), the sealed beam headlight has been upgraded to H4 halogen set-up (better lighting options available), and mounting dual front discs is a simple bolt on process (all the hardware swaps from left to right so the "Free to Good Home" CB750 will be donating those parts).
 
Ebay. It was a cheapie $20 switch. Seems to work ok. Down the road I plan to buy on buying the matching ignition/tank lid/seat set, but for now I just needed something there to get her running.
 
Progress!!
Man, this "working 5 days a week" shit is really screwing with my hobby time, but I got a few things sorted over the last few days... Idiot light for Oil Pressure works now (it was unplugged from the harness behind the headlight), Clutch/neutral safety switch now works (unplugged behind headlight too), Starter button works now (Found that the starter relay is bad, robbed the ugly and somewhat sticky relay from the parts bike (will be buying a new one)). After all that, I still couldn't get it to do much more than cough. Decided to make sure the Dyna S iggy was wired properly. It was, but I found that the timing was about 20-25 degrees off :eek:
After properly setting the static timing, she will sputter and almost run by squirting fuel in the carbs.

This weekend the carbs come off for a douche and a powder. ;)

And gratuitous pic...
Dyna S ignition, now with proper timing!!!
utf-8BSU1BRzA1MjkuanBn.jpg
 
Nice start on the 750. I look forward to following your build. I really like the bike you are using as your vision.
 
It's ALIVE!!! It's ALIIIIIIIIIVE!!!! Mwahahahahaaaaaaaaa!!!!

http://www.youtube.com/watch?v=vYqrpl5i8Ng&context=C33f4e29ADOEgsToPDskLo7DE22yquRj-ufyI6swDm

There's a few really dumbfuck things going on with the carbs though. First off, the P/O (and/or his mechanic) must've lost a bunch of the bowl screws. Only one carb has the three OEM screws, two other carbs have one OEM screw each, the last carb and the remaining openings have various sheet metal and wood screws installed... I fucking hate wrench'tards.
Second, there's a vent tube that runs between the carbs, or is supposed to, but one carb has no provision for it. That one's a headscratcher.
And third, two of the carbs have flat spots in the throats on the filter side... like they've been dropped. And one of the carbs has the wrong bowl on it (the drain screw faces the wrong way).

utf-8BSU1BRzA1MzguanBn-1.jpg

The yellow dots are wood/sheet metal screws, and the red dot is the wrong bowl.

I had read that these carbs were beasts to get on/off. So much so that some people will rebuild the carbs while still on the bike. But I had no trouble at all. They just about fell off (I think the P/O may not have had them seated all the way on). And for the install, I put a real thin coating of grease on the carb throats, and they popped right on.
utf-8BSU1BRzA1MzcuanBn.jpg


I'm eyeballing a rebuilt set of rebuilt carbs right now for cheap. If I get them, I'll swap out the ones on the bike. If not, the partsbike has what looks like solid (but waaaayyyyy gummed up) rebuildable carbs. Well... atleast they have all the OEM screws in them, correct bowls, and no dented throats.
 
Got a little "creative" while waitin' on parts. The taillight lens had some pretty good scuffs/scratches on it, so I pulled out an old Headlight Restoration kit I had picked up for my sons Sentra.
I started in on it, but the D.O.T./manufacturer lettering that's molded into it was pissing me off. So I took a piece of 800 grit sandpaper to them to knock them down, followed with some 2k grit to clean it up, and then hit it with the Restoration kit as directed.
I only have the round center section done so far but, lookin perty good...
utf-8BSU1BRzA1NTkuanBn.jpg

And that's not a smudge near the bottom part of the lens, that's my reflection.
As you can see by the scratch marks on the outer reflectors, I still have some work to do. But it's coming along nicely. And it looks tons better without the lettering :)
 
Did some more with the turnsignal lenses...
utf-8BSU1BRzA1NjcuanBn.jpg

OEM on the right, "cleaned" of DOT lettering and polished on left.
I also finished polishing the taillight lens out. All will get fitted with LED fixtures (hopefully tomorrow) now.
 
Ya know how you buy a new car and suddenly you see them all over the road? Maybe they were there all along but you just never noticed them before you had one?
Where the hell did all these CB750 builds come from all of a sudden?!
Good luck to you on getting your carbs sorted out. Rebuilding the gummed up spare rack may prove the best way to go...untouched neglected carbs don't scare me as much as someone elses shoddy rebuilds.... especially if they are # match to the ones the PO F-ed up. you could probably make one nice set out of two.
Subscribed to this one, keep the updates coming!
 
Hoosier, I picked up an unmolested rack off ebay cheap. Even came with chrome bowls and tops :) I'm waiting on new needle/seats and an allenhead bolt kit, so I haven't mounted them up yet.

Made some more progress with the turnsignals today.
Previously, for the similar mod I performed to the 'busa and the DS7 taillights, I used an old 1157 bulb for the "plug-in". I recently discovered that superbrightleds.com also carries bare 1157 and 1156 bases. This made wiring the pigtails for the fixtures alot easier.
utf-8BSU1BRzA1NjguanBn.jpg

These are the completed pigtails. The LED fixtures (except for the flex strips) use bullet style connectors, making it easier to fab up without having the fixture attached.
utf-8BSU1BRzA1NzAuanBn.jpg

Here are the completed front signals. As mentioned previously, the flex strip is the running light and will create a "halo" ring around the perimeter of the lens, while the 2.5" fixture will flash for the turnsignal.
utf-8BSU1BRzA1NzEuanBn.jpg


I haven't fnished the rear signals yet, as I need to pick up some "filler" material. And the taillight is next up after that.
I'll have some pics of them installed and operating soon as well.
 
This bike is a k model right? Does anyone know if theres a way possible of getting spoked rims like you have on to a supersport (f) ? My problem is i have comstars for my rims and i want spoked rims but ive spent months just trying to find this bike and dont want the stress of trying to find a new one . Is there anyway to get spoked rims onto the supersport f with out changing the whole brake system
 
Yes, mine is a K model.
The earlier F models came with spoke wheels and rear disc brakes ('75 and '76). I think '77 was when the F's got comstars, but the K's kept the spokes.

Find you a set of early F wheels and they should bolt right up. If not a direct crossover, it shouldn't take much to make them work.
 
Redbird said:
Yes, mine is a K model.
The earlier F models came with spoke wheels and rear disc brakes ('75 and '76). I think '78 was when the F's got comstars, but the K's kept the spokes until '79.

Find you a set of early F wheels and they should bolt right up. If not a direct crossover, it shouldn't take much to make them work.

Oh wow thanks for the heads up . My dad has the same exact bike by the way. Its a great bike i cant wait to see the pictures of all your progress! What all do you plan on doing to the bike? I noticed you uploaded that picture but i hope you dont copy every detail with that bike
 
Nah, I'm not looking to duplicate that bike. Just sorta using it as a reference ;)

The plan is a very mild cafe style conversion. Basically just clip-ons, rearsets, and a solo seat. With some "tweaking" (like the taillight and turnsignals) thrown in as well :)
 
Well, I got all the fixtures finished. Final assembly will have to wait until atleast tomorrow as the epoxy needs 24 hours to fully set.
Here's the teardown. I prefer to remove the cover lenses from the LED's so there's no "filter" between the LED and the bikes lens.
The taillight was completely disassembled because, in addition to removing the cover lens, there's not enough clearance on the back side with the OEM reflector bowl. The cover lens is repurposed as a backing plate to protect the LED circuit board from shorting out against the metal reflector bowl.
utf-8BSU1BRzA1NzIuanBn.jpg

Here's a closer shot of the taillight during final mock-up.
utf-8BSU1BRzA1NzQuanBn.jpg

And here's the finished fixtures (minus the wire pigtails) waiting on the epoxy to set.
utf-8BSU1BRzA1NzYuanBn.jpg


As promised, pics of the final assembly and operation will be coming soon ;)
 
I just noticed I didn't post the pic of what this LED conversion started out as. (it was posted in the "latest purchase" thread, but not in here)

Redbird said:
All this will soon be my Brake Light and Turnsignals on the CB750.
The 4" round and the two 2" rectangle red fixtures for the Tail/Brake. The 2.5" round amber fixtures for theTurnsignals. And the 9.5" flexible strips for the front Running Lights (they'll look like a halo in the lens). All will get custom fitted into the OEM lenses, so they will look like OEM until they're lit up.
And an LED flasher relay...
utf-8BSU1BRzA1NTUuanBn.jpg
 
Everything is back together and working!
Here's the front running lights...
utf-8BSU1BRzA1NzcuanBn.jpg

Front signal...
utf-8BSU1BRzA1NzguanBn.jpg

Rear signal and taillight...
utf-8BSU1BRzA1NzkuanBn.jpg

And finally, the brakelight...
utf-8BSU1BRzA1ODAuanBn.jpg


I was kinda surprised that the running light goes out when the signal is on. But other than that... the fixtures perform exactly as expected :)
Not too shabby for $25 and a few hours of my time. The only thing I actually paid for was the flex-strips and the flasher. The rest is a perk of driving a tractor/trailer ;)
 
Update...

Got the "new" carbs mounted up, the new starter relay installed, and dropped the "new" tank on. She is a cold natured bitch, but she basically fired right up.
I think the carbs are out of sync, but otherwise the throttle response is much crisper. Felt so good I took her around the block :D
Ran well, no strange noises and she shifted through all the gears with no trouble.

utf-8BSU1BRzA1OTQuanBn.jpg

utf-8BSU1BRzA1OTYuanBn.jpg


She's getting close to hittin the streets ;)
 
Did a little "cleaning up" on the rear signals. I tucked them in 4" overall by shortening the stalks.
Right side is "before", left is "after"...
utf-8BSU1BRzA2MDMuanBn.jpg

From above...
utf-8BSU1BRzA2MDQuanBn.jpg


Finished...
utf-8BSU1BRzA2MDUuanBn.jpg

utf-8BSU1BRzA2MDYtMS5qcGc.jpg


Fronts will get the same treatment today, after I fabricate a wiring harness for the rear signals. The PO did a hackjob on it for unknown reasons, and had it hardwired with no connectors and all black wire. I'm going to (re)add bullet connectors and properly color coded wire.
 
Back
Top Bottom