1978 CB750

Few little updates...
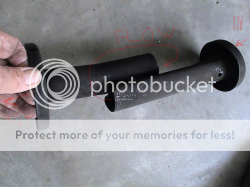
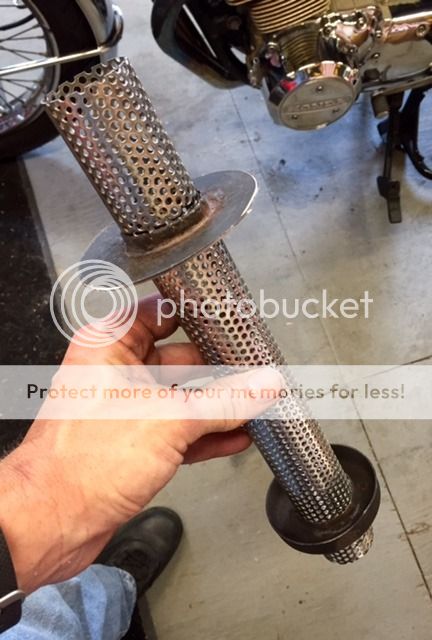
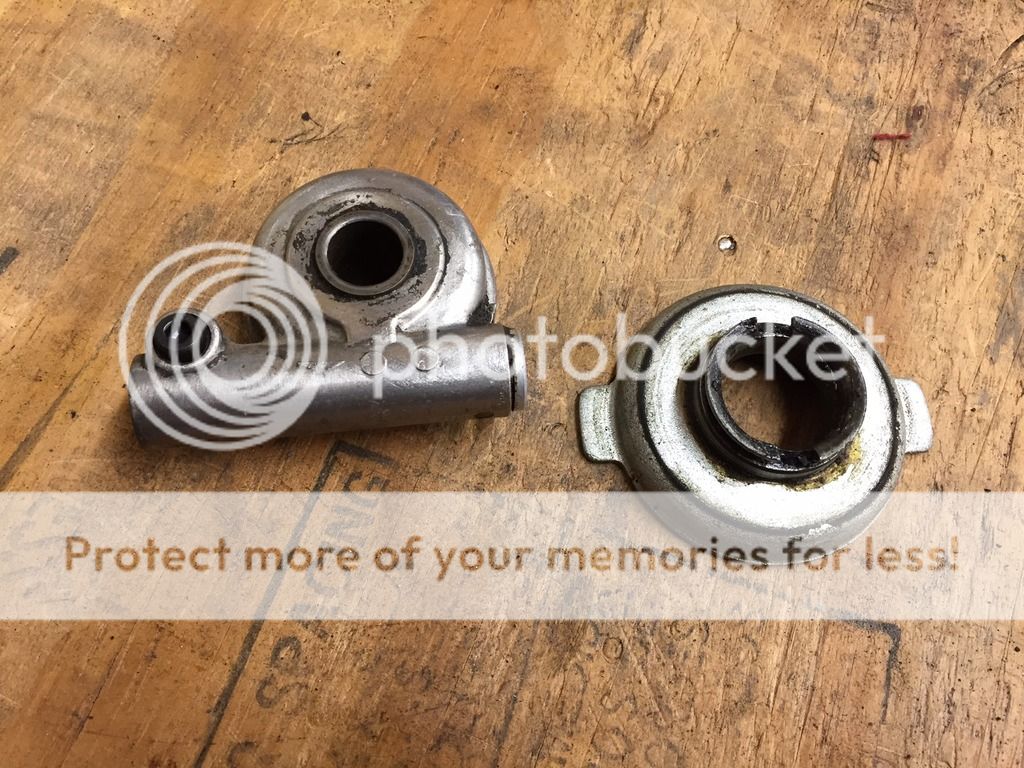
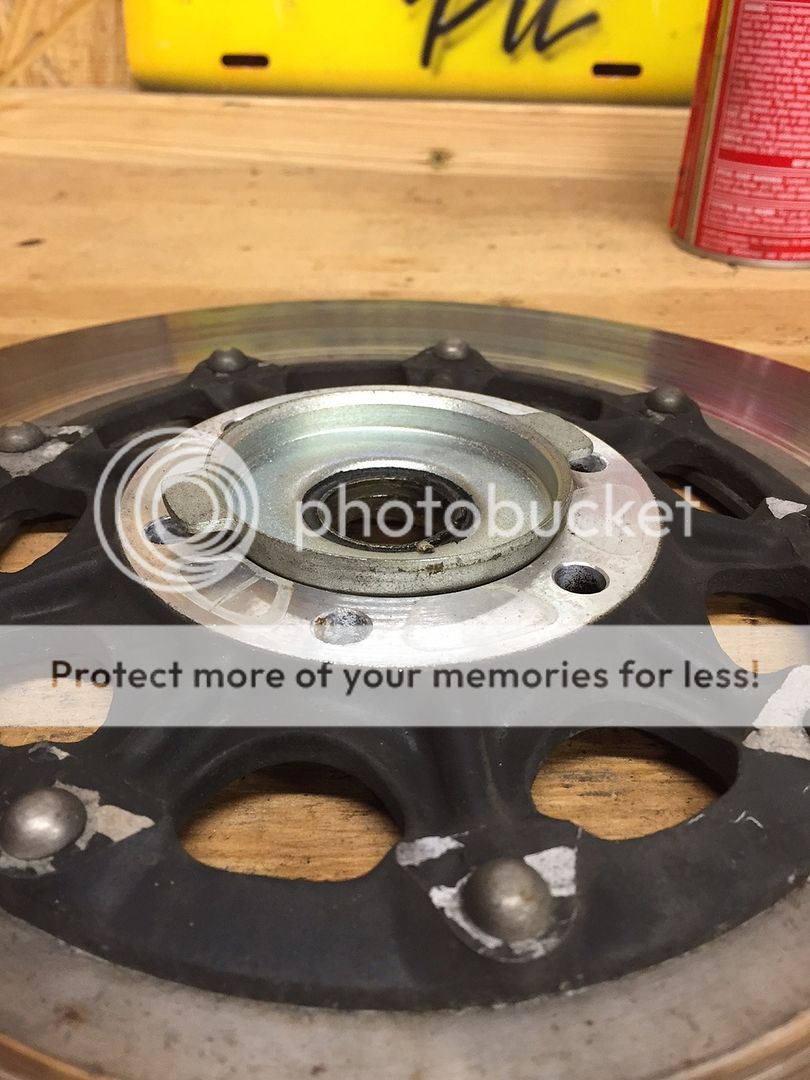
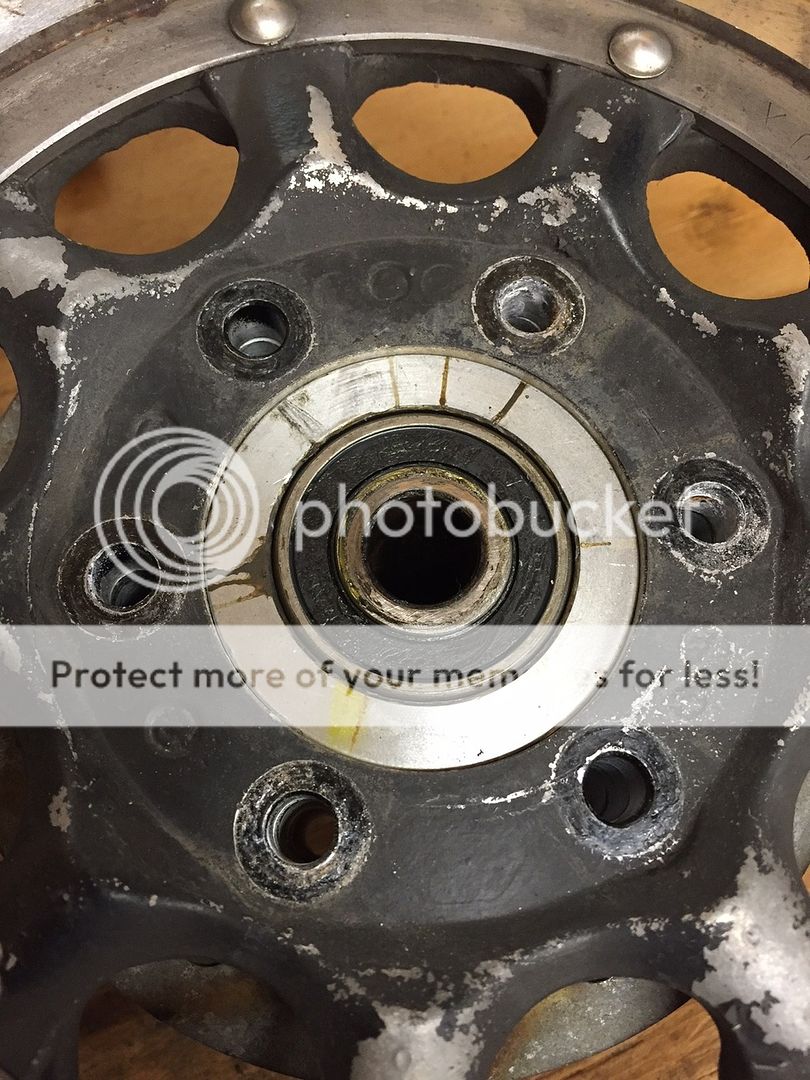
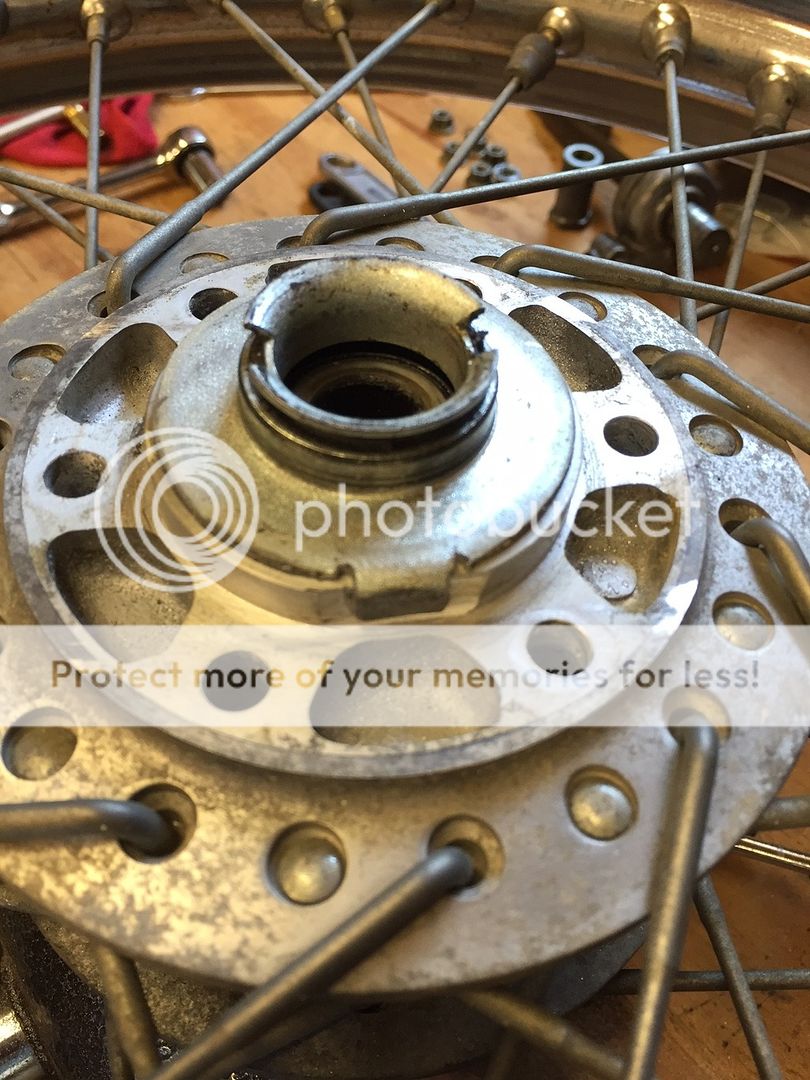
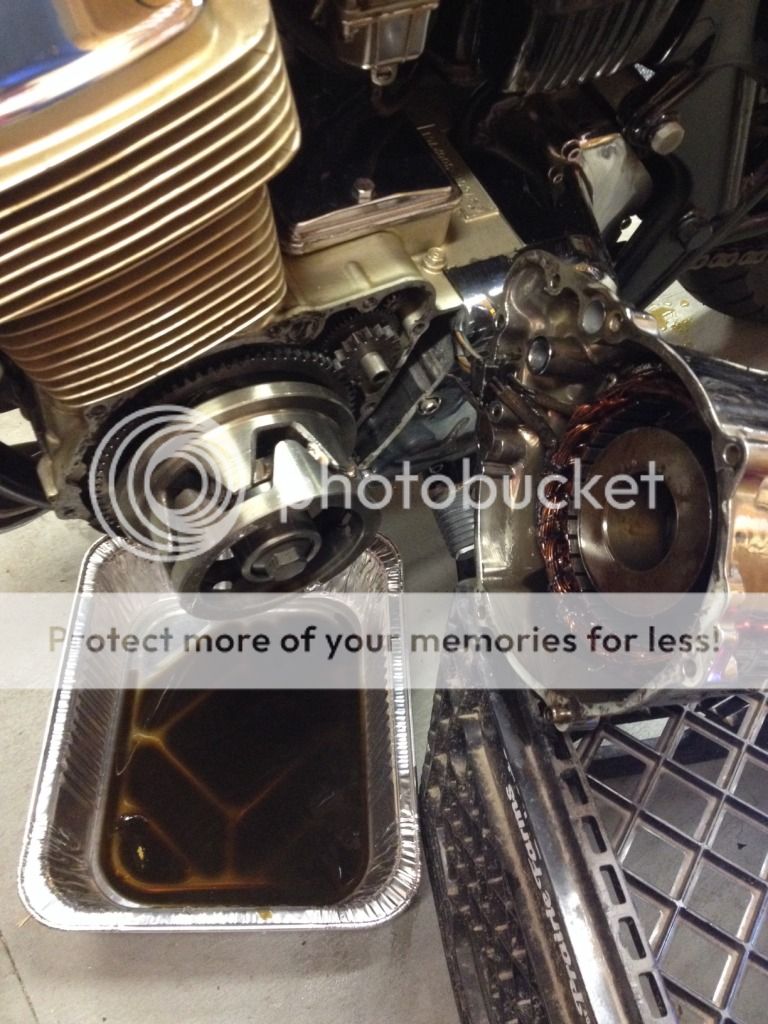
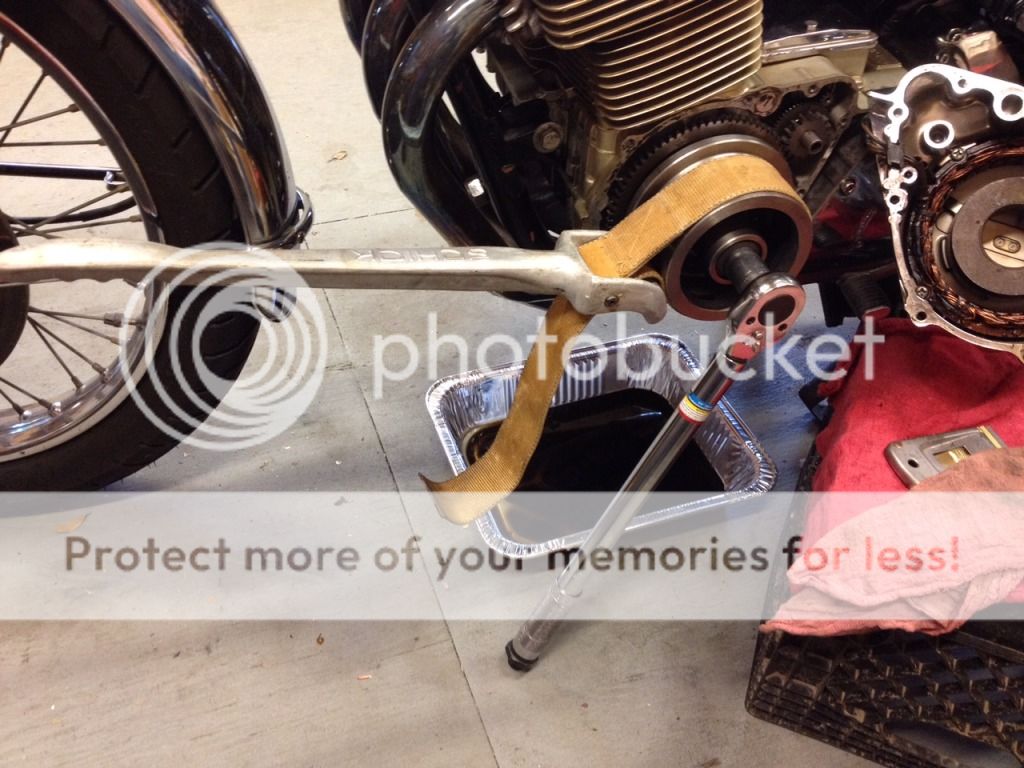
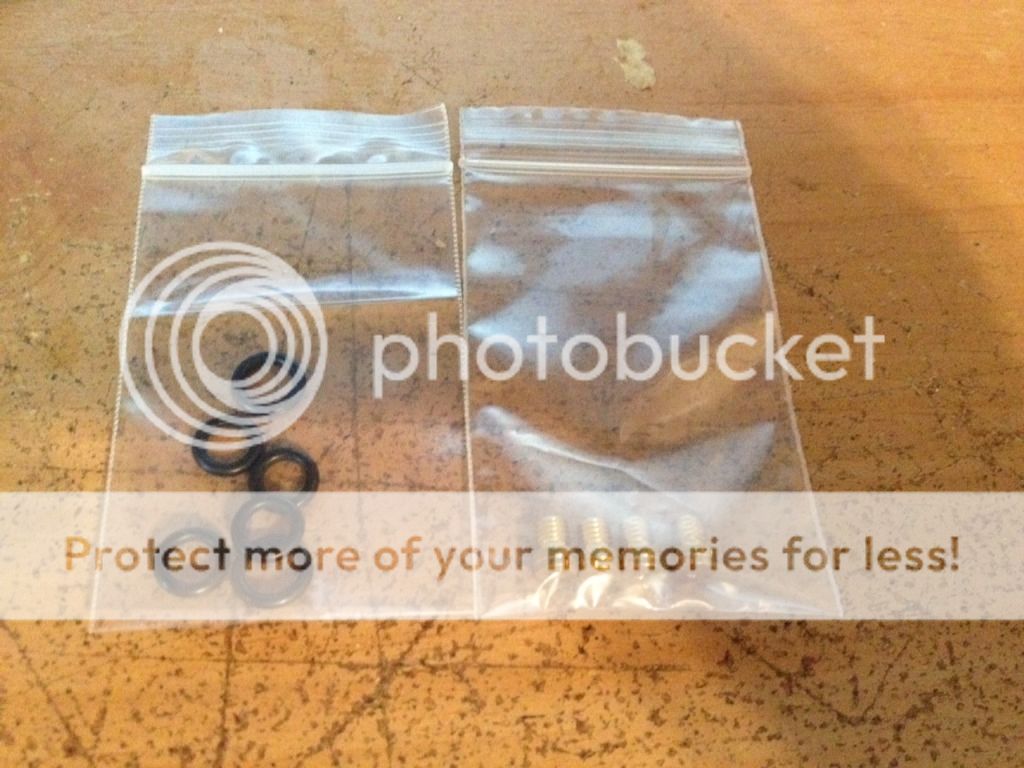
Fixed the noisy starter sprag. It had been getting progressively worse and I'd had enough. Pulled it apart and found this...
FullSizeRender_zps1e05f246.jpg

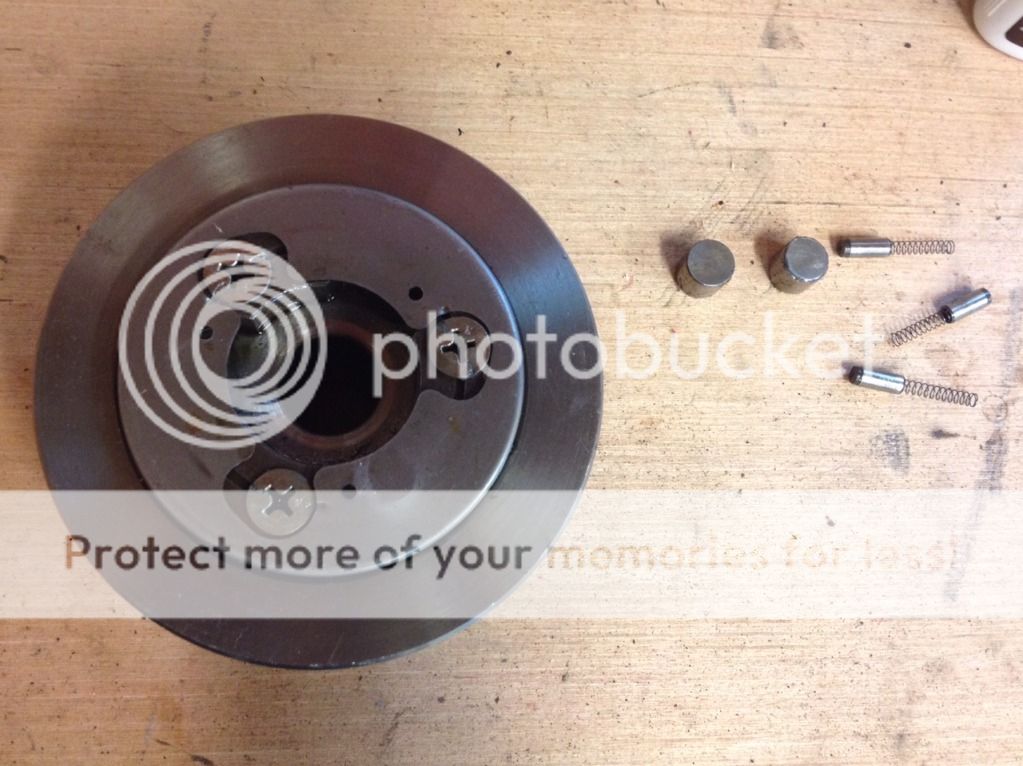
PO neglected to put all the rollers back in ::)
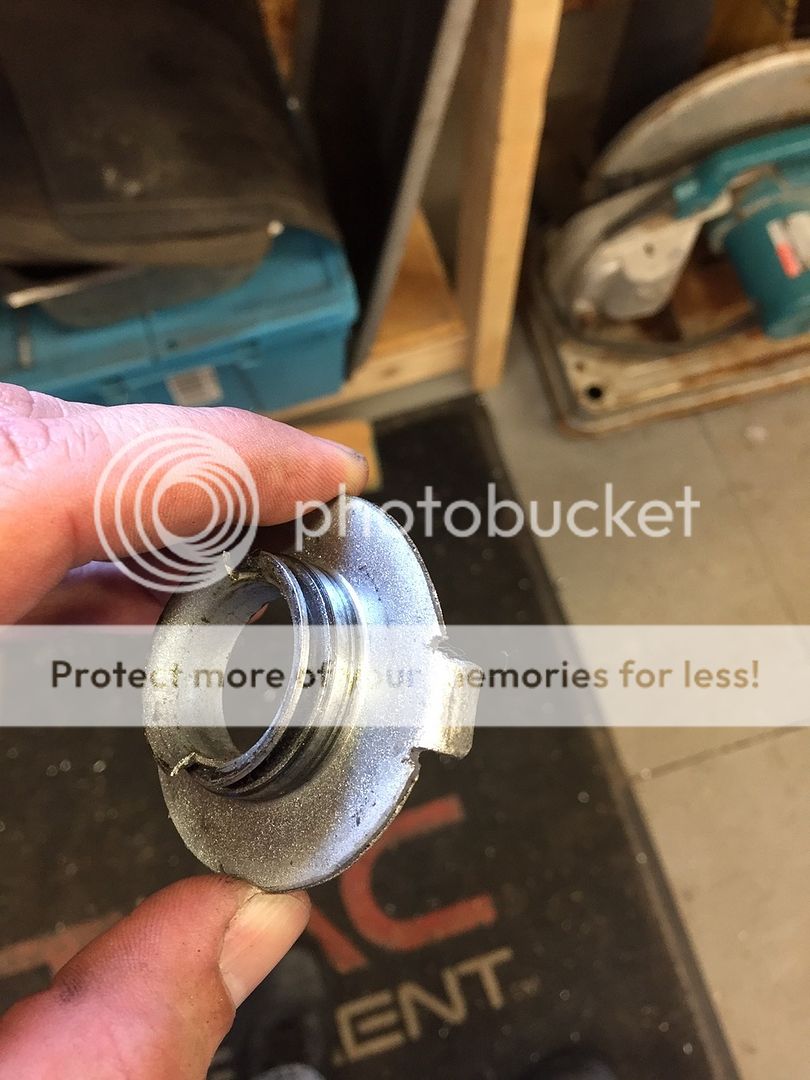
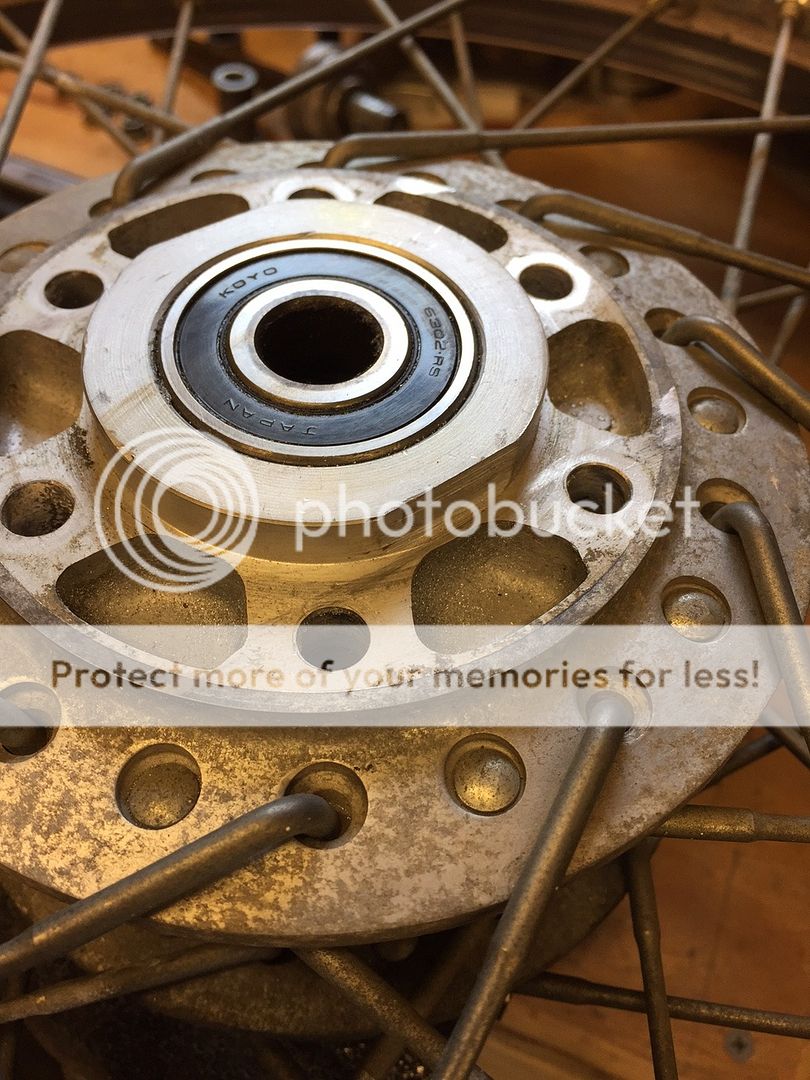
Three new rollers and three new springs later, she works like new.
IMG_5988_zps40646313.jpg

IMG_6159_zpsdf832295.jpg

IMG_6160_zps97c511bd.jpg


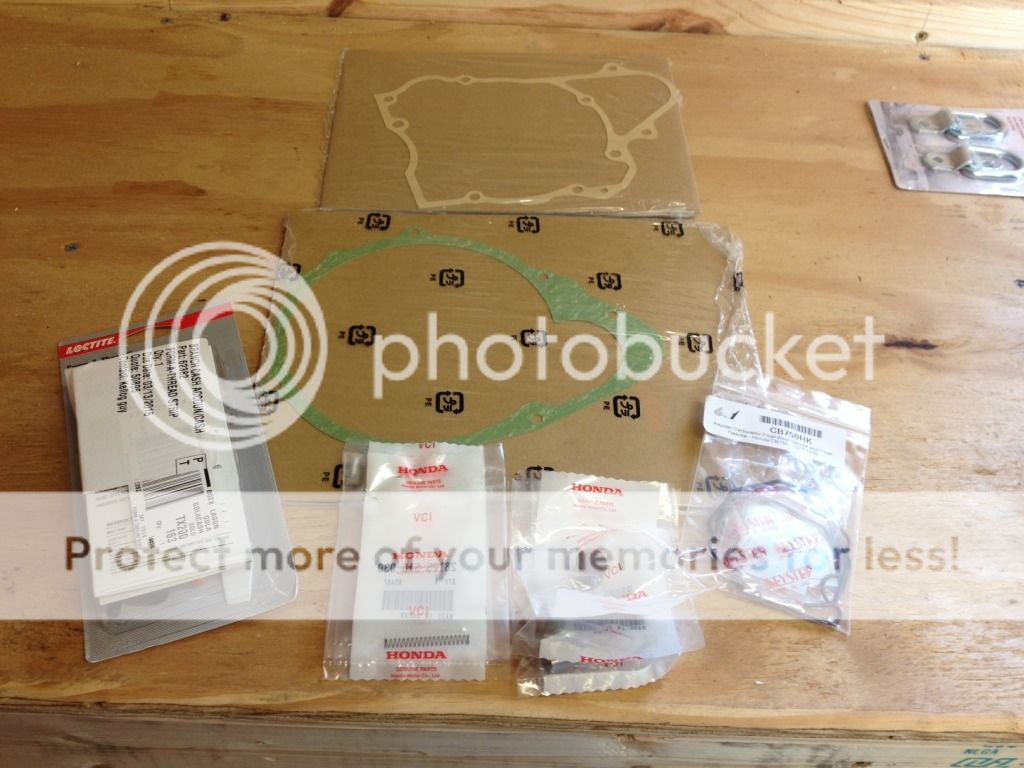
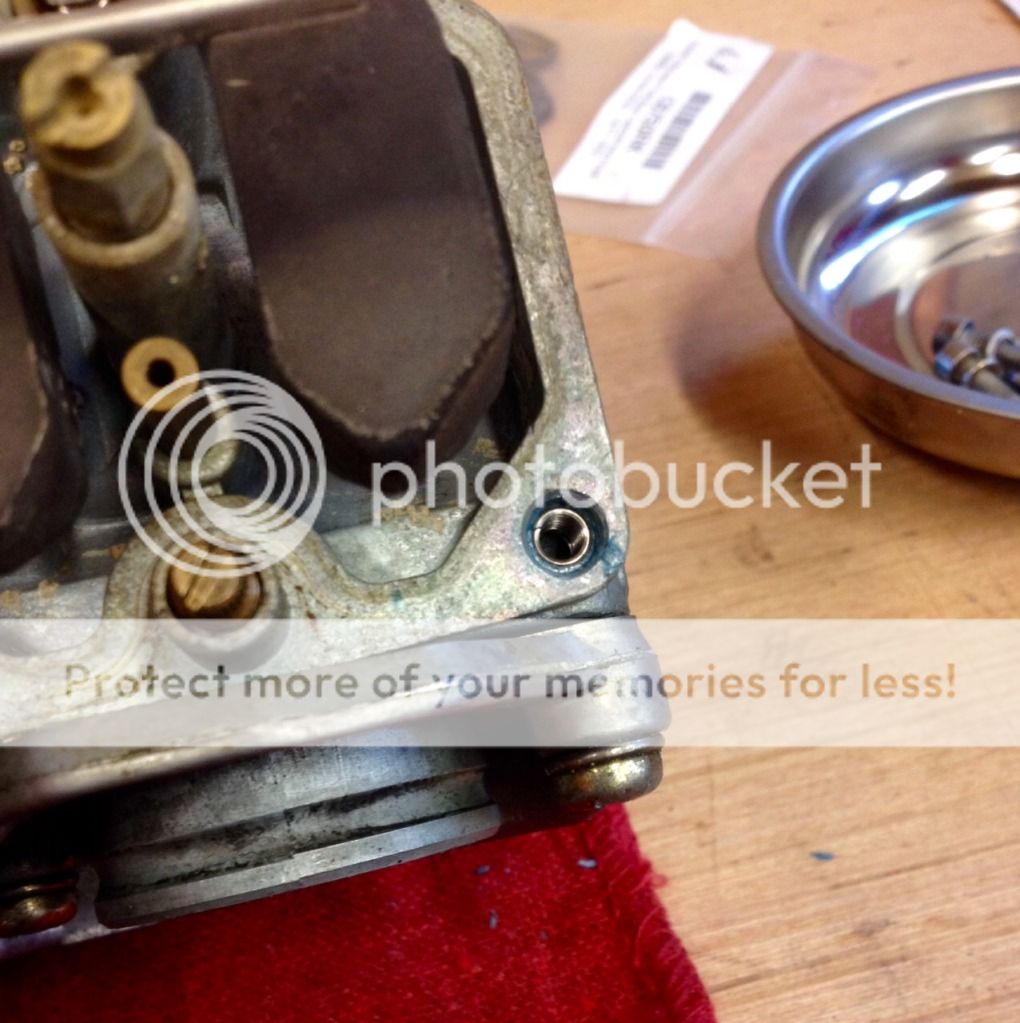
I also developed a leaky carb. Which I initially contributed to bad bowl gaskets. After changing them and the float needles, I discovered the leak was coming from the 2-3 crossover tube. Sooooo, pull the rack again and change the O-rings on the crossovers.
I also took this opportunity to change the main jets. I bought the carbs off ebay and couldn't confirm the size of the jets in them. So I ordered the correct size #110's and installed them. Now I know they're the correct size.
The #4 carb had a stripped bolt hole that got a helical insert as well.
(I tried using Loctite Form-a-Thread on it first. That stuff sucks. You can read my review in the Product Review section)
IMG_6128_zps9b212ef1.jpg

IMG_6236_zpsd943c00e.jpg

FullSizeRender_zps91279499.jpg


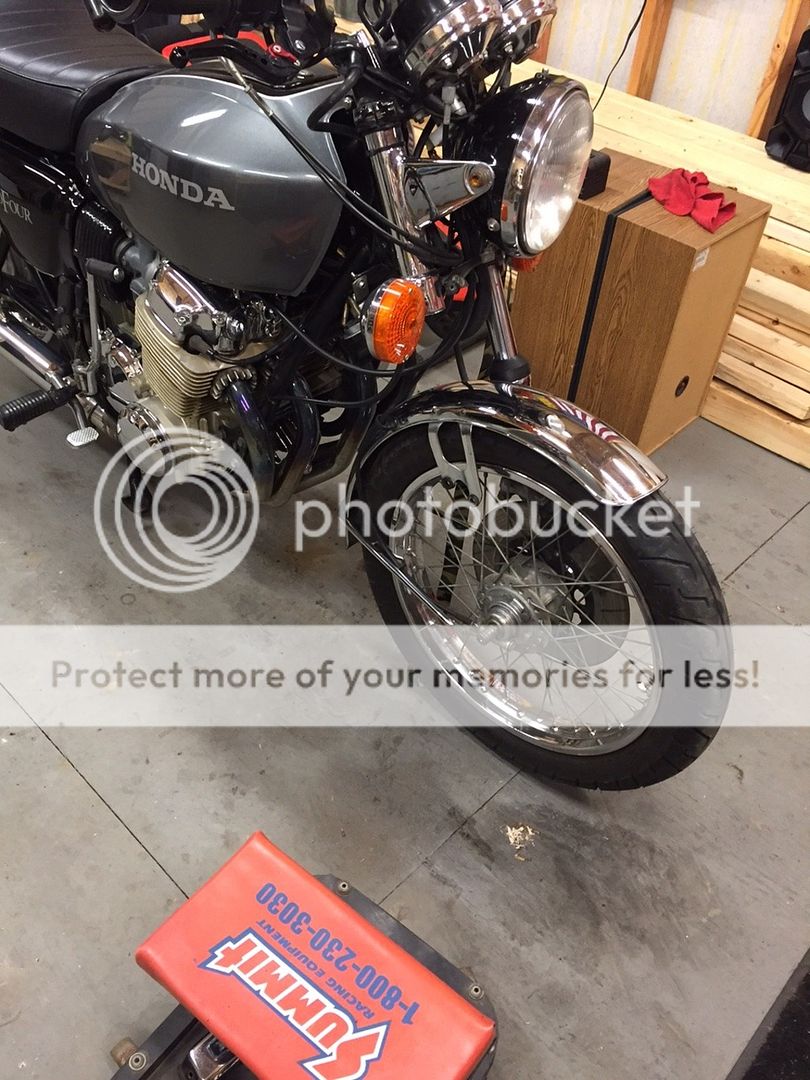
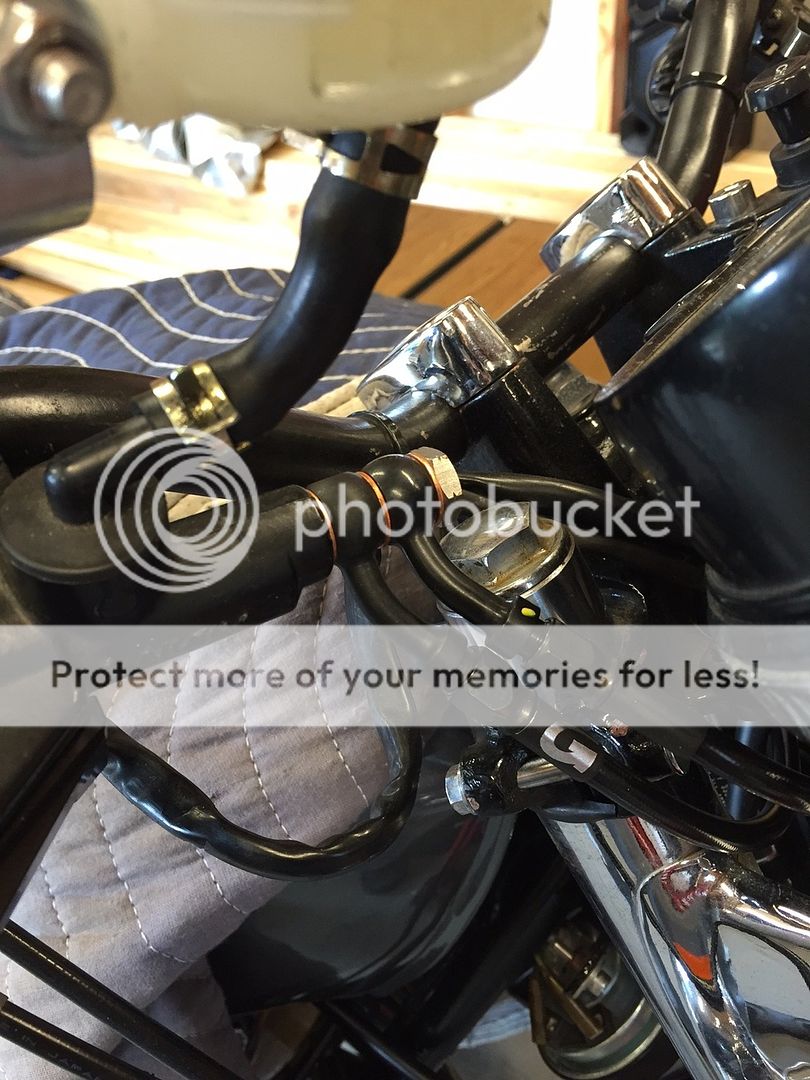
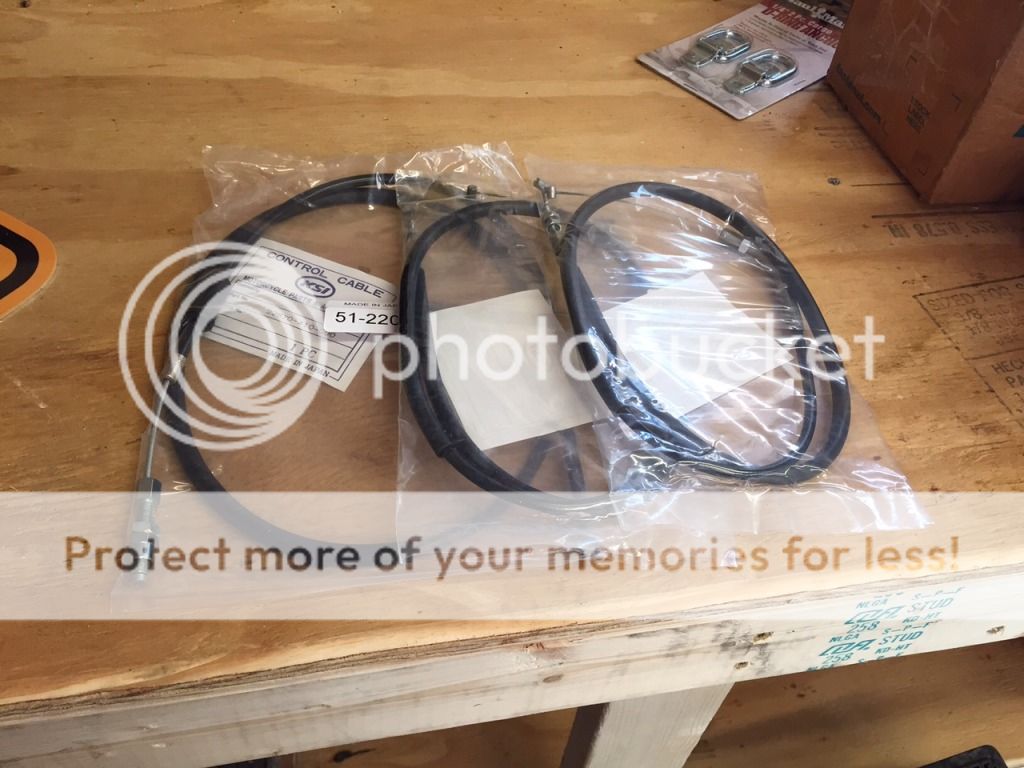
She got new cables...
IMG_6288_zps0c284863.jpg


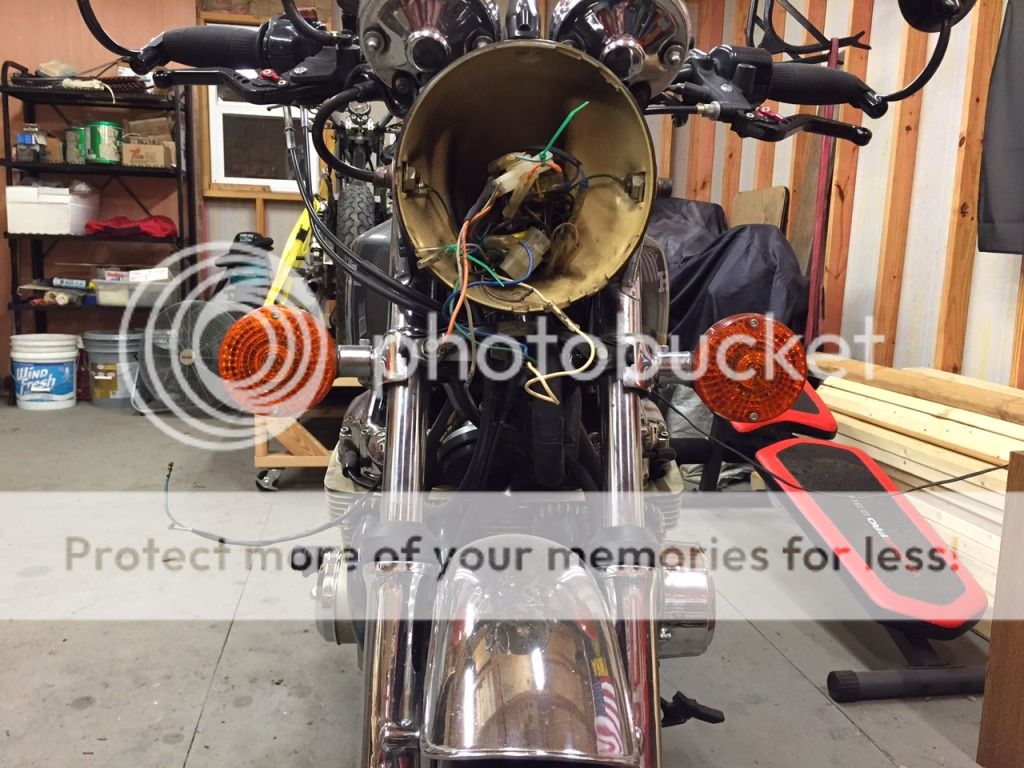
Recently I had noticed that the tach lights had burned out, so I took the opportunity to replace all the dash lights with LED's
IMG_6345_zps0d310bc4.jpg

IMG_6349_zps804a1d0e.jpg

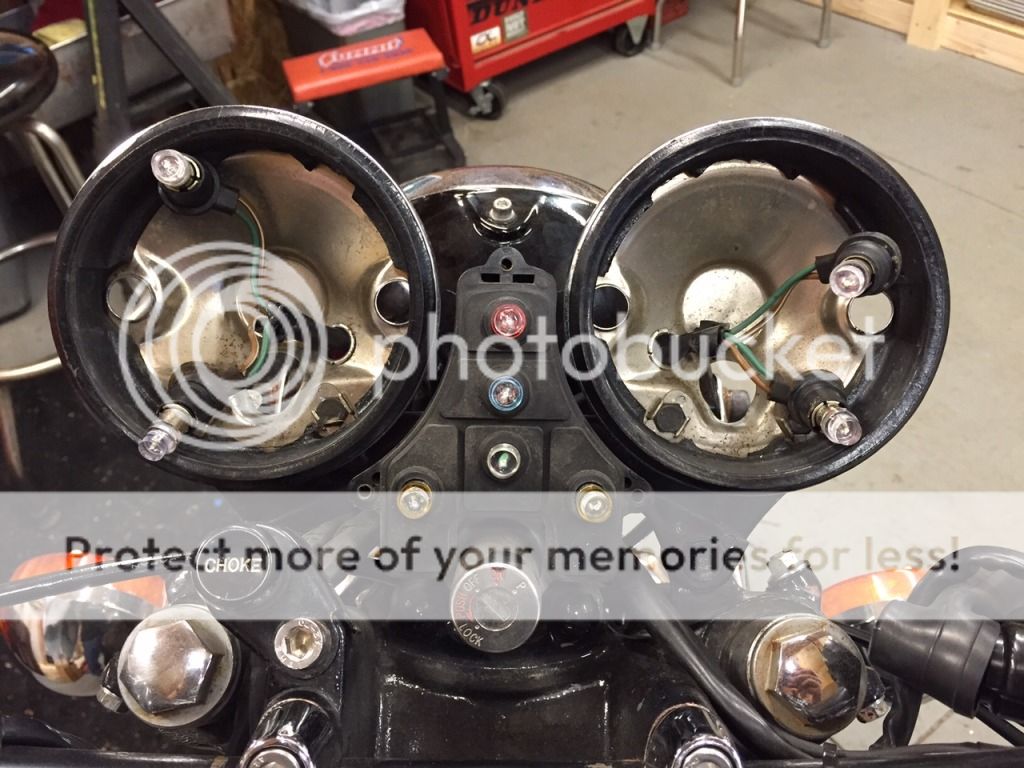
The indicator lights look no different. The "cool white" I used on the gauges took a lil bit to get used to, but work great as well.
Now the only Edison bulb on the bike is the headlight.

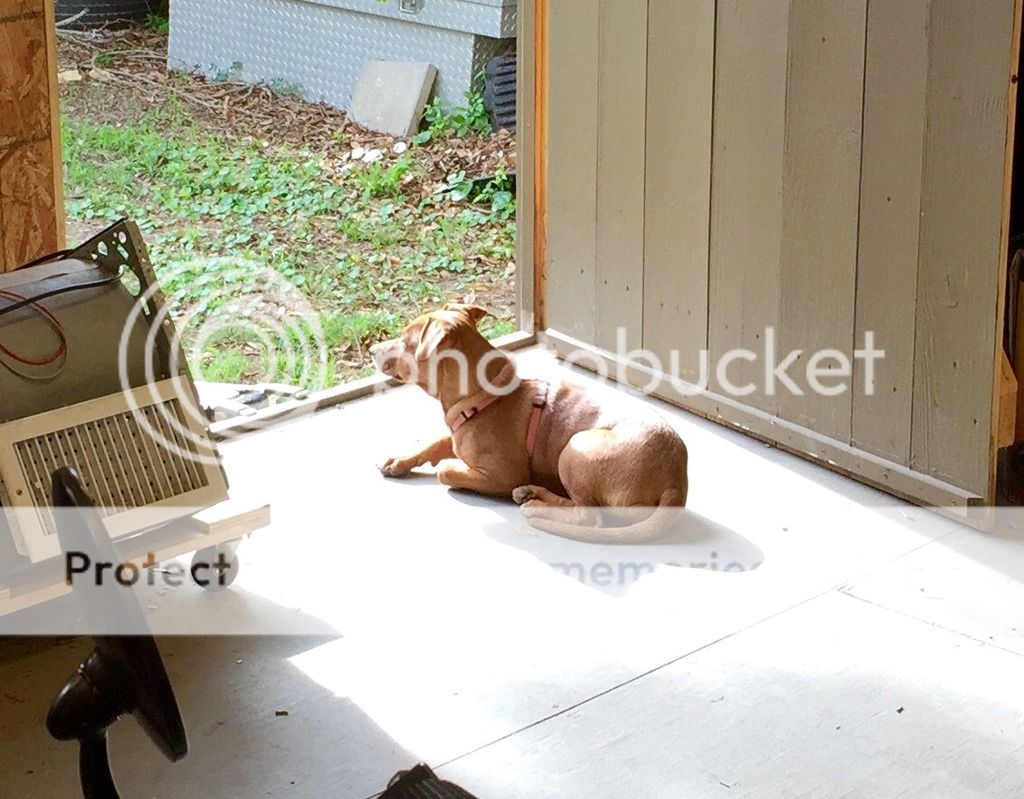
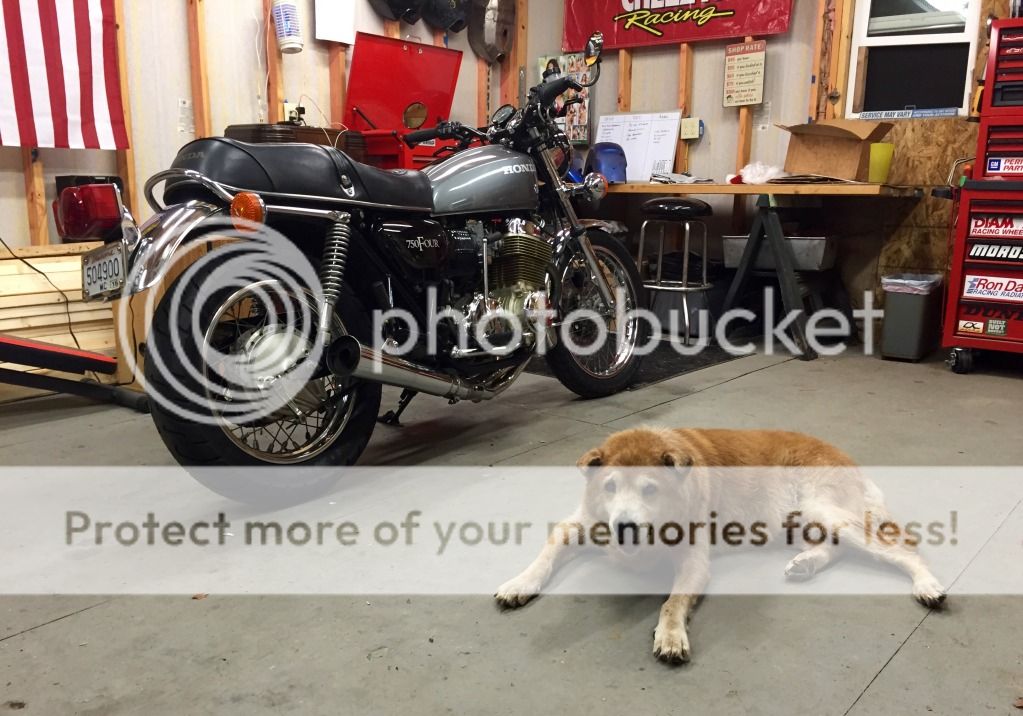
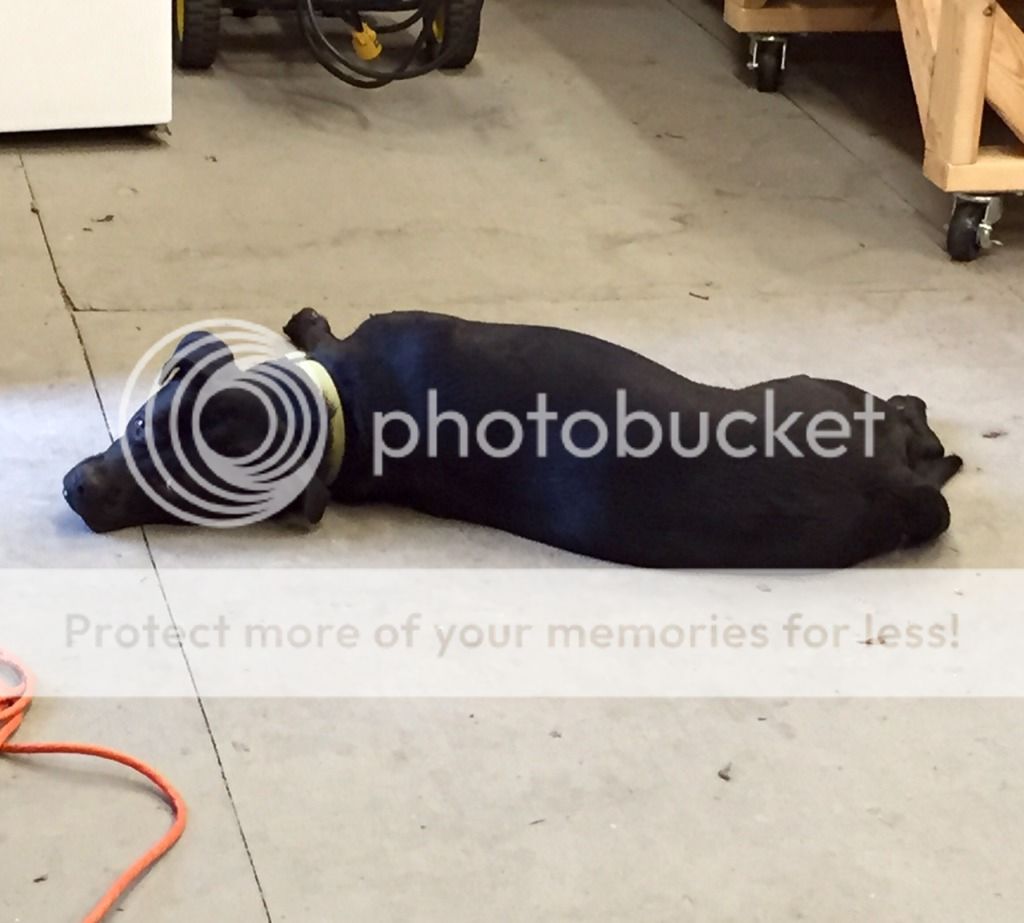
All of this work was performed under the watchful eye of the Assistant Supervisor... doing what he does best:
FullSizeRender_zps038fbb89.jpg


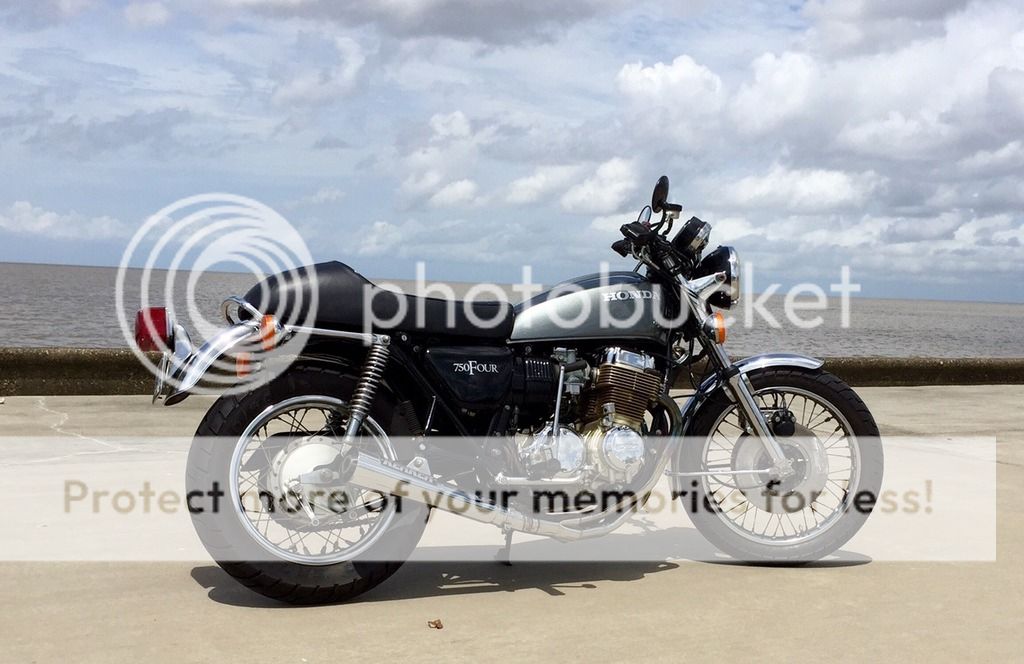
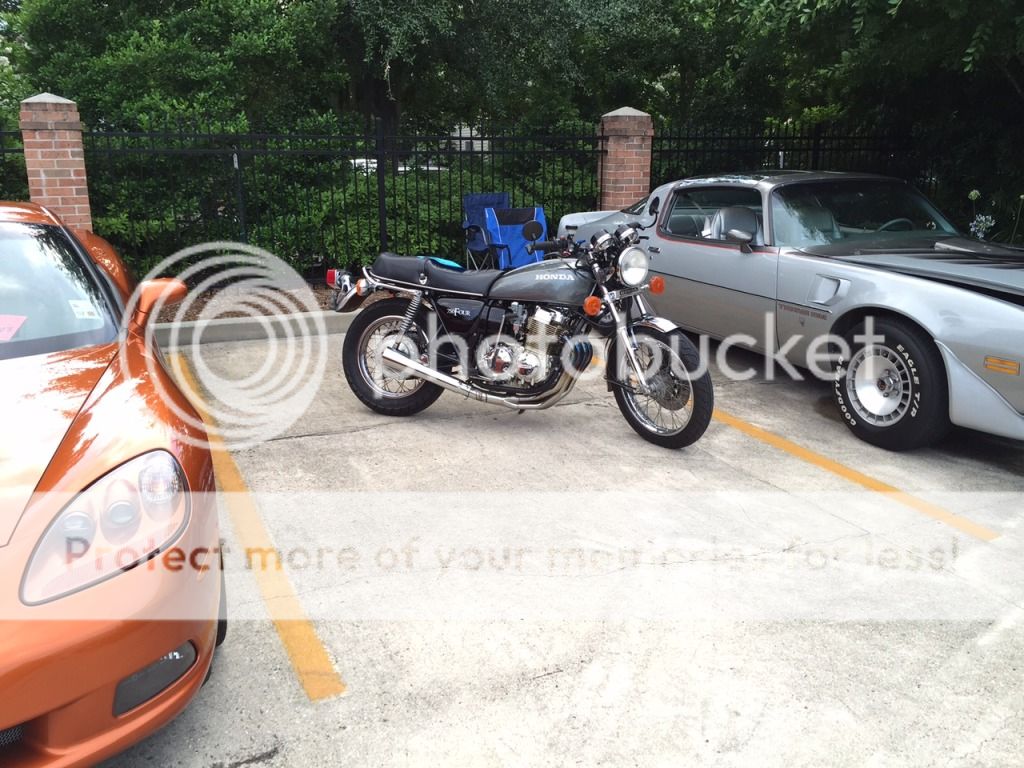
And lastly... this past weekend I brought her out to a charity car show.
IMG_6352_zps6482e175.jpg

and ended up walking away with this...
IMG_6357_zps7b2f5110.jpg

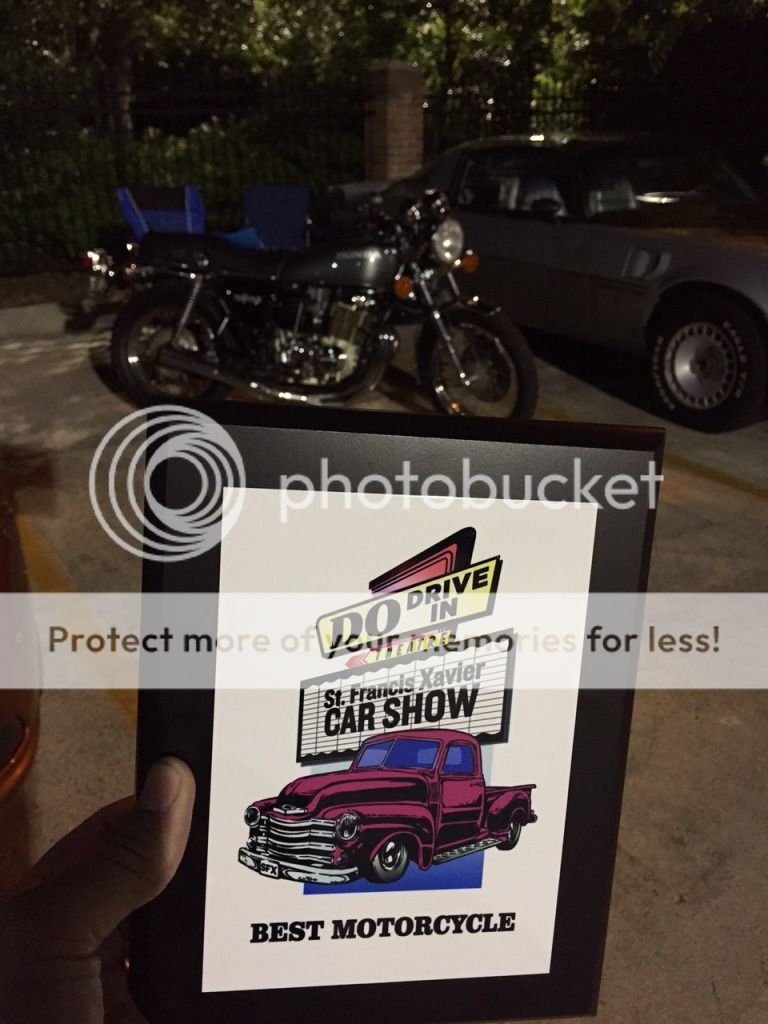
I was floored. There were only three bikes there (weather was a factor in that). One was a no frills late model HD, but the other was a '74 BMW R60/6 Police Edition in really nice original condition. I didn't think I stood a chance against it.
 
Few minor updates...
Picked up a new seat:
IMG_7064_zpsc8a96893.jpg

IMG_7065_zpsdcf73965.jpg

Gives it a sportier look while retaining an OEM feel to it.

I also tucked in the front signals 1.5" to match the previously done rears:
IMG_7123_zpsa3c41ecc.jpg

IMG_7124_zpsccaa6a52.jpg

They barely extend past the tank now. Much better looking without the outriggers.
 
New fork seals installed over the weekend. It had some funky ass smellin brown fluid in the left leg, and ATF in the right leg :eek:
It's always an adventure discovering what the PO's jackleg mechanic did to this bike ::)
I thought I'd be clever and remove one leg at a time. That way I wouldn't have to remove everything at once, I could just transfer everything from one side to the other. That really didn't pan out. As you're still doing all the same work, just now you're doing it with all the parts in the way.
I know, I know... beer was involved, and that's the story I'm sticking with ;)
IMG_7499_zpsqm3n3o5a.jpg

Old seal out, all reassembled.
IMG_7500_zpsyhngkijn.jpg


What I did learn with the other leg, and unfortunately I neglected to get pics of it, is that the lowers can be removed while keeping the uppers clamped in the triples. This saves fighting the uppers and triples into alignment and working them up into the clamps. Just drop a pan under the leg to catch any residual fluid from the upper ;D
 
Update...
Mac/Kerker hybrid megaphone

I took an old beat up Kerker megaphone muffler, gutted it, and stuffed it into the Mac megaphone already on the bike.
Now I say "gutted" the Kerker, but really all I was able to salvage from it was the endcap. The baffle was welded into the shell, and trying to remove the rusty mess of it was doing no good. So I purchased a length of stainless baffle off eBay instead. I then removed the end pieces from the Mac baffle and fitted them to the new baffle tube. I trimmed the outer Mac cap to fit inside the casing, and is being used as a retainer to keep the packing material from blowing/falling out of the holes around the perimeter of the Kerker endcap.
Mac baffle before chop...
IMG_8569_zpsv2abukmc.png

Mock up of new baffle...
FullSizeRender_zps4jwhfetk.jpg

Final assembly of new baffle...
FullSizeRender_zps4wsybord.jpg

Refurbished Kerker endcap...
(fresh paint and some 1000grit paper over the tip)
IMG_8571_zpsvk3owrui.jpg

And final assembly, with new nameplate installed...
IMG_8570_zps9lz3fslq.jpg


A Decibel Meter app has it at approx 80db at idle, and approx 100db at 7k rpm.
I didn't think to get a reading on the Mac baffle before I tore into it. But Id say the (straight through) Hybrid is no louder than the original Mac.
 
Totally digging that exhaust. I've said it before, I'll say it again: this is one of the cleanest 750s I've ever seen.


Sent from my iPhone using Tapatalk
 
Thanks guys.
Such praise coming from outstanding builders. I'm humbled.
 
Latest upgrade... Dual Disc conversion.
This is pretty straight forward as explained in this thread... http://www.dotheton.com/forum/index.php?topic=1525.msg11304#msg11304.
The only snags involved were:
A) The first pic in the Anubiscycle article shows an incorrect "part required". It shows the speedo drive on the left...
IMG_8389_zpspsiagrqt.jpg

What is actually "required" is the drive plate on the right. And even then, you may not really need it all. I didn't, as I modified my existing plate to work.
B) The speedo cable retaining bolt (in the speedo hub) may need to be shortened. Mine stuck out the back of the hub enough to interfere with the bolts holding the discs to the wheel hub.

The following pics show much of the conversion.

This is why the drive plate has to be modified...
IMG_8390_zps6utj167d.jpg

IMG_8396_zpsfp7ypjxa.jpg

The plate is too large to fit into the rotor, and the rotor fits perfectly to the wheel hub.
My solution was to cut down the drive plate to fit inside the rotor, while leaving two tabs protruding (similar to oem), and file two flats into the wheel hub to accommodate the tabs.
IMG_8780_zpsgp85jpr5.jpg

IMG_8779_zpsmncwvilg.jpg

IMG_8781_zpsnjo19auu.jpg

Dual discs mounted, modified drive plate installed, everything reinstalled on the bike.
IMG_8388_zpsk09iv0tc.jpg

As stated in the article, trueing the caliper bracket to the disc is imperative. And will require filing and shims.
No Bueno...
IMG_8597_zpsulgkebtl.jpg

Muy Bueno...
IMG_8598_zpsdacsax0h.jpg

All trued up and mocked up.
IMG_8599_zpsqhzw179a.jpg

Final fitment with braided lines installed.
IMG_8787_zpsdlptliqi.jpg

I used a GSXR750 master cylinder (and matching clutch perch) because I like the look of the adjustable shorty levers.
IMG_8786_zpsnzimq2od.jpg


And lastly, out and about, bedding in the new brake pads.
FullSizeRender_zpsrvjgcvox.jpg

FullSizeRender_zpslew1wp6h.jpg
 
Thanks :)

I should also point out... while it's not a very difficult upgrade, it is somewhat involved. Especially when it comes to trueing up the caliper bracket. This is tedious and time consuming, with the fitting/removing/filing/repeat, and took the most time of the project. What wasn't shown was the rebuilding of the calipers, and the small things that pop up unexpected, like the bracket I had to fab up to mount the remote reservoir. If you have gathered all the parts needed ahead of time (I did not), this can be done in a day, maybe two. And it's well worth the effort. Braking performance is dramatically improved.

I also forgot to post up, the Guardian of the Tools...
FullSizeRender_zpsyo76ic7t.jpg
 
Ah yes... My dog is now 14 and only guards the refrigerator... soon a new kid will be in town, hard to pick a dog for us with being in the over 50 stage in life. We need a smallish loud when need be but not overly active mutt with a good set of meat grinders LOL
 
She's the New Kid over here. The former Shop Supervisor passed away late November.
He was 14yo as well.
FullSizeRender_zps06a1bb00.jpg
 
Back
Top Bottom