Follow along with the video below to see how to install our site as a web app on your home screen.
Note: This feature currently requires accessing the site using the built-in Safari browser.
We noticed you are blocking ads. DO THE TON only works with community supporters. Most are active members of the site with small businesses. Please consider disabling your ad blocking tool and checking out the businesses that help keep our site up and free.
Keep building, keep asking, keep learning mate, there is are members here that are more than happy to lend you thoughts and ideas without being holier than thou with their replies and comments.
I have a fucking job, dude. I at least I had time to tell him he made a mistake. More than half of this forum does not have the knowledge or experience to know what I told him, and many of the ones that do are too nice to say anything. Partially because of the apparently significant amount of highly sensitive males that frequent the forum.
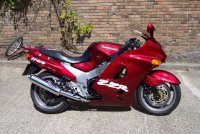
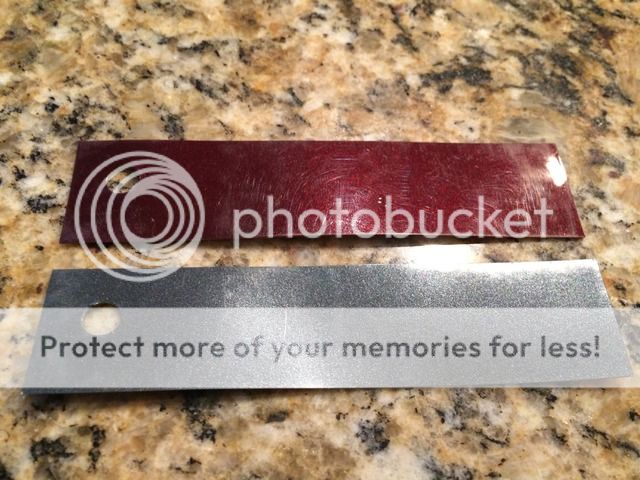
I believe I found the burgundy I'm after. It's called Lollypop Red over Cool Charcoal. Burgundy was the original color of the bike in case you missed that earlier. I'd like to include the original color somehow.
That colour seems close (maybe a bit darker) to one of my old ZZR's, mine was two tone. Not sure if you guys got that colour scheme?? I guess it depends on what you are after, either glossy finish or matt
That colour seems close (maybe a bit darker) to one of my old ZZR's, mine was two tone. Not sure if you guys got that colour scheme?? I guess it depends on what you are after, either glossy finish or matt
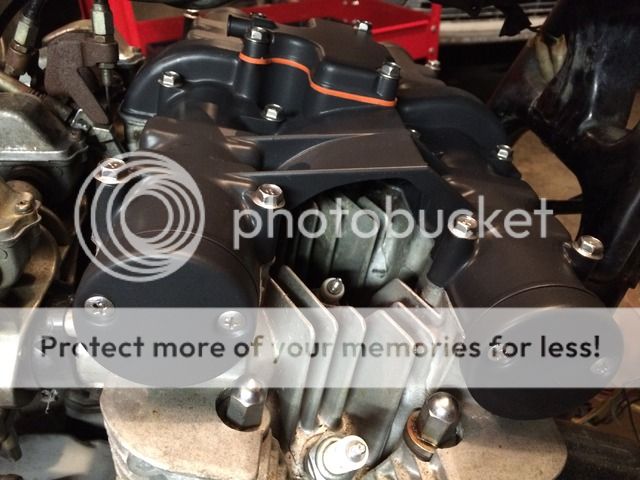
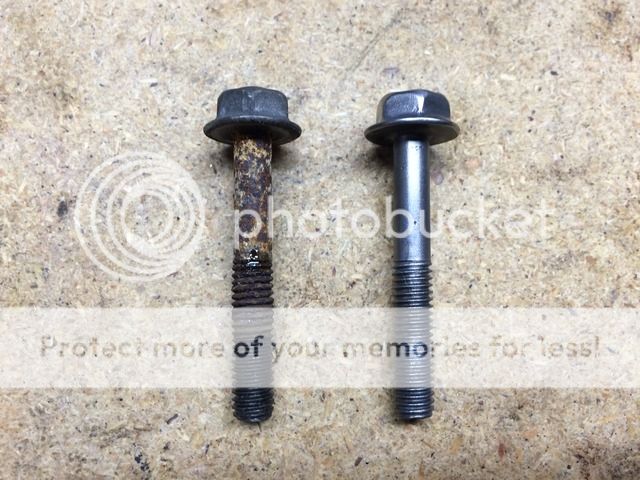
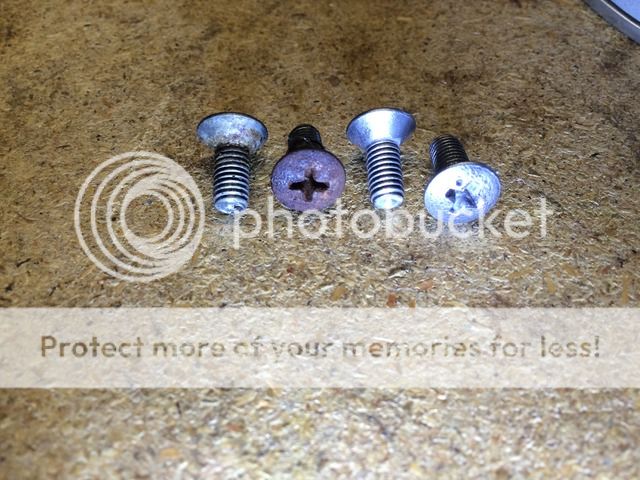
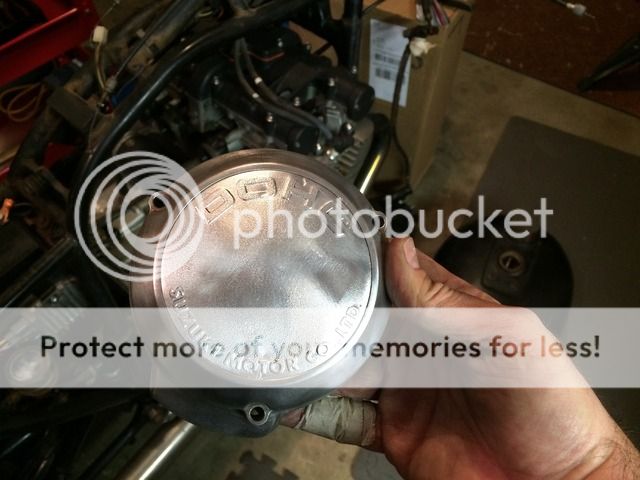
Made a little more progress today. With all the work complete under the valve/cam cover, I added new gaskets, polished the bolts/screws and installed the powder coated covers.
No major updates to report. Pulled the carbs and some more covers to clean/polish and some will go to powder coat. The aluminum fuel rails & T joint I ordered for the carbs were not the correct ones. Now that Z1 is back up & running, I have the correct ones on the way. Dropped parts off to be powder coated and they're going to media blast my gas tank for me. I'm still looking for a painter.
Valve cover and cam covers look good. Now that you've started down that slippery slope of polishing you wont be able to stop. It keeps sucking you in more and more,lol
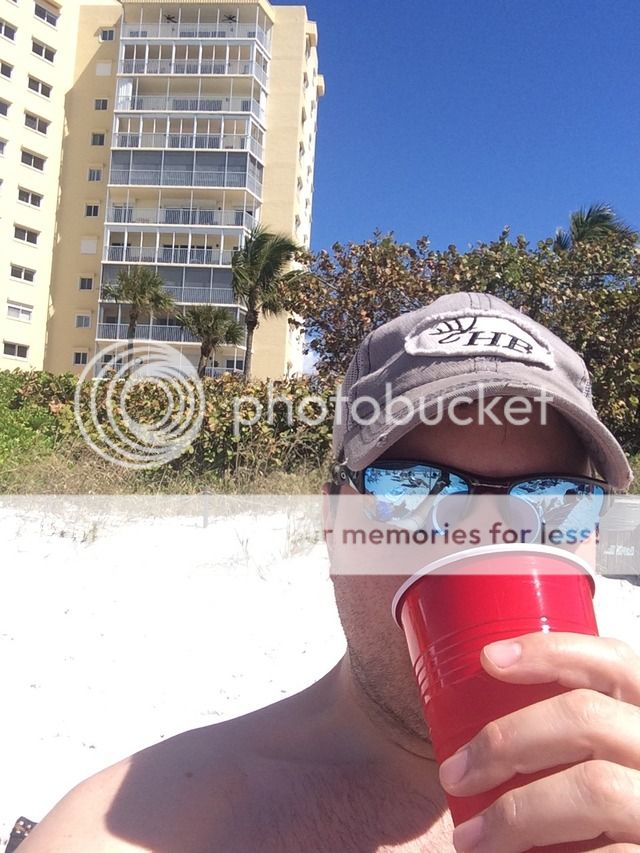
Pretty slow going on progress. Took a week off and headed south to the beach & warm weather with the family.
Came home to the correct aluminum rails for the carbs with a few other goodies. I'll finish cleaning the outside of the carb bodies & get them put together & back on the bike this week hopefully.
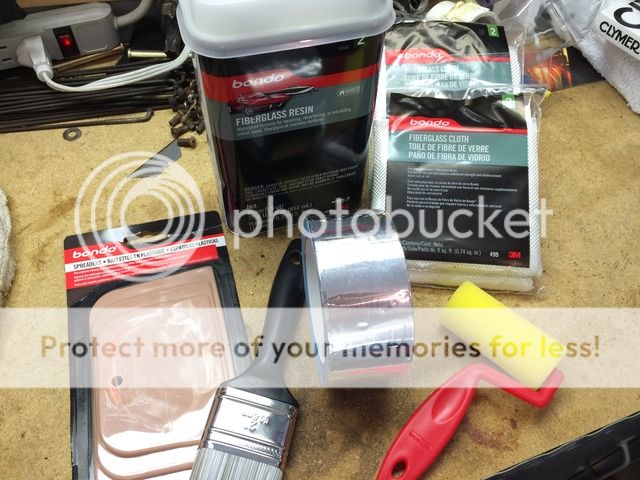
Waiting on another round of parts from suppliers and from powder coat. Figured I would get my seat pan done so I can wrap this seat up. Walmart had the best prices on the Bondo brand of fiberglass products.
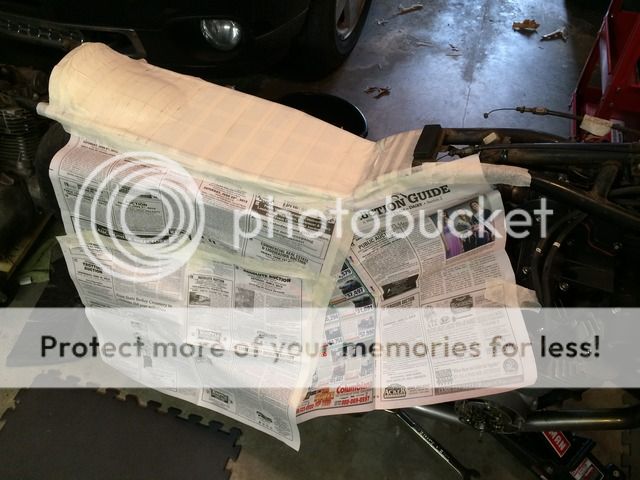
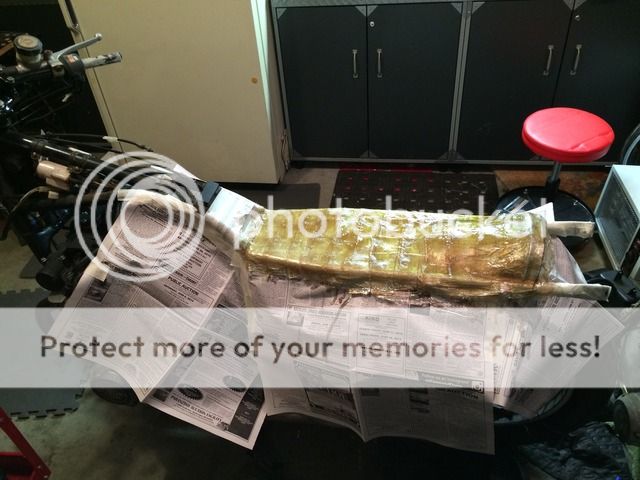
Masked off the frame and taped some newspaper along the sides to keep things clean.
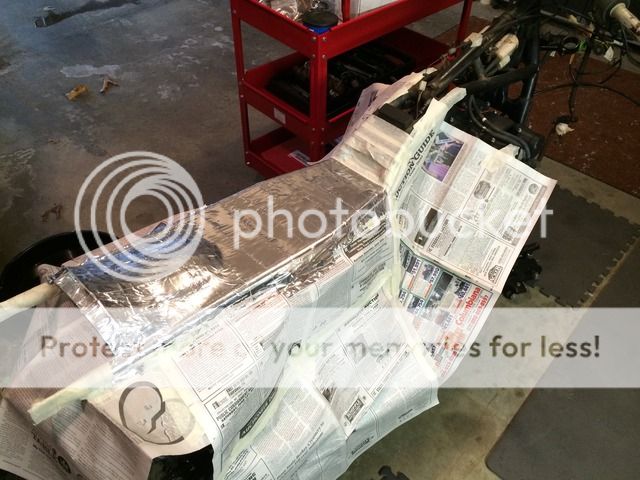
Aluminum tape on, just need to prep my fiberglass kit and put a coat of wax on the tape.
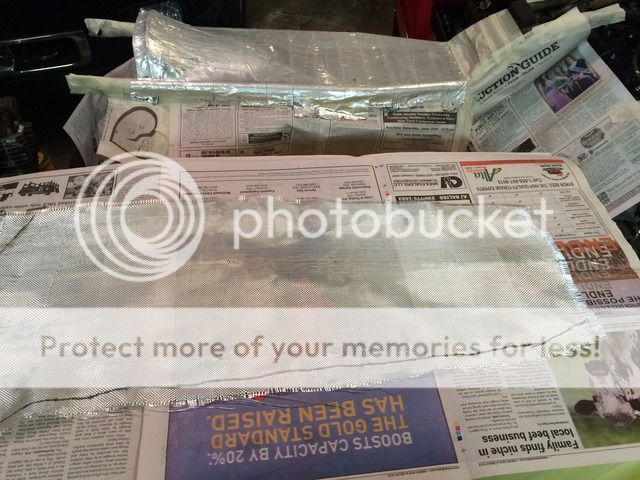
I had a chance tonight to get the fiberglass and resin on the seat pan. I cut out a rough single piece of cloth for the first layer then cut 3-inch squares for the 2nd & 3rd layers.
The process went ok but I might have used too much hardener as it was setting up fast. I got 3 layers done and it looked pretty good minus a few air bubbles. I'll report back after it sets up.
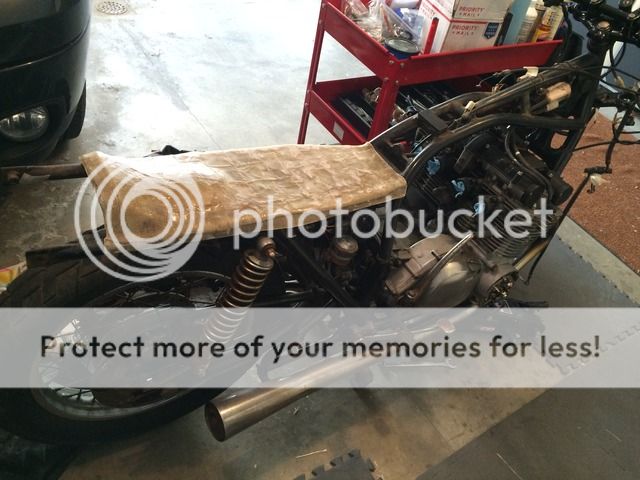
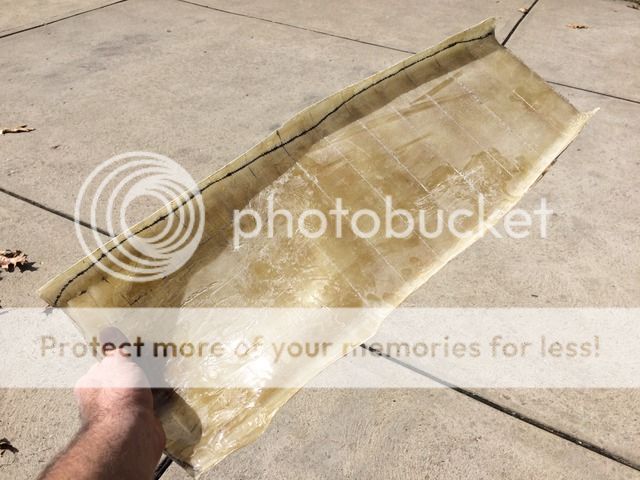
Seat pan turned out ok for my first one ever I suppose. It needs a little more shaping & sanding before I attach it to the bottom of the cafe seat/cowl I have here.
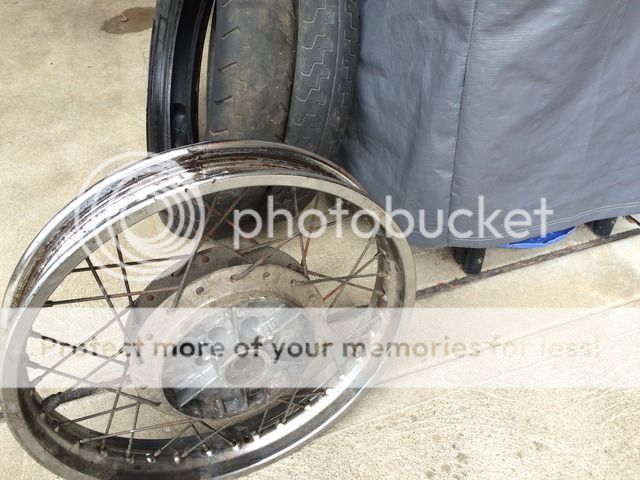
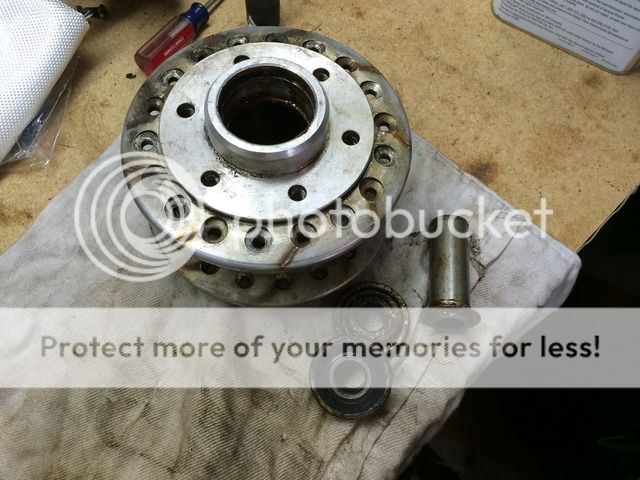
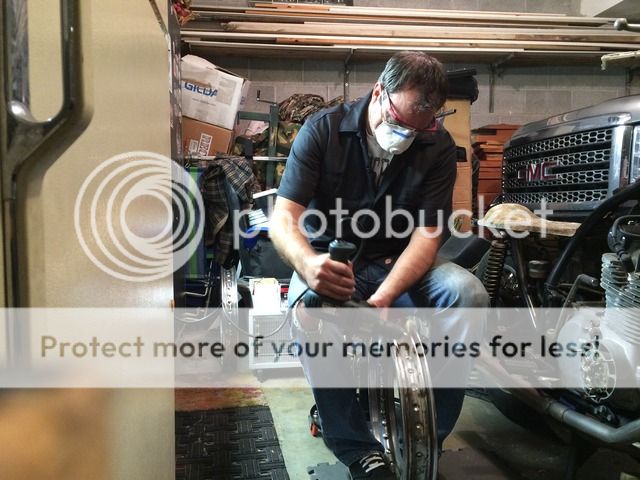
Got the back tire removed & I have to finish cleaning up the wheels & hubs to get ready for powder coat. Can I have them powder coat the whole wheel or should I have them tape off the outside that will be under the rubber?
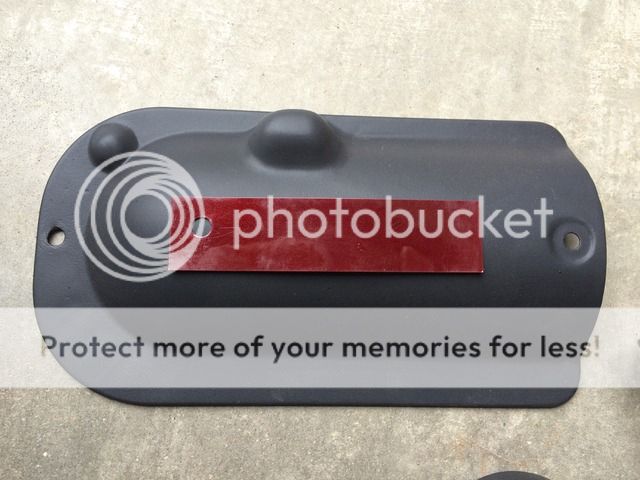
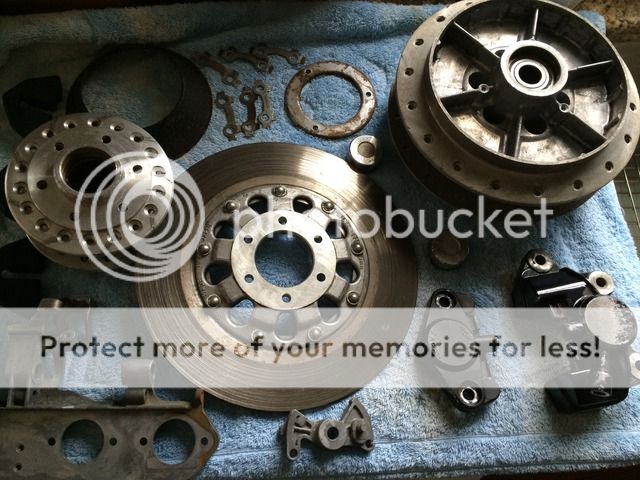
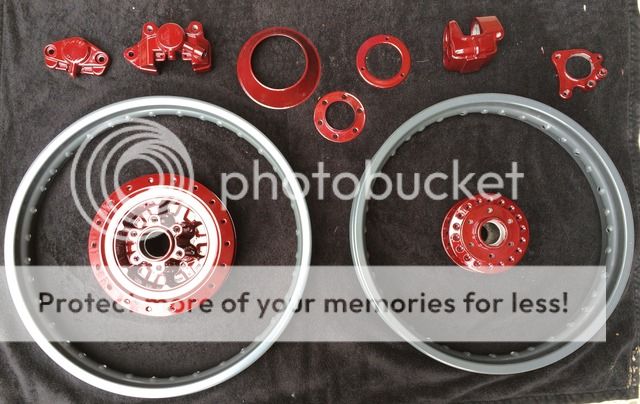
Another round of parts went to powder coat today. The wheels will be getting coated in a metallic charcoal gray. The hubs, rotor centers, and calipers will be done in a metallic burgundy (similar to original color).
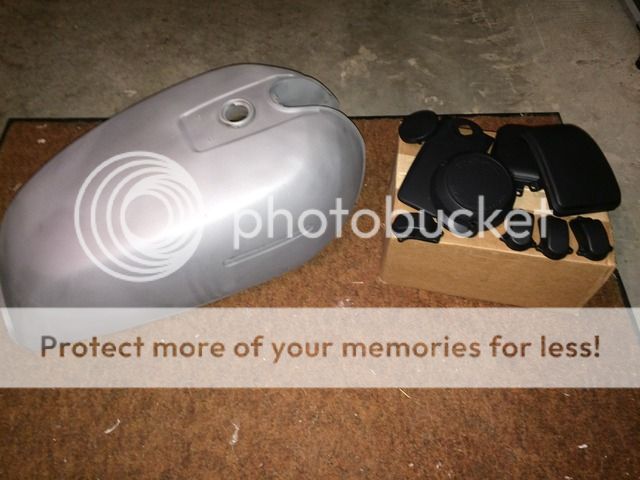
My PC guy was kind enough to media blast my gas tank. Wow, not a dent, mark or single sign of repair on a 38 year old tank! Got a few other covers back along with the fuel cap and door.
Any suggestions on where to get replacement stock spokes? With charcoal metallic rims and burgundy metallic hubs should I go regular spokes or black?
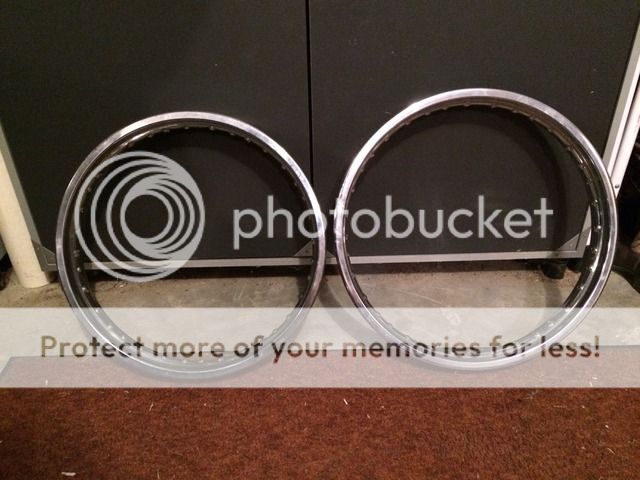
Been a busy couple of weeks and not much bike work getting done. Spring snow on the ground again today so who knows if bike weather will ever get here! Oh well, picked up the wheels from powder coat today. Here are some before and after pics:
This site uses cookies to help personalise content, tailor your experience and to keep you logged in if you register.
By continuing to use this site, you are consenting to our use of cookies.