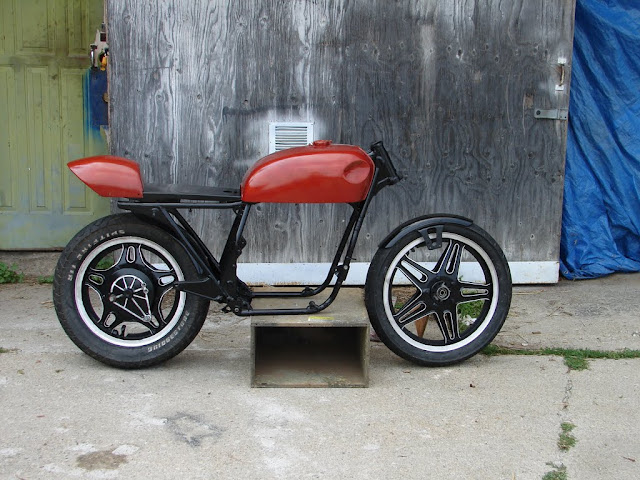
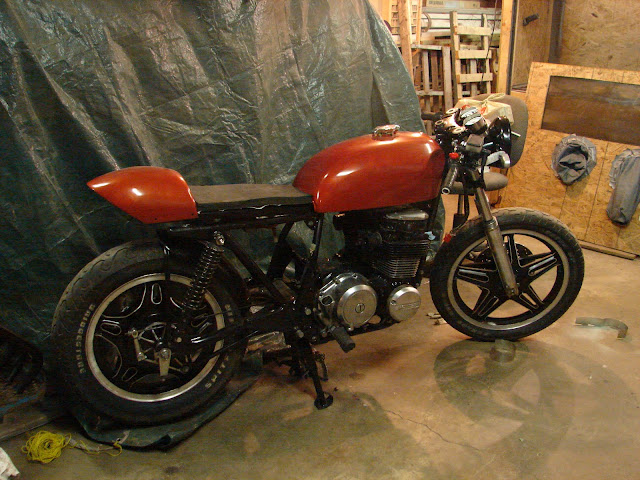
Re: 1979 CB650 Cafe Redo - She's a roller.
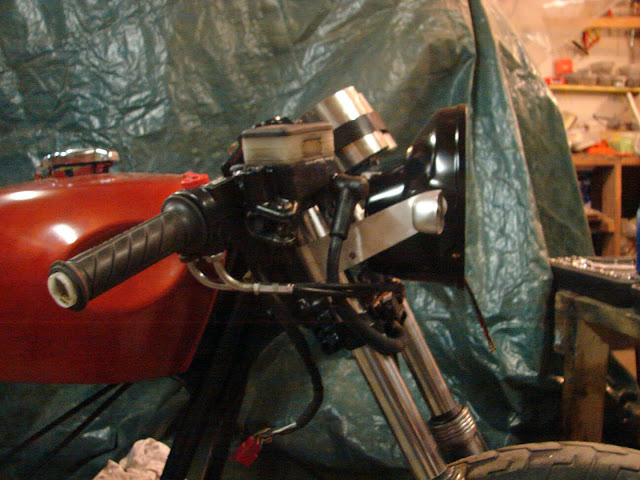
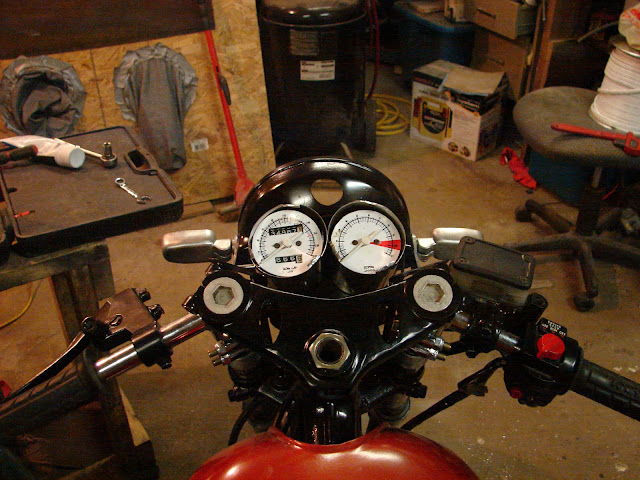
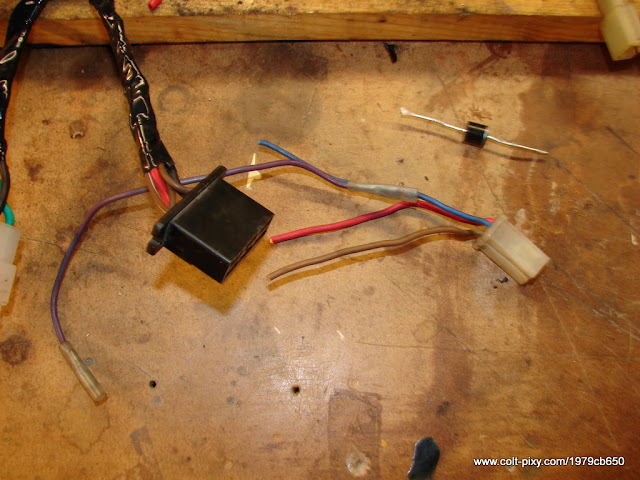
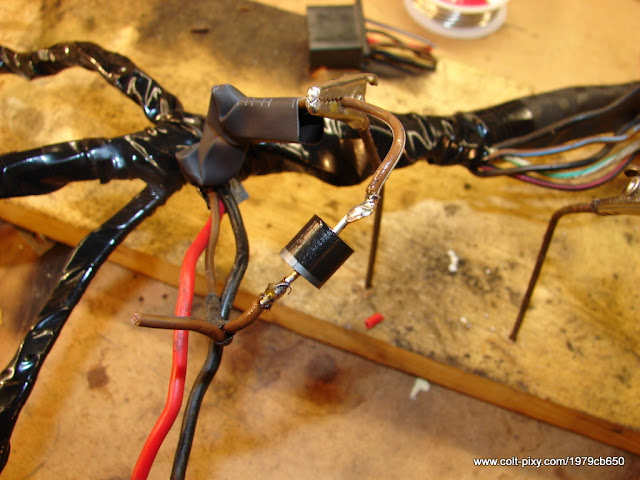
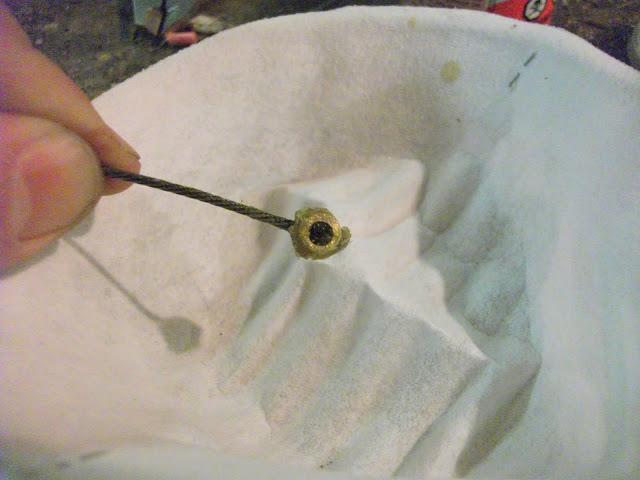
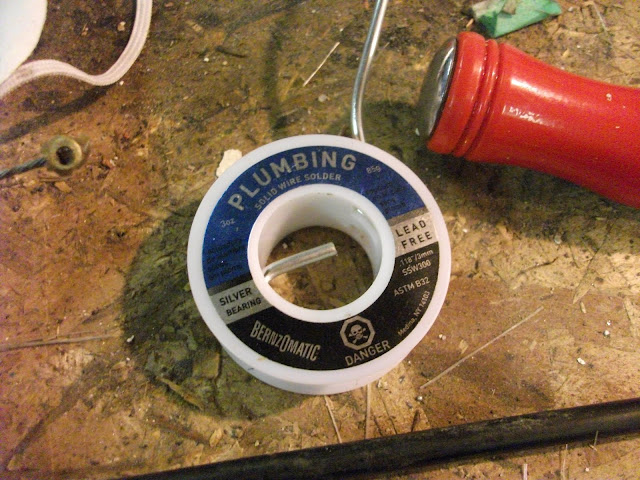
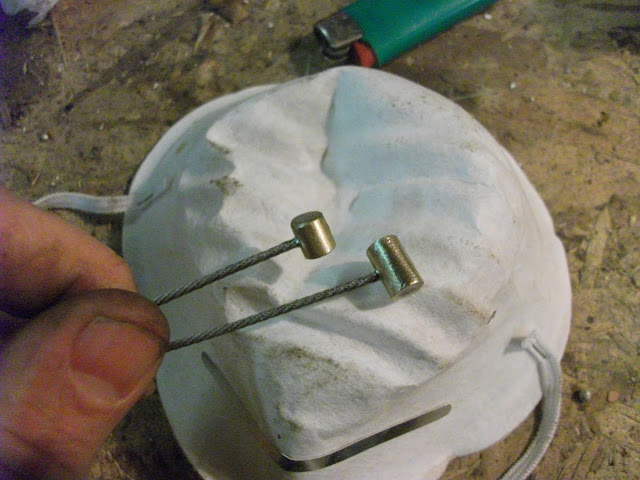
Now that I've moved my ignition switch from the triple tree to my seat pan, I won't be able to use the original Honda ignition. It's too large to fit in the location so I replacement had to be found. Luckily for me my spare parts box held a Yamaha ignition that with a little work would be perfect for the location. The only problem is the connections. The Honda is a 5 pin and the Yamaha is a 3.
A look through the wiring diagram shows that with a little electrical wizardy I could work.
my chicken scratch figurins'
A silicone Diode to prevent electricity looping back. Basically when you turn the switch you turn on everything, however with the Honda switch, you put it in park it will turn the taillights on without going through the main power.
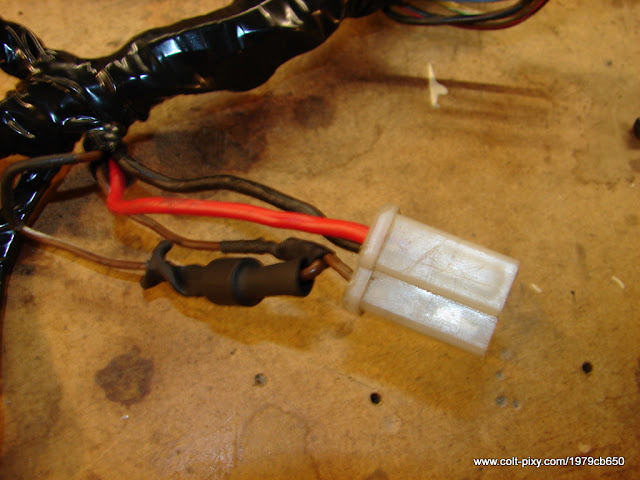
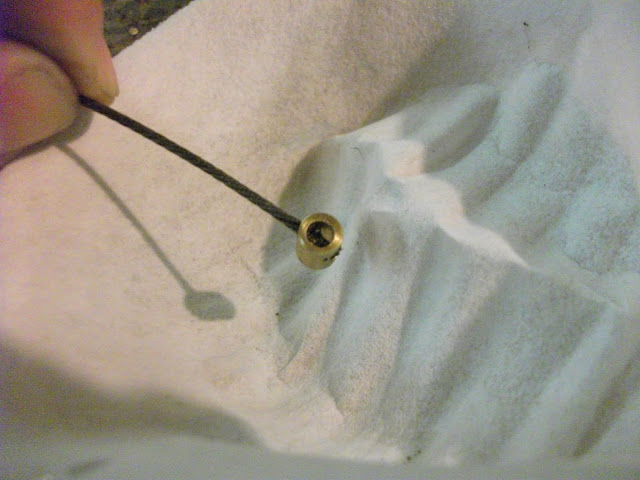
All sealed up
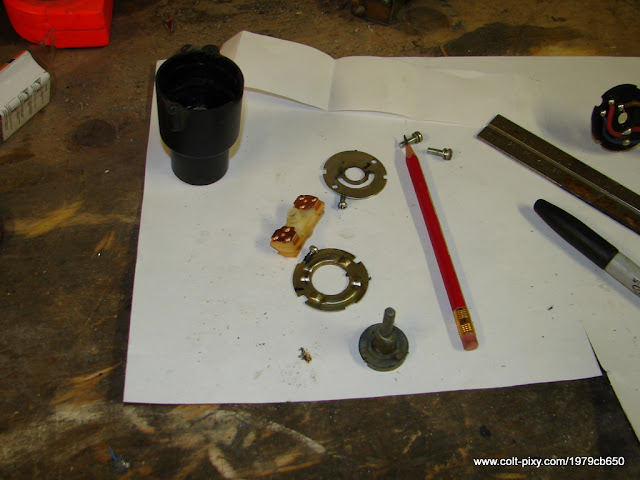
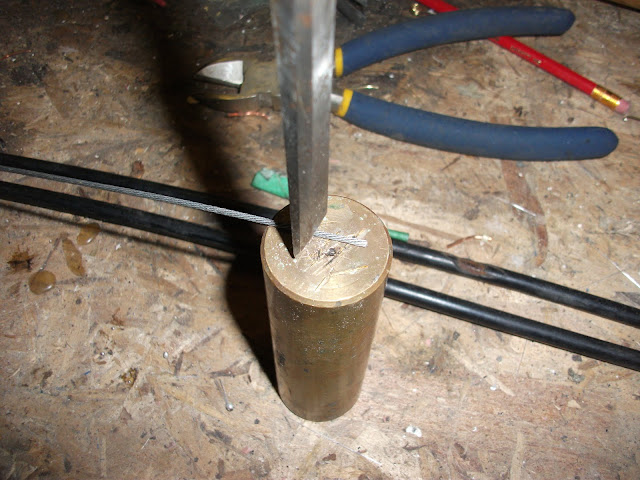
The guts of the key switch, getting cleaned up and re-greased.
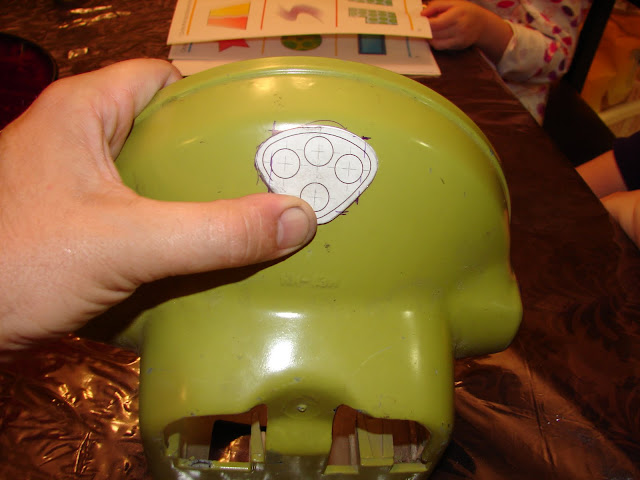
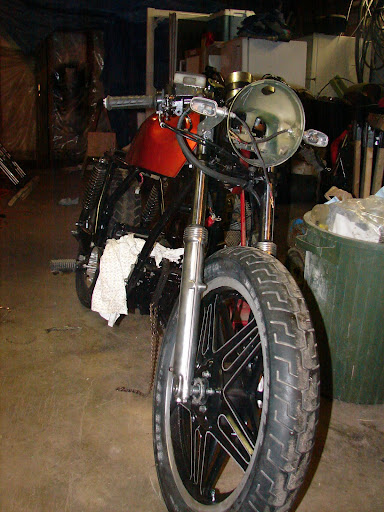
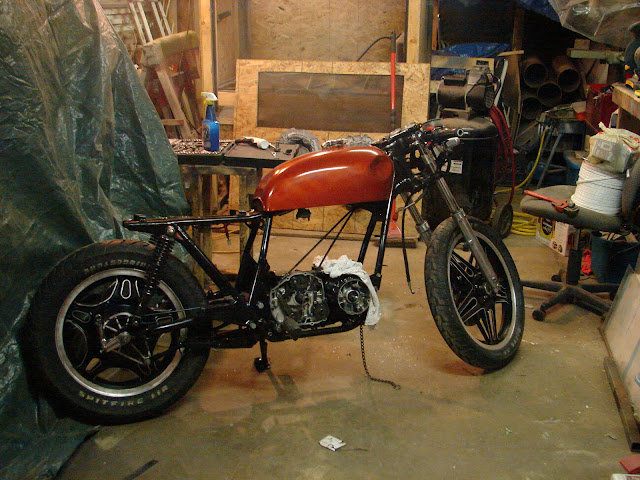
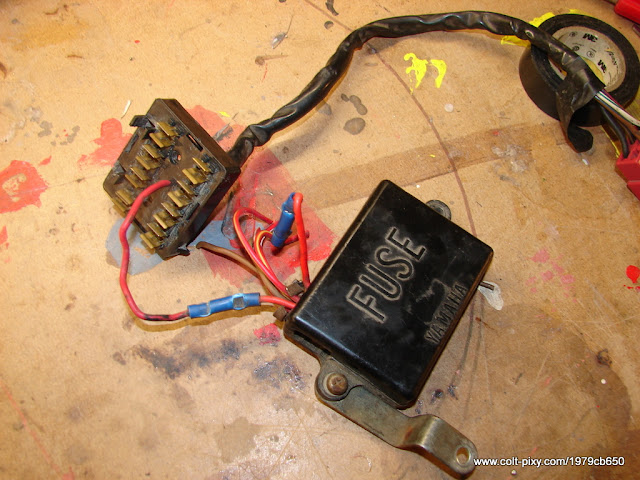
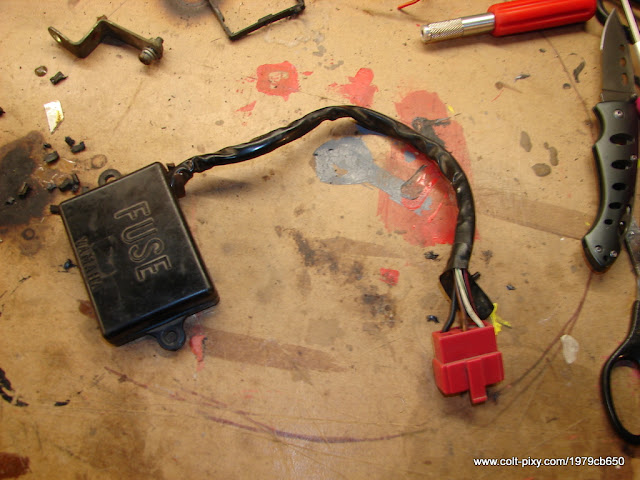
As well I had to move the location of the fuse box to under the seat as I cut off the mount location on the top tree. I wanted a way to mount it under the but it would've been exposed so a solution for that had to be found, off to the junk box and low and behold I was able to come up with something.
The original fuse box for a yamaha sr250
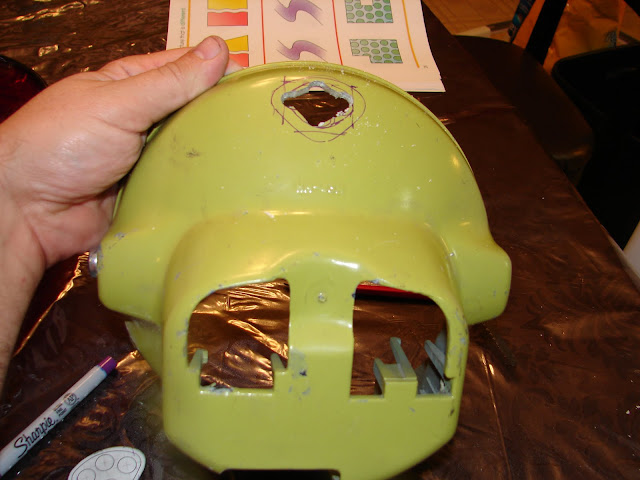
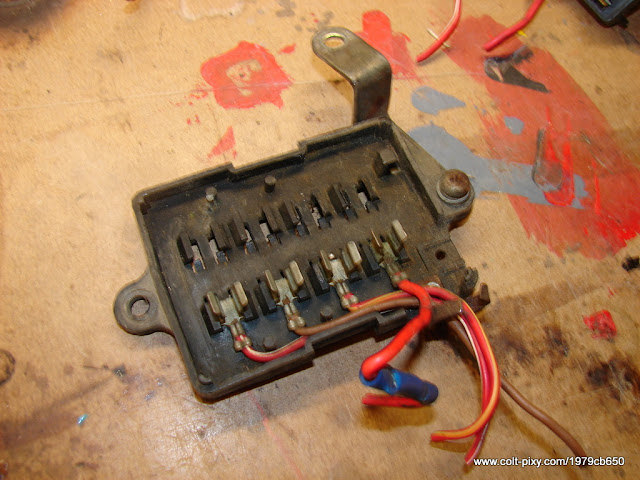
All of this will be removed for the Honda fuse
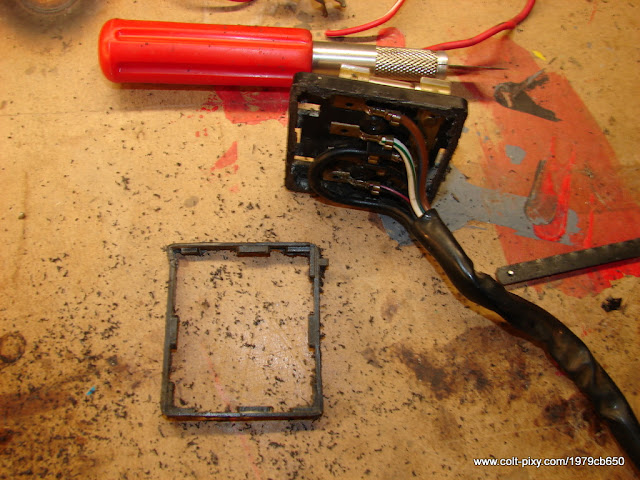
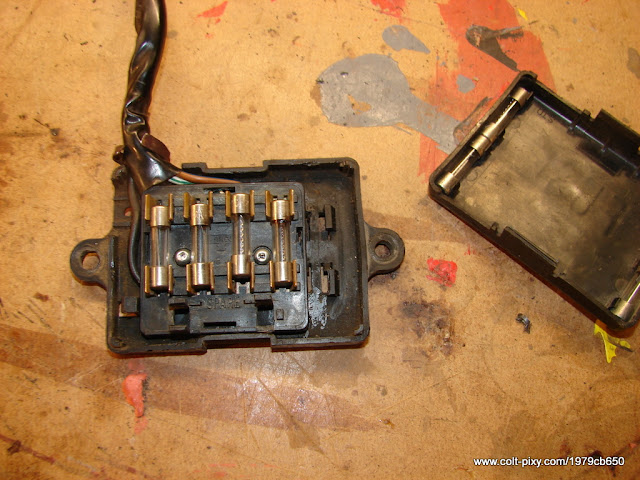
The Honda fuse panel was too large to fit in the box so a little trimming...
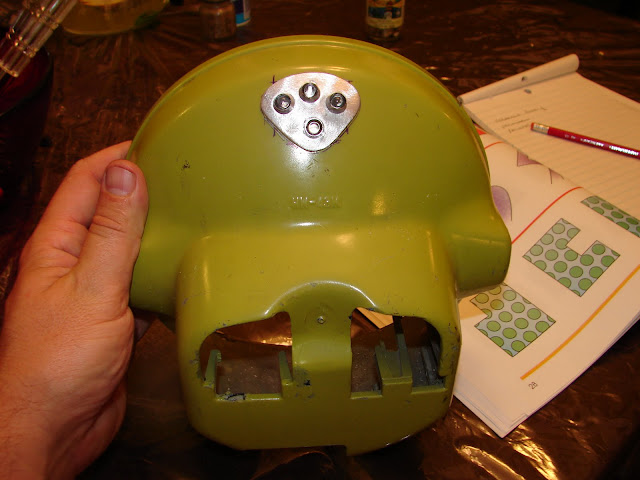
With the yamaha fuse connectors removed from the case and 2 tiny screws later the Honda panel was in.
Now I need to wire LEDs for the indicator panel. I'll be using the original connectors shell for if I need to remove the headlight it'll just come apart. Plus I like to make it look like an OEM wiring harness.
That's all for now. Thanks for watching.

")