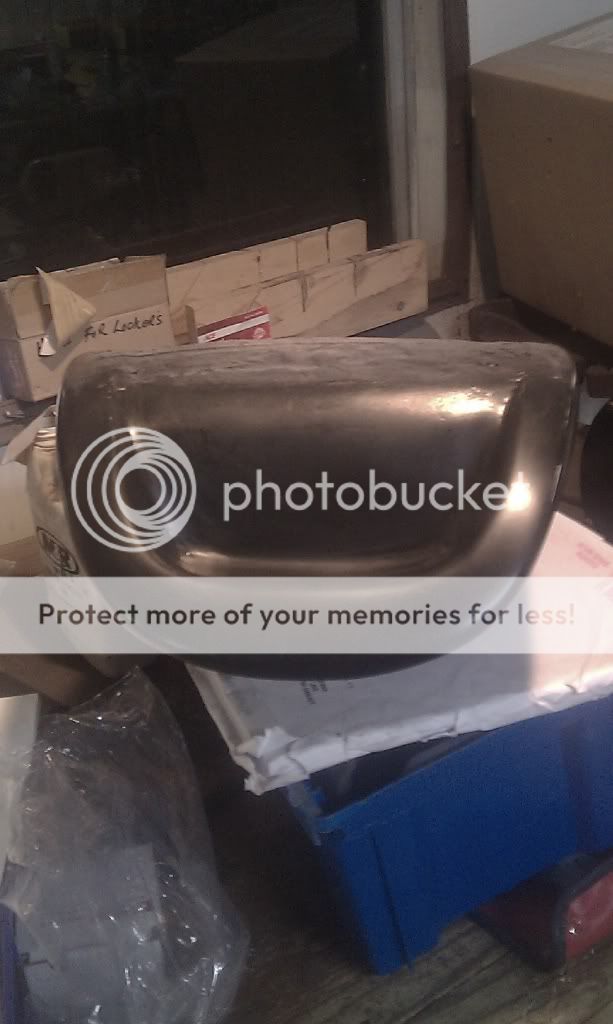
OK, so I'm getting closer to having a finished tail plug. Once I get the mold made I need to make the parts.
Here's my question: Do I need or would it make my finished part a better product if I use Gel Coat for the first layer as opposed to regular fiberglass resin?
I'd rather not spend the $30 on the gel but if it mean a truly superior finished product I will.
Thanks guys!
Here's my question: Do I need or would it make my finished part a better product if I use Gel Coat for the first layer as opposed to regular fiberglass resin?
I'd rather not spend the $30 on the gel but if it mean a truly superior finished product I will.
Thanks guys!