Follow along with the video below to see how to install our site as a web app on your home screen.
Note: This feature currently requires accessing the site using the built-in Safari browser.
We noticed you are blocking ads. DO THE TON only works with community supporters. Most are active members of the site with small businesses. Please consider disabling your ad blocking tool and checking out the businesses that help keep our site up and free.
So last weekend I was gone to Missouri to goose hunt, and this weekend I didn't do too much. I ground off more metal around the area that the tabs I cut off a few posts back.
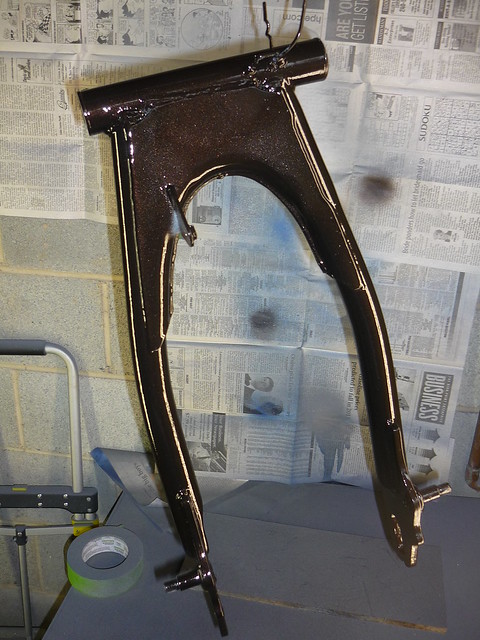
Saturday I decided to paint the rear fork. Turned out nice.
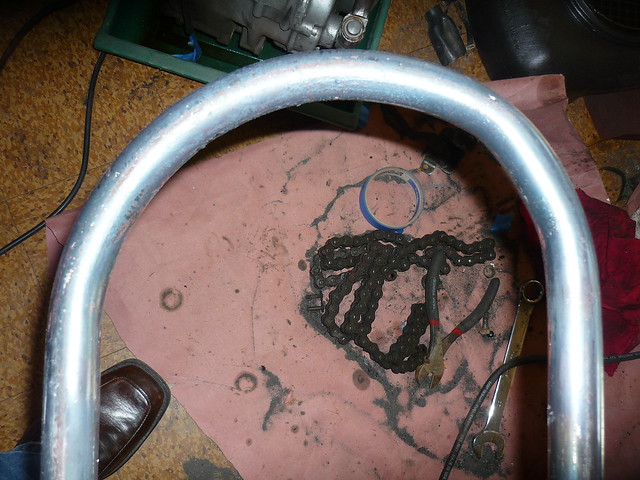
Last night I went over to my buddy's house. I had started bending a tail loop with a tube roller. Not the right tool. But thought I would might be able to pull the curve the rest of the way around if it was heated up.
so I heated it up in his forge and pulled it around to 10" Outside. Lines up on the bike nice, but the curve is inconsistent.
I got parts in from Dime City as well, but I will post those when I take some pictures. right now they are still boxed up.
filling the tube with sand and taping the ends is supposed to help with the kinks
a buck (wood template) would be good for the consistency... im hopefully going to do it thursday... if you check out my build ill post pics of the process when i get it done
No doubt I always think it is funny when cars slow down for geese walking across I would rather hit and harvest them. I'm sure the driver behind me would be aghast at such brazen behavior toward a cute canada goose. But the same person would be disgusted by all the goose shit on the ground by the lake.
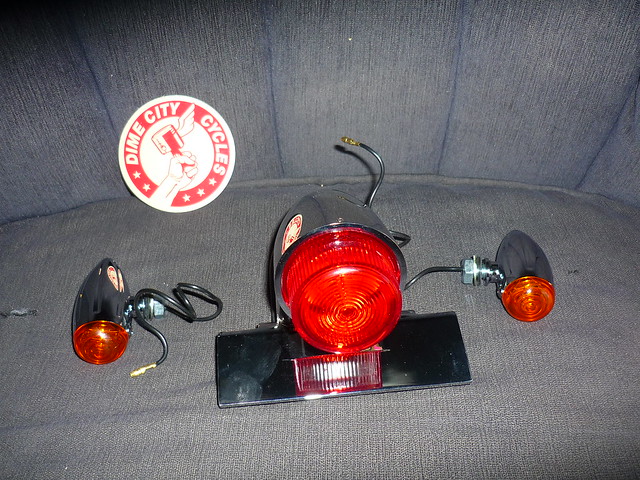
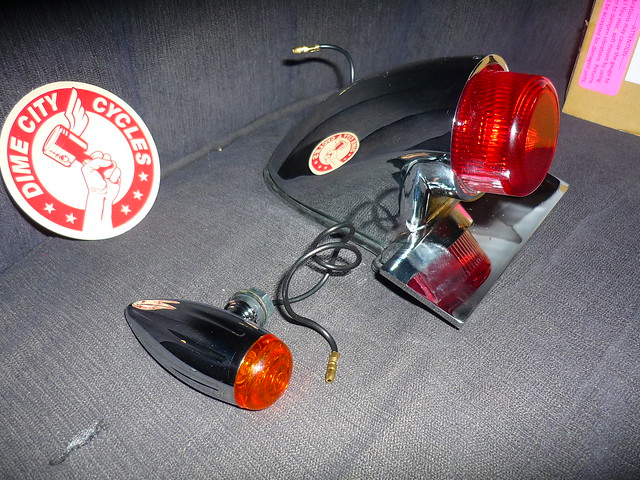
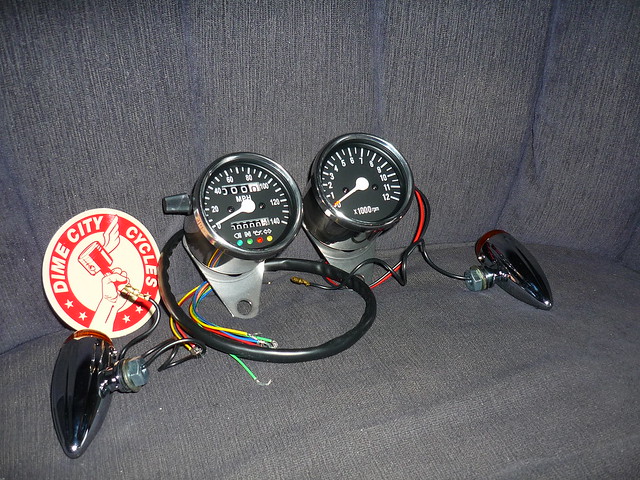
So I took the time to get the new shiny bits for the bike photoed.
back end will be a sparto and buffalo bullets I love the channels on these things.
I'm completely impressed with how solids these parts feel in my hands. They don't feel like you are going to dent them up or anything.
and then more of the blinkers and the speedo and tach. I had to wait for the speedo with indicators on it to get back in stock. But that will get rid of the entire original dash board.
I will be concentrating on the frame and getting that loop made correctly. She will be back to being a roller before too long
So I haven't been doing too much. I am still looking to get my tail loop bent but I am also at a low point in income. That should change sometime in the next month or so.
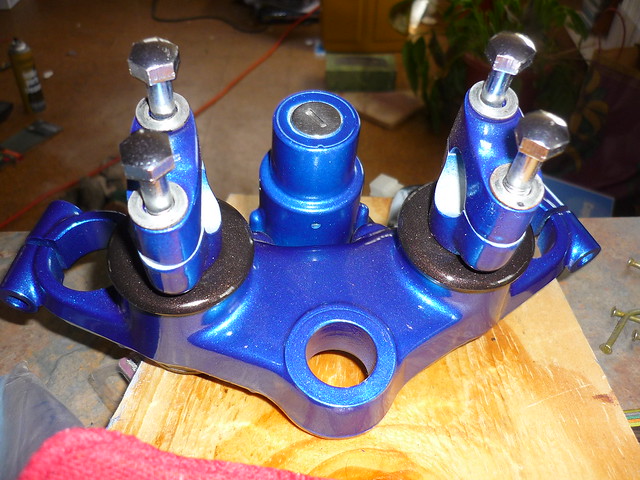
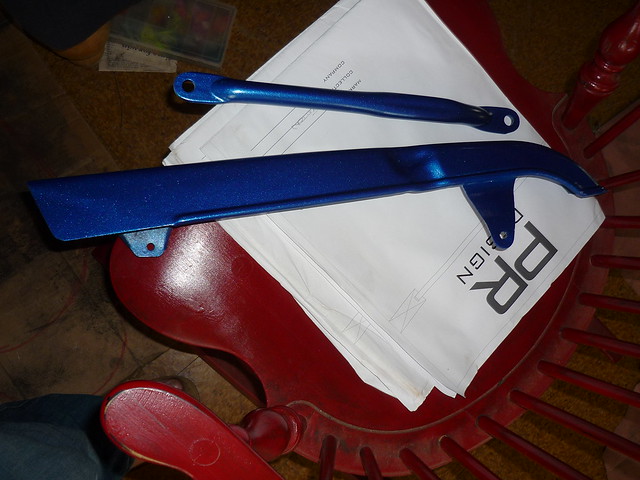
In the mean time I got a couple parts painted up and ready to go back on the bike
I painted the ignition body to blend in with the blue top triple tree
Couple other parts for some accent color parts. chain guard and rear drum brake brace.
right now I feel like the project has completely stalled and it is driving me crazy.
Grab a beer step back and look at your work it helps ! Believe me think all builds stall from time to time ! That's alot of new builders problem I think they get to a stall in the build and quit . Don't let it get you down bud just take a deep swig and move to the next part of your build and next thing you know it's almost finished !!!!
So I one upped the beer and got a bottle of whiskey instead. Rare Eagle Single Barrel aged Bourbon mmmmm.
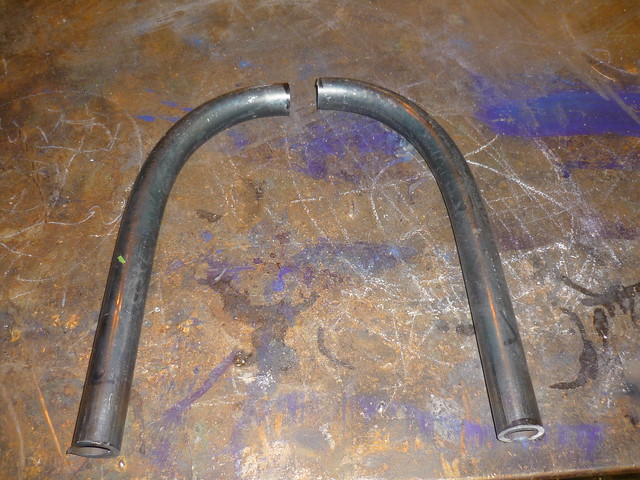
I headed over to my buddies metal shop with a plan. Two matched bent pieces that will get fitted, and marked then cut and weld the center point of the curve.
I cut off the first loop and chopped the remaining tube in half. Drink One.
Next I decided on a smaller inside radii so I had to make a new form to pull the tube around. Drink 2 and 3
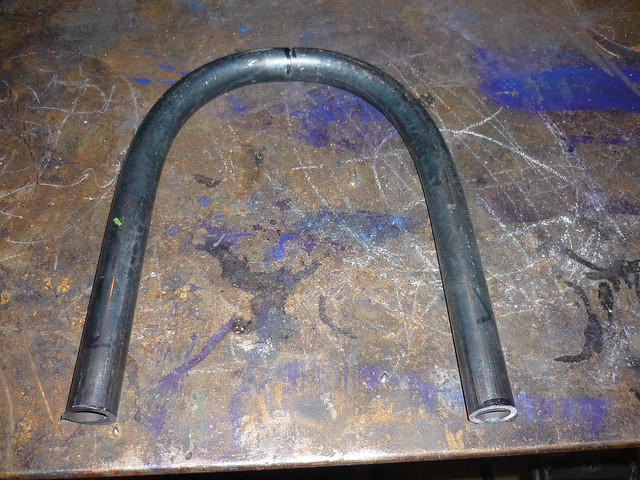
Started the forge up and heated the tubes up. Only reason I think this worked is cause the tubing is 1/8" wall and that gives it enough stability to not kink. Being red hot probably helps as well.
Pulled the first one and then grabbed the second and pulled it, set the first on top and made sure they matched and called it good. Drink 5 was done. 1/3 a bottle of whiskey.
not set in the perfect position, but I think it will give you the idea.
So. pretty much got hammered for this project. Thanks for the suggestion Dread.....
phil
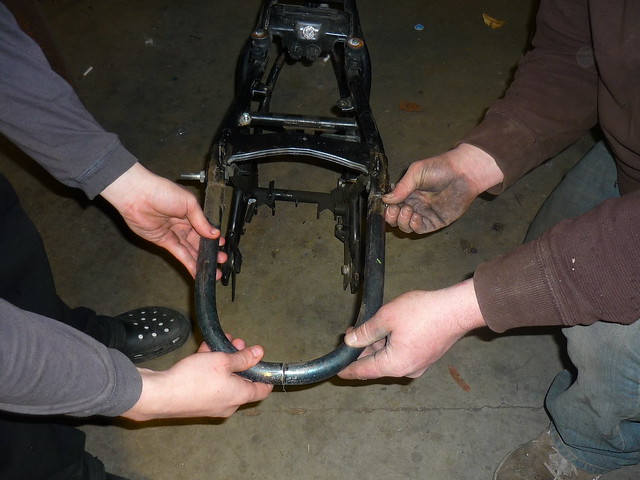
Back to the metal shop and whiskey last night. I had spent some time this week figuring the position of the loop and decided that I would take the frame to make sure I could weld the loop with the right position to attach it to the frame.
Trimmed to size.
Looks like a good match.
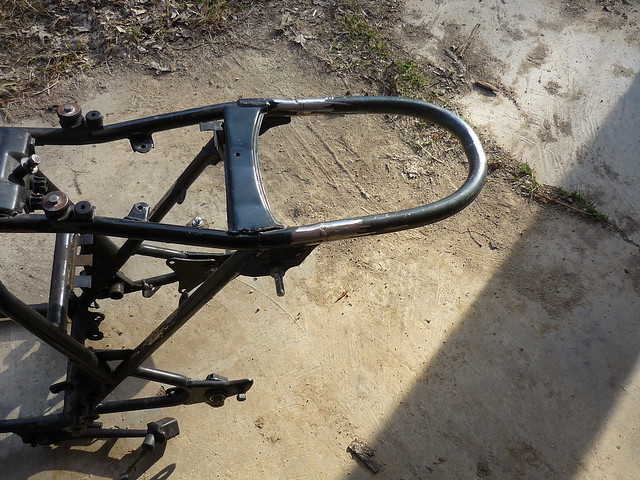
first test look is awesome
I didn't get to do the welding last night as my friends tank fell off the cart and busted part of the regulator. So I will get to the next step as soon as he gets that fixed.
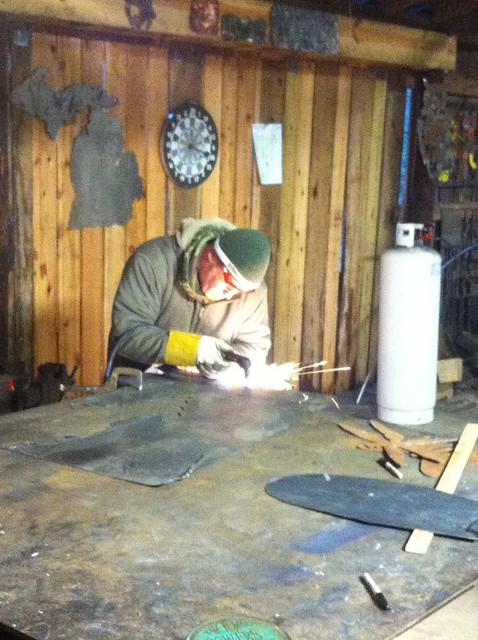
Spent a couple hours yesterday trying to learn how to TIG along with my buddy. He has never taken the time to learn how to use this 1000.00 dollar TIG. So we watched a few youtube vids and tried it out. practiced on the discarded tube and looks like we are both getting pretty close to nice welds with it.
Super impressed with how strong even a small weld on a joint is with that thing, and so flat that their will need to be very little clean up. Another night of practice will probably lead to the tail getting on the frame.
I would think that the next parts will go a little easier. It I will start fitting the rear fender. making a seat pan template and go from there.
This has been a sticking point on this project, and now it is done. Still some bracing to do, but that will happen when I add tabs for the attaching of the blinker and the seat, etc.
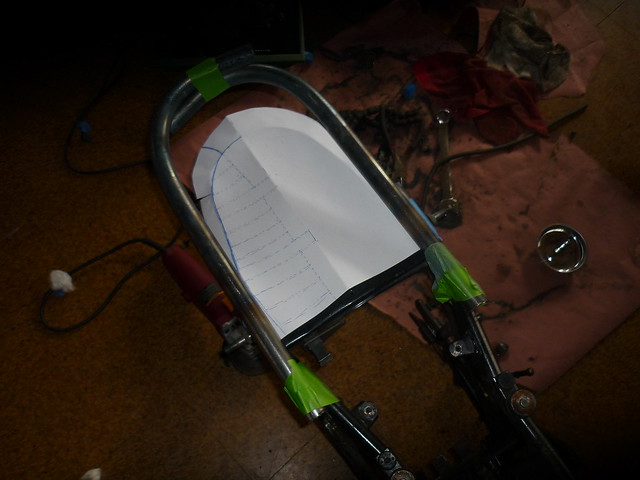
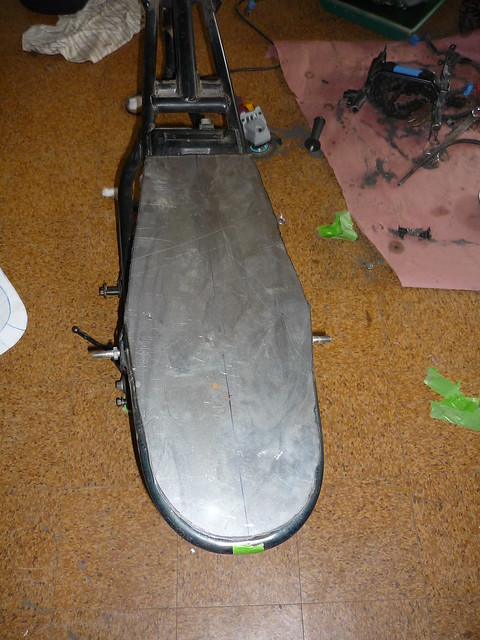
Since I got the loop on I started messing with getting the seat pan sorted.
So my plan for my seat is 2 fold.
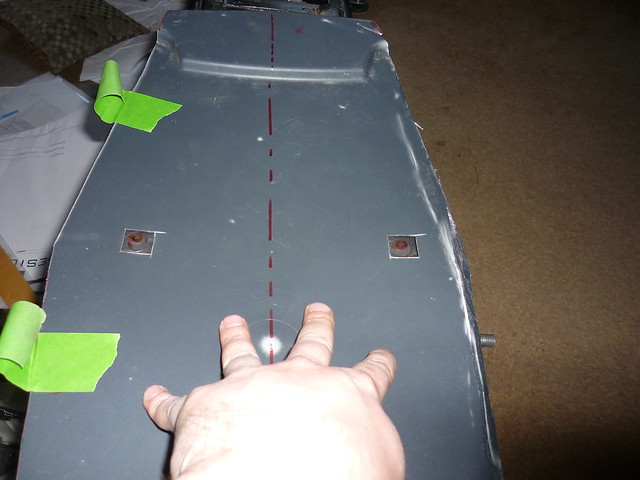
One, The metal seat pan. This will give my seat its rigidity to and give me great material to mount some of the hardware from the original seat that I plan on using.
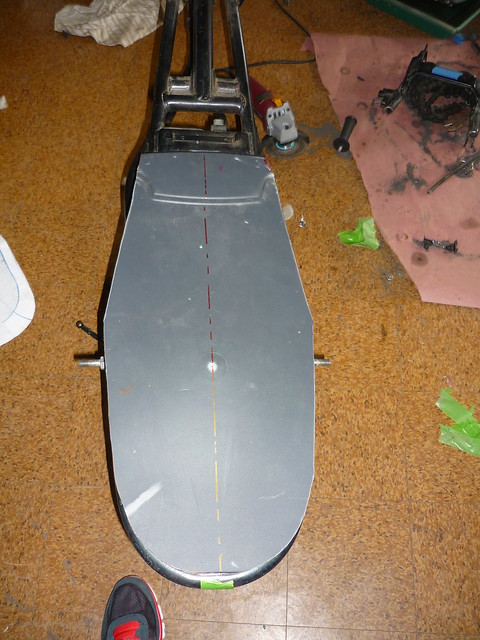
I think it is close, but I think I will be making it a little smaller. Maybe I'm off on my thinking, but go with me and let me know if I'm off base.
Secondly, I took a lid off a storage bin and cut a pattern that will be the base for the padding and will give me something to staple the upholstery to.
This one will get bolts through it and attach to the metal pan. padding over the bolts.
the idea is that I will get the metal pan on then use it to help me form an edge on the plastic, that will taper down to the frame. I'm hoping that doing this will give me a really crisp edge with the upholstery and frame.
If the 400 frame is the same or close to the 500s might be able to place a set of small blinkers right behind the top rear shock mounts ? The 500 has lil holes on the brace that would work great might want to have a look ! Bikes coming together sir very nicely !
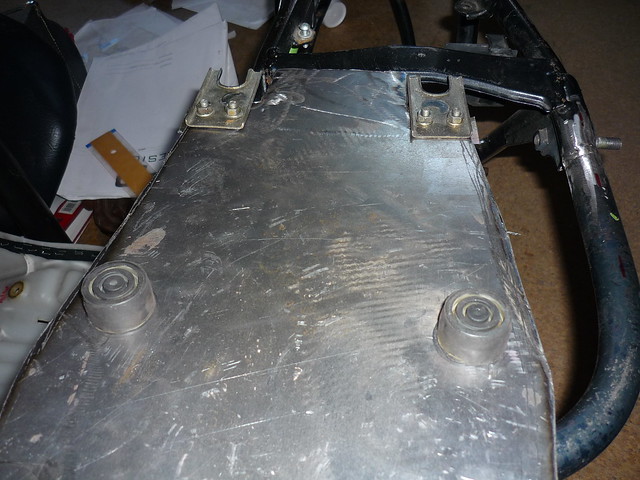
well I started working on the seat pan today getting it so I can use some of the hardware off the original seat pan. I think that I will need to add one more cross piece back in the area of the loop.
My buddy sent me a couple pictures from the other night of me cutting out the seat pan with the plasma cutter.
Today I cut the front corners off the pan to give the room for them to stay flush. then drilled out some holes for the rubbers to sit in the same place as the original spots.
cut out some spots where the rubbers come through the top on the plastic, and then tried to use my iron to warm up the plastic and bend over toward the frame. melted the plastic. I think that I will have to get a little heavier piece of plastic for the upholstery pan.
Dread I think that I will be adding a piece of metal to the back of the shock mount to help with the loop support. I will probably be trying to figure where the back blinkers will be mounted and make sure that the support is big enough to mount them up.
why not use some 1/8" masonite or hardboard?
it bends, accepts staples, and is easier to cut...
and if youre going to have to buy plastic anyways, you can just buy a small board at a hardware store
I guess I could use wood. I guess I was looking at the idea that if I used plastic i could heat form the plastic so I could then trim it to fit and follow the frame. So that the seat when finished would have to cleanest edges possible. I might use a blue barrel as a donor for the plastic.
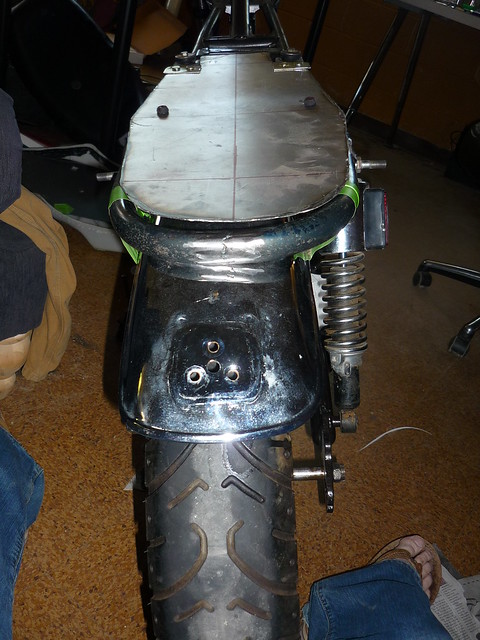
So, I slipped the swing arm front forks and lower triple back on the bike and put the wheels on then one of the rear shocks.
A couple hours later I had them all back off. but the positioning on my rear fender is done. I will be adding cross bracing to mount it some time this week.
This site uses cookies to help personalise content, tailor your experience and to keep you logged in if you register.
By continuing to use this site, you are consenting to our use of cookies.