72' CB350 - First build.

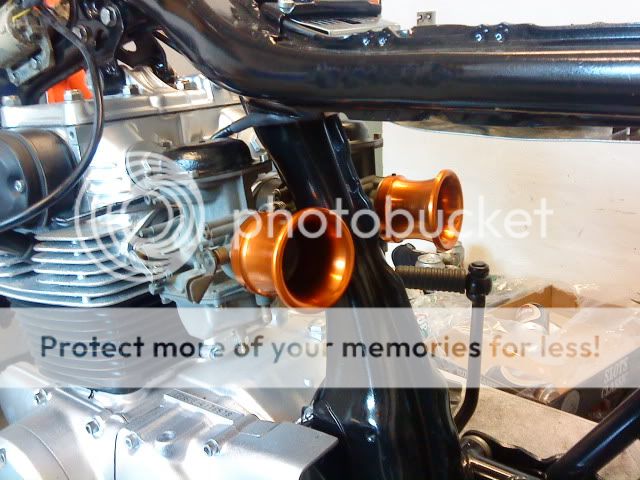
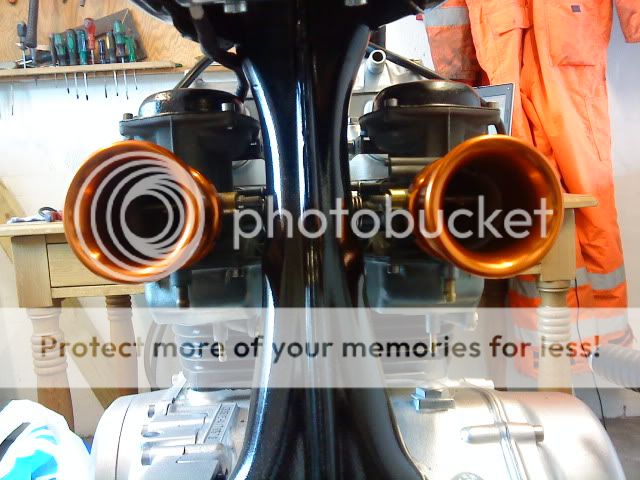
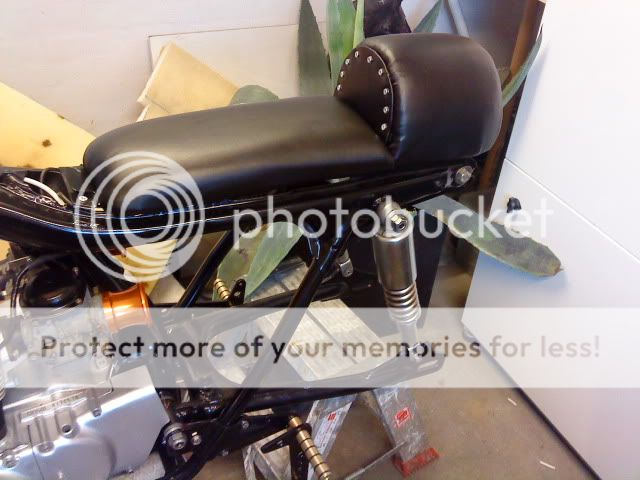
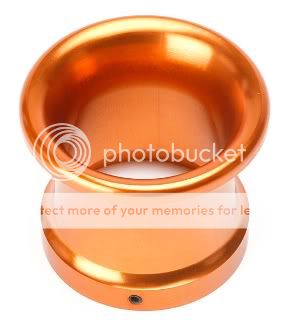
Yeah, I know what you mean about the brass, i think they are gonna stick out a bit to much when the bike is done, since it's the only brass on the bike, so I might paint them later on. But it was free so I'll stick with it for now.

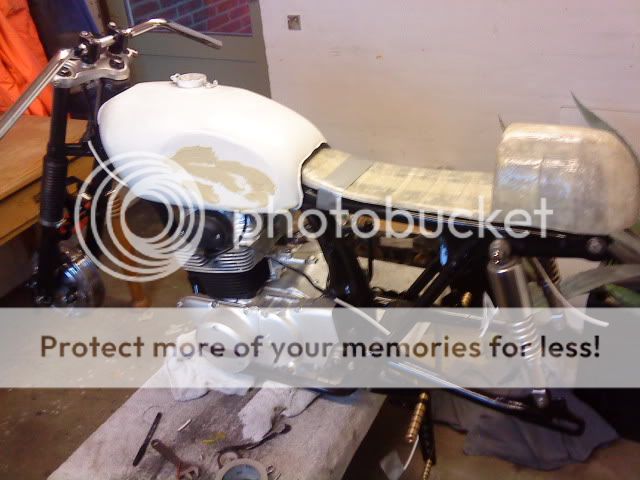
Thanks Arnold, Rims were sand blasted before primer and paint, and even thought it's rattle can it's really looking good! And seems to be very strong and hopefully it will last when tires are mounted.

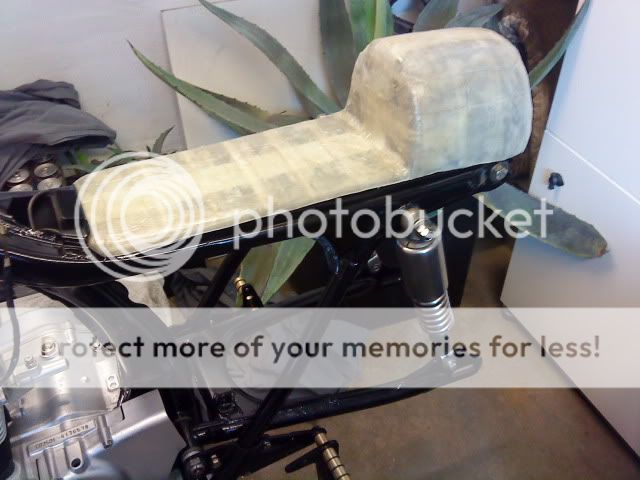
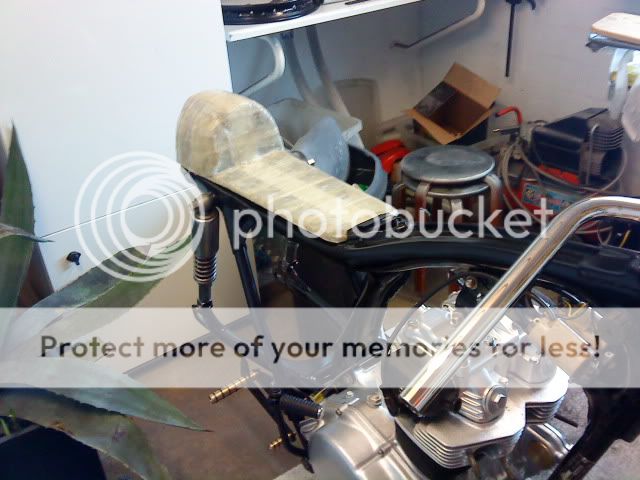
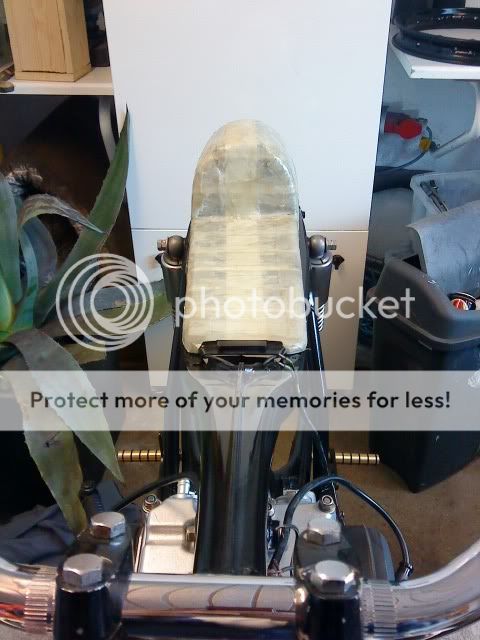
Btw fiberglass wasn't completely dry, so will wait till tomorrow before i cut it to shape and take new pictures.

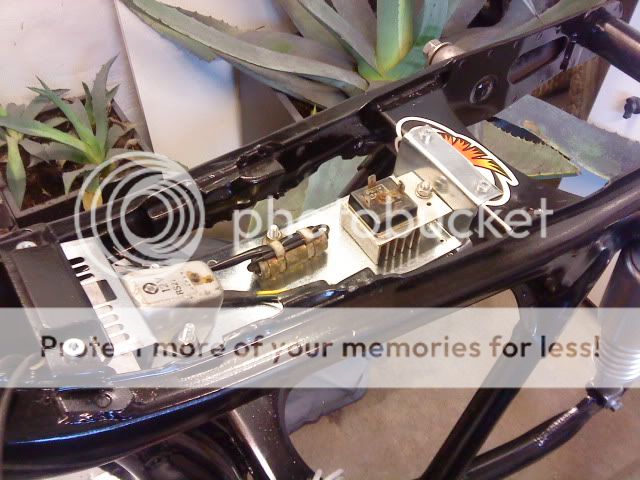
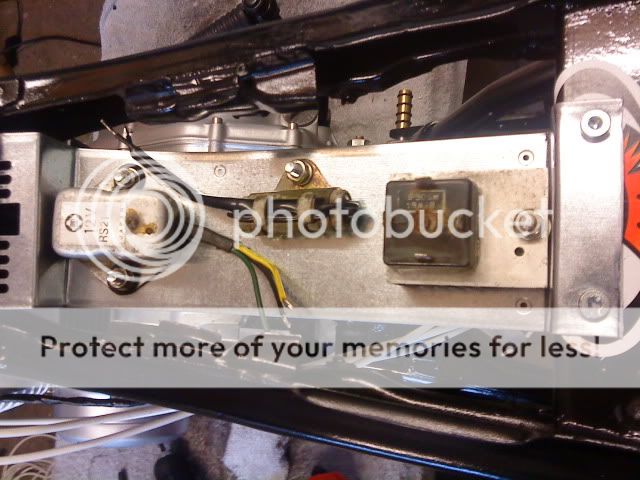
Also getting ready for wiring, bolted on the coils, and will continue the wiring tomorrow. I'm doing a minimum of wiring, ignition, front, rear and brakelight only.

Also tomorrow I hope to do some last bondo and primer to the tank before final paint. Really looking forward to this!
 
Thanks for the comment Bruno, i'll remember that ;-)

Cut the seat to shape today, not really happy about how it turned out, it's not as rigid as i hoped and feels a bit woply, I'm afraid I'll have to try again or at least make some reinforcement to it. Also thinking of buying a finished seat, but would really like to make my own :-\ :

DSC00273.jpg

DSC00274.jpg

DSC00275.jpg


On a positive note, I think my dashboard turned out nice, mounted the ignition and left some space for a mini tacho or speedo:

DSC00276.jpg


Also i did some work on the tank, I hope to finish it this weekend.
 
Love this build man! What is your plan for tank/seat paint? DIY or are you gonna have it pro sprayed? If your doin a budget build like mine, then you can get pretty sweet rattle can results if done right. I rattle tested my headlight bucket and it came out surprisingly good and glossy. This is one of my fav builds.
 
Looking good man. nice attention to little details is always a good thing.

As far as your seat goes, if you are happy with the shape of it don't give up yet. It takes a whole bunch of layers built up to get the thickness and rigidity that you are looking for. You need to alternate layers of fiberglass matt in as well. The matt is a looser weave and will build in to corners and contours more fully than the cloth. keep going til its 3/16ths of an inch thick or so and it will harden up.
 
JoeTee: I'm also going for a DIY job on the paint. I'm still trying to keep a low budget on this build, and safe some money for my next build. As far as colours go i think I'll stick with black and silver as the rest of the bike. My plans are to do tank and seat all silver with some black details/letters or decals.

diesel450: Thanks for the encouragement on the seat. I've realized that the fiberglass cloth I used was to stiff and closely weaven as you say. But again I got it for free at work (We use it for emergency repair of pipes) and wanted to try it, but i'll have to buy some fiberglass matts and lay some more layers to fill the contours and add some strenght. I think the seat fits the bike well, it might seem a bit long, but I want it to hide the rear framerails. Were I live we are not allowed to alter the frame without paying a "Tax" to have it approved. Which I don't want to do on this build!
 
Did some more work to the bike today, so a little update again.

First off I dicided to paint the dashboard black:
DSC00288.jpg


Did a little tray for the electrics. As it is now, it's very open and i will make a more protective one in the future:
DSC00282.jpg

DSC00281.jpg


All wires are ready and just needs to be connected. All connections will be soldered and will be protected with heat shrinked isolation. I REALLY hope for a spark tomorrow!

And last a little pictures of tank and seat mounted, didn't get as much done one the tank as i hoped, still need sanding and paint:
DSC00284.jpg
 
½ hour work today, mounted the carbs. Was just about to blow up when I couldn't fit the carbs into the rubber intakes, but then i boiled them in water for 2 minutes and they got soft as butter and they went right in!

Picking up two off these tomorrow, not really the colour i wanted, but got them dirt cheap, and might paint them later on:
74501012004.jpg


Pictures of carbs mounted will follow tomorrow.
 
Re: 72' CB350 - First build. Sparks are flying!

Big day today, finished the wiring, timed the ignition and turned the key, spark on first try :D I'm very happy since I've never done anything like this before!

Here's a picture of carbs and inlets installed, carbs are not as clean as i would like, but I'm in the progress of persuading my boss to buy a ultrasonic cleaner:
DSC00289.jpg

DSC00290.jpg

Can't wait to hear how they sound?
 
Looking great as usual! Congrats on the spark, thats awesome! May I ask where you sourced those velocity stacks for your carbs?

bob.
 
Nice work so far, the bike is looking great. I assume those are non filtered velocity stacks?? That copper color really pops.
 
Thanks for your comments guys.

Spotthedogg: Yes they are non filtered right now, but I'm planning on adding a stainless steel mesh or filter of some kind later on.

Jrknecht: I'm not sure about other coulors, the store I used only had this colour.
 
Danish_Cafe said:
Yes they are non filtered right now, but I'm planning on adding a stainless steel mesh or filter of some kind later on.

Yeah you better put something over them, you'll be sucking in boulders, small children, shopping trolleys and random street furniture otherwise.
Not sure about the colour either but the shape is chuffing cool.
 
Wow,
those stacks look pretty dang sick! Nice work. Not sure what your overall color scheme is going to be, but had a thought. What is you painted those stacks to match your brass footpegs? May help with the brass accent.
Just my $0.02


Keep up the good work. I would love to hear how that thing sounds with those stacks on.
 
Erskine: You are absolutely right, and I am going to put something on as filter/mesh just not sure how to do it yet.

Adriannarnold: Paintscheme will be black and silver, so i think i'll have to paint them either black/silver or a brass coulor to match the pegs as you say. Don't really want them to stick out in a negative way.

Btw: I was also thinking of sticking them in a lathe and removing the outer layer and have them raw polished alu?
 
So after realizing the seat I made wasn't gonna work, it was either make a new one or make the best of the one i had, so this is what i came up with:

DSC00301.jpg

DSC00300.jpg

DSC00299.jpg

DSC00297.jpg


From what I had to work with i think it came out okay.
 
Looks like you've made good progress. Not sold on the seat yet, but it might look different when it's all put together. Keep it up.
 
I've got to agree, I think that seat might need to be ditched. just my opinion mind you and as said it may all come together, but I'm not feeling it personally. Doesn't match up with all your other fine work.
 
Back
Top Bottom