Re: 72 CL350 Build - updated pics and progress 2/5/12
Well I had a pretty good weekend getting alot of it back together. Here is my update:
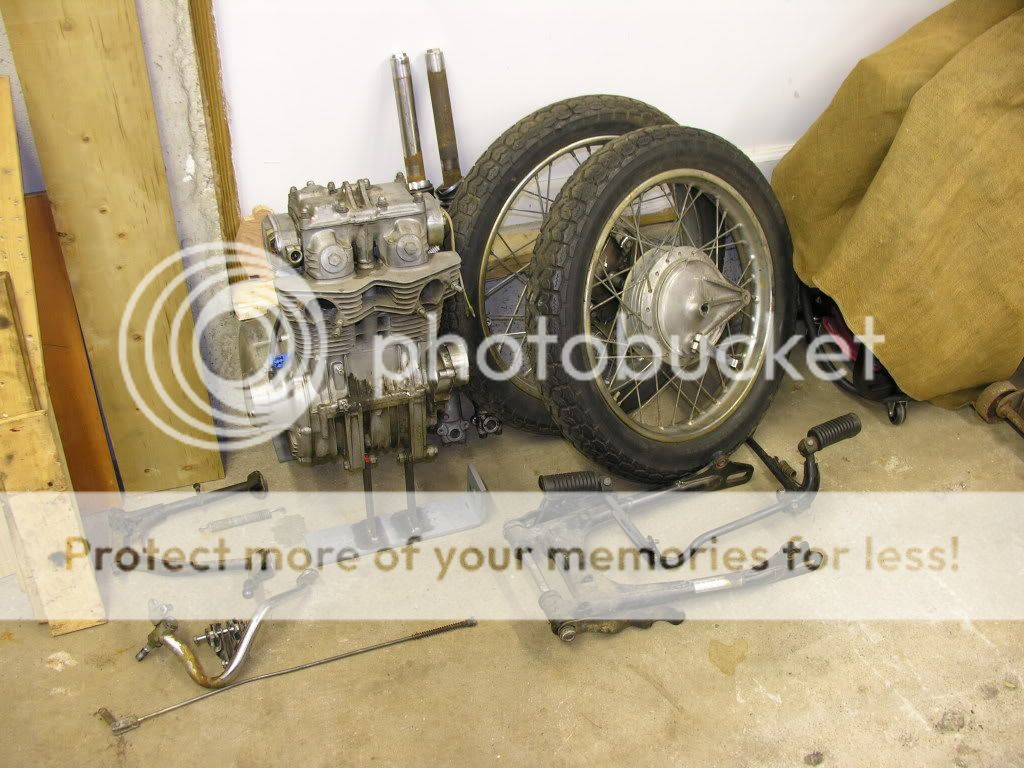
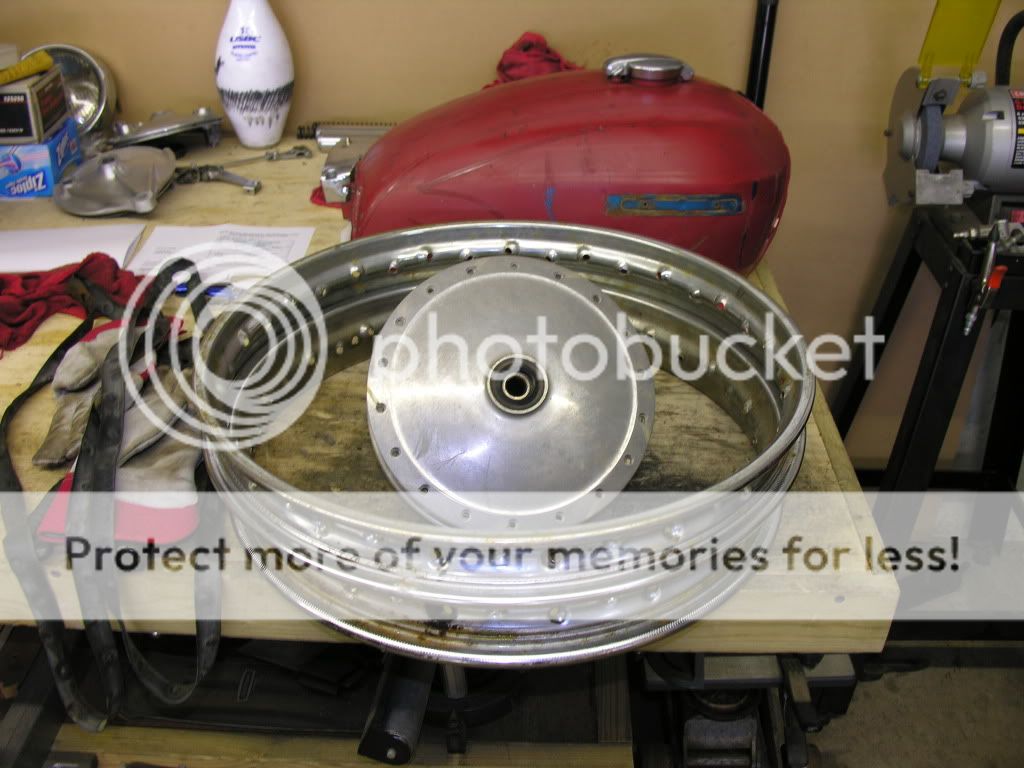
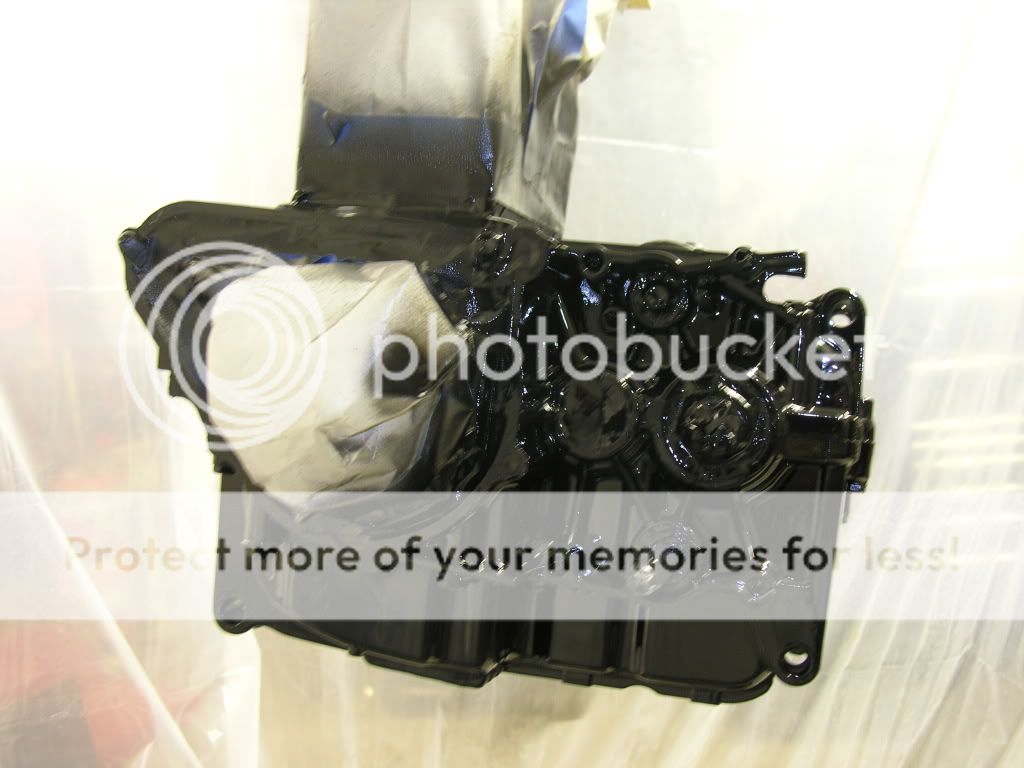
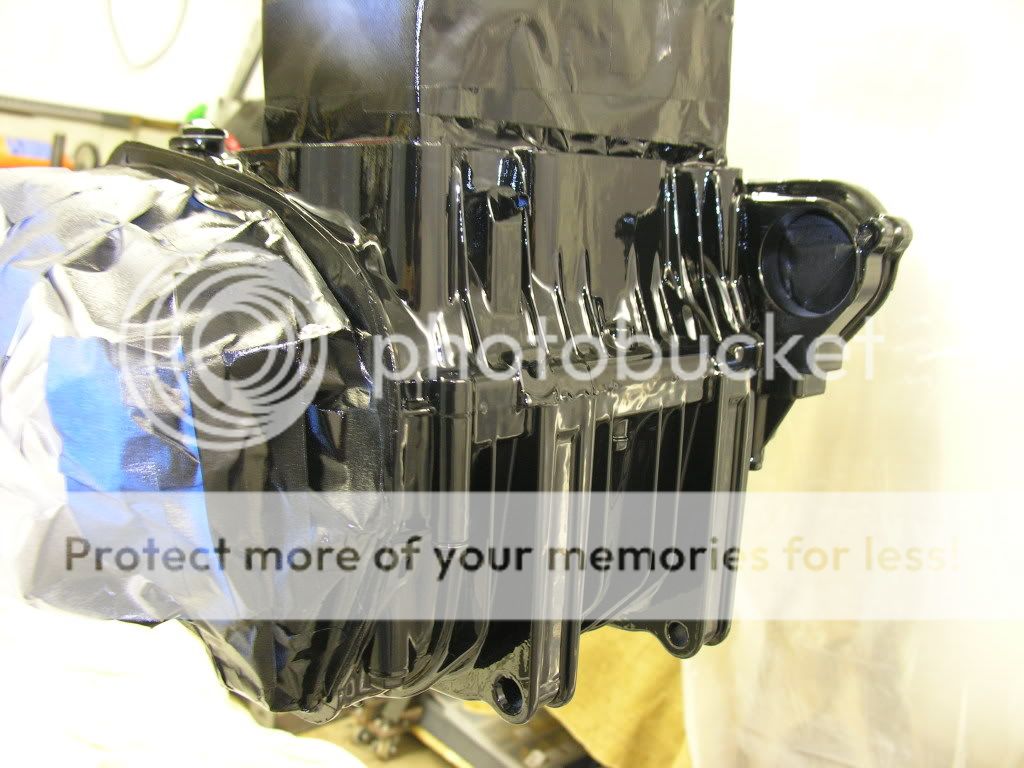
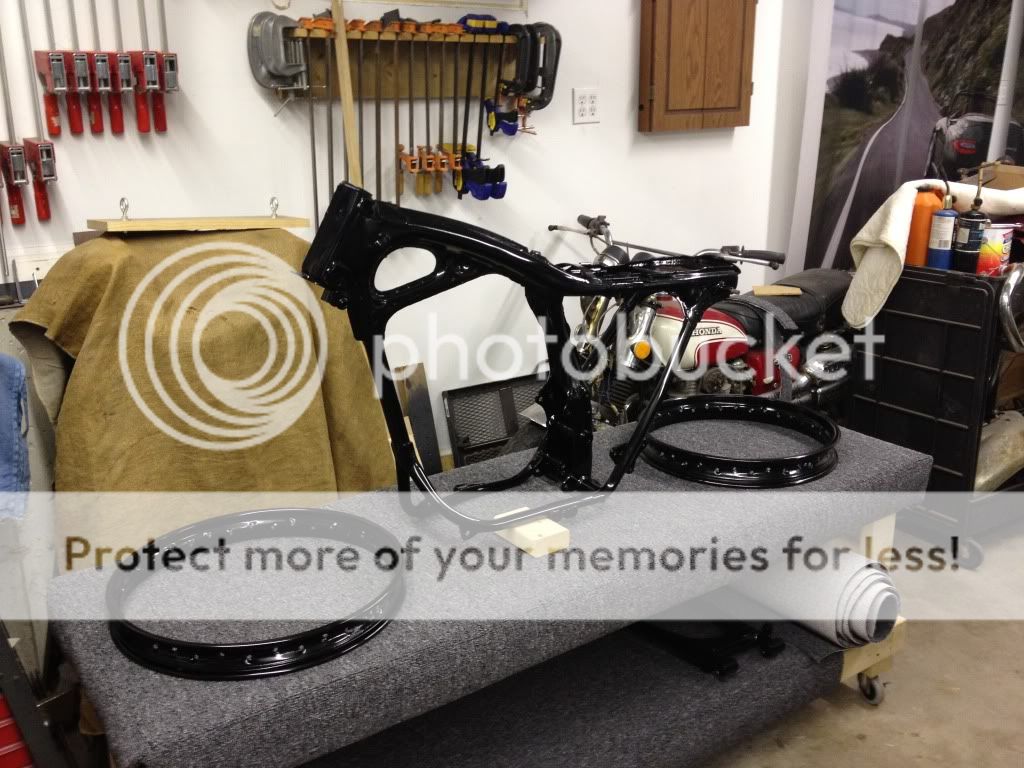
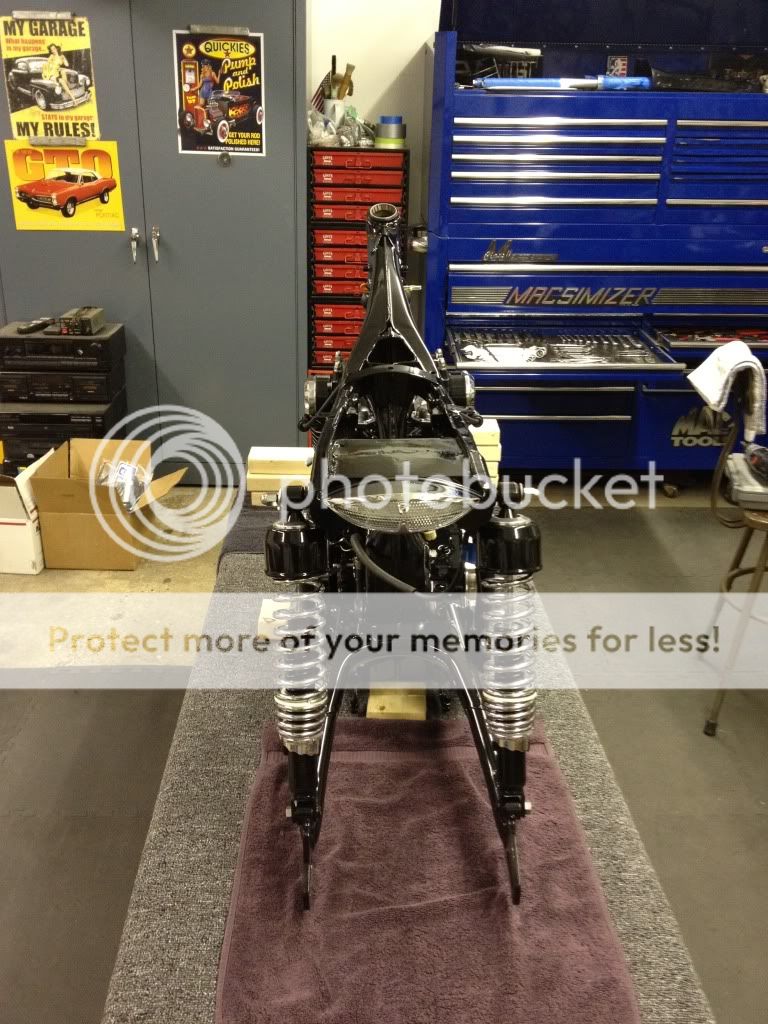
Got the frame and wheels back from the PC.
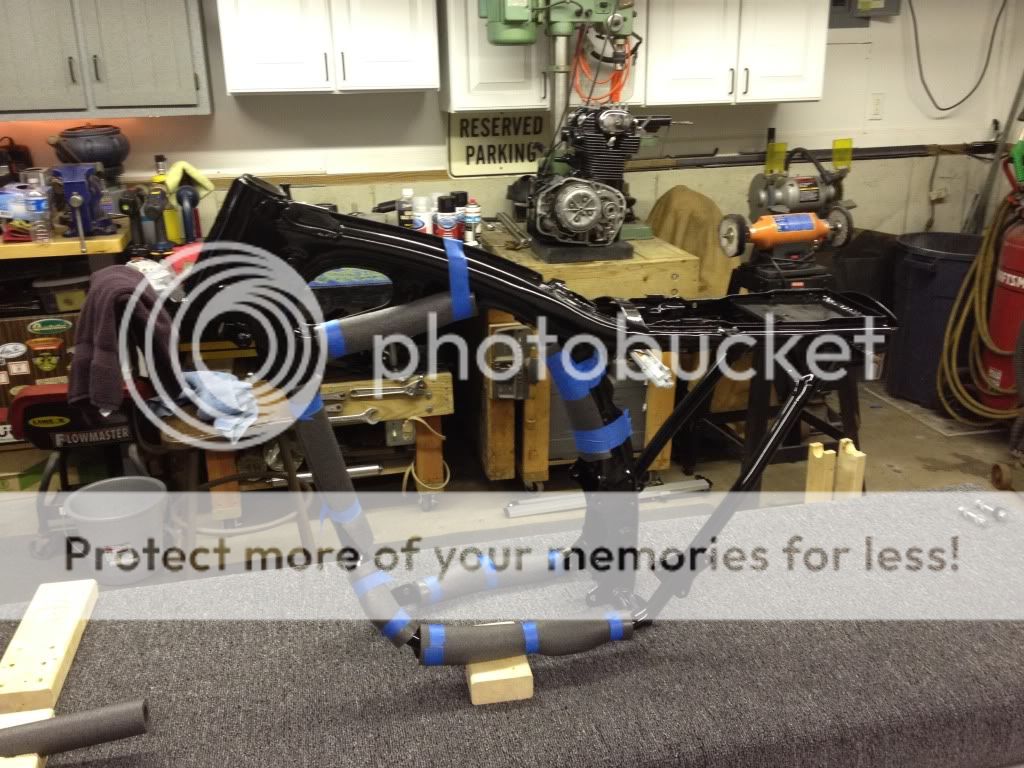
Taped up the frame and ready to install.
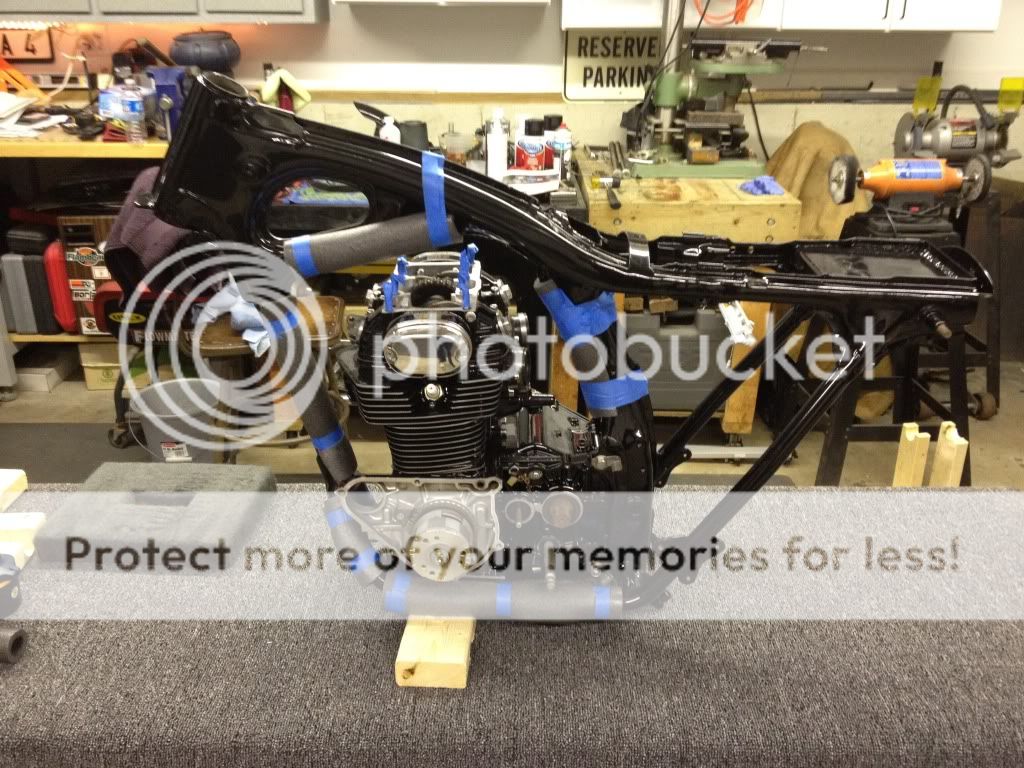
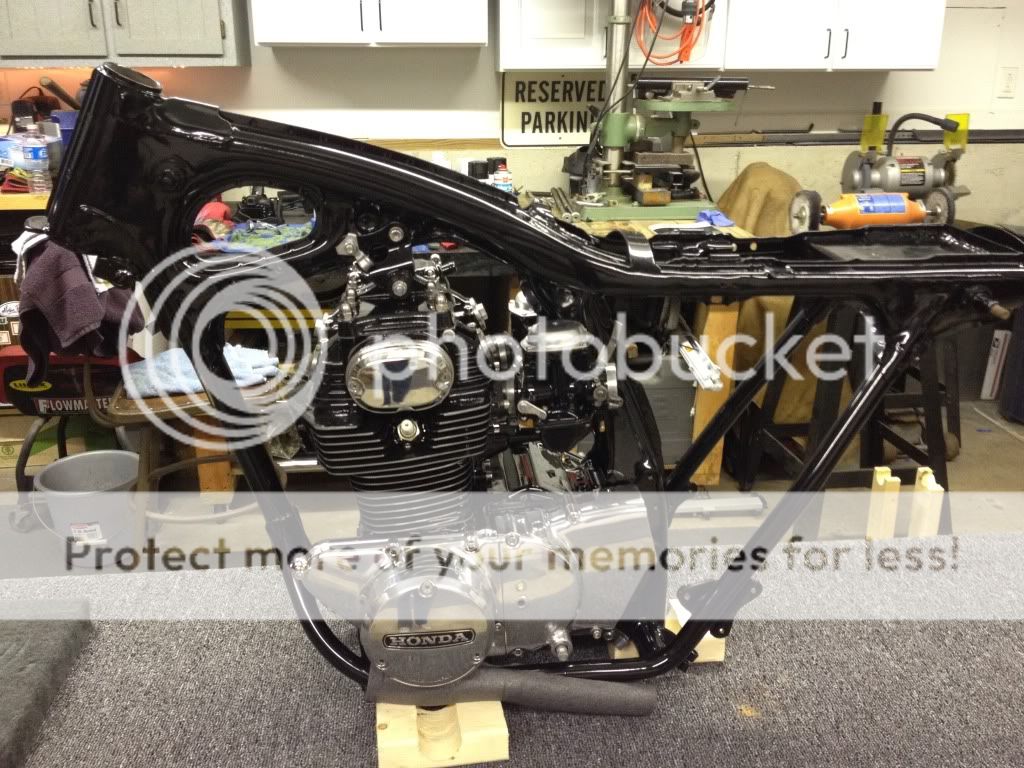
All in
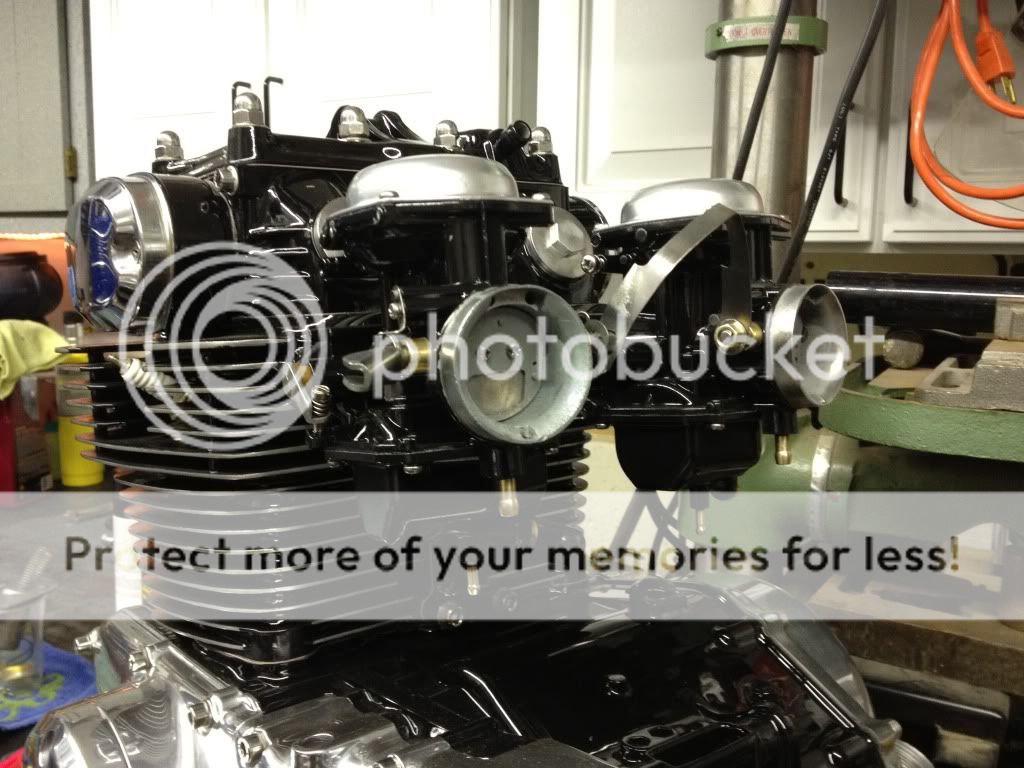
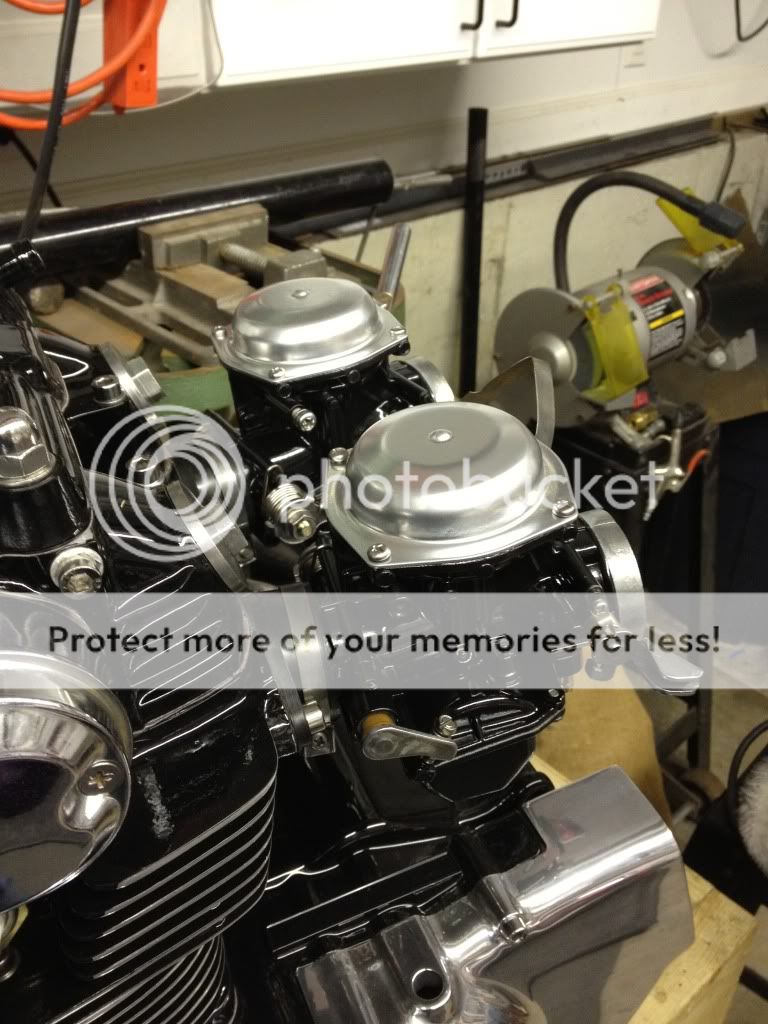
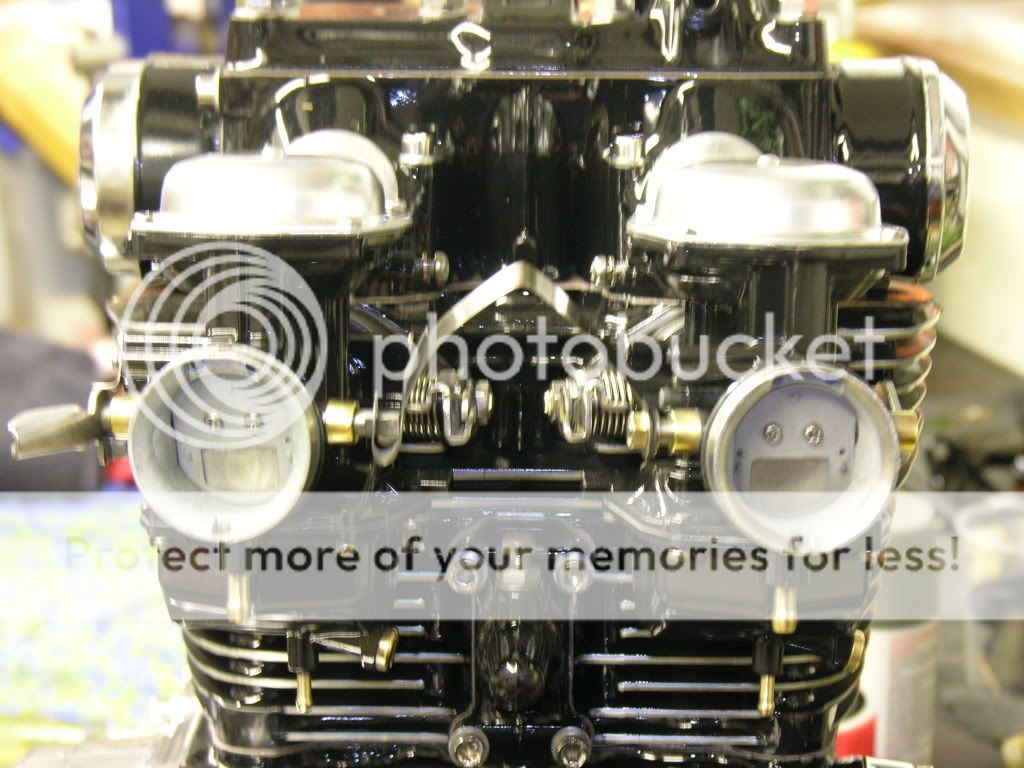
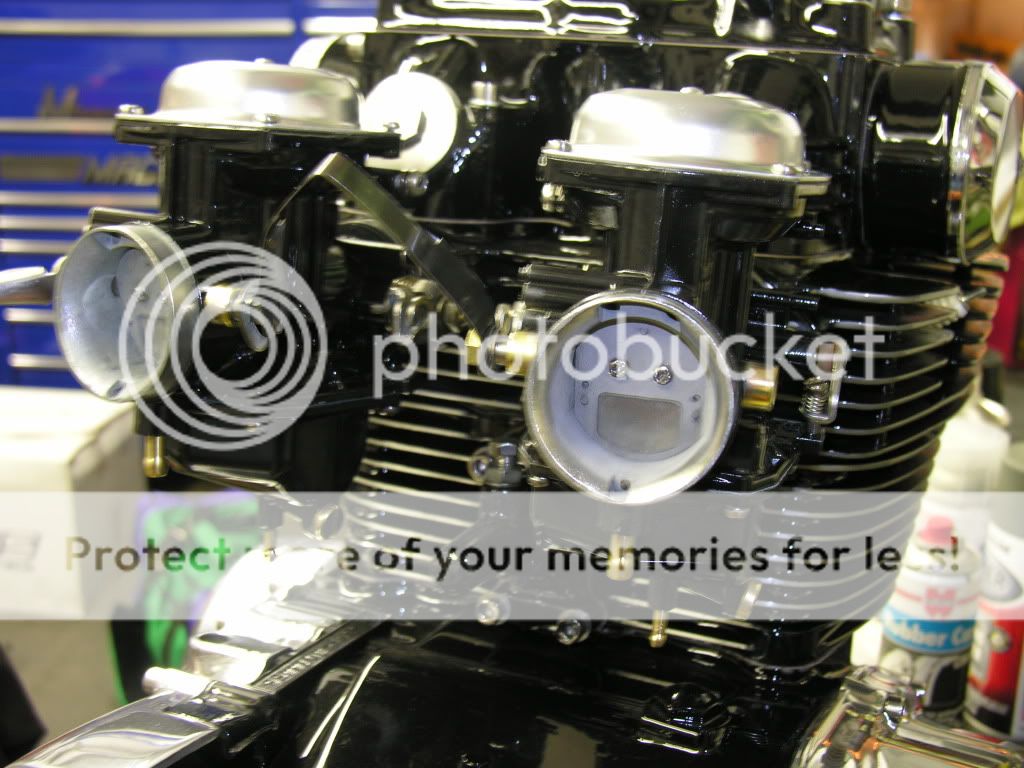
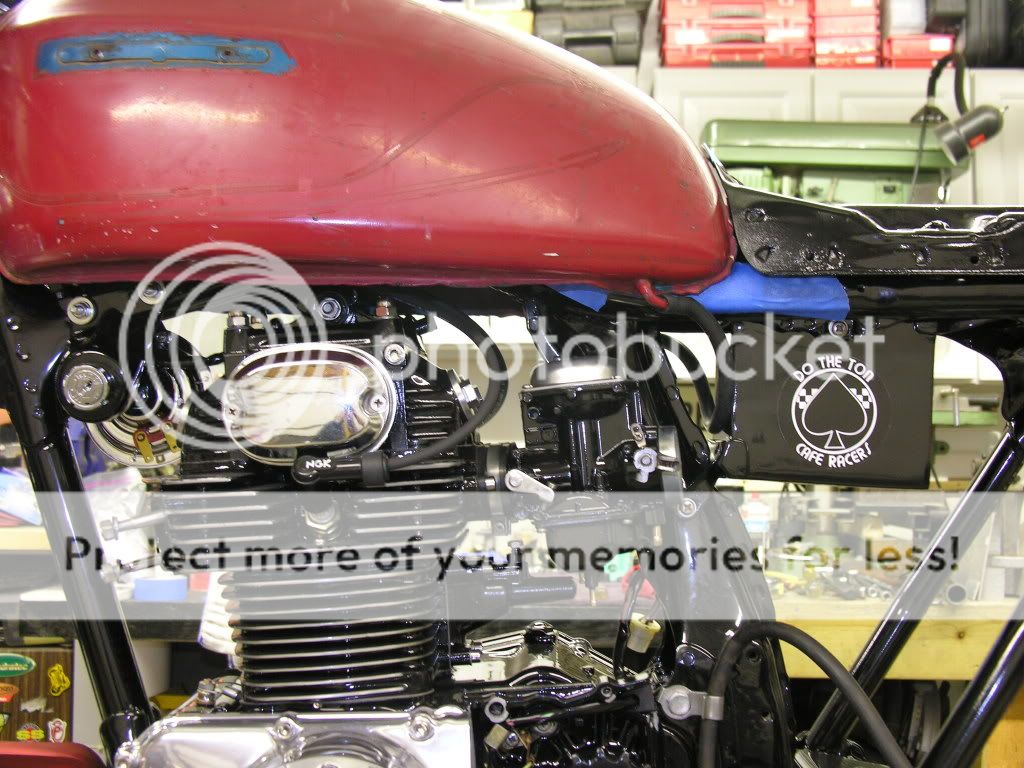
Installed the side covers and carbs just cause I couldn't wait to see how it looked
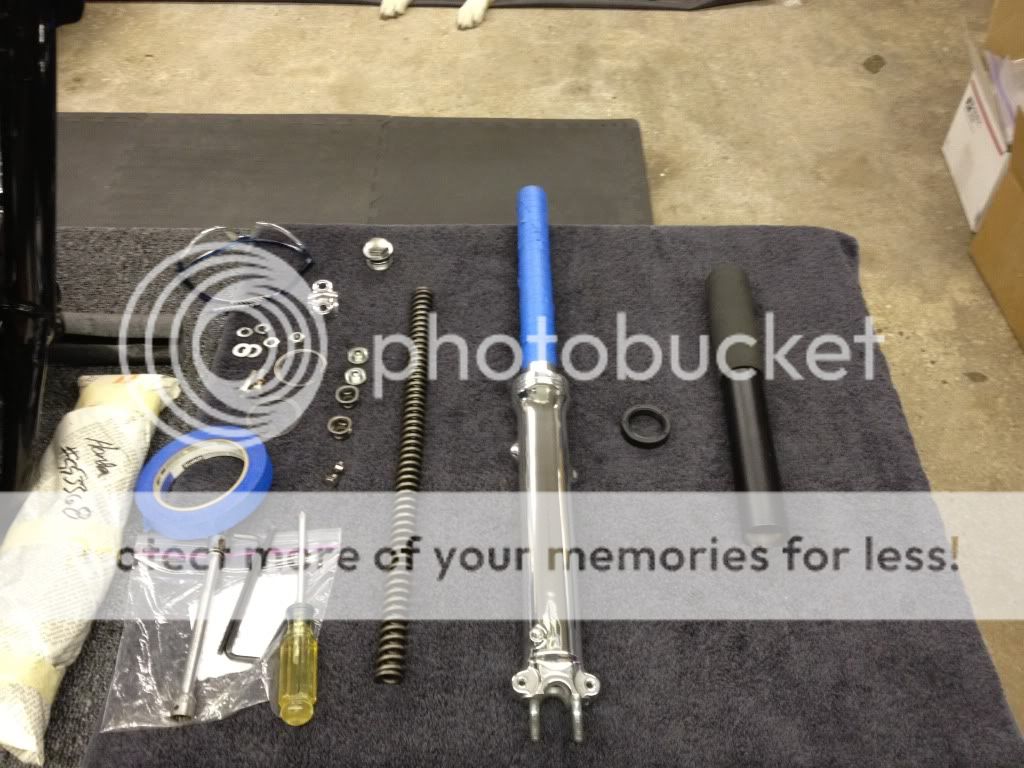
Here is the forks tubes ready to go back together. I used the handle from my swingarm stand to push down the new seal. Worked like a champ. No issues whatsoever.
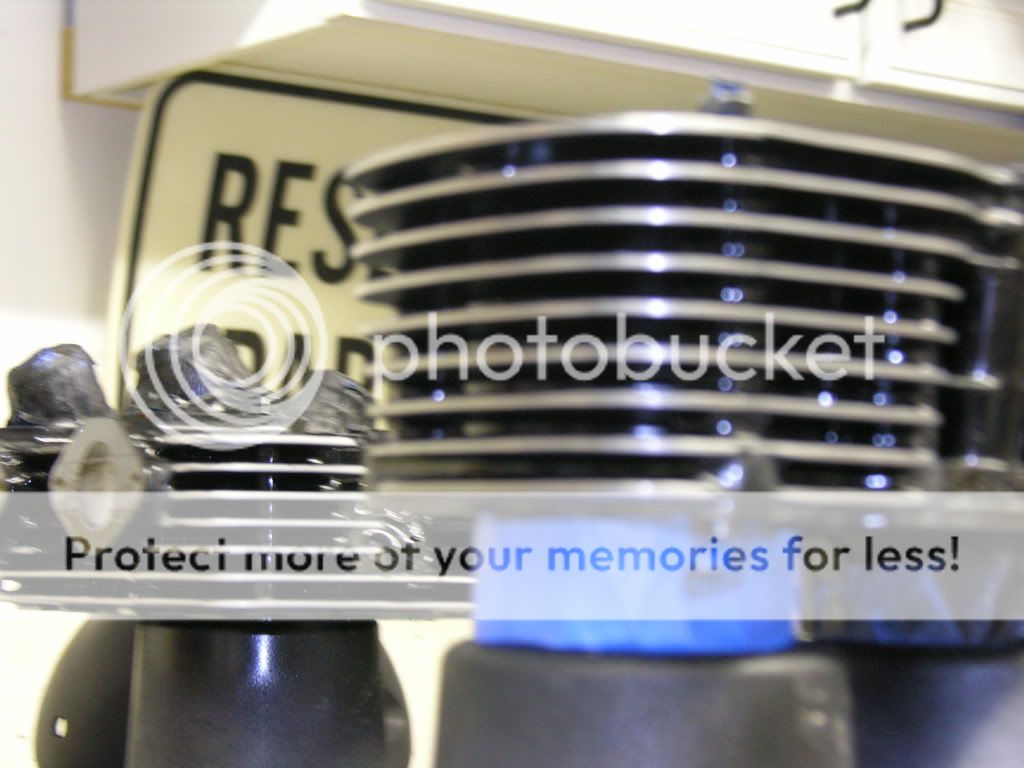
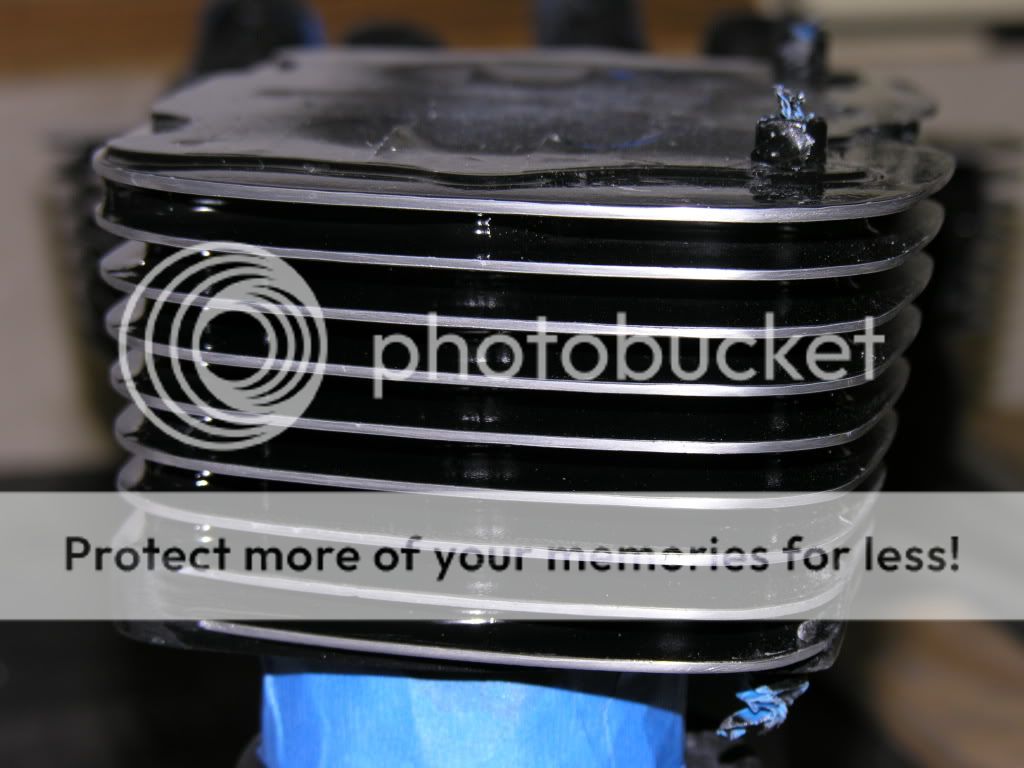
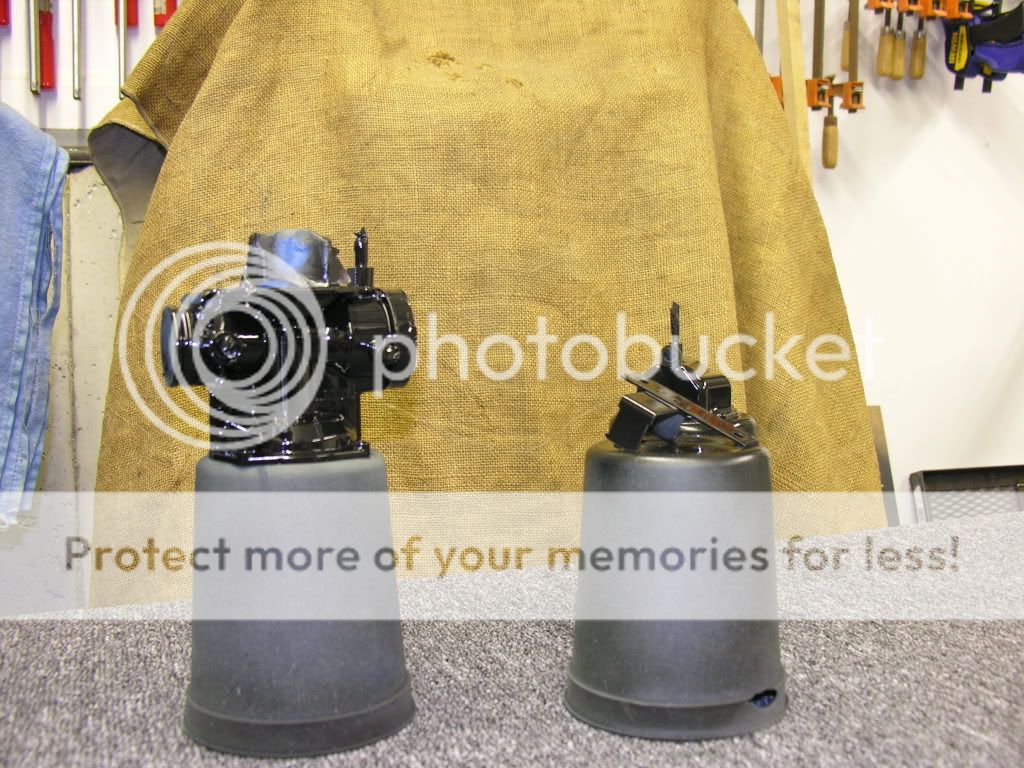
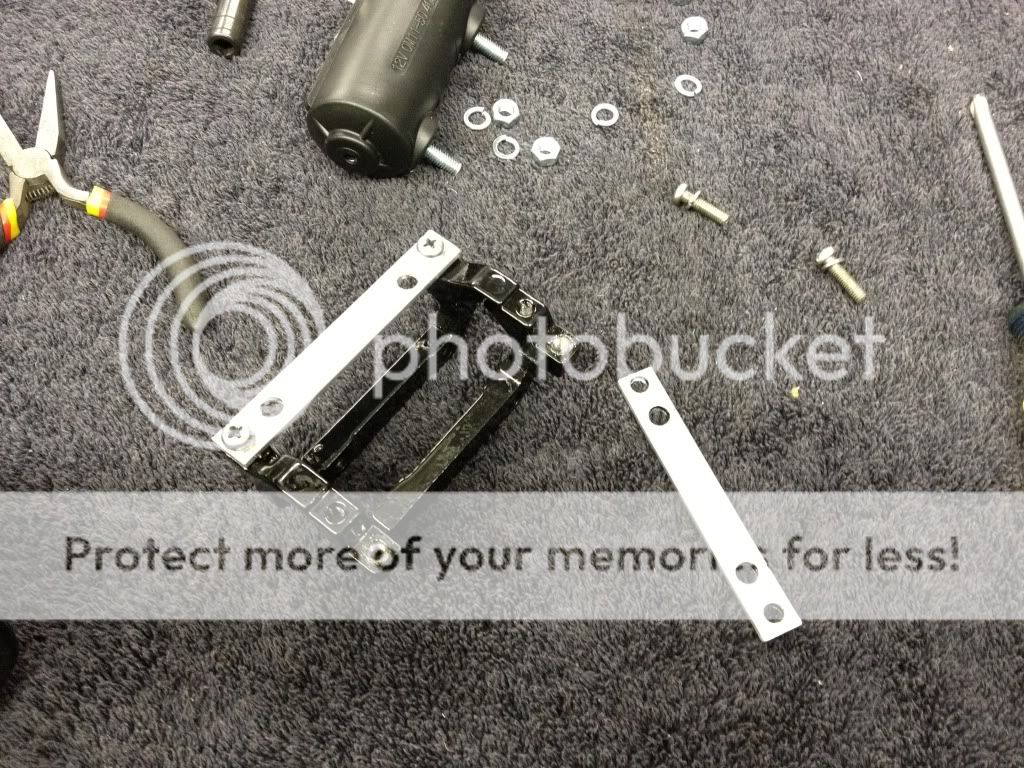
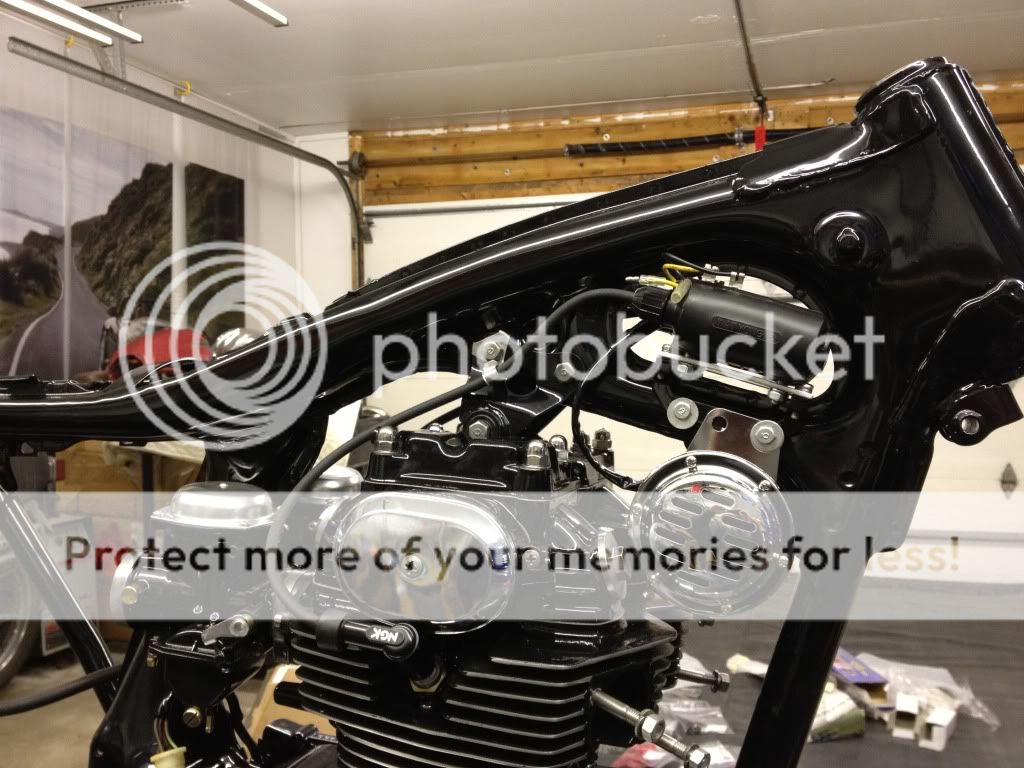
Had to use a simple piece of flatstock to make the new coils fit.
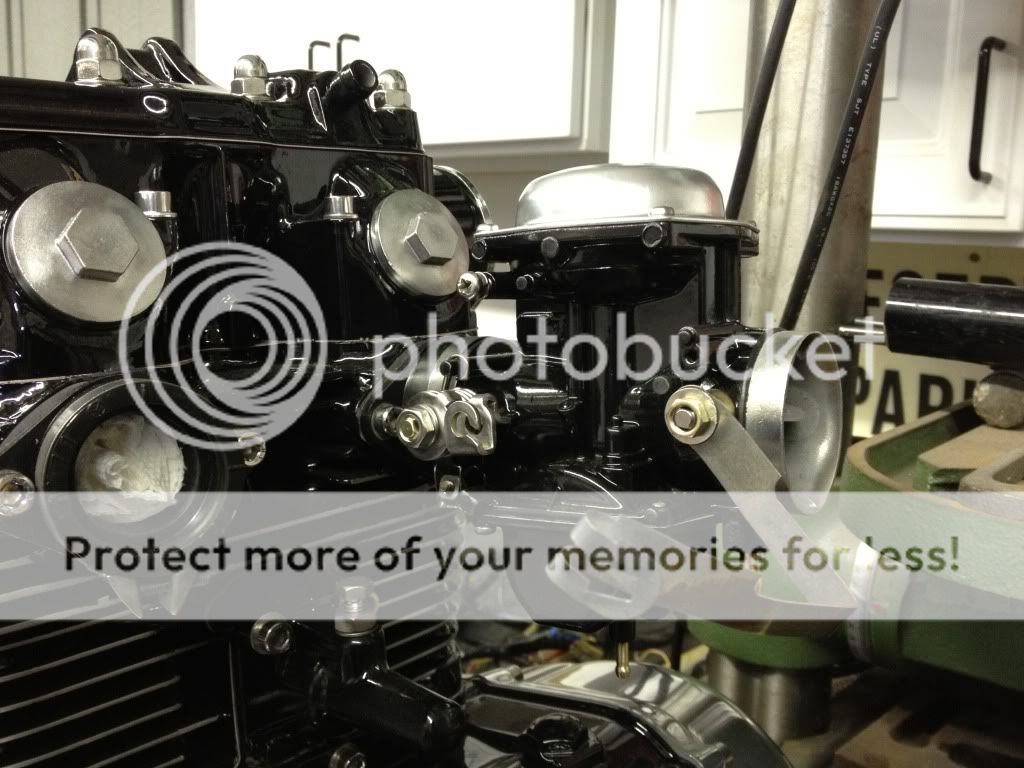
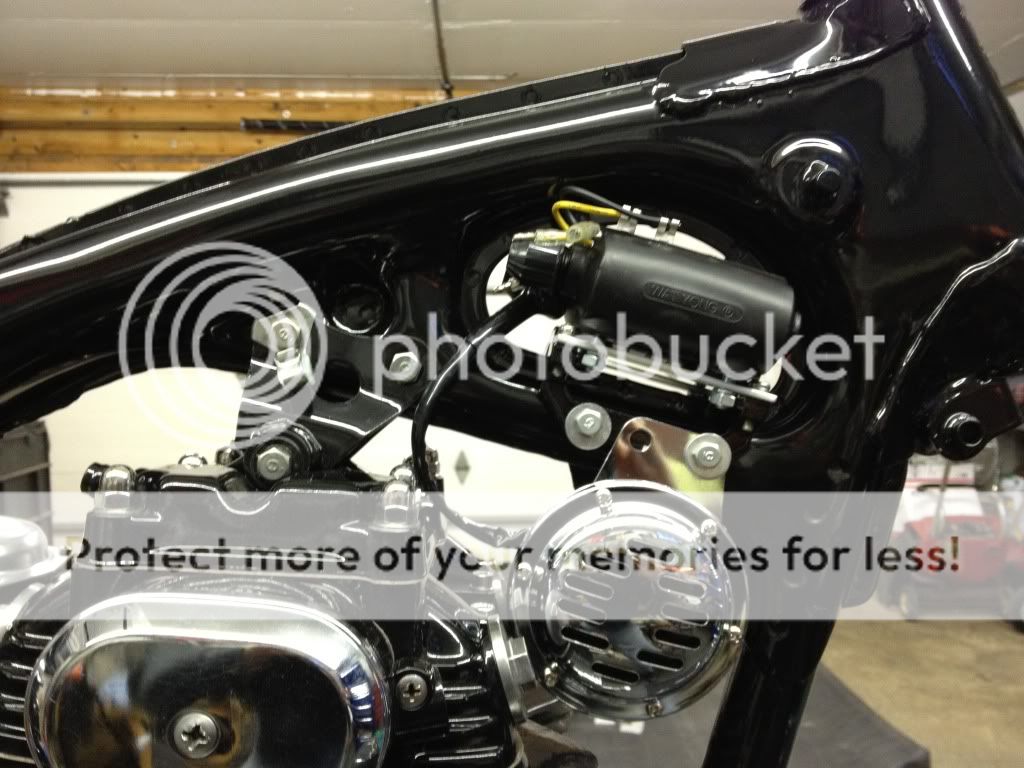
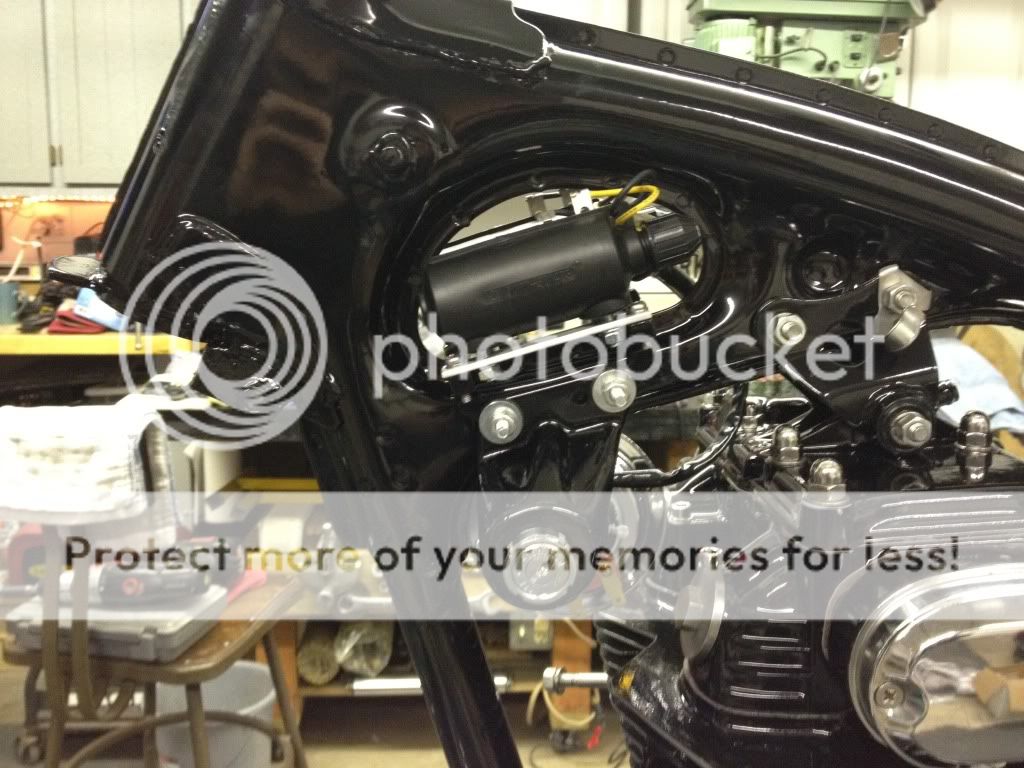
Coils installed along with horn and ignition
Spark plug wires installed:
If you can't see the condensor, that's cause there isn't one. I'm going with a Pamco ignition and it's not needed with his system. Just need to order it but doesn't change anything that I done so far.
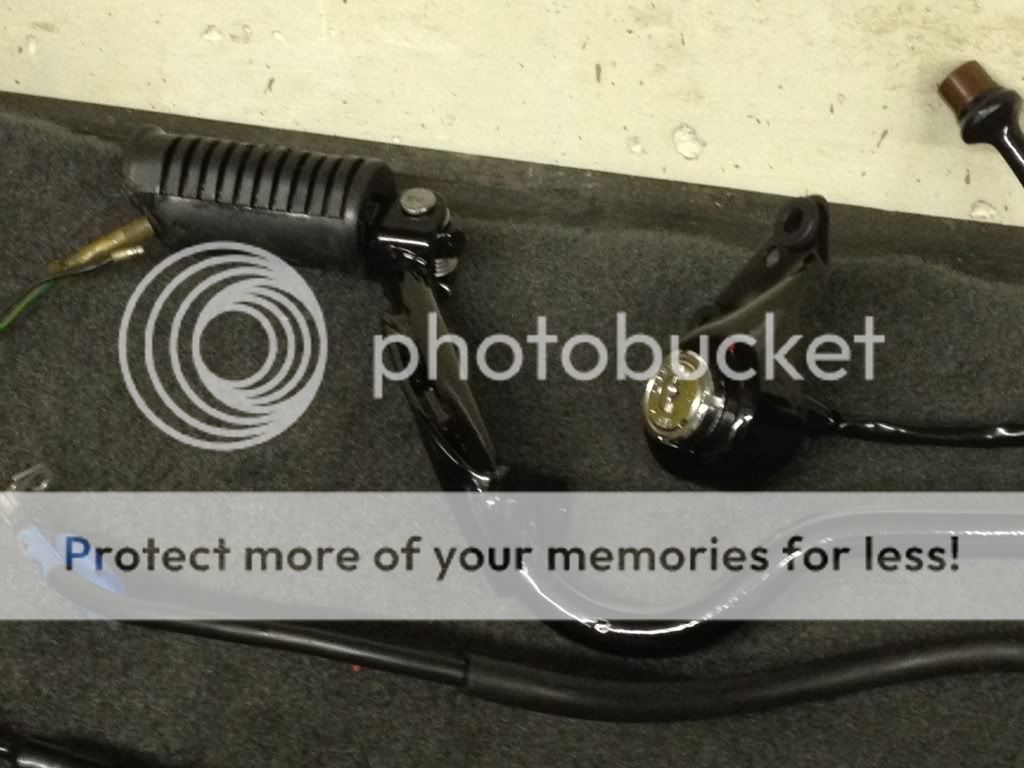
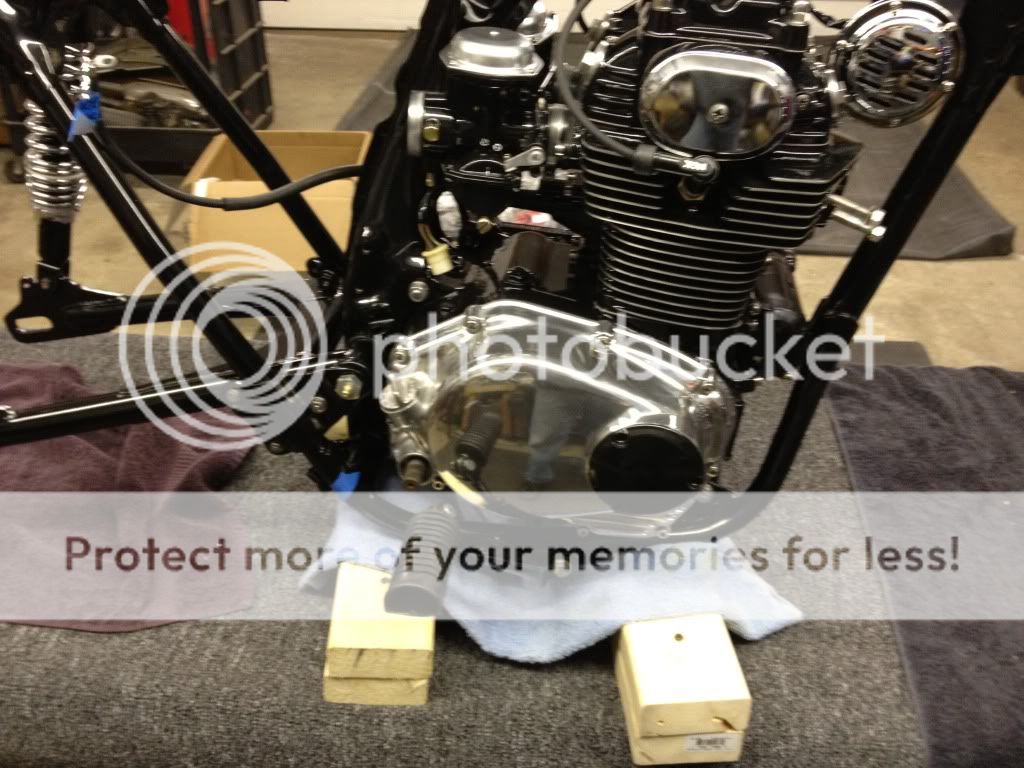
Footpegs installed
Installed the rear shocks and tailight. I installed it just to see how it would look with the tank and seat.
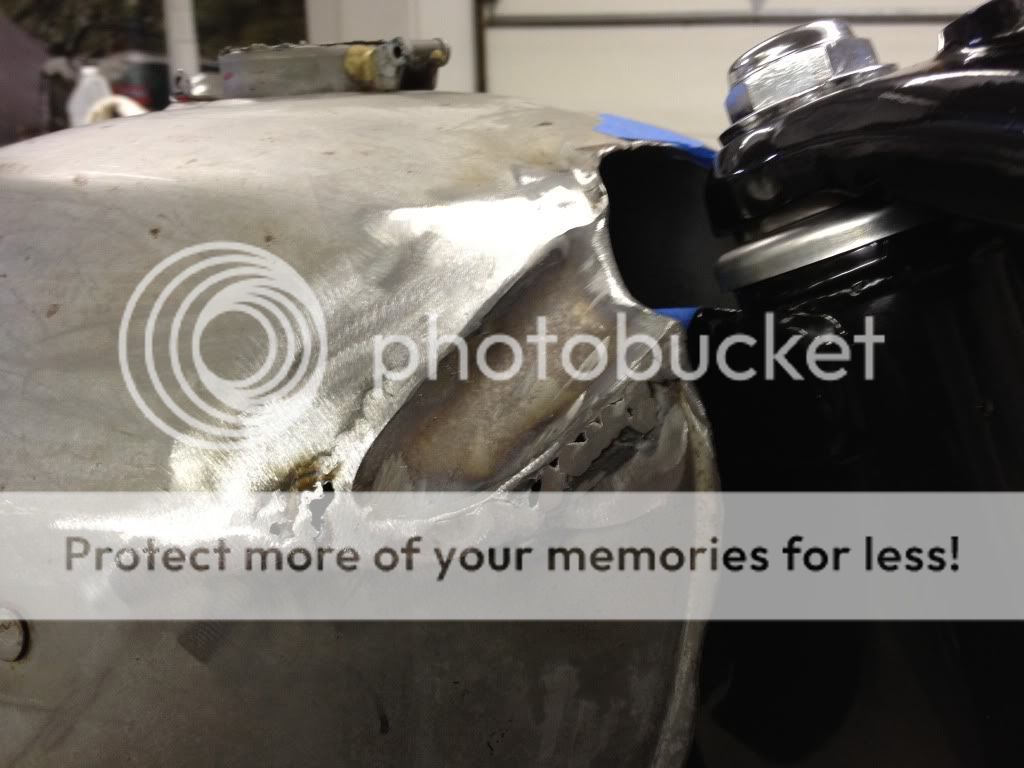
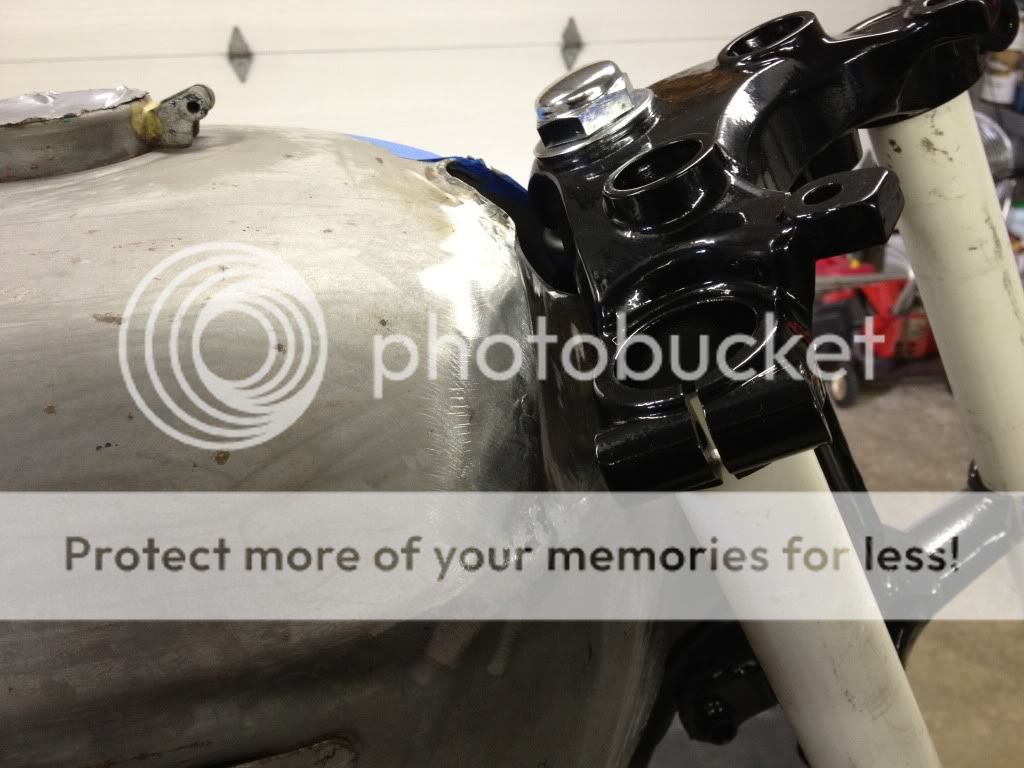
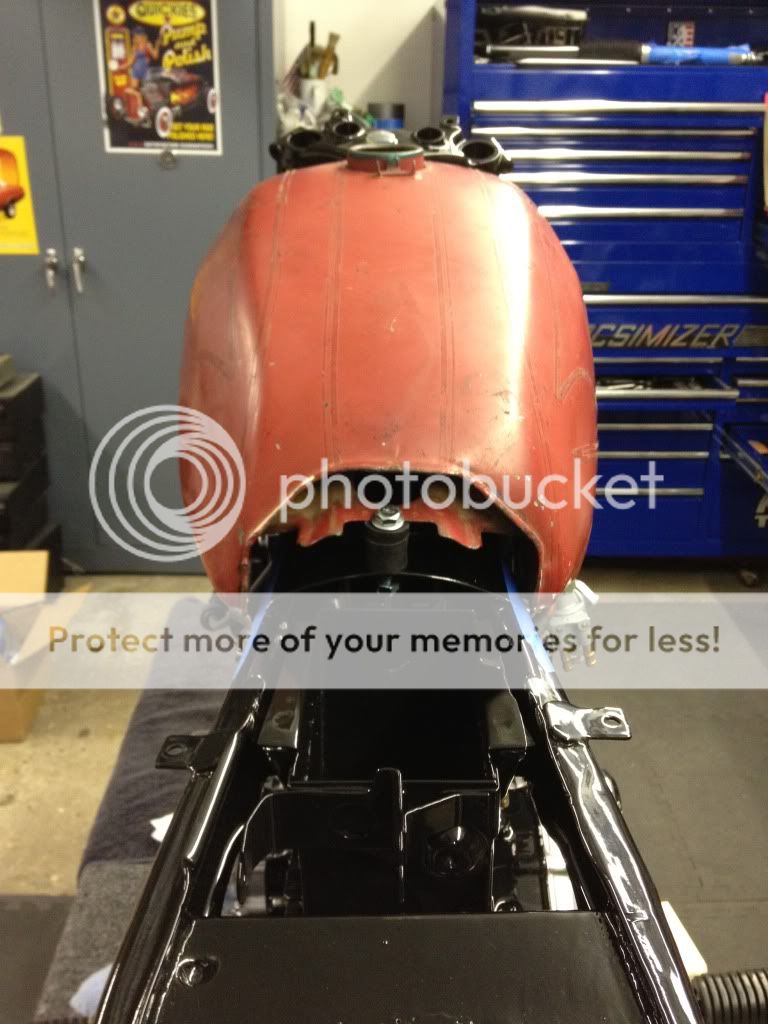
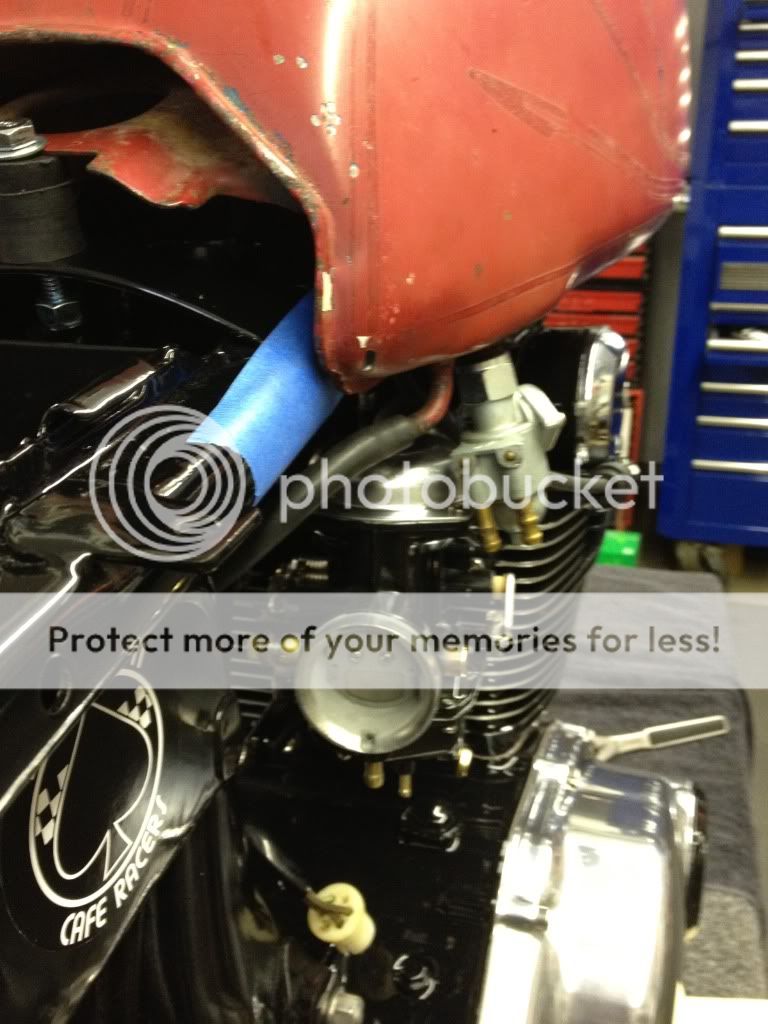
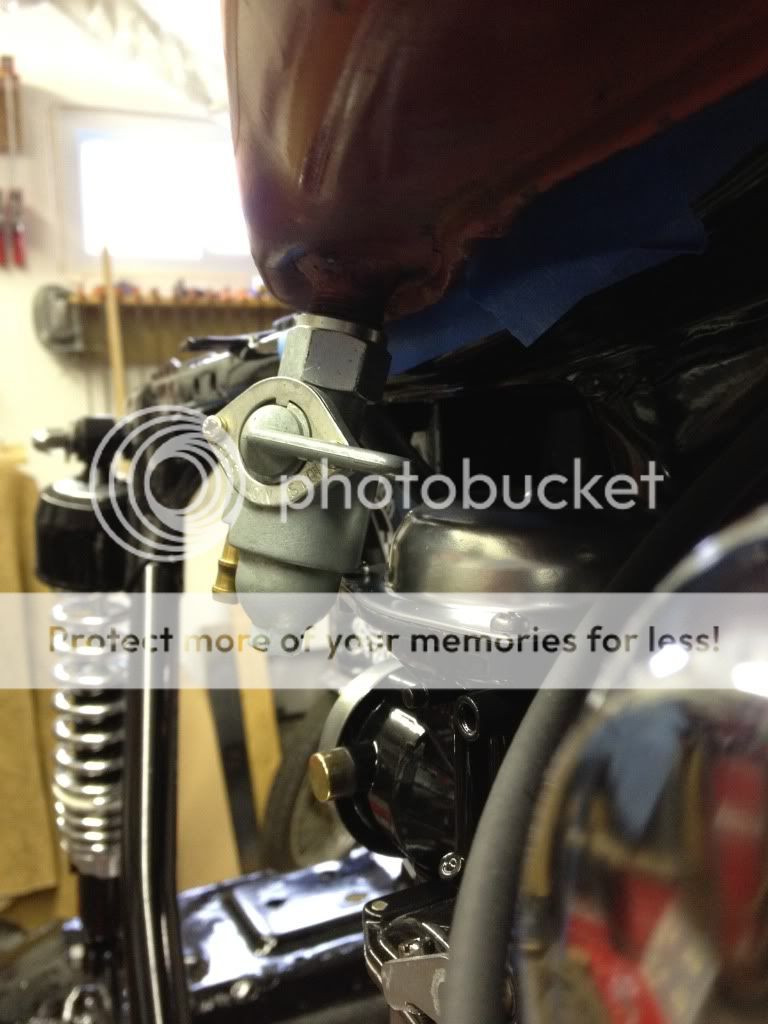
Since I knew the tank and seat would need adjusting and since I wasn't sure how it would look, I installed the tank with a rubber bushing. I needed this to bring the tank a little more level and to make sure the petcock fit. Even with this I didn't have that much room.
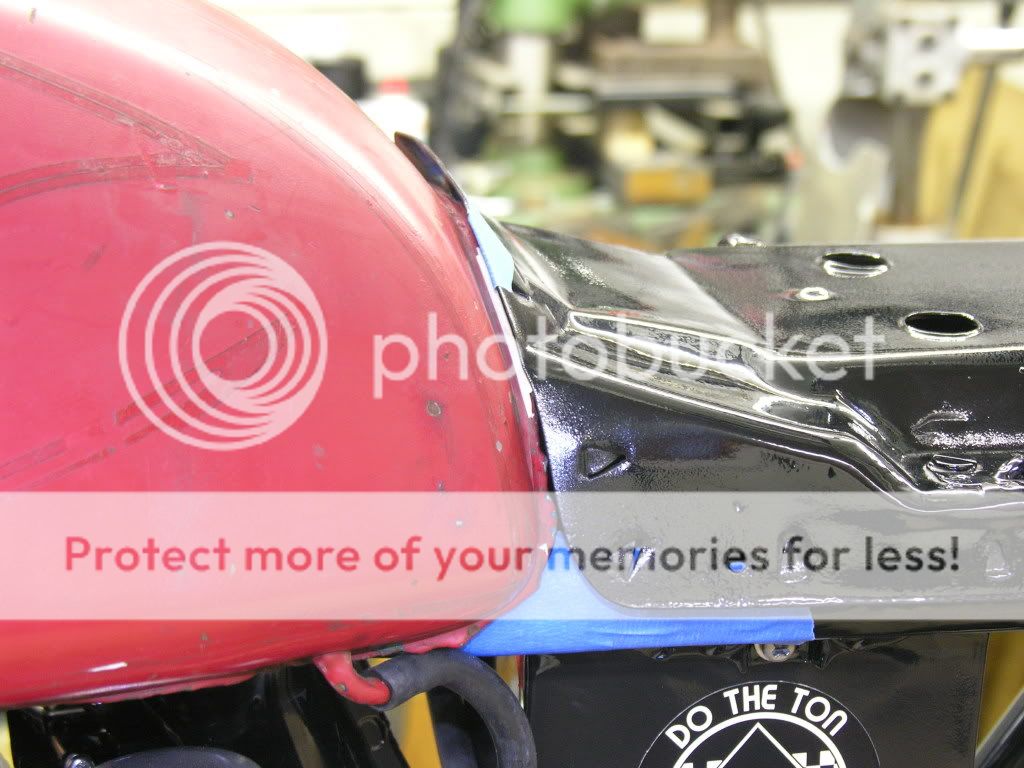
I may still change this. If I can find a different petcock that isn't so tall I may bring the tank back down. You can see in the last pic that I have just a little bit of clearance between the tank and seat. Since the seat will be wrapped I'm hoping it will look seamless.
Take a look at the angle of the tank. I mounted it so it's almost flat. You see more of the top of the motor this way. The old CL350 tank was small and hung low over the motor.
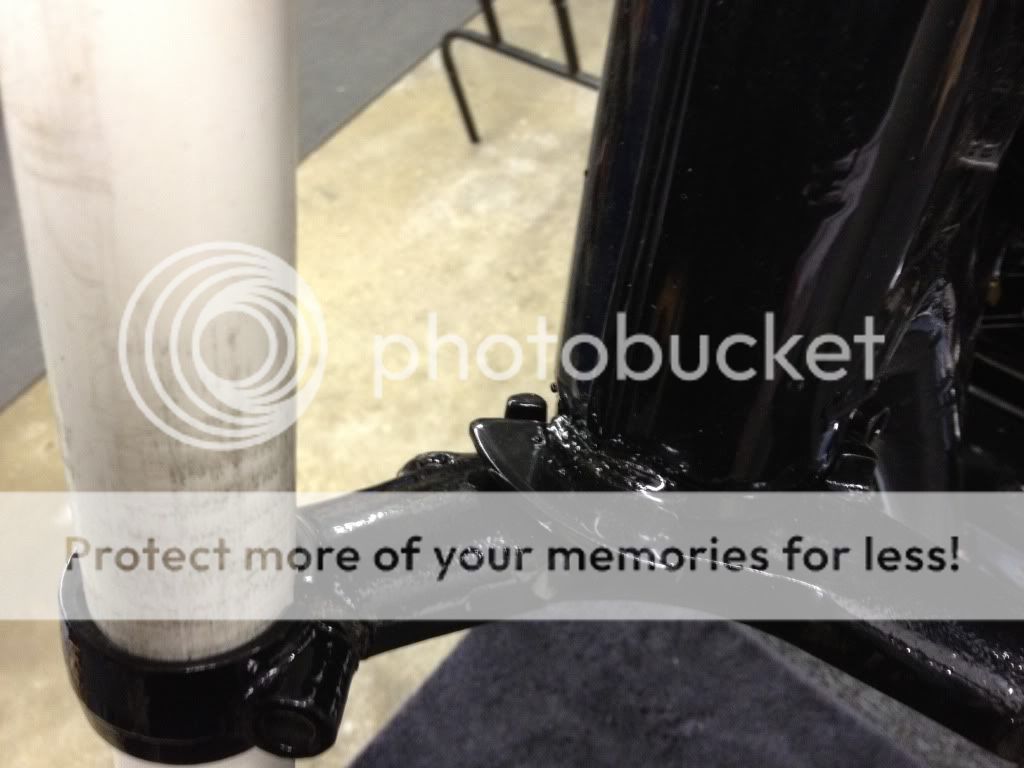
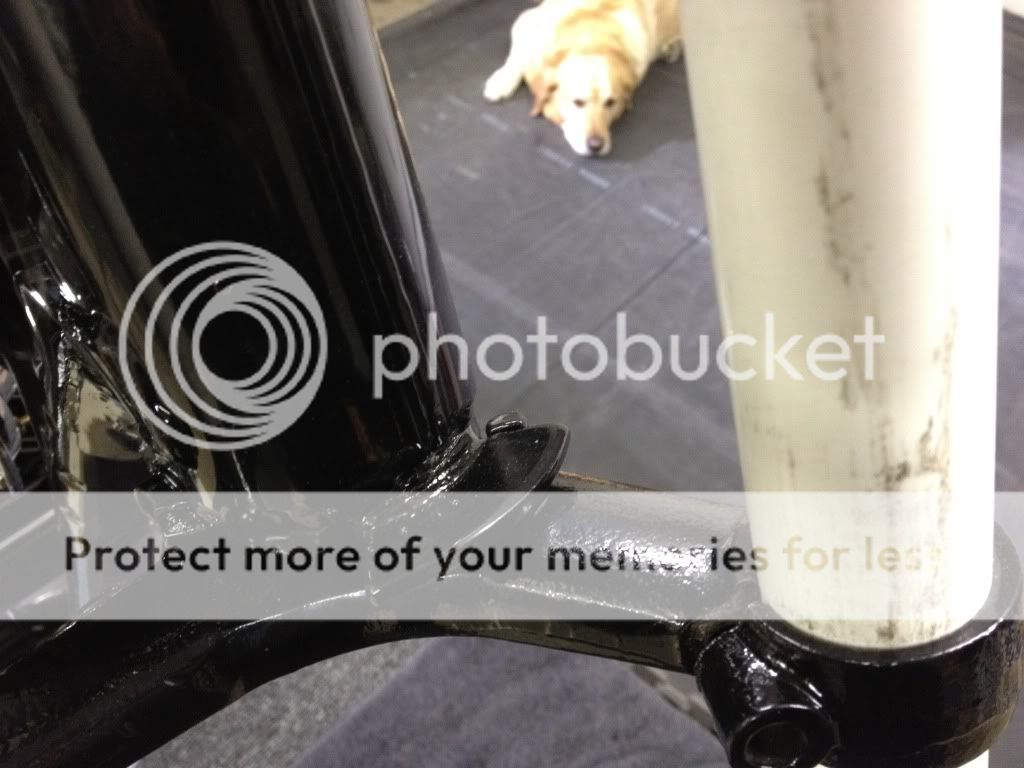
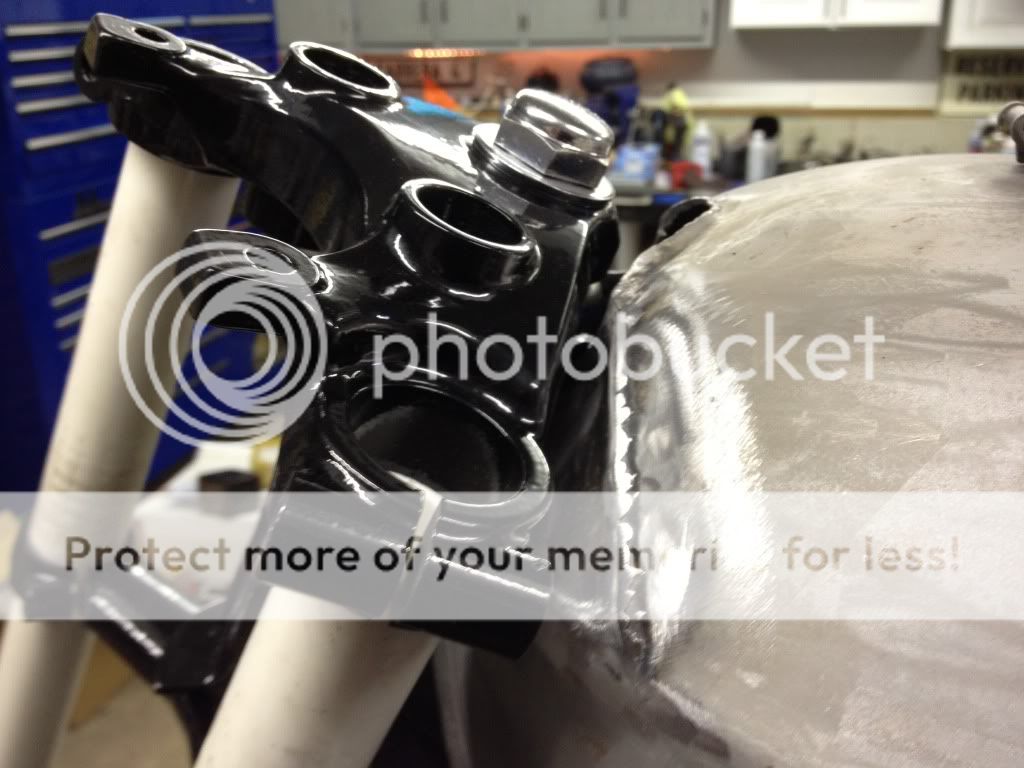
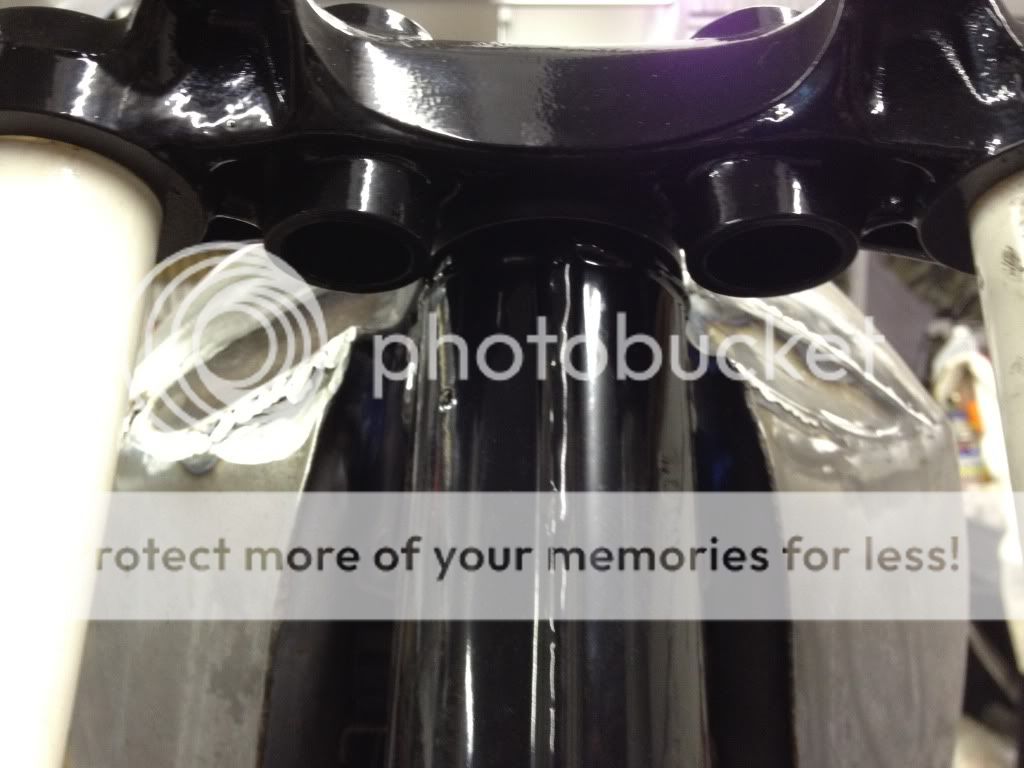
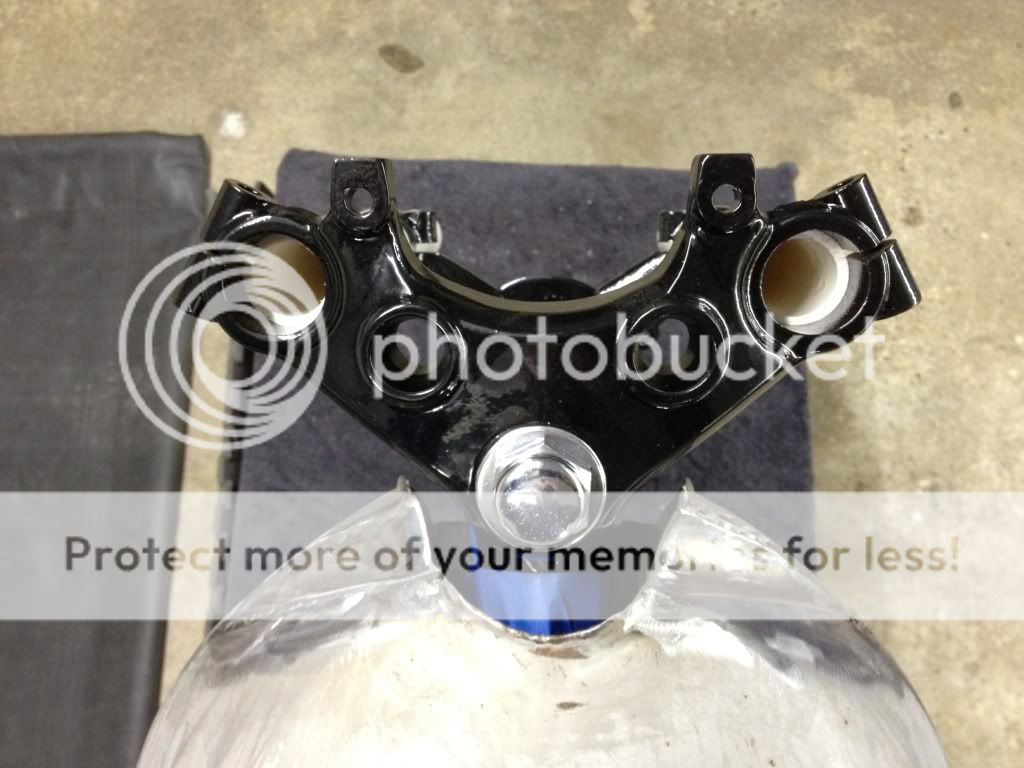
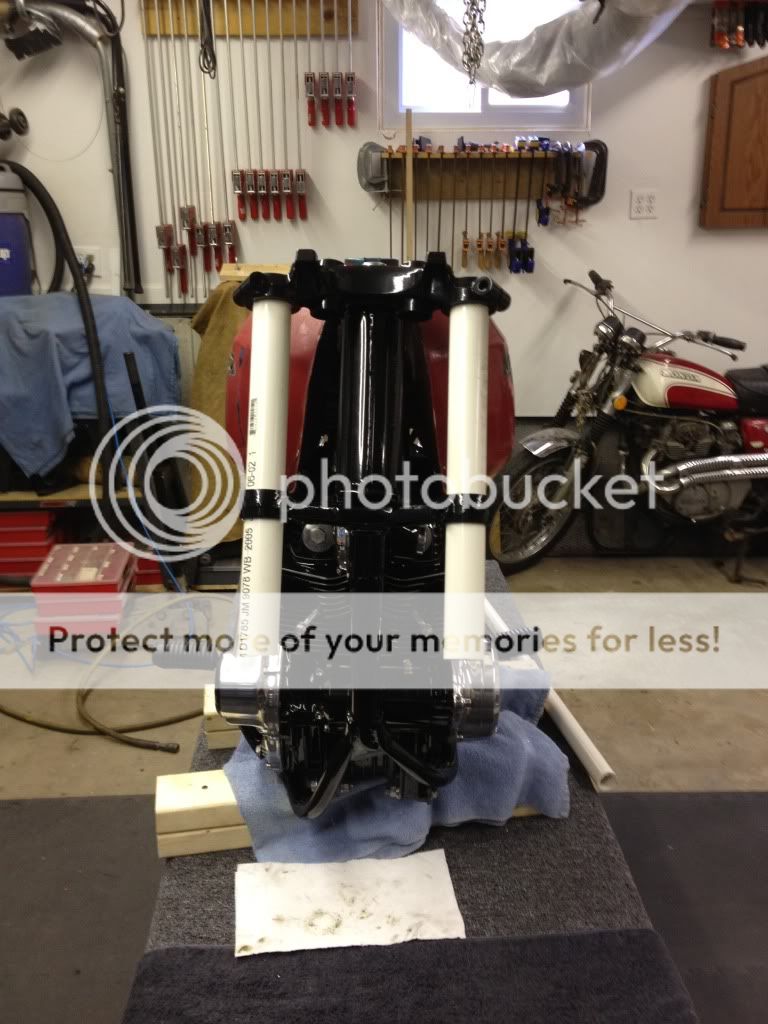
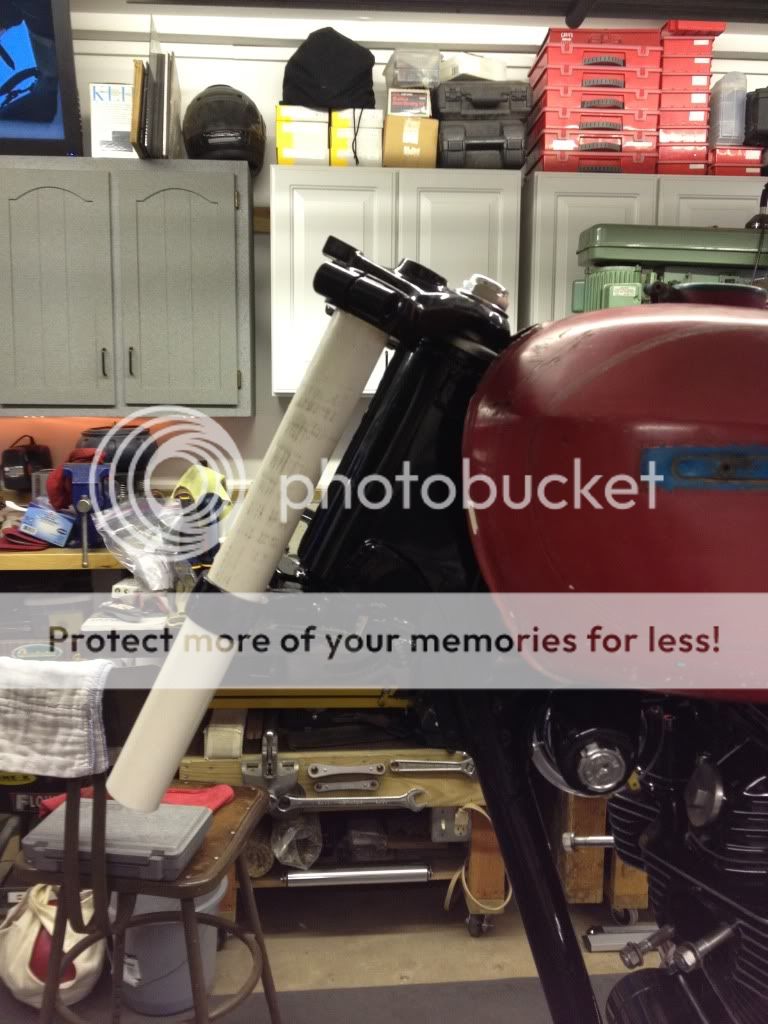
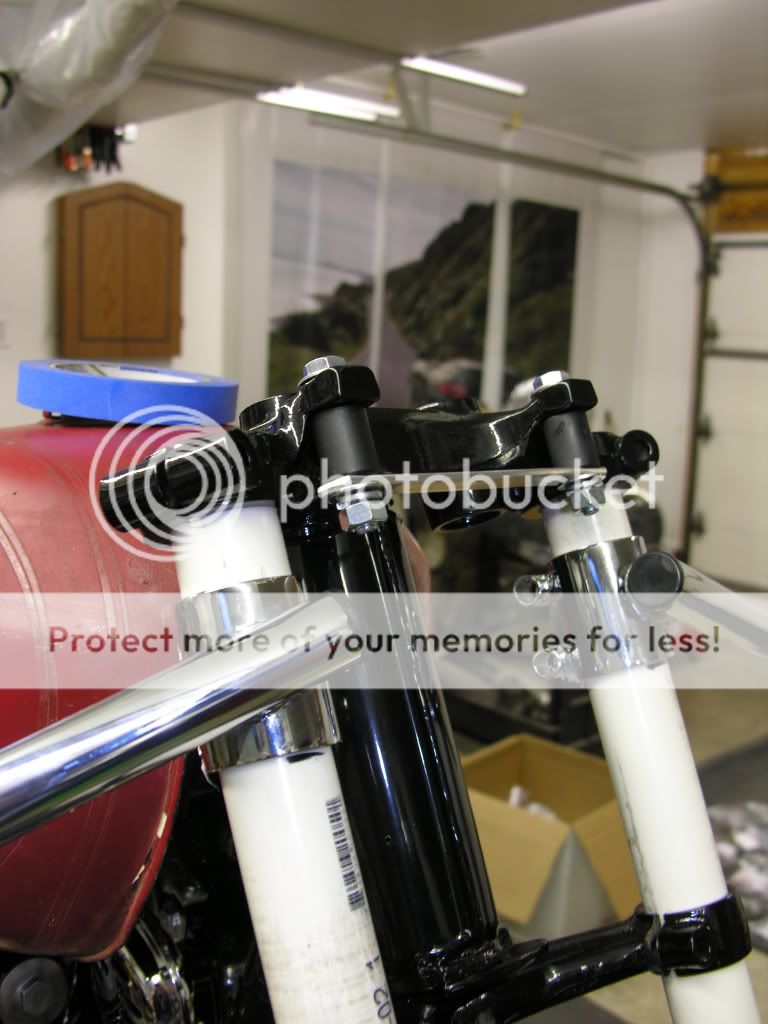
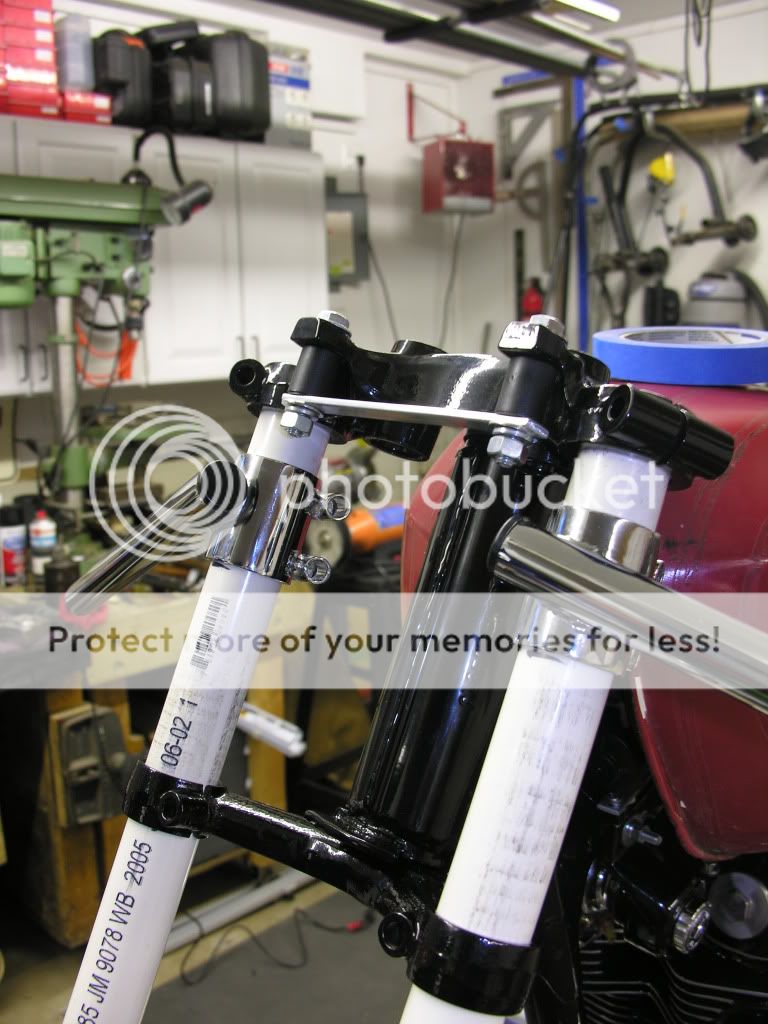
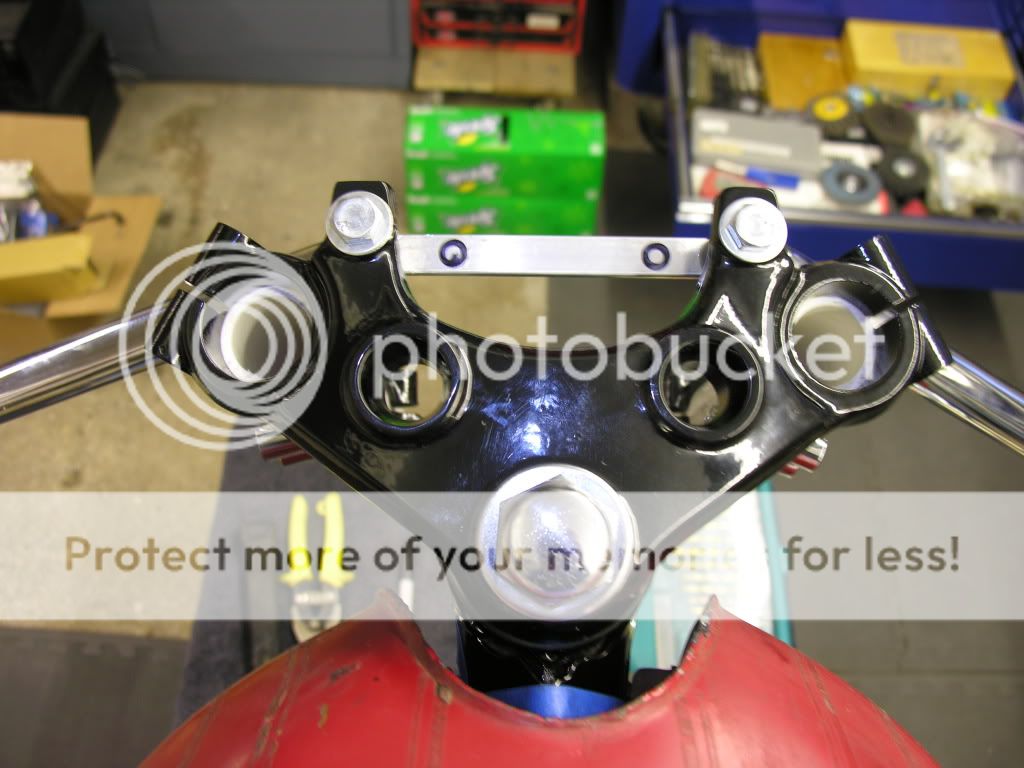
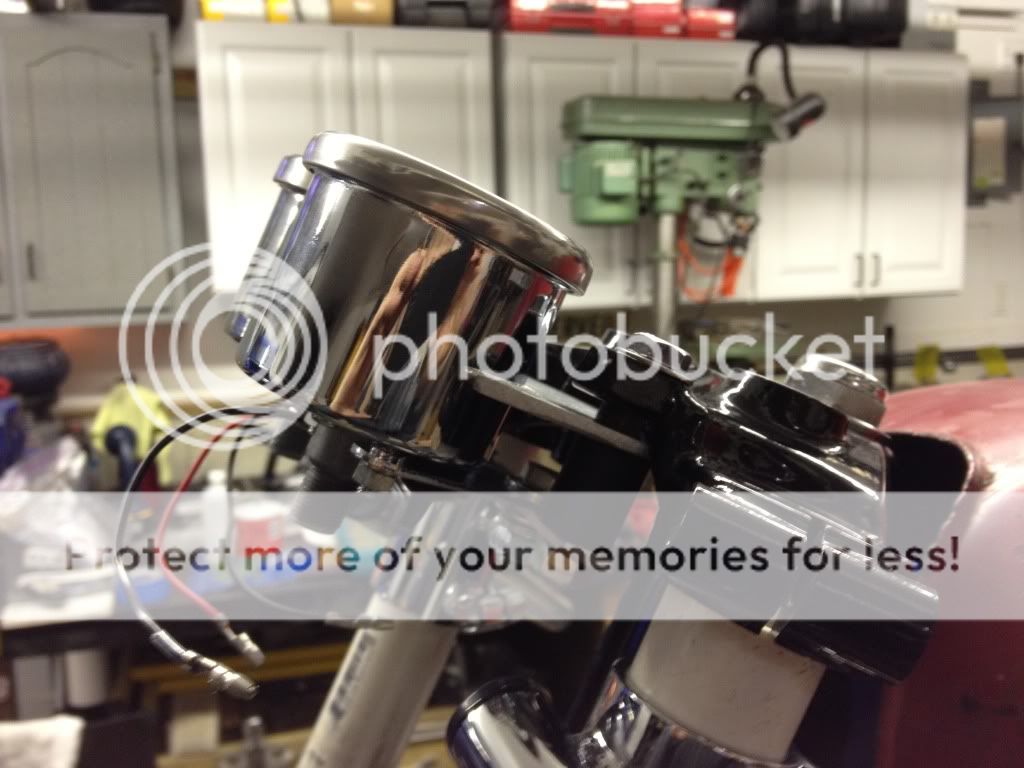
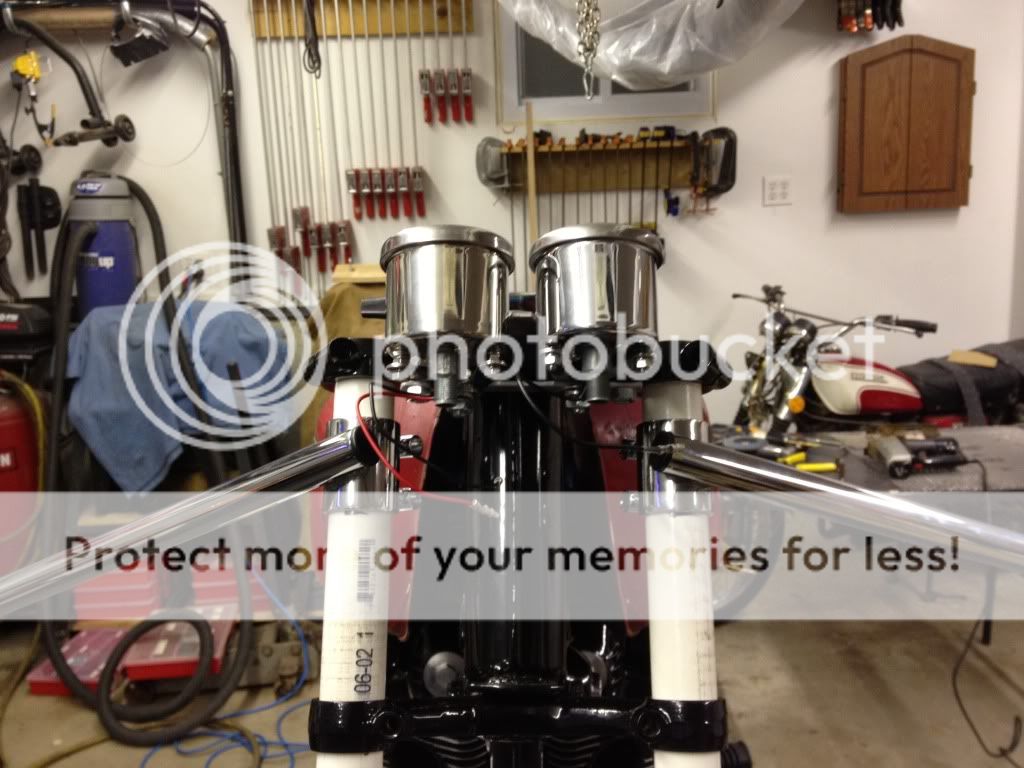
Mocked up the triple trees with PVC for now. I'm still undecided on the look I want. I have two guages, clip ons, mirror mounts and headlight that I may still change. Here is the progress I have so far. This may still change but I'll take opinions from anyone on this. So feel free.
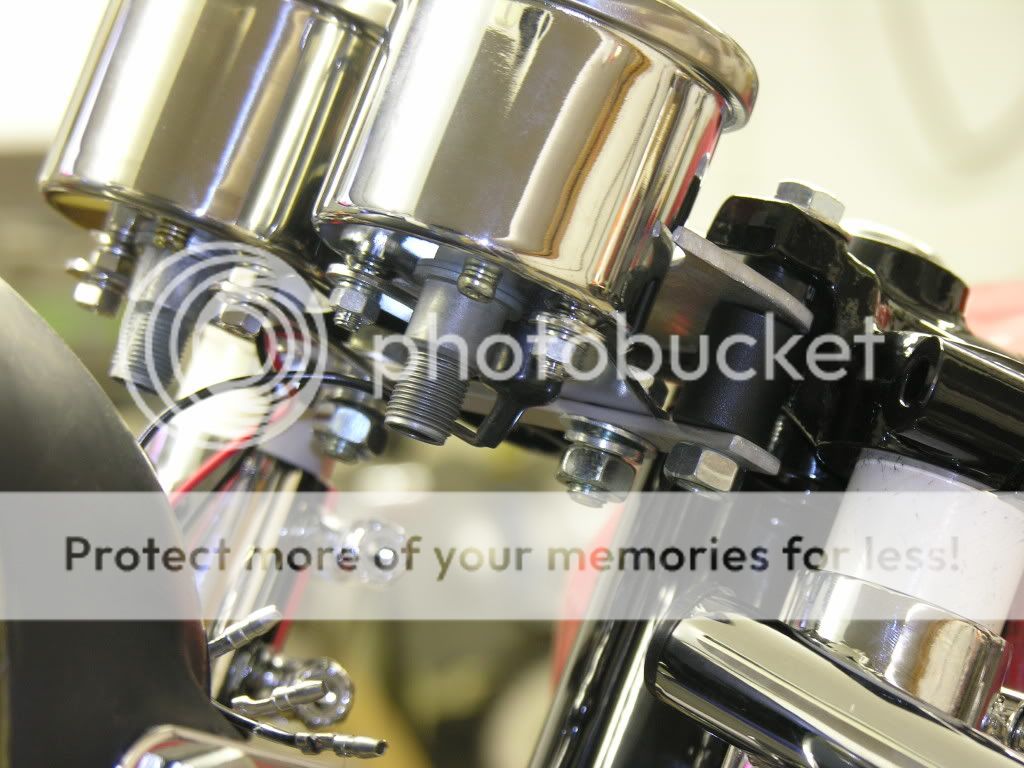
I mounted the clip ons. I also made a temporarly mounted the bar that will hold the gauges.
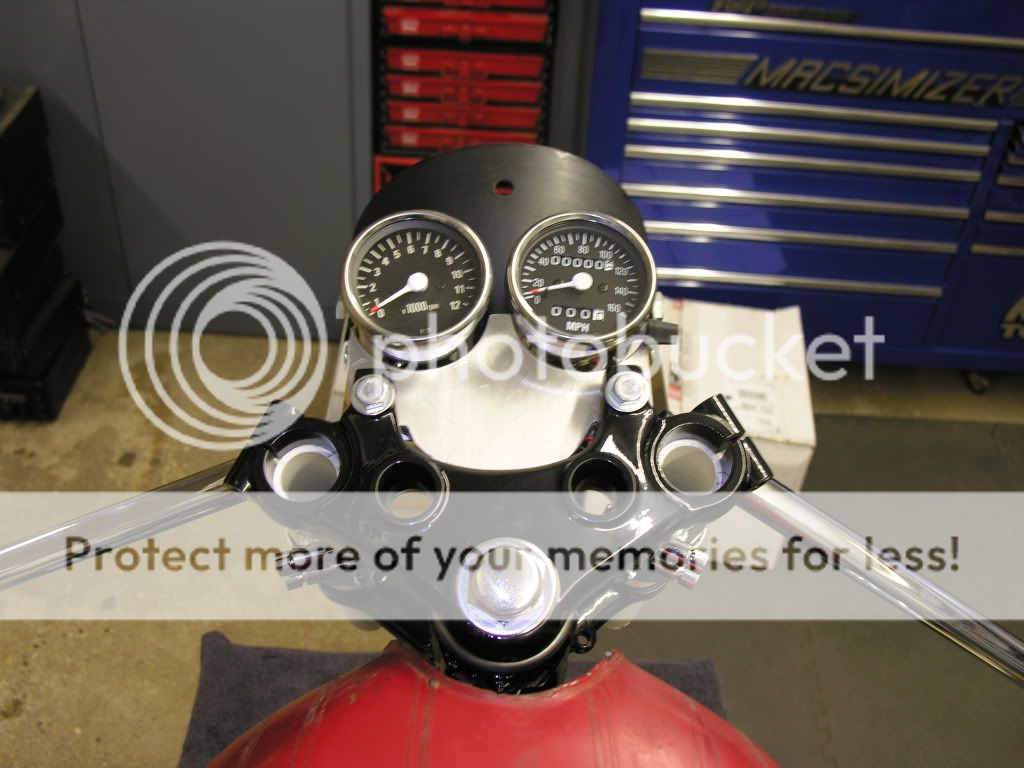
Here are the guages mounted
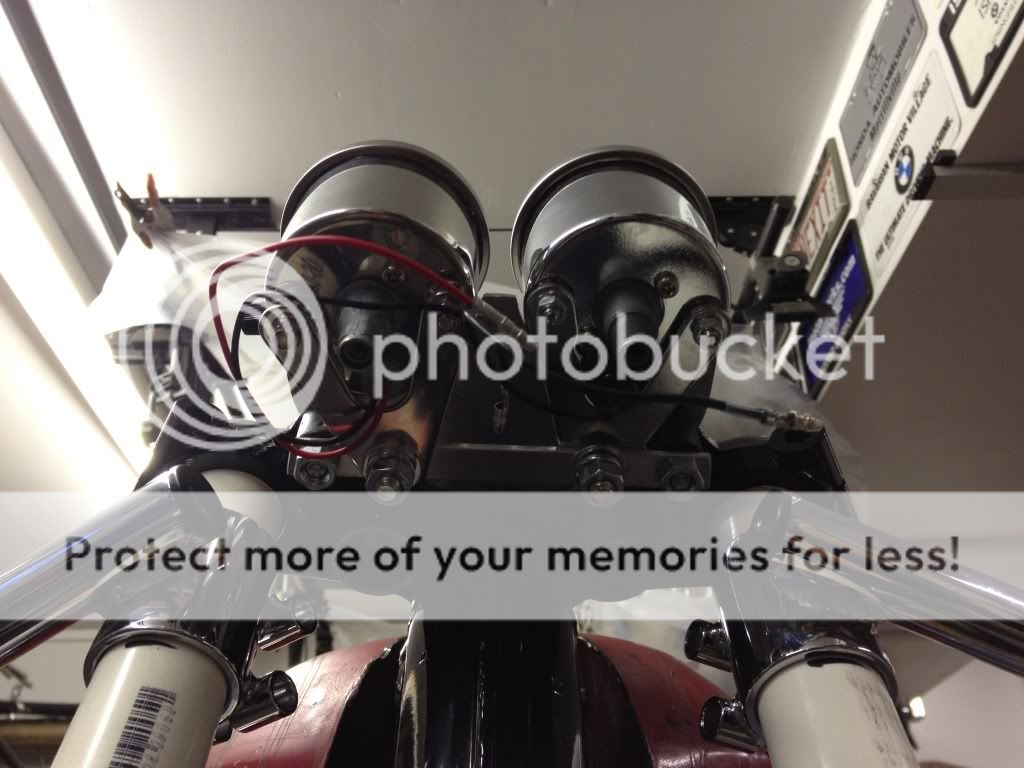
Here is a pic from the top with the headlight mounted and the aluminum piece I made to hide all the open space between the guages and upper tree.
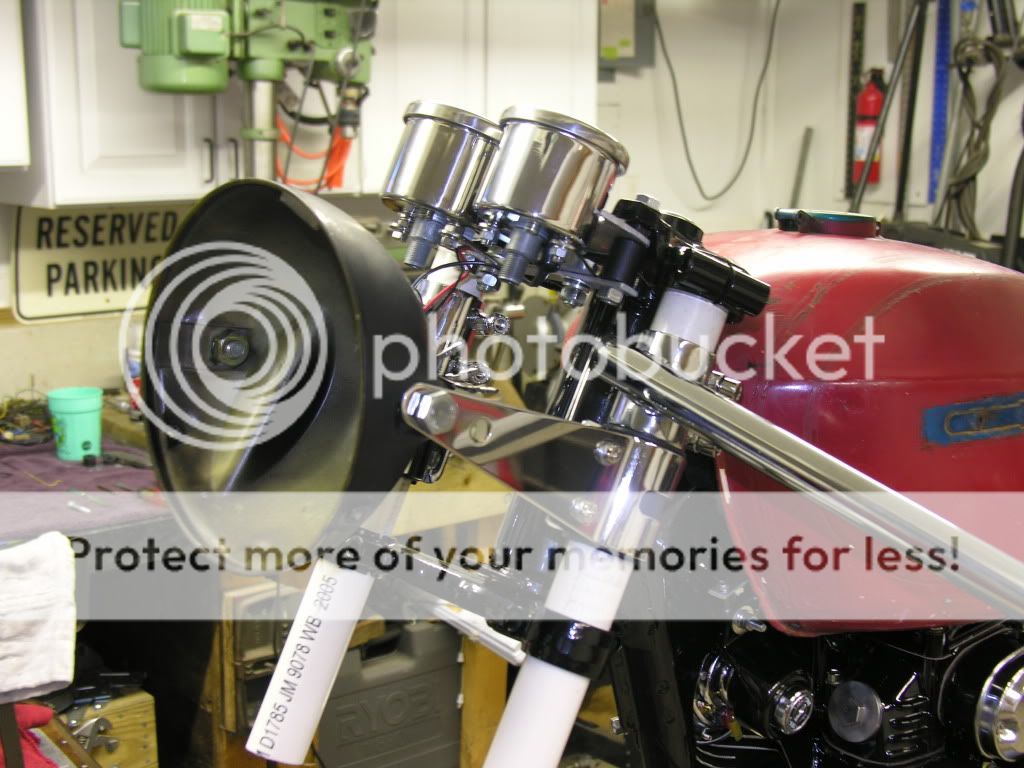
I'm not sure I'm in love with this. I don't like the light mounts. I may go smaller. These are 6in. I'm not sure I like the clip ons. The angle down is what I'm not 100% happy with. I may end up making my own.
As I said, I'm not 100% sure I'm keeping this. Couple of reasons.
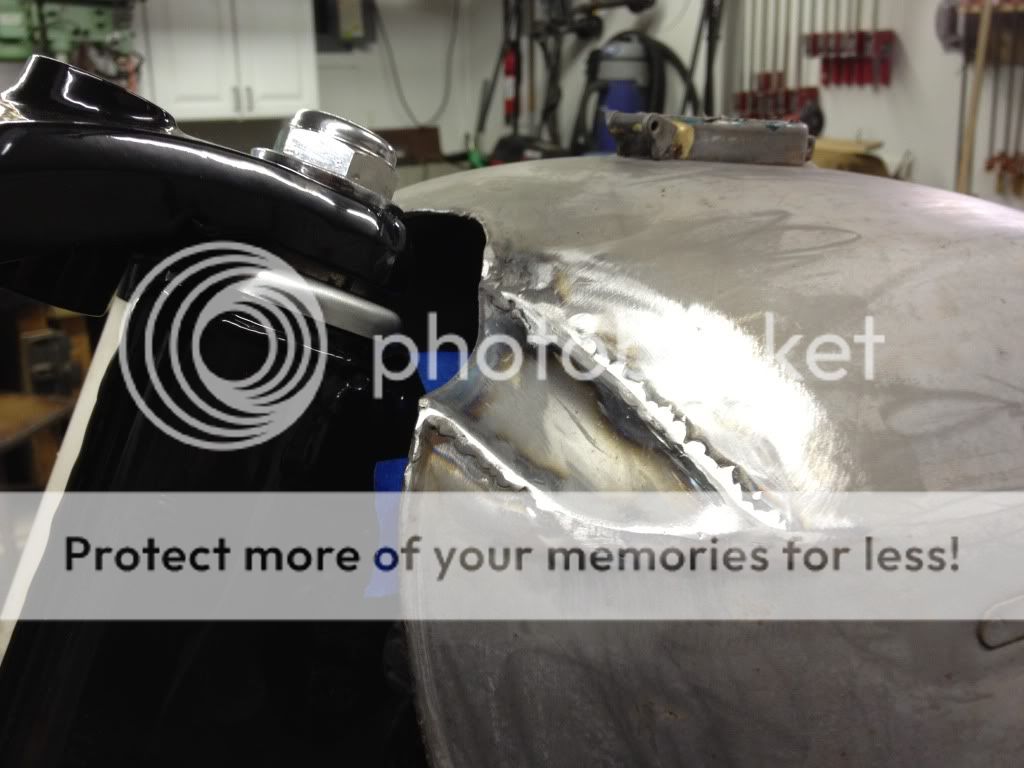
1. The upper tree touches the tank. I believe I can overcome this with some grinding and welding.
2. Don't really like the clip ons. The angle to low and away. In the position you sit on the bike, and me not being very tall, the bars are a good stretch for me. I could probably handle these for about 20min then my back would be killing me.
3. Not 100% on the headlight mount. Would like one a little smaller to get it closer to the gauges.
So far nothing has been really a PITA. The PC has been thick in some spots and some sanding required but not to bad. I may also change the power wire to the starter. The one I installed is the factory one but I may change the way the wire is run.
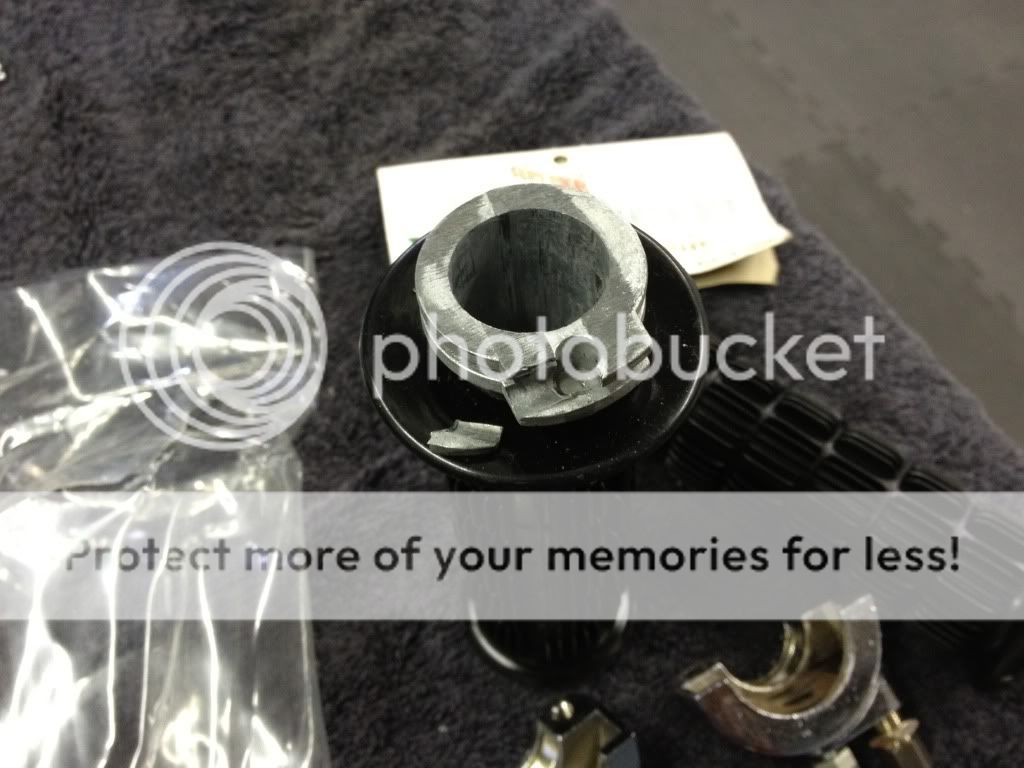
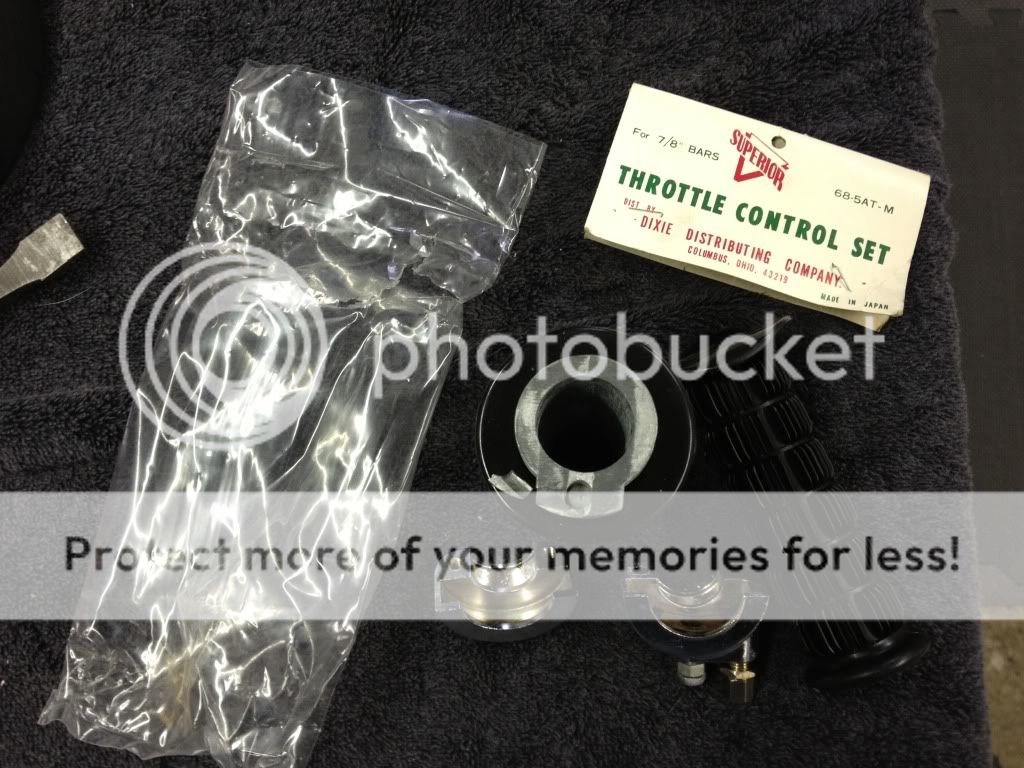
Only bad thing was when I pulled out my new grips I noticed something in the bag. I looked closer and saw this:
I will just have to return it a get a different one. The guys at DCC are the best. I recently got a Cafe Racer DVD from my mom as a gift. They replaced it free of charge and sent it up with my new order. Really cool guys and always get my orders in about 3 days! I highly recommend them!
So that's it for now. More to come.........


")