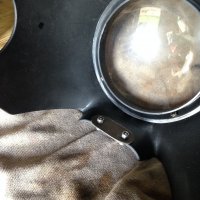
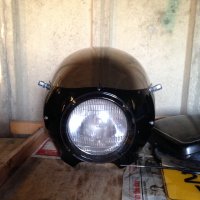
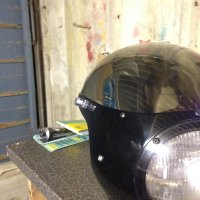
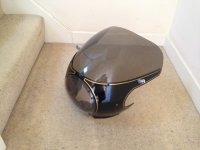
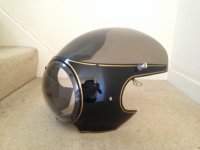
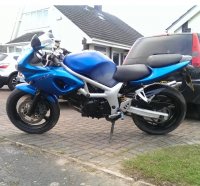
lpooking good the fairing will fine once you get it mounted right from side view the line at the join of screen should be plumb lrevel and those bars are too low to be safe anywhere but a racetrack , your life will be in danger in traffic with bars silly low like that
you will be sitting up trying to see over cars and doing that will have your neck in pain from tilting head back and your elbows will be locked straight giving you virtually zero control needed in an avoidance situation
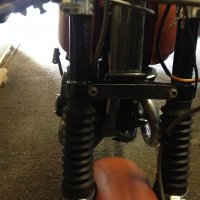
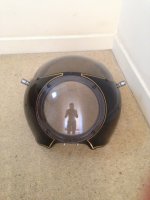
and yes the splash guard will defo be taken out by the tire i already told you that didn't i ?
you will be sitting up trying to see over cars and doing that will have your neck in pain from tilting head back and your elbows will be locked straight giving you virtually zero control needed in an avoidance situation
and yes the splash guard will defo be taken out by the tire i already told you that didn't i ?
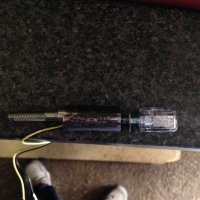
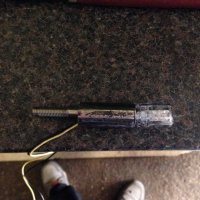
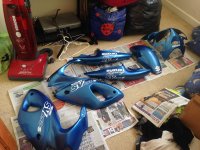
 Note - measure twice cut once works best in a WELL LIT garage, so you don't confuse dust/crap/something as your mark for drilling! :-[