MinneMotors
New Member
Awesome Thanks Trek! I'll go pick some up. I saw 2 videos, one where the guy taped off the fins, and another where he ground them after. Would you recommend one over the other?
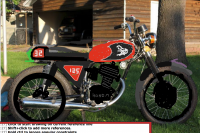
MinneMotors said:How hard would it be to lean my rear shocks forward about 5 degrees? I want to match the angle on the front of the frame.
I kind of tried to draw it in my mock up.
MinneMotors said:Awesome Thanks Trek! I'll go pick some up. I saw 2 videos, one where the guy taped off the fins, and another where he ground them after. Would you recommend one over the other?
")
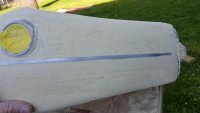
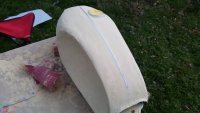
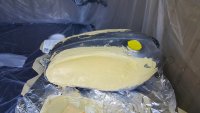
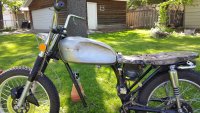
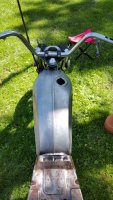
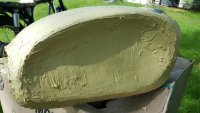
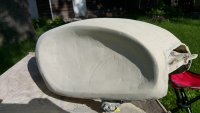
BarnBurner said:Your project is coming along well. My advice would be to sand that tank down a bunch more before you think about using any glazing putty. Those troughs are cause by your uneven application of filler, which is normal for an amateur application. The low spots are where you should be sanding down to.