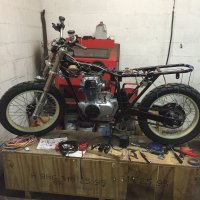
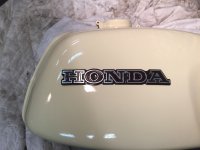
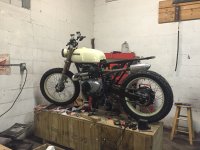
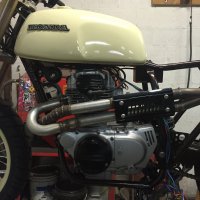
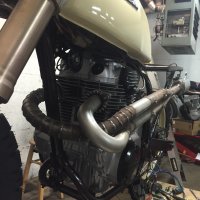
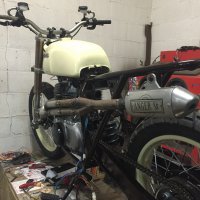
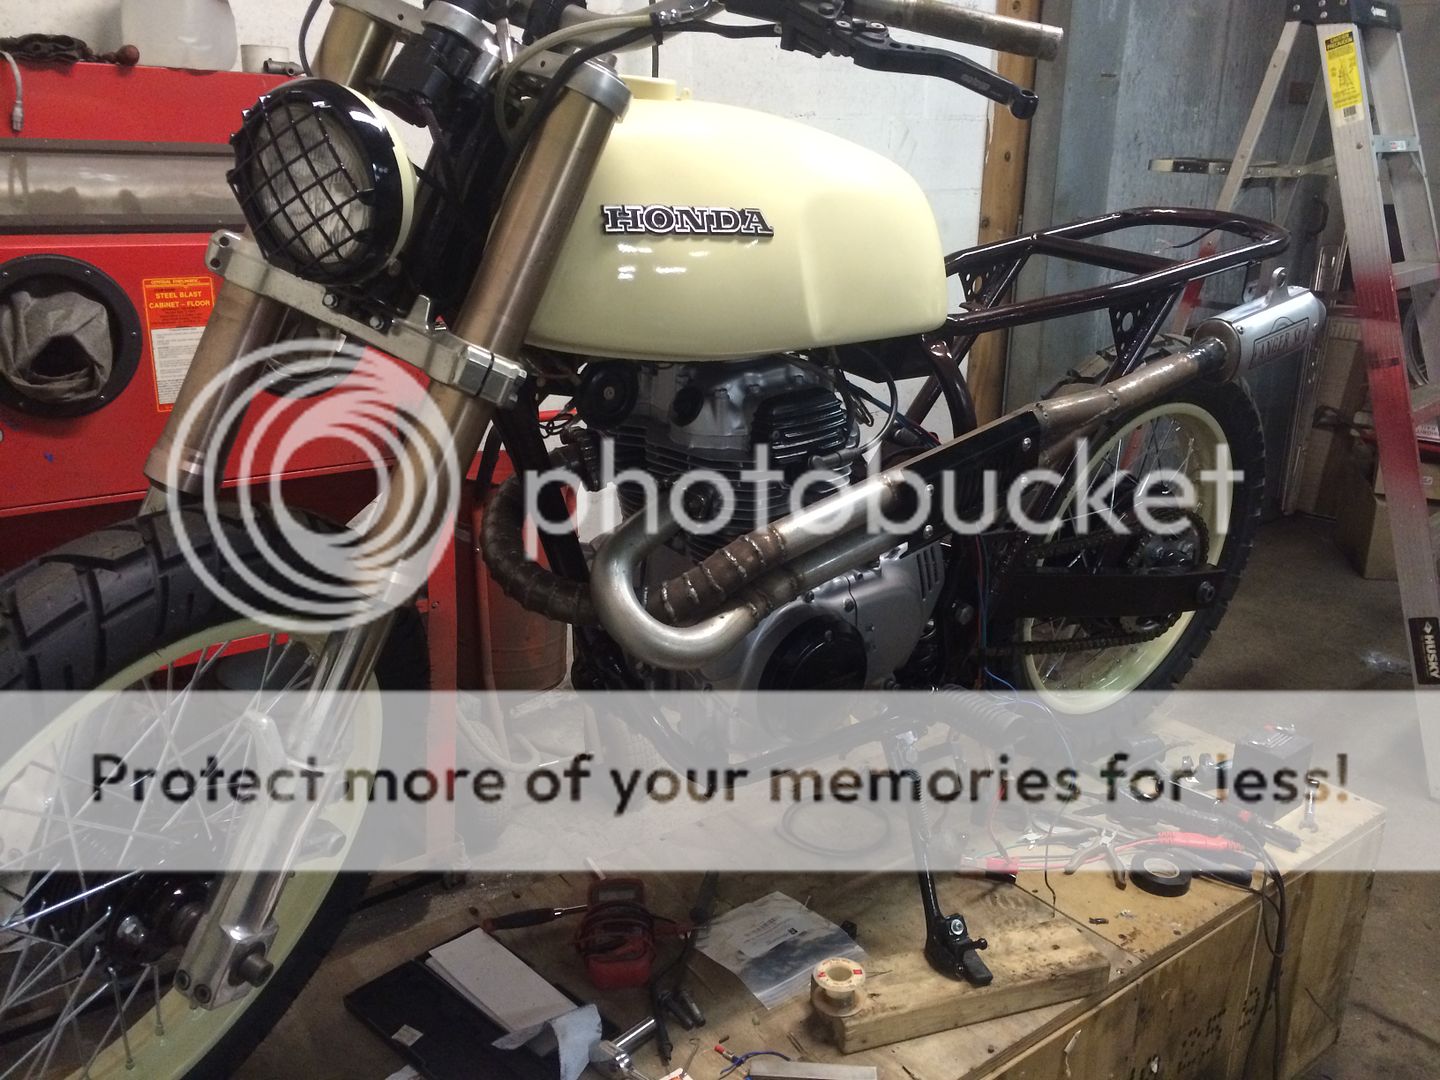
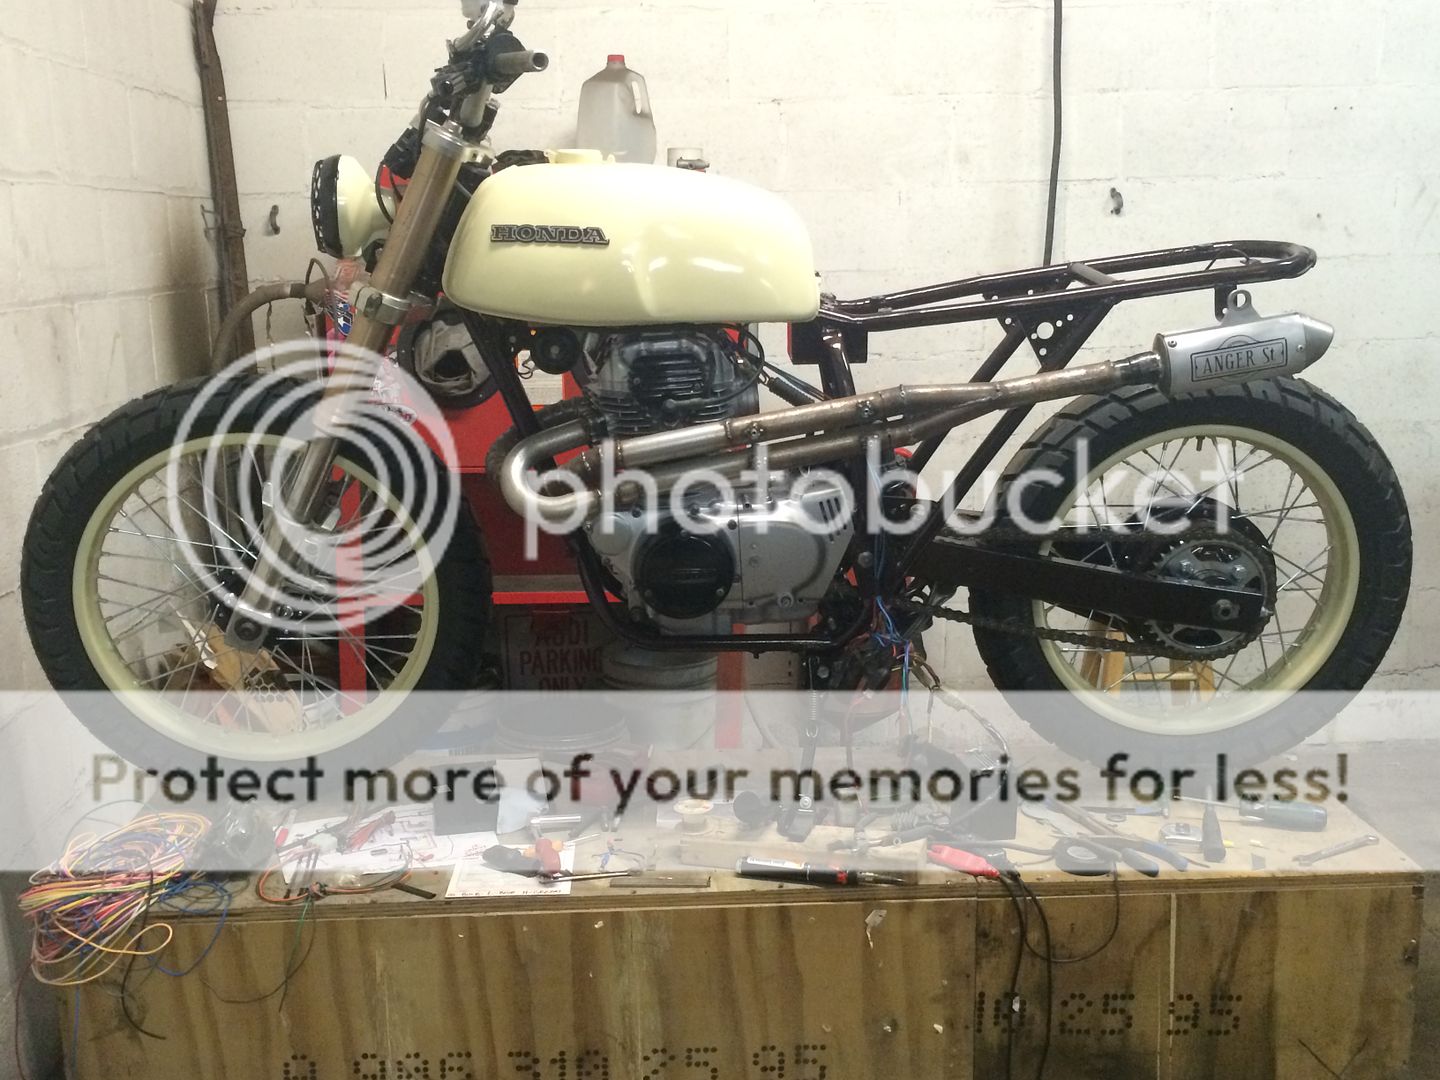
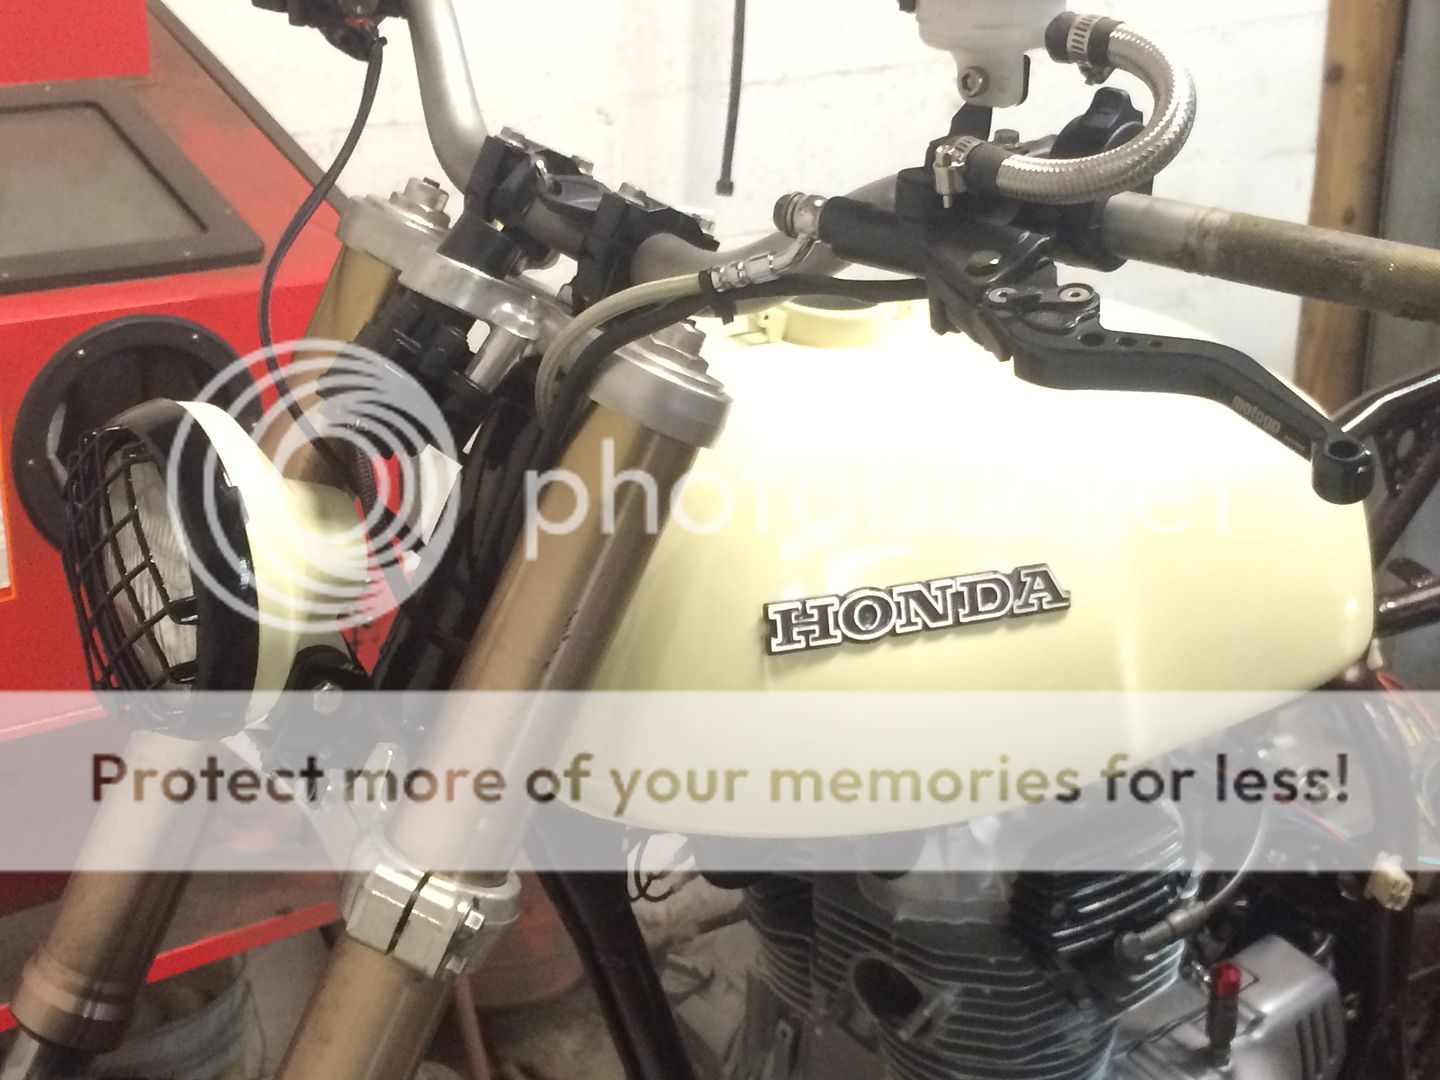
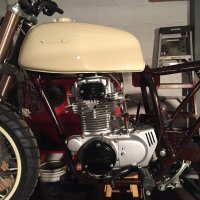
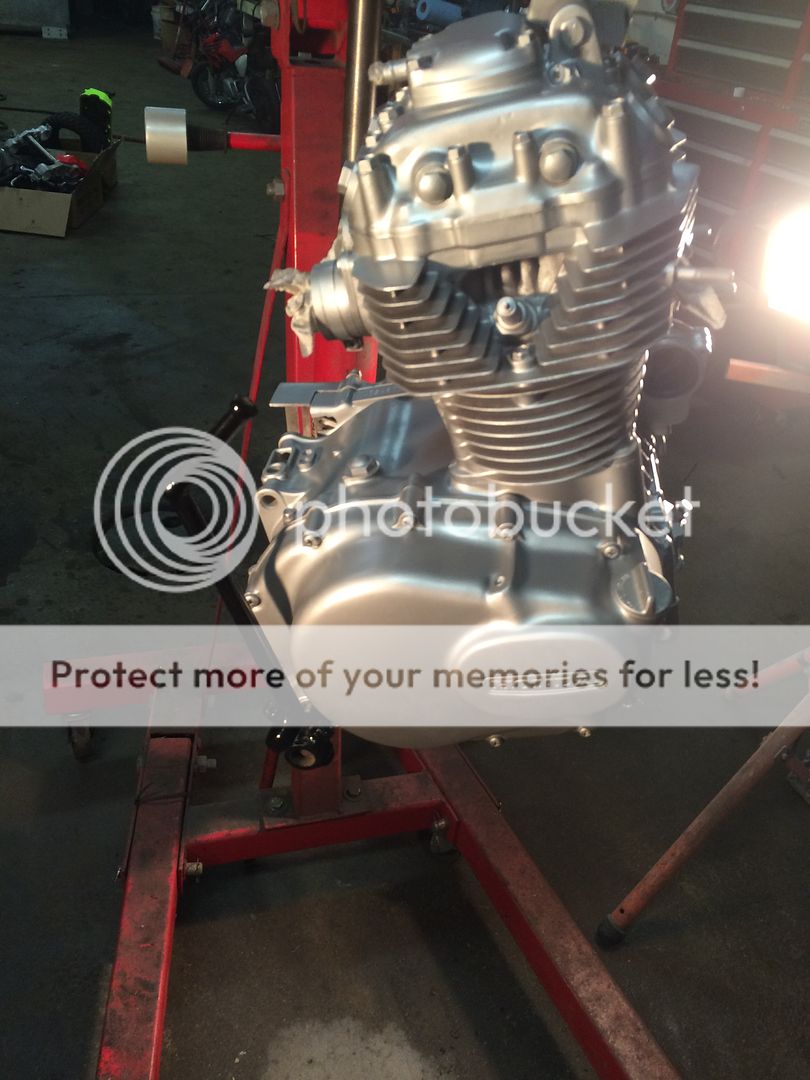
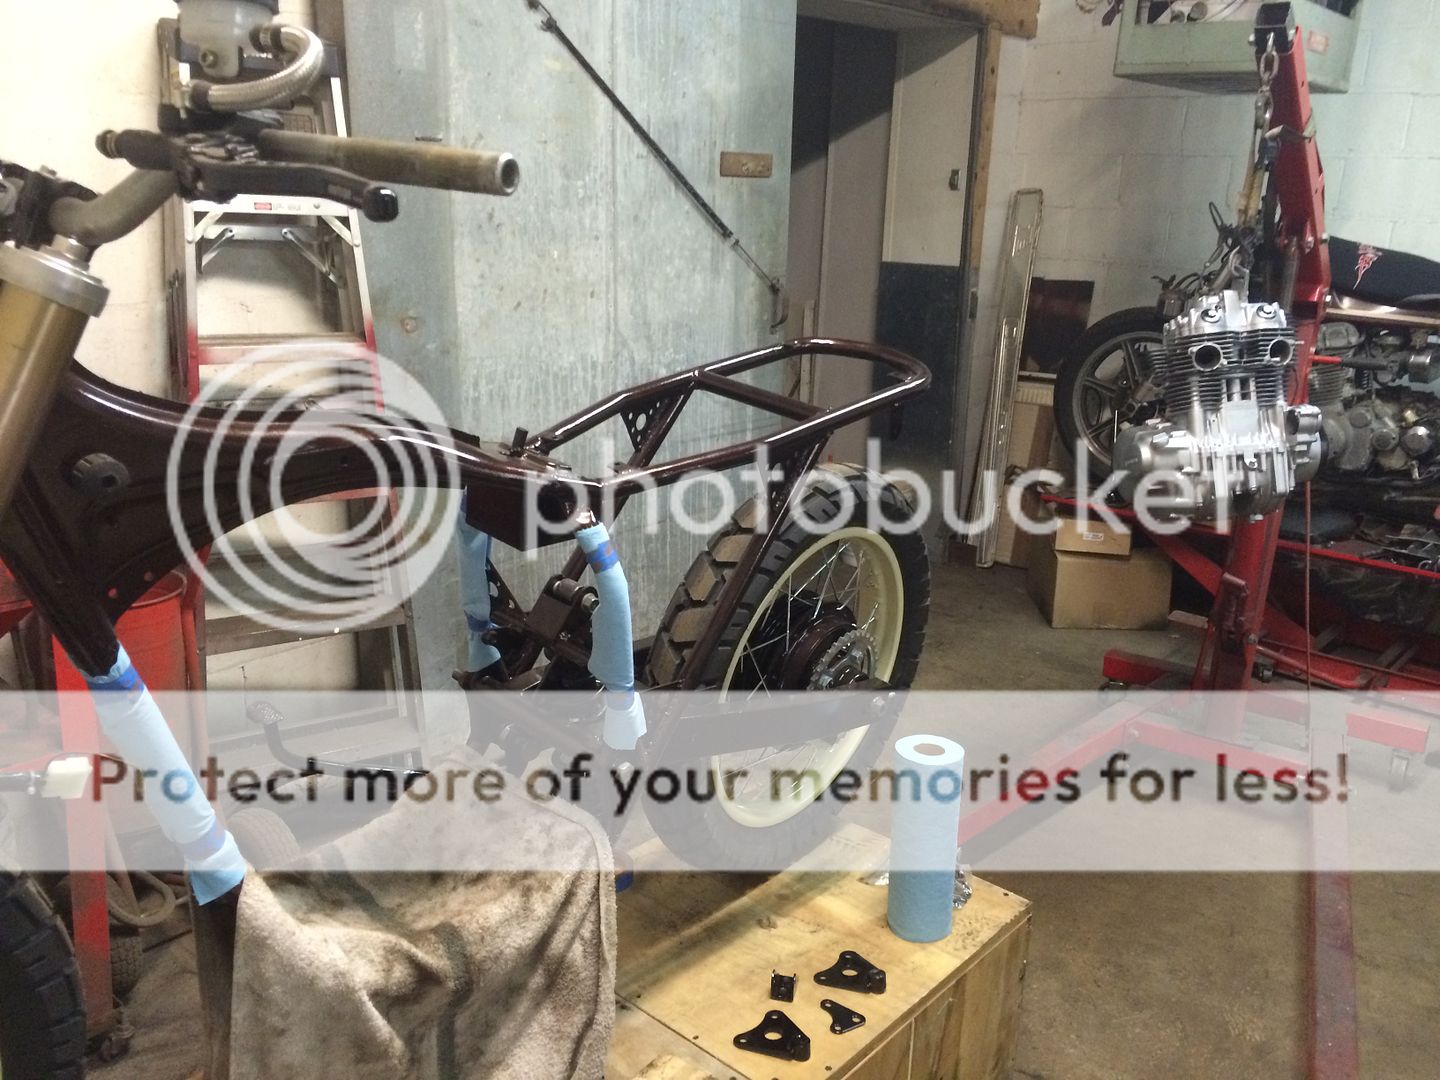
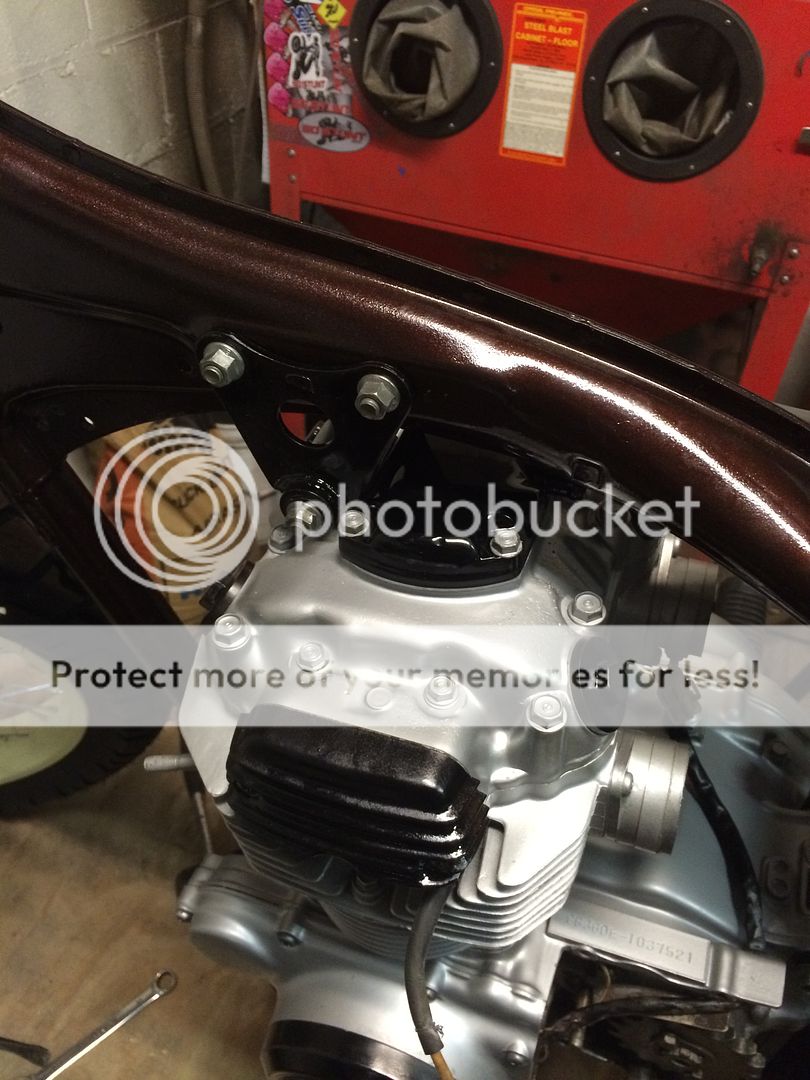
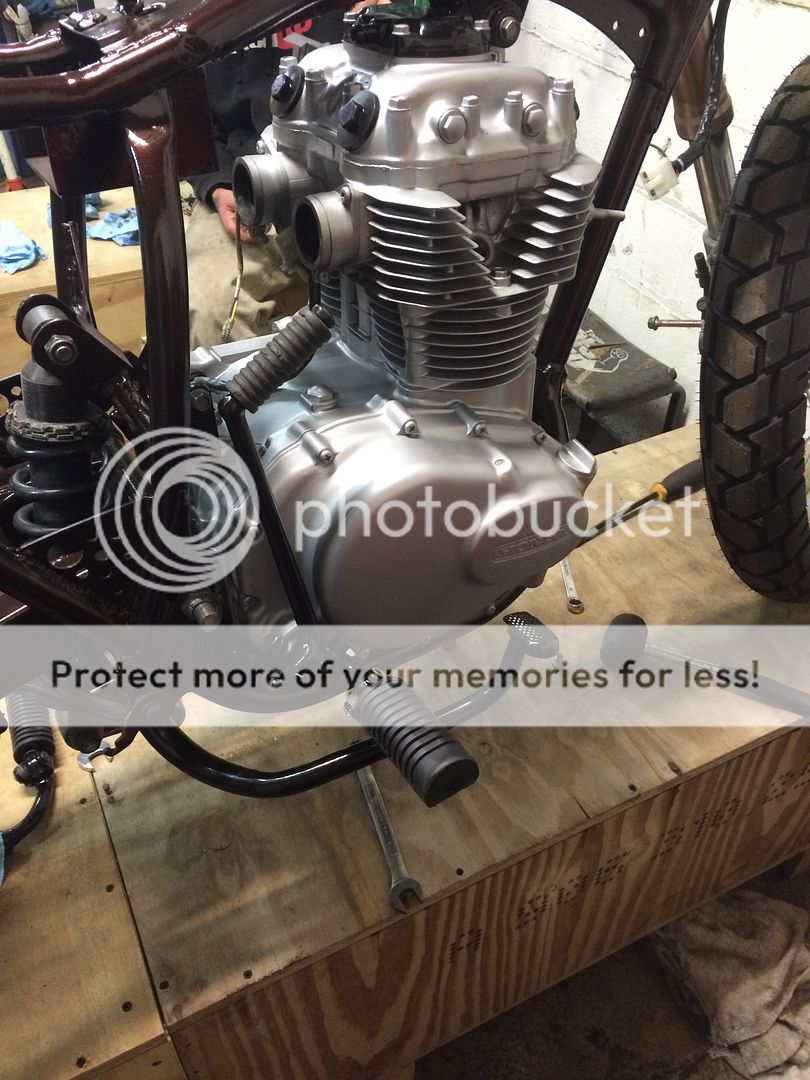
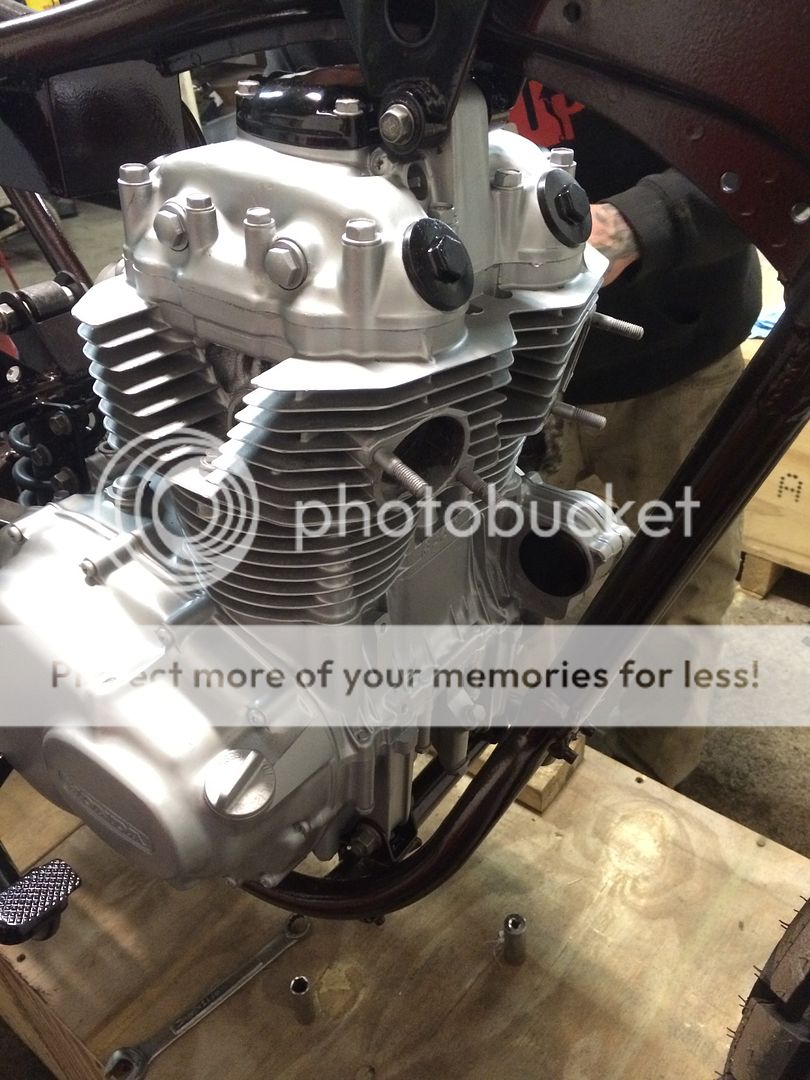
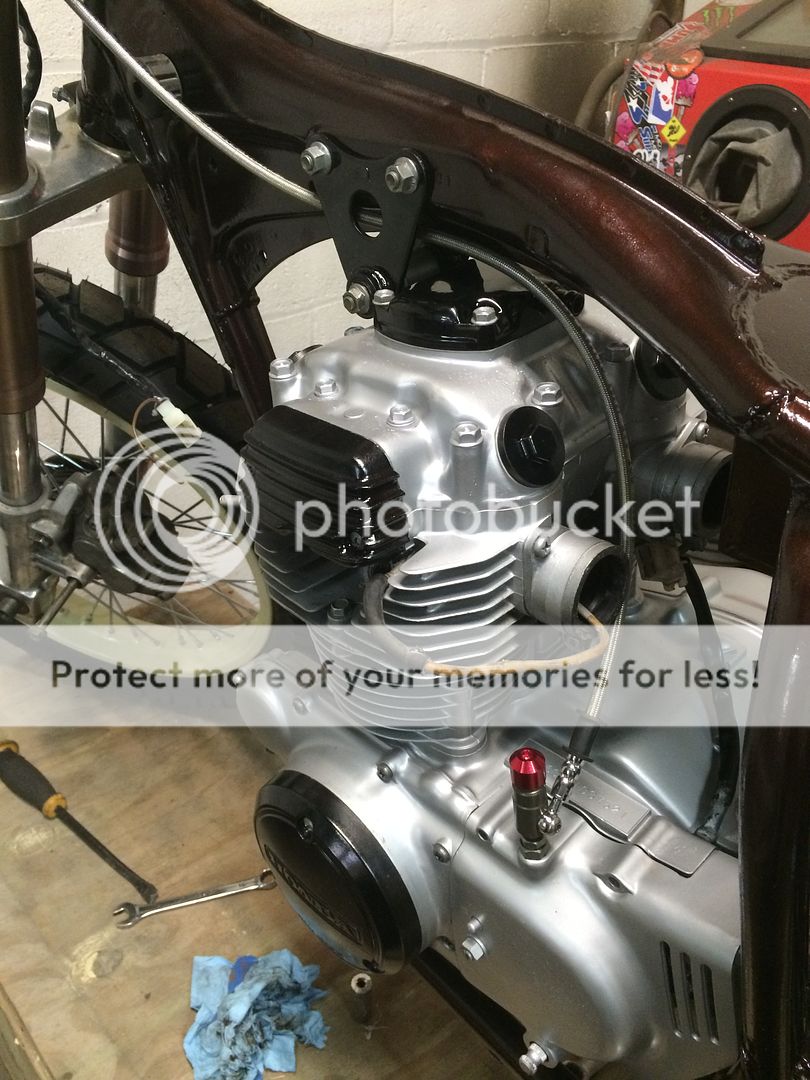
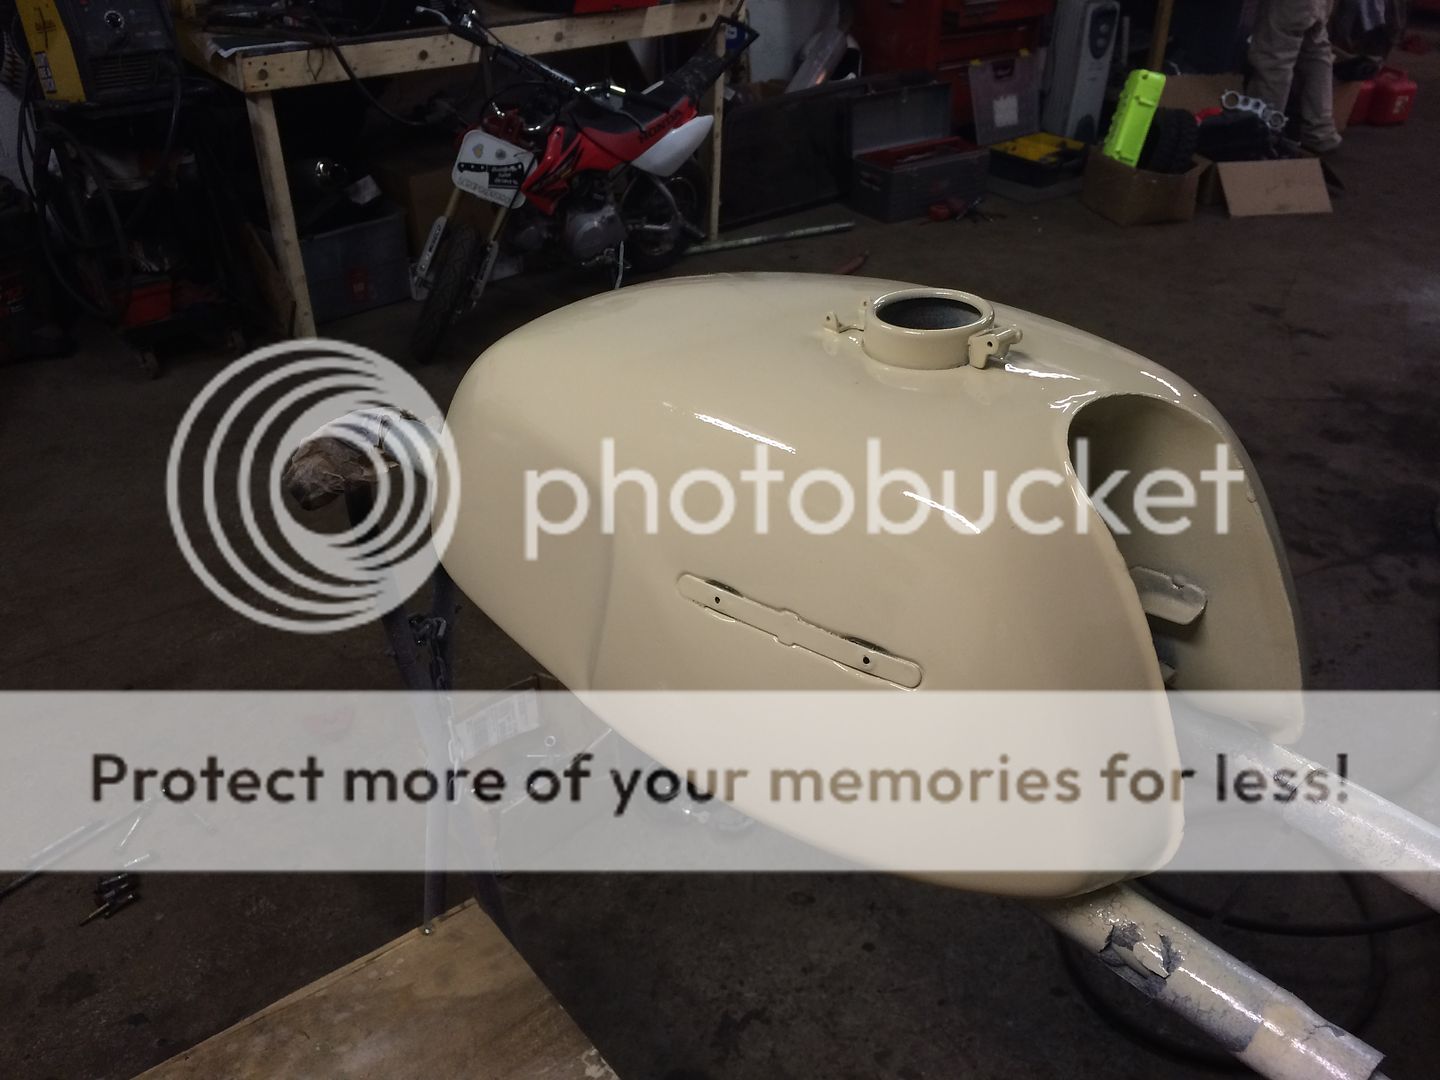
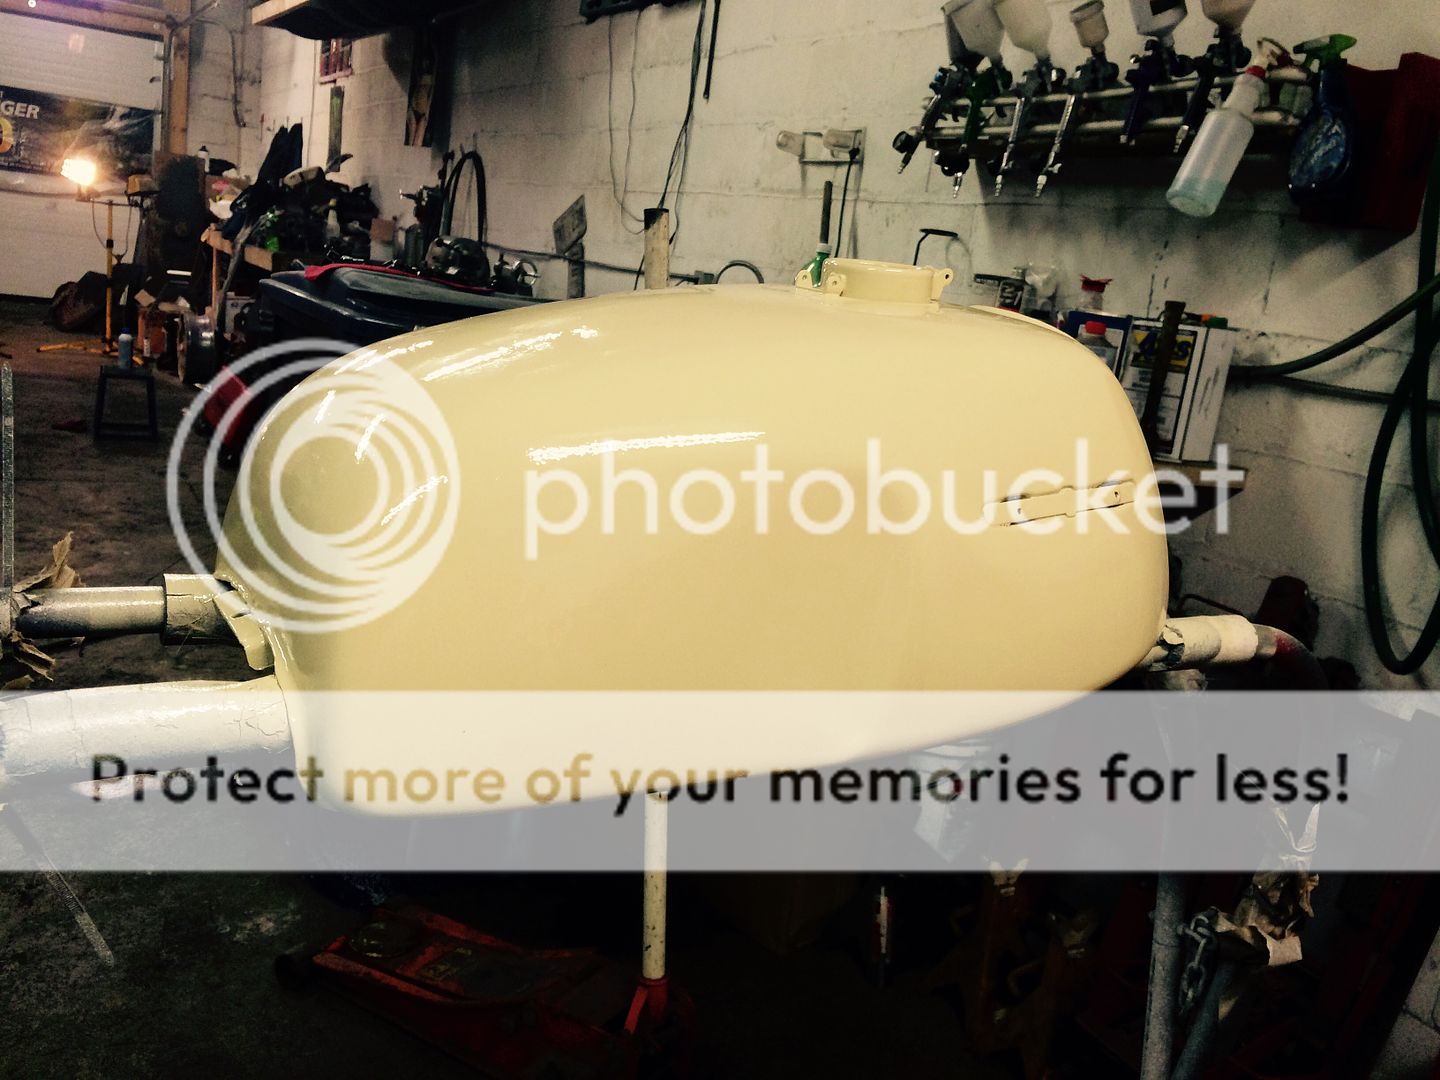
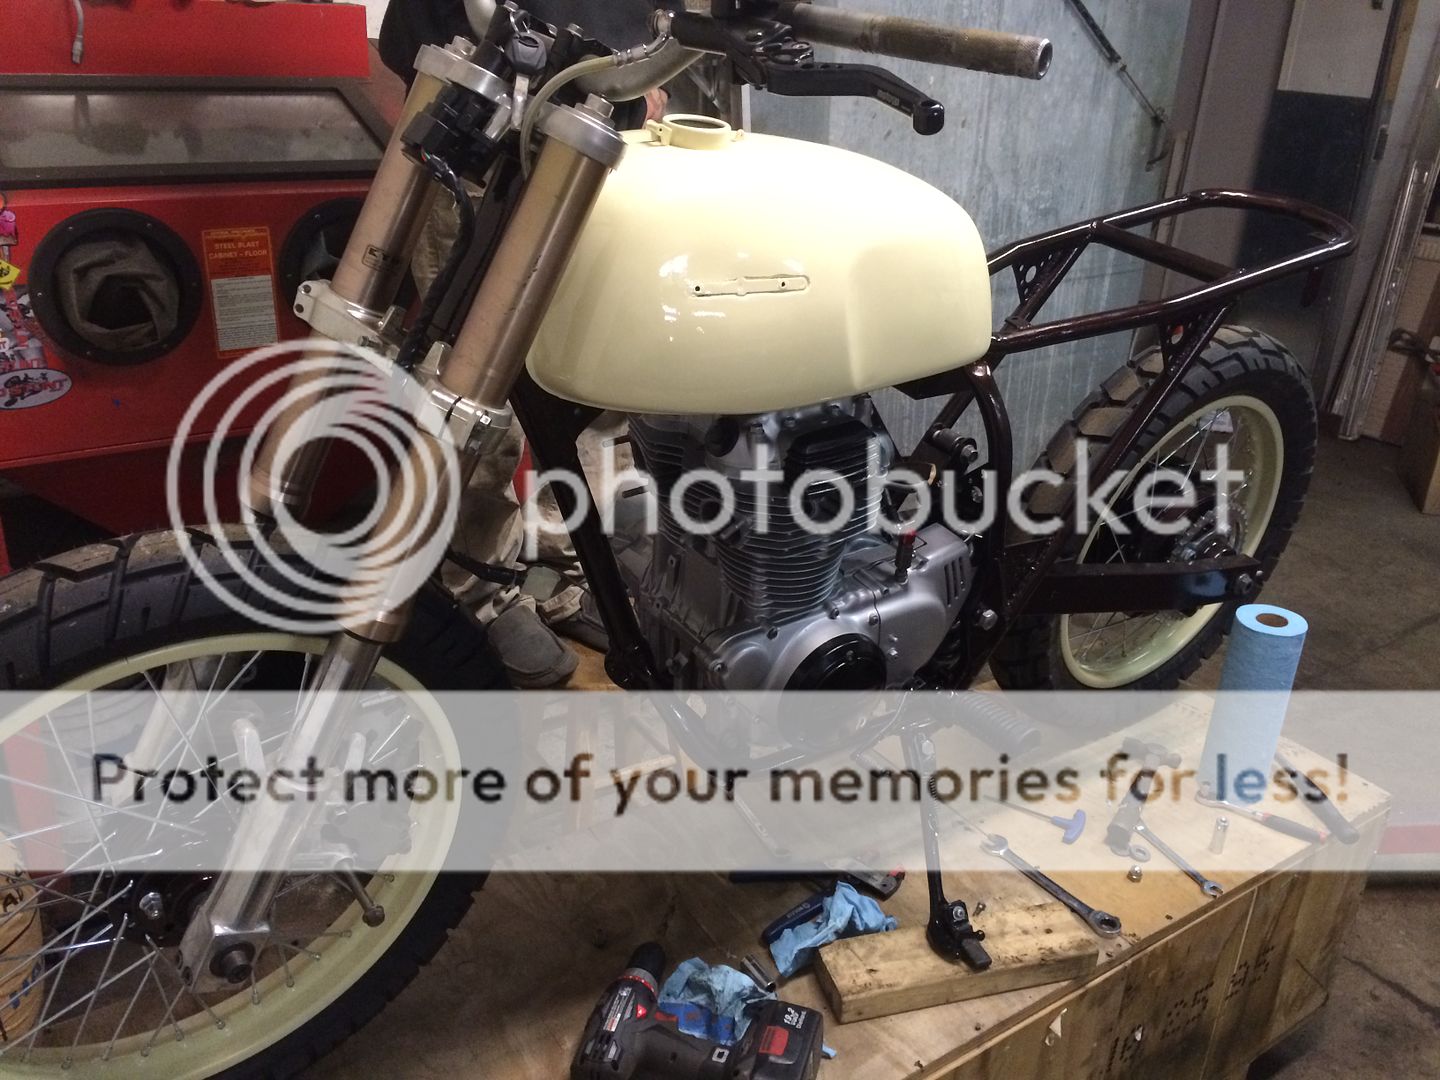
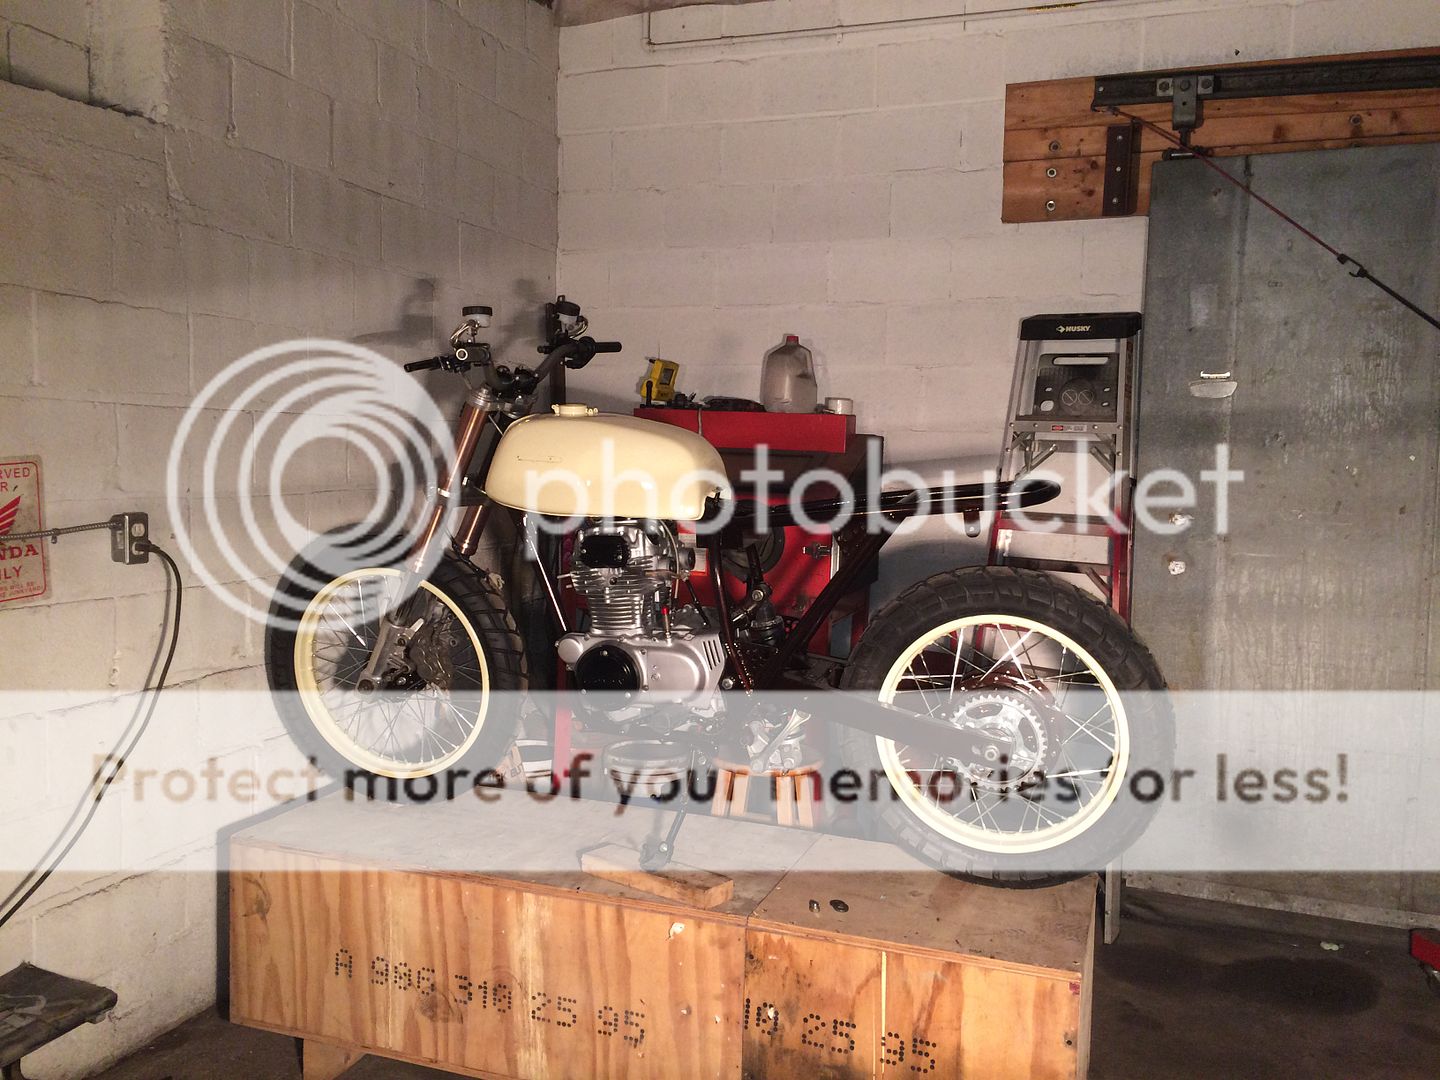
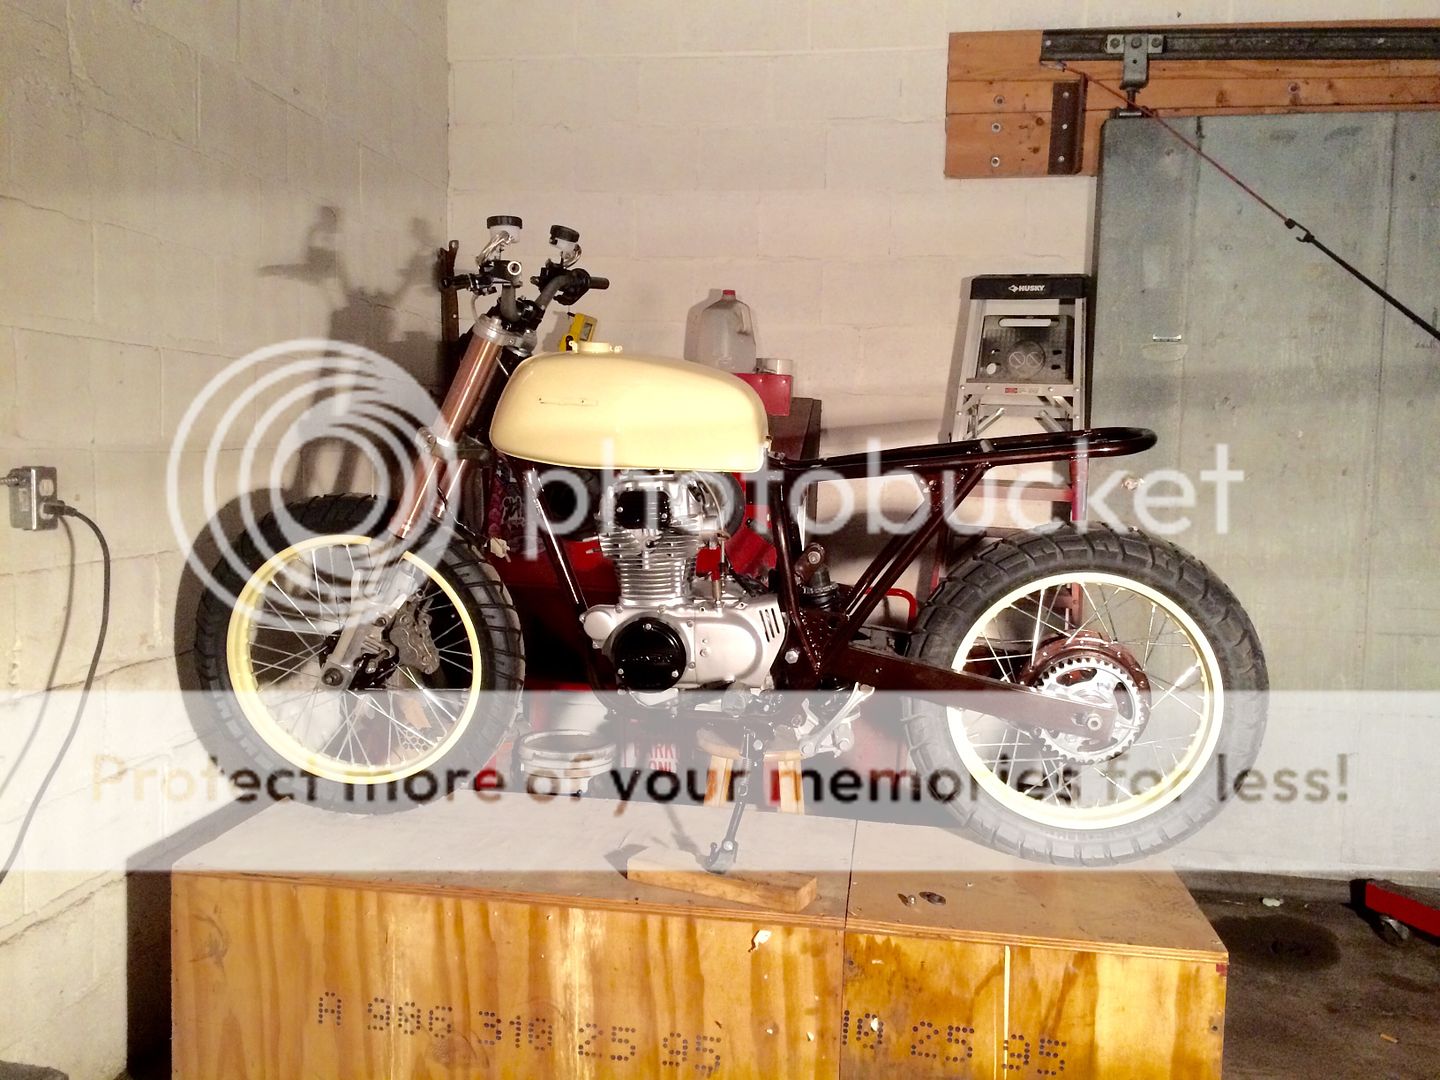
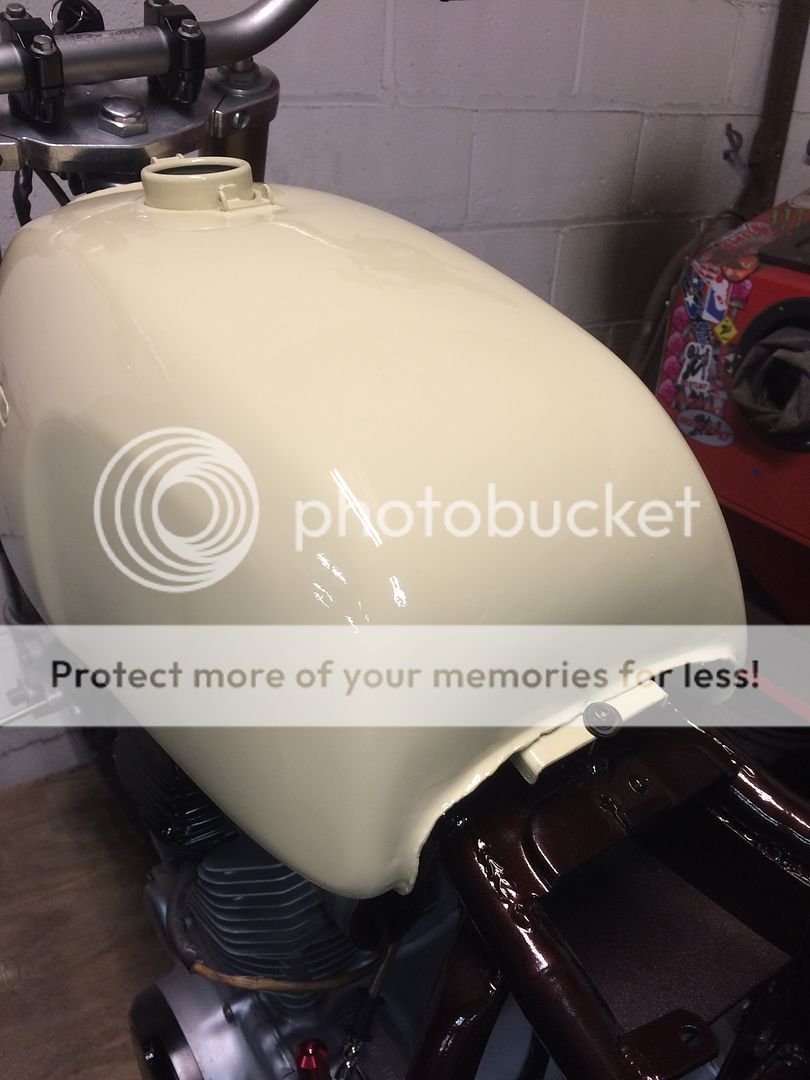
Engine painted. Valves adjusted. Pc'd bits installed with new gaskets. Engine installed. Tank wet sanded and cleared. Hydro clutch conversion is set up.
Things left (off the top of my head)
Finish exhaust/wrap
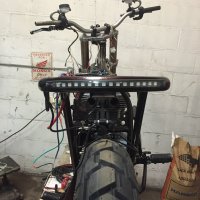
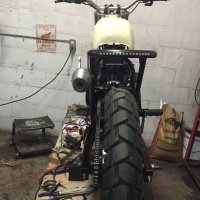
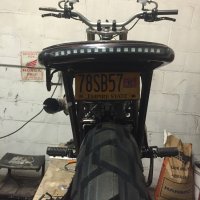
Mount led tail light strip
Upholster seat
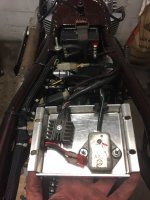
Make wiring harness
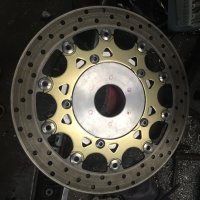
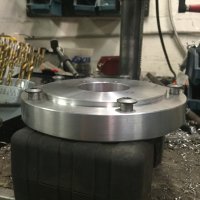
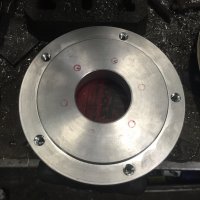
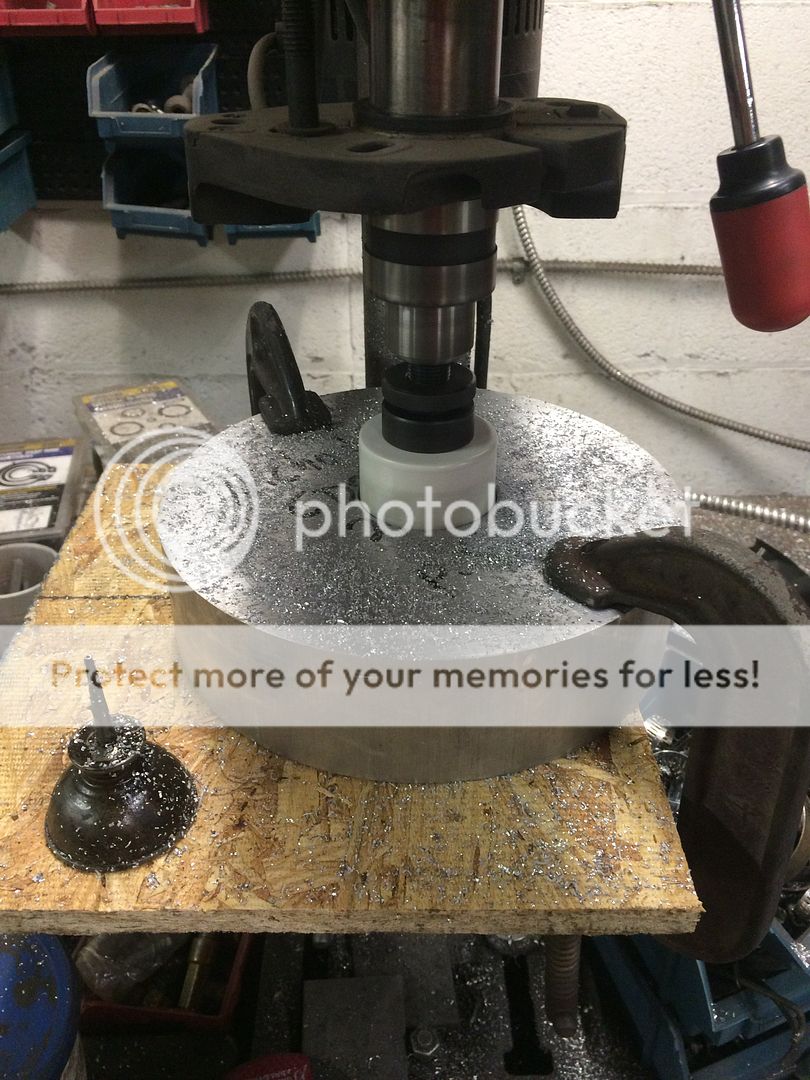
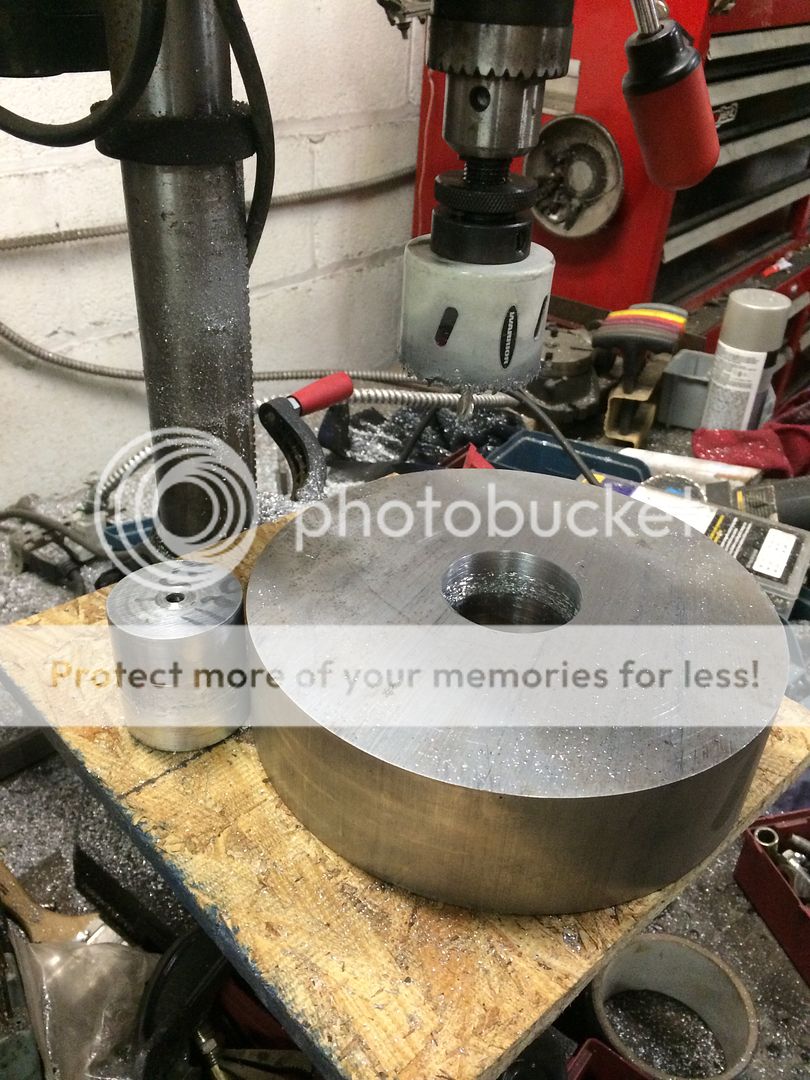
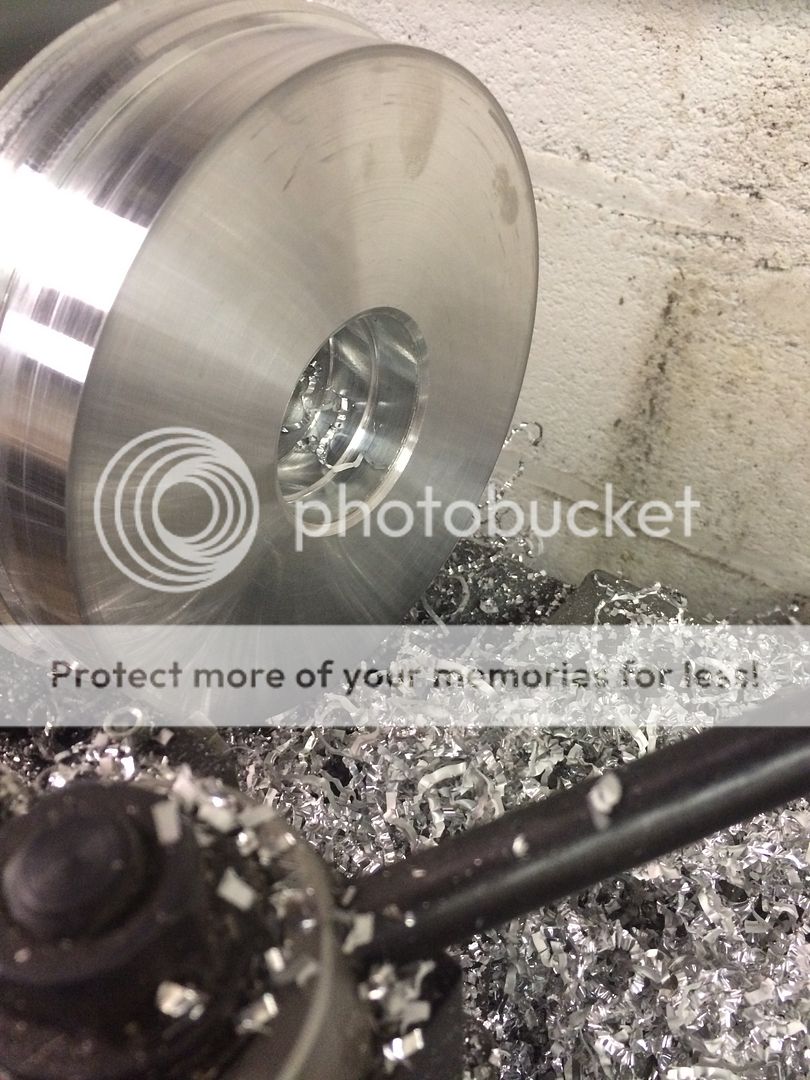
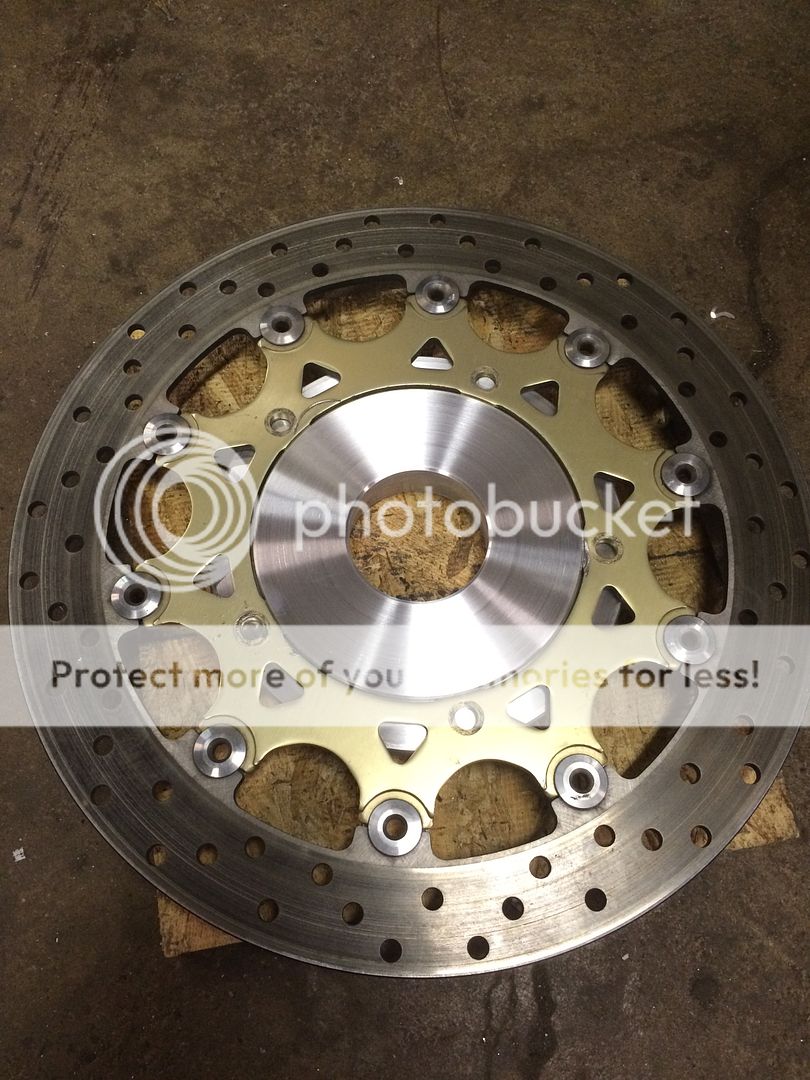
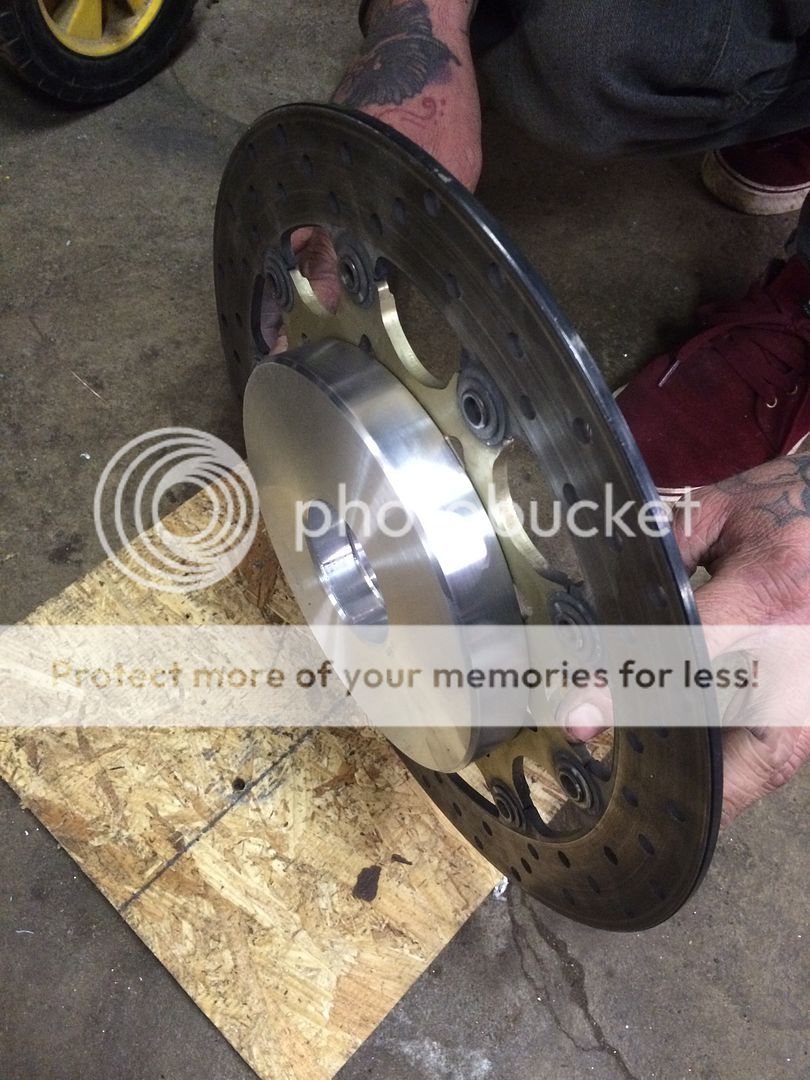
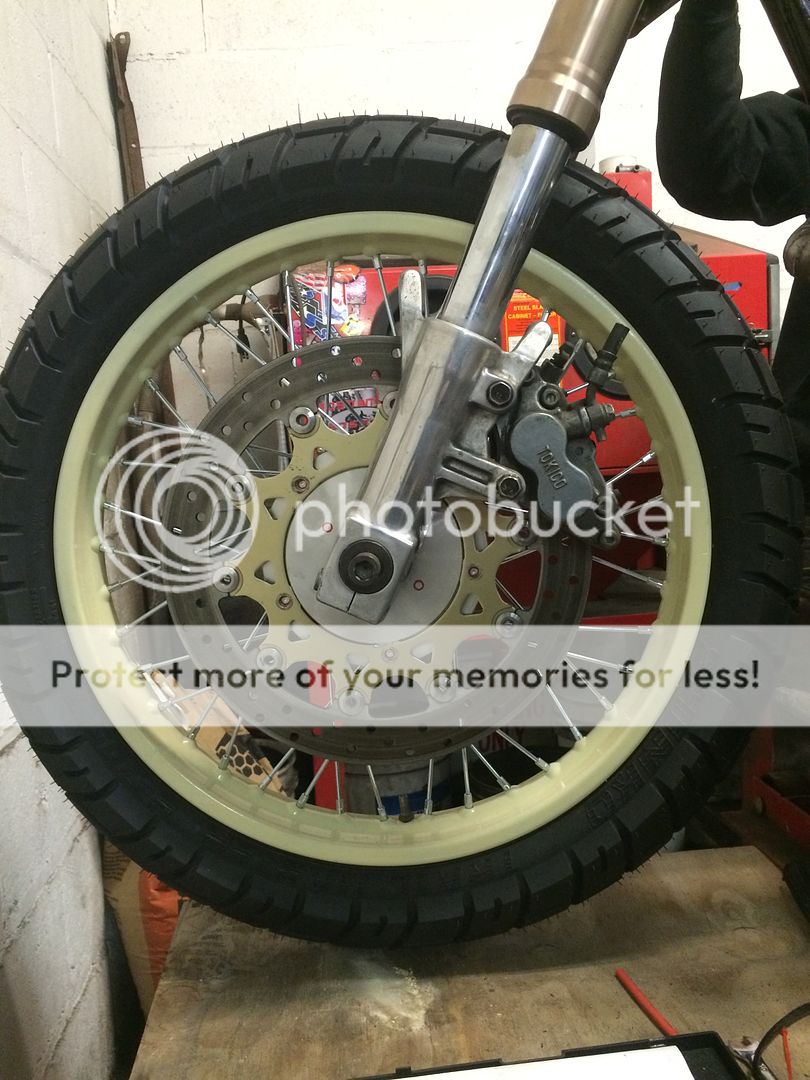
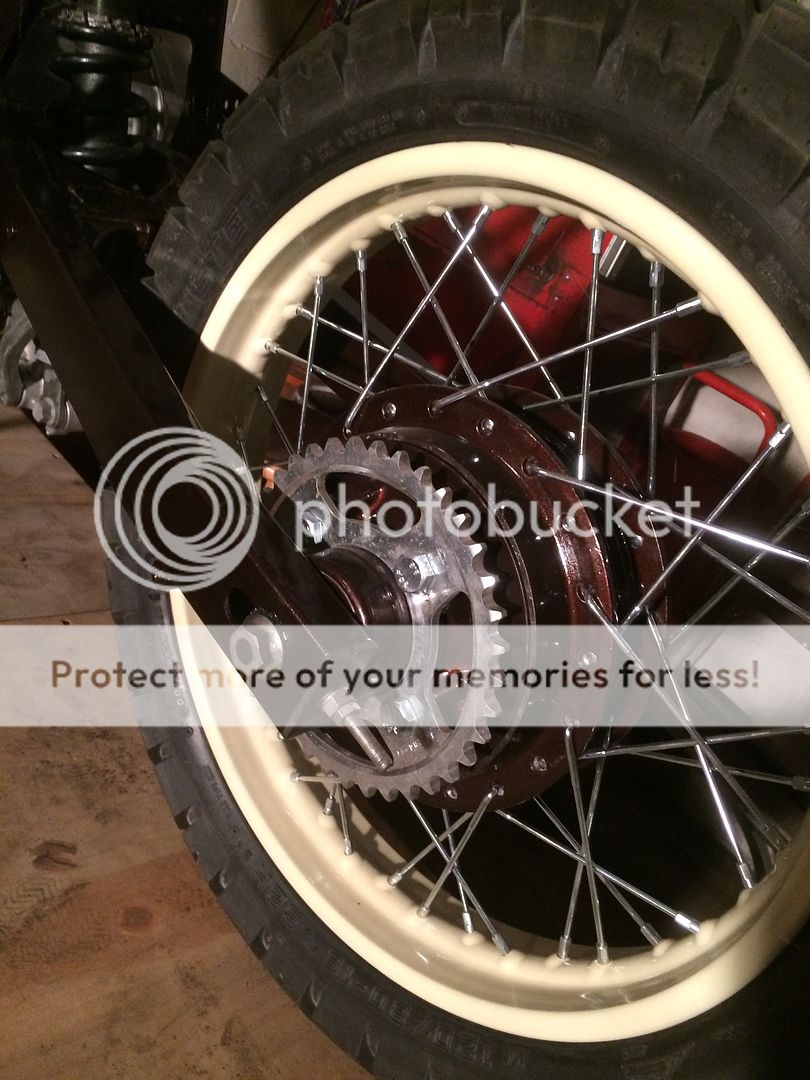
Make rotor adapter
Front brake line
Rear brake linkage/stay
Paint headlight
Plugs/oil/fine tune
Things left (off the top of my head)
Finish exhaust/wrap
Mount led tail light strip
Upholster seat
Make wiring harness
Make rotor adapter
Front brake line
Rear brake linkage/stay
Paint headlight
Plugs/oil/fine tune

") )
)