
We noticed you are blocking ads. DO THE TON only works with community supporters. Most are active members of the site with small businesses. Please consider disabling your ad blocking tool and checking out the businesses that help keep our site up and free.
You are using an out of date browser. It may not display this or other websites correctly.
You should upgrade or use an alternative browser.
You should upgrade or use an alternative browser.
76 CB360, Cherry Bomb at Barber's
- Thread starter trek97
- Start date
Re: 76 CB360, before & after
Thats what Im testing for now...Screamin Mimi!!! I cant believe I pulled the tube out of the tap w fuel line. I could probably tap it back in there enough to re-set it. But it would really piss me off if it starts leaking later, 20 miles from home.
w the new needle change I am counting on another jet change...58 or 60 main primaries AND 125 main secondaries.
But cant try that till UPS man shows up...hopefully before next weekend...grrr. I was ready to get this done this morning. But I couldnt get a reliable plug read.
Re: 76 CB360, before & after
You may be able to contact mitch, at his motion photos link...or Ill just email him and tell him to contact you here w a PM.AzHonda said:Did the same thing on my TL125. I does just tap right back in.
I want a framed picture of that truck in that last pic. Love it!
Re: easy carb support 76 CB360, before & after
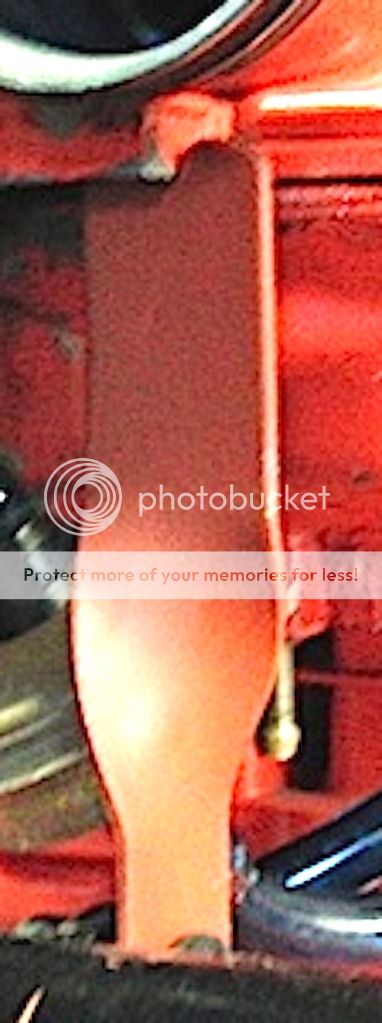
My carbs are sagging. maybe making my bike run richer. I needed a support. I looked at it for 10 minutes. took a break. another 5 minutes...and BAM. there is a little square cast into carb between filter and bowl, AND a motor mount directly under.
It wont hinder filter installation or bowl removal. It will add one more step to carb removal, cause you gotta get it out of the way to pull carbs...but its only one bolt.
I made it from a scrap piece of flat, drilled a hole cut w chopsaw, bent it, filed edges, and primed it...10 minutes. I believe its gonna work great. when installed it raises both carbs to level...if I do need to make one for left it will be a little trickier. but basically the same, a little longer, drill a hole in mount, and bent a little differently.
I do need to add PJs name to this...
Saturday while i was trying some new jetting I found I had a rich condition. Thats when i noticed carbs sagging.
i worte PJ and asked what he thought of sagging carbs...He confimed my theory, It may lead to a rich condition.
I asked him if he had a fix...he said he temporaried carbs w a bungee cord...and used springs as a permanent fix.
I havent seen his spring idea...so it may very well be a better solution than my brackets.
In primer for pics...so you can see it better...will be black.
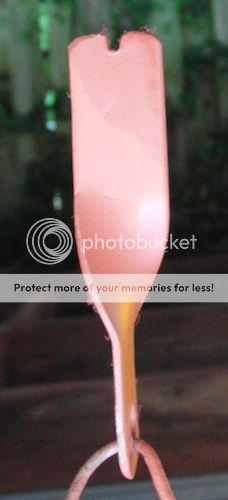
The little notch in the end "traps" it in carb casting so it cant work out sideways. Maybe add a little piece of rubber to end to insulated it, if I see wear in carb casing.
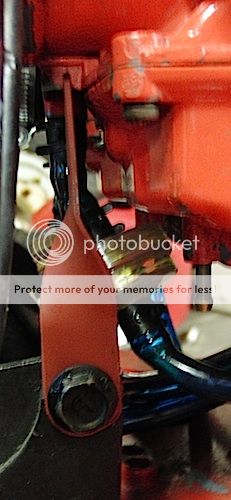
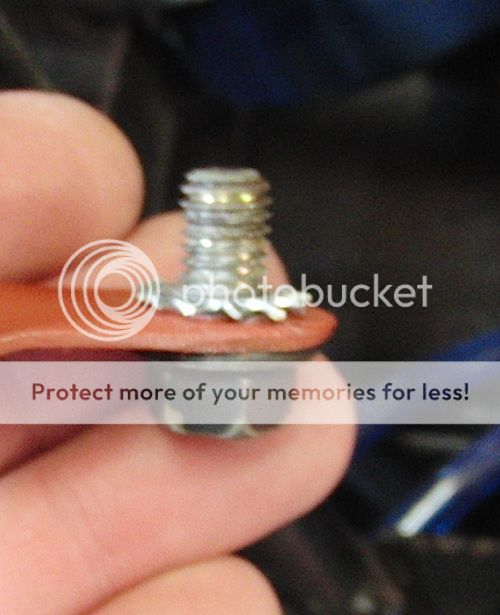
heres the star washer I was talking about. Place it between the bracket and the motor mount. Not under the bolt head, apply a drop of purple lock tite or thread sealant to keep bolt from galling or vibrating loose, then tighten to torque specs. Im 99.9 % sure this is the last thing that will vibrate loose on your bike. Also being secured to the engine mount...and carbs being secured to engine. If there is any flexing, wiggling or bouncing going on there that might cause carb insulators any undo stress. You may have a bigger problem than sagging carbs. Also as I mentioned in original post I may add a peice of rubber to end of bracket to insulate carb body from wear caused by vibration. Like the title states "prototype".
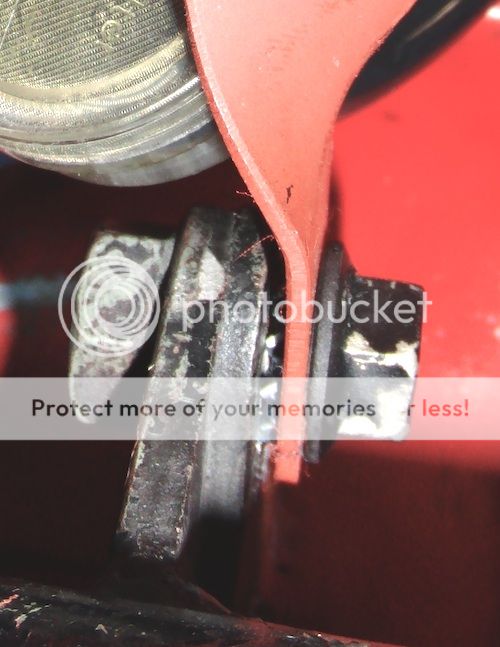
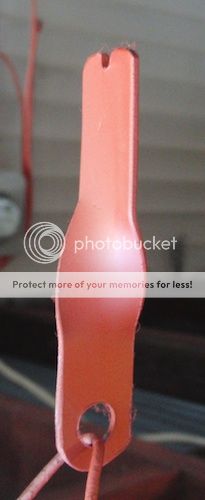
OK, here is what I have done...cut the notch a little wider, bout 1/4 inch. Slit a small peice of fuel line and snapped it in notch. so it insulates between carb body and bracket. maybe post a pic later.
Also it cant slide off the carb...the notch in bracket has it trapped in the little square on the underside of carb casting between bowl and filter.
Now there is a small piece of rubber fuel line trapped between the two also, not in this pic
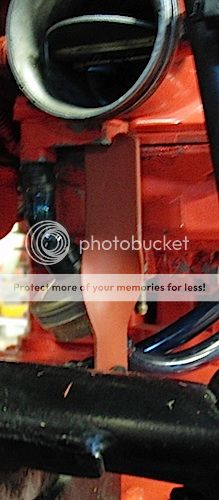
Finished support. with insulator made of fuel line, painted black and installed. I am pretty happy. I dont notice it at all.
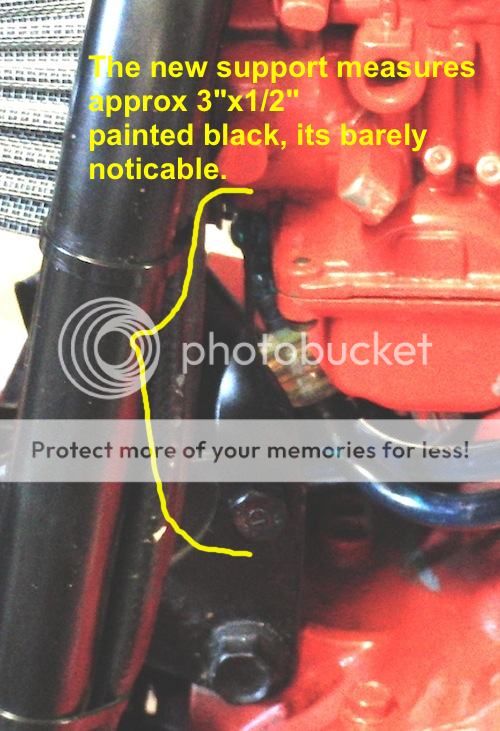
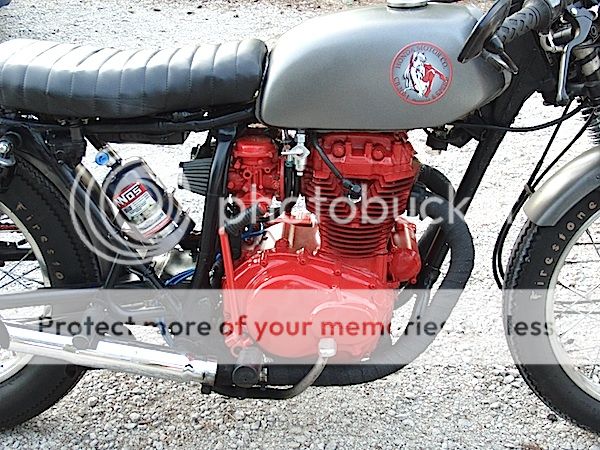
Its there behind the kick starter.
My carbs are sagging. maybe making my bike run richer. I needed a support. I looked at it for 10 minutes. took a break. another 5 minutes...and BAM. there is a little square cast into carb between filter and bowl, AND a motor mount directly under.
It wont hinder filter installation or bowl removal. It will add one more step to carb removal, cause you gotta get it out of the way to pull carbs...but its only one bolt.
I made it from a scrap piece of flat, drilled a hole cut w chopsaw, bent it, filed edges, and primed it...10 minutes. I believe its gonna work great. when installed it raises both carbs to level...if I do need to make one for left it will be a little trickier. but basically the same, a little longer, drill a hole in mount, and bent a little differently.
I do need to add PJs name to this...
Saturday while i was trying some new jetting I found I had a rich condition. Thats when i noticed carbs sagging.
i worte PJ and asked what he thought of sagging carbs...He confimed my theory, It may lead to a rich condition.
I asked him if he had a fix...he said he temporaried carbs w a bungee cord...and used springs as a permanent fix.
I havent seen his spring idea...so it may very well be a better solution than my brackets.
In primer for pics...so you can see it better...will be black.
The little notch in the end "traps" it in carb casting so it cant work out sideways. Maybe add a little piece of rubber to end to insulated it, if I see wear in carb casing.
heres the star washer I was talking about. Place it between the bracket and the motor mount. Not under the bolt head, apply a drop of purple lock tite or thread sealant to keep bolt from galling or vibrating loose, then tighten to torque specs. Im 99.9 % sure this is the last thing that will vibrate loose on your bike. Also being secured to the engine mount...and carbs being secured to engine. If there is any flexing, wiggling or bouncing going on there that might cause carb insulators any undo stress. You may have a bigger problem than sagging carbs. Also as I mentioned in original post I may add a peice of rubber to end of bracket to insulate carb body from wear caused by vibration. Like the title states "prototype".
OK, here is what I have done...cut the notch a little wider, bout 1/4 inch. Slit a small peice of fuel line and snapped it in notch. so it insulates between carb body and bracket. maybe post a pic later.
Also it cant slide off the carb...the notch in bracket has it trapped in the little square on the underside of carb casting between bowl and filter.
Now there is a small piece of rubber fuel line trapped between the two also, not in this pic
Finished support. with insulator made of fuel line, painted black and installed. I am pretty happy. I dont notice it at all.
Its there behind the kick starter.
jonwright
surfing and motorcycles.... yup
Re: 76 CB360, before & after
Yup, needs speed holesmitchellsk said:Now drill holes in it to reduce weight")
RoseCityCafePunk138
Been Around the Block
Re: 76 CB360, before & after
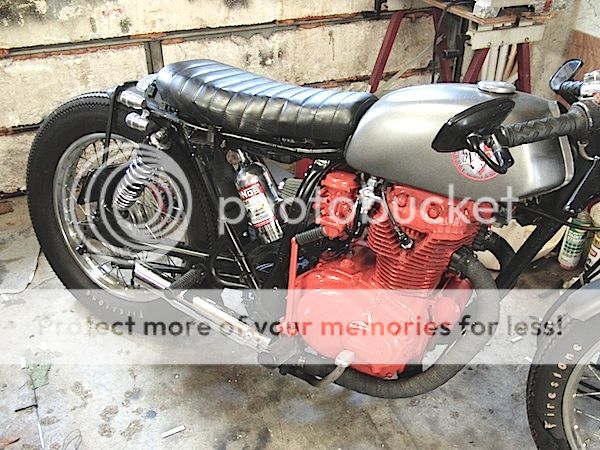
Rad build. I dig the simplistic carb stabilizers; simple yet stylish. I need to do the same thing on mine before my boots go to shit. I love the raw looking tank too!!!
Rad build. I dig the simplistic carb stabilizers; simple yet stylish. I need to do the same thing on mine before my boots go to shit. I love the raw looking tank too!!!
Re: 76 CB360, before & after
thanks RCCP Im glad you like it, thanks for looking.RoseCityCafePunk138 said:Rad build. I dig the simplistic carb stabilizers; simple yet stylish. I need to do the same thing on mine before my boots go to shit. I love the raw looking tank too!!!
Swapmeet Louie
Put some metal in yer eye....
Re: 76 CB360, before & after
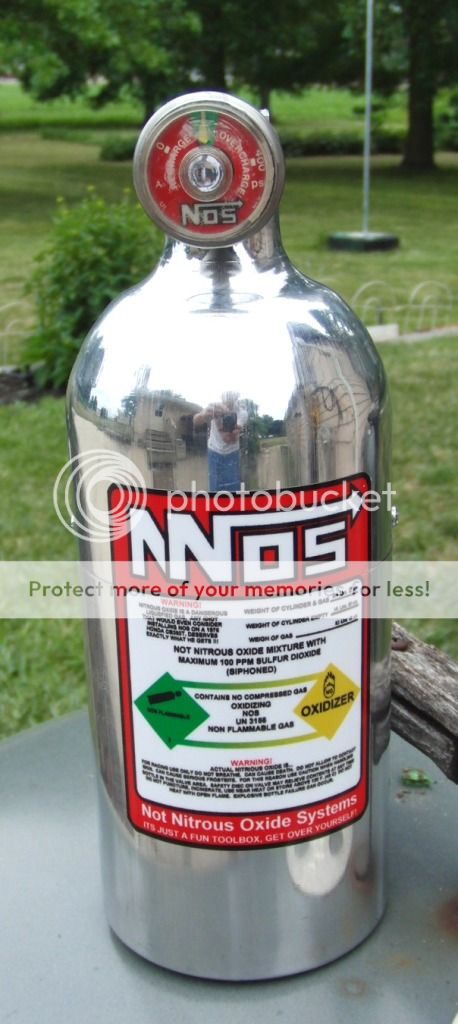
Do you really want to represent you have NOS, and don't...? I mean, If I came across ya. I'd wanna race. Just to see what it could do... But since it aint there, I already know.. about 90. In 15 seconds, Quarter mile approximately in 17... Just a thought.
Do you really want to represent you have NOS, and don't...? I mean, If I came across ya. I'd wanna race. Just to see what it could do... But since it aint there, I already know.. about 90. In 15 seconds, Quarter mile approximately in 17... Just a thought.


