Follow along with the video below to see how to install our site as a web app on your home screen.
Note: This feature currently requires accessing the site using the built-in Safari browser.
We noticed you are blocking ads. DO THE TON only works with community supporters. Most are active members of the site with small businesses. Please consider disabling your ad blocking tool and checking out the businesses that help keep our site up and free.
Yes! The drum sander. I find those things indispensable. Your set sure turned out nicer than mine! My first attempt looked like something out of the Flintstones.
Ummm, a machine shop made mine look the way they do. They laughed and said if I'd just drew out the pattern, it would have cost the same for them to make than to smooth out my crude levers. Yours look really good.
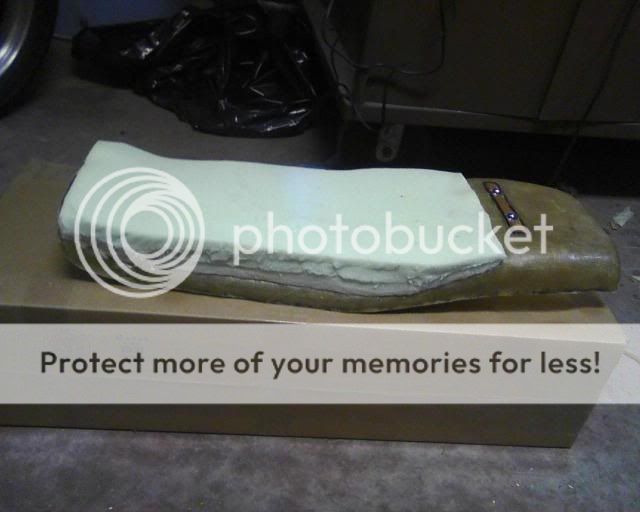
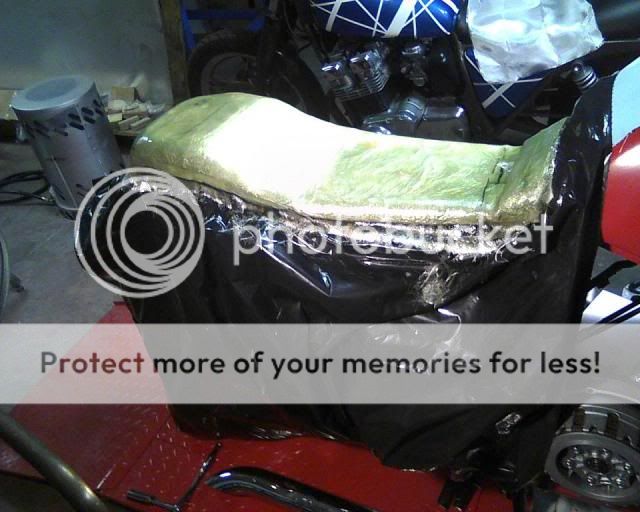
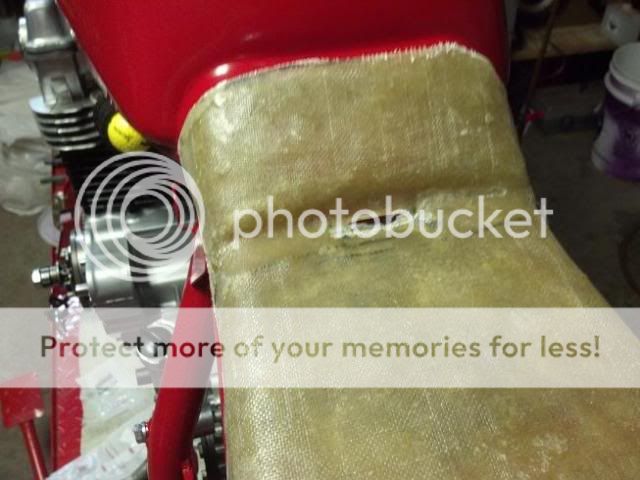
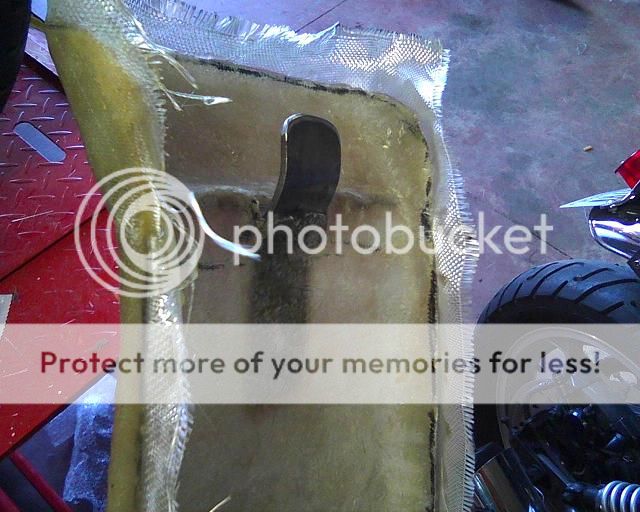
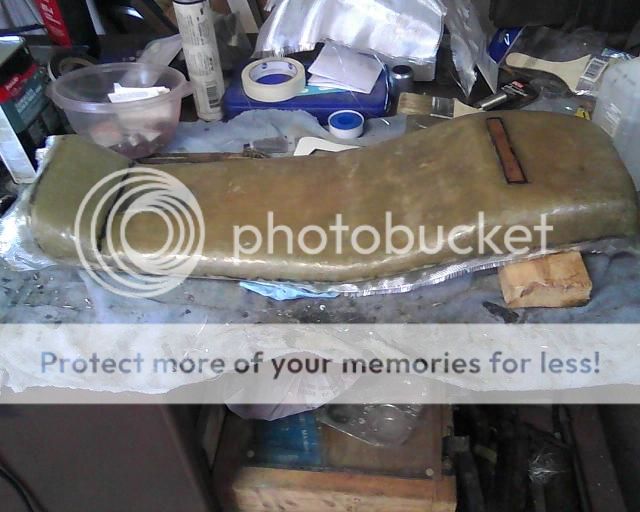
Damn good weekend in the shop, Was able to lay the last layer of fiberglass on the seat pan. I had the mounts in place and just needed to test fit and anchor everything down before the foam and vinyl.
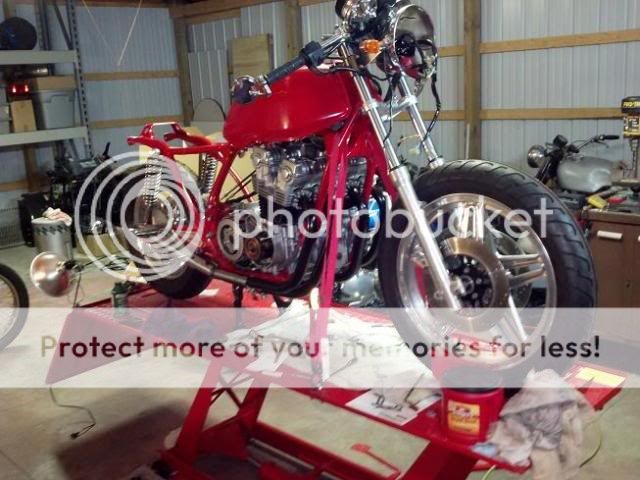
Also, received the chrome exhaust clamps to attach the NOS Mac mufflers to what was left of the stock head pipes. Welded some adapter sleeves to the pipes and painted them with Rustoleums "Ultra Bar-B-Que" highe temp paint, I had good luck with this on the Zookie, so figured Id try it again.
Next drilled new mounting holes in the muffler hangers and pass the mounting bolts through the rear set levers to hang it all. Not exactly your typical Cafe' style exhaust with the turn-outs but this build was originally going for a Street / Drag Bike look. Oh well hey, I got less than $100 in the whole exhaust.
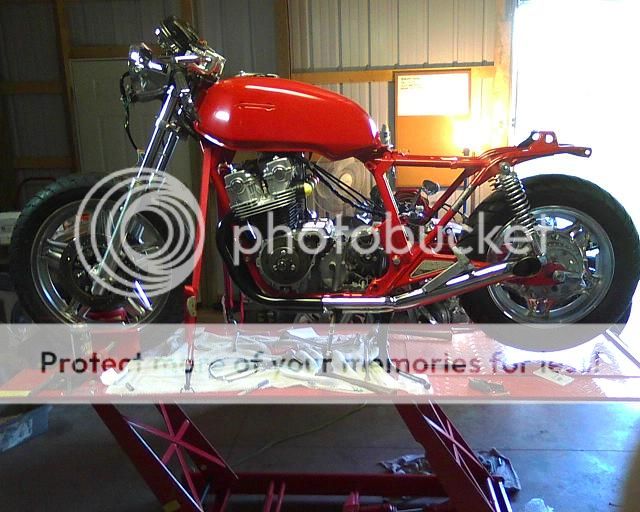
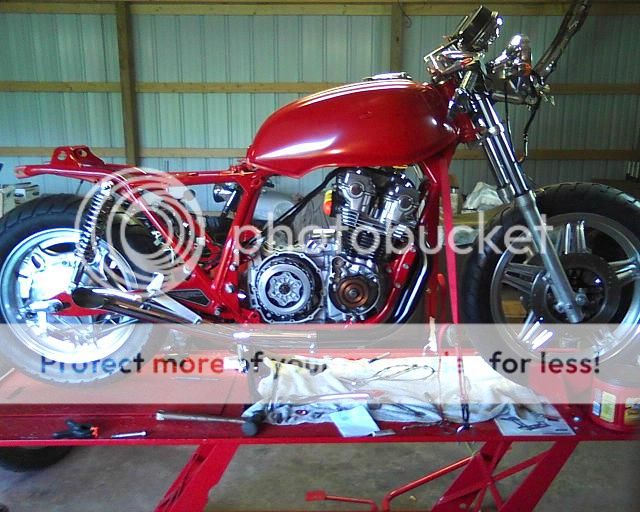
GAWD... the more I look at the gauge cluster in that last pic, the more I am thinking it's gotta change! Just too damn high.... too much gap.... wrong angle.... :
pipes lookin cool 'H' gonna sound it too seen ya post about ya gauges sittin high put an idea up on my project page mite be worth a look maybe get an idea off it :-\won't be long before ya rollin with this latest project 8) keeps us motivated
Ahhhh yes, I remember it now. Good luck to you. Although it is cold, winter is the best time to build a bike, helps pass the time and keep the juices flowing in the "off season".
Thanks for the props on the look guys! She's got kind of an identity crisis going on I guess.
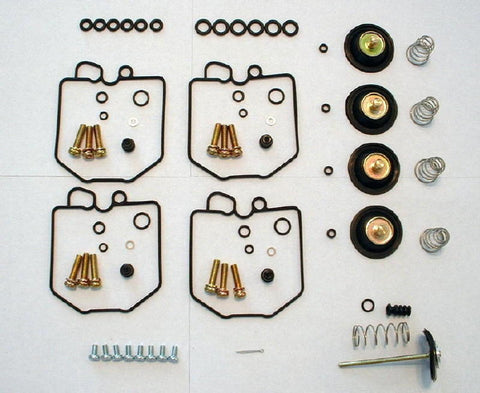
Late Tuesday I pulled the trigger on a master carb rebuild kit from Randakks,
I got it in the mail already last night! Just in time for the 3 day weekend here. ;D
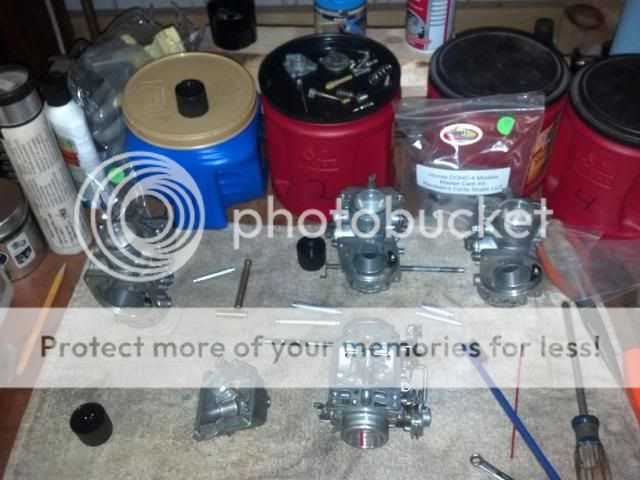
While I was waiting, I started disassembling the rack.
Also cut the first layer of "Memory Foam" for the seat pan. Attached it with spray adhiesive. Then dug out my left over piece of thin foam I use for the top layer that hides any blemishes.... but is just a tad too small, need to make a run to the fabric shop before I can cover it with the vinyl.
It's been a week from hell at work, but I did manage to spend a little time out in the shop. 3 carbs are stripped, cleaned and reassembled bodies and the last is cleaned, prepped, and ready to start reassembly. End results were two jets were plugged and one air cut-off diaphrams little piston was wedged in it's bore so it's spring could not return it to it's proper position. No doubt would have made this engine run poorly and probably what took this bike off the road in the first place so many years ago. Hopefully I can get them back to a full rack and bench synced today.
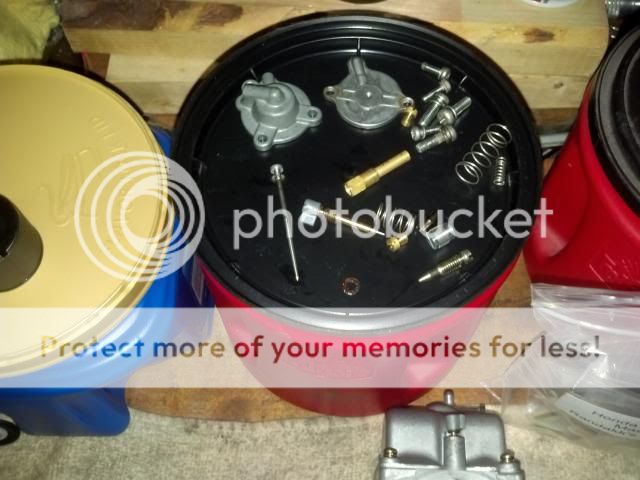
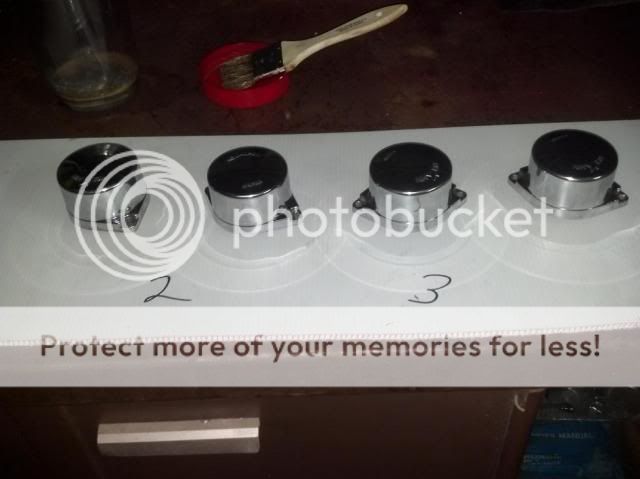
While I was waiting on the Berrymans soak to do it's nasty work, I stripped the yellowed / chalky clear coat off the caps and graced them a good polish on the buffing wheel, paying special attention to keep them in order with their respective vacuum pistons on the 4 carbs.
Some nice deep cleaning there. How does the memory foam hold up on a seat pan? Can you get away with having it thinner than a standard foam and still be comfortable?
Actually it's quite thicker than the foam I've used in the past... Time will tell, as I still need to cover the seat. I picked up some 1/8" (3mm) marine grade foam to cover the entire pan and take out any imperfections that may show under the vinyl since I will be covering the whole seat.
looking good HD, i found that i can get away with 3/4 inch hard foam and its still comfortable. Its easy to cut and mold to any shape. This might also have something to do with me being a tight ass but who knows?
ps whats this berrymans stuff?
Thanks Terry, seat foam is already a done deal but I appreciate the input..
Berrymans is a gallon can of Carb cleaner that come with a basket and you soak the METAL carb bits in it for a few hours to removed and crud in the tiny passages, then lots of spray carb cleaner and compressed air.
This site uses cookies to help personalise content, tailor your experience and to keep you logged in if you register.
By continuing to use this site, you are consenting to our use of cookies.

")