Follow along with the video below to see how to install our site as a web app on your home screen.
Note: This feature currently requires accessing the site using the built-in Safari browser.
We noticed you are blocking ads. DO THE TON only works with community supporters. Most are active members of the site with small businesses. Please consider disabling your ad blocking tool and checking out the businesses that help keep our site up and free.
Long time since last post I know been insanely busy as of late.
I had planned to spend all day Saturday in the garage getting some much needed time on the bike but the motorcycle gods were against me. I was in the shop for a little over an hour before I had to make a run and help my grandfather, was not a good thing.
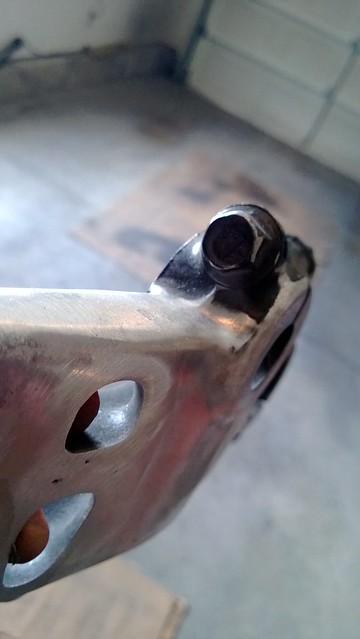
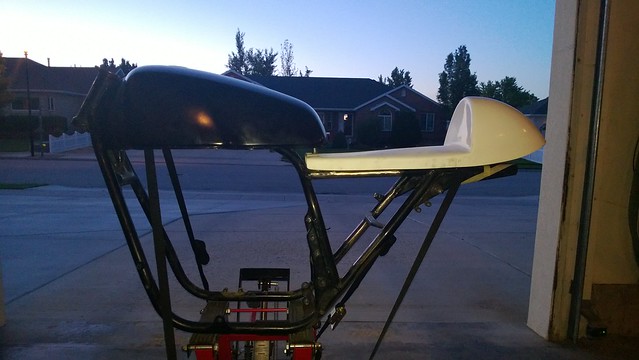
What I did get almost finished were the seat mounts and now all I need is to put a post on the front mount for the back of the tank. it brings the seat up so its a little closer to the tank and which will flow better. I will have some final pictures once its all situated and fully completed. Also please ignore my shitty welding job, they are solid, I am still learning.
I have been looking into some braided brake lines and new throttle and clutch cables, any good suggestions?
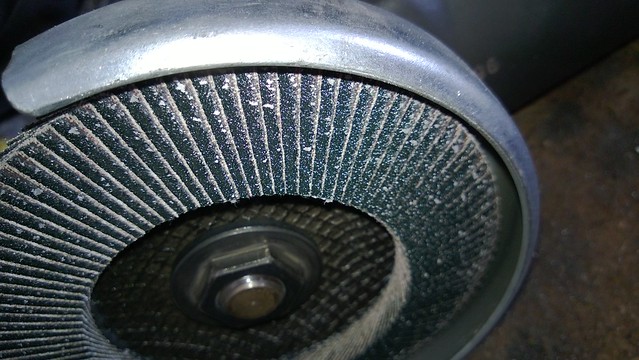
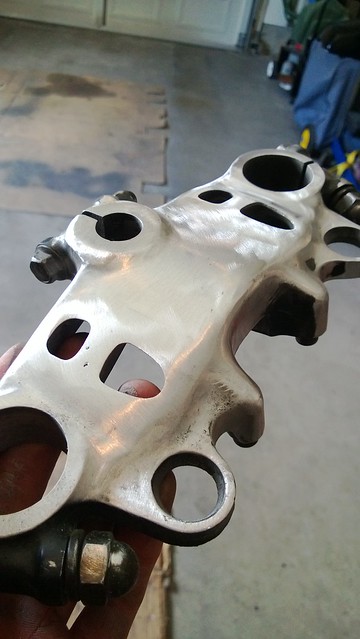
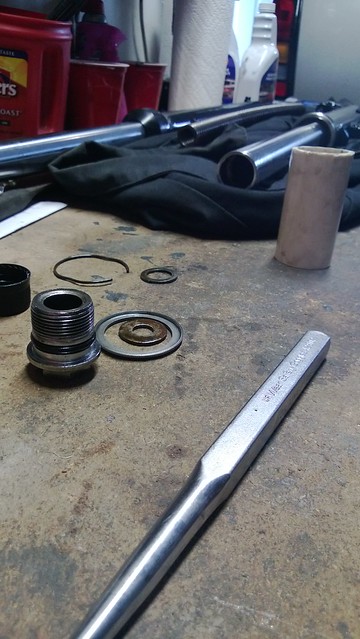
Over the weekend I was able to spend a little time in the garage and dug into the top triple to get rid of the bar risers since I have clipons I will be using. Took me a bit to get it figured out since the grinder was heating it up enough that the aluminum would just puddle on the grind wheel. Did a little research and after a spray bottle of water to cool the metal periodically and it started to work much better especially when using this:
Flap disk made it quite a bit easier and also kept the temp down even lower than with a grinding wheel.
Went through and used some buffer pads on my small die grinder and cleaned up some casting marks as well.
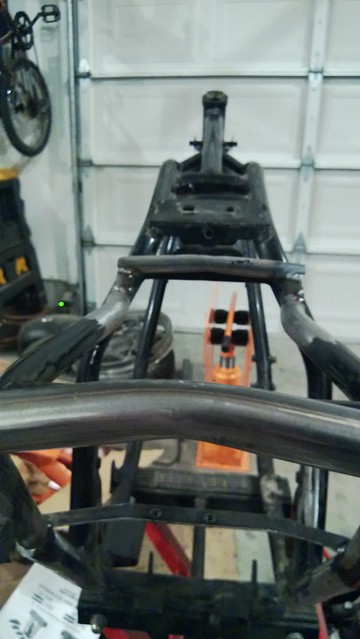
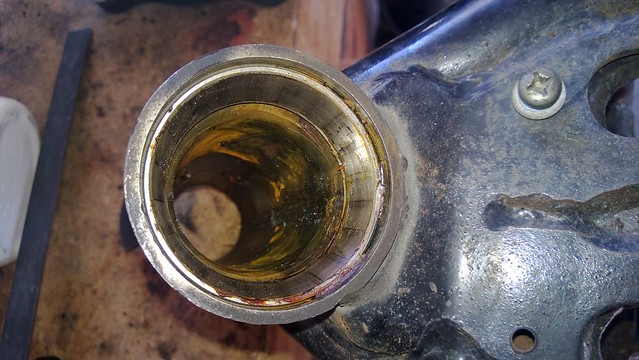
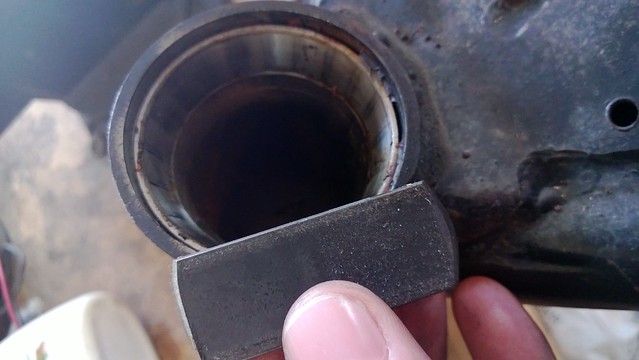
Well did a little more last night and hoping to be able to spend more time this week but it has been insanely busy lately for me. Got the races out of the frame neck the lower was being a pain and since I didn't have a puller at home and cannot get a punch on it from the top I had to improvise.
With a BFH and a punch it popped right out.
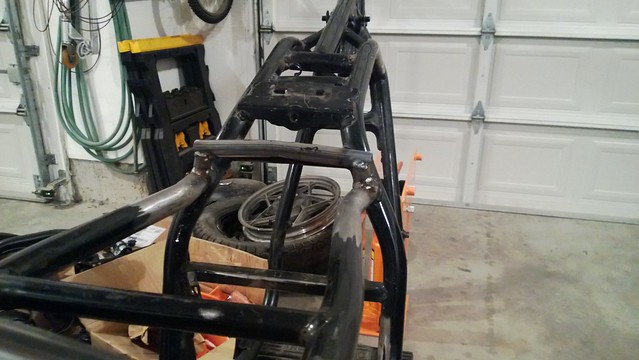
After that I hacked off the rear lock mount for the old seat and notched the front of the seat to get it to line up. Not done with the tail section yet trying to determine the actual spot I am going to put the rear hoop on, and how I am going to bend it.
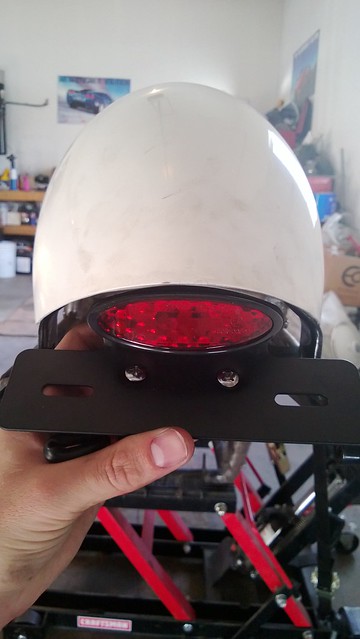
Looking like the cliche tail light as they have been showing up all over but it matches the tail section almost perfectly.
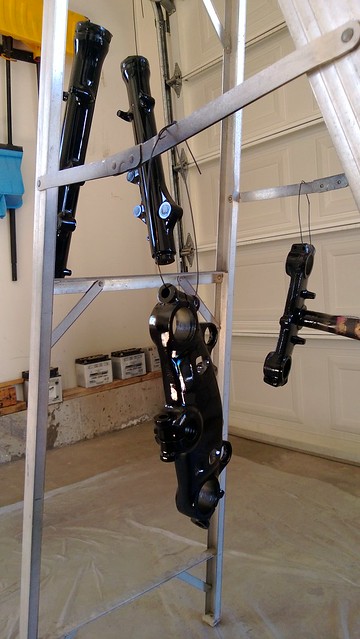
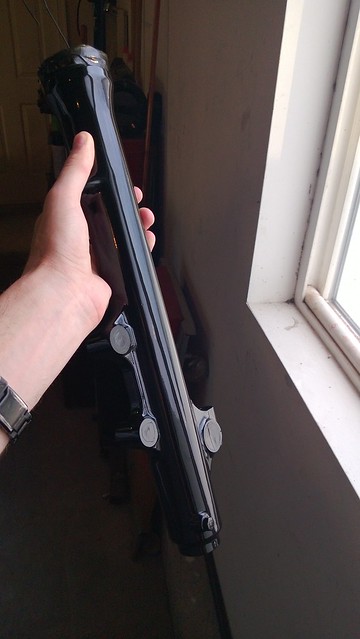
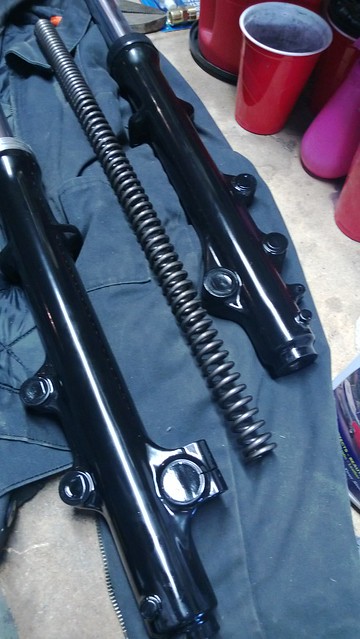
Got the forks all assembled last night and used a piece of PVC as a seal driver which worked out perfectly. Put in the new progressive springs, cut a 4" spacer at the top to set the preload and filled with 8 oz of oil.
Hey have you installed the tail light/brake light yet? I tried to put mine on today and it is a 3 wire, so is the stock harness.. I tried it all ways and I cannot get it to work as a tail light and a brake light... Any help would be great especially because you have the same unit..
If I do not connect the red wire on the new unit to the brown wire on the stock harness I get a functioning brake light but no running light or plate light.. If I connect all 3 i get running light but no brake function.. urggg..
I haven't dug into the wiring yet and will probably wire up a new complete harness. I can check the wiring on that for ya if you like but it may not be till tomorrow night, if I can I will do it tonight.
I haven't dug into the wiring yet and will probably wire up a new complete harness. I can check the wiring on that for ya if you like but it may not be till tomorrow night, if I can I will do it tonight.
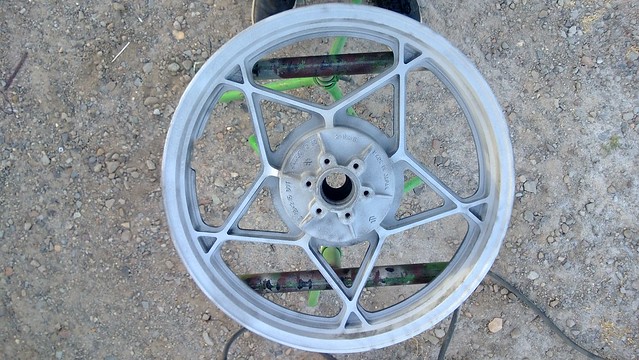
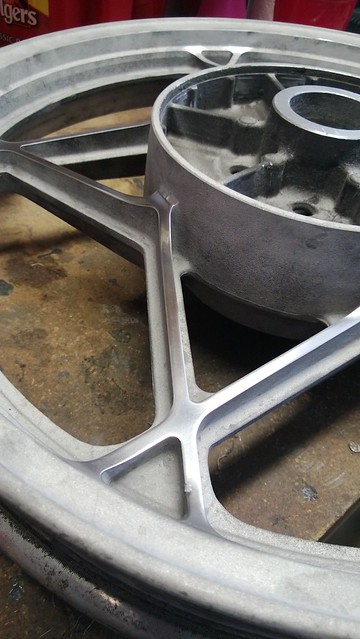
As usual my life is crazy and haven't had a bunch of time on the bike but what I have been working on is time consuming. Been doing some buffing and cleaning on the wheels to get them ready they will be black once all done and have polished spokes. Plus I am polishing a section on the rear swinger and the rest of it will be either black or a charcoal grey haven't quite decided on that one yet.
Picked up a new 18" rear wheel
Then sandblasted
Started sanding the spokes
Then polished
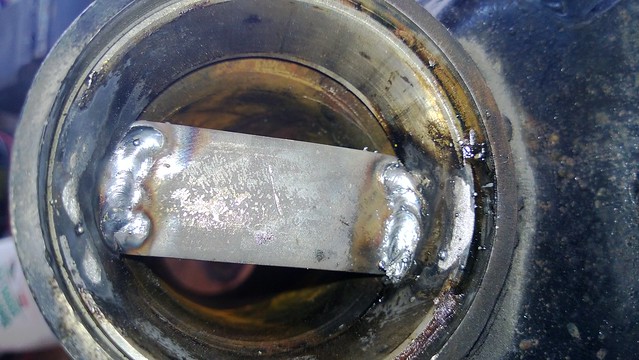
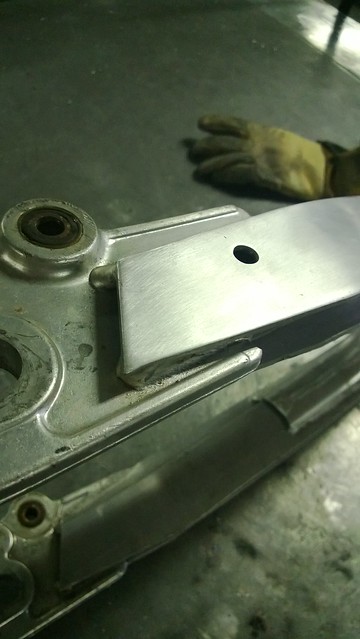
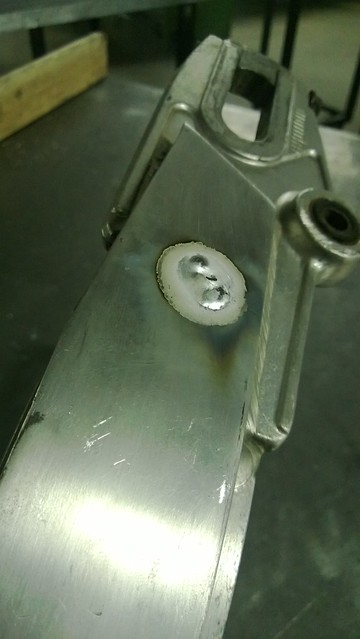
After that I started on the rear alum swinger I picked up from Bradj. It had a hole in it from who the hell knows what, so I had to learn how to tig aluminum. I don't have a tig, luckily a buddy does at his work and they were kind enough to let me use it for an evening. Took some time as it was as difficult as expected teaching myself to tig but I think it turned out ok I will let you guys be the judge.
This site uses cookies to help personalise content, tailor your experience and to keep you logged in if you register.
By continuing to use this site, you are consenting to our use of cookies.