Follow along with the video below to see how to install our site as a web app on your home screen.
Note: This feature currently requires accessing the site using the built-in Safari browser.
We noticed you are blocking ads. DO THE TON only works with community supporters. Most are active members of the site with small businesses. Please consider disabling your ad blocking tool and checking out the businesses that help keep our site up and free.
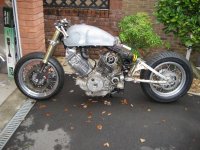
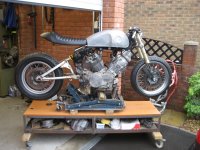
After a couple of years lurking on the site, thought I'd post some pics on the progress of my '83 TR1 build project. making no excuses for the Mojave tank / Motolana seat combo, just like the way it looks. Also coming from a dirt bike background I like the narrow waistline when looking at it from the rear.
Anyway onto the pics and progress so far..................
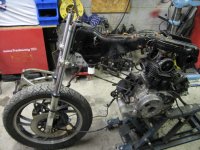
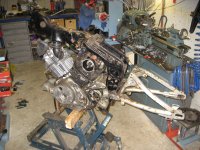
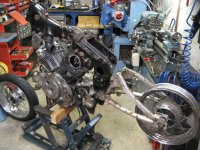
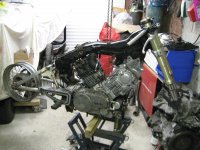
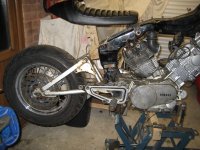
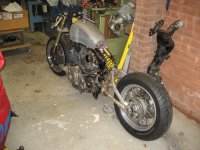
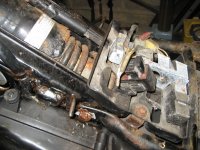
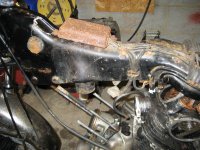
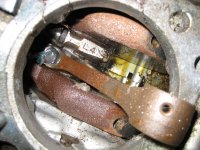
Picked up the bike after an ebay "win". It had been stood outside in the wet British weather for over five years, so she was looking a bit tired. Just over 8000miles on the clock before it died....
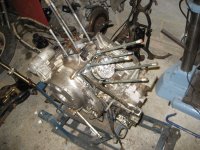
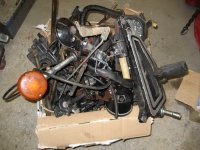
the previous owner had a amassed a number of other parts which came with the bike, not necessarily off a TR1 !!! There were various XV parts. I threw one of the spare heads on that came with it, just to enable me to get it into the frame. Then it was time to make a list then pay a visit to the breakers yard.
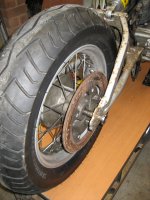
started picking up some bits on ebay also. first up a nice Akront rim, spoked wheel off a Triumph Tiger. Needs a bit of TLC as its got a little bit of a wobble in the rim. At this stage I don't even know if it will fit, but I liked the look of it.....
from the breakers a rear wheel off a Kawasaki intruder. I eventually had to abandon that one as I wasn't happy with the tyre sizes available, so that went back on ebay !!!
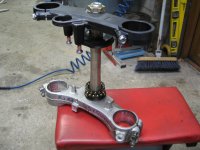
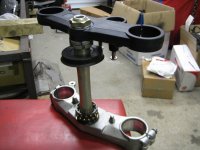
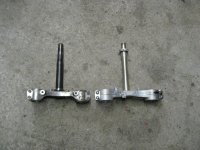
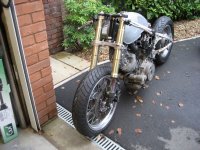
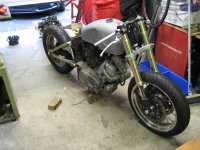
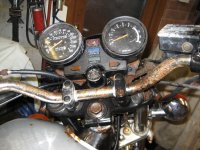
I decided I wanted a modern front end on the build, so a set triple clamps off a GSXR........
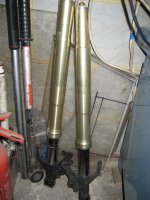
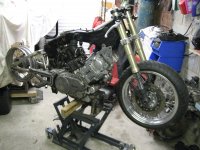
A Yam R1 kindly donated its forks, and brakes..........
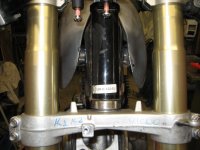
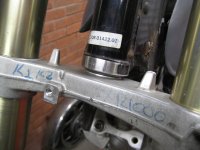
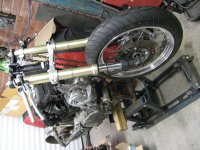
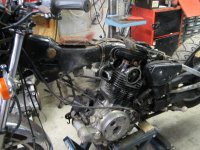
first job was to get the front end on. I read lots of info on swapping out modern front ends for these frames, machining new spindles for the triple clamps, pressing them out etc, but as a side by side comparison they didn't look to far out to me.....quick trawl of the web and I managed to locate some taper roller bearings that would fit both the GSXR clamps and the TR1 head stock. Needed to trim the lower bit of the headstock tube a little to get it all in there but it fits just fine......
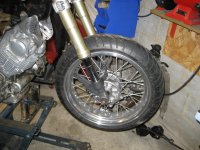
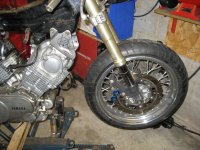
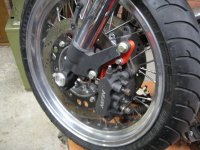
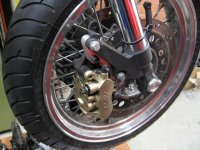
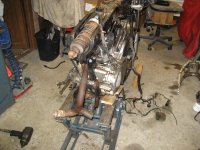
went ahead and threw the front wheel in there to see how it looked...
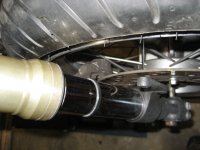
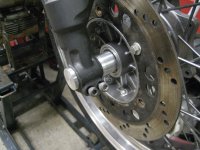
when I won the wheel off ebay, the seller threw in the old worn out discs as part of the deal, so I bolted them on and offered up the R1 calipers. no matter which way I tried them, they weren't going to fit as the spokes were clashing with the caliper housing.................so back on ebay with the R1 calipers !!! That's part of the fun on these type builds seeing what fits with what. Anyone can go into a catalogue and just pick out a load of bits that just bolt together........where's the fun in that???
so I'd have to rethink the front caliper combo. Could have just thrown an R1 wheel on I know, but I like the spoked wheels on these builds, and was not prepared to pay big bucks for a custom set !!!
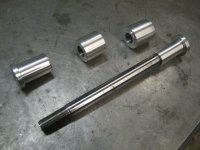
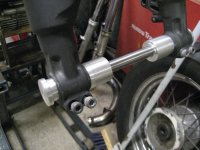
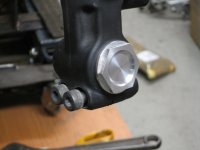
as I was sticking with the Triumph front wheel, it was time to set it into its position. I machined the old TR1 spindle and some alloy spacers and bushes to centralize the hub in between the fork legs. I was unable to locate a set of wheel bearings to enable me to use the R1 spindle.
picked up another rear wheel off ebay, to see how it looked...........cannot remember what bike this came off, some big Honda cruiser type, but man it looked butt ugly and wayyy too big, so after a quick relist that went back on the bay.......managed to make a few bucks on that one which was a bonus !!!
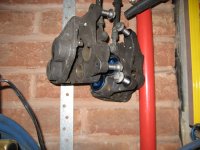
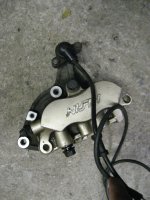
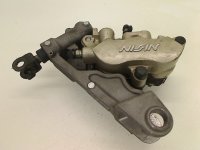
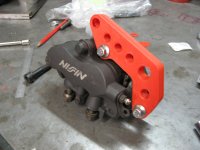
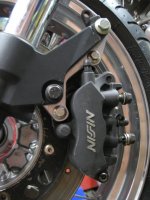
turned my attention back to the front brake issue, and after a considerable bit of research I decided that the Nissin Honda calipers found on a range of their bikes would be a good shout??? They have a slightly smaller inner casting as part of the design so I hoped it would give me the clearance I needed. I would have to make some brackets to get them to fit but that should be ok.
tracked a set down, again good old ebay, off a VFR800. Like some Cinderella, I offered them up........................and its fits !!!! Well at least one did........
The right side caliper would go on with a bracket mod and adaptor plate, but the left one had a horrible ABS monster bracket which was not going to play ball. No amount of cutting drilling, or brackets would make it fit.....................so a bit more research needed.........
Bit more head scratching and carful examination of the brackets and I managed to locate a mirror image caliper with the right combo casting. This was off a Honda FES250 scooter !!!
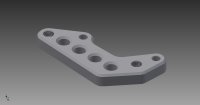
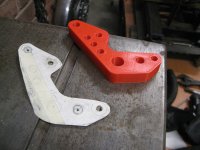
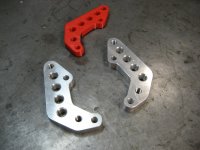
next I had to mount them onto the R1 forks. Before I committed to chopping up my precious alloy I made a cardboard template then a bit of 21st century black magic in the form of a 3d printer and some CAD software.
This helped me mock up the correct offset and position relative to the discs. I priced up a local CNC machine shop to make them but it was too expensive, so I'd have to make them the old conventional way..........
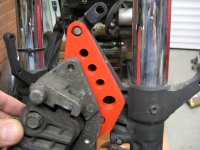
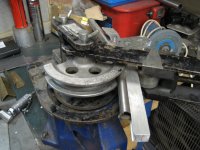
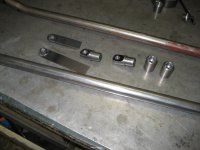
so it was onto making the brackets out of alloy.......marked them out, milled and drilled as much as I could then finished off the curves by hand. Could have set them up on a rotary table and milled all the curves, but the hand finishing was not too bad and took a lot less time....
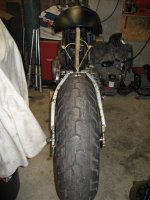
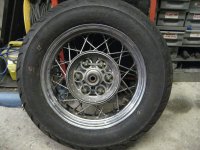
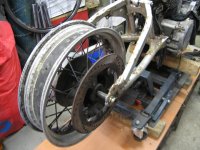
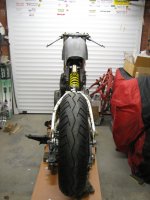
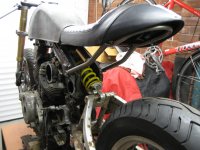
onto my third and I hope final rear hoop..................
this one is off a Triumph Thunderbird. Spotted it at the breakers all covered in grime, though it might do the job. Bonus is again its got a nice Akront alloy rim and stainless spokes. Fingers crossed this ones a keeper ??
Fitted my tyre to it and..................................I'm happy. Its got the proportions I'm looking for. Needs a few mods to the spacing and cush drive but it should be happy in its new home
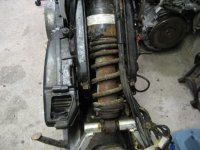
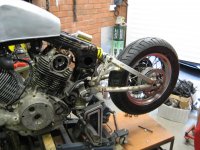
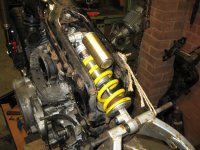
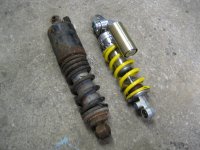
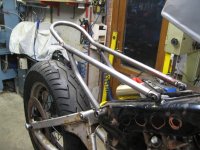
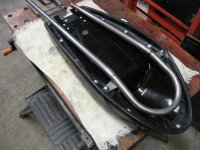
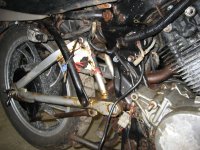
the rear shock was seized solid and beyond repair, so I picked up an R6 shock from the breakers and began the task of fitting it into the frame. it should be a bit more tunable come ride time with various different springs available and plenty of adjustments to be made.
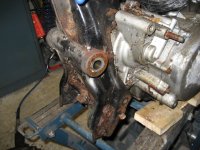
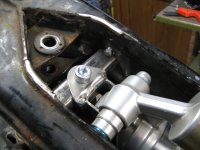
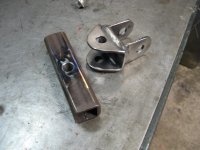
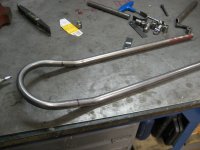
first of all I had to fabricate an upper mounting, as its a bit shorter than the stock setup. just tacked it into place at the moment until the suspension is fully installed.
This site uses cookies to help personalise content, tailor your experience and to keep you logged in if you register.
By continuing to use this site, you are consenting to our use of cookies.


")