Follow along with the video below to see how to install our site as a web app on your home screen.
Note: This feature currently requires accessing the site using the built-in Safari browser.
We noticed you are blocking ads. DO THE TON only works with community supporters. Most are active members of the site with small businesses. Please consider disabling your ad blocking tool and checking out the businesses that help keep our site up and free.
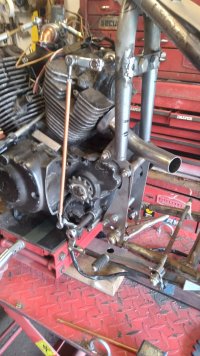
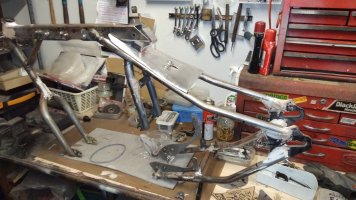
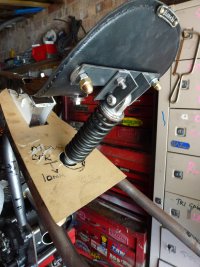
Strip down now and final fettling / painting. I made the spacers this morning.
I've ordered the metal for the enclosure plates. Templates all finalised now.
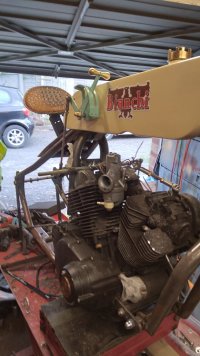
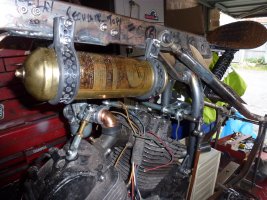
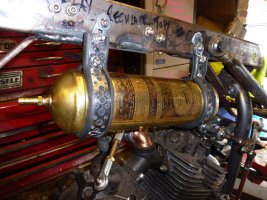
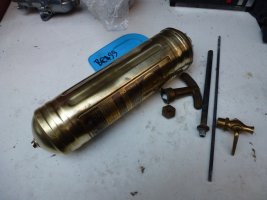
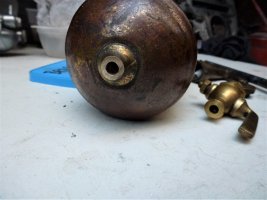
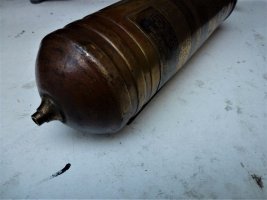
My Pyrene fire extinguisher arrived today - it's going to become the fuel log / header. The SU runs on about 4psi fuel pump, but the Amal Concerntric is gravity fed so I need to have a fuel log / header from a low pressure pump to raise the fuel from the cell in the bottom of the frame without creating excessive pressure.
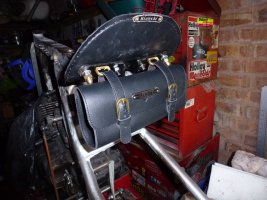
Started on the mods ....... couldn't resist a quickie clean up !!
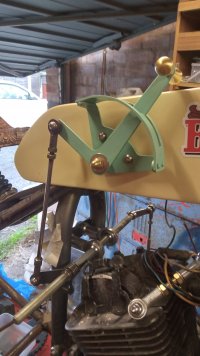
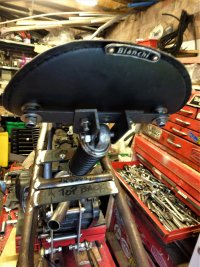
Yes, already done Teazer. They were just POC to make sure that the saddle worked as intended with me sat on it !! As you know - I am NOT a welder so had to make the POC parts from what I had - angle iron !! I've already sent a sketch to my new welder buddy.
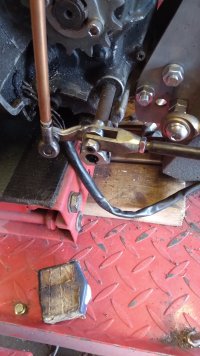
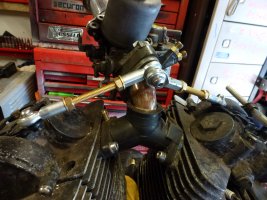
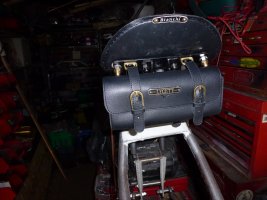
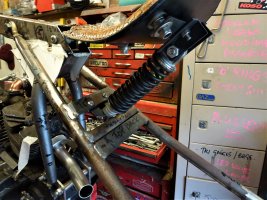
Switched to the other side now. Handchange quadrant and rods all mocked up. The rod on the quadrant side will have to be shortened to get the correct angle.
Need to get a small amount of machining done then I can finalise the system and trial it out.
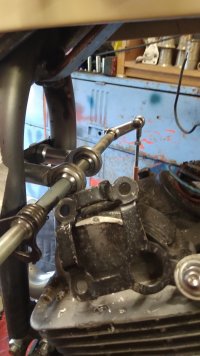
Waiting for copper tube to enclose the connecting rods.
Thanx MT, only the dry build at the moment, but after the last several years I'm glad to be able to get into it properly.
VINTAGE PYRENE FIRE EXTINGUISHER - NOW MY LOW PRESSURE GRAVITY FEED FUEL LOG. Ooops caps lock off now.
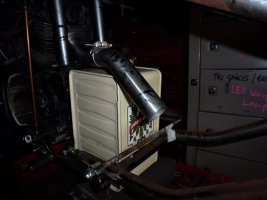
Just some dummy brackets to mock up the position, it will be partially under the "tank".
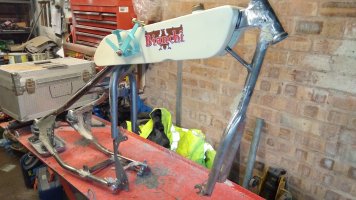
I finally mocked up the rear exhaust to make sure I had clearance on the fuel cell - all OK.
Despite looks, the front and rear headers will both be the same length ! Pure luck not planning. The rear one is just joined with a wide exhaust clamp to secure the position . Then back to finding that elusive st. steel welder nate ! I'll slash cut the ends for pure cosmetics.
I've now got the copper tubing to cover the various gearchange connector rods.
It's very satisfying when that germ of a thought in your brain works in reality !!
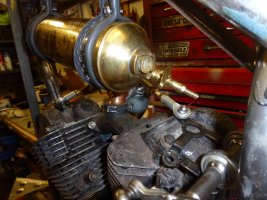
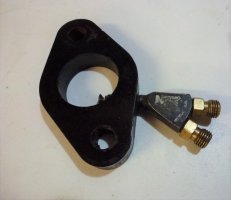
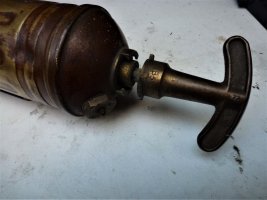
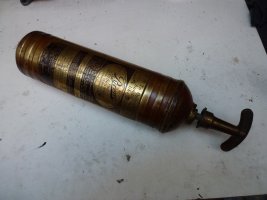
The Pyrene fuel log is now completed and functional using an 8mm brass hose tail for the inlet and a 1920's NOS brass fuel tap bought at an autojumble 30 years ago ! That also had to be modified to take another 8mm brass hose tail for the supply to the Concentric carb.
The eagle eyed will see that there's a hole to be blanked at the fuel tap end, where the original plunger went in. That will be blanked off, maybe with a 1944 farthing coin [ my DOB ]
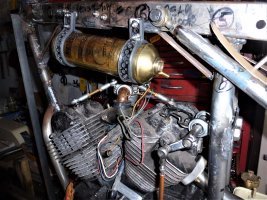
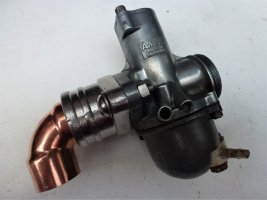
I'm still working out how to integrate the NOS after the change from the SU. I'd got it all worked out with the Fogger inserted into the sandwhich block between manifold and carb. Got to start all over withe Concentric set up, but I think there is room to get the fogger drilled and tapped into the Triumph [ !! ] hybrid swan neck intake. The Triumph / Amal part of the intake is slightly longer giving me more room to put the fogger in from underneath rather than 45 degrees from top. .... more stealth !!!
Two months of Chronic Kidney Disease issues slowed me down [ even more ! ], on the mend now and back to my projects.
Welding all completed now, in the end I had to do it myself - lots of promises and no shows from "mates" who said - "yea no problem I'll do that" .....................
Anyway not neat but solid ! I had always intended to blend all the joints with filler and smooth them out - just wish I'd done the welding myself 6 months ago rather than waiting for the experts.
This site uses cookies to help personalise content, tailor your experience and to keep you logged in if you register.
By continuing to use this site, you are consenting to our use of cookies.


")