The Red Wonder
Been Around the Block
After a good month hiatus...including a week of this in Aspen ") :
:


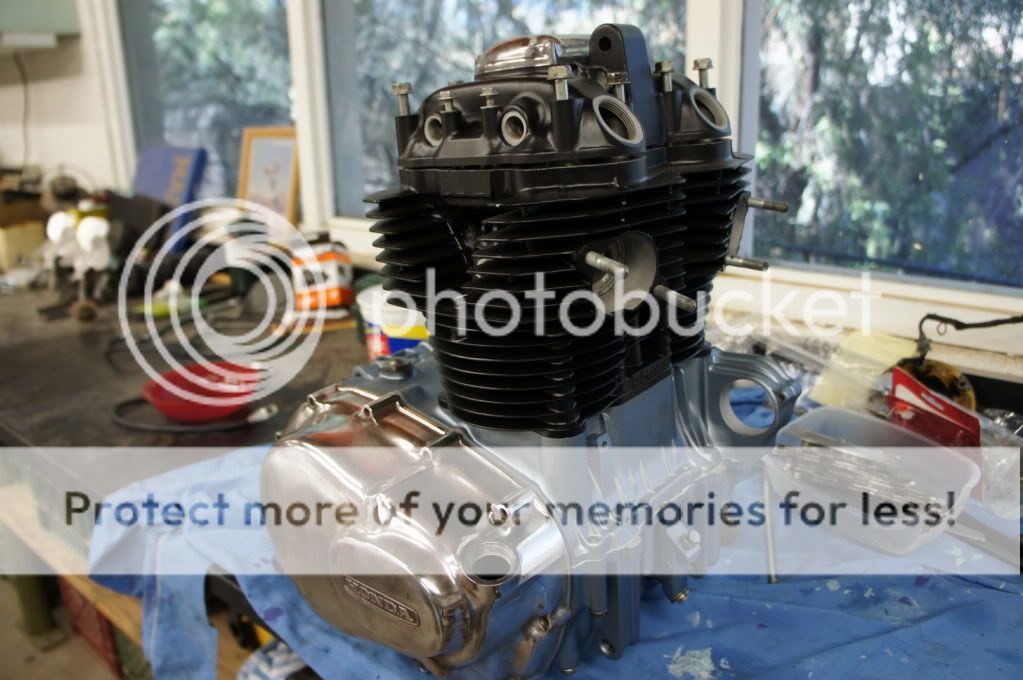
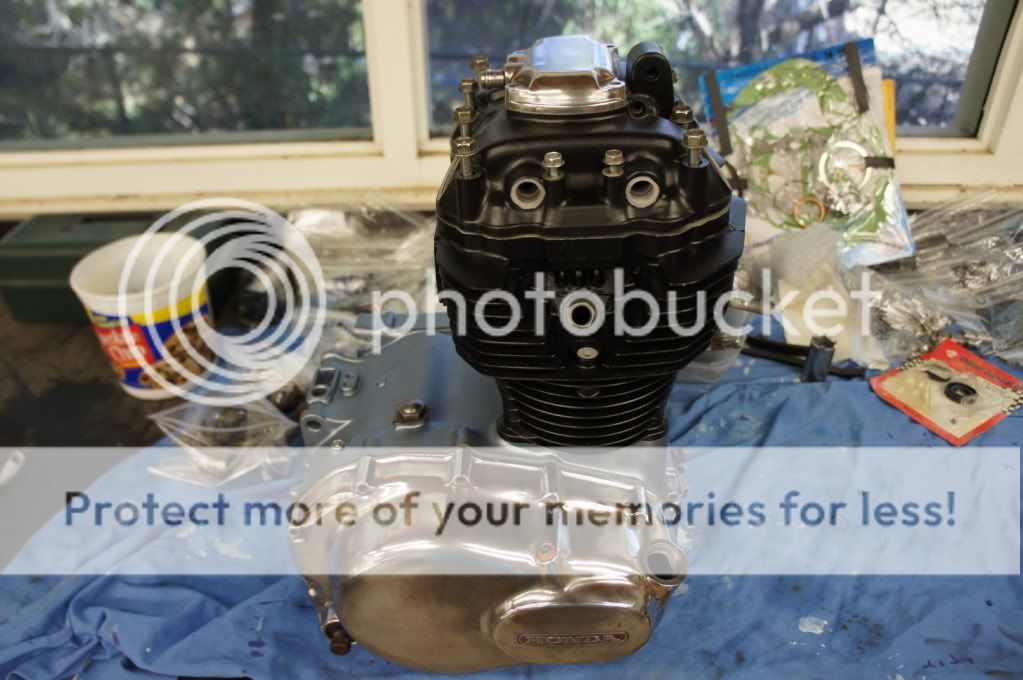
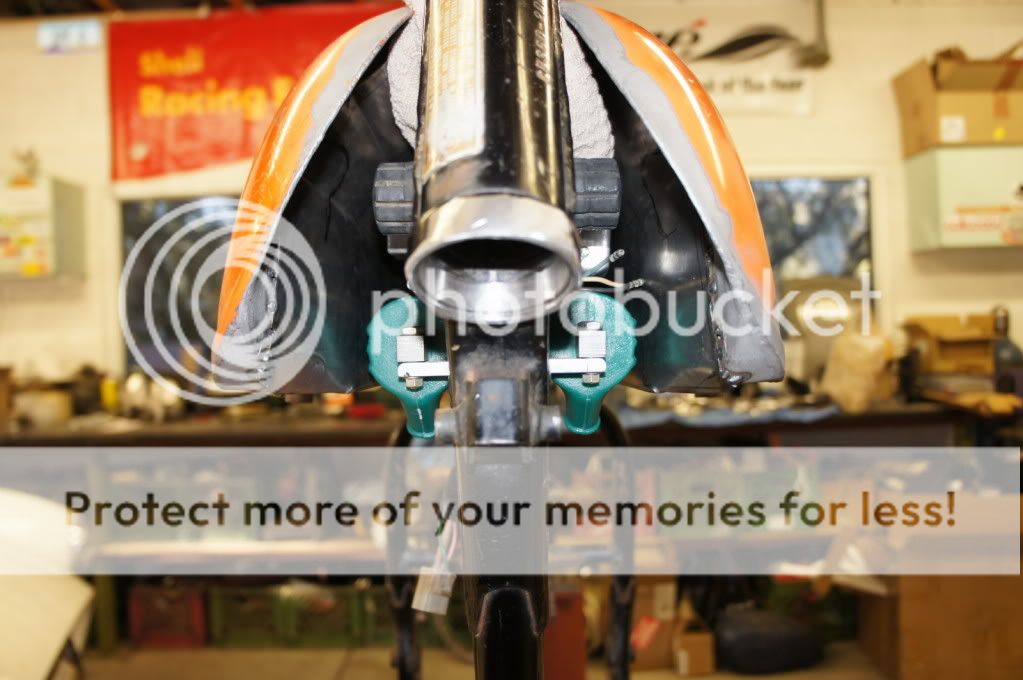
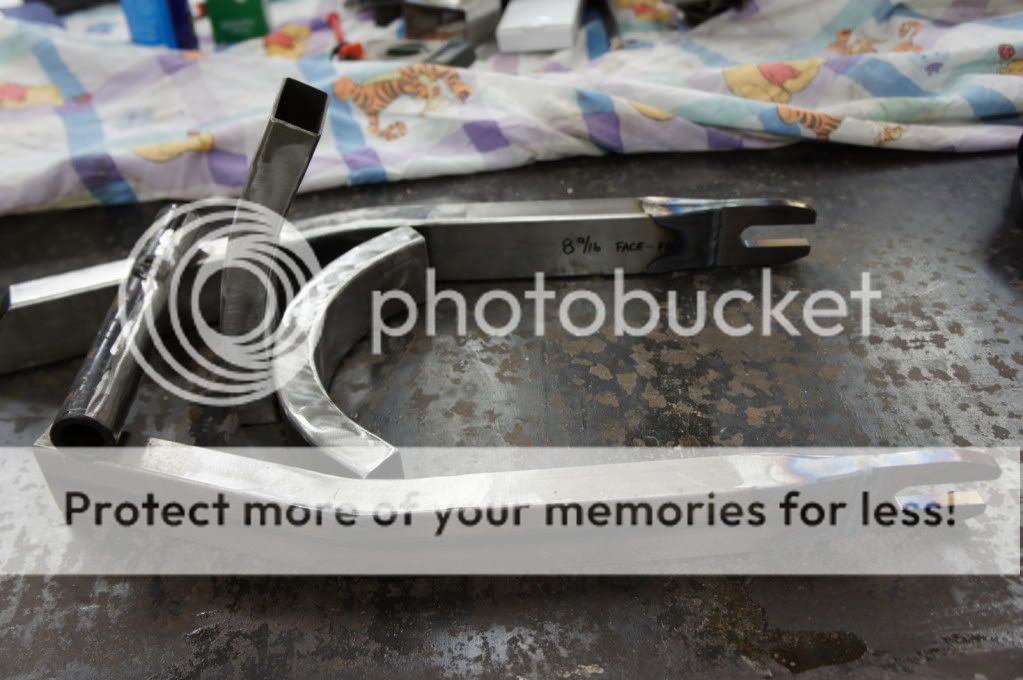
I am back in the shop and back at it! I know have all of the swingarm parts initially done and I should (fingers crossed) be able to finish it this week or next.
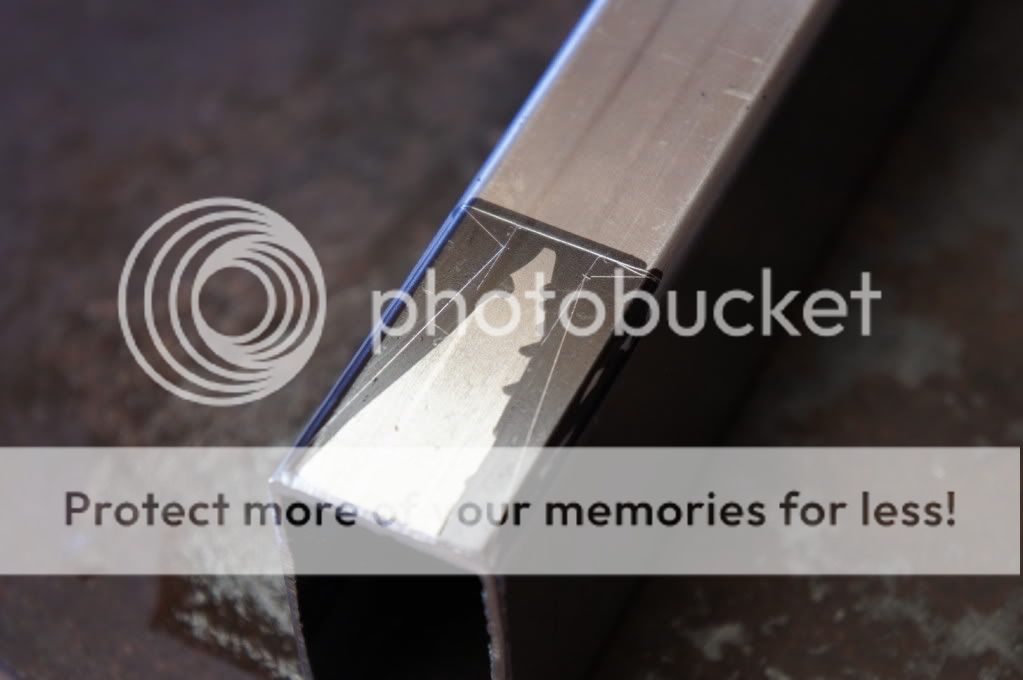
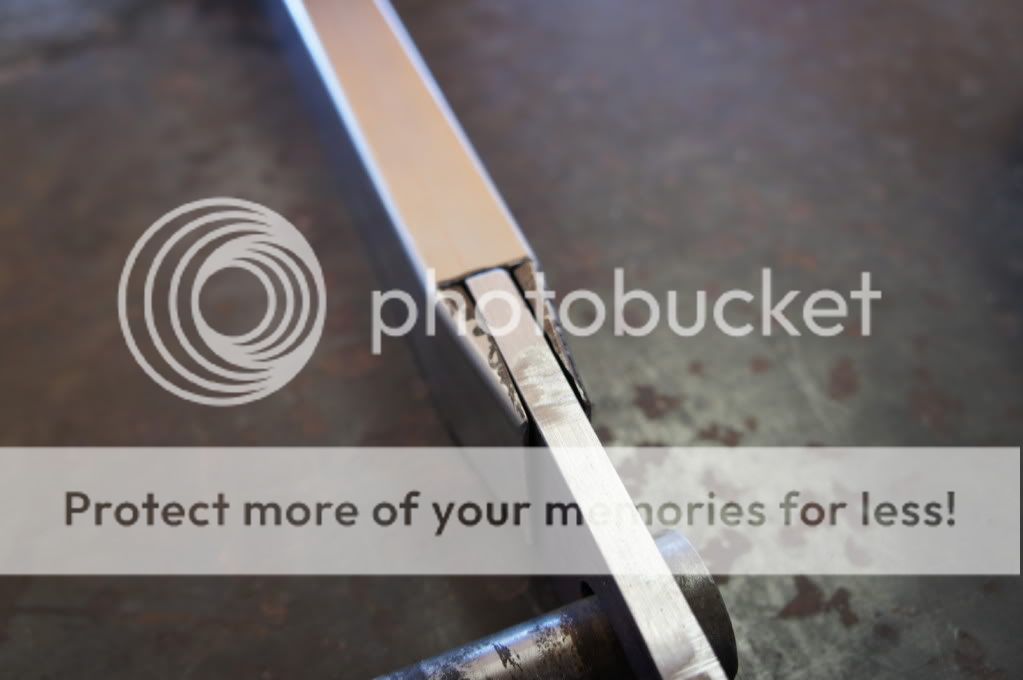
Laying out the cut lines for the bends to hold the axle mount plates:
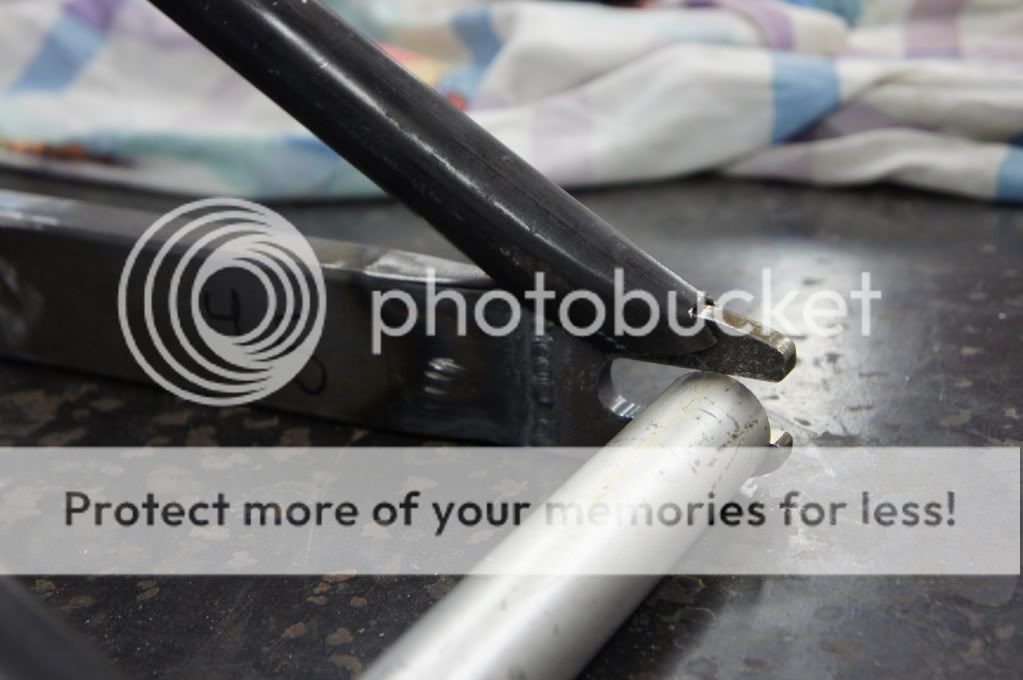
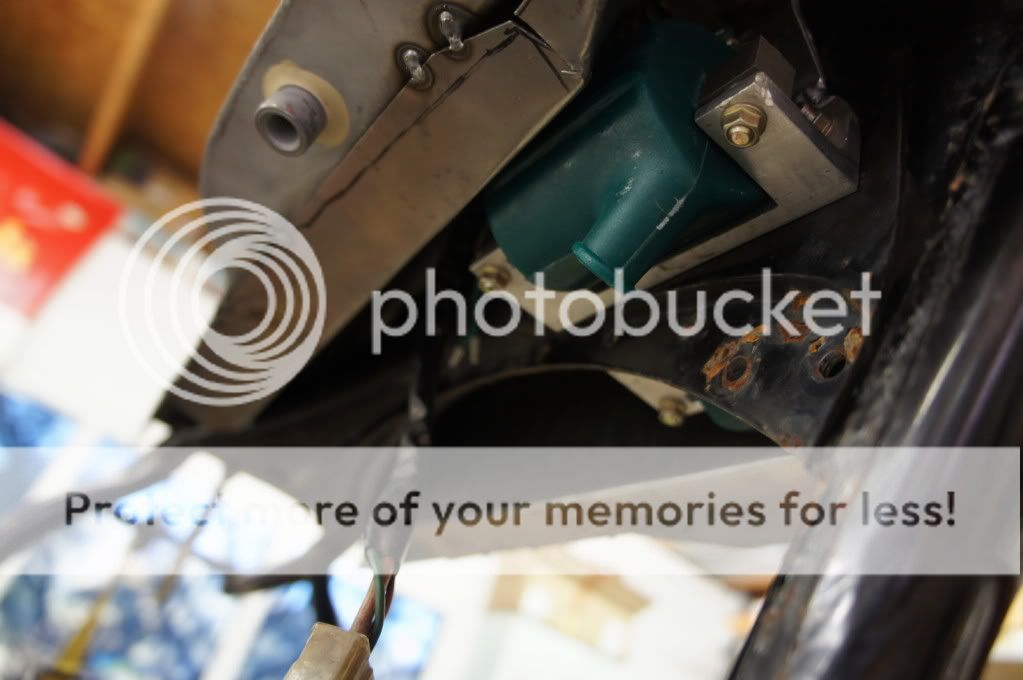
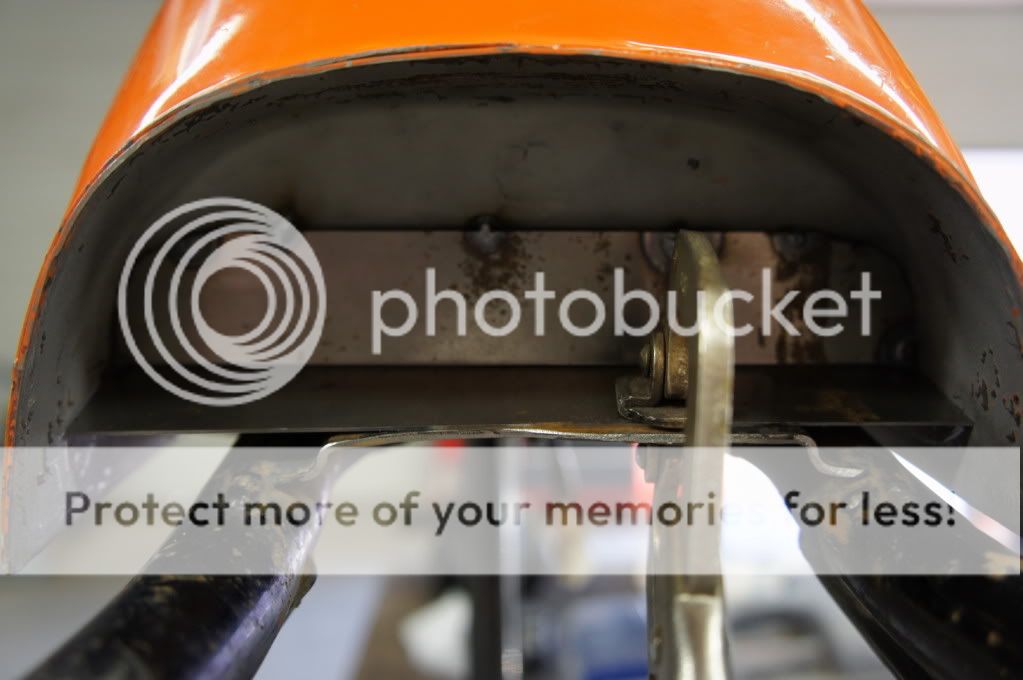
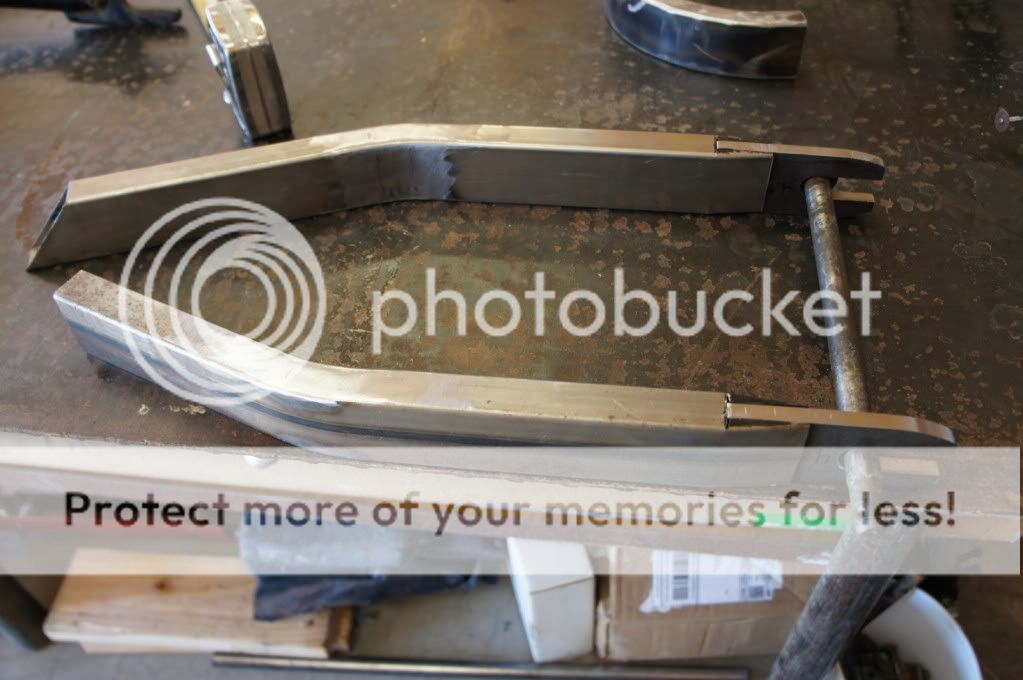
Axle plate held in swingarm arm:
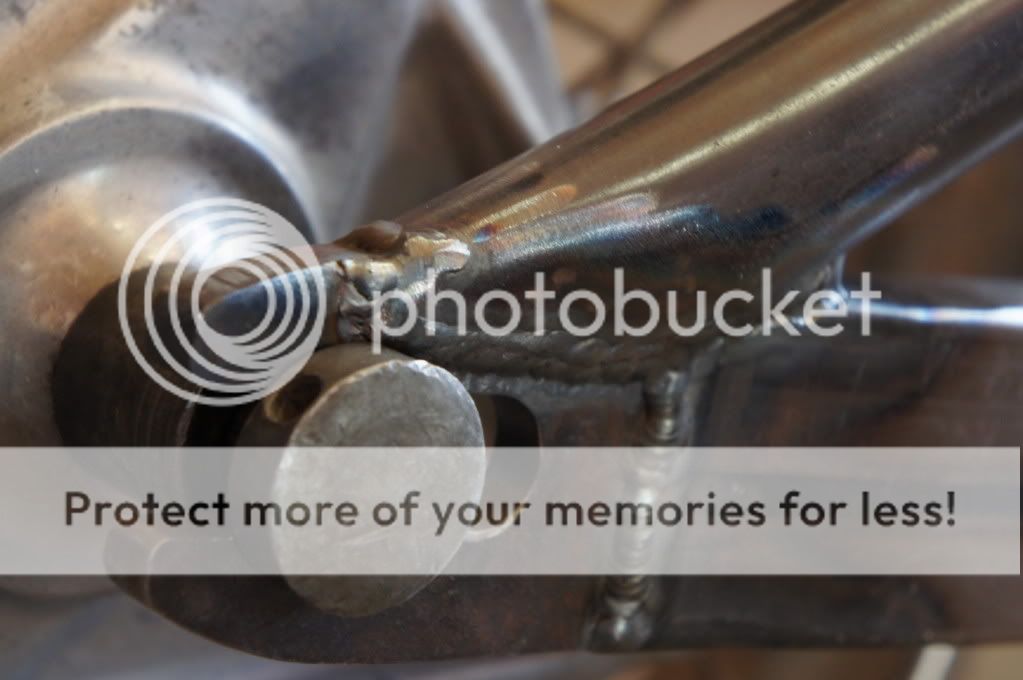
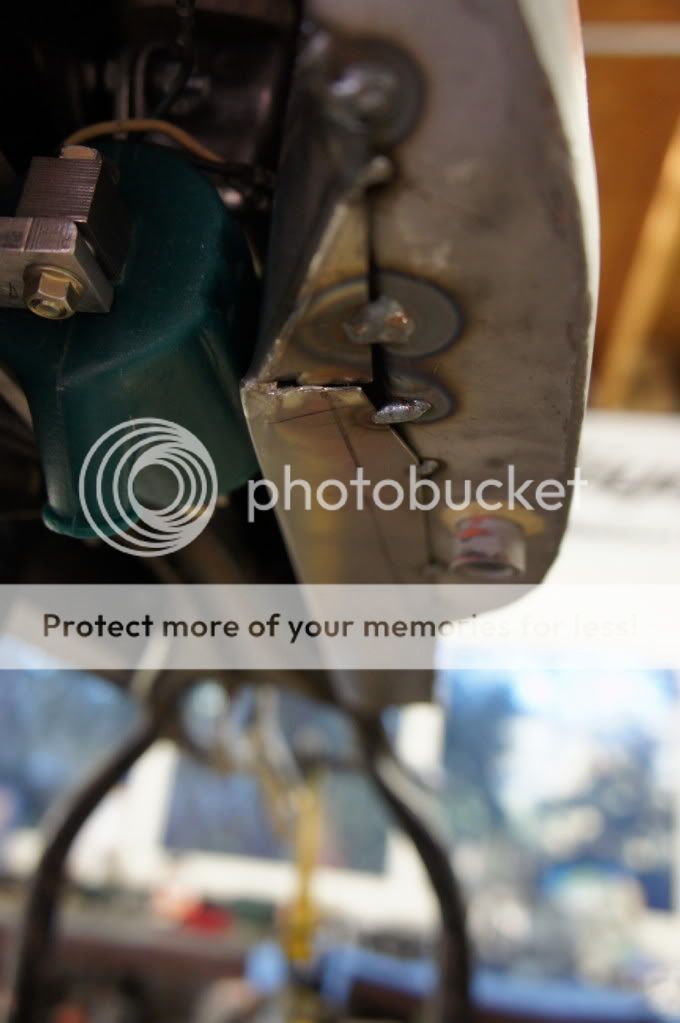
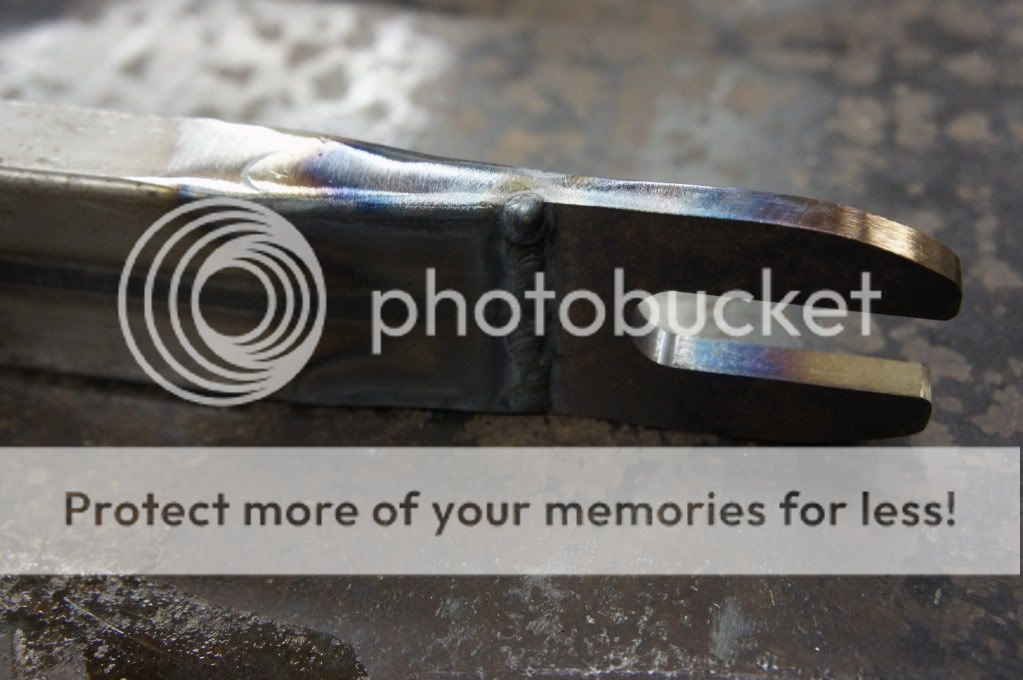
All welded up:
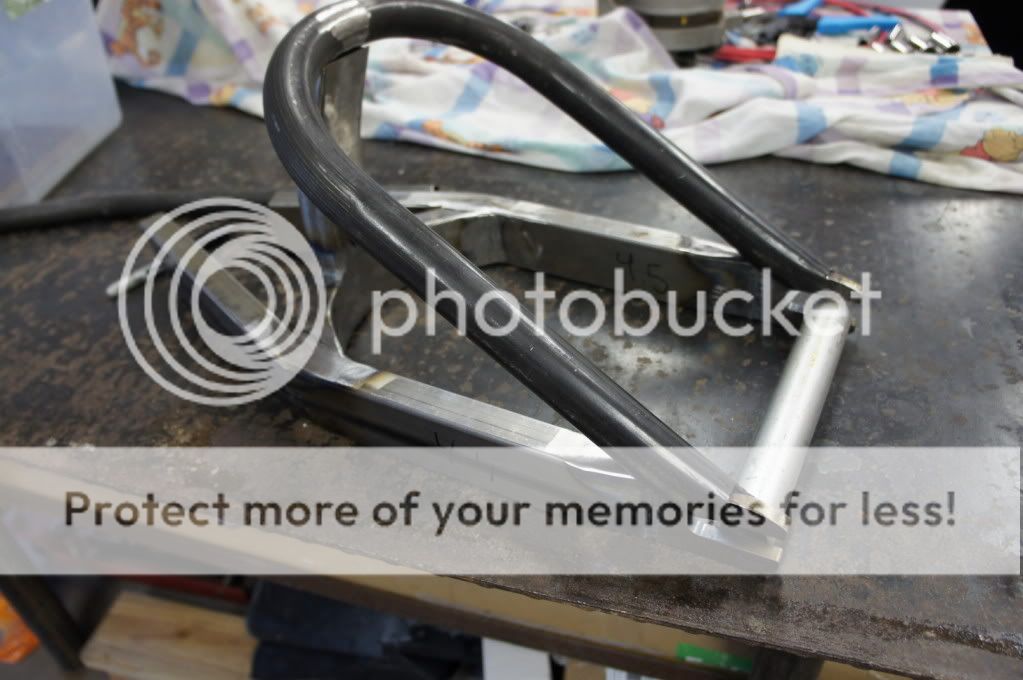
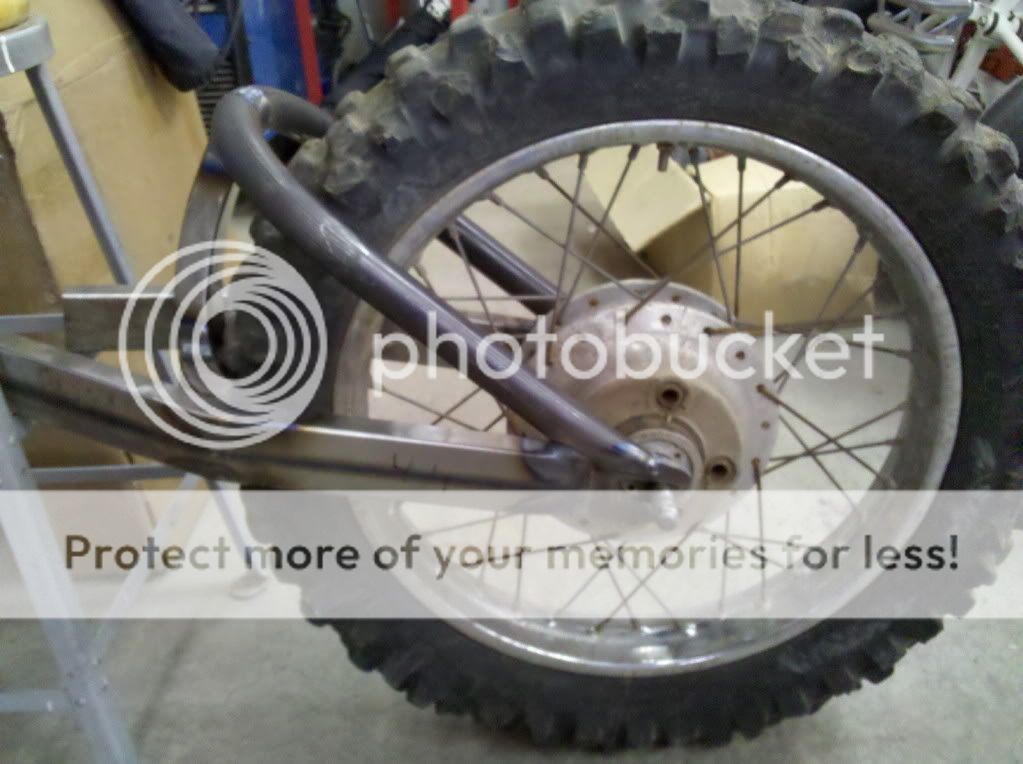
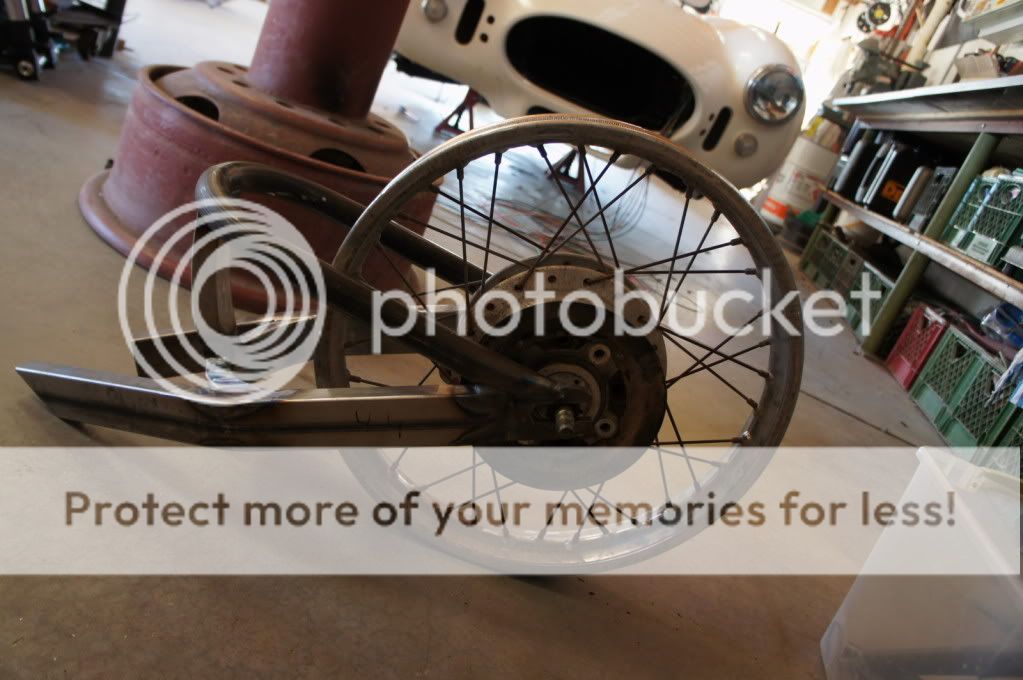
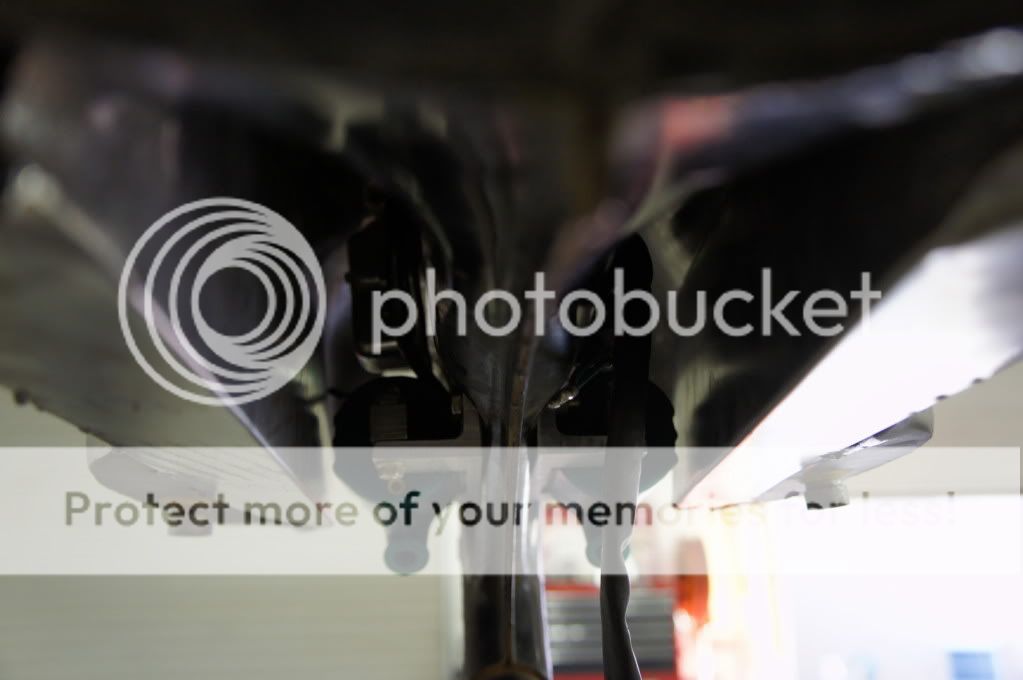
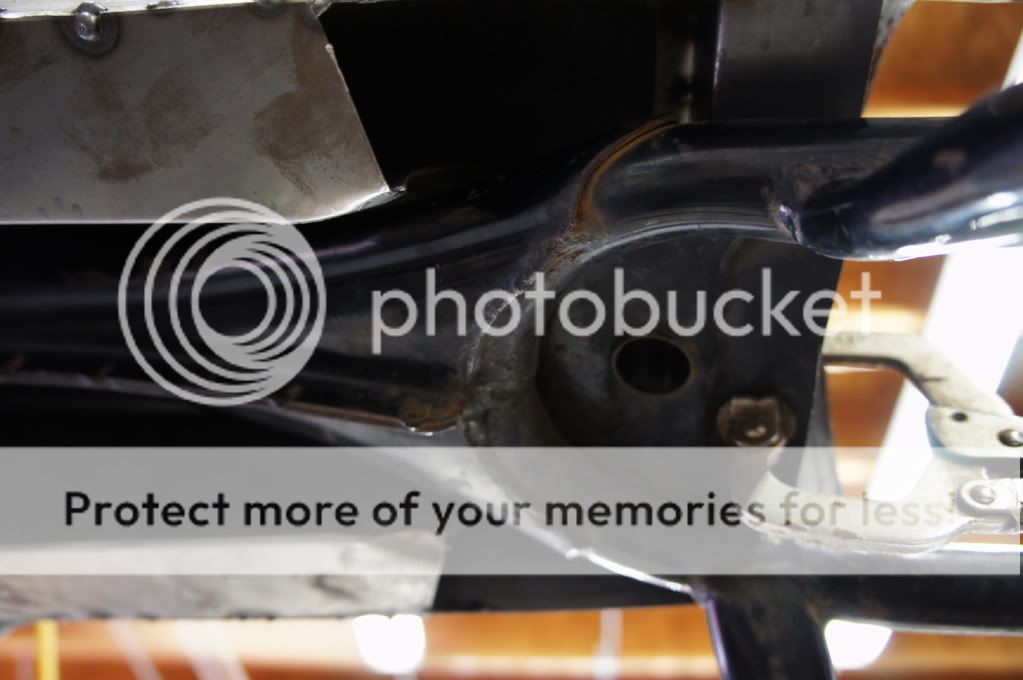
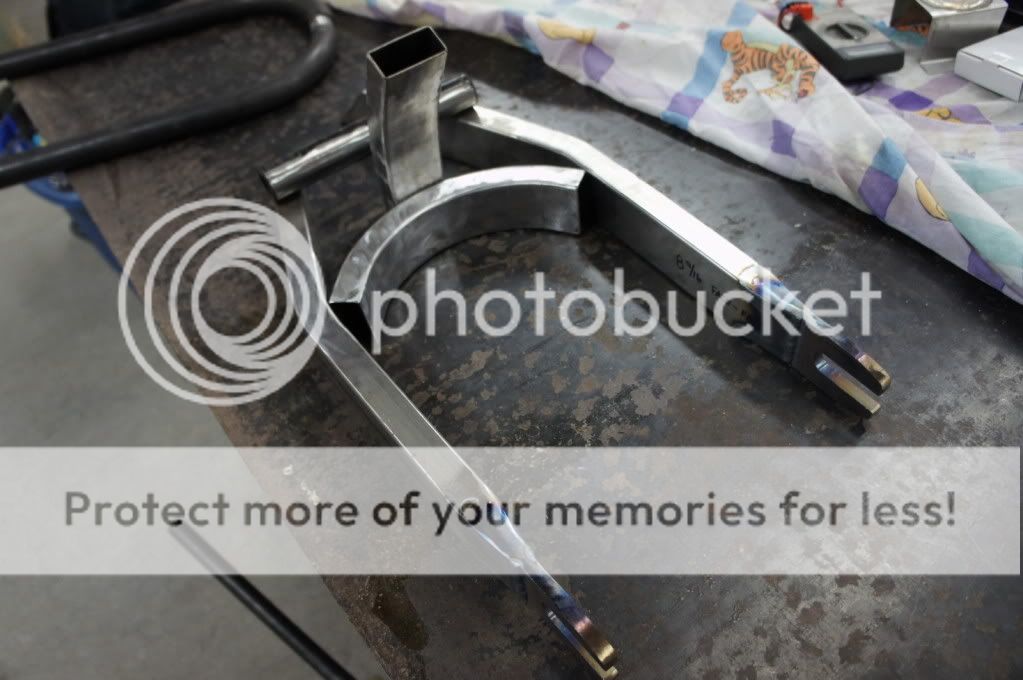
Set in place:
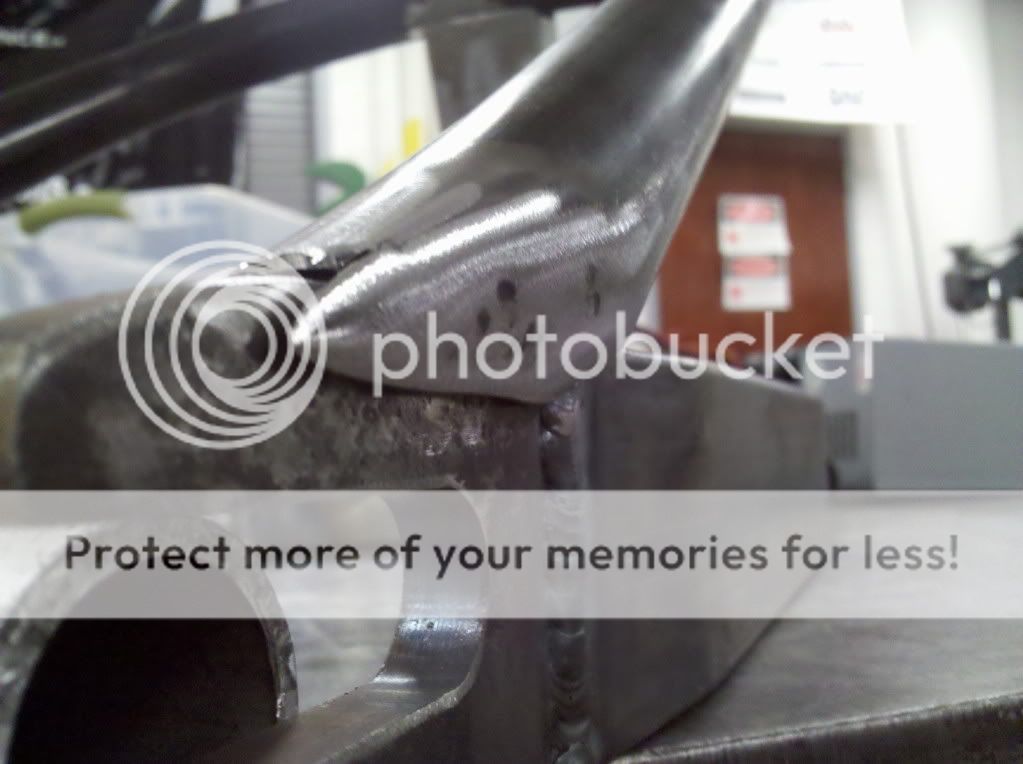
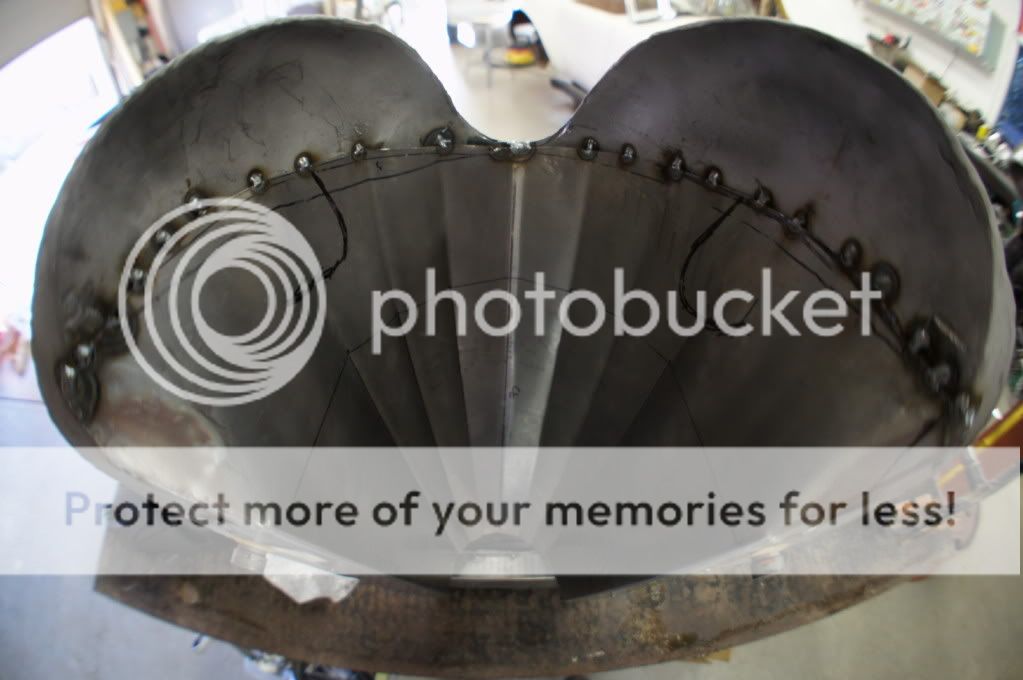
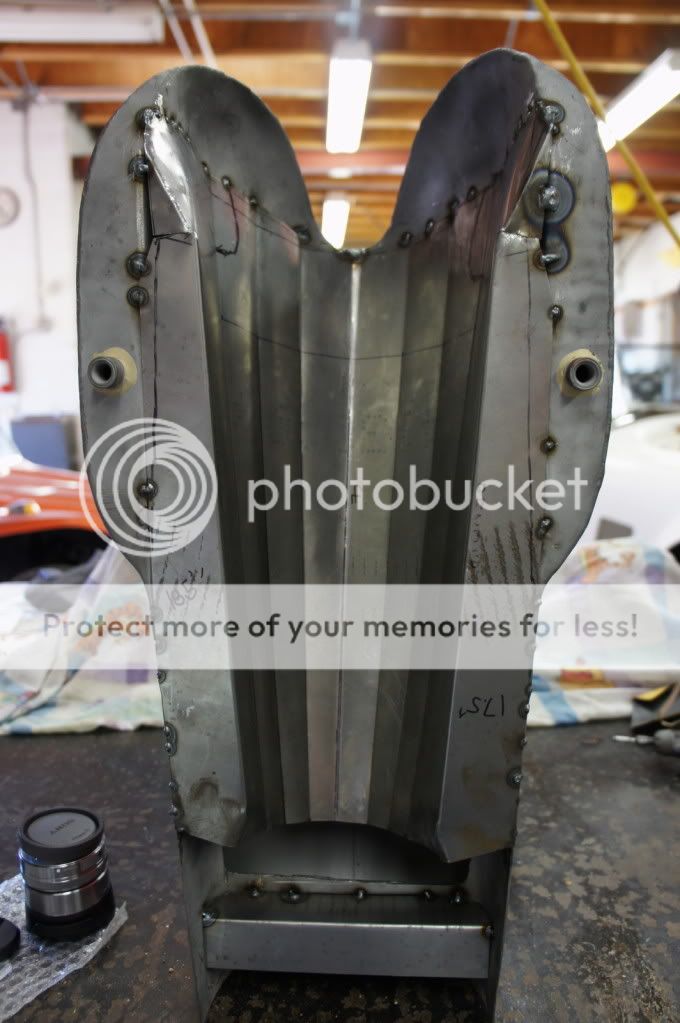
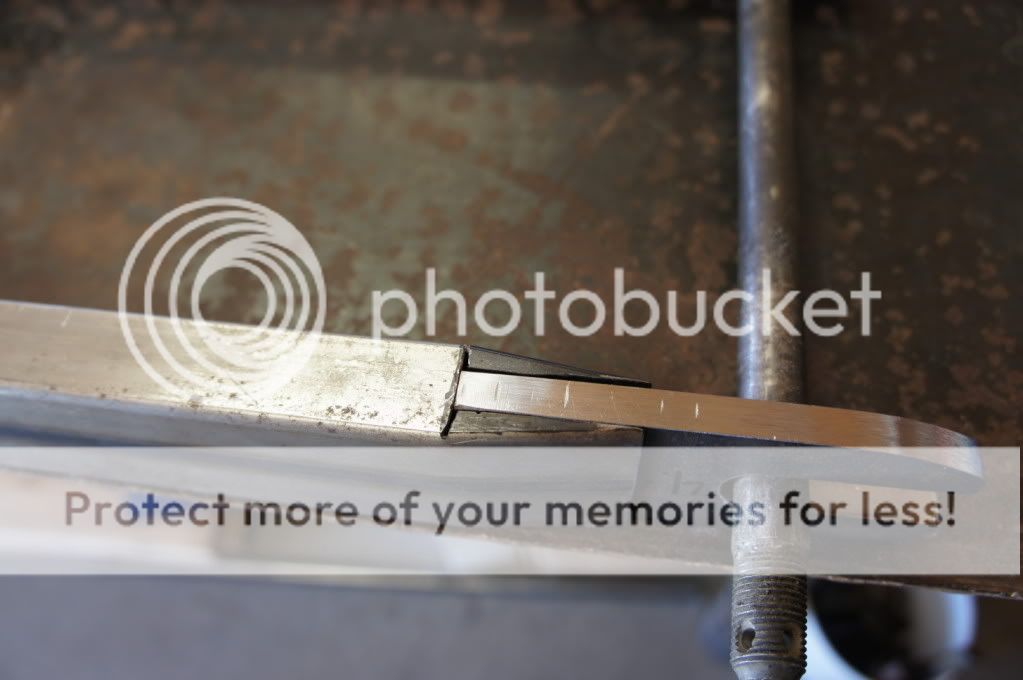
The tight radius piece took 9 cuts and re-welds to get it that tight!
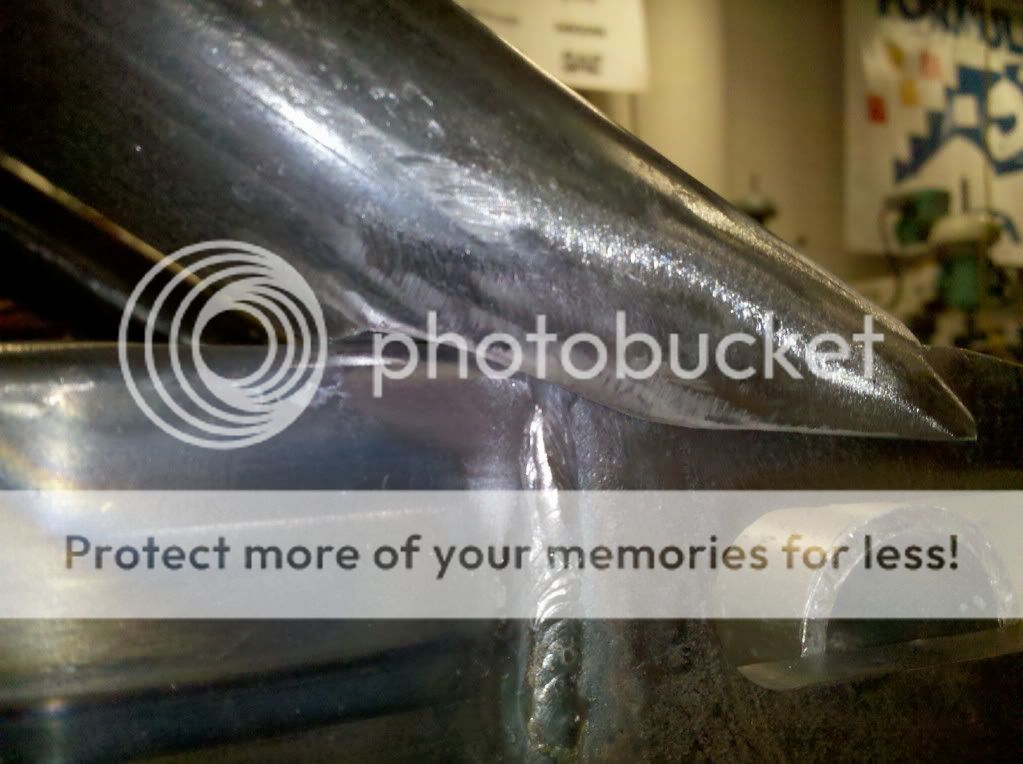
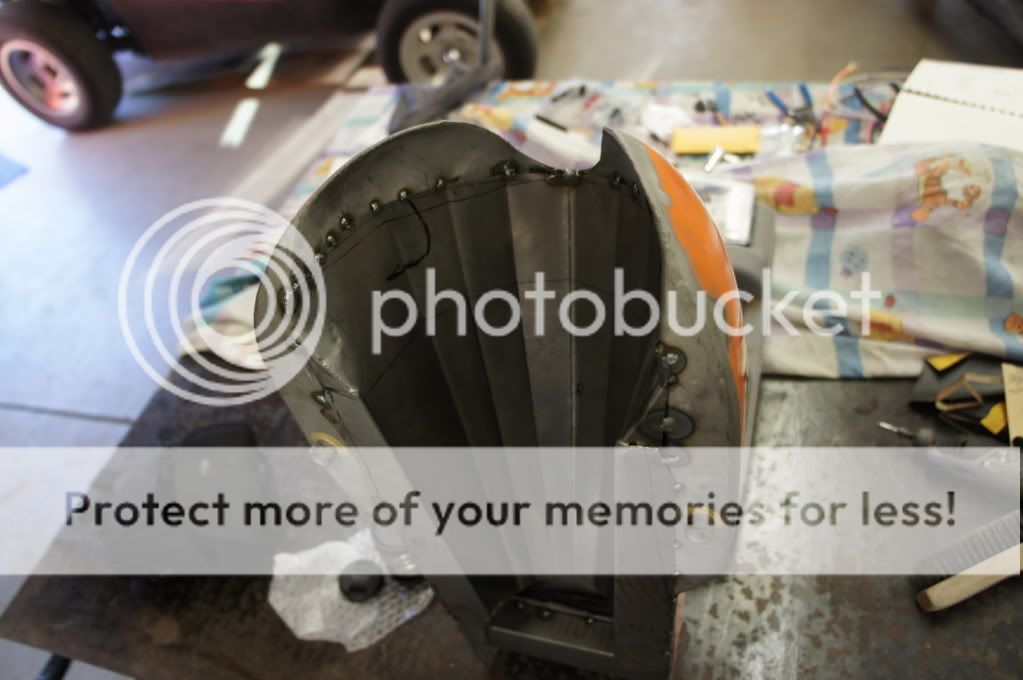
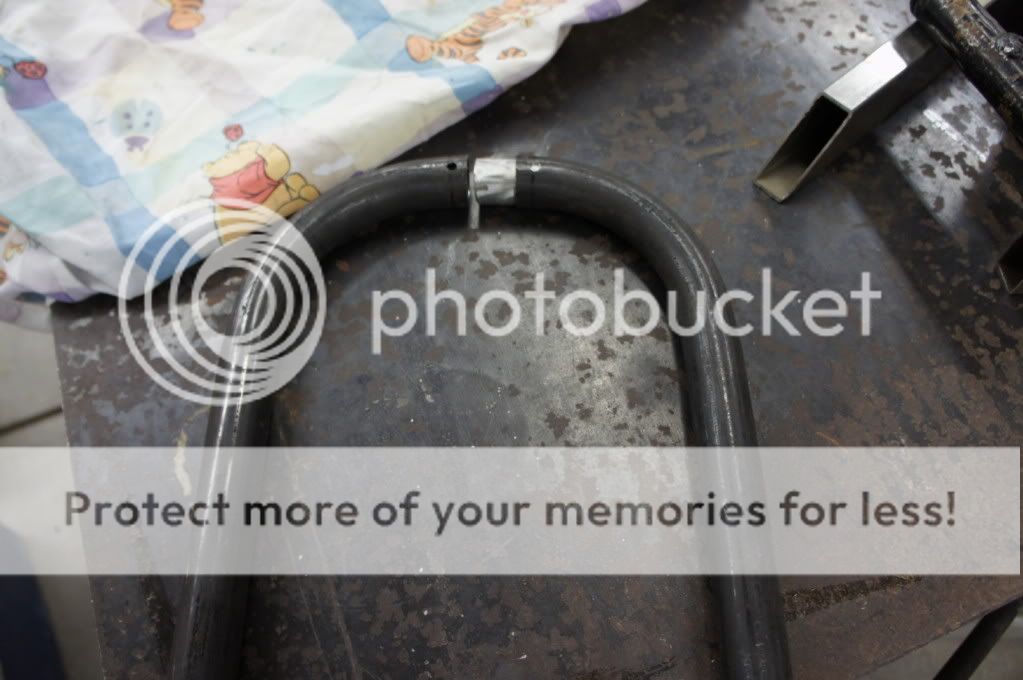
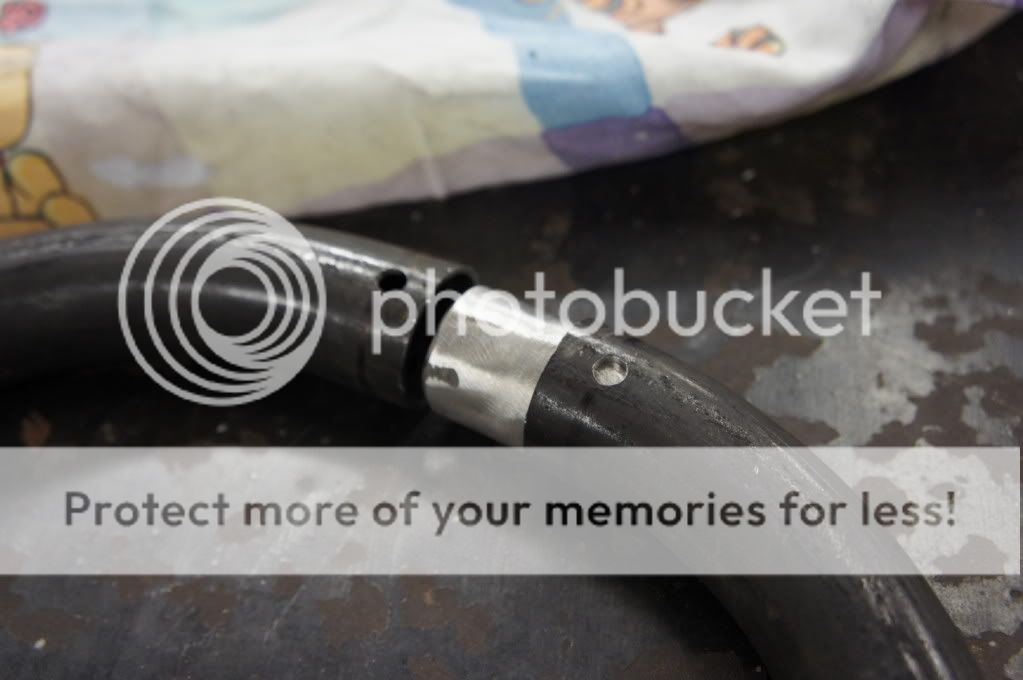
The hoop, I had to make two 90s and join them with a plug...the bender couldn't go tight enough with the die that my friend had.
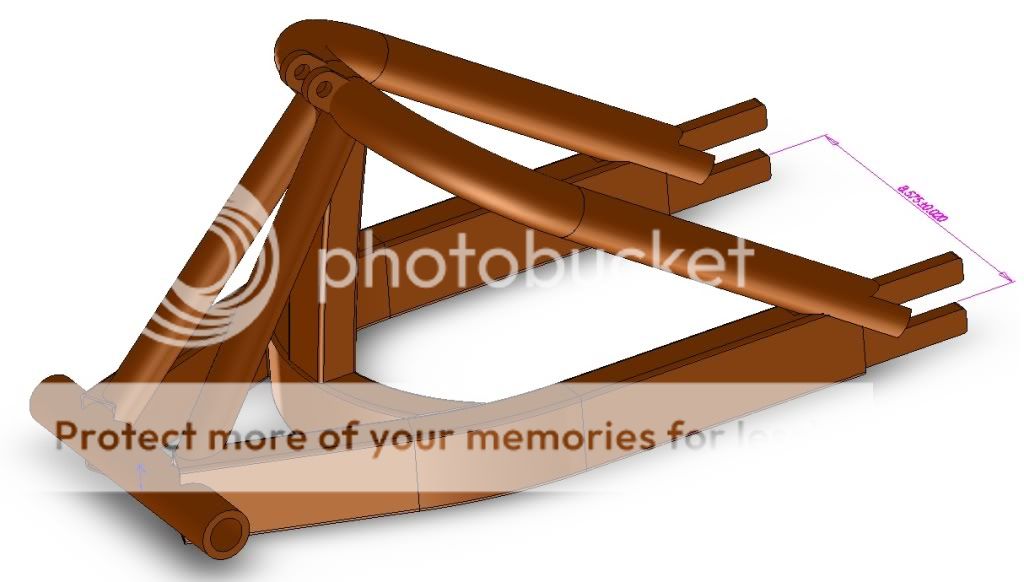
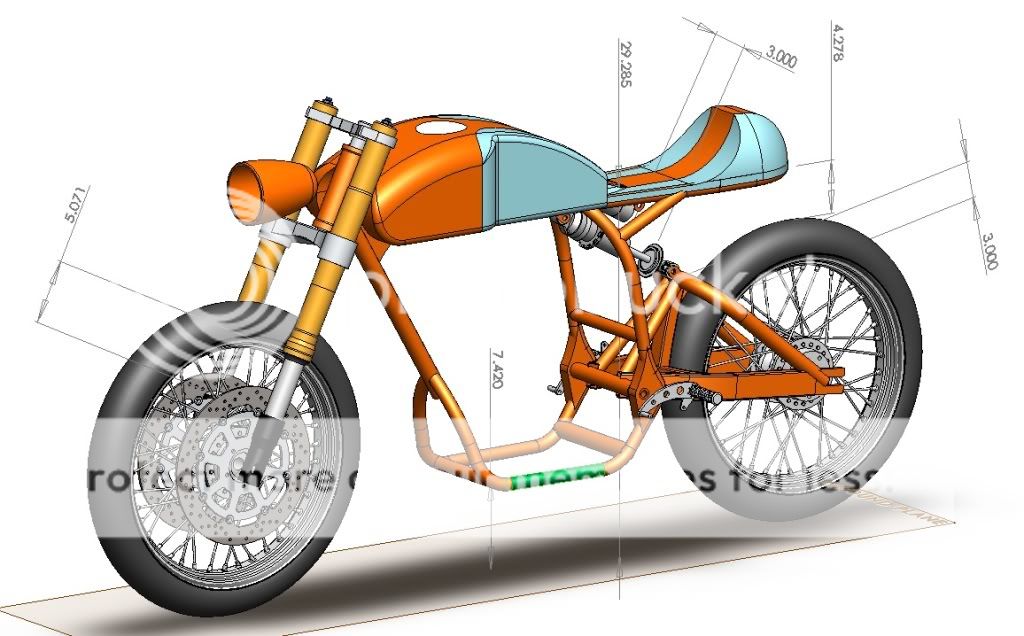
Here is the goal again:
I was toying around with the idea of a GT40 "Gulf Oil" theme...kind of like it
:
I am back in the shop and back at it! I know have all of the swingarm parts initially done and I should (fingers crossed) be able to finish it this week or next.
Laying out the cut lines for the bends to hold the axle mount plates:
Axle plate held in swingarm arm:
All welded up:
Set in place:
The tight radius piece took 9 cuts and re-welds to get it that tight!
The hoop, I had to make two 90s and join them with a plug...the bender couldn't go tight enough with the die that my friend had.
Here is the goal again:
I was toying around with the idea of a GT40 "Gulf Oil" theme...kind of like it