Re: CB450 Café Racer Build. Engine Teardown LOTS OF PHOTOS
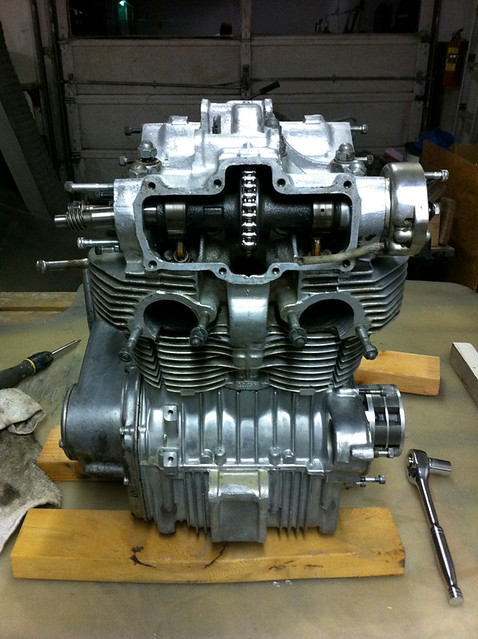
So yesterday afternoon was a train-wreck. :-\ It started when I got home super excited to get my tank and seat and take them to the shop and fit them, when I got there there was no mail even though we get our mail at 1:00 and it was 5:00. I waited around till about 5:30 still no tank, so I headed to the shop figuring that I could at least get the polishing finished up and shoot some photos for you all. Getting to the shop I set up my bench grinder only to find that the engine had burned out. After about 30-40 minutes of tinkering with (tearing it all the way apart and then back together) it I deemed it a lost cause. Not having anything els to do I decided to start the engine tear down.

I dont have a cam chain breaker and since I ordered a new chain I just cut the old one in two and removed it.
the head came off easy enough but what I found made me glad I decided to tear into the engine. It just goes to show you that even if some one tells you it is clean and sound, you should always check for yourself.
haha.
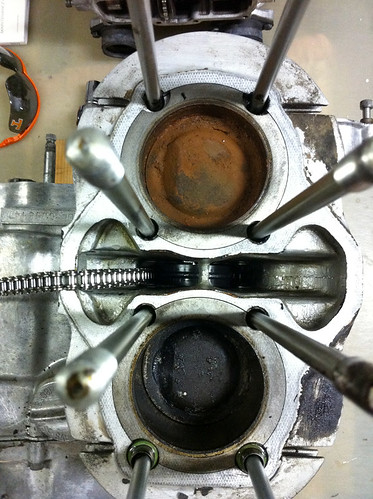
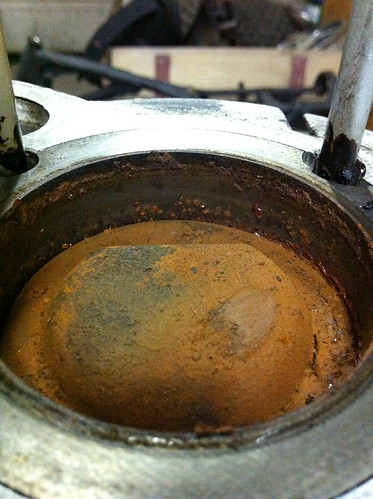
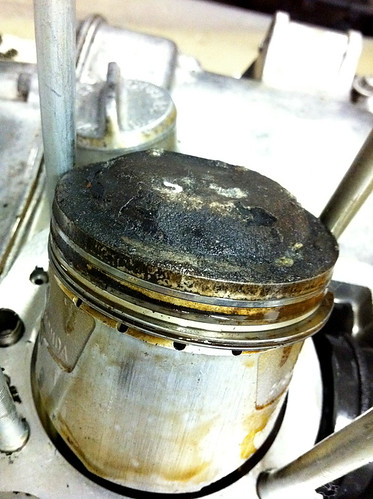
Left cylinder: mmmmm.... tastes like rust to me.....
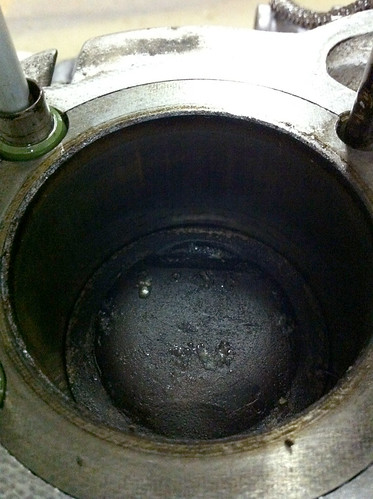
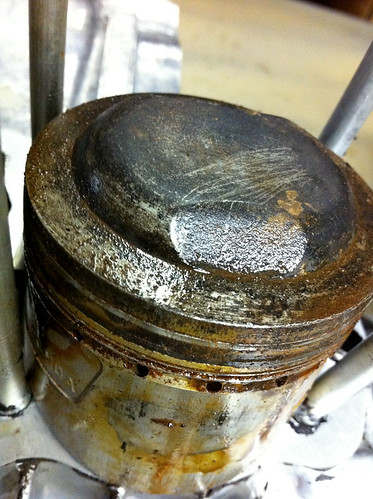
Right cylinder: good bit of carbon build up..... :-[
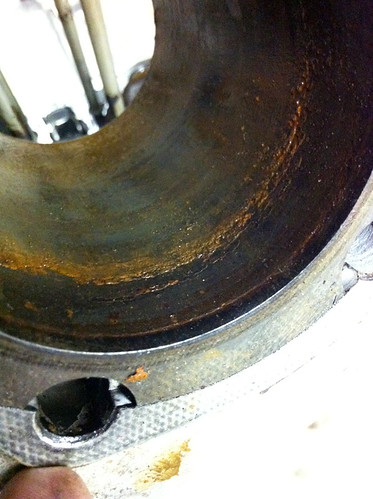
As you can see the left piston was rested to the cylinder but after some WD40 and a little caressing with a rag and hammer the piston came free and I was able to slide the cylinders off. The walls are going to need to be cleaned, I am thinking of taking them to a local shop to have them acid washed, but if anyone has a good way to clean them without damaging the walls to badly I am all ears.
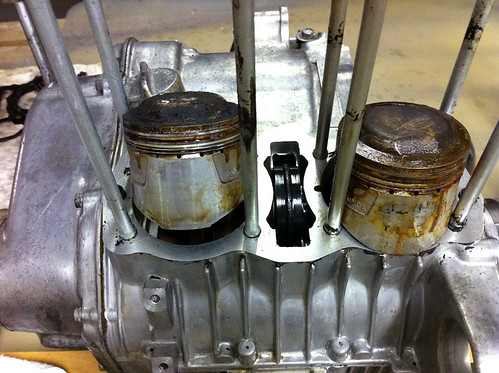
I am going to need a whole new set of rings for sure but the pistons look to be in good shape. Just need a good cleaning
.
Right:
Left:
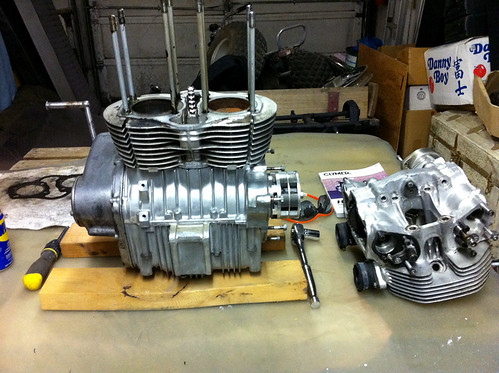
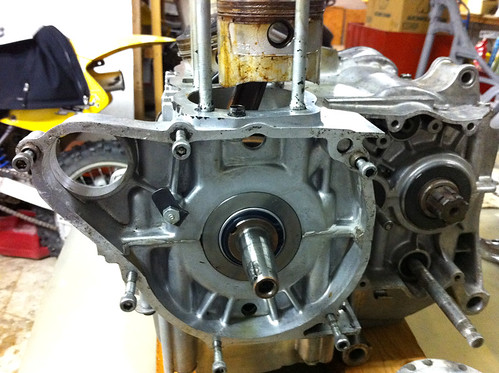
Got as far as this for the night as I did not have the tool needed to remove the locknut that secures the oil filter rotor. I am going to borrow one from a friend today if possible.
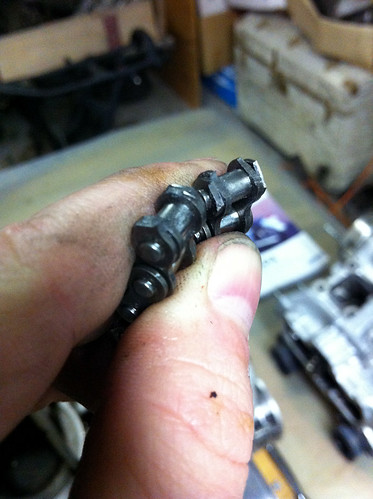
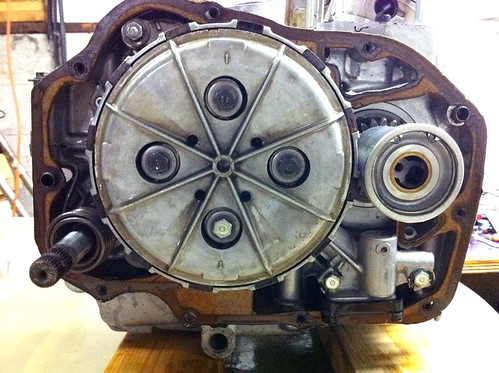
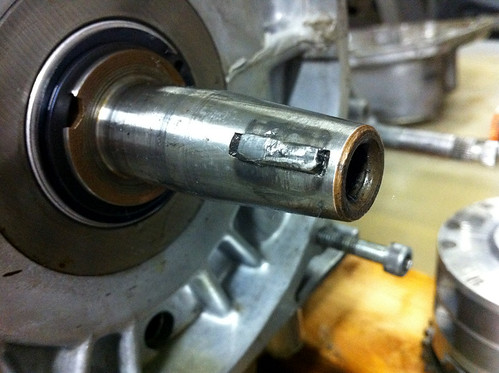
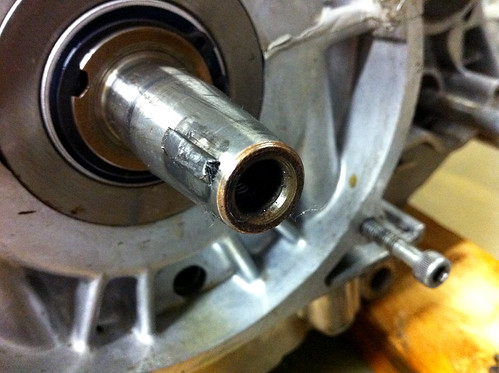
Okay so here is where I found another problem, I pulled the alternator rotor (which by the way was loose and did not need a tool to remove) and found this. I am assuming that this is just a guide pin for placement of the rotor as the taper is supposed to secure the rotor but I am not sure on this. Can anyone help me out here? The pin is really eaten up and doesn't look as if it would function properly if it is used to turn the rotor, but if it is just a guide and the PO left the rotor loose I can see it getting eaten up but not needing to be replaced if rotor is properly secured on the taper. What do you all think?
I am going to try to find a bench grinder today to finish the polishing and I will pick up my seat/tank and shoot photos of all of them tonight if possible, so stay tuned. 8)
JR