Follow along with the video below to see how to install our site as a web app on your home screen.
Note: This feature currently requires accessing the site using the built-in Safari browser.
We noticed you are blocking ads. DO THE TON only works with community supporters. Most are active members of the site with small businesses. Please consider disabling your ad blocking tool and checking out the businesses that help keep our site up and free.
Hey guys,
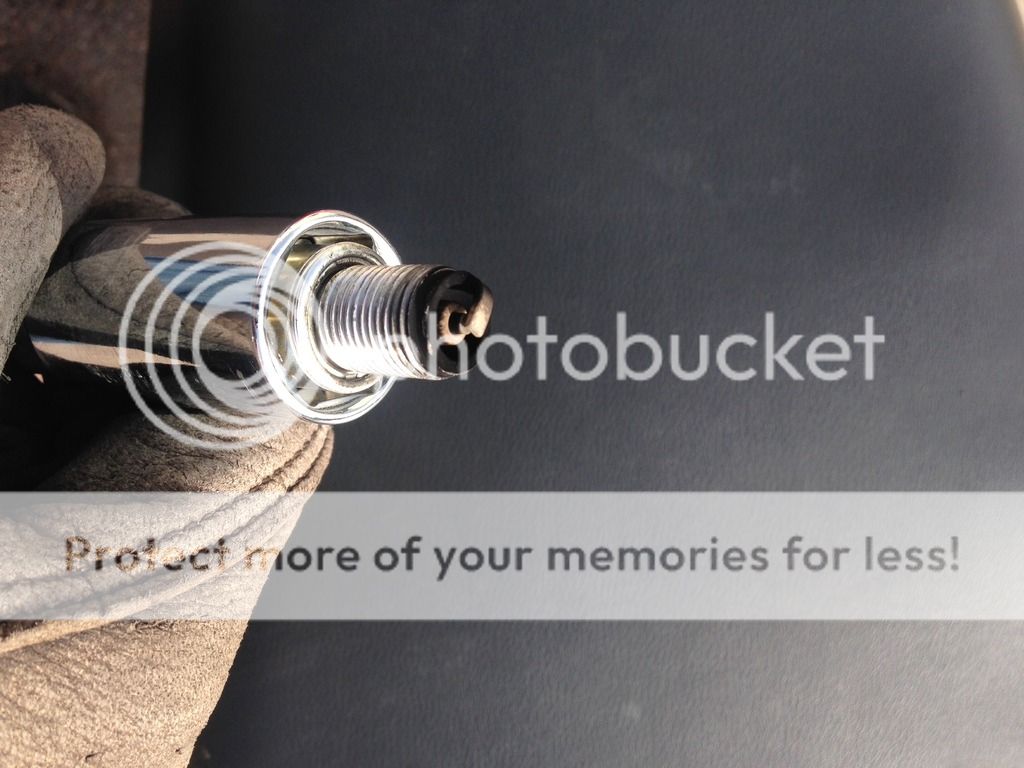
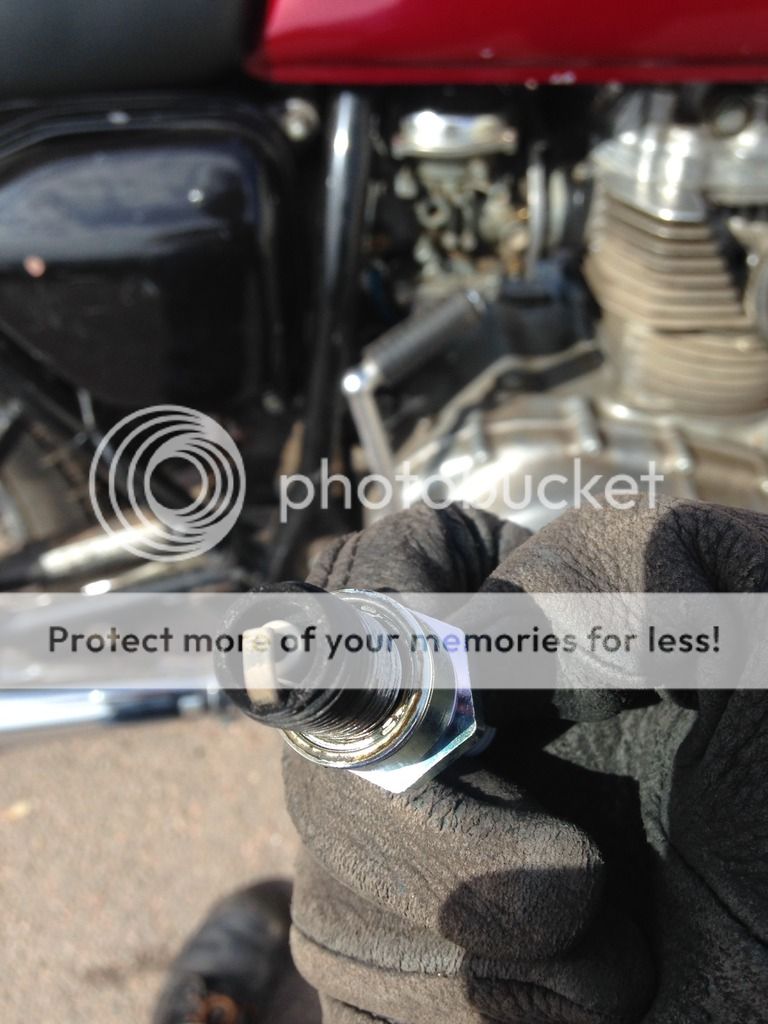
Bike starts with a kick or two and runs like a rocket. But after 10-15 mins of stop and go riding it starts to bog down and quits. At a red light I have to keep it around 3k to keep it from quitting. Feels like I'm running out of fuel, and the plugs look a tad lean to me, though I'm no expert.
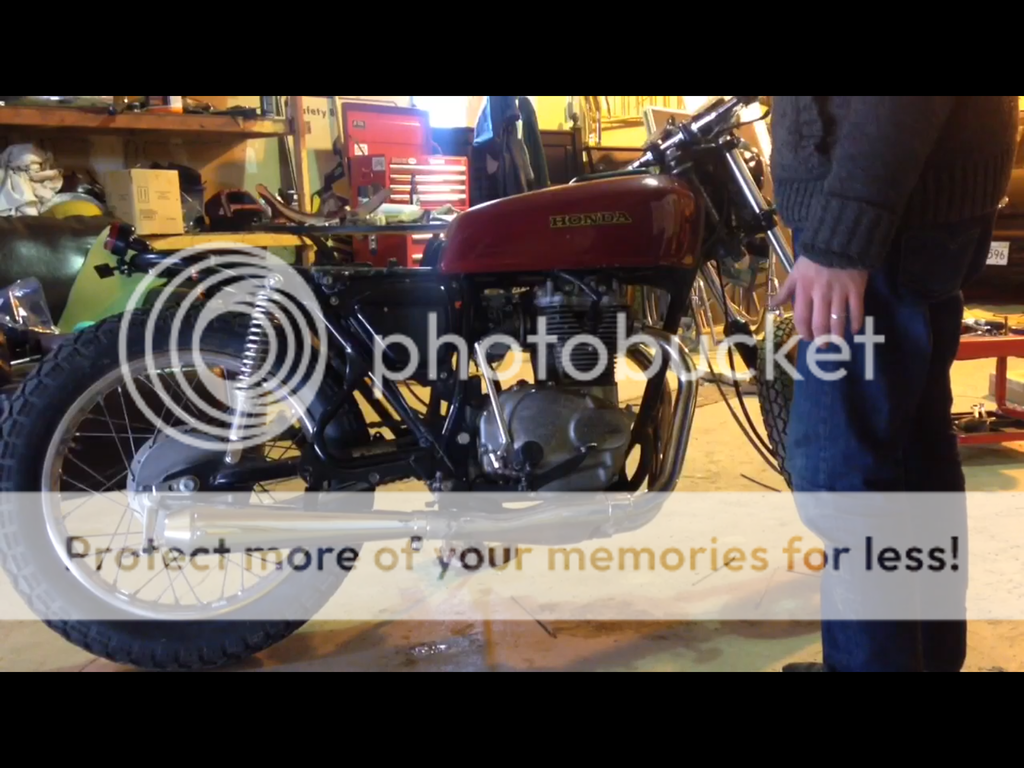
Stock carbs and air box, new muffler ( old one was rusted and very very ugly ).
ok, I seem to remember when I set it that all the valves were not closed at the mark the manual said they should be. And I kept moving the rotor until they were. It was quite a while ( and 2 kids) ago.
Not sure that it's your cam chain by itself causing it, but it's worth double checking that and your tappet clearances as the cam chain tension can affect that as well.
There is a specific process for setting cam chain tension. If you have the factory service manual it describes it. I make a small punch mark on the rotor at 90* past the LT mark using a square or protractor. Make sure you are on the compression stroke of the left cylinder (rotate the engine with your thumb over the spark plug hole, you will feel the compression). Once you know you are on the compression stroke, alight the index mark on the stator with your punch mark 90* past LT mark. I generally use a breaker bar and find a place to wedge it against (usually foot peg works) to keep the motor from rotating while you are making the adjustment.
I give the area where the plunger and bolts are a few taps with a rubber mallet or screwdriver handle once the bolt is backed out to make sure nothing is stuck.
Thanks,
Honda manual for the CJ360 is pretty vague for the cam chain adjustment. Going to follow your tips tomorrow over my lunch break, hopefully.
I do have to check the valves after a cam chain adjustment, right ? I'll report my findings.
Thanks,
Honda manual for the CJ360 is pretty vague for the cam chain adjustment. Going to follow your tips tomorrow over my lunch break, hopefully.
I do have to check the valves after a cam chain adjustment, right ? I'll report my findings.
Yes. Cam chain tension first, then adjust valves following the procedure stated in the manual. If you're having trouble following the manual, Brenden at Common Motor has posted some very helpful youtube videos on the process.
You will want to check your timing and carburetor sync following these adjustments, just to rule all of those variables out of the equation.
Since you're stalling after 10-15 minutes on the bike, it would seem to be an issue with something that is heating up during the ride and pushing tolerances out of spec. It could also be an electrical issue that is completely unrelated...
Does the stalling happen every time you ride, around the same amount of time on the road? Same conditions? Is your battery fully charged and charging system working correctly?
I think the elec system is fine, 14v across the battery.
I spoke to a mechanic guy and said it could be a coil. He mentioned there is no easy way to test a coil, so bring a spare plug with me and and do a spark test as soon as the bike quits. Would it not just run shitty if that were the case ?
Since my rebuild I have only been taking the bike to and from my local watering hole, a ten minute ride. But yesterday decided to do my liver a favour and go for a proper ride, that's when I noticed the problems. ( yes there is gas in the bike ;-)
Cam, valves, static timing tomorrow, carb sync later in the week.
So, the bike runs great for 10 mins or so then starts to act up? That's not a problem with your cam / ignition timing because that would be all the time.
Check your fuel cap is vent properly - it's a gravity feed to your carbs so it the fuel cap doesn't let it air then the fuel flow will stop.
Adventurco, was able to limp it home. Had to keep the revs around 3k to keep it from stalling. Did this to me last week. Any time I ride anymore than 10 mins. It quit at a red light and fired right back up
Testing a coil is very simple, if you have a meter. For primary test between positive and negative lead or positive lead to frame and you should get about 3 ohms. For secondary put a lead on either the positive or negative, it doesn't matter, and the end of the plug lead and you should get over 10k ohms.
Ok, reset cam chain tensioner. Then the valves, intakes were a little tight . Did a static timing test. Right cylinder wouldn't light up at all. I jiggled the point arm ( I'm sure it has a fancier name ) got it working. Could have been that the whole time ...
Bike fired up first kick and idles well. Though it did before my stalling probs. going take it for a test ride some time this week, weather pending.
My manual doesn't say shit about timing with a light. What marks am I looking for ?
Deviant, thanks I'll check that tomorrow over my lunch break.
Make sure the points wires aren't grounding out to the points cover or engine case. Some guys use double gaskets or cork gaskets on the points cover to avoid it. If you have a bad connection in your ignition sequence that would easily cause stalling...unrelated to running time or engine temp.
On that note, make sure the connector for the points wire isn't touching the backing plate either. They have to be positioned a specific way to stay off the backing plate and the cover. The points ground out when closed---> no light, then open ---> light. If you had no light until you jiggled the wire, that suggests the wire grounded to the backing plate.
Another thing to do to insure no ground through the points cover is to paint the liquid tape on the inside of the cover. I actually went through the effort of taking a little meat away from the inside with a burr bit on dremel.
Normal for there to be a bit of copper exposed at the end right before the connection, thats why you have to be careful they don't ground out.
Yeah. its supposed to have a gasket. Put some grease or oil on the surface of the cover and press it onto a sheet of gasket material or a manilla folder and cut one out.
This site uses cookies to help personalise content, tailor your experience and to keep you logged in if you register.
By continuing to use this site, you are consenting to our use of cookies.