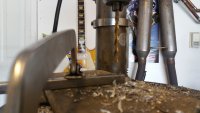
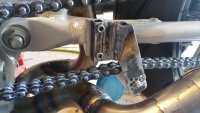
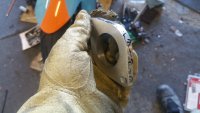
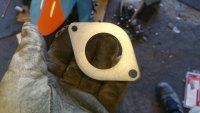
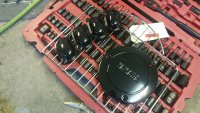
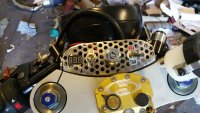
How the heck did you drill and tap the holes in the countershaft sprocket? The Mike's XS sprocket I'm using was case hardened and a Ti coated drill wouldn't even touch it. In the end, I was able to use the original XV sprocket retainer with 2 drilled aerospace-grade bolts through a couple of the existing sprocket holes, with castellated nuts and cotter keys. Even this wasn't a slam dunk, as I had to take a stone in the Dremel and touch the sprocket holes lightly so the bolts would line up with the retainer.
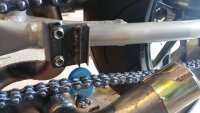
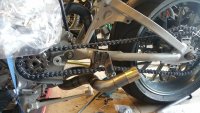
Something I looked at was a big external C-clip on the countershaft sprocket - there is standard industrial part that has the right ID and thickness for the XV shaft - but never got around to sourcing one from a bearing supply company. I got the idea when I was at a bike shop that works on KTM's; they had a little MX'er in for repairs and that's what it had. It would retain the sprocket, but I was never too sure that some sort of (nylon?) bushing between the sprocket and the cases would be needed or not to stop sprocket movement inward, though as one mechanic said, if the chain alignment is correct, the sprocket shouldn't move.
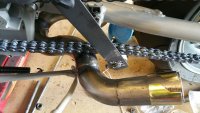
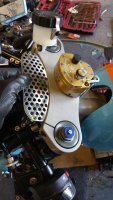
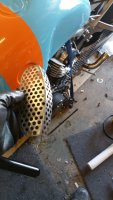
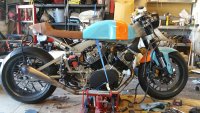
I like your chain tensioner - great idea, though executed a bit differently than the ones I considering, which will be spring loaded like a dirt bike's. I'm pondering 2 designs - one frame mounted and one swing arm mounted. Aside from keeping the chain from rubbing on the pipe at full droop (same problem as you?), I think the original closed chaincase acted in the same fashion and when these bikes run with an open chain, a LOT of movement on the bottom run. In my case, the tensioner may also provide a little damping in the drivetrain since my rear hub doesn't have a cushion drive.
Great project so far, love your updates, sorry to hear about your surgery but you sound well on the way to recovery.
Pat


")