Follow along with the video below to see how to install our site as a web app on your home screen.
Note: This feature currently requires accessing the site using the built-in Safari browser.
We noticed you are blocking ads. DO THE TON only works with community supporters. Most are active members of the site with small businesses. Please consider disabling your ad blocking tool and checking out the businesses that help keep our site up and free.
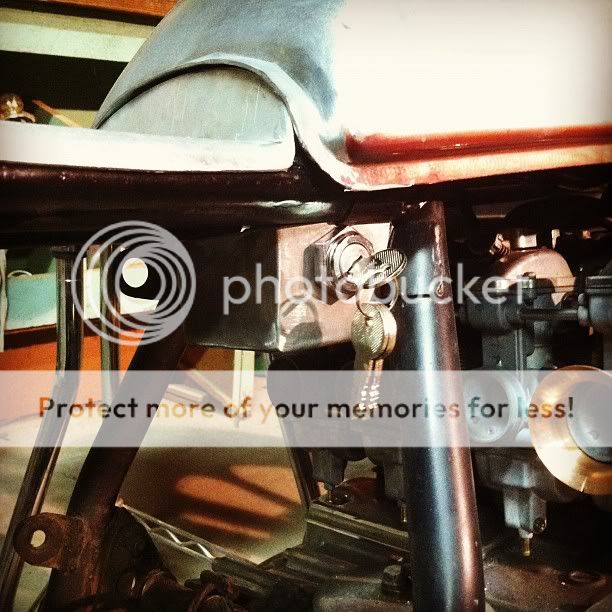
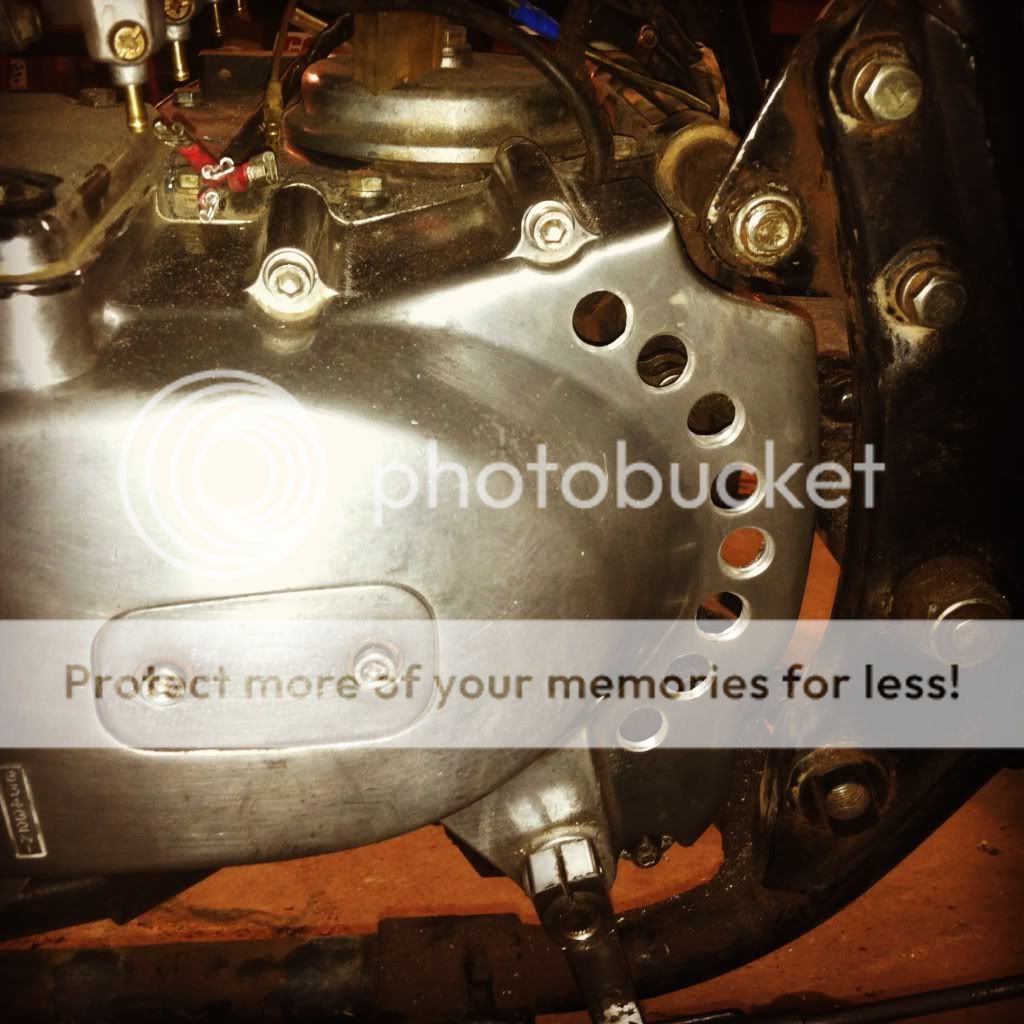
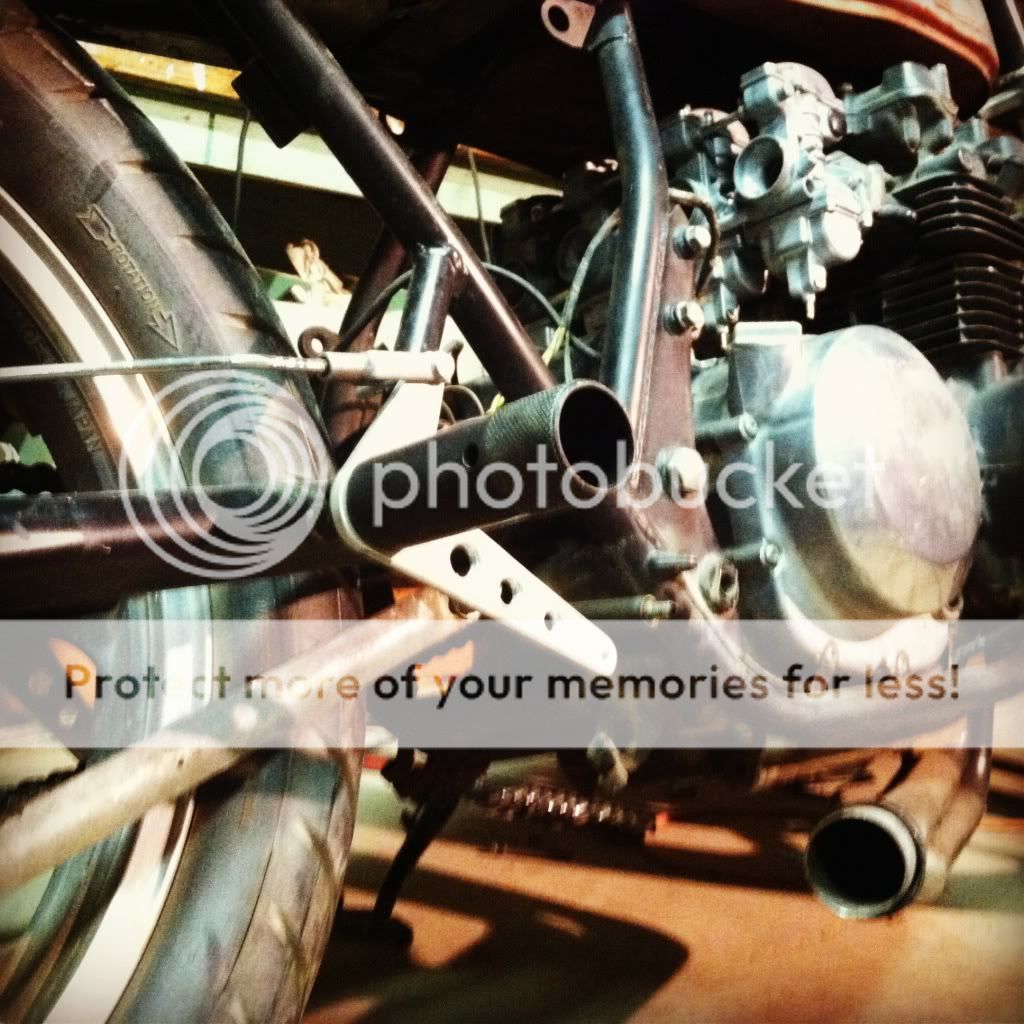
Got a lot of work done in the shop after work. About 90% of the rear sets are done, drilled some speed holes (going to drill holes in EVERYTHING) and played around with making some custom velocity stacks.
Holes make things go faster. Plain and simple.
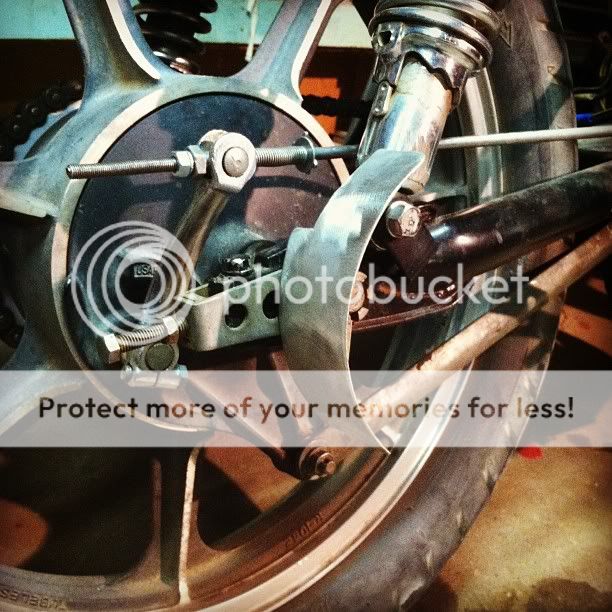
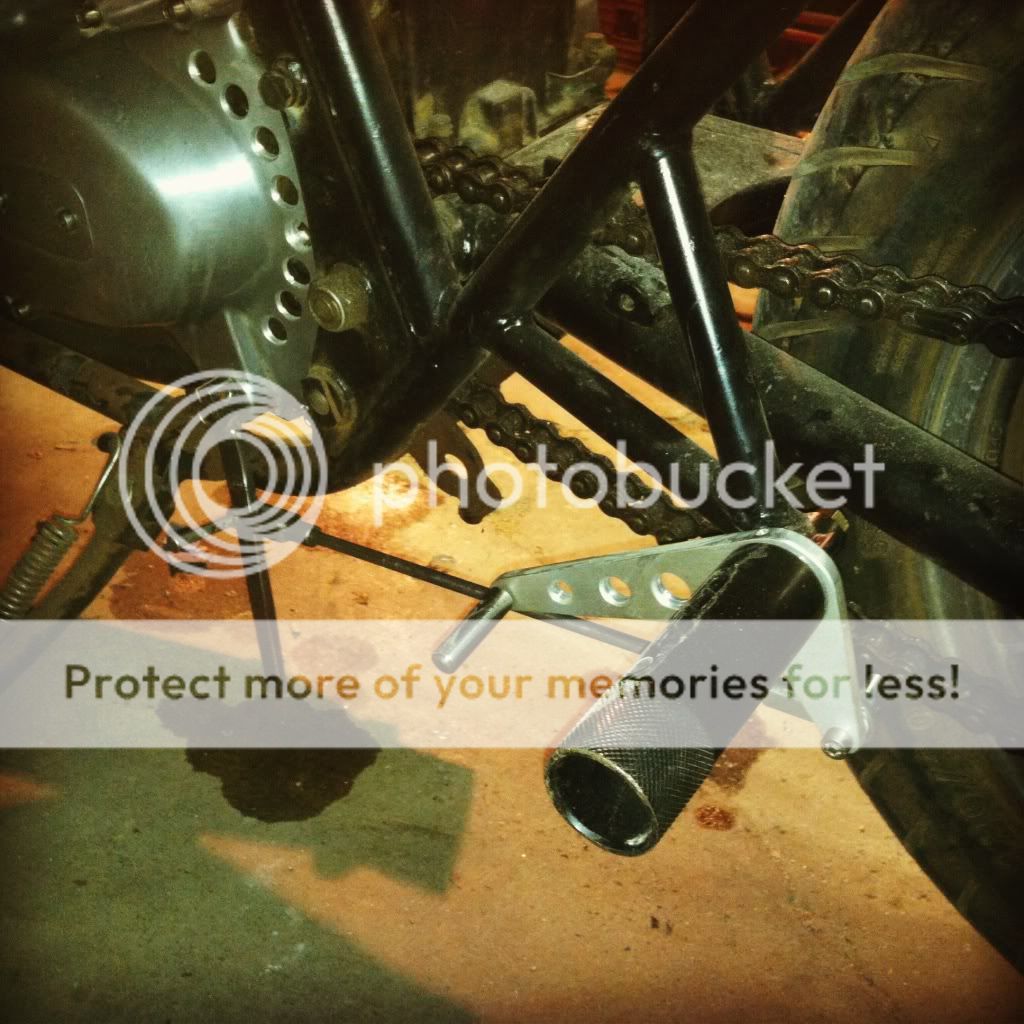
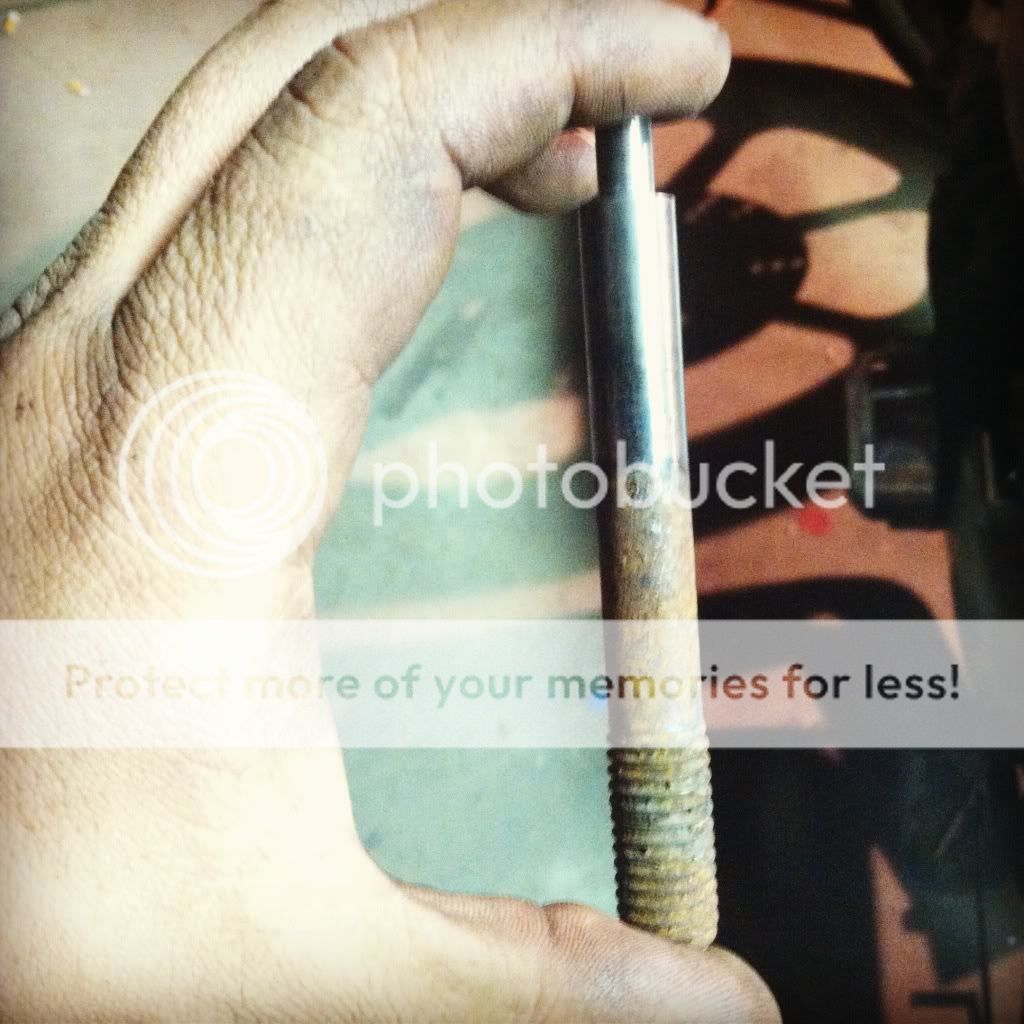
Here's the brake side. Was going to use the original brake rod but that was about as stiff as a twizzler so made a new one out of some 1/4" rod and threaded the ends. I find something new at the mom and pop hardware store every time I go. They had the nicest cast iron rod ends. I machined some stainless clevis pins and they are held in place with an E clip. Very clean and strong. A little over kill I know for the rear break but I don't that shit falling off.
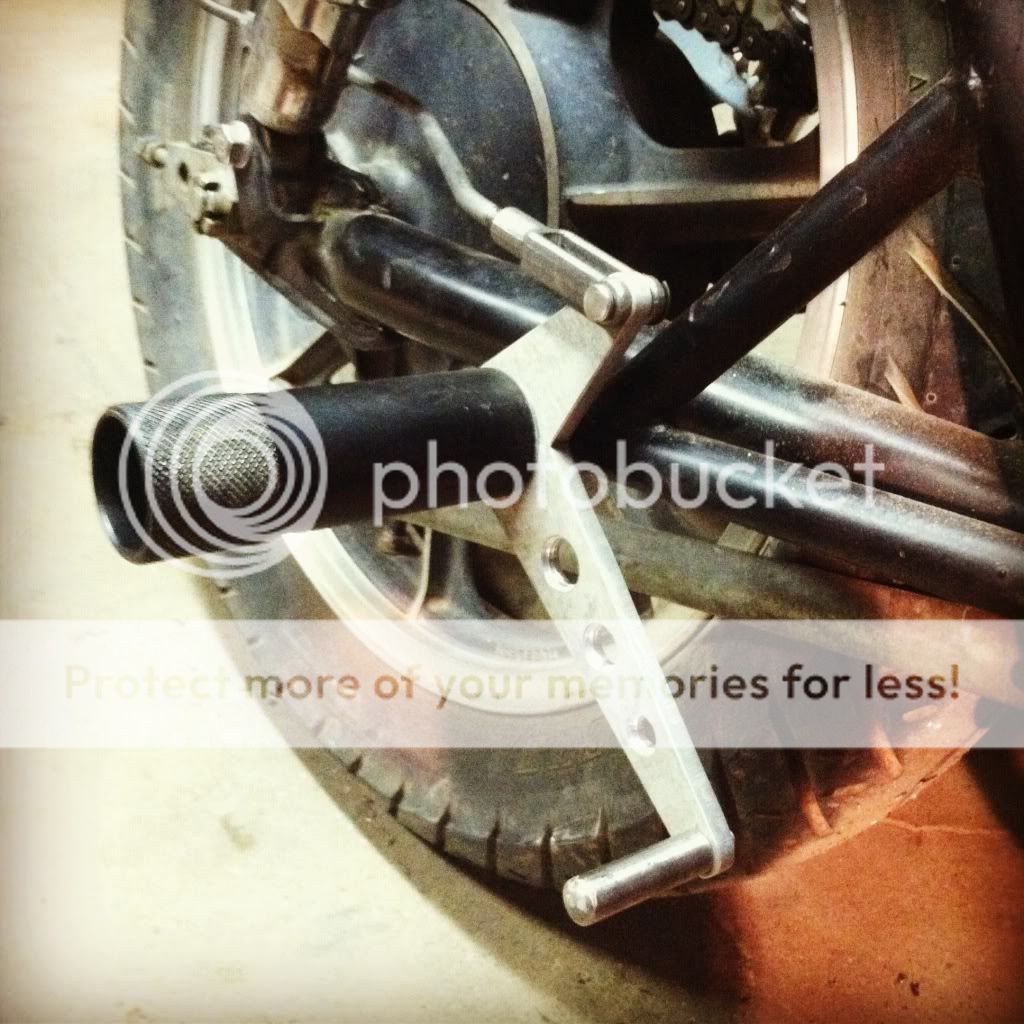
The shifter side isn't quite done, I still need to do some fine tuning to make it comfortable. Again, the hardware store had 1/4 inch heim joints. Awesome.
I machined the toe pegs out of an old bolt because I'm a cheap bastard.
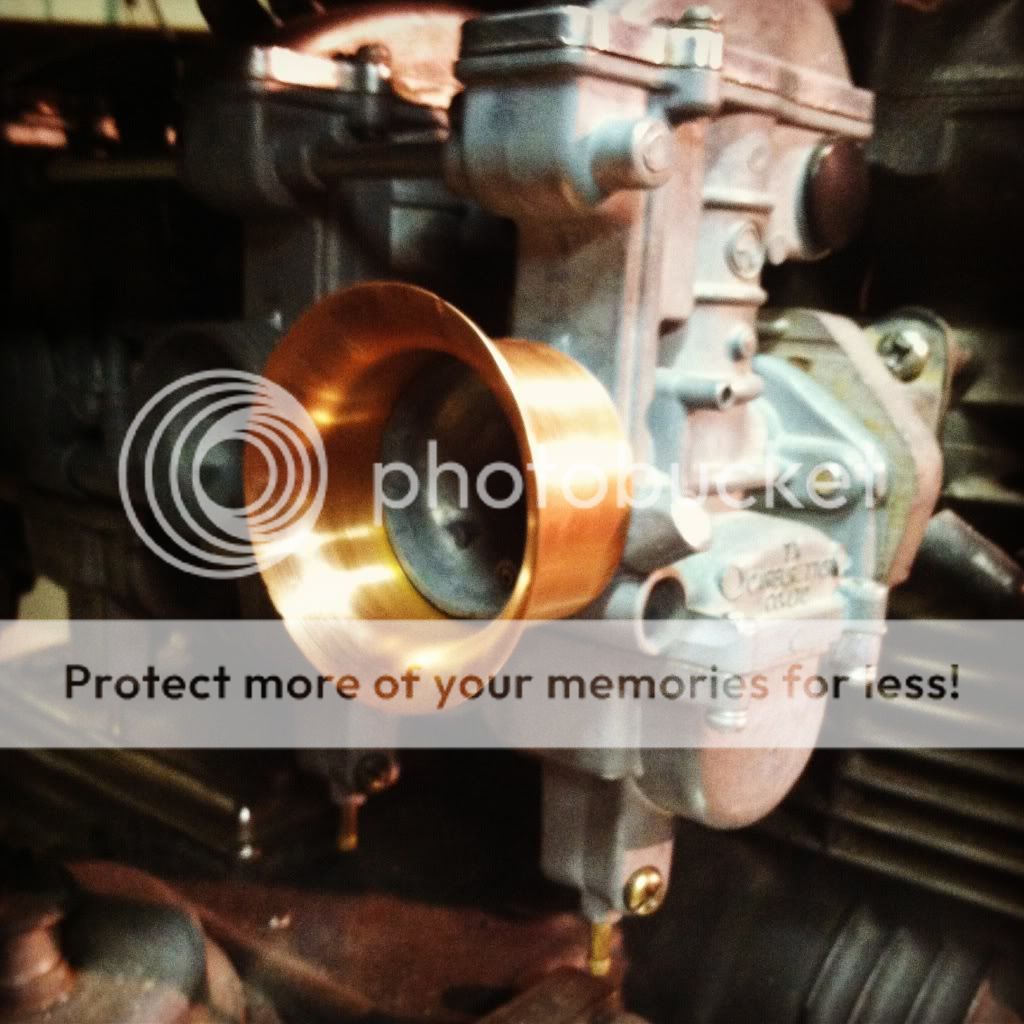
After all that and a few beers I got to thinking about some stacks for the carbs. Didn't want to run pod filters and didn't want to pay out the ass for a piece of spun aluminum (even though Dime City Cycles has some for 9.99, they are too big for my carbs.) Just happened to have a 1 1/2" copper pipe around and with some metal voodoo had this little guy done a few mins. More to come soon.
I am not going to envy you for your jetting fun...haha You'll have to have 150's and the pilots are going to have to be huge!!!! hahaha Very cool, loving every bit of this, what's the process for doing something like that with V-stacks. It's cool to see another person with this bike and where they are going/have gone with it.
hahah I was thinking that. There's going to be some foam and a screen over those so won't be that bad, but no telling until I get it running. Did you rebuild your carbs? If so do you still have a float seat and needle even if its shitty, I'll buy it from you. Can't find them anywhere.
And for the stacks I'm a jeweler so working with small metal things it my specialty. SO you take the piece of copper tubing, put it on top of something that is round (in my case a hitch ball) and press it in a arbor press. It's tricky because it has to be perfectly lined up to be even. Then you change the buck (hitch ball) to something a little bigger, like a cap from an oxy bottle. Then it goes in the lathe to make it all square.
That's pretty slick man. Great idea! And I have all of those materials handy!
As for jetting, yikes. I don't have an extra float seat and needle. I remember I found them somewhere though..or so I think. Let me do some digging and see if I can find them again.
thanks, I'll keep looking around for one. Dealer price is $55... FML. Also I need to find some aluminum tubing that's the same diameter. Even though the copper looks good, it's not for this bike.
You must not know Z1 Enterprises.....they are your Kawasaki warehouse gods! haha. And if you call up and ask questions, the guy is super knowledgeable!
Thanks! Yeah keep an eye out for stuff like that. Or go to a local shop and see what they have in the extra parts box. I travel a lot doing flea markets selling and buying stuff and I'm always dragging home tons of shit. I just got a 50s vacuum cleaner that has the coolest trim on it. Think about using parts that aren't strictly motorcycle stuff...
Awesome build, Six! Looking forward to updates. I too ran my plate of the side like that and got dinged as soon as I brought it in for annual inspection. Had to change it up for it to pass. Said they were cracking down on that everywhere. Don't know what the big deal is.
Hey, really dig what you did for the rear lights. HTF did you do that? Any chance of an more detailed explanation of the process? Any pics? Having a hard time envisioning it.
Got the bike running today... fuck it's loud. Also as Bruno had predicted, velocity stacks + open header = jetting nightmare... I drilled the jets to 102 and 39. It's good from 2000 rpm and up but won't idle at anything below that. Played with pilot jet screws and a little improvement but not much. Still running lean. Don't want to open them up too much... any ideas?
Thanks Roadrash. I don't get the plate thing either. If a mini truck can have it's plate frenched in to the tailgate at some stupid angle then we should be able to have vertical plates! Around here there's no annual inspection and there are pretty relaxed on equipment, but if the ope decides to be a dick I'll get more grief about the open header before the tag.
And as far as the tail lights go it's pretty simple. inside the cowl there a little flange that holds 2 sockets and bulbs. The trick was making that part removable so you can change the bulbs if you had to. I'll put a photo photo of the pieces and it will all make sense.
Great build man. Really cool stuff so far. Just my opinion, but you should definitly rock clip ons instead of clubmans. Much cleaner look and personally, I find them more comfortable.
This site uses cookies to help personalise content, tailor your experience and to keep you logged in if you register.
By continuing to use this site, you are consenting to our use of cookies.

")