Thought i'd pull my finger out and start posting my first ever build.
It started with an '85 Suzuki GSX250 that I picked up already customised with a race look.
lil' brat build by beachpunk, on Flickr
But then I ran across bratstyle and heiwa bikes and started frothing. So I decided to see what I could turn this into.
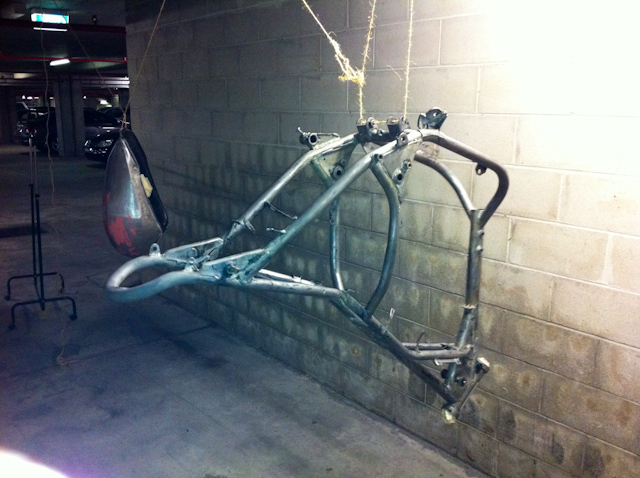
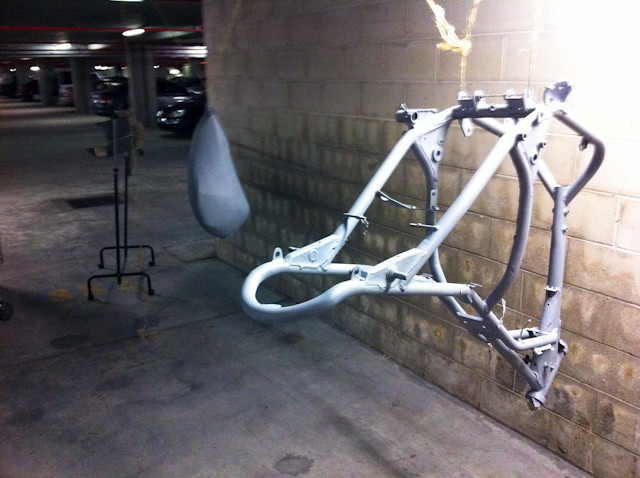
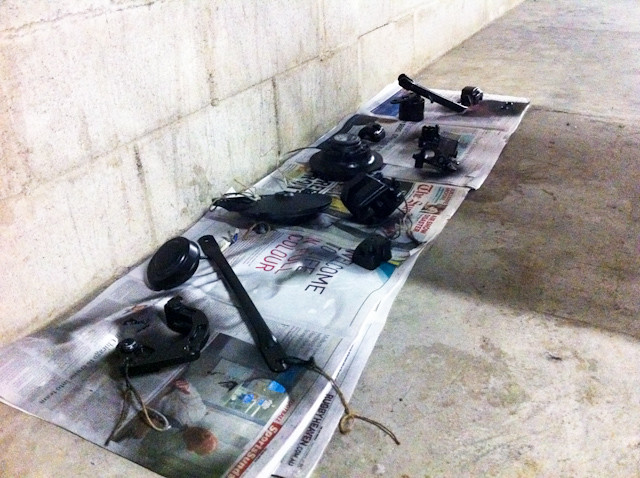
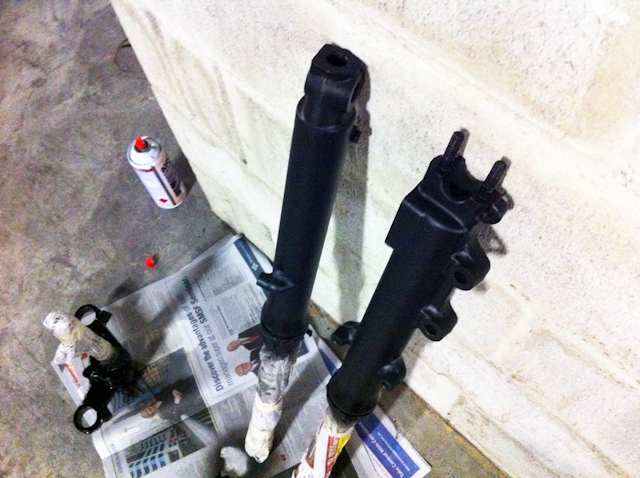
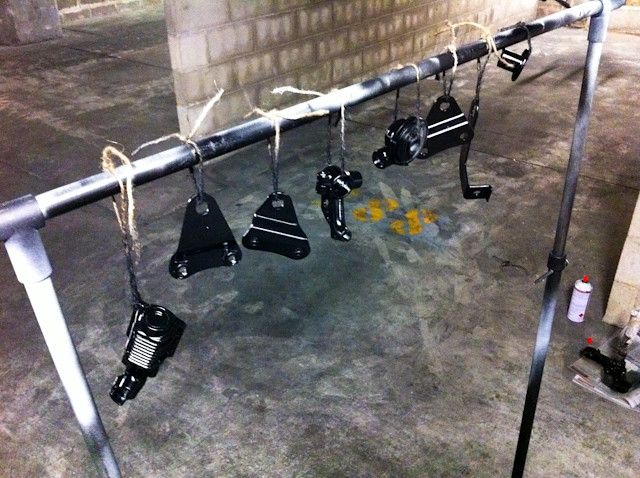
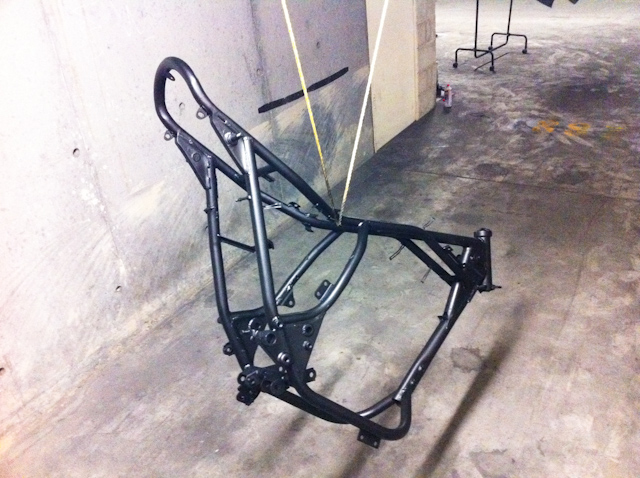
Started by tearing everything down, labelling the shit out of every part and then went on to strip all the paint (which was pretty tough at times and boring. But will pay off in the end).
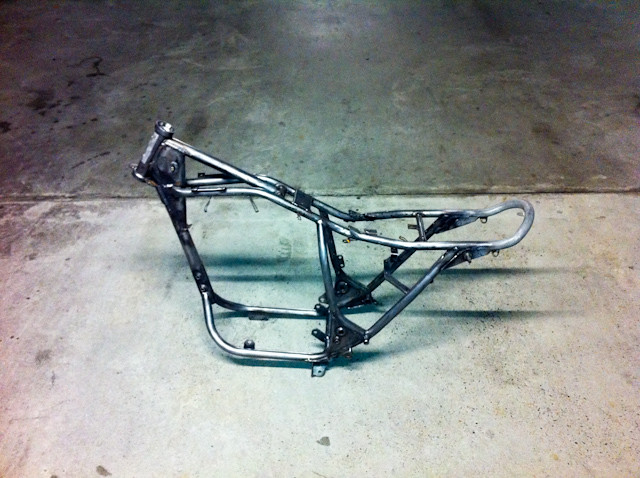
lil' brat build by beachpunk, on Flickr
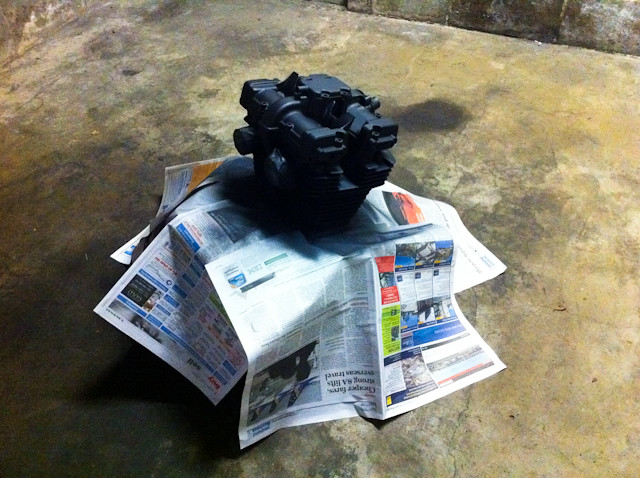
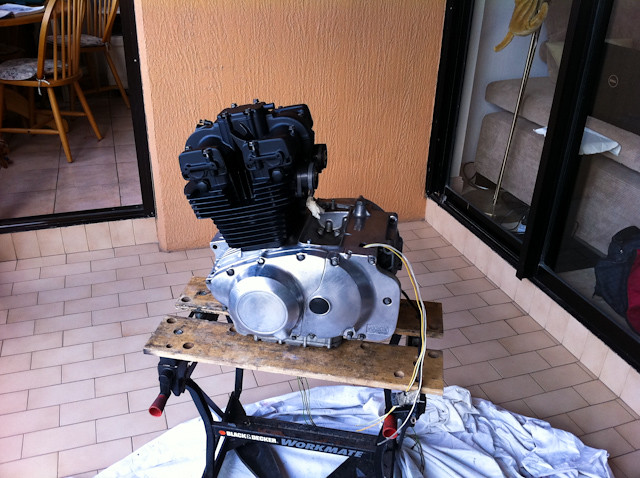
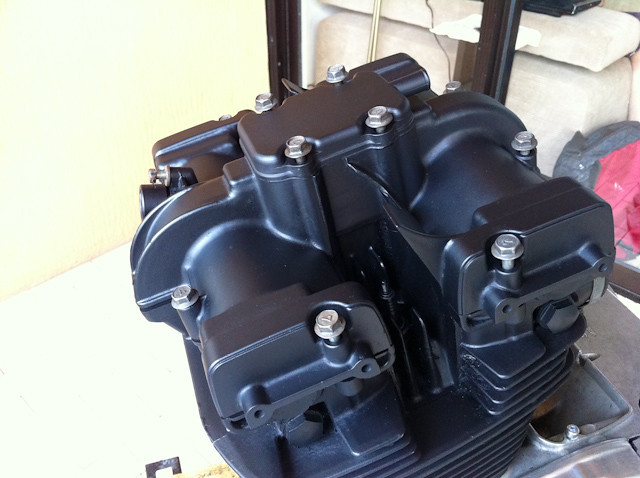
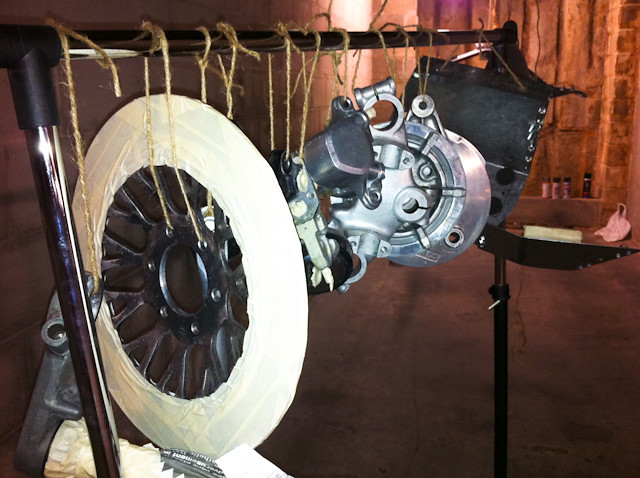
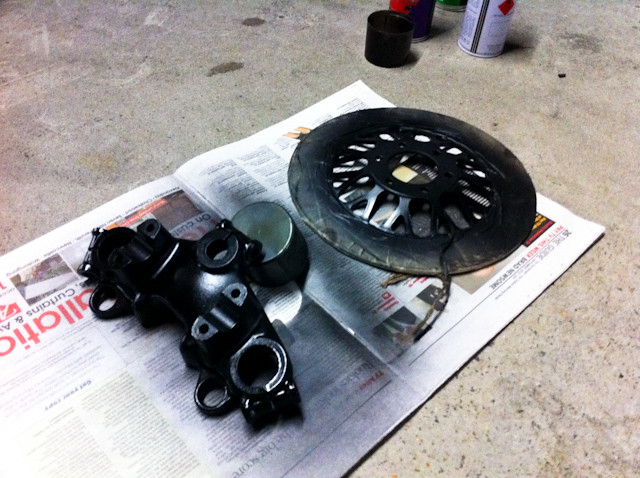
Took the paint of the engine and opened the top end to check a rattle. Looked super clean so will check the valve clearances and put a new gasket on. Plenty of shine under the black paint. Will leave the gear box bare metal and paint the fins and top matt black.
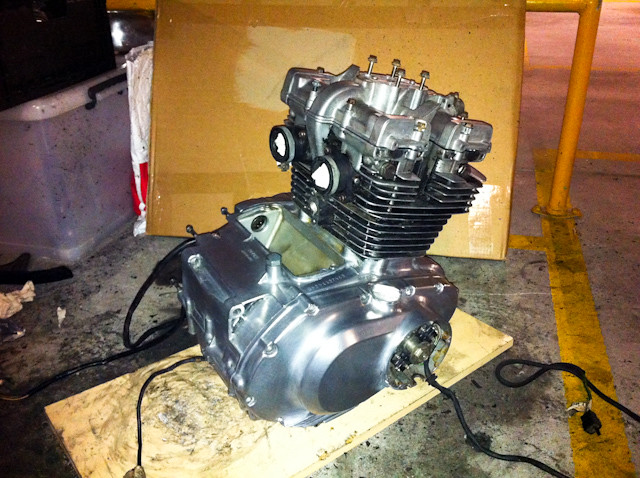
lil' brat build by beachpunk, on Flickr
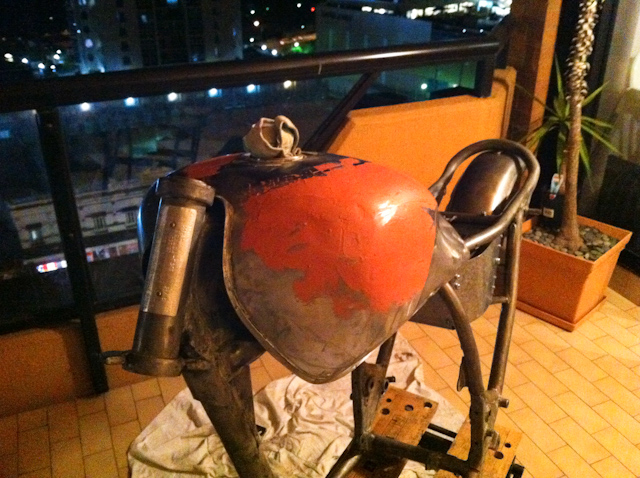
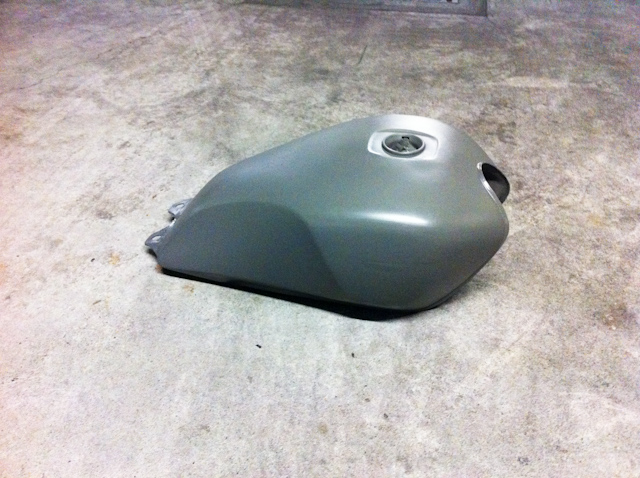
Picked up an old fender from a wrecker and had some custom welding done so I could get it on. Also got a new tank off another Suzuki and got rid of the old boxey one. Cleaner lines in this.
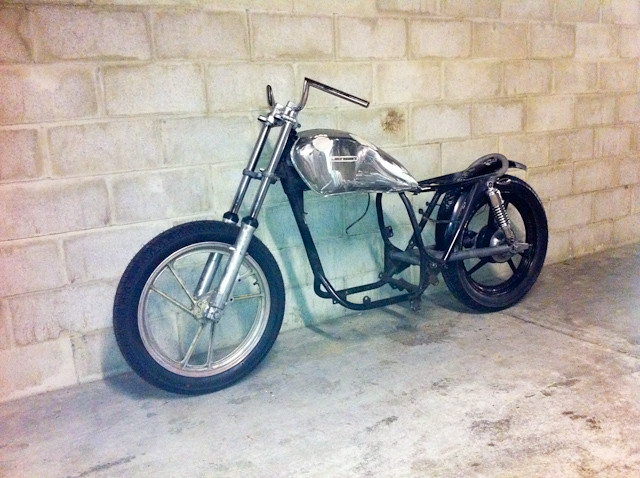
lil' brat build by beachpunk, on Flickr
lil' brat build by beachpunk, on Flickr
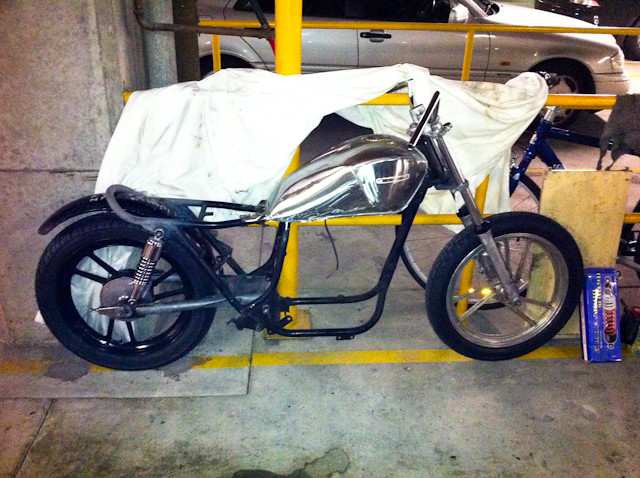
lil' brat build by beachpunk, on Flickr
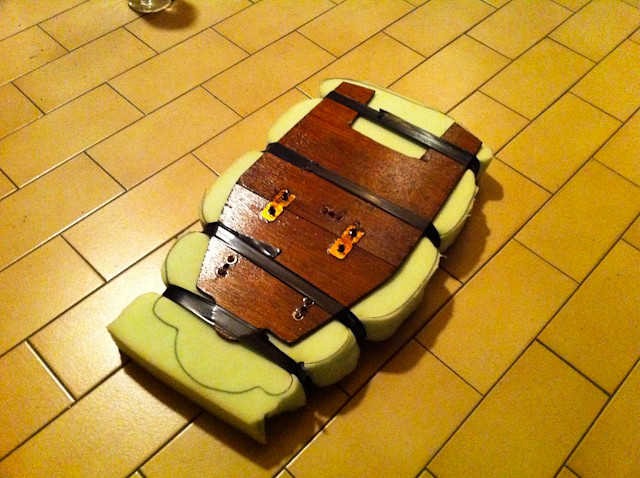
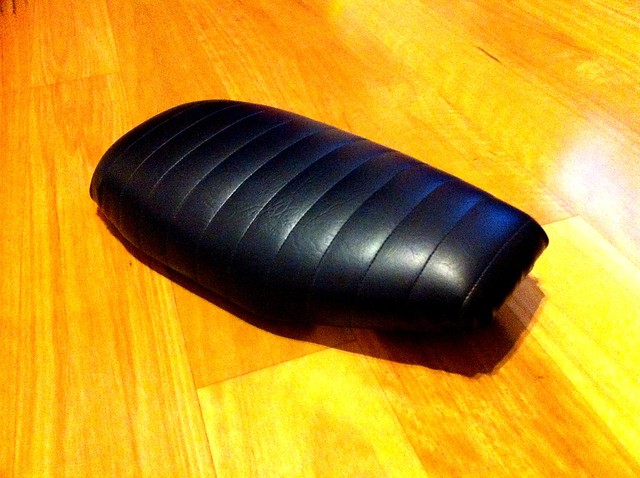
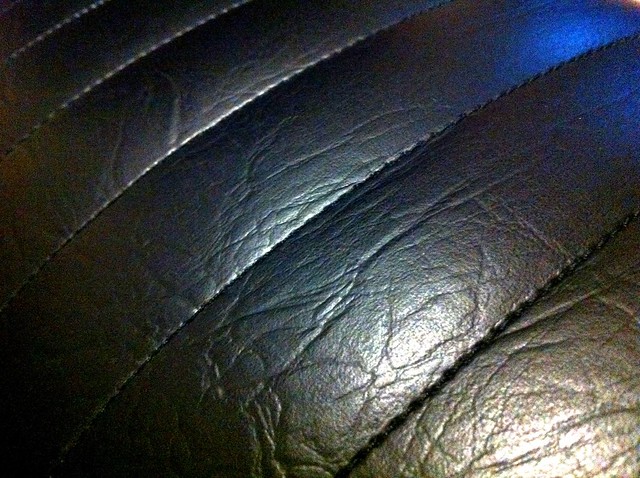
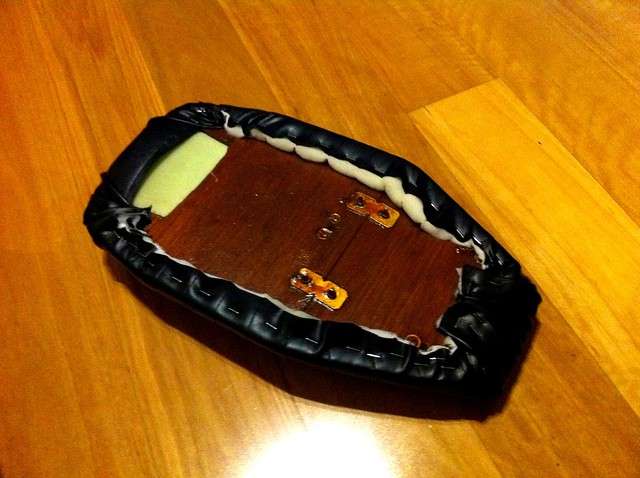
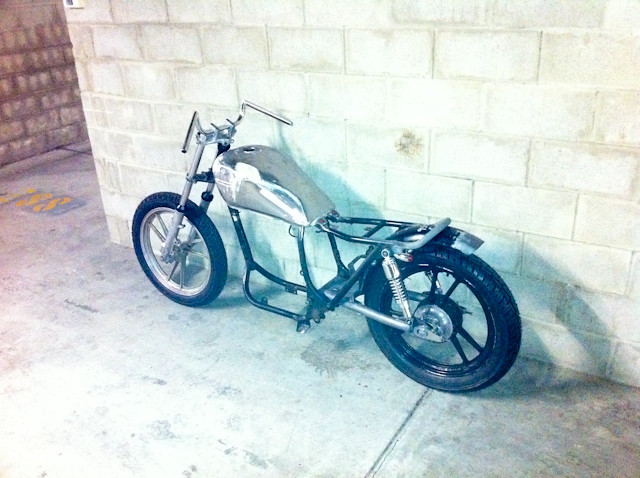
Just finished off making a seat pan today. Plywood as I didn't want to mess with fibreglass or metal. Good result and pretty strong. Its not going anywhere once it's completely finished. Will completely cover with vinyl and maybe coat with something to seal the wood.
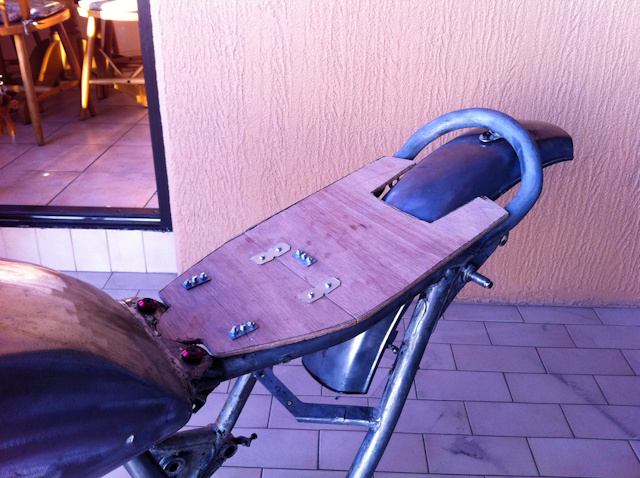
lil' brat build by beachpunk, on Flickr
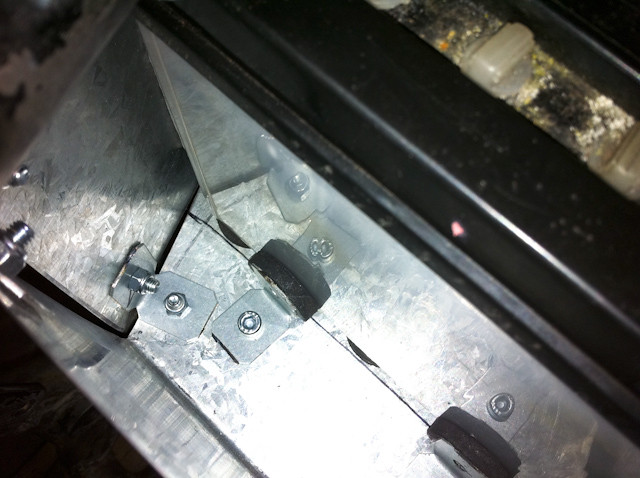
Also cut a custom bracket that fitted (conveniently) on the bottom of the lower clamp. So I didn't have to drill any new holes and mess with it's strength. Nice brand spanking new Posh headlamp fresh from Japan.
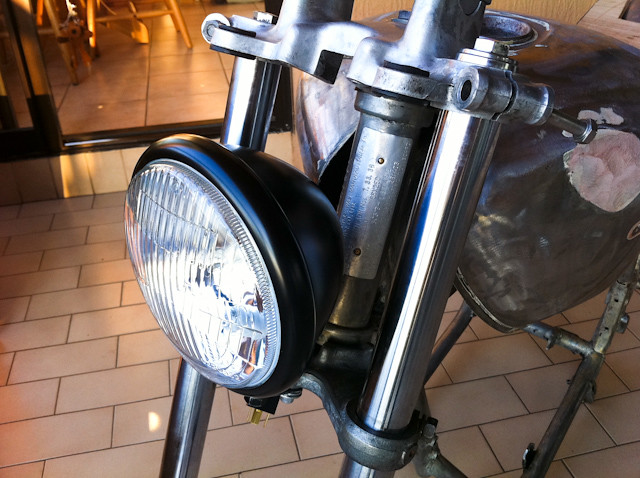
lil' brat build by beachpunk, on Flickr
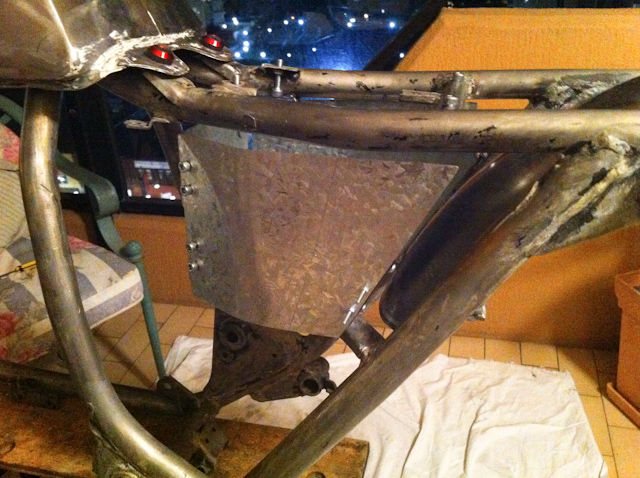
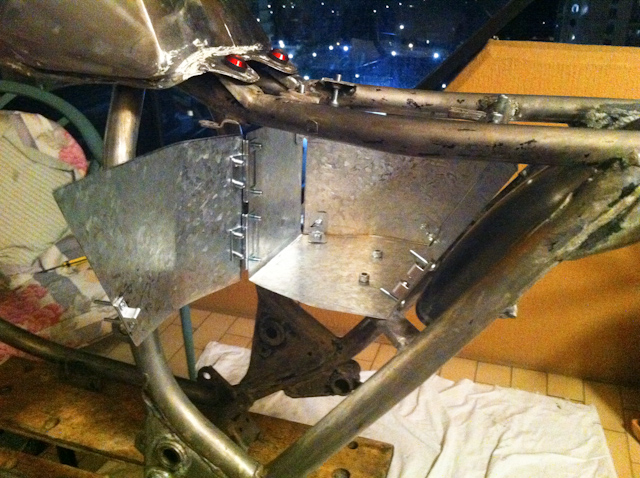
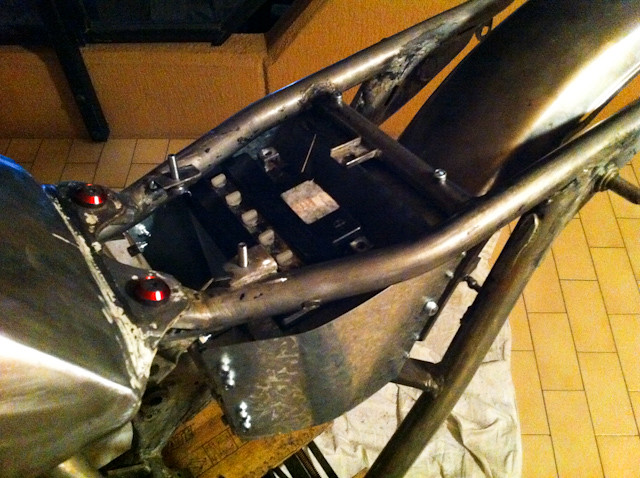
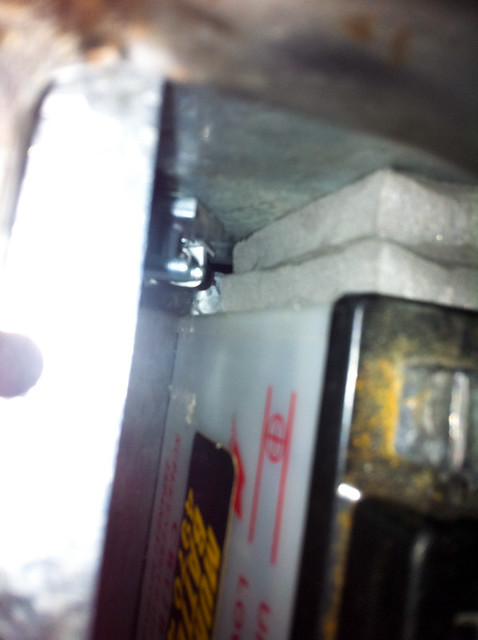
Getting there slowly. Stay tuned for more. Battery housing next...
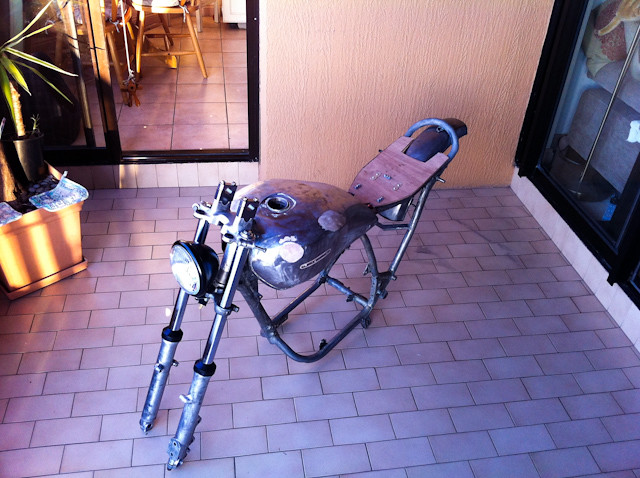
lil' brat build by beachpunk, on Flickr
It started with an '85 Suzuki GSX250 that I picked up already customised with a race look.
lil' brat build by beachpunk, on Flickr
But then I ran across bratstyle and heiwa bikes and started frothing. So I decided to see what I could turn this into.
Started by tearing everything down, labelling the shit out of every part and then went on to strip all the paint (which was pretty tough at times and boring. But will pay off in the end).
lil' brat build by beachpunk, on Flickr
Took the paint of the engine and opened the top end to check a rattle. Looked super clean so will check the valve clearances and put a new gasket on. Plenty of shine under the black paint. Will leave the gear box bare metal and paint the fins and top matt black.
lil' brat build by beachpunk, on Flickr
Picked up an old fender from a wrecker and had some custom welding done so I could get it on. Also got a new tank off another Suzuki and got rid of the old boxey one. Cleaner lines in this.
lil' brat build by beachpunk, on Flickr
lil' brat build by beachpunk, on Flickr
lil' brat build by beachpunk, on Flickr
Just finished off making a seat pan today. Plywood as I didn't want to mess with fibreglass or metal. Good result and pretty strong. Its not going anywhere once it's completely finished. Will completely cover with vinyl and maybe coat with something to seal the wood.
lil' brat build by beachpunk, on Flickr
Also cut a custom bracket that fitted (conveniently) on the bottom of the lower clamp. So I didn't have to drill any new holes and mess with it's strength. Nice brand spanking new Posh headlamp fresh from Japan.
lil' brat build by beachpunk, on Flickr
Getting there slowly. Stay tuned for more. Battery housing next...
lil' brat build by beachpunk, on Flickr