JustinLonghorn
No Purple Hearts, No Blue Ribbons
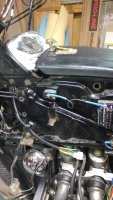
Making progress, making fucking progress. You make some progress then you make some more progress. Making progress, making fucking progress. Making Progressssss.
Making progress, making fucking progress. You make some progress then you make some more progress. Making progress, making fucking progress. Making Progressssss.JustinLonghorn said:Making progress, making fucking progress. You make some progress then you make some more progress. Making progress, making fucking progress. Making Progressssss.
Maritime said:Eric and Jussy, Y'all need to watchtoo muchmore adventure time, but I like Making fucking progress ;D\
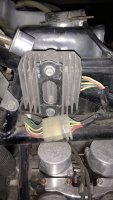
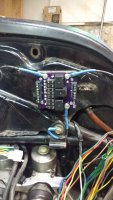
5 Mins on Google and 3-4 threads in the various GL forums say this is an upgrade and cleans wiring up too. So will be using this for sureMaritime said:Ok so I think this might be a worthy bit to upgrade my wiring. R/R in one unit vrs the 3 separate units on the 79. Chime in those in more know than me.
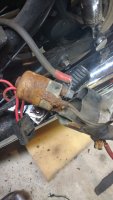
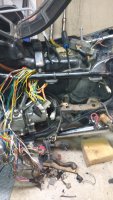
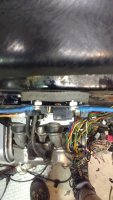
DOOOOO ITMaritime said:Oh and I am 12 PBR and 3-4 shots into rewiring. Should go awesome. ;D
Maritime said:Oh and I am 12 PBR and 3-4 shots into rewiring. Should go awesome. ;D