alec.korver
Been Around the Block
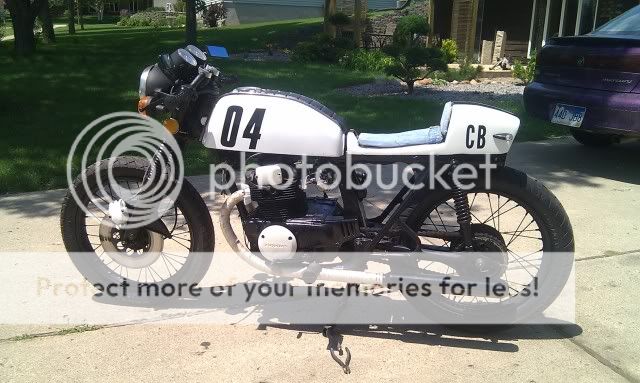
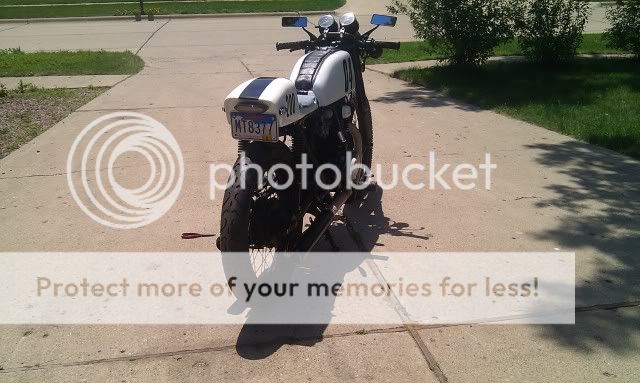
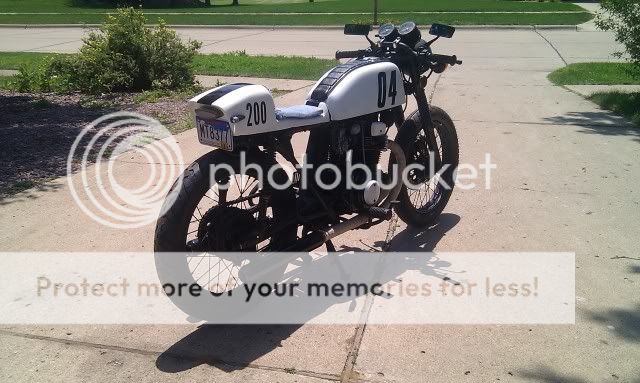
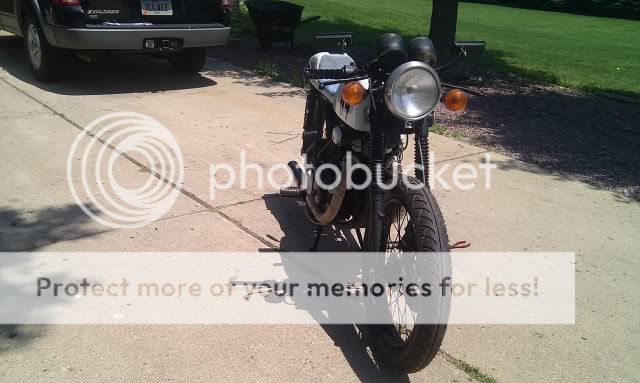
Re: My CB200 BUILD - THE END IS NEAR - PROJECTED DRIVE DATE JUNE 3
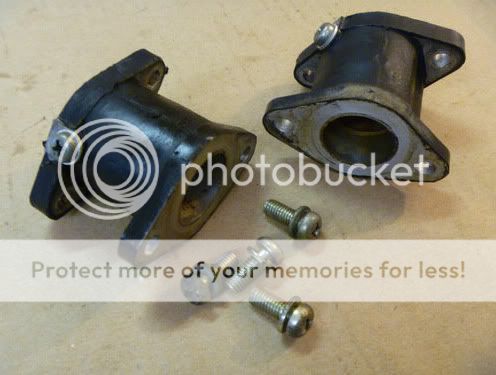
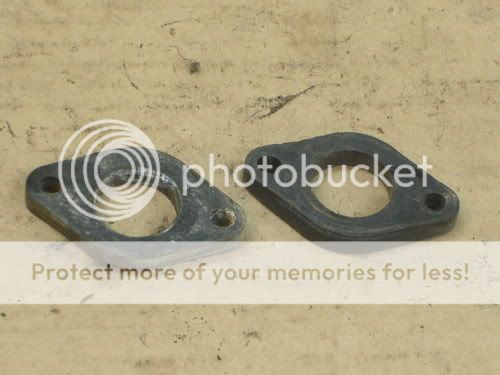
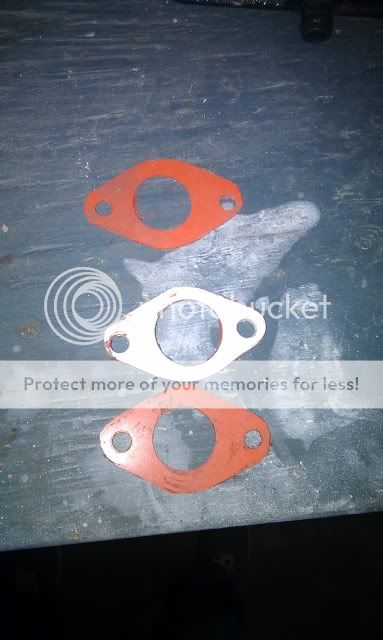
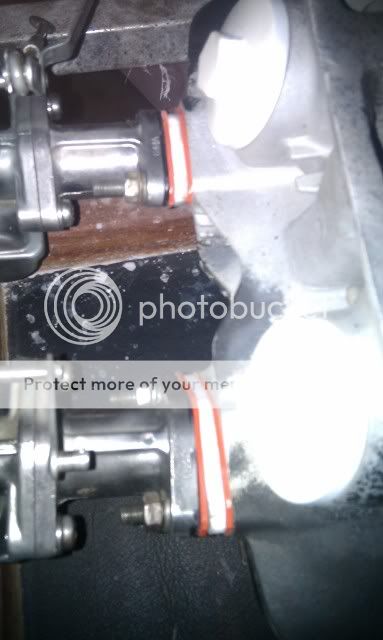
Hey, thanks for the heads up, do you have any pics of the carb insulators I am looking for, so I have a baseline. Or know of any mods that could be performed? I do have longer studs already. So that shouldn't be a problem. Did this bikes originally come with insulators on them?
Well Slokrt, that definitely gives you more time!