Nj732port said:

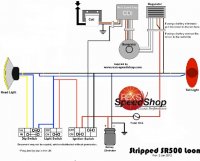
That's not exactly the most accurate/complete diagram I have ever seen for the SR.
Nj732port said:
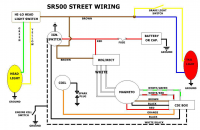
Maritime said:Do you have a wiring diagram? It will have the OEM kill switch on it and will show what way it works, some ground out to kill coils. some cut + etc. Need to know so You can wire the toggle to do the same. there will be a little box with dots that show the different positions and what they connect.
its more of a reference thing I need to connect that brown wire to the red wire coming off the stator/regulator.Caf3racer said:That's not exactly the most accurate/complete diagram I have ever seen for the SR.
Nj732port said:its more of a reference thing I need to connect that brown wire to the red wire coming off the stator/regulator.
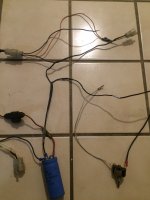
Sonreir said:You're running a cap, not a battery, right?
For kill switch, turning the switch to "On" will kill the bike. "Off" to make it run. It's backwards because you kill a CDI ignition by grounding it.
Tune-A-Fish said:Be nice if you had a small inside place to work
")

Sonreir said:You're running a cap, not a battery, right?
For kill switch, turning the switch to "On" will kill the bike. "Off" to make it run. It's backwards because you kill a CDI ignition by grounding it.
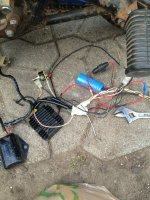
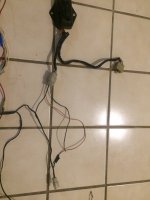
if any one knows what's going on lol let me knowNj732port said:In the diagram I have it shows the brown wire connected to the red before the connection to the cap, is the green wire the same as the brown? Just different color?
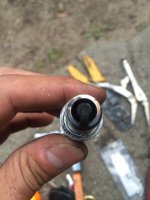
Sonreir said:Green wire on your new unit is ground. It's the black wire that matches up with the brown.
So for your hookup, black and red both go to the positive terminal of the cap. The three yellows go to the three whites, then the green gets grounded.
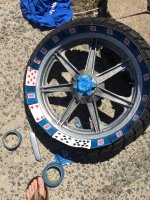
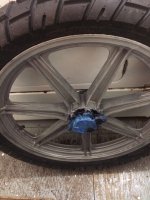
Tune-A-Fish said:Let the air out and the cards can slide in