Nj732port
Coast to Coast
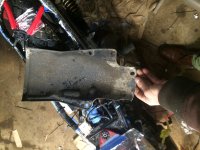
Waiting for my mask and cut off wheels to come in tomorrow so I can trim the seat pan.
I tried to get in touch with a local upholstery place called American soft seats waiting on a reply, I went to the address after work and it brought me to a house... :-\
placed my order for 13" hagon shocks all black standard spring diameter, hopefully they shipped today the woman Christina said there was a chance they would! ;D ;D
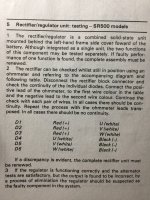
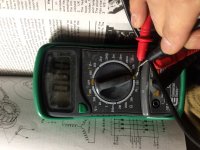
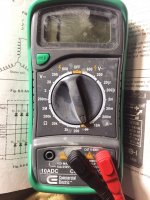
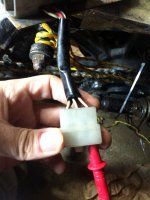
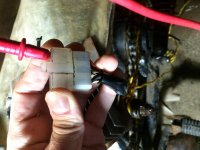
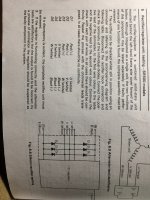
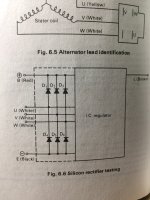
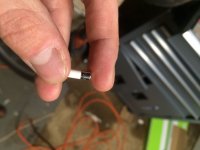
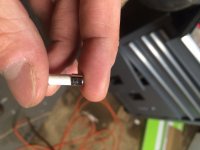
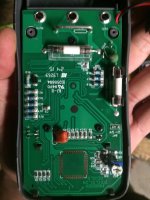
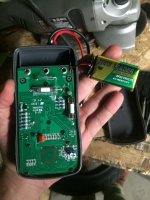
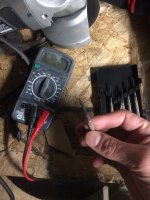
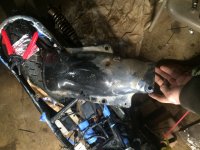
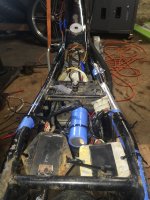
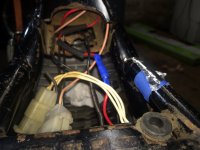
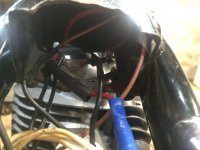
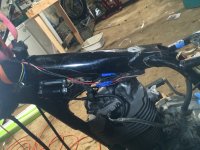
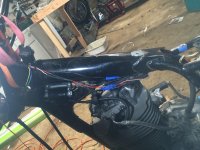
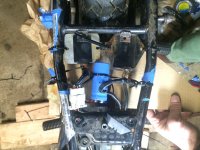
The next thing I gotta get to would be the electrics, I had a couple bulbs blow out on me. But it also could be a bad switch. I tried to figure out the rectifier testing in the manual but it doesn't give an explanation that I understand or maybe I'm just over thinking it? I'll post some pics and if someone could take a look and point me in the right direction. That wid be great :")
I tried to get in touch with a local upholstery place called American soft seats waiting on a reply, I went to the address after work and it brought me to a house... :-\
placed my order for 13" hagon shocks all black standard spring diameter, hopefully they shipped today the woman Christina said there was a chance they would! ;D ;D
The next thing I gotta get to would be the electrics, I had a couple bulbs blow out on me. But it also could be a bad switch. I tried to figure out the rectifier testing in the manual but it doesn't give an explanation that I understand or maybe I'm just over thinking it? I'll post some pics and if someone could take a look and point me in the right direction. That wid be great :