
We noticed you are blocking ads. DO THE TON only works with community supporters. Most are active members of the site with small businesses. Please consider disabling your ad blocking tool and checking out the businesses that help keep our site up and free.
You are using an out of date browser. It may not display this or other websites correctly.
You should upgrade or use an alternative browser.
You should upgrade or use an alternative browser.
"Patina" The 1973 CB175 Cafe Racer
- Thread starter 1sttimer
- Start date
1sttimer
Over 1,000 Posts
They're essentially glorified Koozie material. Actually, if I had sewing ability I could make them out of a Koozie. They're a little cheezy looking, yes but they seem like they will work. I'll look into boots. How do they stay put? Do they slide over the lowers?
Sent from my iPhone using Tapatalk
Sent from my iPhone using Tapatalk

HerrDeacon
Over 1,000 Posts
Oh, that looks great.
1sttimer
Over 1,000 Posts
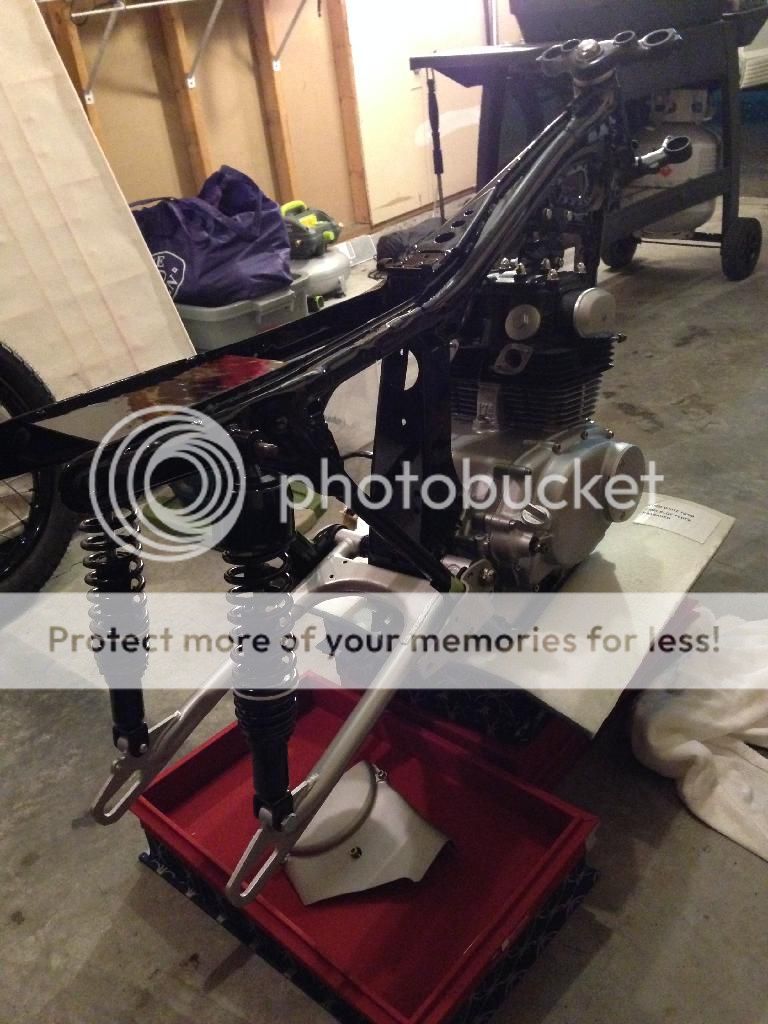
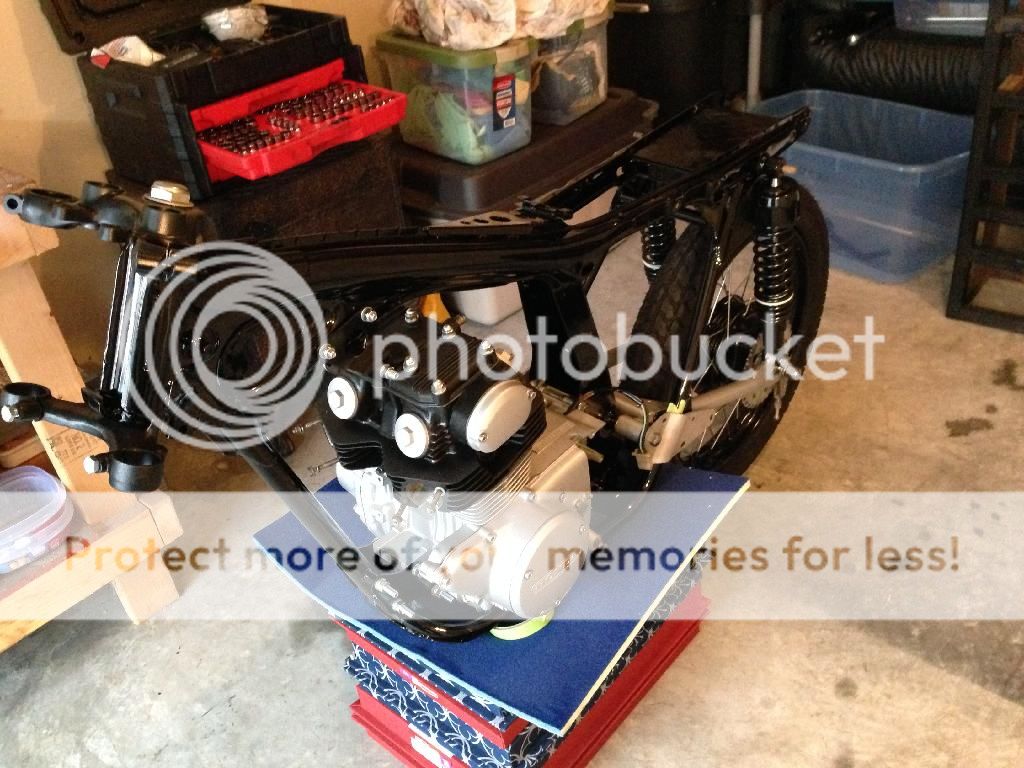
Got my frame back today from my local powder coater. It looks so much better than I expected. I got high gloss black. He must have laid it on thick because it covered a multitude of sins....


Also picked up my wheels from being trued and mounted.

And then I got everything home, mounted the steering stem and triples and hung the engine. I'm pleased with the way everything came out.
I trued to take a short cut and buy some bolts that were 'close enough' to the right length for my engine mounts...stupid idea. 75% of them were too short. Idiot... I'll go back and get some longer ones tomorrow. Also tomorrow I'll be receiving my order from DCC so I can mount the forks, headlight ears, swingarm with new shocks and wheels. I hope to have the bike sitting on its wheels tomorrow night if not over the weekend.
Also picked up my wheels from being trued and mounted.
And then I got everything home, mounted the steering stem and triples and hung the engine. I'm pleased with the way everything came out.
I trued to take a short cut and buy some bolts that were 'close enough' to the right length for my engine mounts...stupid idea. 75% of them were too short. Idiot... I'll go back and get some longer ones tomorrow. Also tomorrow I'll be receiving my order from DCC so I can mount the forks, headlight ears, swingarm with new shocks and wheels. I hope to have the bike sitting on its wheels tomorrow night if not over the weekend.


HerrDeacon
Over 1,000 Posts
Frame looks gorgeous, you must be very happy with it.
1sttimer said:He must have laid it on thick because it covered a multitude of sins....
I chuckled.
1sttimer
Over 1,000 Posts
1sttimer
Over 1,000 Posts
Something I came across while reassembling the steering stem...how do I torque the bearing retaining nut thing correctly? Not the upper triple cap nut but the threaded retainer underneath.
It looks like I need a special tool to tighten it. I don't remember how I got it off. If I tighten it too much I can feel the bearings start to "grind" in the races when you turn the stem. I can loosen it up to a point where I don't feel this at all...just don't know where the line is...too loose it may fall apart with vibration, too tight it feels rough to turn.
Sent from my iPhone using Tapatalk
1sttimer
Over 1,000 Posts
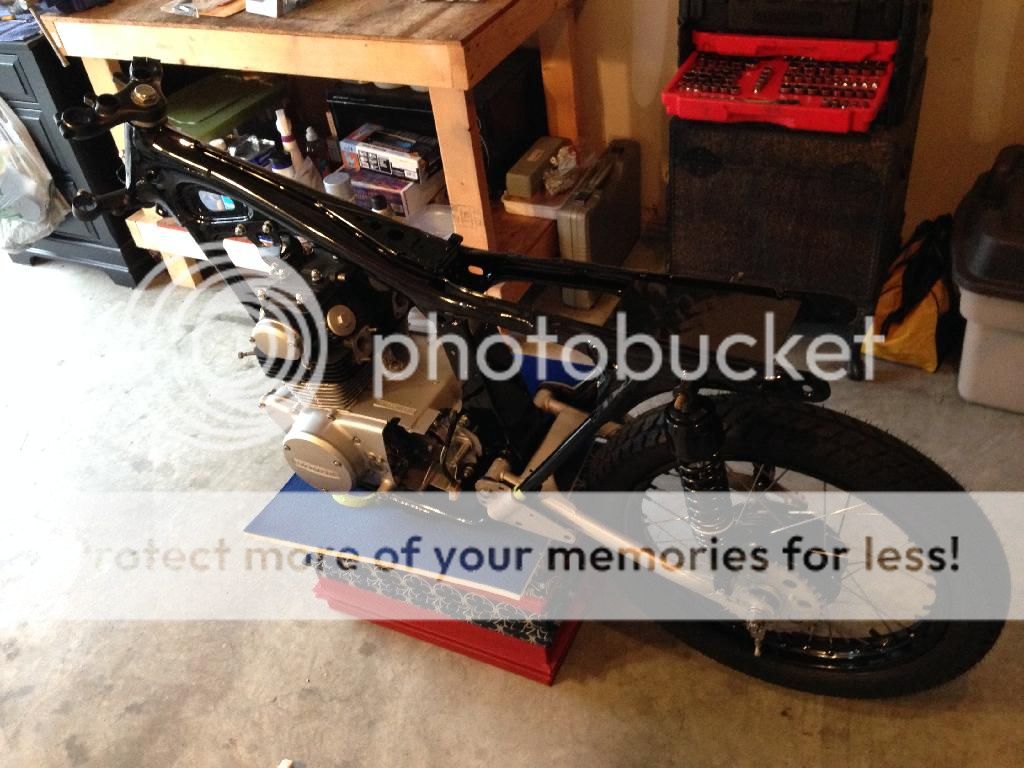
Time for a massive update. I was in a holding pattern for a bit while the frame was getting coated and I was waiting on my DCC parts to arrive. Well, my wheels were balanced, frame finished and DCC order received all within a day so I was on overload this weekend trying to get my head around what to knock out first. I decided to go for a full mockup and get her shoes on this weekend.
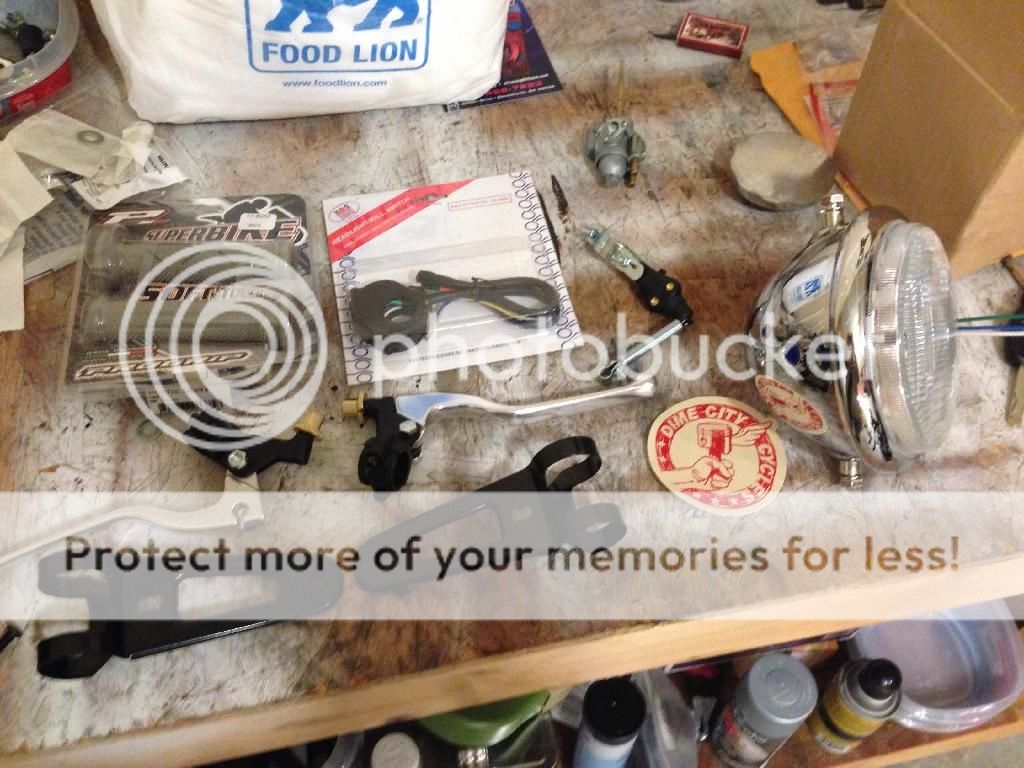
Here's everything I got in from DCC: Headlight, shocks (on the bike, not in this picture), grips, brake switch, levers, and
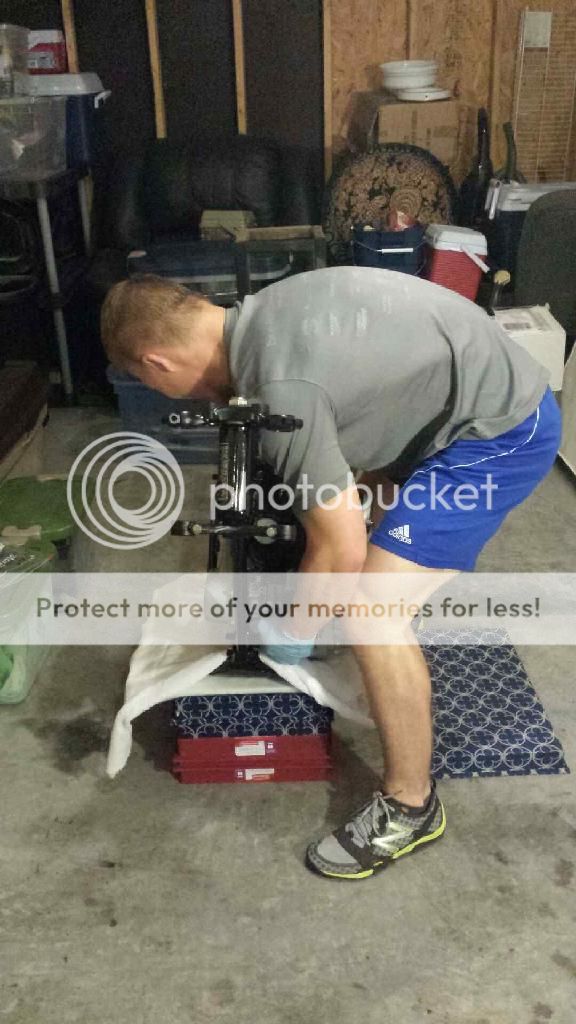
My girlfriend helped me get the motor into place by inserting the engine hanger bolts while I held the engine in place:
I forgot, we put the steering stem in first as well.
Then I test fitted the new shocks and the swingarm with fresh bushings (crazypj says they are porous iron - guess I ordered the wrong ones from mcmaster).
Back wheel in place:
Here's everything I got in from DCC: Headlight, shocks (on the bike, not in this picture), grips, brake switch, levers, and

My girlfriend helped me get the motor into place by inserting the engine hanger bolts while I held the engine in place:

I forgot, we put the steering stem in first as well.
Then I test fitted the new shocks and the swingarm with fresh bushings (crazypj says they are porous iron - guess I ordered the wrong ones from mcmaster).

Back wheel in place:

1sttimer
Over 1,000 Posts
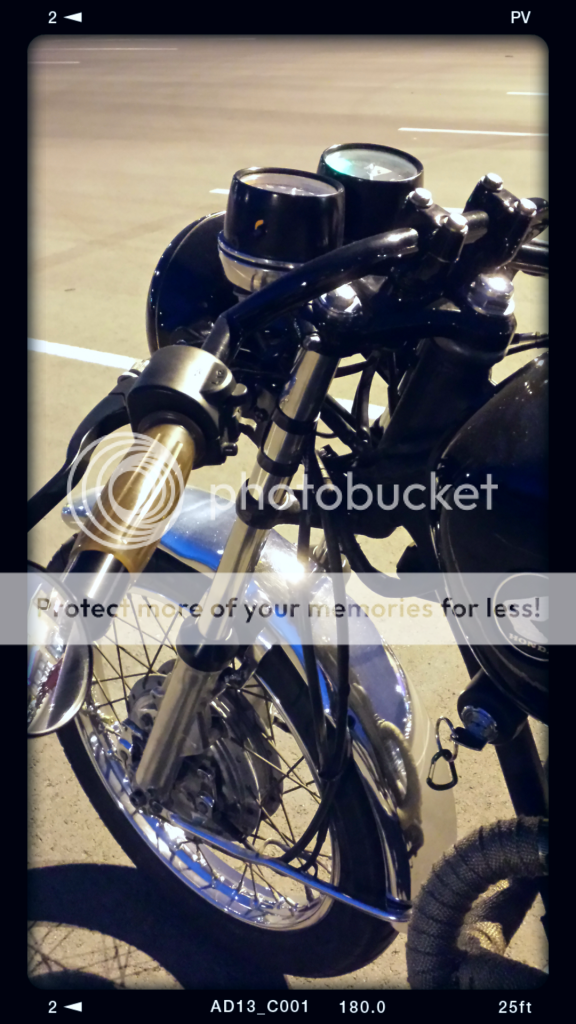
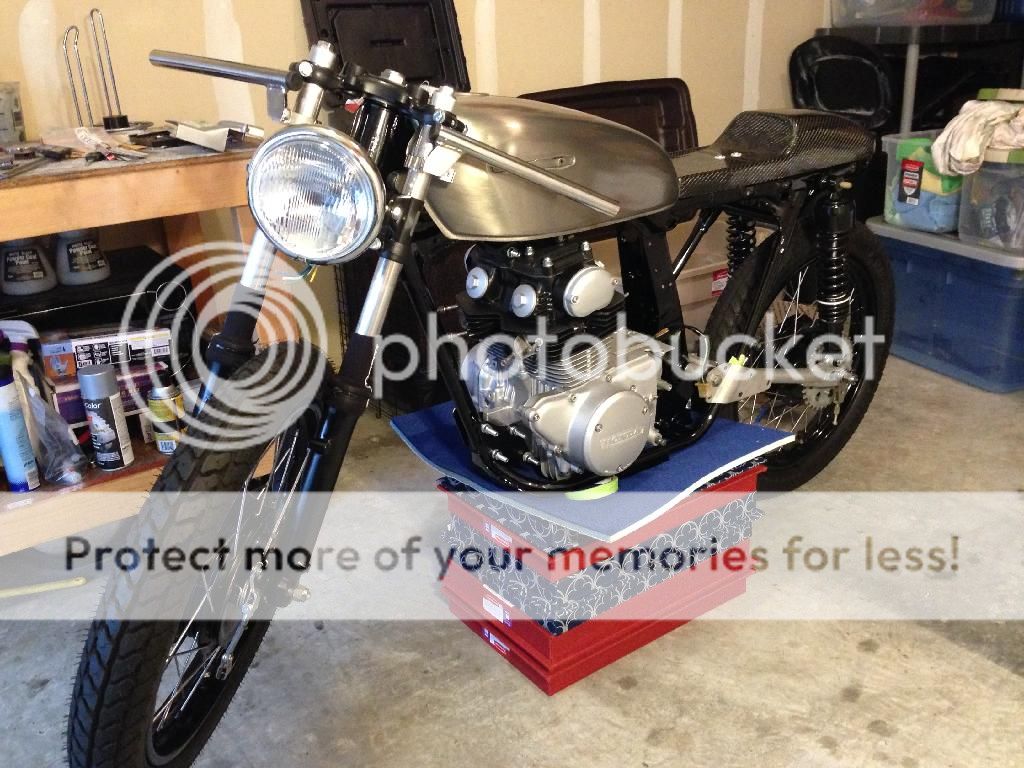
Before I write this next post, I want to apologize for getting a bit sappy. But here goes. I did not expect, nor did I think it was possible, for this bike to spring to life. I didn't get much of a chance to ride her before the tear down, which was probably stupid but it's how you learn. I had everything at my finger tips to mock up a complete-looking bike, yet not at all functional yet. You will see in the photos below what I'm referring to, but this is the first time in my life when we have built something from the ground up, exactly how I want it - and I say "we" because this forum is building this bike. All of you as a collective are building this through my eyes, and I'm much appreciative. I can't count the number of entire threads I have read only thinking what I would do if I had the mechanical and fabrication skills as most of you do. But here I am looking at this bike, sitting there somewhat anthropomorphic looking back at me with her 5-3/4" Bates lamp.
Sorry for the sidebar, but this project was the last thing I thought I would be doing a few years ago, and I can't believe I've even gotten this far. I can't wait to hear her purr.
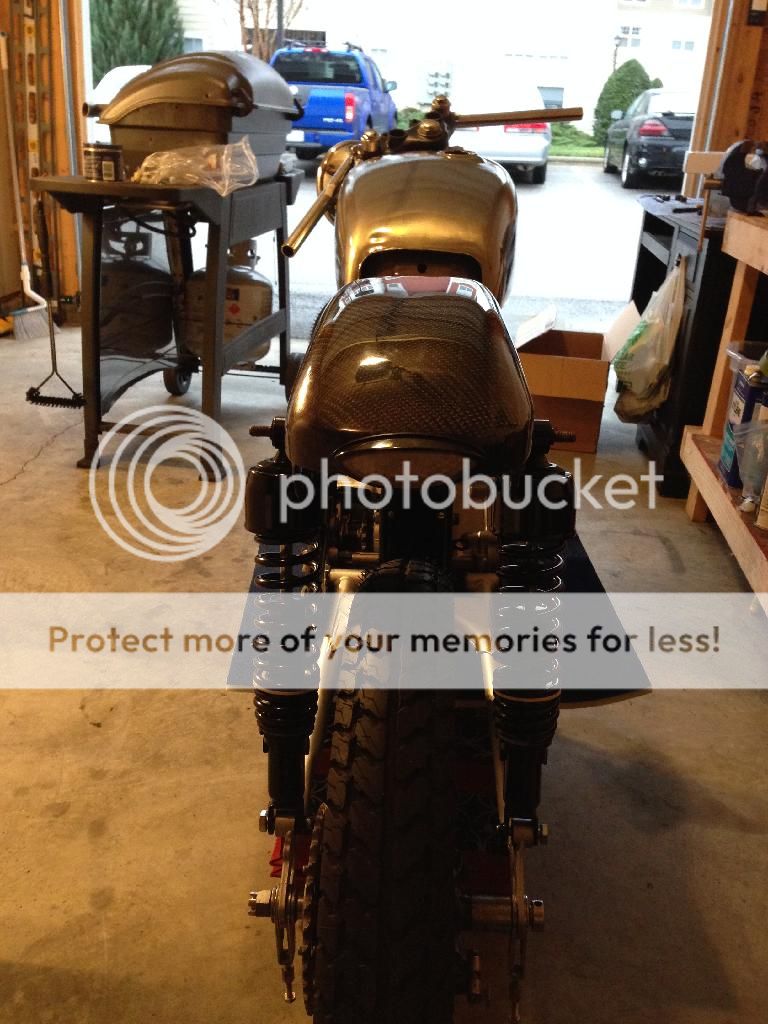
On to the updates. Here is how she sat this morning:
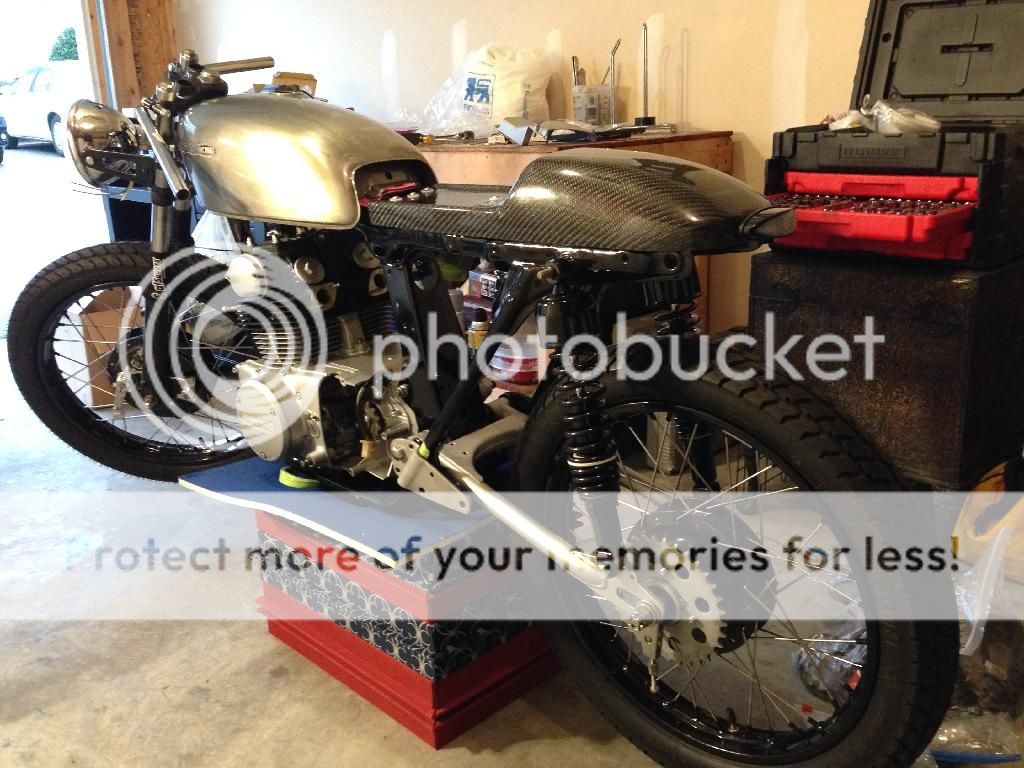
And here is how she sat a few hours later. The nuts and bot are not tight as this is just a test fit, but so far everything is coming together wonderfully!
So here is my "need" list, because we all have them")
Thanks for watching!
Sorry for the sidebar, but this project was the last thing I thought I would be doing a few years ago, and I can't believe I've even gotten this far. I can't wait to hear her purr.
On to the updates. Here is how she sat this morning:

And here is how she sat a few hours later. The nuts and bot are not tight as this is just a test fit, but so far everything is coming together wonderfully!


So here is my "need" list, because we all have them
- Front brake switch (i'm going to drill a hole through the DCC perch and squeeze an ebay switch in there)
- Electronic ignition (full system, with advancer from Probe Engineering - this is pricey and what I'm saving up for now)
- Custom harness from Sonreir (I'm gathering all my electrical components and will send everything out to him to wire it up)
- Custom 2-1 exhaust (I have a local guy who's going to fab me up a 2-1 rt. side exit by the rear set)
- 1.9" Gauges (hope to get these "Santa"
- Motobits Rear sets (also from Santa)
Thanks for watching!
I don't know if your clip on's are setup correctly-- They look ok.
I do see that you have the 200 forks lowered in the tree. From my experience, under hard braking you will probably feel a bit of instability as the trail is reduced.
I often see them in pictures dropped about 10mm or so-- which is why I tried it out.
I had reset mine back to the standard height after a few uneasy stops, and its now more forgiving.
Just something to keep in mind when you get some seat time.
1sttimer
Over 1,000 Posts
I'll try to flip the clip ons and see what it looks like.
Thanks for the comments ACM. When I got the bike, the forks were like that so I assumed that's how they should be. I have no problem raising it back up. Like you said, when I get a chance to ride it around I'll see.
Did you use a fender for a fork brace, or is it necessary on these little 31mm's?
Sent from my iPhone using Tapatalk
1sttimer
Over 1,000 Posts
acm177 said:Yeah, I have the stock CL fender on the front of mine... I don't like getting rocks in the teeth.
That's probably smart. did you cut it down at all? I'd like to cut it down a bit because my fender has a nice dent at the tip that is within cutting range...but I'm not sure the best way to do it...band saw maybe?
1sttimer said:That's probably smart. did you cut it down at all? I'd like to cut it down a bit because my fender has a nice dent at the tip that is within cutting range...but I'm not sure the best way to do it...band saw maybe?
Just my suggestion.
use tape to outline the shape you want then use and angle grinder to do a blunt cut. Then maybe use a bench grinder to get the exact shape you want followed by a dremel to smooth it all out.


