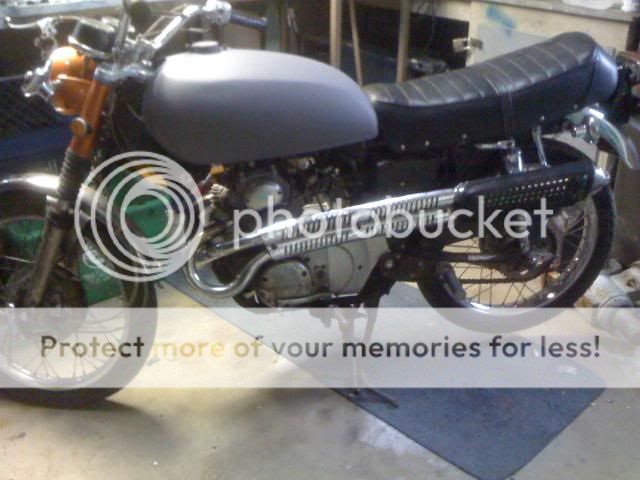
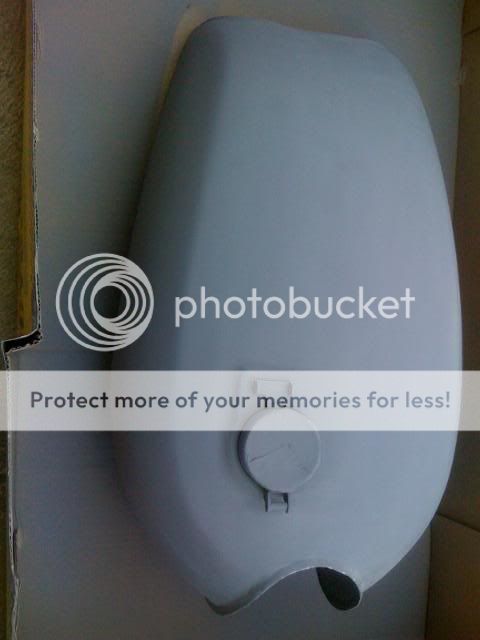
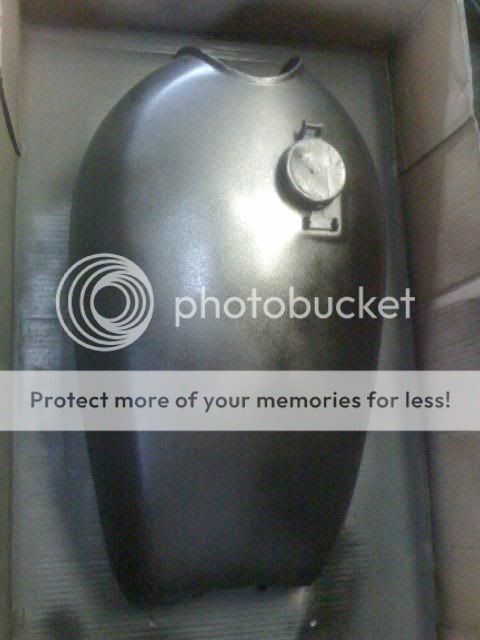
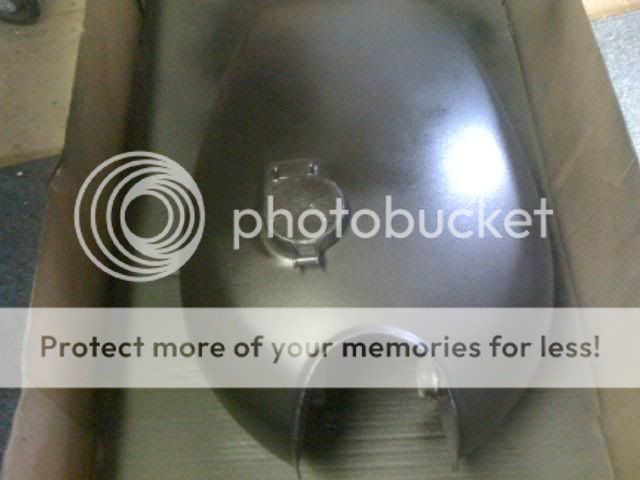
"RATTLE CAN" BLING! ...everything is here!

Deviant1 said:
Awesome work! If you've got any tips that haven't been gone over already, maybe you could drop some additional rattle-can knowledge on us!

Thanks guys! It seems most everything I do has been covered. One thing I didn't see or I missed, was this 2 part urathane "rattle can" clear: http://www.repaintsupply.com/pd_2_part_2k_aerosol.cfm I haven't used it yet, but a few friends have with great results, and it seems to equal the fuel resistance of professional urathanes....... I will be using it on my next paint project.
 
Plus 1 on the 2k clear in a can . Cost is 20$ and you will be so impressed! Spray Max 2k High Gloss . It is a true 2k that requires an activation tab at the bottom to be punctured releasing the catalyst/hardener. It is totally fuel resistant and for a tank you dont want any less as a few drips will ruin a spray bomb job. People think I spend much much more on my paint job and I owe it to spraymax....

check it out
 

Attachments

  • sexy paint 006 2020.JPG
    51.1 KB · Views: 1,368
  • small one 2020.JPG
    60.3 KB · Views: 360
Hey guys, just wanted to see if anyone has used one of the Gun Handle attachments ( like this http://www.acehardware.com/product/index.jsp?productId=1276387&CAWELAID=109370007 ) to do their spray jobs. I have Psoratic Arthritis in both my hands so it is hard for me to push down on that little plunger over and over... I want to use one of these, but only if it doesn't suck...

Cheers,
Kevin
 
hecklejk said:
Hey guys, just wanted to see if anyone has used one of the Gun Handle attachments ( like this http://www.acehardware.com/product/index.jsp?productId=1276387&CAWELAID=109370007 ) to do their spray jobs. I have Psoratic Arthritis in both my hands so it is hard for me to push down on that little plunger over and over... I want to use one of these, but only if it doesn't suck...

Cheers,
Kevin

I have used them a few times, I like them for jobs with lots of spraying! A little diferent to get used to and it is a little more difficult to get the angle of spray right on some objects, but you can always just spray those areas without it!

Not a bad tool to have! Go for it!
 
I have used them in the past for non-motorcycle/body work applications and they were okay. Although I ended up throwing them away after... I just can't remember why.
 
I use them... every time... if not my stubby fat fingers get in the line of the spray and i do not get a clean flow from the can... ya i am slightly "special" i like them...
 
WORD... thanks for the tips. I have used them in the past for household painting, just didnt know if they would be good for painting the bike!!

Cheers,
Kevin
 
Thanks for the awesome advice! I'm going to start paint on my 550 as soon as it warms up a tad.
I read the first page and skimmed the rest tho.

I want to paint my fenders which are chrome atm, as well as my forward controls, lower forks, Wheels, Brake Calliper, exhaust, Parts of the Engine (possibly) and Headlight bucket and speedo casing. Basically some parts that are Plastic, chrome, and high temp areas.
If thats allready explained I'll go back and find it, if not any advice would be apriciated.
 
For the high temp areas I generally use Krylon bar-b-q and stove paint. If the part is prepped properly it'll hold up. Also any high temp paint from your auto parts store, they're a bit pricey but better than the krylon touch. Also a high temp primer underneath is a good idea. As far as painting chrome goes, the best luck I've had has been with bedliner and even that will rub off in higher traffic areas (like the very top of a kick lever for instance). I've got some chrome on my bike painted with the krylon bar-b-q paintbecause I like the finish, but I'm constantly having to retouch it. The best option is to have the chrome media blasted off of the part, then clean and sand, then prime, then paint. If you're not going to blast it then rough it up with a wire wheel and sandpaper before you attempt to spray. Basically the same prep stages apply to chrome and high temp areas as stated in the first of the thread, the exception being that if you're not blasting away the chrome you need to rough it up more than normal parts to insure that the paint bonds. Don't rough it up so much that you'll be able to see the nasty through the paint. As far as plastic parts, sand them with apropriate grits, clean them and paint them. I'm sure there are more better tips for all of this, but this is how I do it.
 
Littlekip, Deviant is right on! One thing to be added is: when buying high temp paint make sure you read the label and find out if it is ceramic paint or enamel. Ceramic is great for high temp (probably the best) but you have to be able to follow the tempering directions from it's can in order for it to cure properly and adhere correctly! For example, if you plan on painting your motor with it, then you need to disassemble, clean, prep, and then paint and temper. The ceramic is really overkill on the motor, it is best to use it on a header and exhaust. The best advise anyone can give you on any painting is prep. Make sure everything is very clean, dry, and oil-free! For the motor, wash several times using a good degreaser and rinse well. Sand, wire wheel, and scour the surface well and clean again! Wipe down with the acetone or denatured alcohol, then prime and paint!

Best of luck and post some pics!
 
ok... i need some help. i have shot many many bikes, but have NEVER shot a flat or semi-gloss, always been partial to the bling look, but on my fighter build that will not fit. i want to shoot the plastics in a semi gloss black. i have heard to clear it i would just spay a clear further away and go to town, just do not sand, any truth to this or just say Screw the clear and shoot the semi - gloss? any tips or tricks flat black painters out there?
ooh and i would rather rattle can this but if i have to pull out the paint guns and shoot i can do that as well, we are supposed to be above 50* this wekeend
 
For a semi or flat, the rattle in more than suffecient!

Look back to the begining of the thread, page two or three for the flat method, the tuff look I called it! If you have any questions after that, hit me up!
 
cool ya i know on the flat one how to rock that but i am leaning more towards a semi gloss, and want to add airbrush work so i will need a clear to make the air brush work pop... hummmm
 
JRK5892 said:
cool ya i know on the flat one how to rock that but i am leaning more towards a semi gloss, and want to add airbrush work so i will need a clear to make the air brush work pop... hummmm

This is just a suggestion and a theory because I have never done this but, do all of the semi paint then clear as normal with the can held further away to create texture which helps to keep a nice matte finish. Then mask off what won't be airbrushed and spray the exposed areas with gloss clear in a normal clearing manner to smooth those areas. Air brush, then gloss clear again. Remove masking, do a light wet sand over it all, hit another light coat of satin clear over it all, then do a little hand buffing over the air brush to make it pop a little more! I think this should work fine, but involves a bit more work!
 
Well, it warmed up a bit this weekend so I move forward with my tank. I'll also post some of this in my 550 thread.
Anywho, I think I got too excited and jumped forward without really being ready, but that's how I learn. Warning: I may have made some serious mistakes, I know.
I had already primered the tank last fall with a rustoleum filler primer. So I sanded it to a 600 grit and moved forward with the Paint, I decided to try Rustoleum Wheel Enamel Gloss Black. Following the instructions on the can and the tips here in this thread I put down a few coats. Sanding with 600 grit between the first few and then wetsanding with 2000 grit between (and after) the last two. I forgot to lay down a thin clear coat with the last of the color... So I ended up wetsanding with 2000 grit before laying down a couple of coats of Rustoleum Engine Enamel clear. That is currently curing. I didn't have tack cloths either, and I wasn't able to completely eliminate dust in the environment. I allready know there are a couple of spots I'm not thrilled with but I think I'm going to lightly wetsand the clear and lay anouther couple layers then buff the hell out of it. Only time will tell, If it's trash I'll redo it. This is all for experience anyway, and not looking for a real show piece in the end, as this is my first build.

I set the tank on the CL I'm rebuilding while I waited for the last primer coat to cure.
IMG_1334.jpg


IMG_1336.jpg


IMG_1337.jpg


IMG_1338.jpg


IMG_1340.jpg


I didn't get picks after this point, so none of the sanding or the clear, but I'll post a few more when in a day or so.
sorry for the quality, I need to get a real camera.
 
kip, it is hard to really tell from those pics, but it looks like you may have two problems with your spraying. Looks like you have some texture in the finish. This comes from holding the can too far away from the object or allowing overspray to land on an area that has already been sprayed, and it looks like you "dry coated it" which means you let the layer get too dry before your follow up coat, but that also could be just overspray from the first problem.

I would get it out of that box first of all, and get it where you can access all of it without rotating the can around to work in the box. You should have it where you can move the can the way you want for best results on the part! Try spraying at an angle that the overspray goes to the area where you are movin towards and hold the can a touch closer. The paint should look wet and smooth after your pass! Work that wet smooth line from one edge to another with you can angle towards the edge you are moving to!

I hope this makes since to you!
 
Back
Top Bottom