
We noticed you are blocking ads. DO THE TON only works with community supporters. Most are active members of the site with small businesses. Please consider disabling your ad blocking tool and checking out the businesses that help keep our site up and free.
You are using an out of date browser. It may not display this or other websites correctly.
You should upgrade or use an alternative browser.
You should upgrade or use an alternative browser.
The Suzuki Stinger
- Thread starter Moa
- Start date
ILoveThumpers
Everywhere is thumpers!
Ah no! I had my tank shape all planned out and then you had to show me this Stinger beauty!
Back to the drawing board.
-Deek
Back to the drawing board.
-Deek
Moa
Been Around the Block
Ha, yeah everyone seems to really like the tank. I've actually got it displayed on a shelf inside at the moment.
The back wheel is pretty far gone, I found three broken spokes. So I took the lot off and plan to replace them all. While I'm at it I'll probably source a new rim. I'm not really a fan of too much chrome, but wheels are the exception. However, if I can find an aluminium rim, that would be even better.
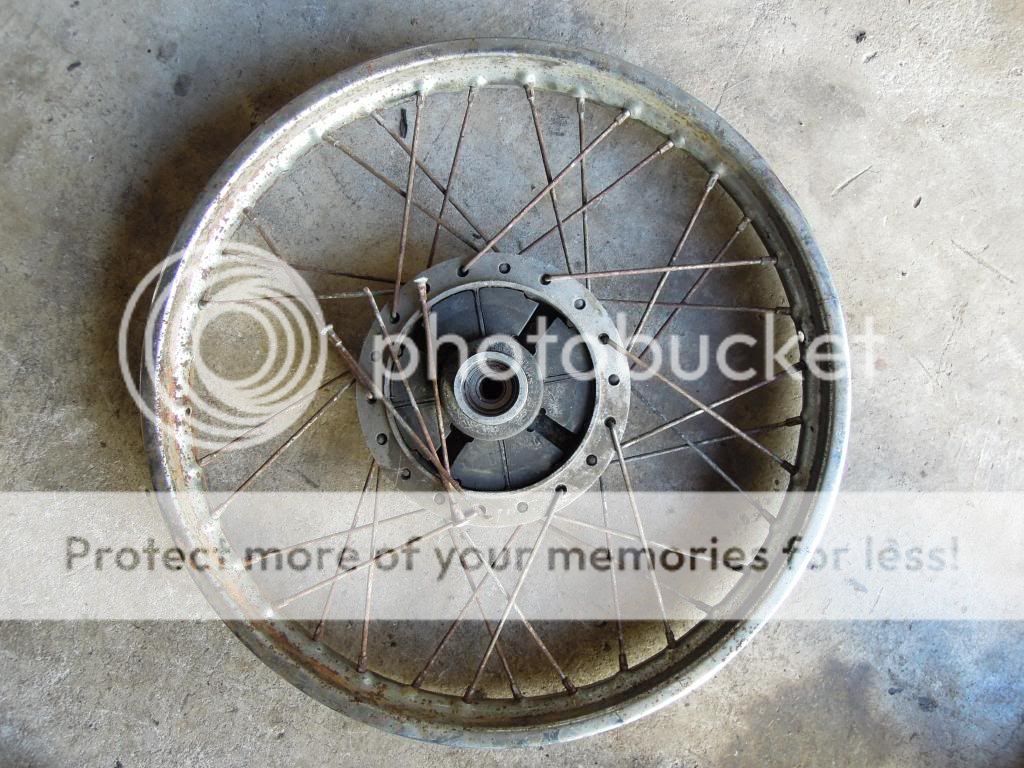
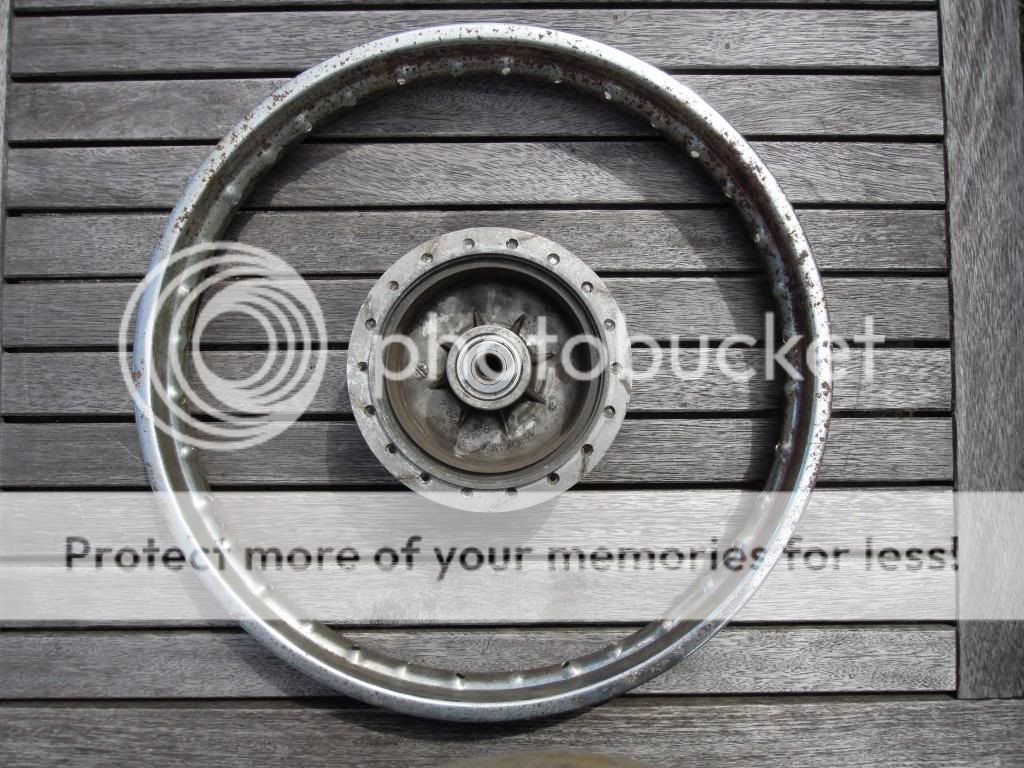
Here's the hub 'before':

Awesome bike!
Im wrapping up a bike very similar to yours... mines a 69 Suzuki TC120 cat... It's almost identical to yours. Mine was in pieces when I got it but in a little better condition than yours.
Oh and by the way I am running premix on mine... works great and it's nice getting rid of the oil tank.
Check out my build thread in the Tracker section.
Moa
Been Around the Block
Steeze said:Awesome bike!
Im wrapping up a bike very similar to yours... mines a 69 Suzuki TC120 cat... It's almost identical to yours. Mine was in pieces when I got it but in a little better condition than yours.
Oh and by the way I am running premix on mine... works great and it's nice getting rid of the oil tank.
Check out my build thread in the Tracker section.
That's a sweet bike man. I've heard somewhere that the T125/90 was only made because of an excess number of TC120 frames. Probably just speculation, but they're the only two Suzuki's that have this frame design.


crazypj
Split personality, I fake being smart
Nice, don't forget to chamfer all the port openings particularly the 'corners' where rings are forced back into cylinder and the top edge of exhaust port
Do a de-burr on top edge of cylinder, the sharp edge can cause a hot spot and pre-ignition plus failed head gaskets
Do a de-burr on top edge of cylinder, the sharp edge can cause a hot spot and pre-ignition plus failed head gaskets
Moa
Been Around the Block
Ok, thanks for the advice. I wasn't sure if the shop had chamfered them or not. There's some chamfering on most edges (probably left over chamfer from old bore) but some edges feel sharp. I think my flexible dremel attachment is small enough for the job. Then again it's probably safer to use a shortened needle file.
Is it best to chamfer ports with a bit of a radius, or is a 45 ish degree angle ok?
Is it best to chamfer ports with a bit of a radius, or is a 45 ish degree angle ok?
crazypj
Split personality, I fake being smart
45 degree is easiest and works OK.
I'll have to look and see if I have a copy of manual or if there is a specific spec for top of exhaust port
I think its a minimum of 1/16"@60 degrees (maybe 2mm, it's 30 yrs since I played with 'Stinger')
The vertical sides are not so important, I just put a small radius on them, piston is moving close to it's max velocity when it 'hits' the top of ports though so they need to be 'good'
It's virtually stopped at bottom of ports so they don't need such a large (deep?) angle
Set it up so top of piston is dead level with bottom of port, may need thinner base gaskets to get it right (I've made them out of kitchen foil or the thicker 'pie tins' before now") )
)
I'll have to look and see if I have a copy of manual or if there is a specific spec for top of exhaust port
I think its a minimum of 1/16"@60 degrees (maybe 2mm, it's 30 yrs since I played with 'Stinger')
The vertical sides are not so important, I just put a small radius on them, piston is moving close to it's max velocity when it 'hits' the top of ports though so they need to be 'good'
It's virtually stopped at bottom of ports so they don't need such a large (deep?) angle
Set it up so top of piston is dead level with bottom of port, may need thinner base gaskets to get it right (I've made them out of kitchen foil or the thicker 'pie tins' before now
)


Moa
Been Around the Block
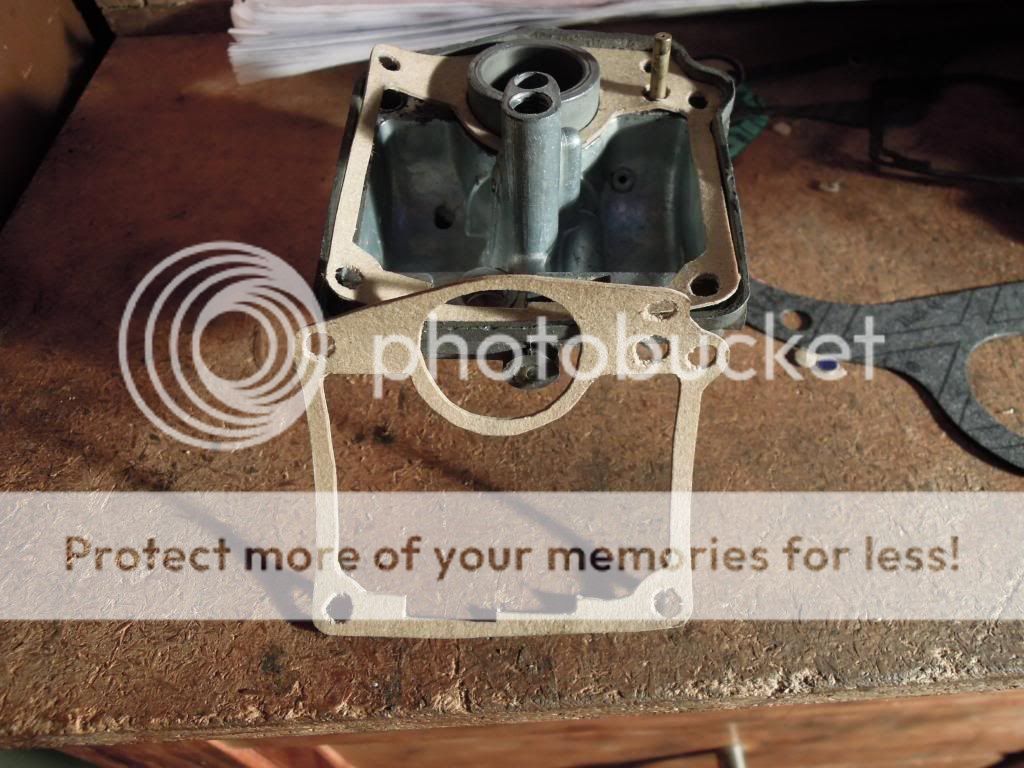
Made some gaskets for the clutch cover and carbs. I've spent the evening cleaning out the carbs and trying to get the slides to not stick. I'm anticipating this thing running very soon (I hope) I've got some spark plugs and a 6V battery on their way, plus a rear spoke set from overseas.


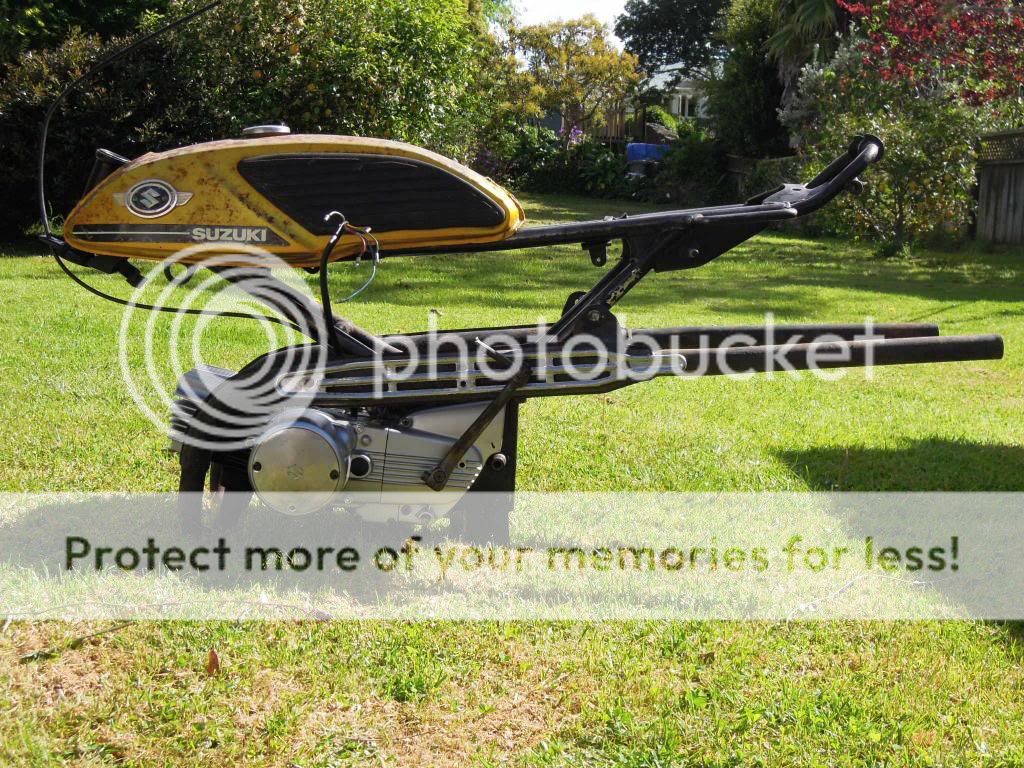
Random picture of engine in frame.


Random picture of engine in frame.

JustinLonghorn
No Purple Hearts, No Blue Ribbons
That looks fantastic!


