
We noticed you are blocking ads. DO THE TON only works with community supporters. Most are active members of the site with small businesses. Please consider disabling your ad blocking tool and checking out the businesses that help keep our site up and free.
You are using an out of date browser. It may not display this or other websites correctly.
You should upgrade or use an alternative browser.
You should upgrade or use an alternative browser.
"Traveler's" 1977 CB550K Cafe build
- Thread starter Traveler
- Start date
Basement rat
Over 1,000 Posts
Well, you can blast with almost anything like glass, sand^, plastic, CO2 ice pellets, cork, baking soda, and the list goes on. It just depends how deep your pockets are.
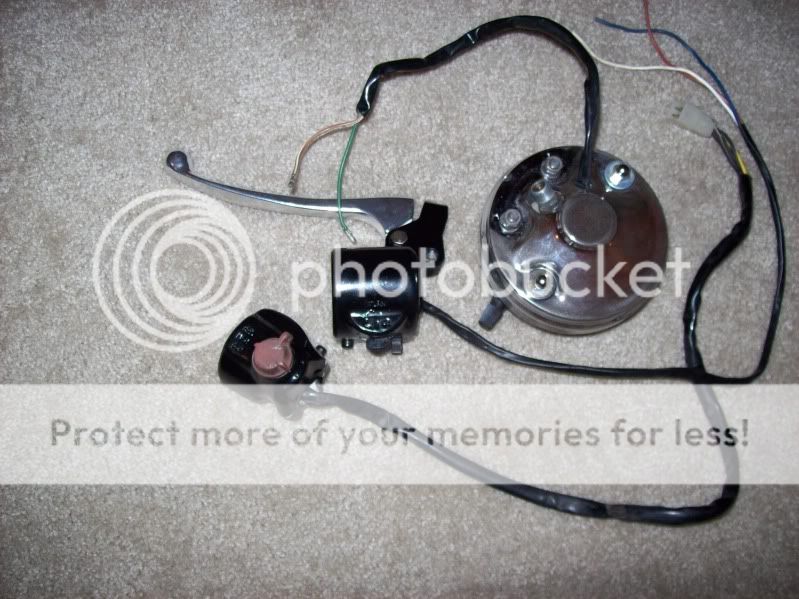
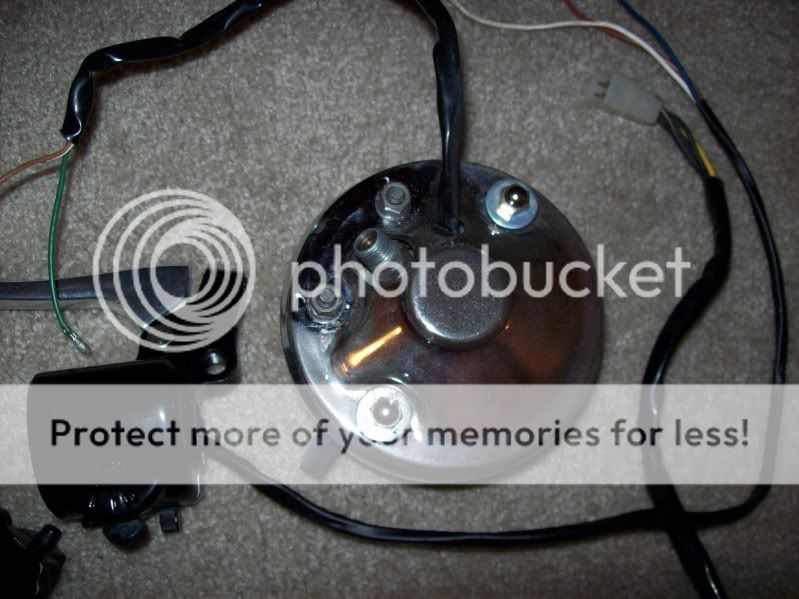
Got the electrics panel done today. Some time with a die grinder, file, and black paint, it was ready to be assembled.
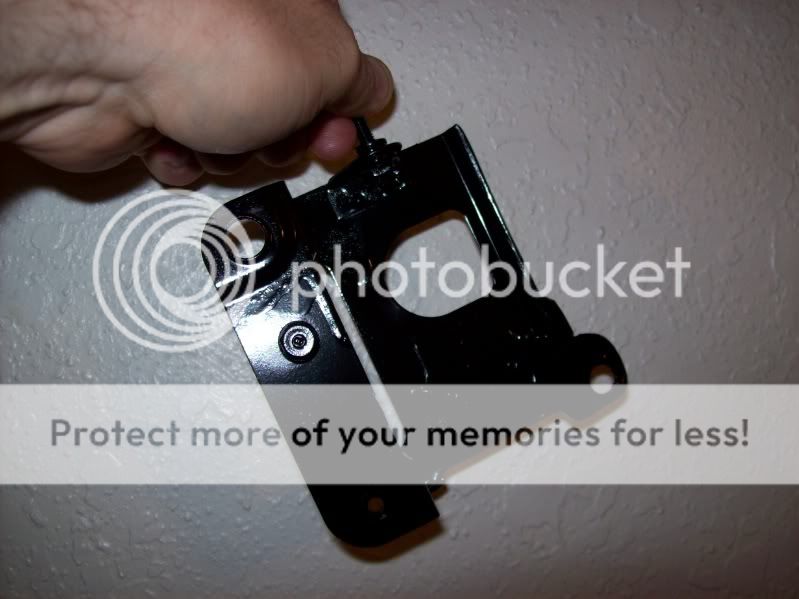
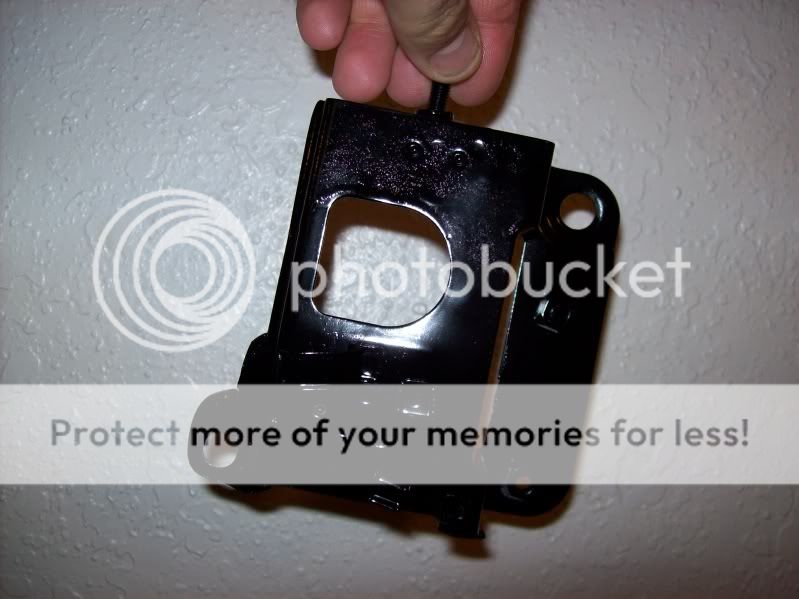
Here is the completed deal. May not look like much, but it's almost half the size it was originally. Very narrow now, and will fit in the bum stop with a A123 micro battery.
A couple more parts I was waiting for, arrived today as well
Also got most of the parts for the front end assembled....got too dark and cold to take pics...take some tomorrow and post up.
~Joe
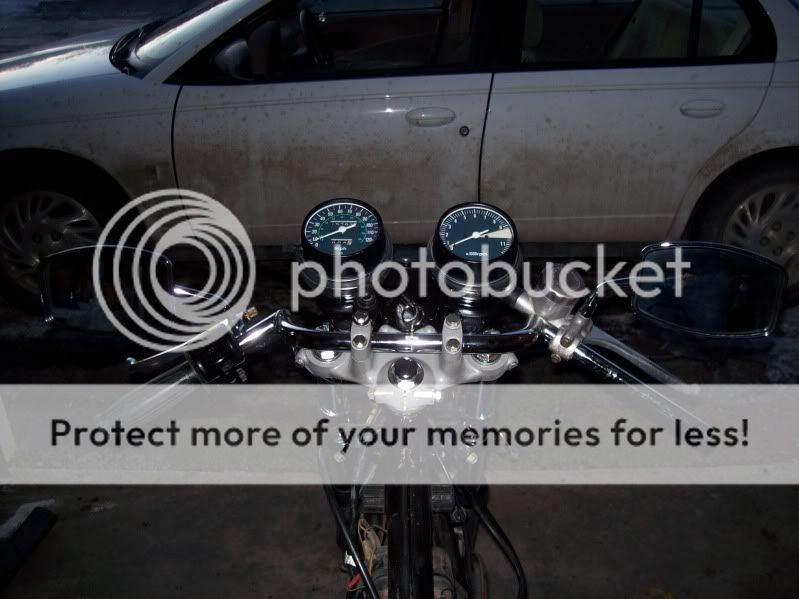
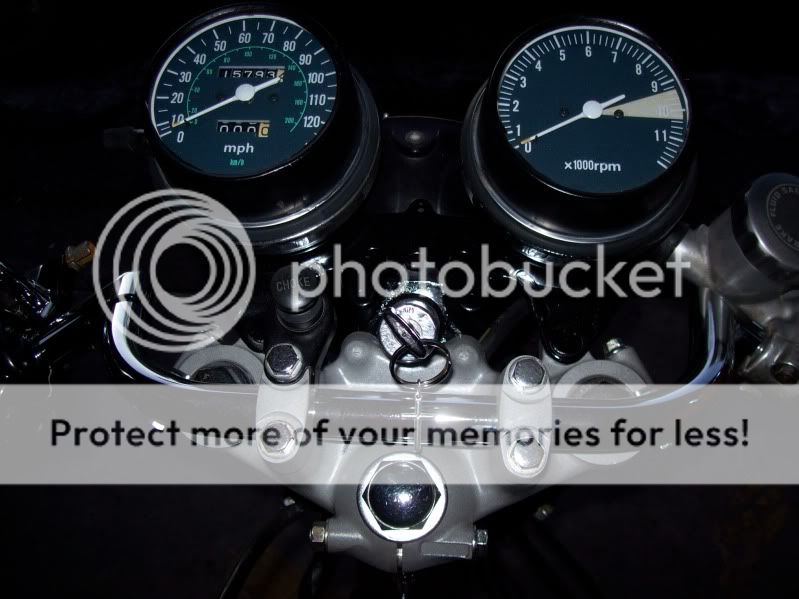
Here are some pics of the work completed yesterday.
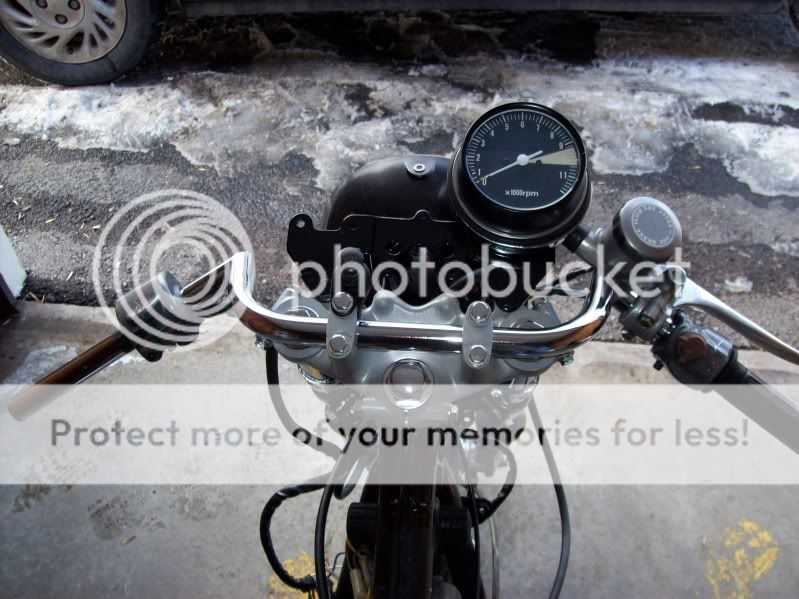
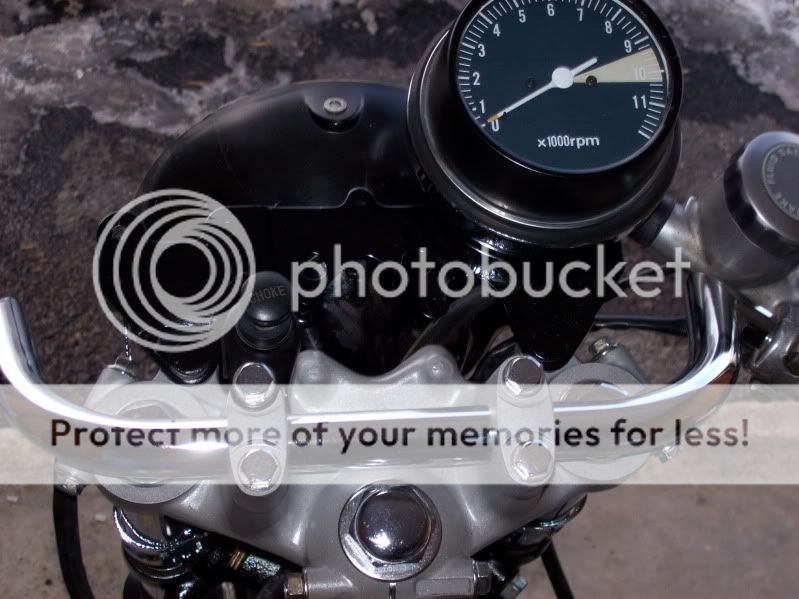
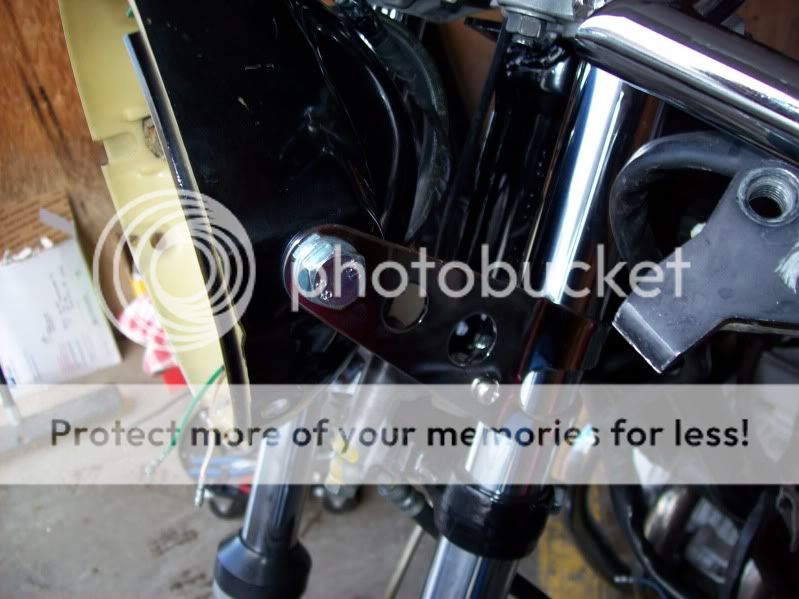
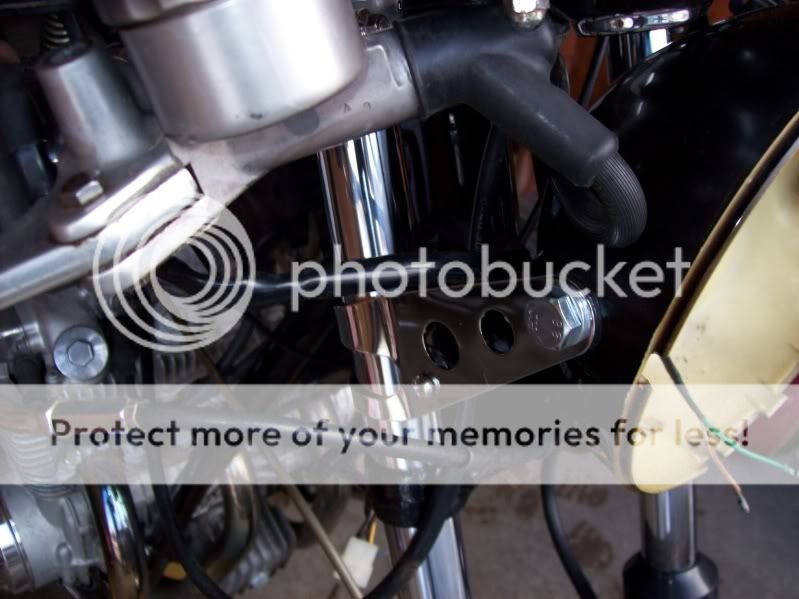
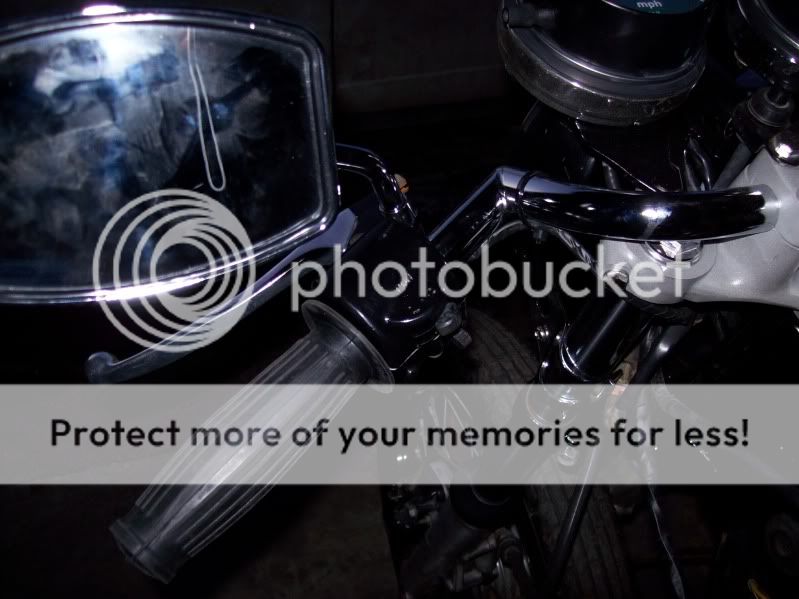
You can see the EMGO headlight brackets, and notice how the gauges face upright now...I think the colors are working well against each other
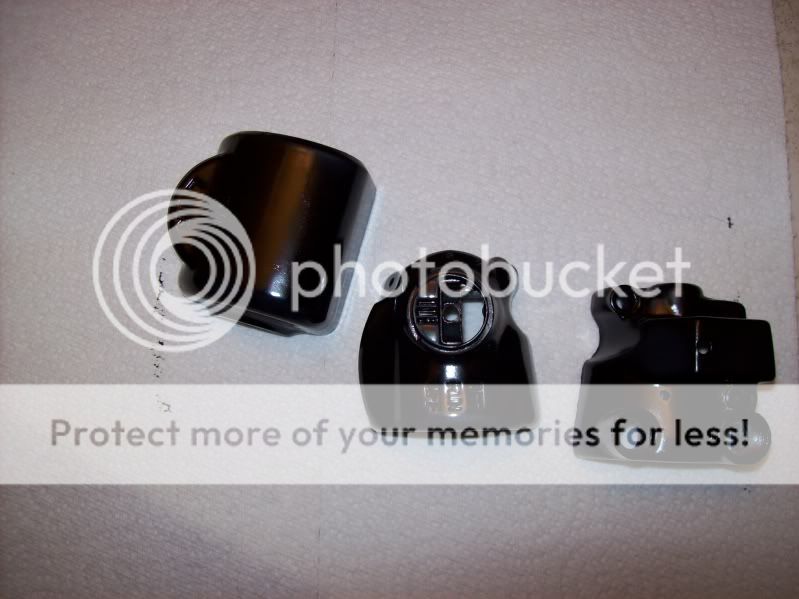
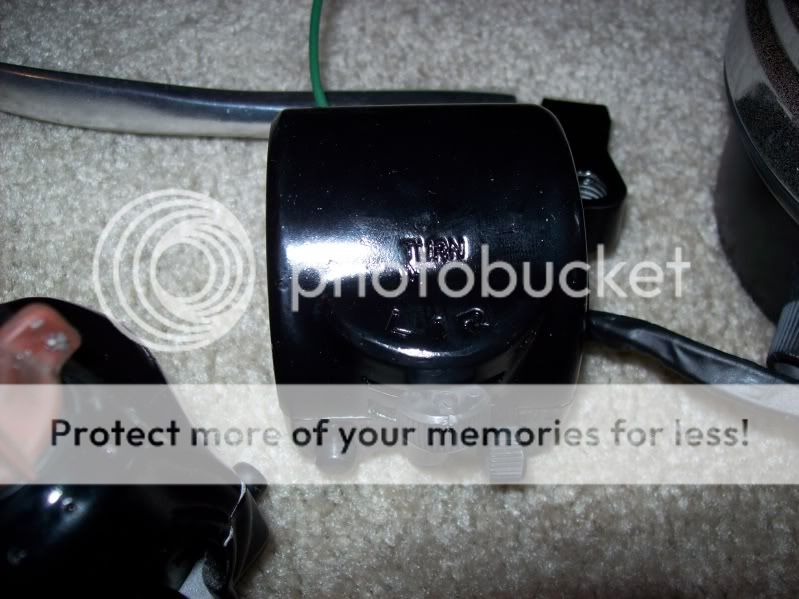
And, my switch covers were sandblasted and the gloss black is drying
~Joe
You can see the EMGO headlight brackets, and notice how the gauges face upright now...I think the colors are working well against each other
And, my switch covers were sandblasted and the gloss black is drying
~Joe
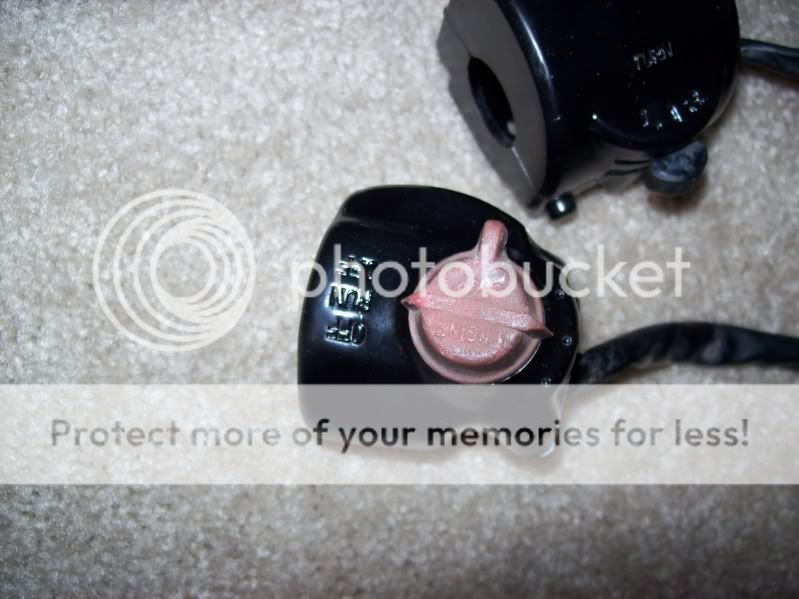
joe on that switch yo may want to look at doing a rubber dip like you use on plier handles, either that or some bed liner, something that will stick really well to that plastic, if not over time it will start to flake off. would be an easy way to clean it up and have it last forever
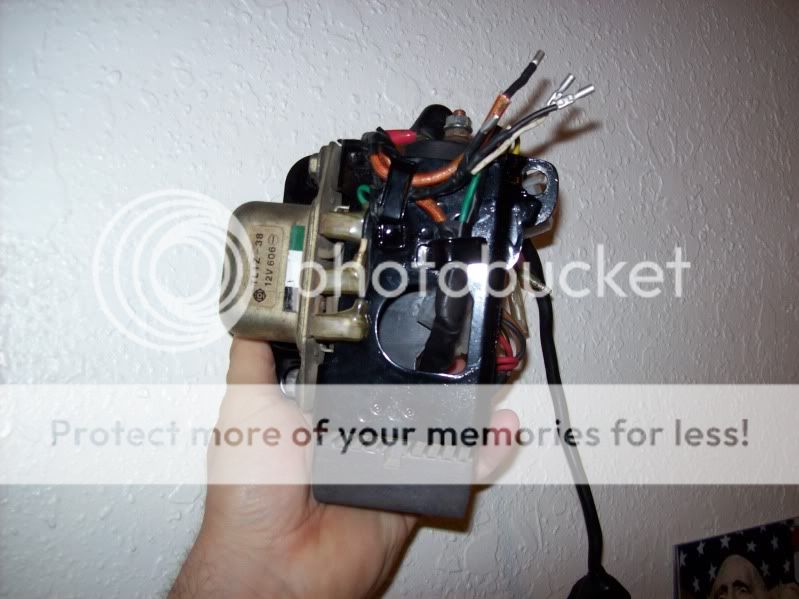
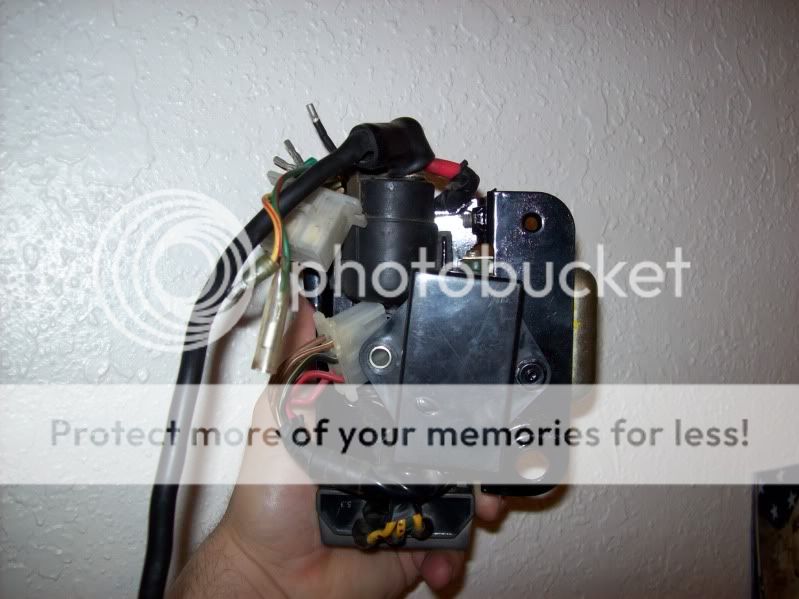
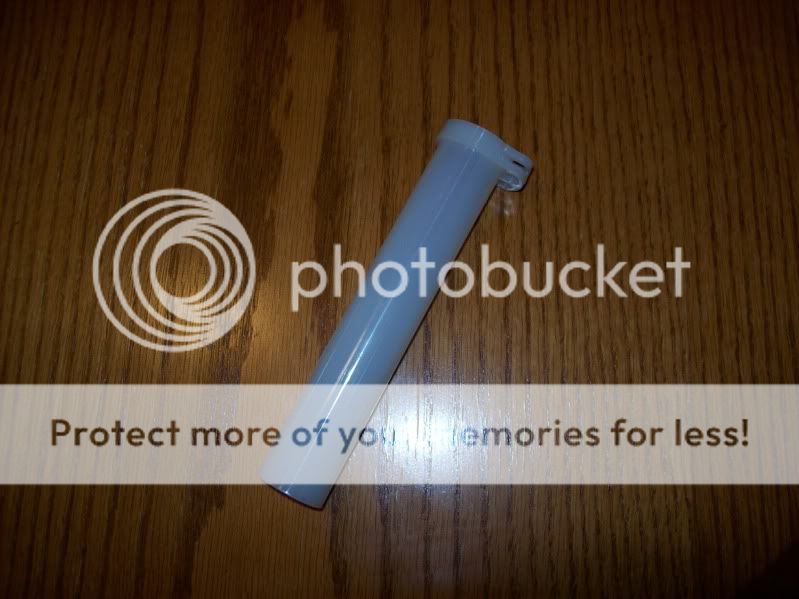
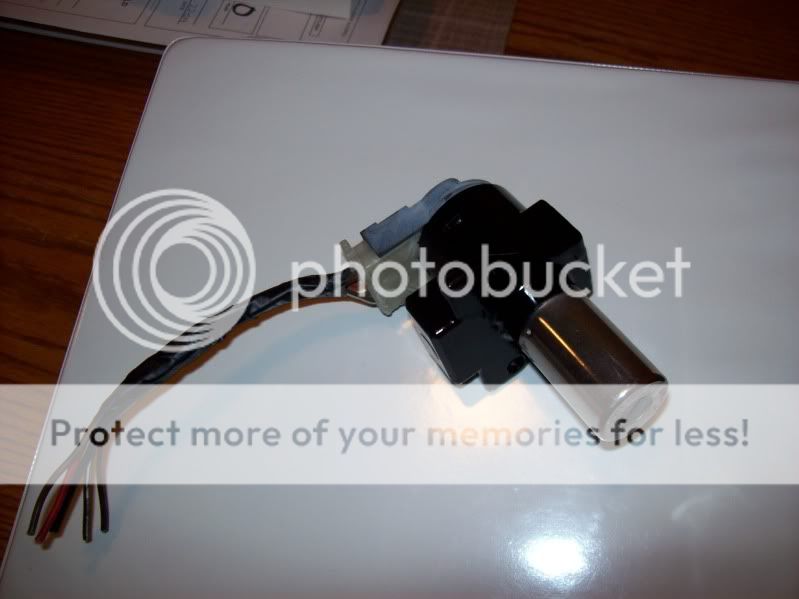
Got the ignition switch ready to go today. Since it was 14 degrees outside.....I sanded it up, sprayed it outside then brought it in to dry.
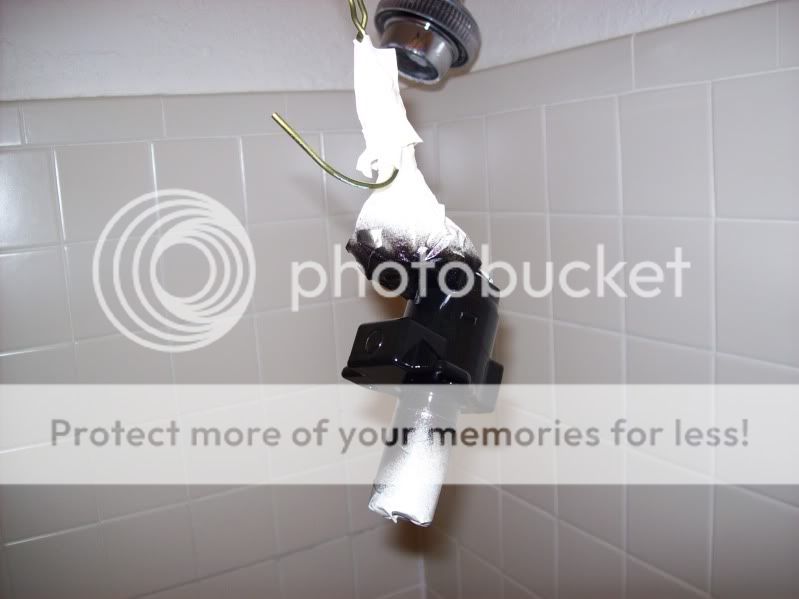
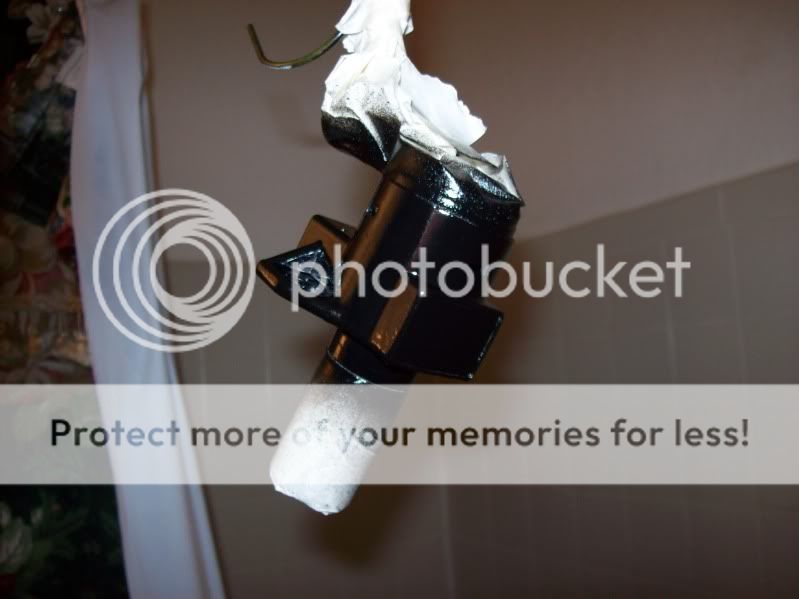
All ready to go.
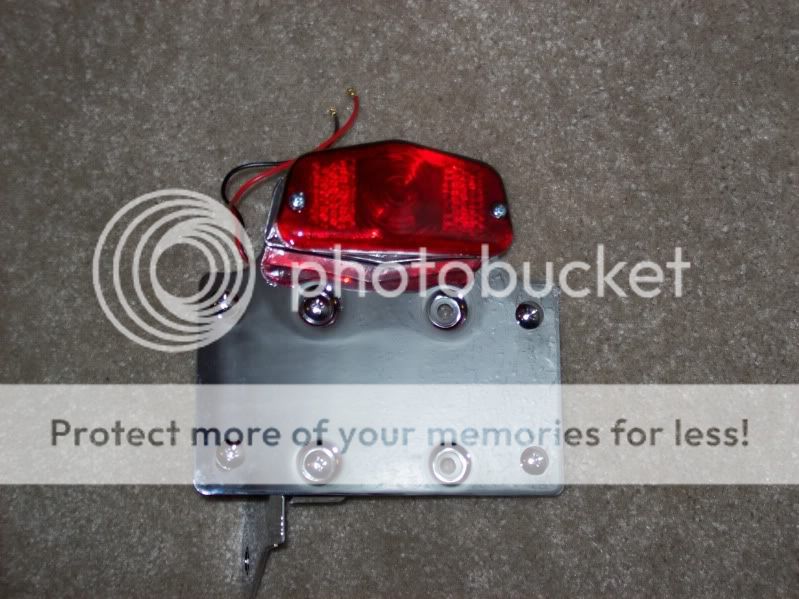
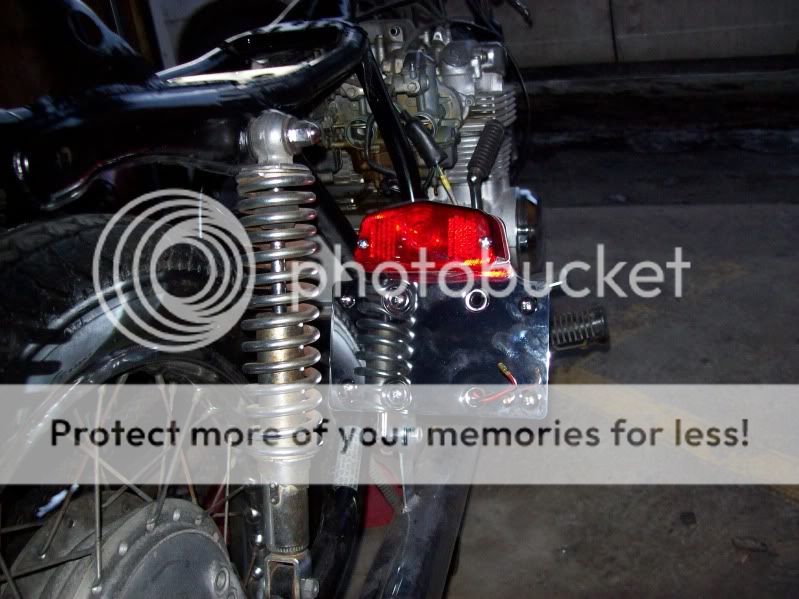
My tailight also arrived today. Even though I bought it through Jireh cycles, it was an expensive piece!
"Lucas style tailight"~goes with the "cafe theme".
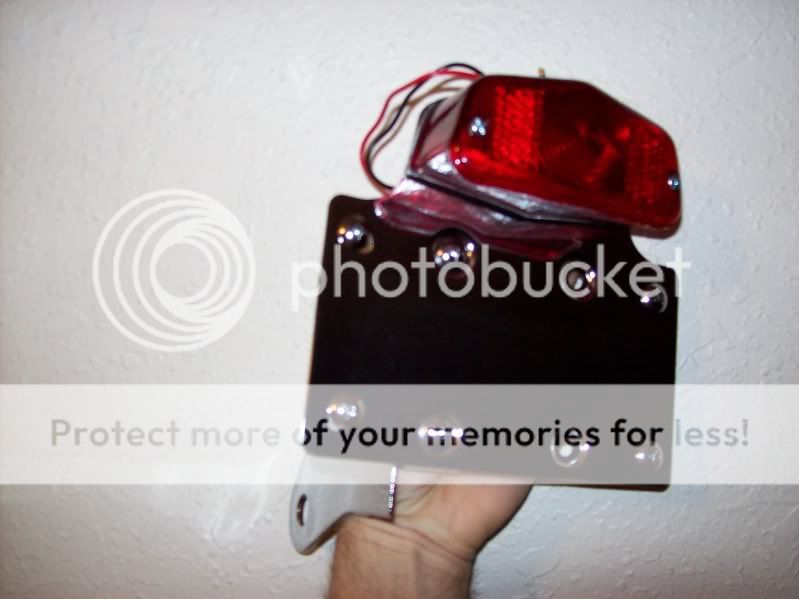
And onward the project moves.")
~Joe
All ready to go.
My tailight also arrived today. Even though I bought it through Jireh cycles, it was an expensive piece!
"Lucas style tailight"~goes with the "cafe theme".
And onward the project moves.
~Joe
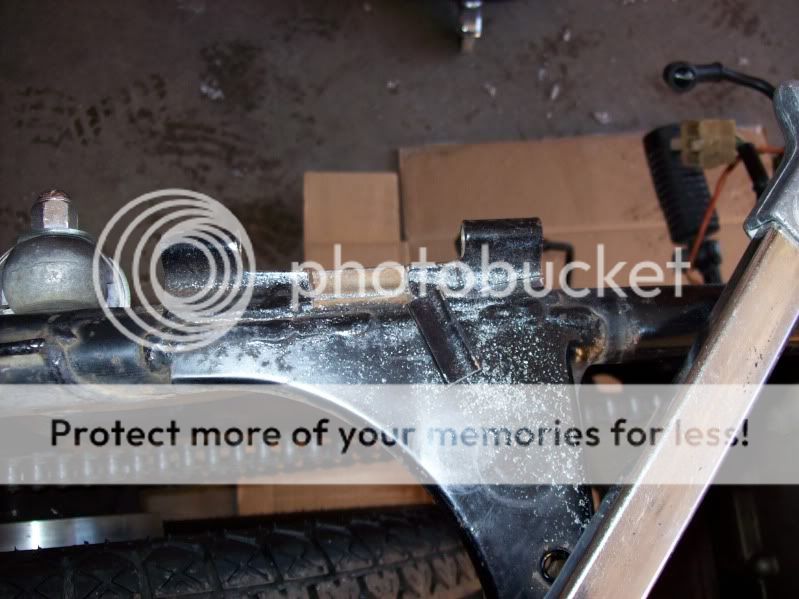
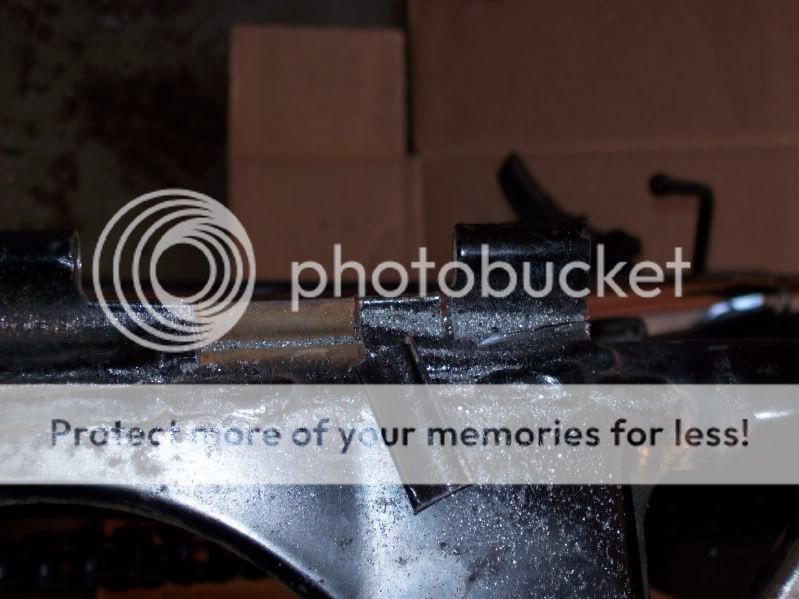
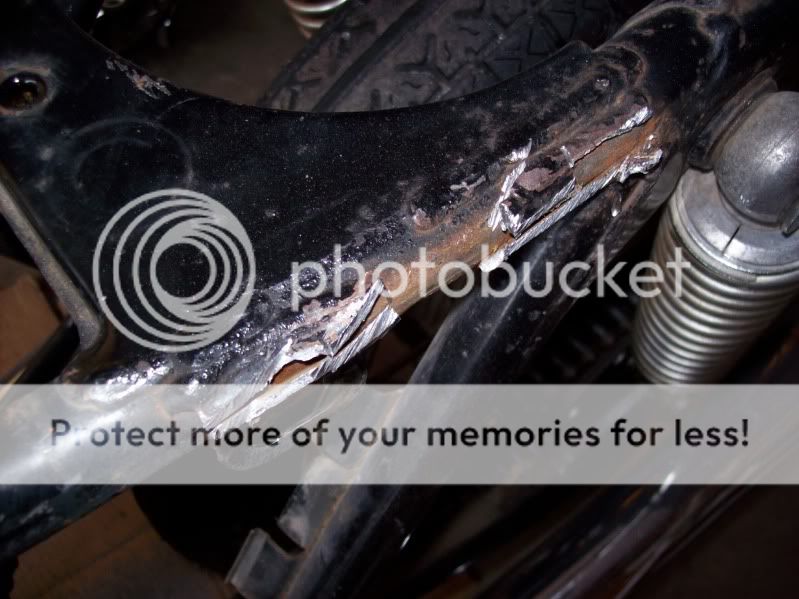
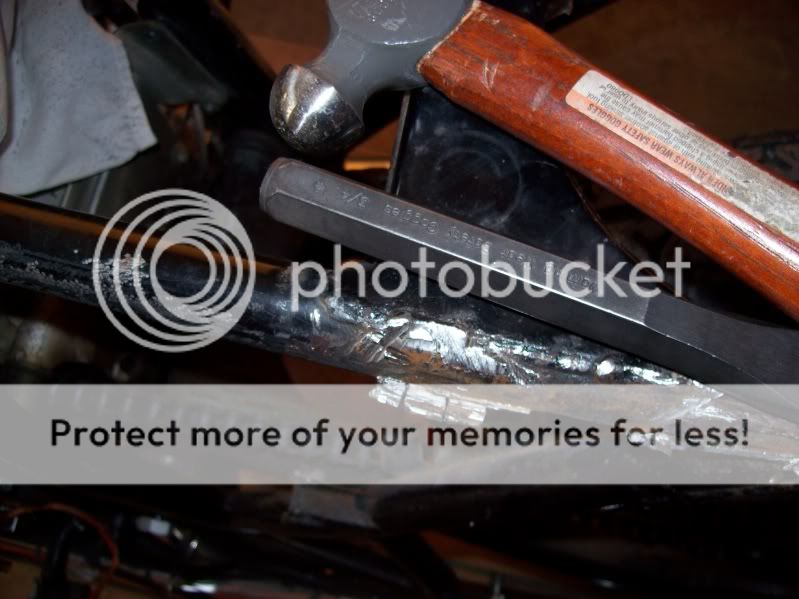
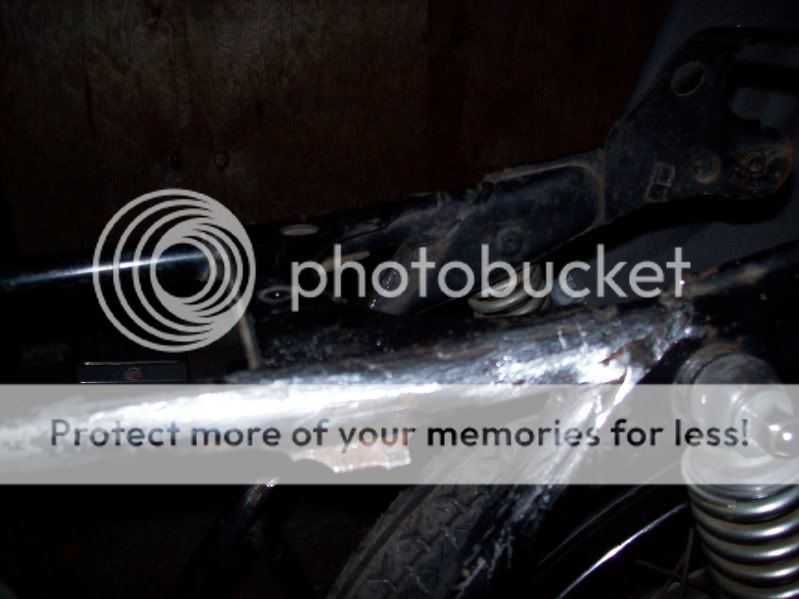
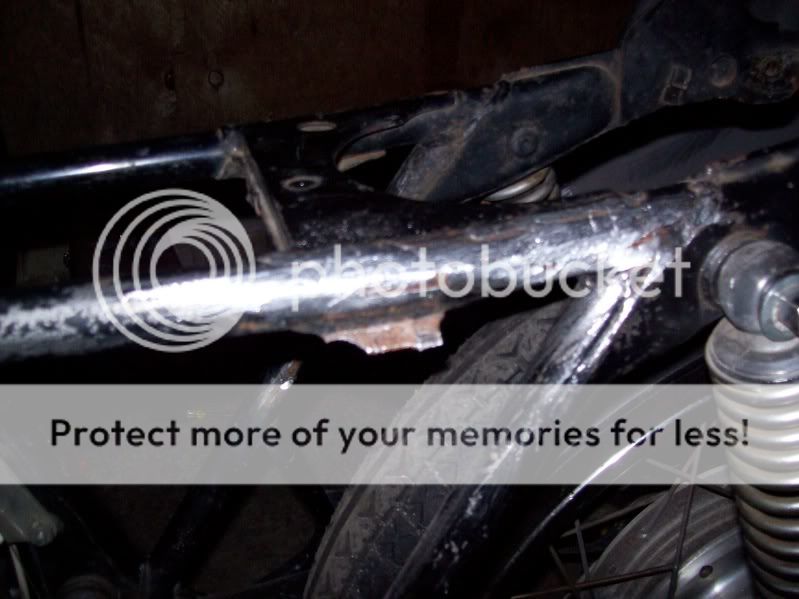
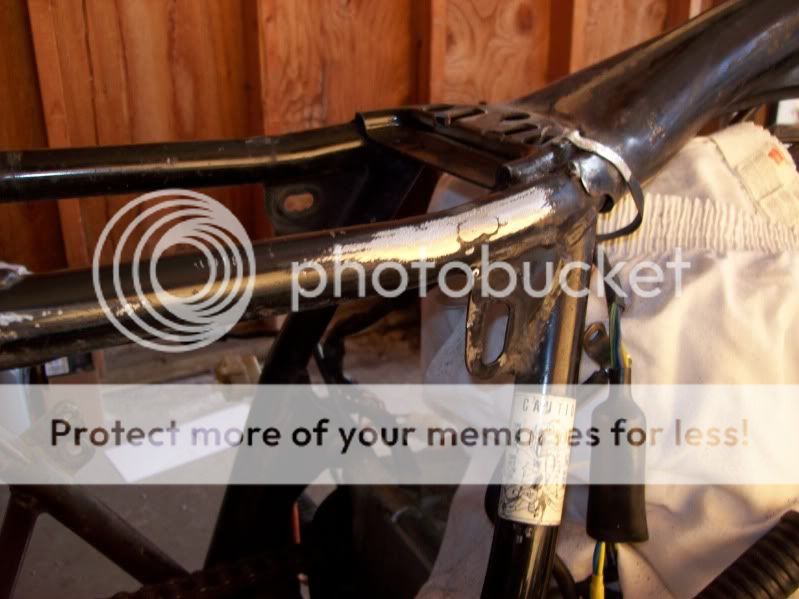
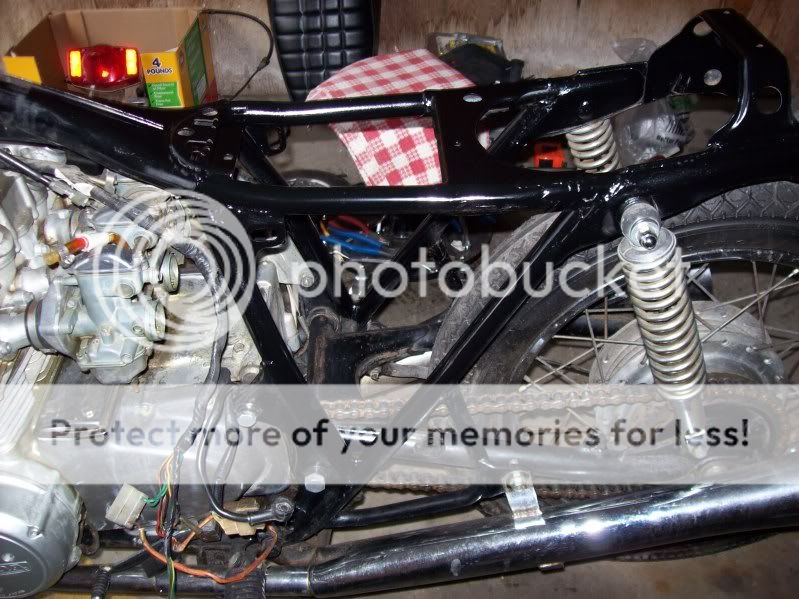
Today became another "triangle work day".
Started, and am about 60% there. Since I have no power, no heat no lights in my single stall garage, I had to make due with hammer, chisel, pliers, and a hacksaw. Needless to say it was WORK! Oh well...I'll work on it tomorrow and see if I can't finish the triangle up.
(oh..it was 16 degrees outside! So...long johns, etc. only thing that got cold was the feet...need more than one paitr of socks!!)
Here are some pics:
~Joe
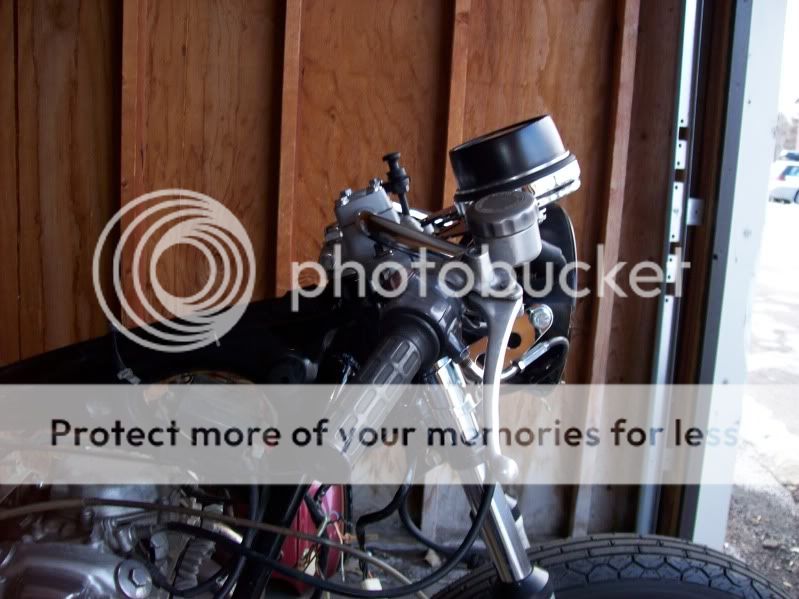
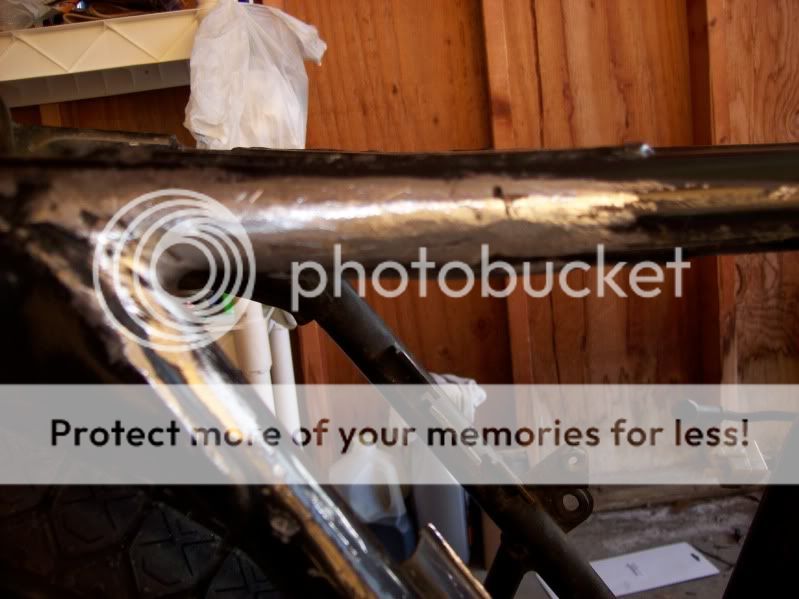
Even thought it was 19 degrees outside today, I went back to work on the bike.
Finished up the "triangle area"
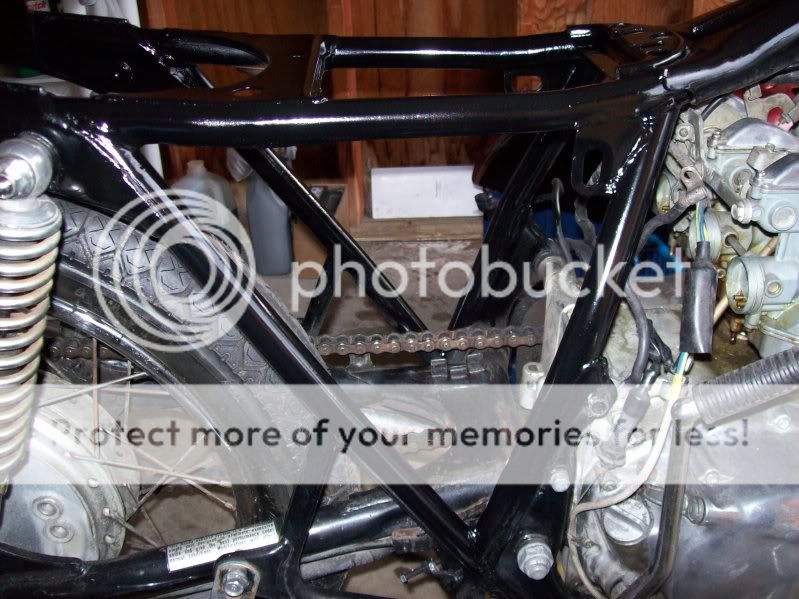
Got 90% of the front end done
Mounted the tailight/license plate setup
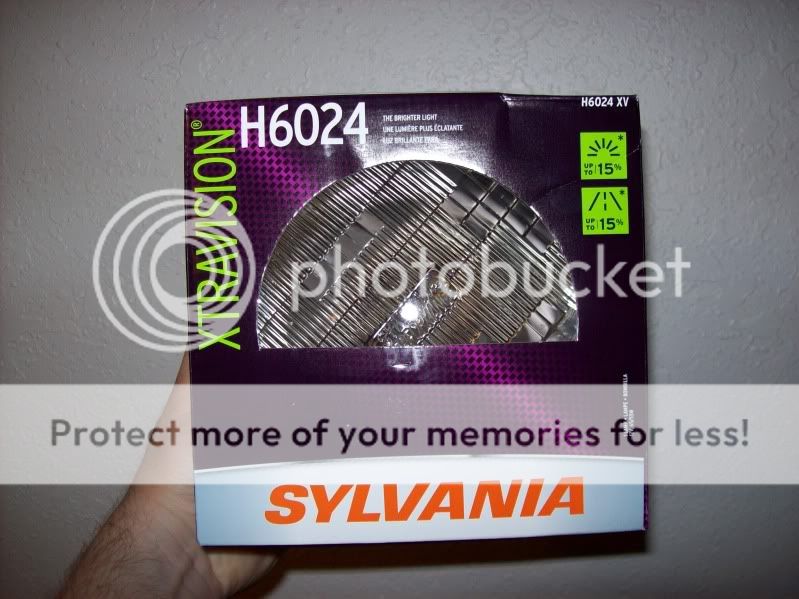
Picked up a replacement headlight at WalMart for $12.97
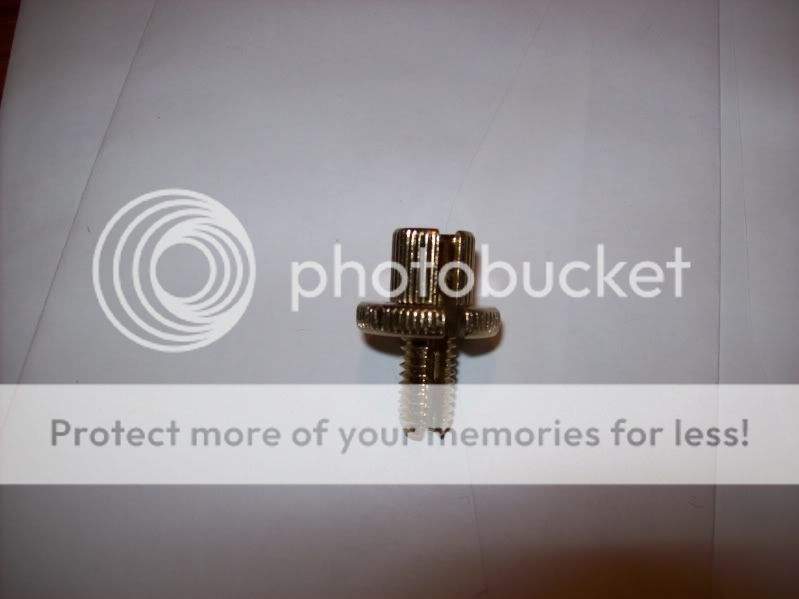
And my brass cable adjuster arrived.
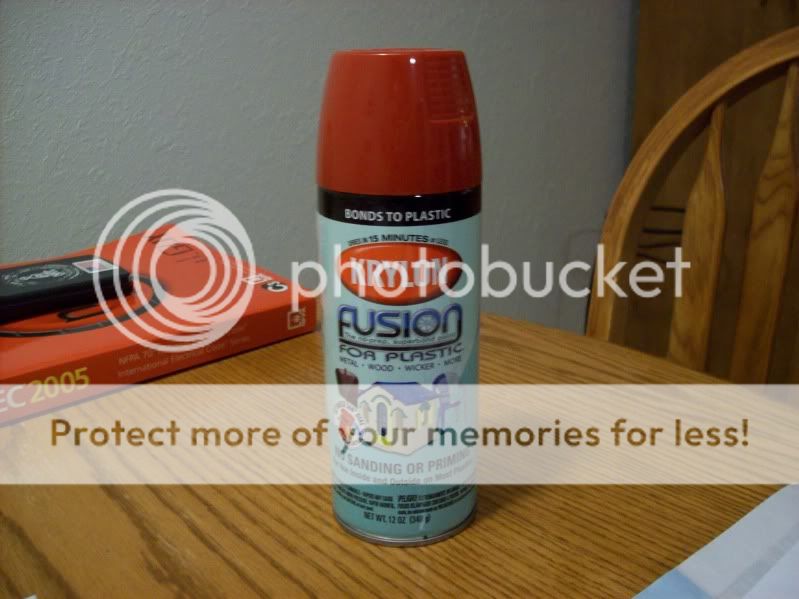
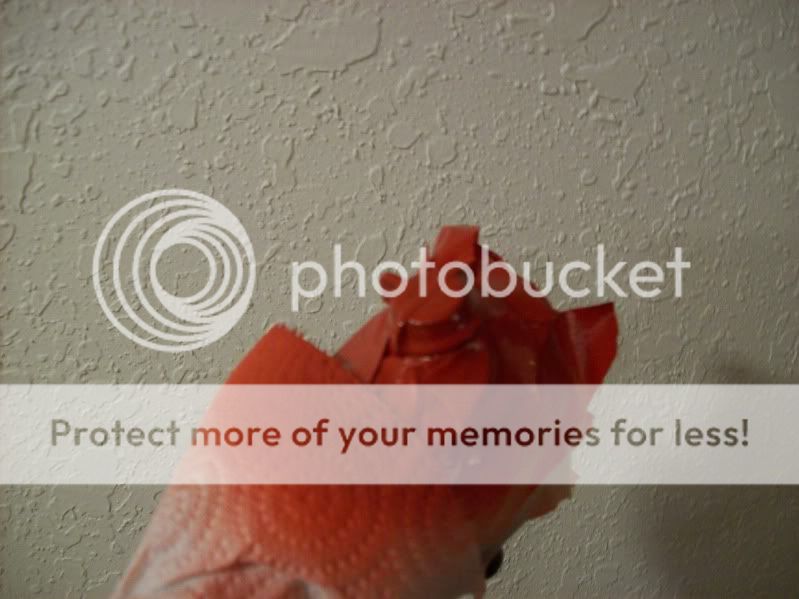
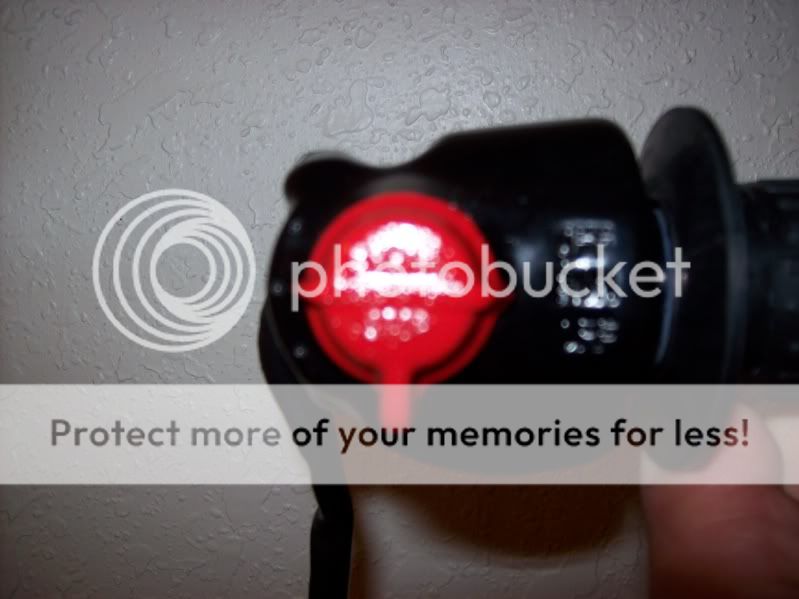
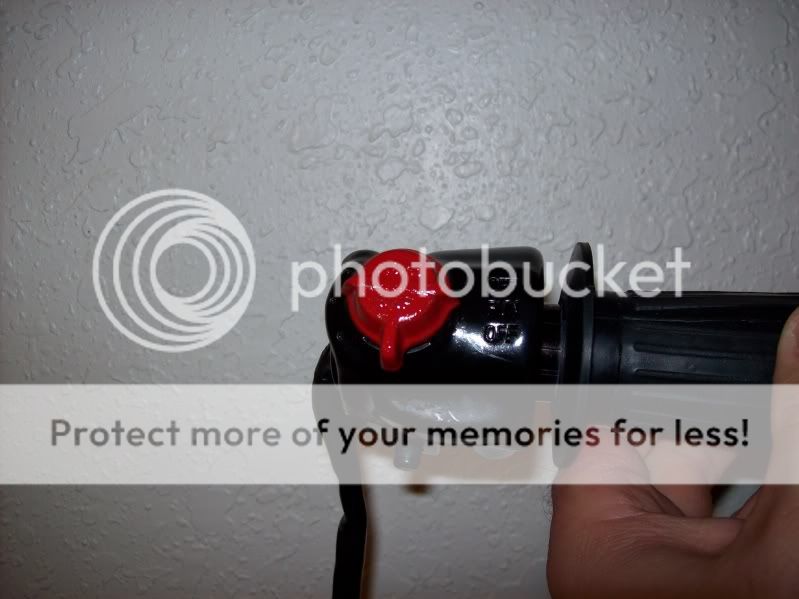
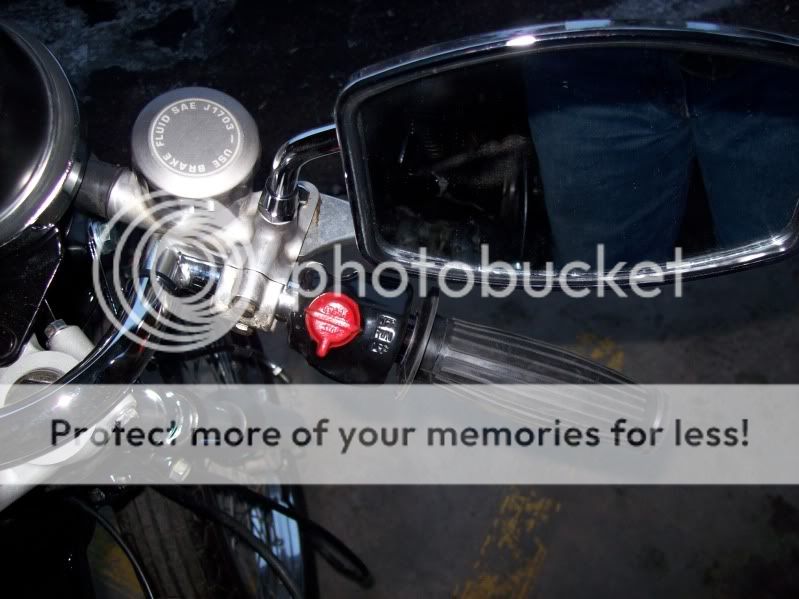
While at WalMart, I found this. Krylon paint made for plastic....so, I refurbed my kill switch
And that was a day's work for me.
~Joe
Finished up the "triangle area"
Got 90% of the front end done
Mounted the tailight/license plate setup
Picked up a replacement headlight at WalMart for $12.97
And my brass cable adjuster arrived.
While at WalMart, I found this. Krylon paint made for plastic....so, I refurbed my kill switch
And that was a day's work for me.
~Joe
rockcitycafe
I make things.
Nice work man! I have the bottom of your tank tacked up, need to double check a few things before I do the final welding, as I have learned from experience not to rush tanks
jay_kent
1979 cb650
Looking really good
I found that kylon plastic paint a few years ago. It lasts everything is come along really well.
Here's a link to my control build in you ever need to go that far
http://picasaweb.google.com/CafeCB650/Contols_switches?feat=directlink
Jay
I found that kylon plastic paint a few years ago. It lasts everything is come along really well.
Here's a link to my control build in you ever need to go that far
http://picasaweb.google.com/CafeCB650/Contols_switches?feat=directlink
Jay
rockcitycafe said:Nice work man! I have the bottom of your tank tacked up, need to double check a few things before I do the final welding, as I have learned from experience not to rush tanks
Cool! Did you get my e-mail on the measurement for the spigot?
~Joe
jay_kent said:Looking really good
I found that kylon plastic paint a few years ago. It lasts everything is come along really well.
Here's a link to my control build in you ever need to go that far
http://picasaweb.google.com/CafeCB650/Contols_switches?feat=directlink
Jay
Hey! Thanks!
I appreciate it! ;D
~Joe
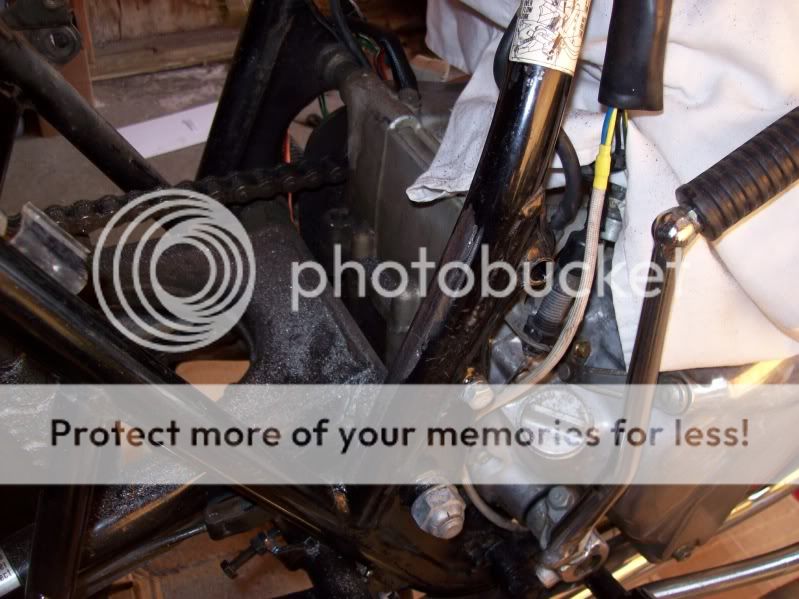
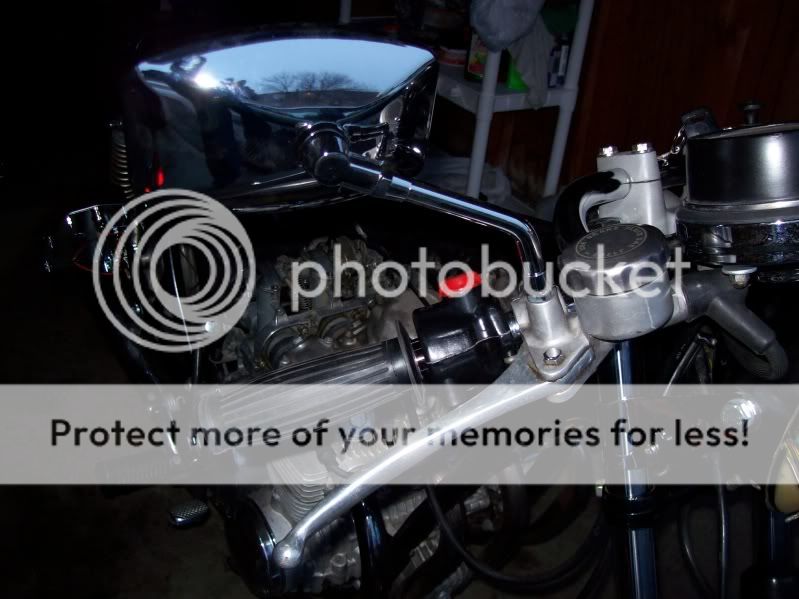
Got a little bit more done today.
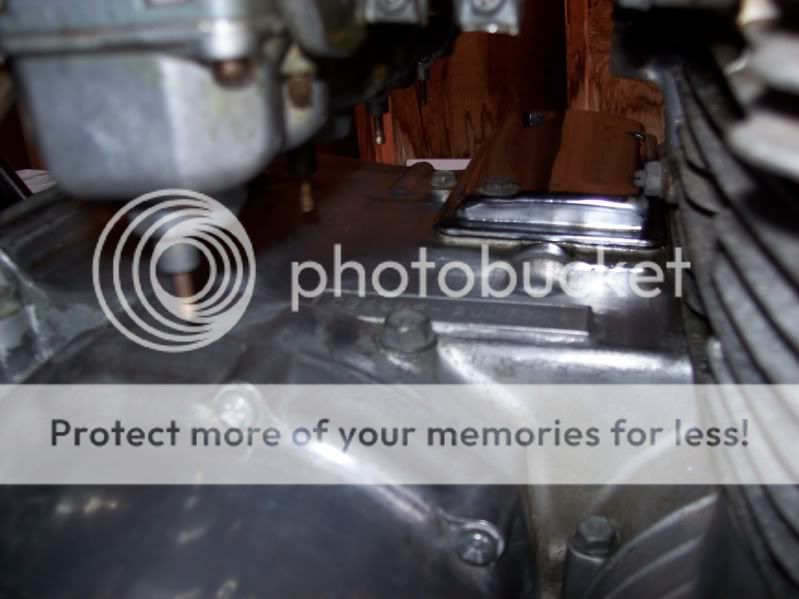
The part of the case under the carbs....the paint was peeling and really looked BAD.
So....I spent some time with some 80 grit sandpaper and brake cleaner. Looks a lot better, I think.
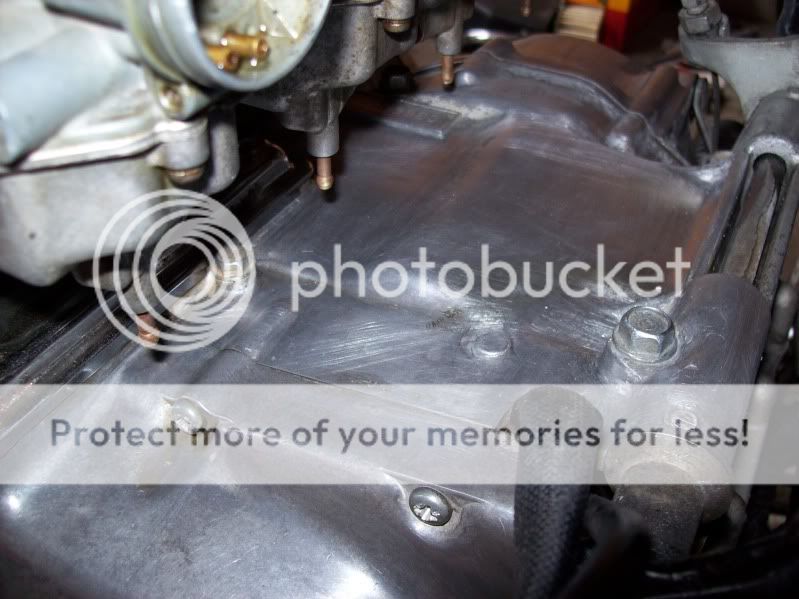

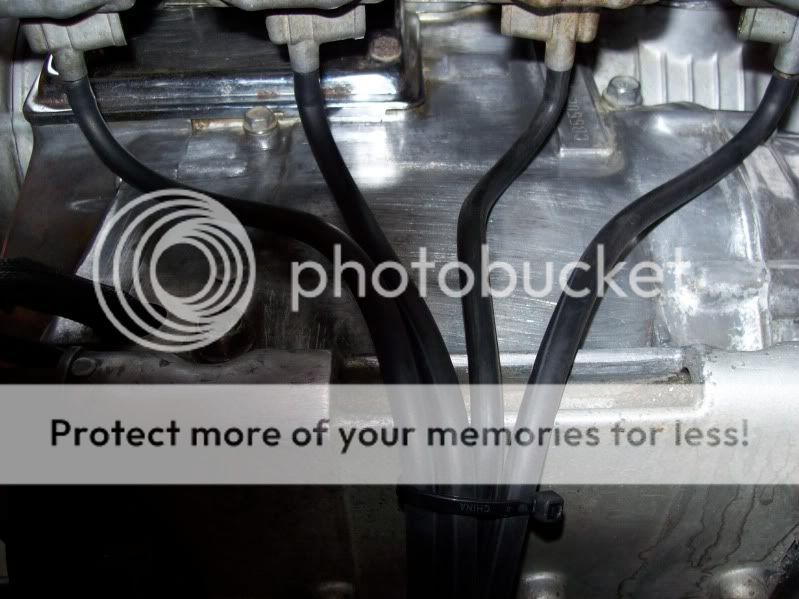
When I bought the bike, only one carb had the fuel line on the bottom of the carb....and fuel liked to drip down on to the case. More than likely.....that is what caused the paint to go bad.
So, I fixed that.
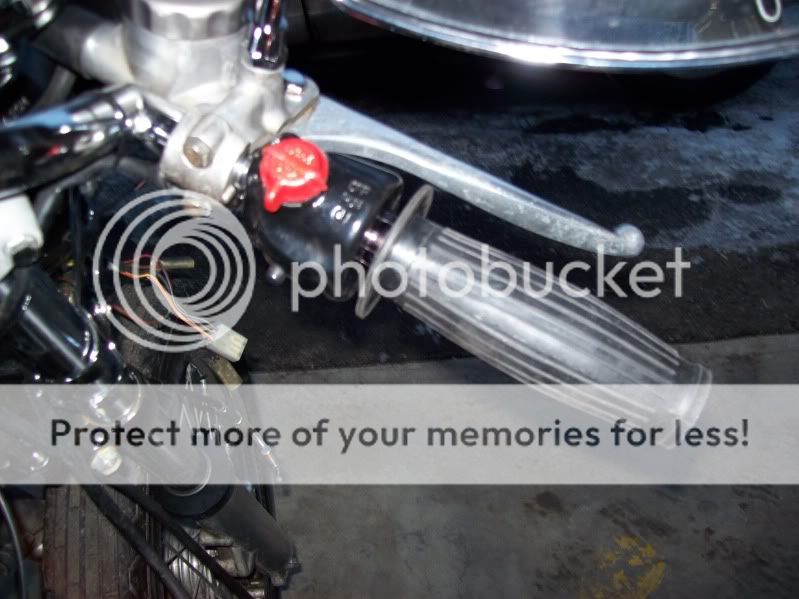
I installed my throttle switch setup. Just waiting on my new throttle cable, which is en-route.
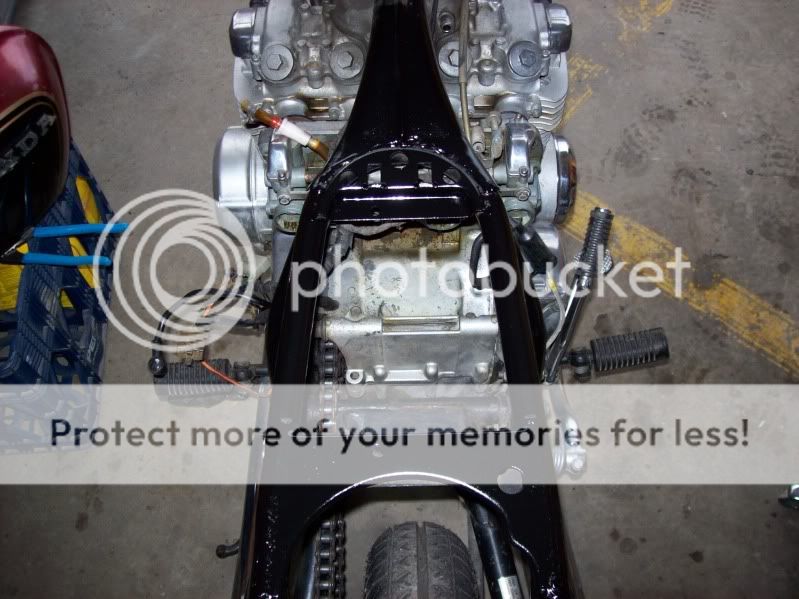
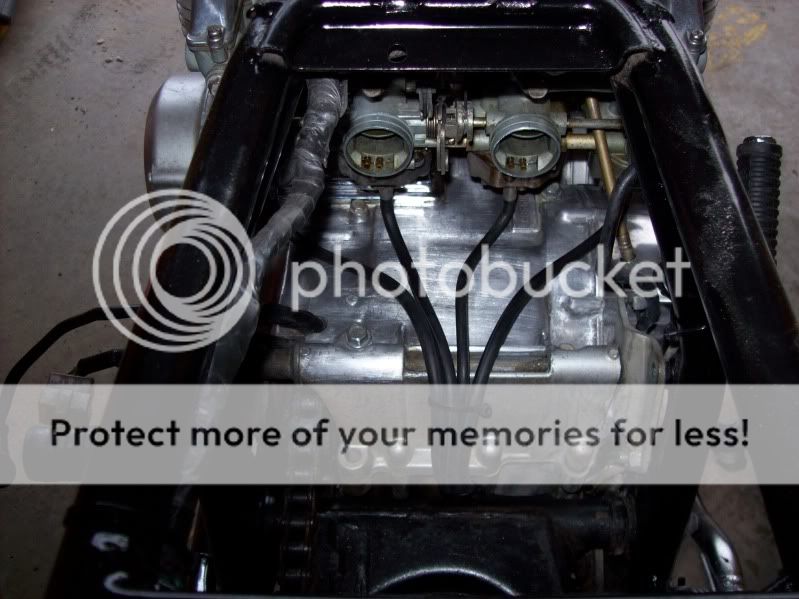
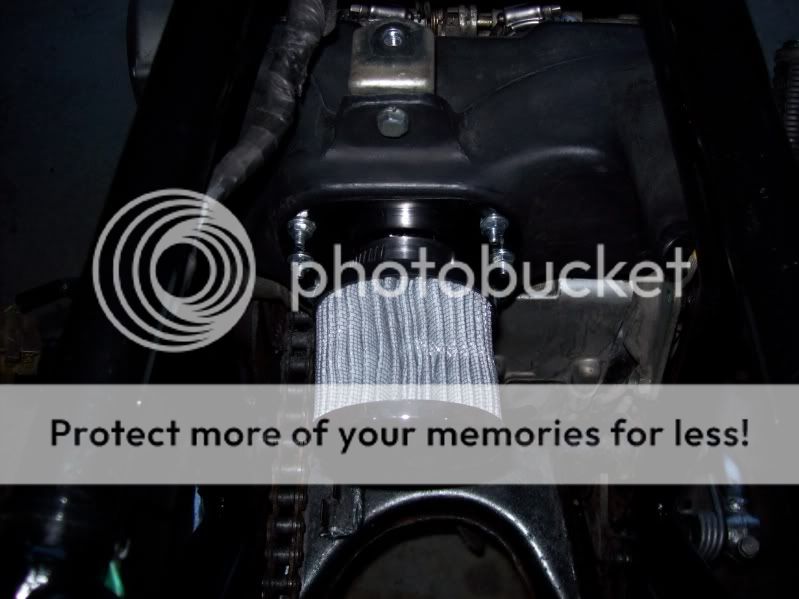
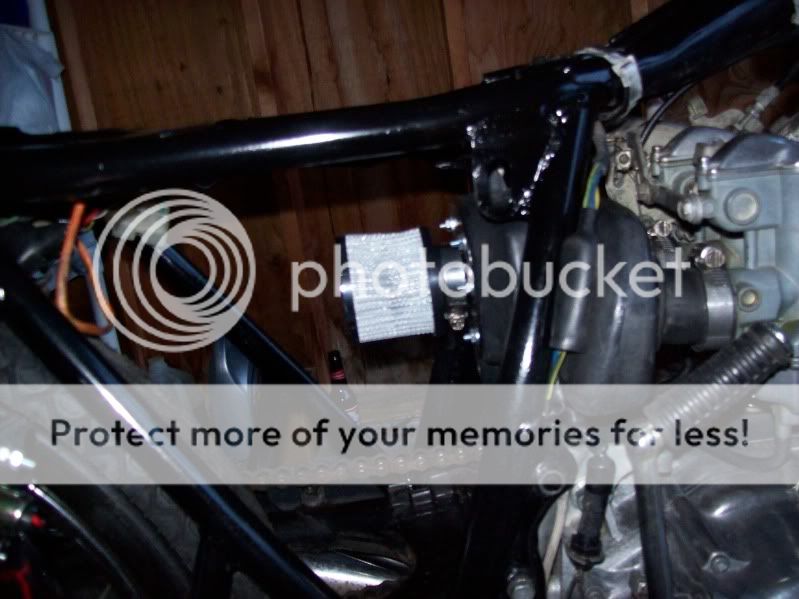
And...the airbox was re-installed. What a pain! Whoever designed this never isntalled it apparently. Anyhow it is on. I used 1 5/16" worm screw clamps and will get a longer bolt tomorrow to hold up the back of the airbox. Yes, I know the crushed filter has to go! I'll work on that.

~Joe
The part of the case under the carbs....the paint was peeling and really looked BAD.
So....I spent some time with some 80 grit sandpaper and brake cleaner. Looks a lot better, I think.
When I bought the bike, only one carb had the fuel line on the bottom of the carb....and fuel liked to drip down on to the case. More than likely.....that is what caused the paint to go bad.
So, I fixed that.
I installed my throttle switch setup. Just waiting on my new throttle cable, which is en-route.
And...the airbox was re-installed. What a pain! Whoever designed this never isntalled it apparently. Anyhow it is on. I used 1 5/16" worm screw clamps and will get a longer bolt tomorrow to hold up the back of the airbox. Yes, I know the crushed filter has to go! I'll work on that.
~Joe


