Triton

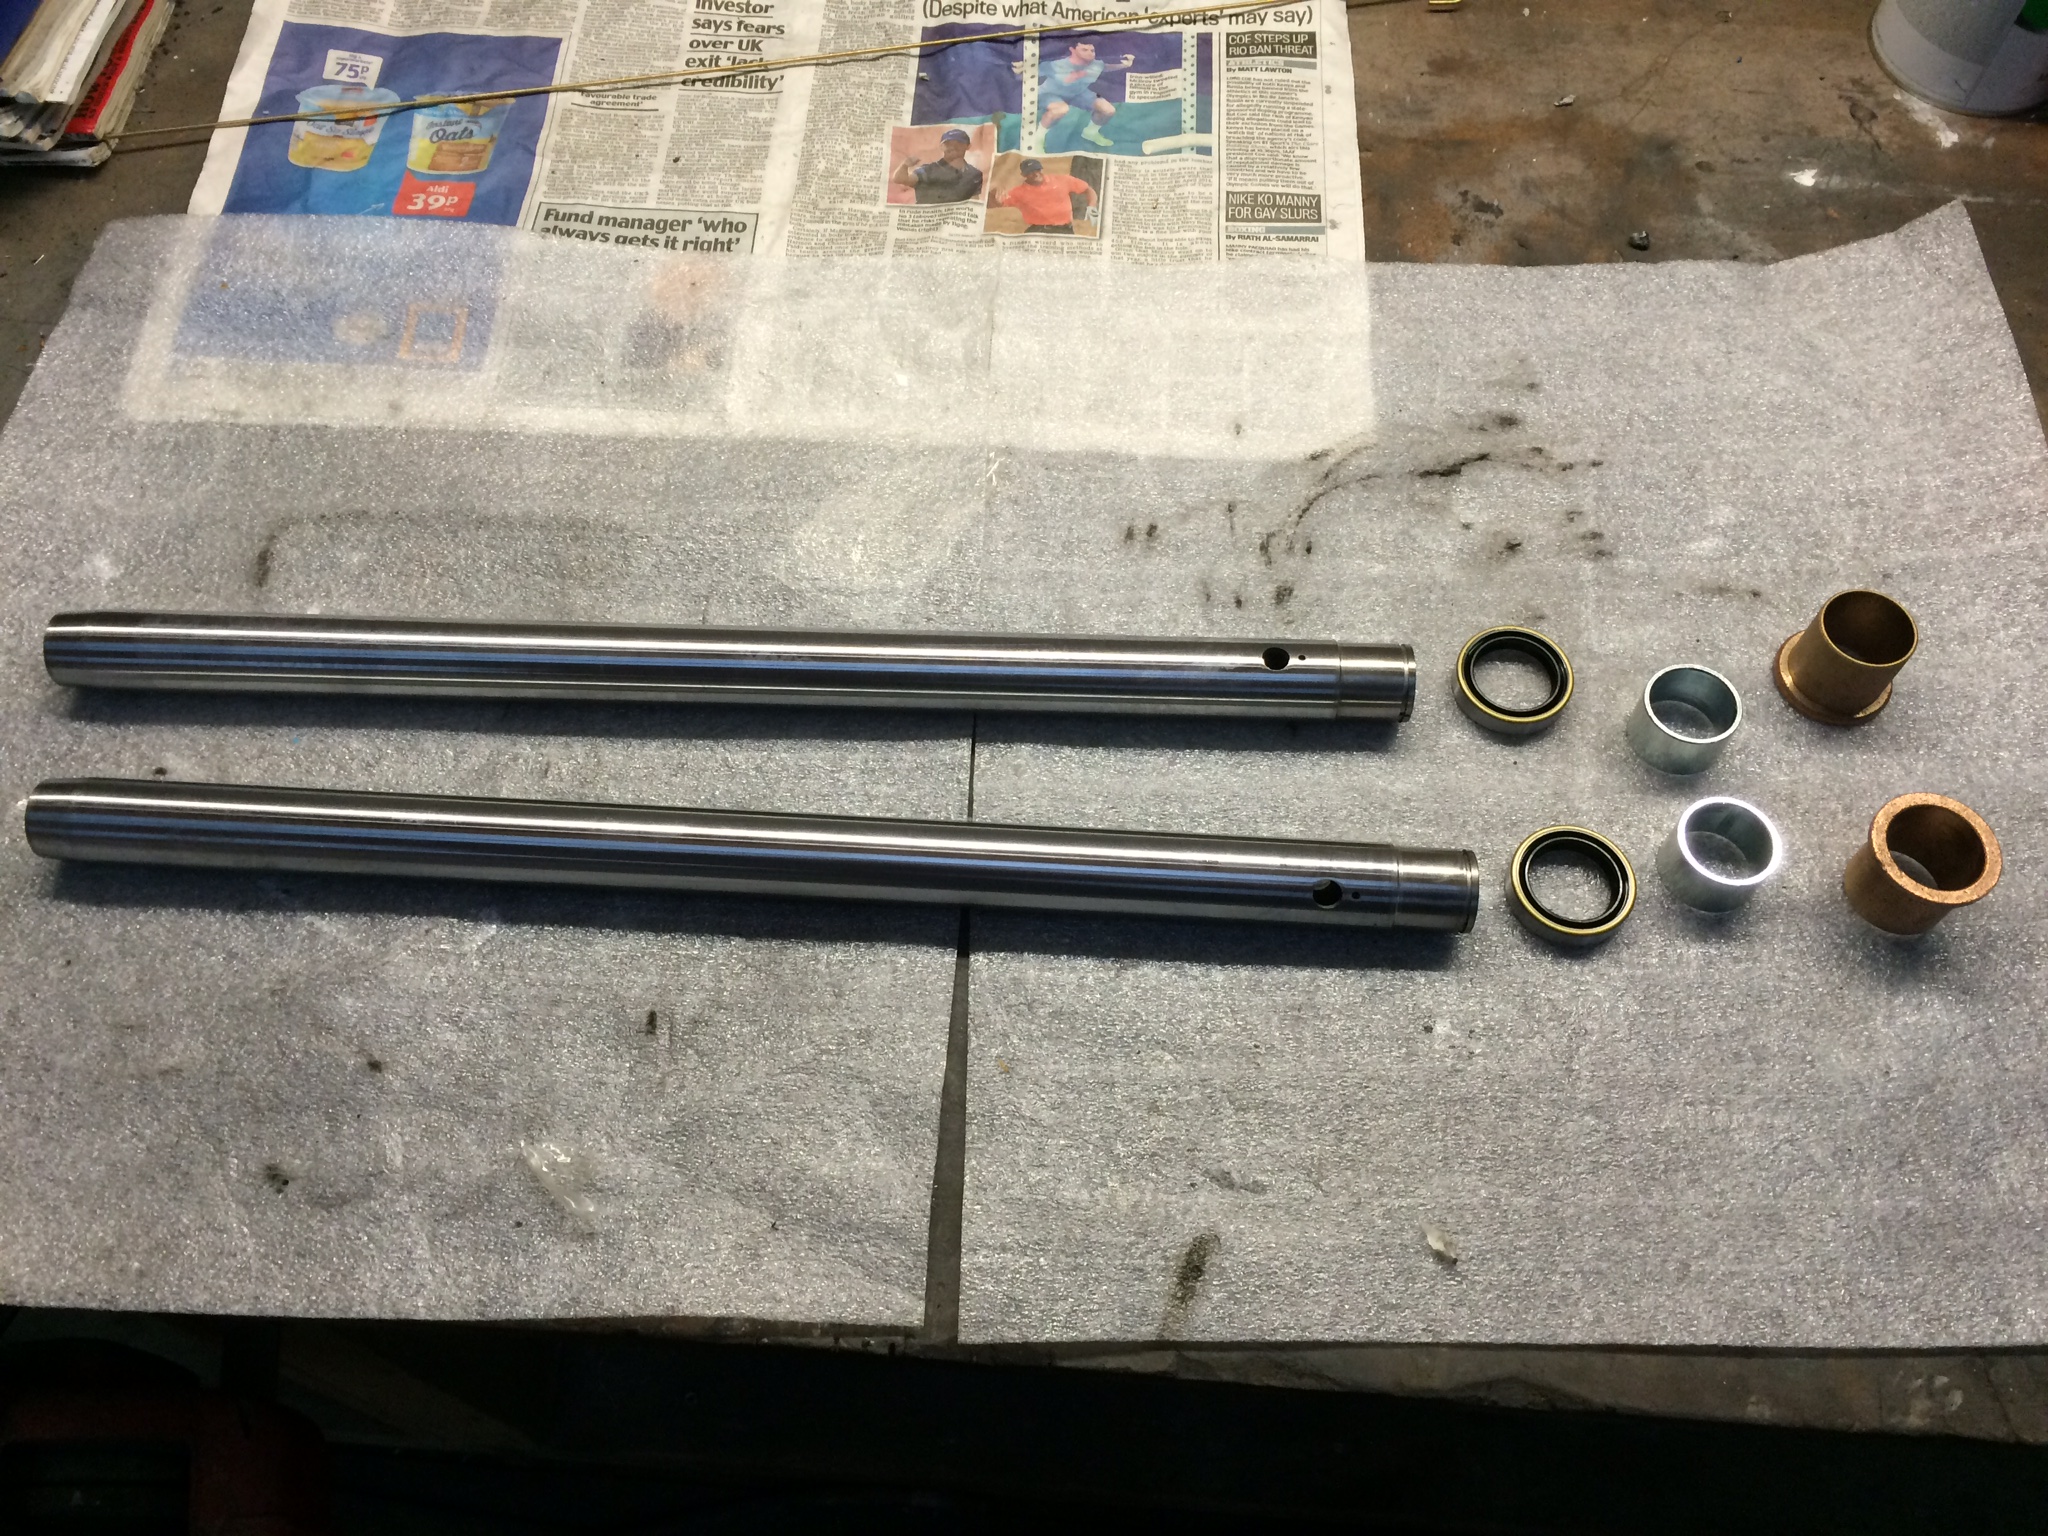
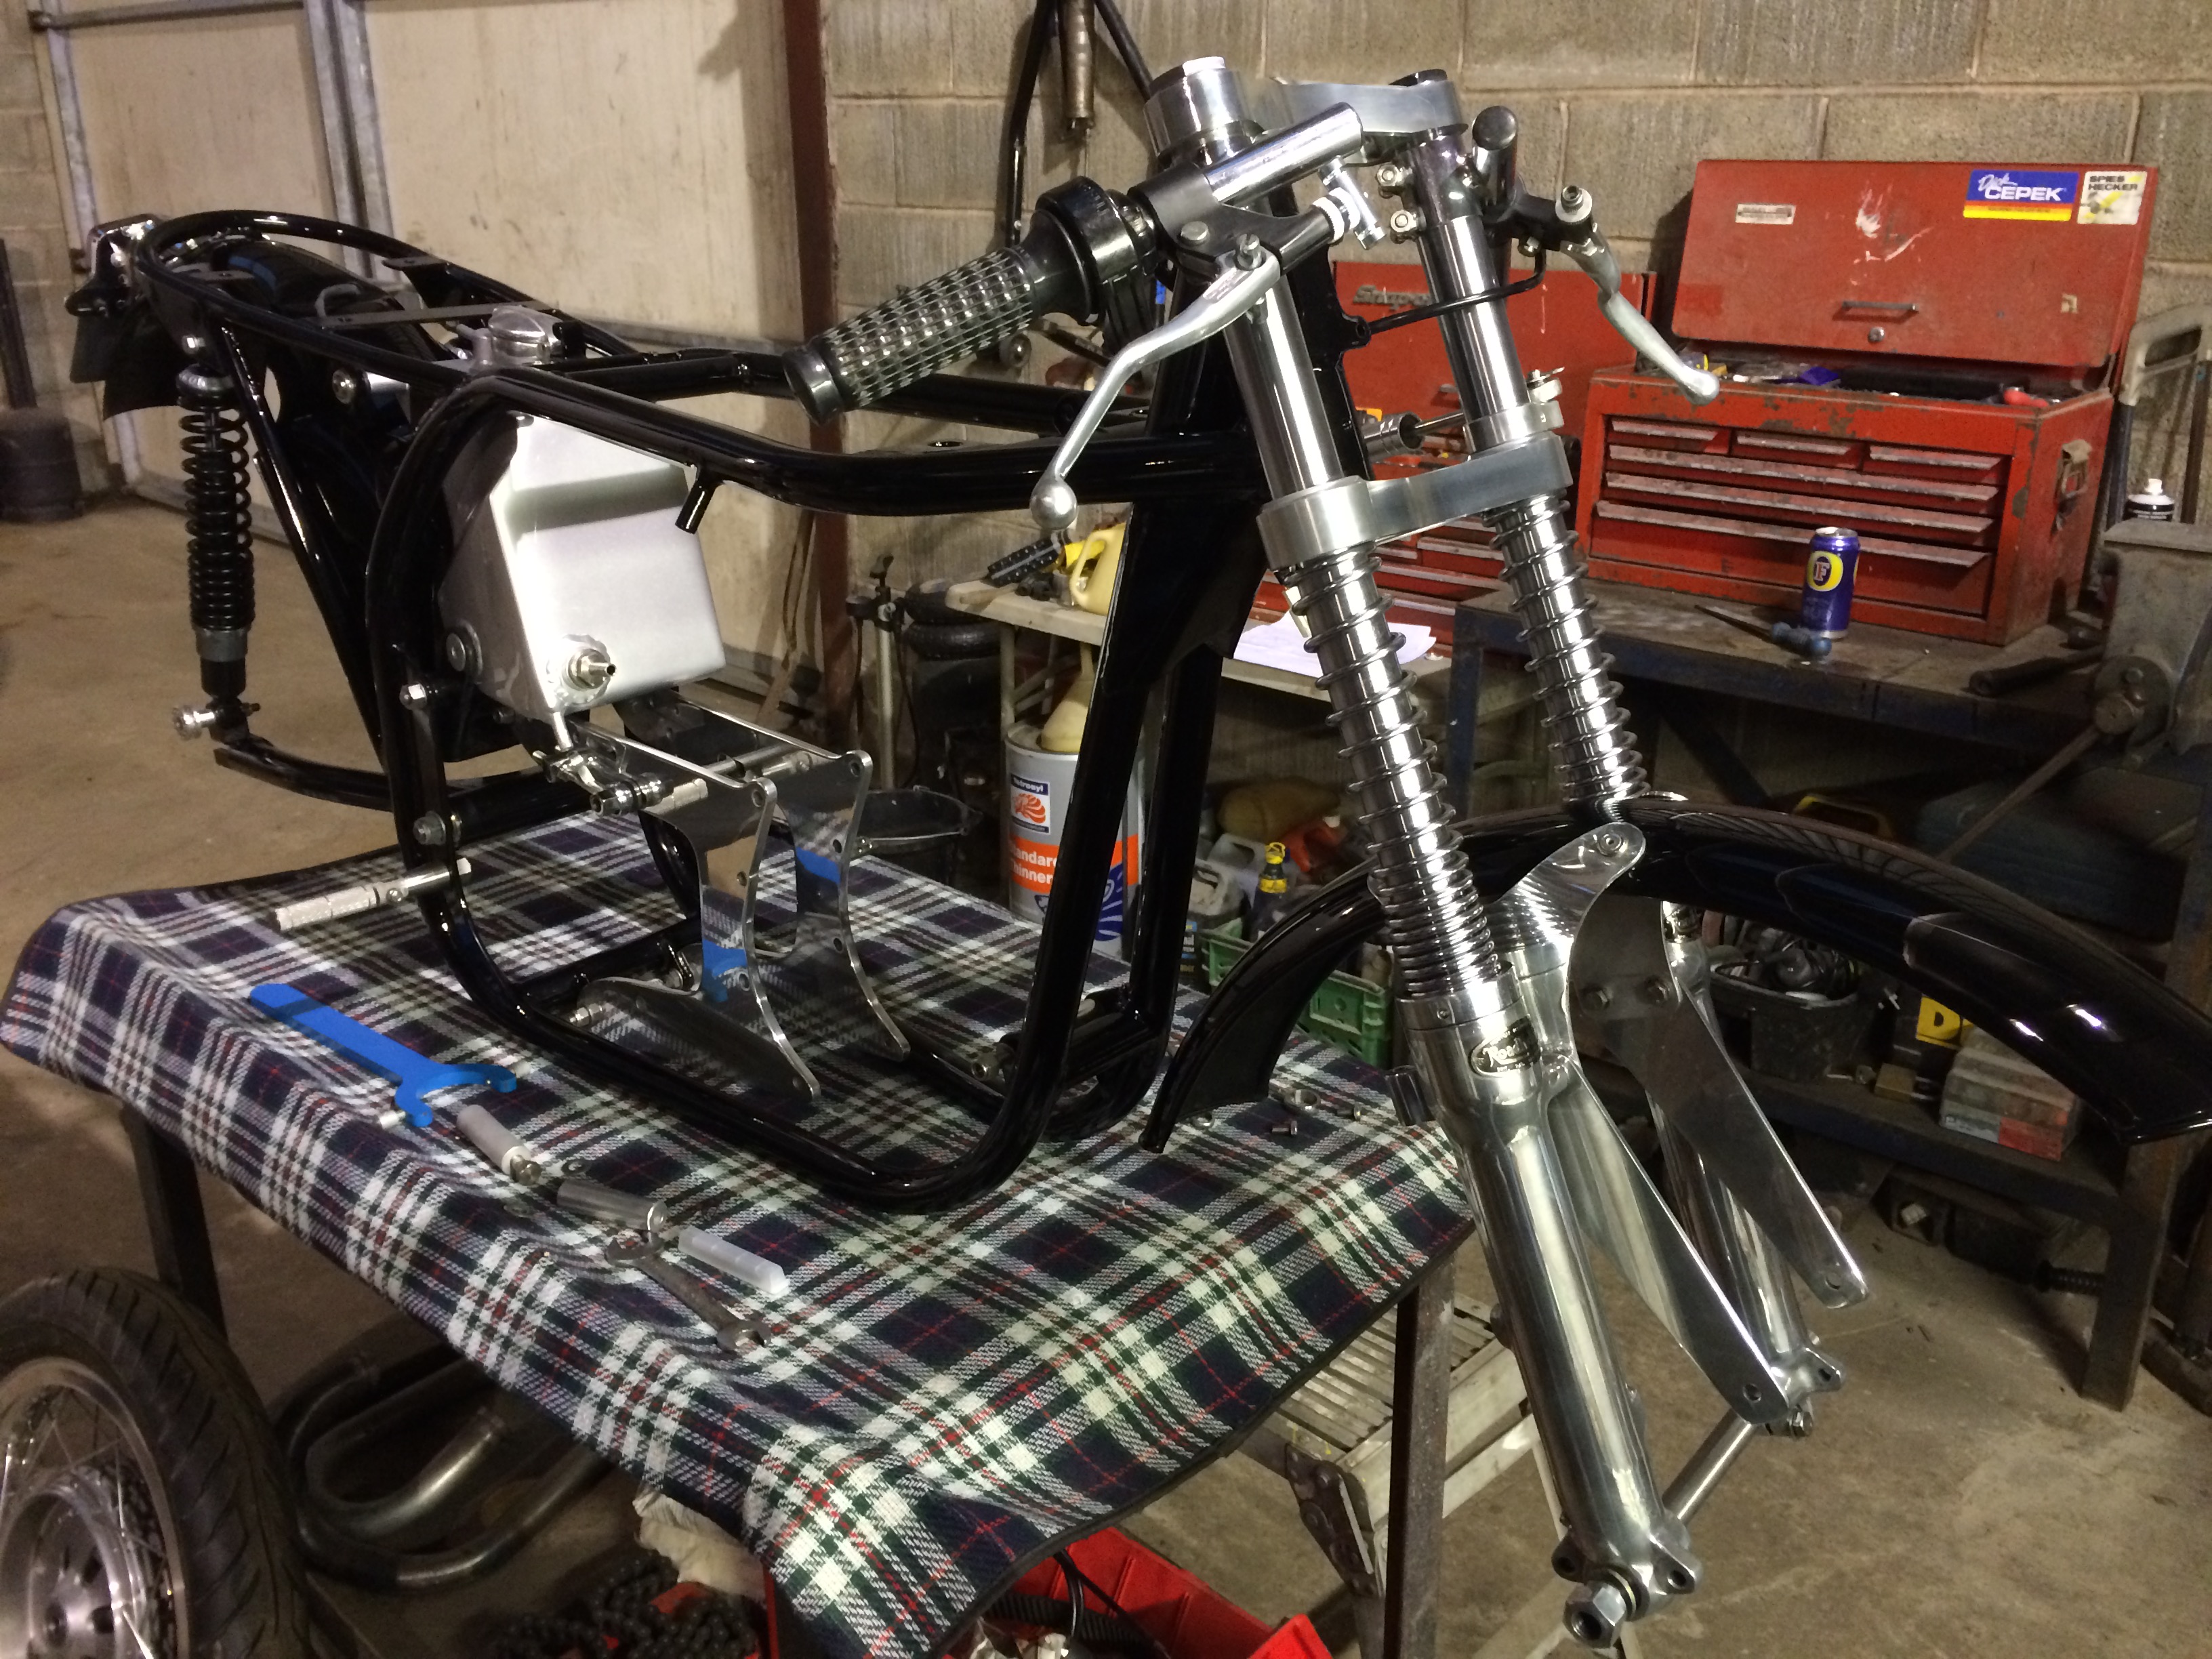
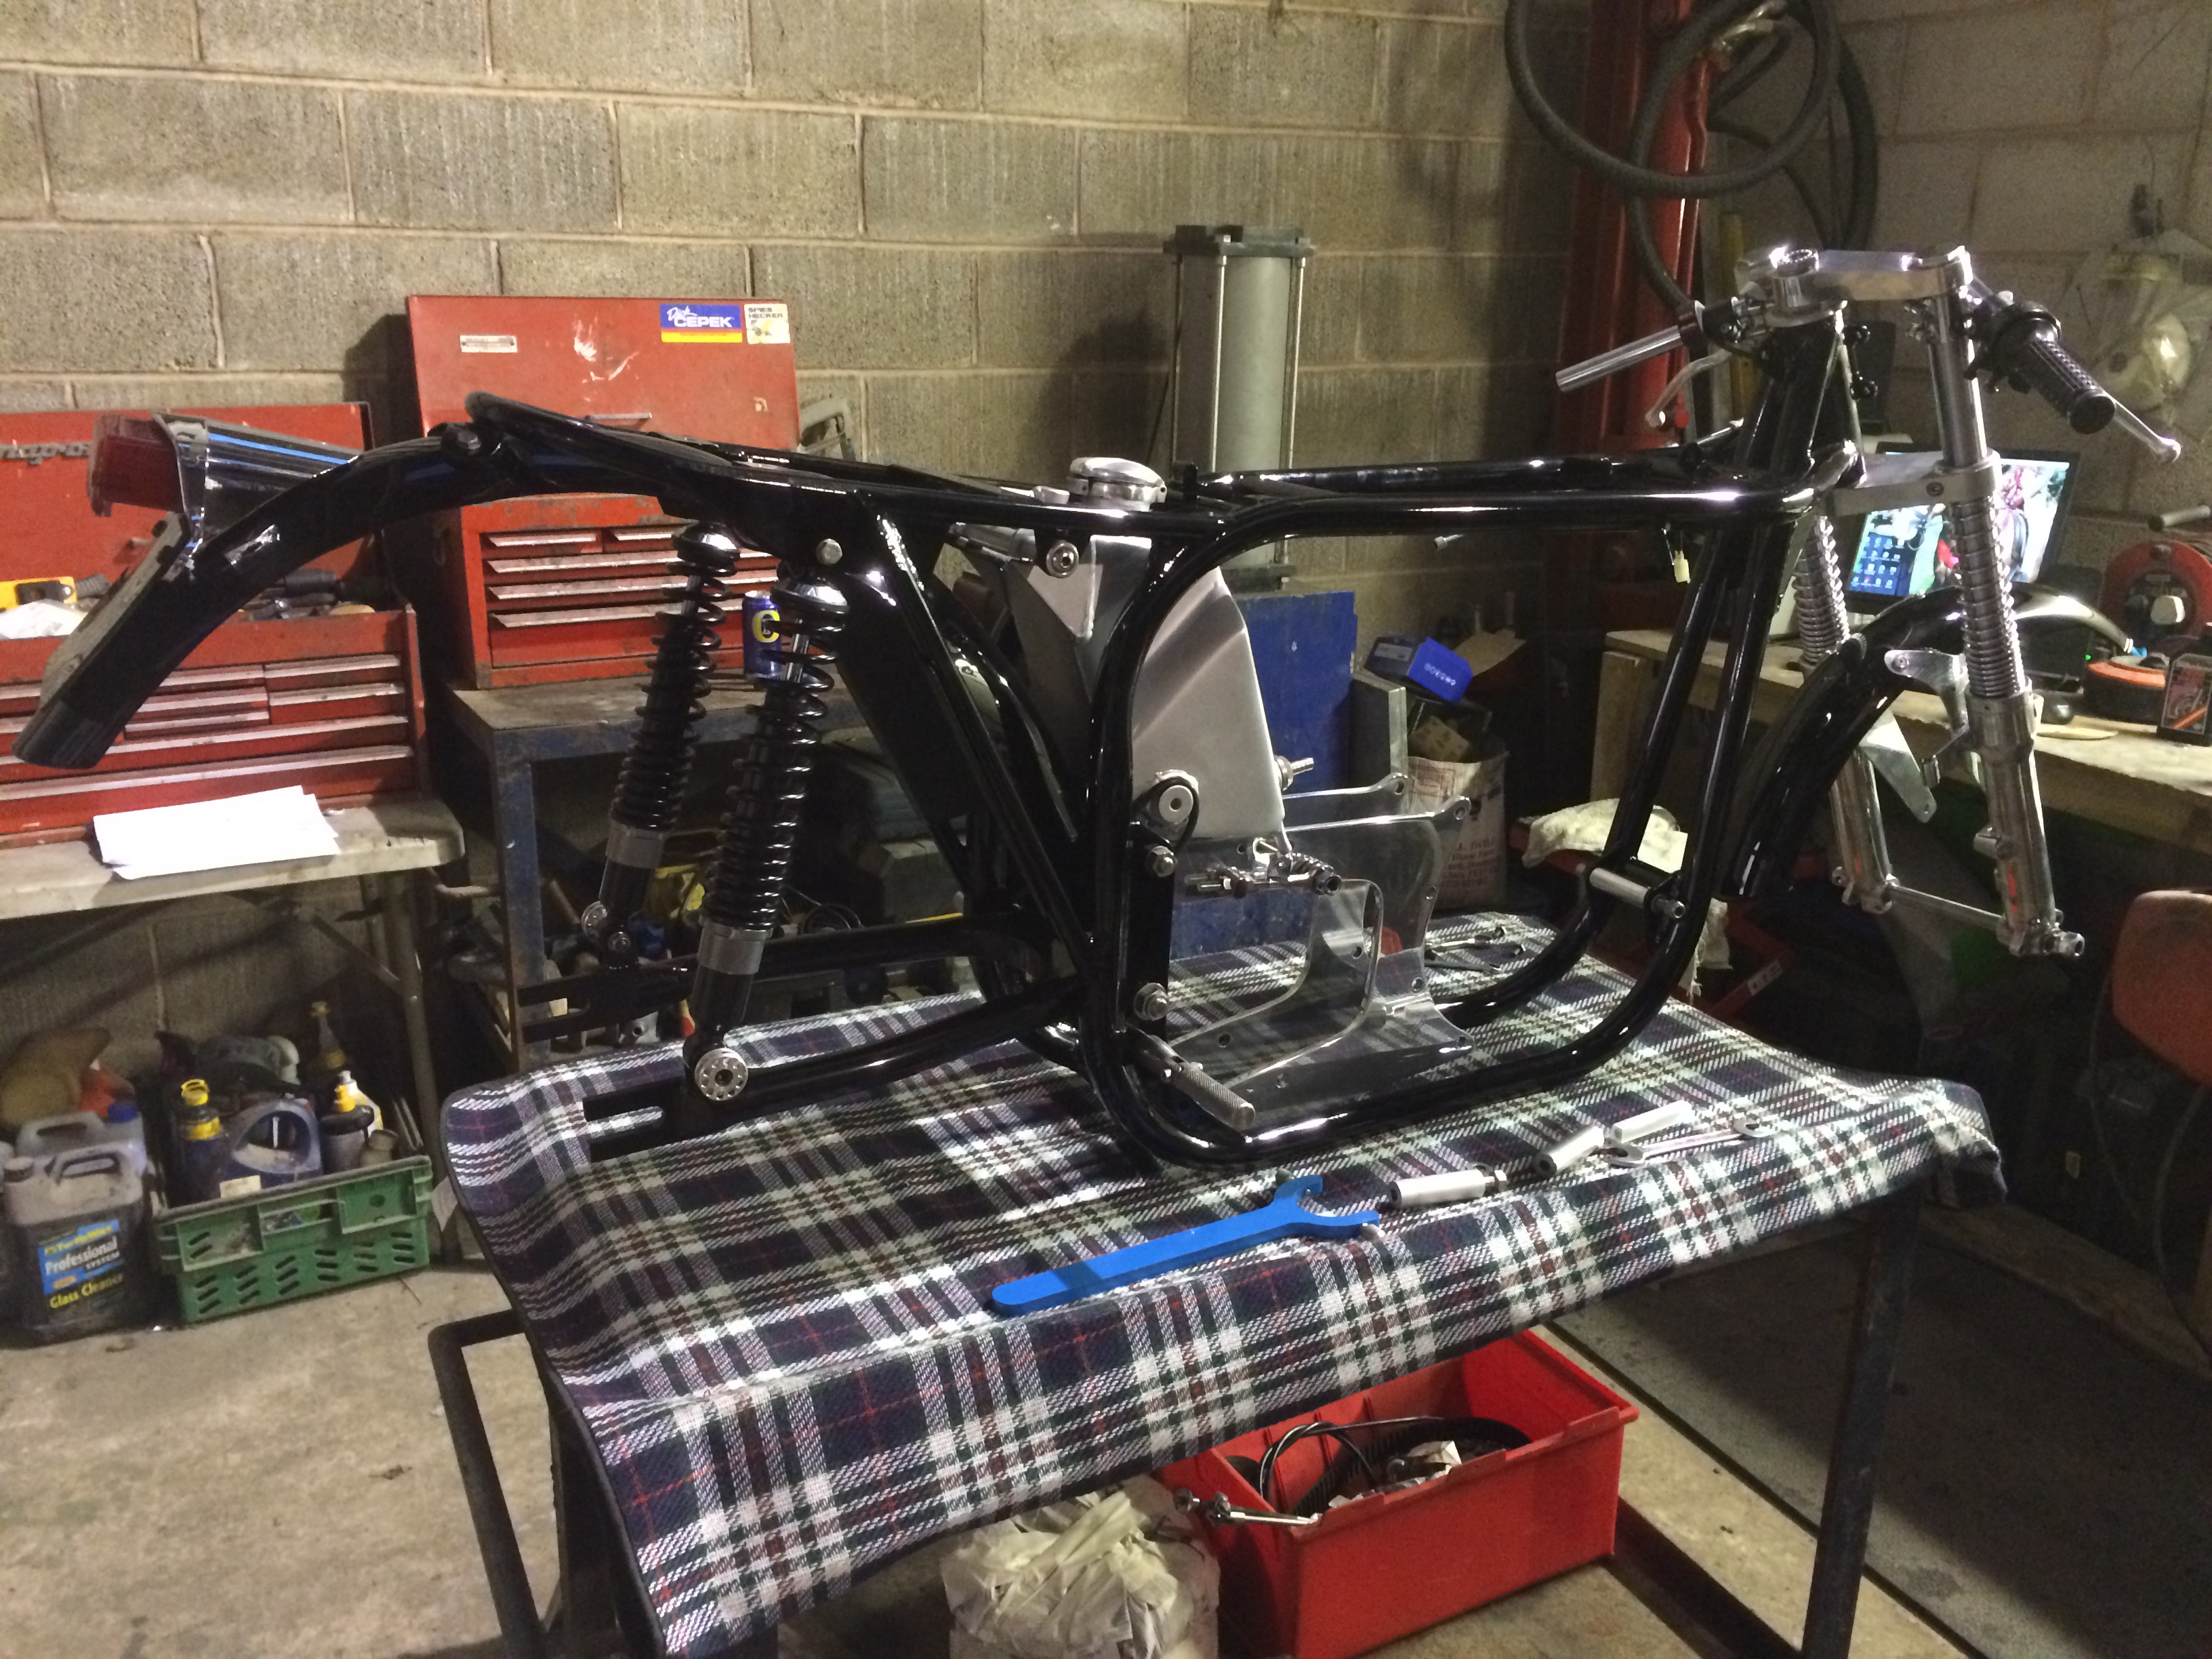
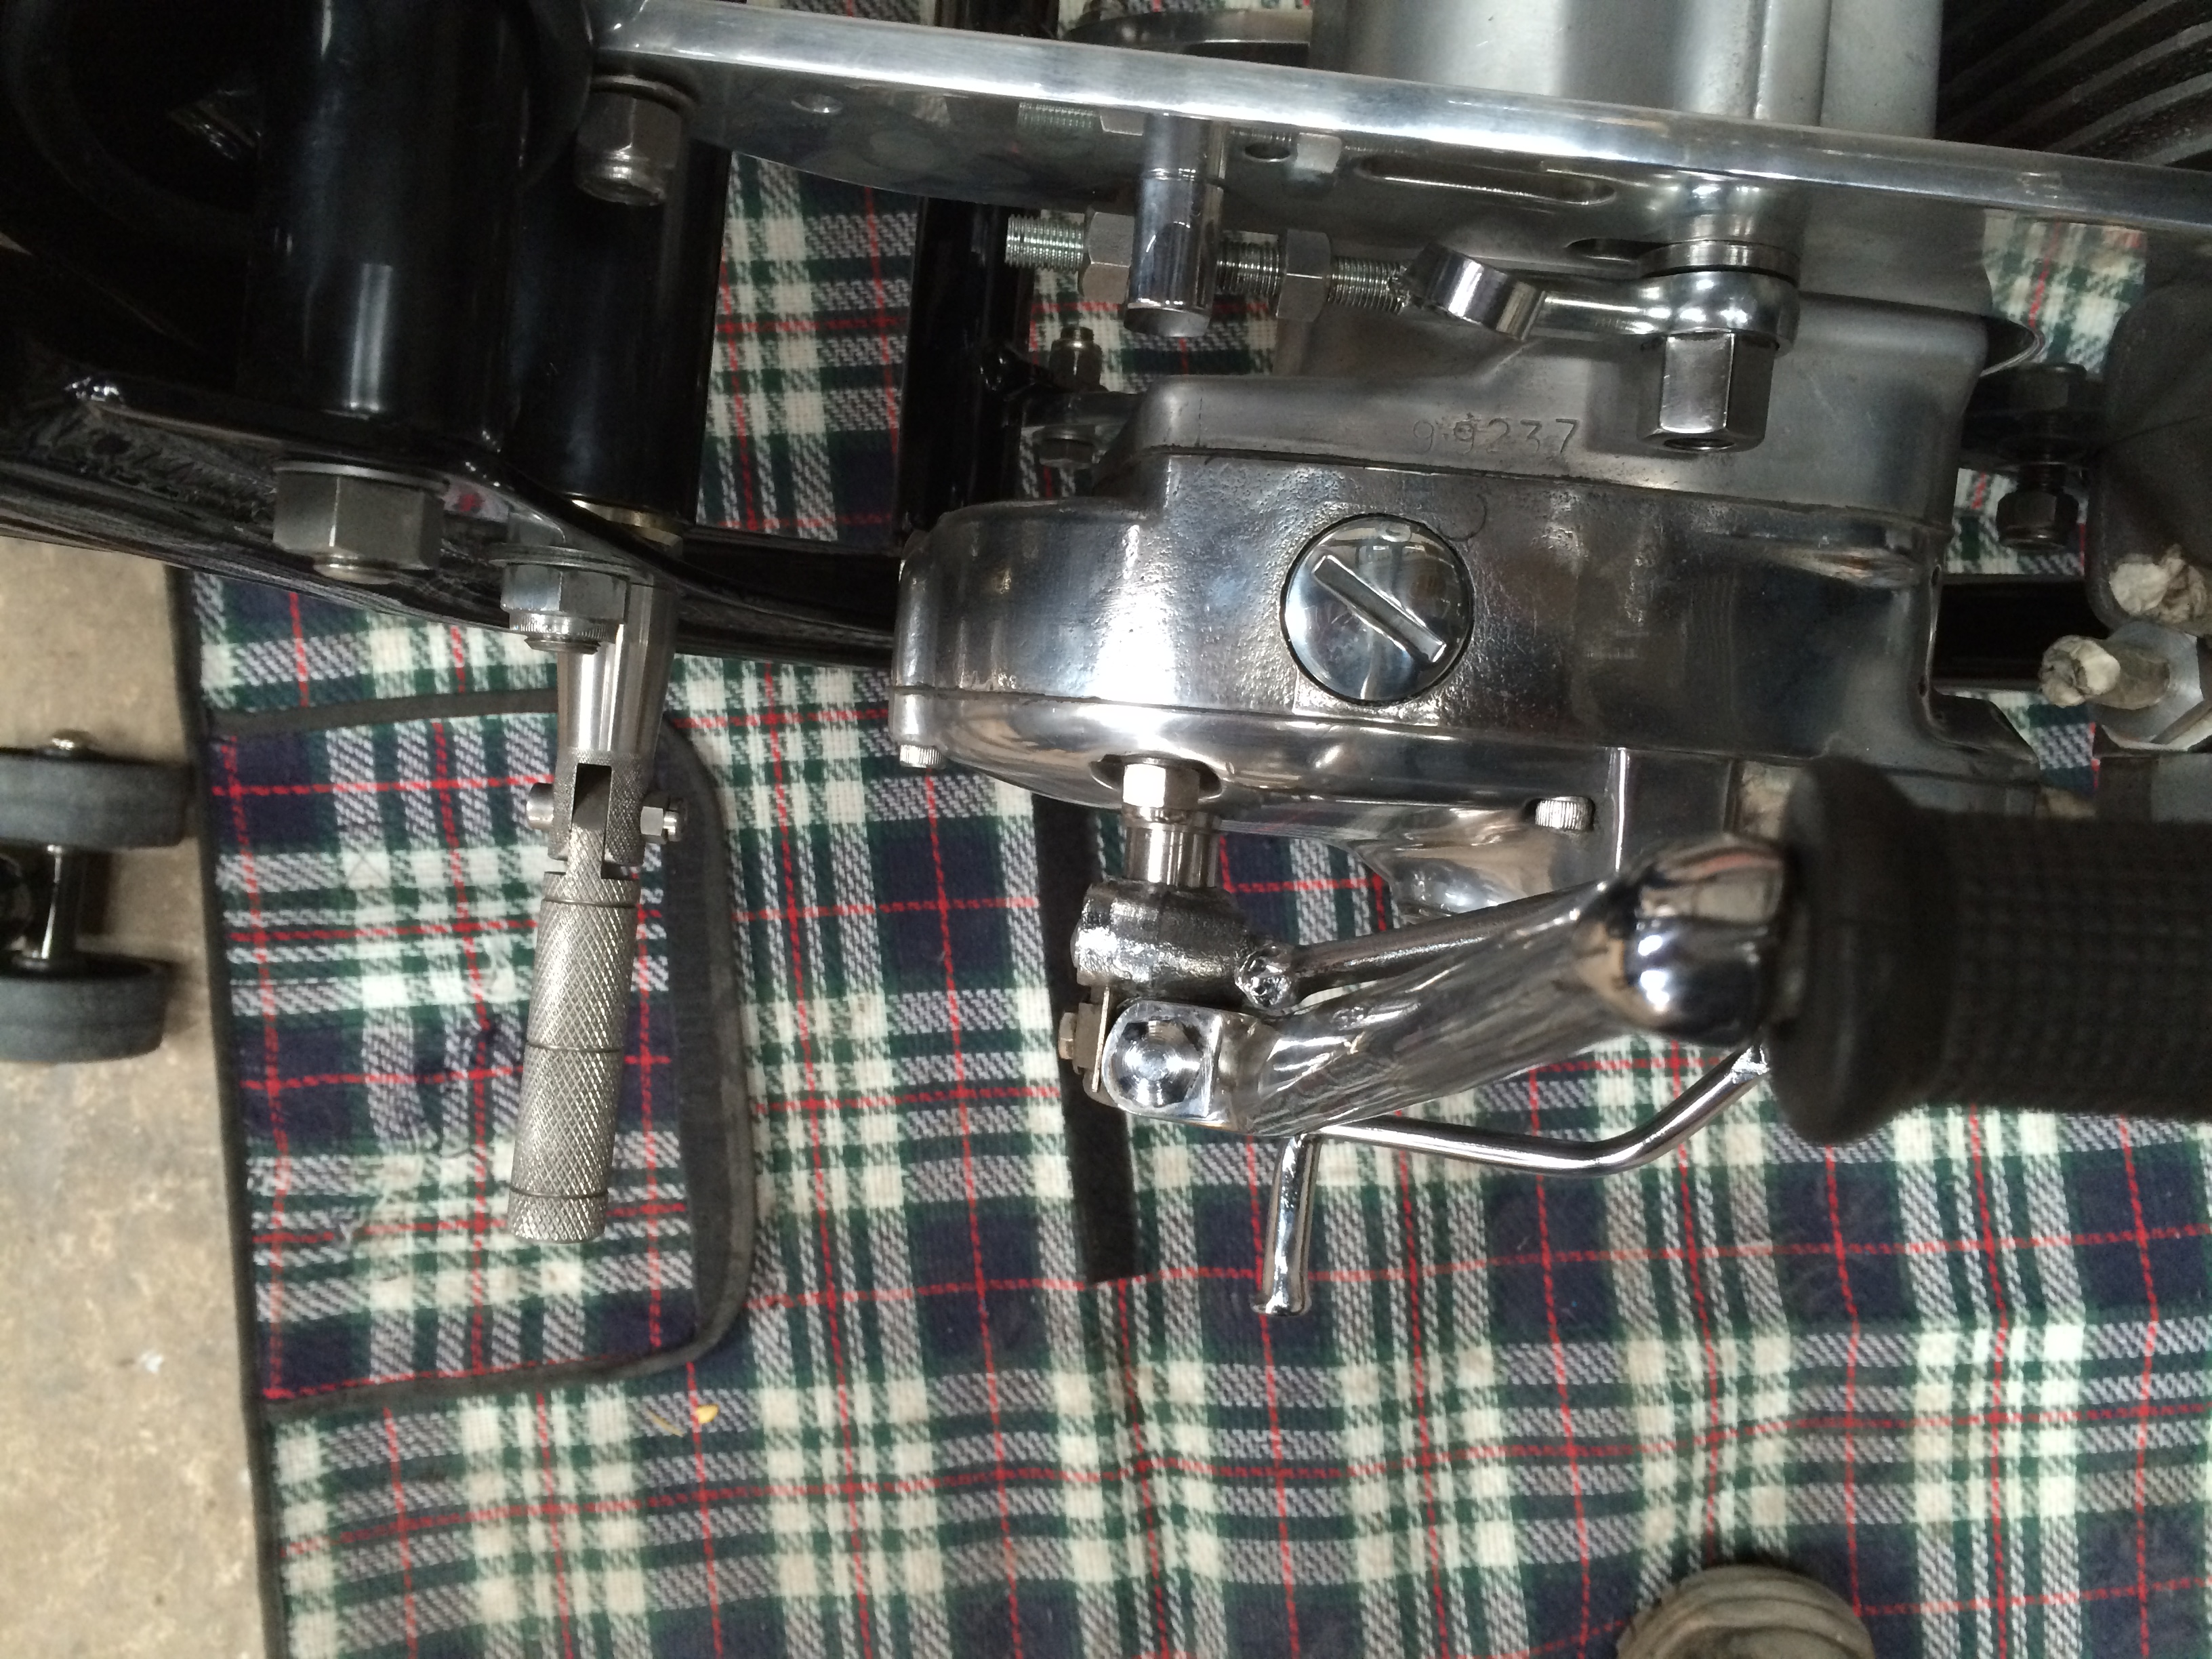
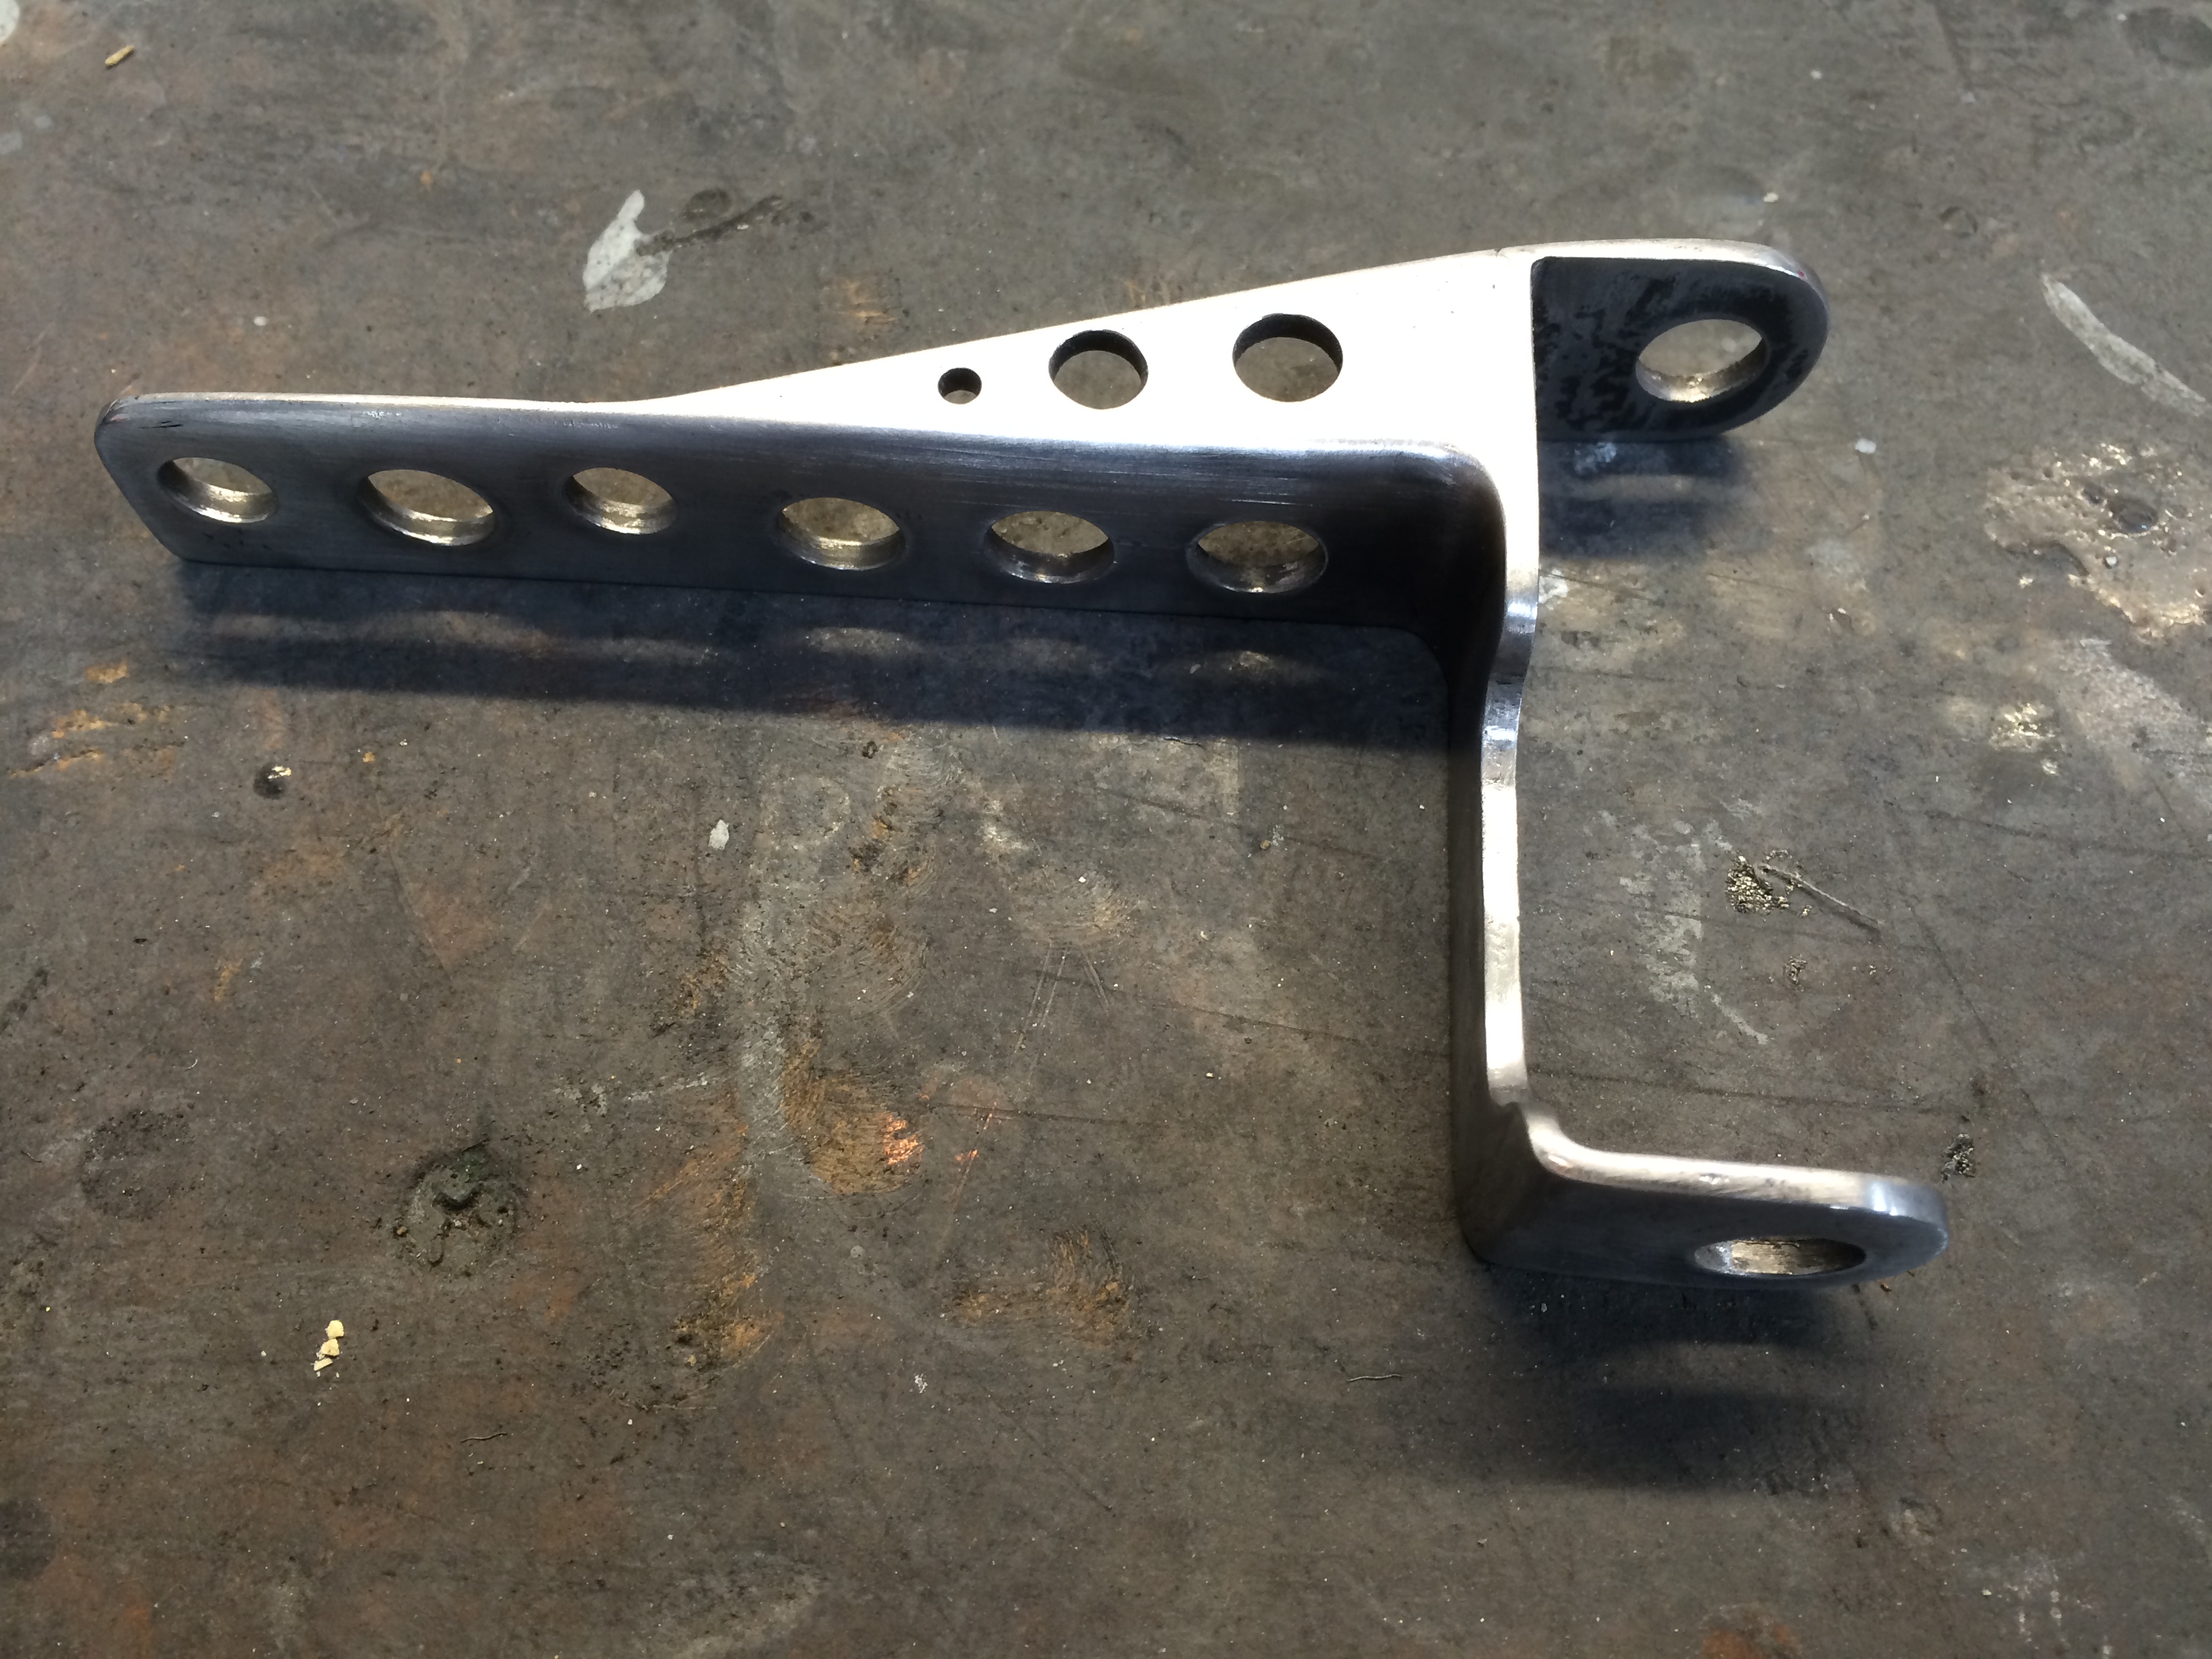
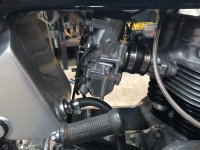
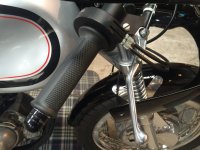
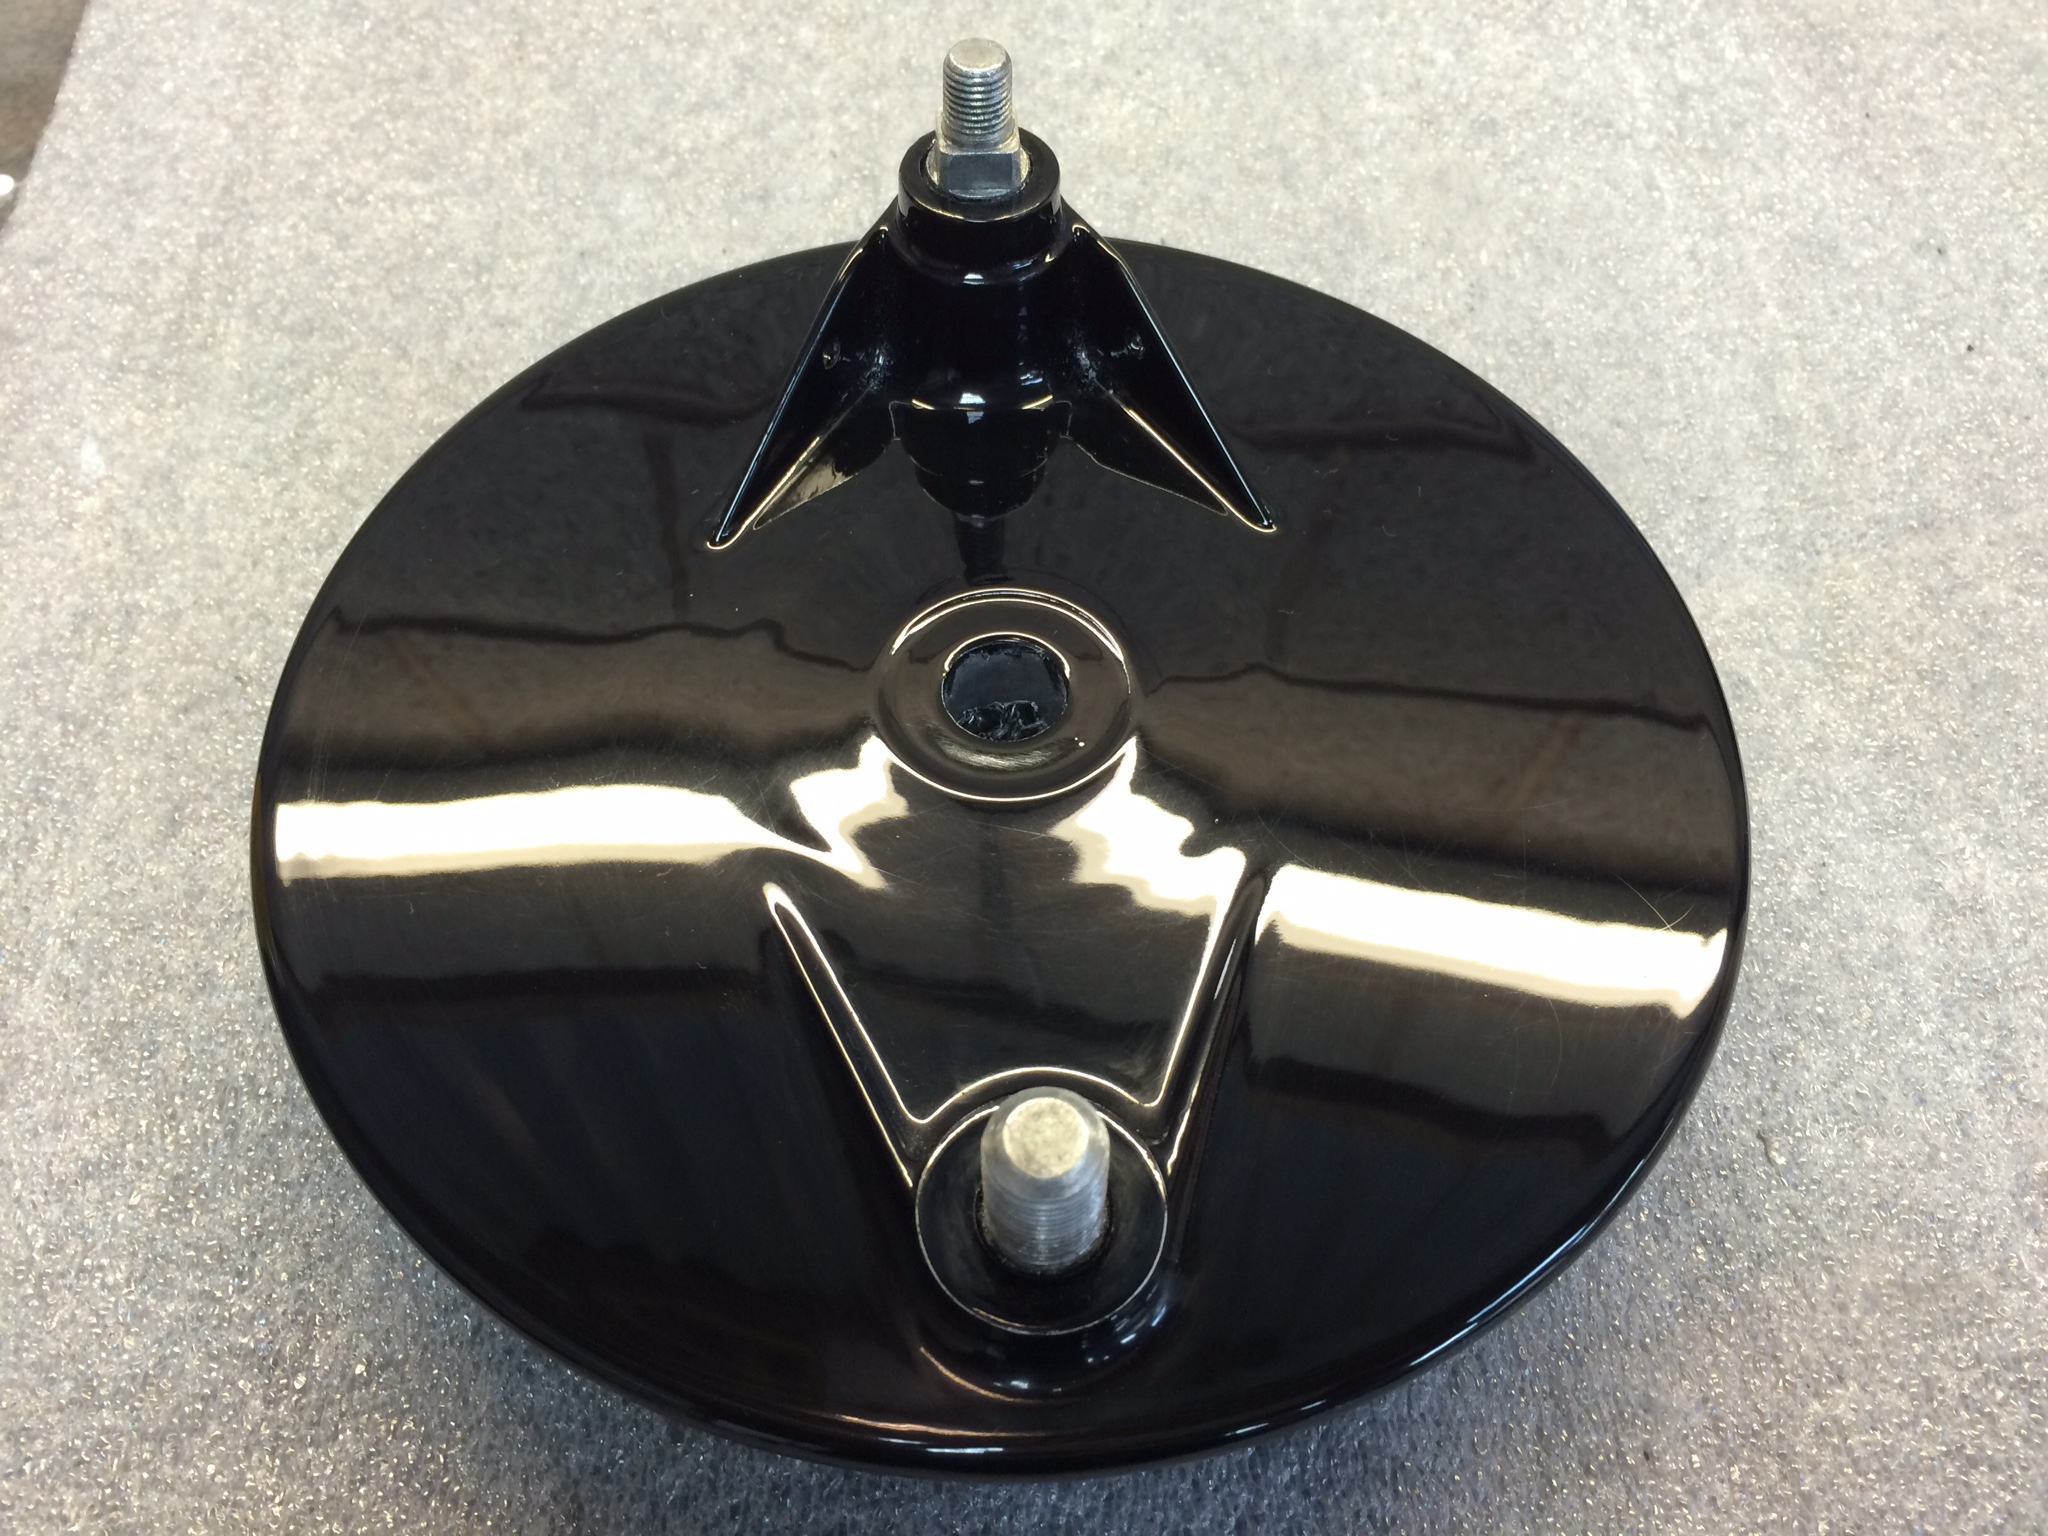
Awesome work - the brake pedal is a work of art.

To embed photos inline with text, you can first upload them to the Gallery here

http://www.dotheton.com/forum/index.php?action=gallery

Then you'll have a 'bb code' link to the picture that you can paste into your posts like this one:

[ img ]http://www.dotheton.com/gallery/1-030414224007.jpeg[ /img ] (remove the extra spaces I put in the [ ] img tags to make it function)

1-030414224007.jpeg


And then you can keep typing and embed another photo:
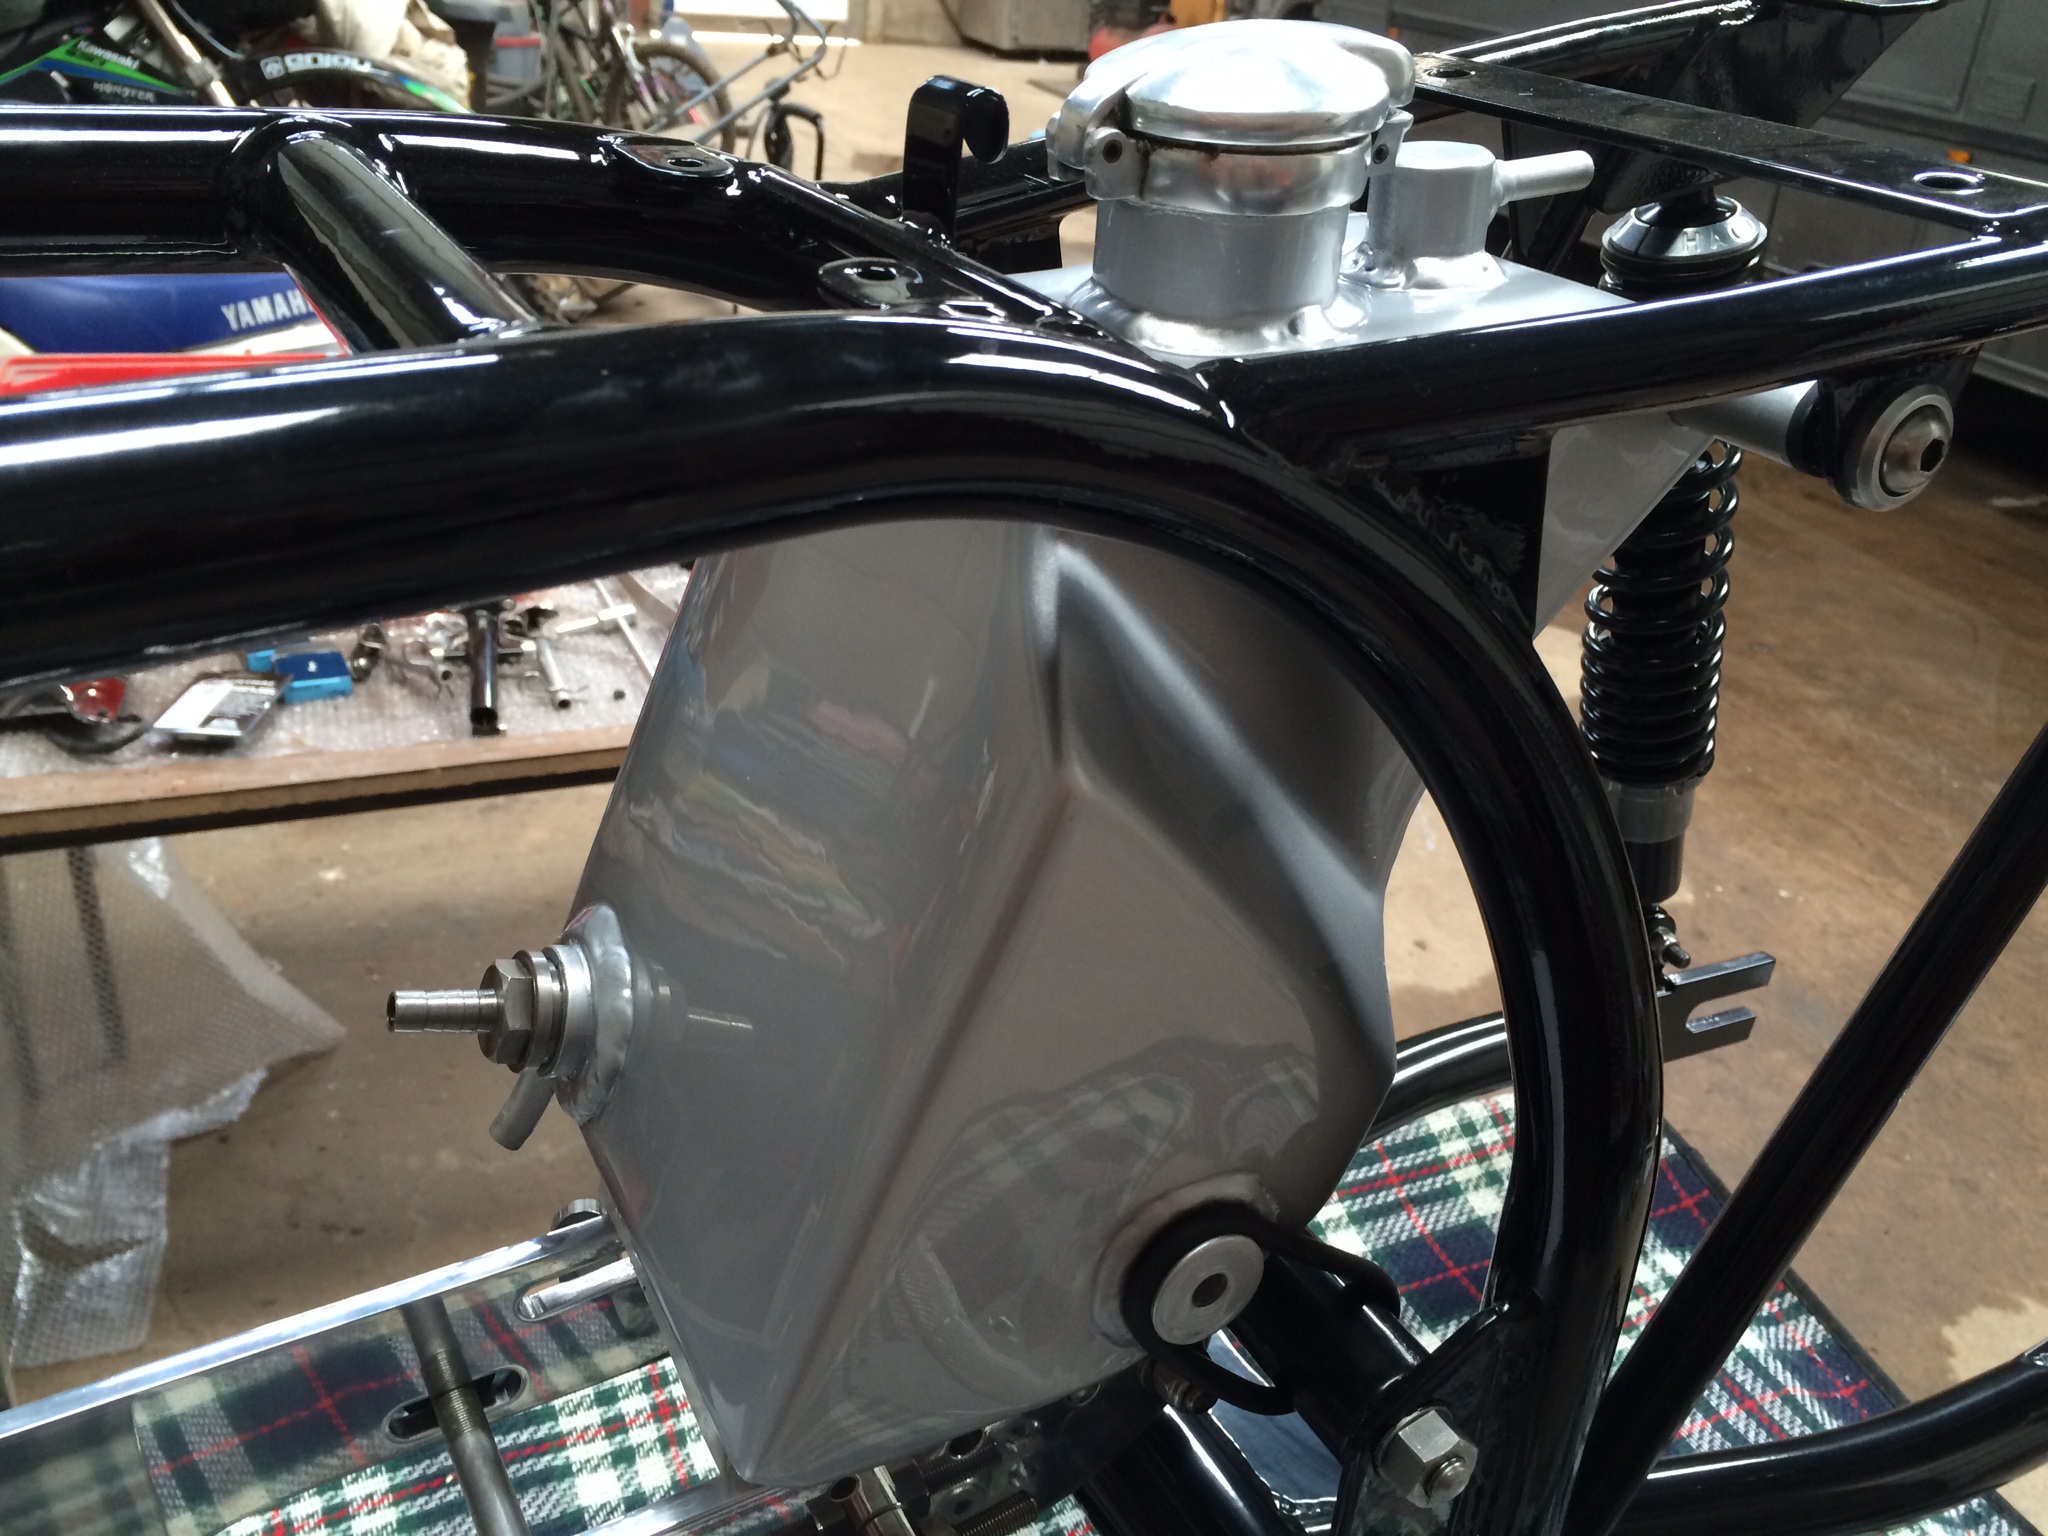
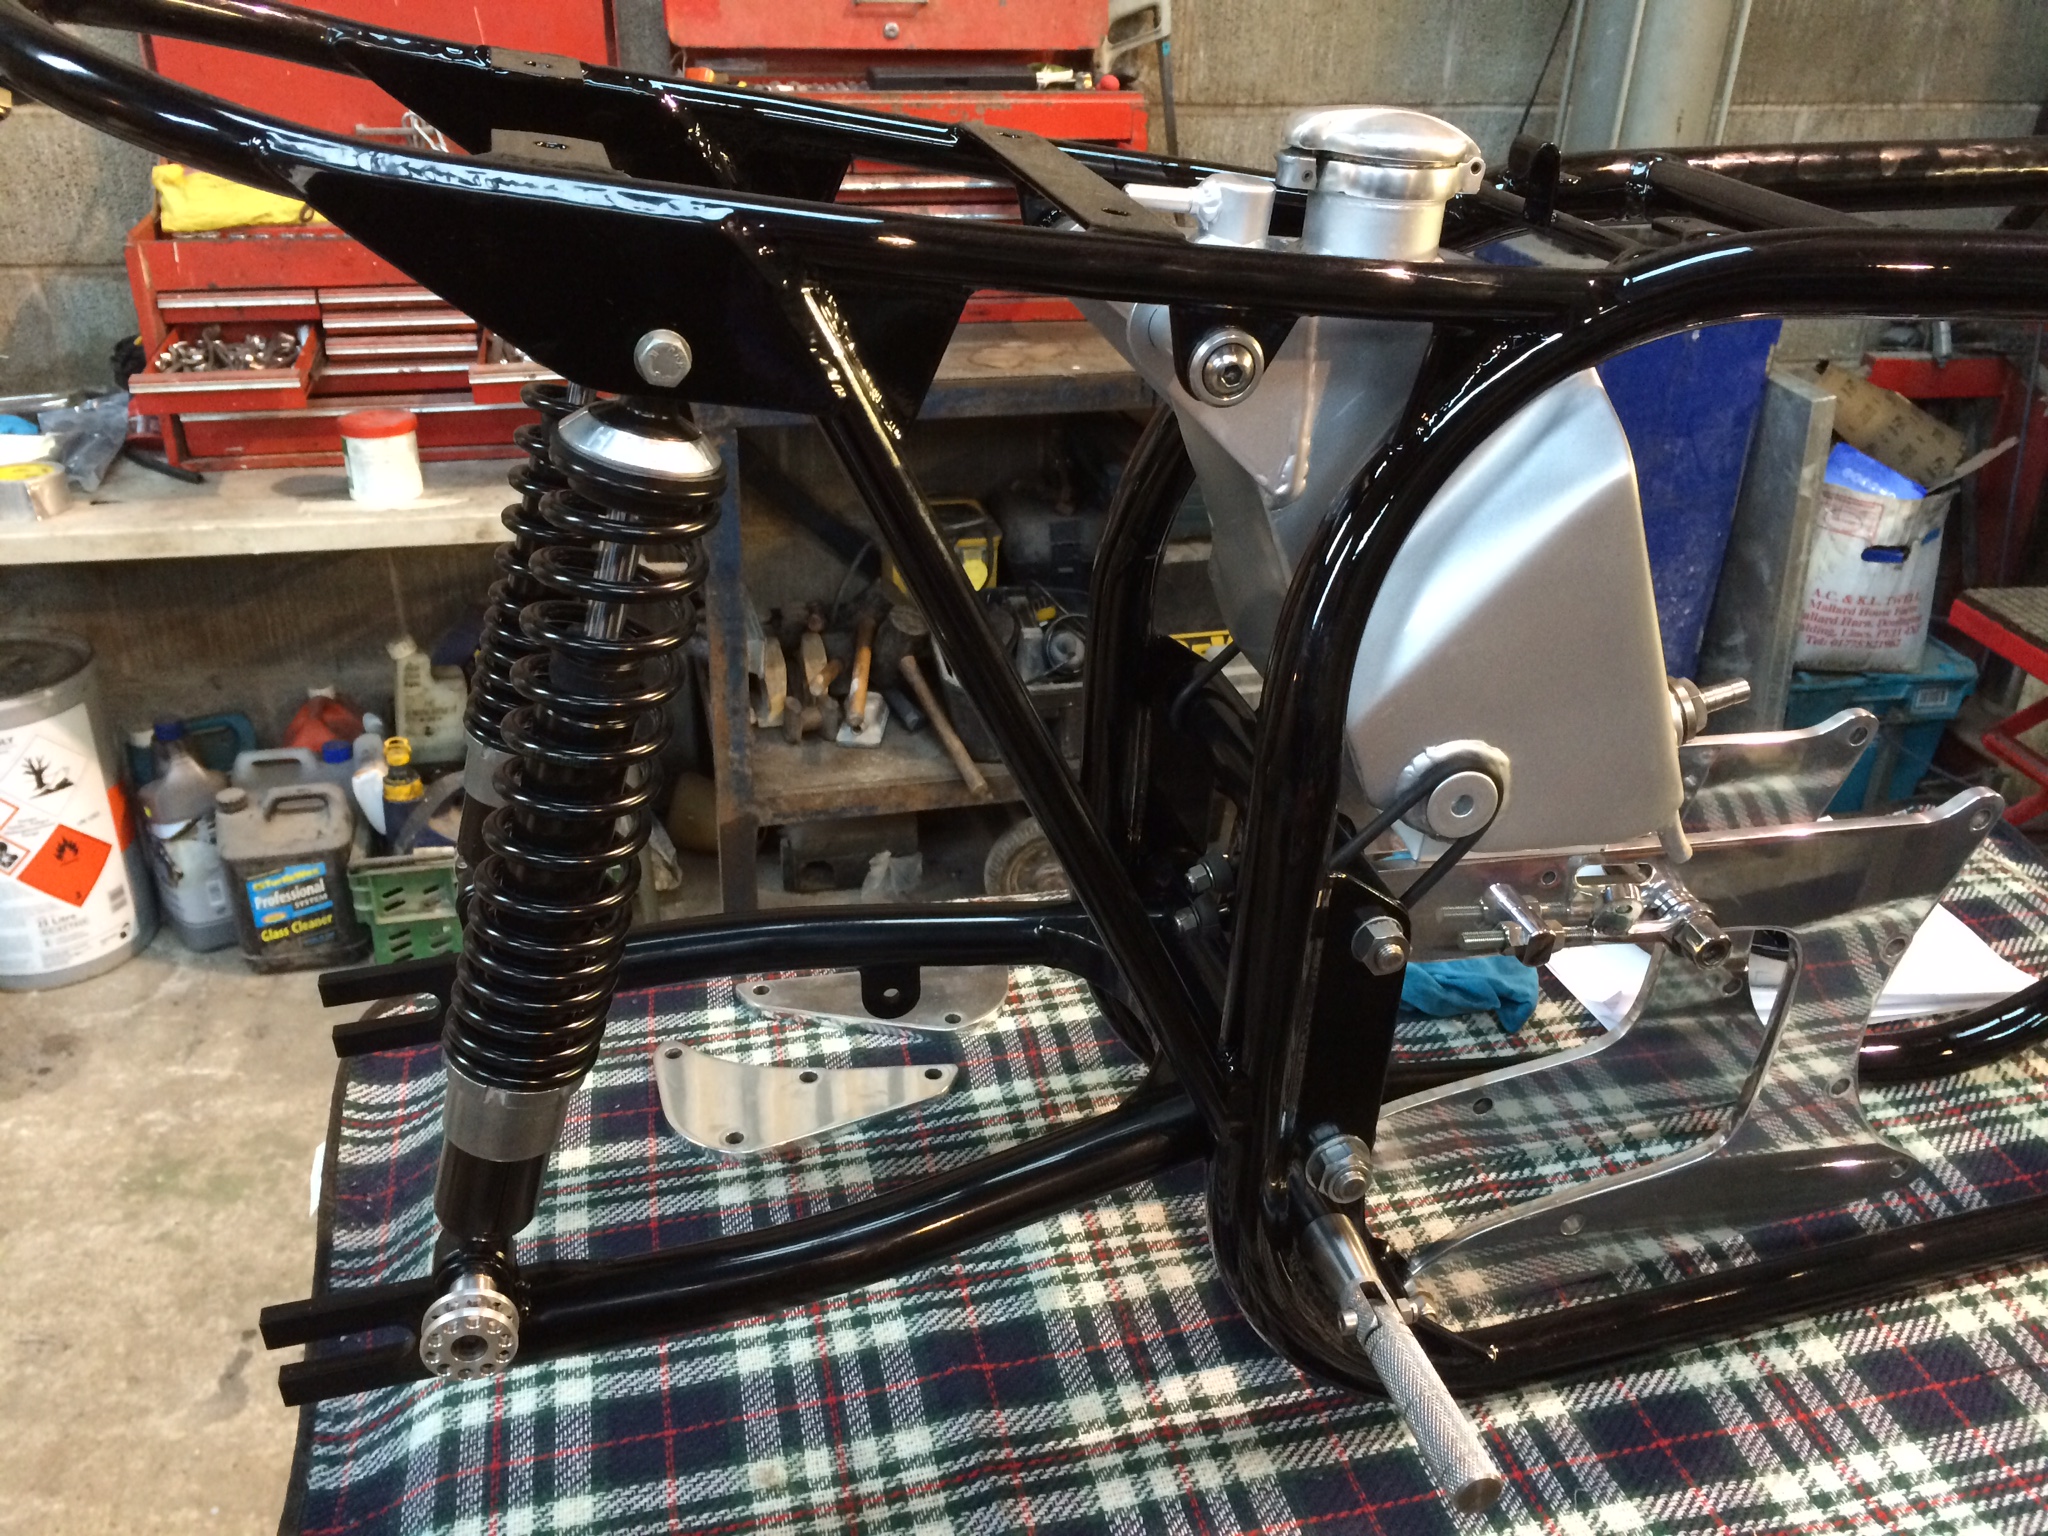
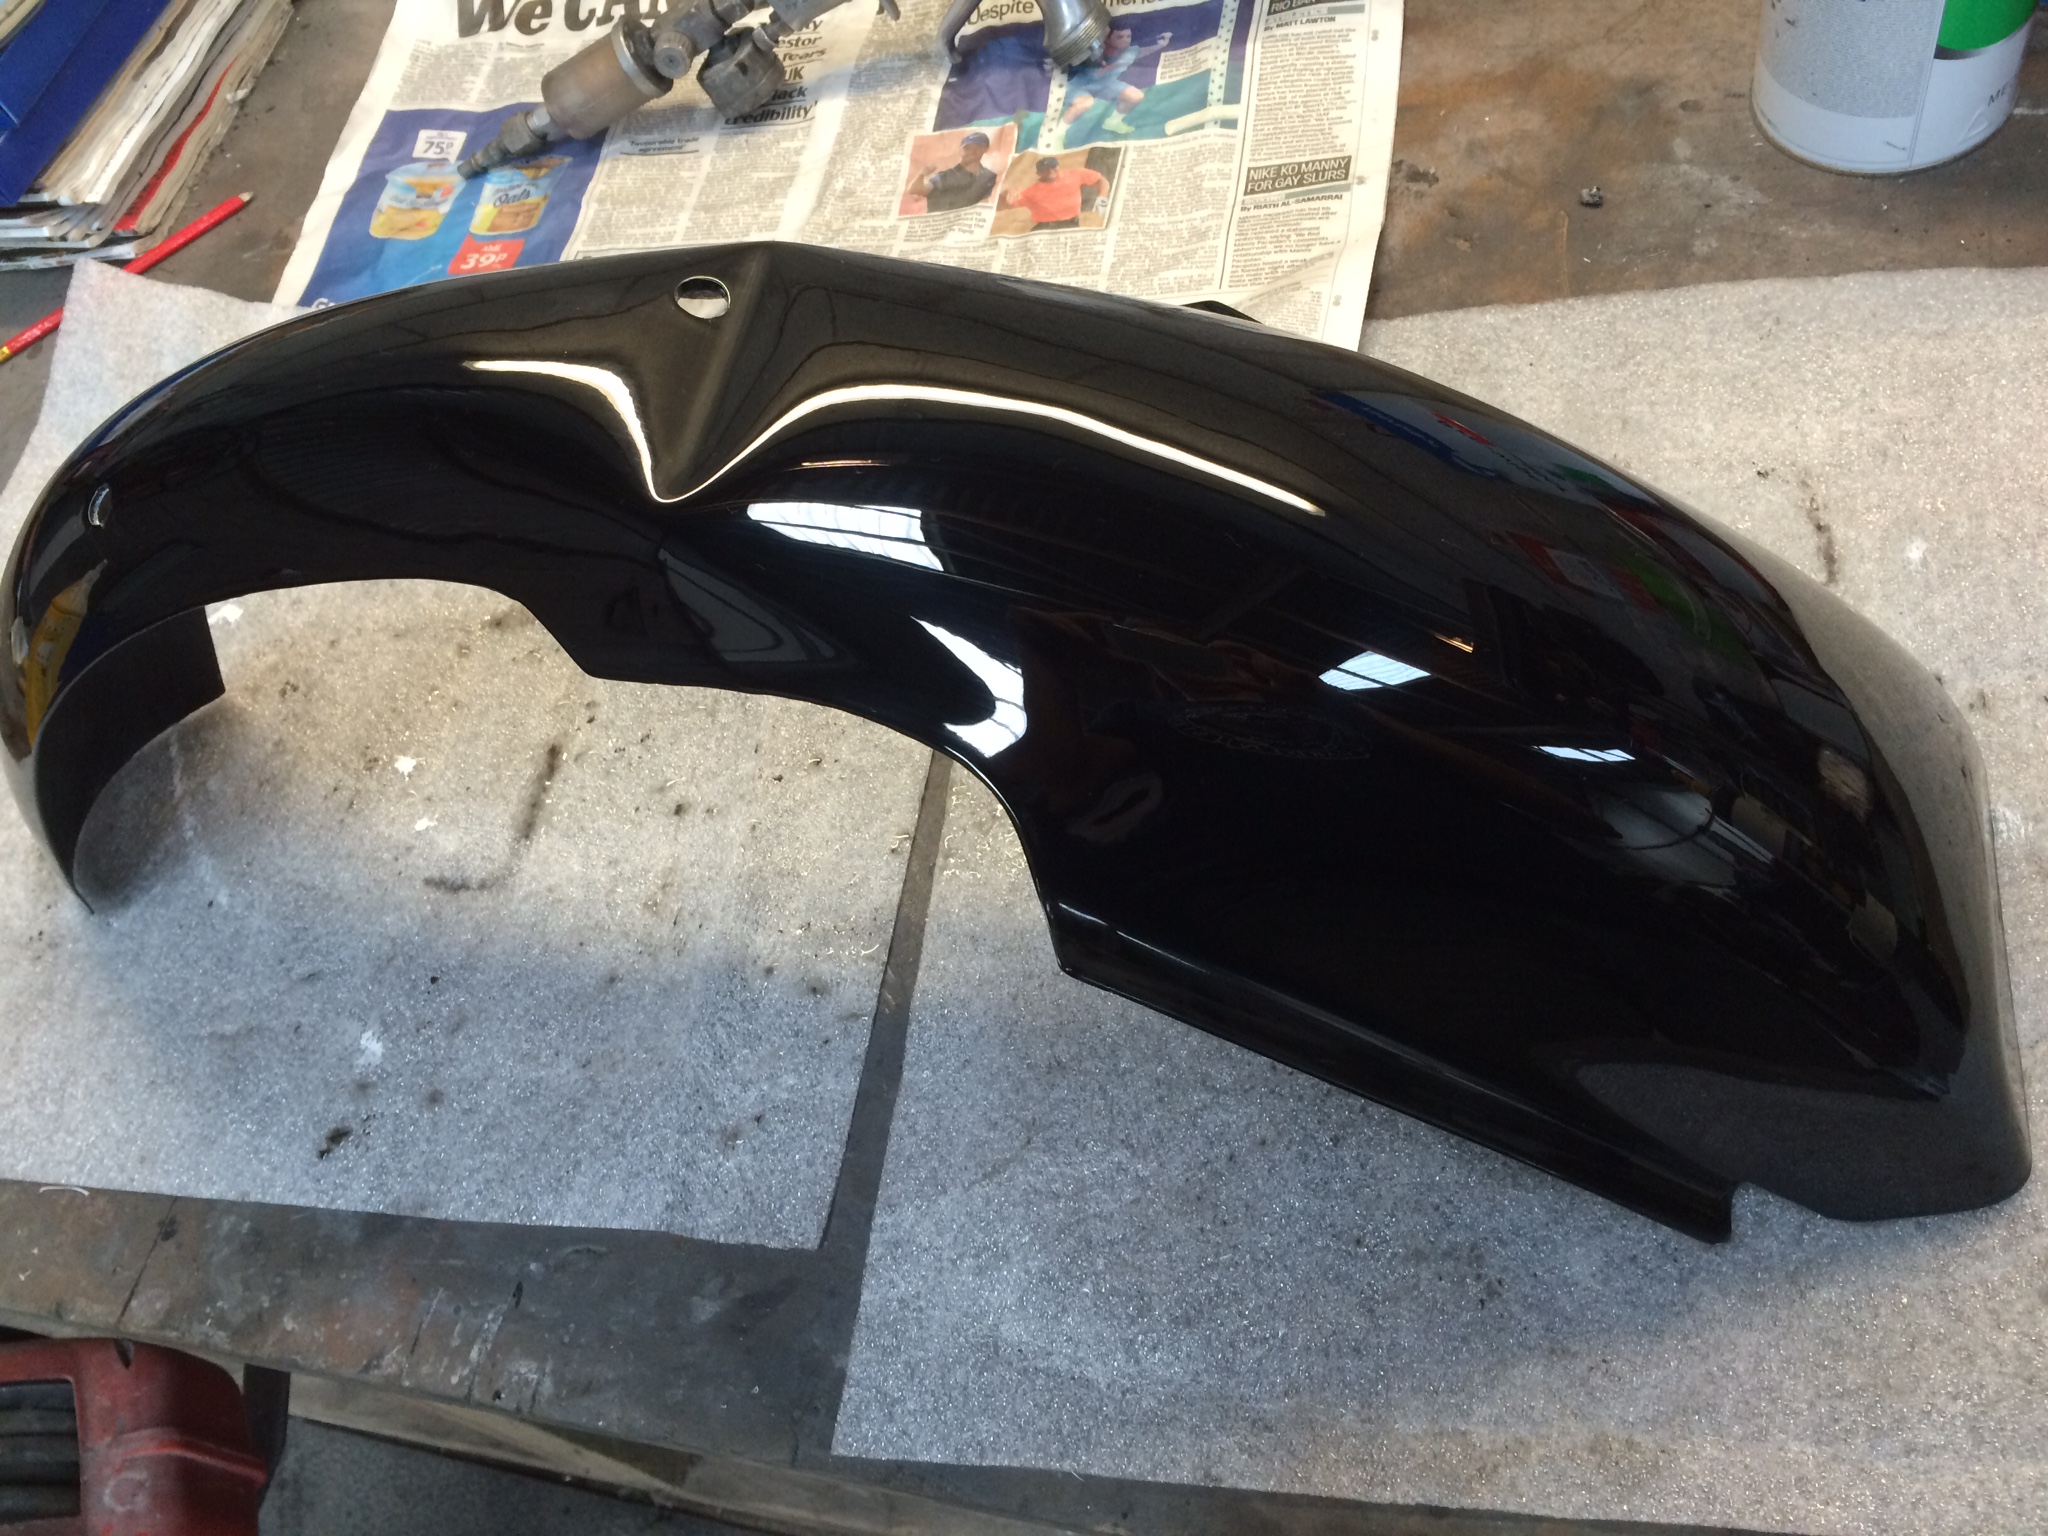
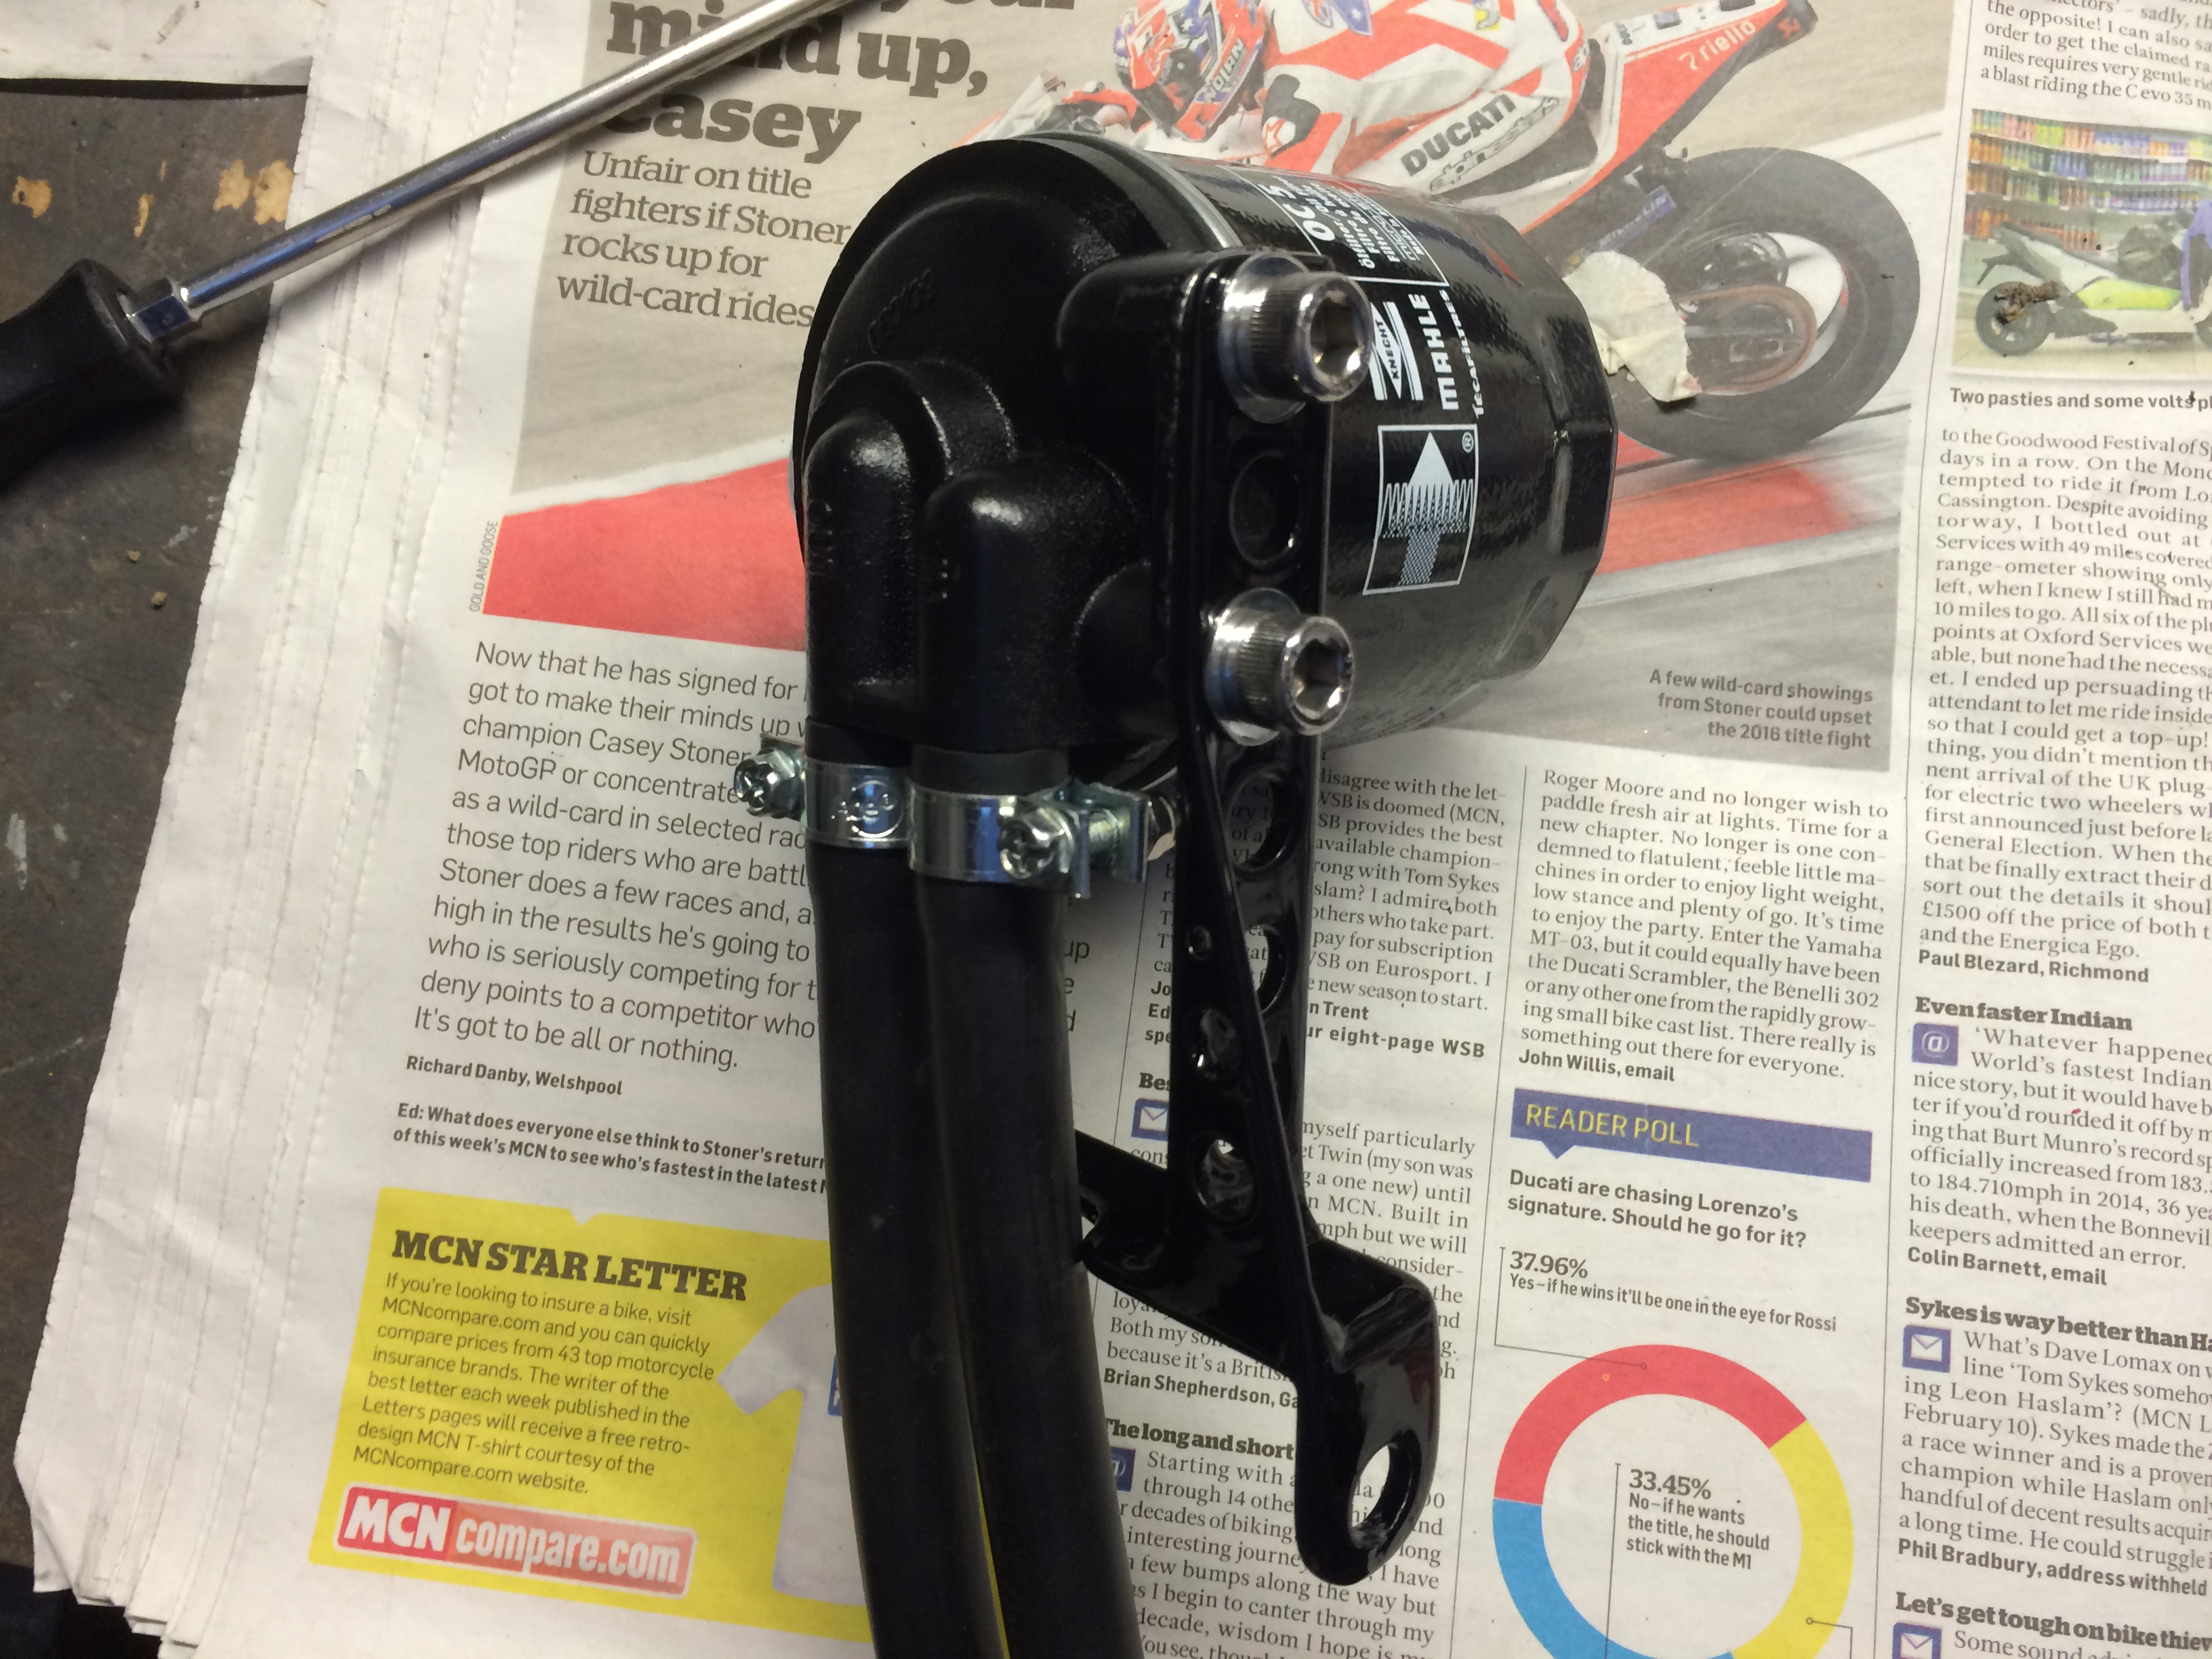
1-030414140843.jpeg
 
Bolted a few bits on and as I'd got some silver basecoat and lacquer left, thought I'd re-finish the oil tank as it had a few little marks on it.

100268-270316131144.jpeg


Also ordered a pair of Hagons...... Would have gone for Beachcombers , but trying to limit spend as its gone a bit crazy. I did have to peel off the Hagon stickers though.

100268-270316131301.jpeg


Planning to get it back on its wheels shortly, so I painted the rear brake plate ready, in 2k black, which I have plenty left over from painting the frame.

100268-270316131418.jpeg


Also, re-coated the rear mudguard while I was at it with the brake plate. It only had a few little marks in this, but it might as well have the attention.

100268-270316131516.jpeg
 
yup ile be seconding that beach ;) quality all the way on this build mate 8)
 
Thanks BC, Yorkies bike will be done way before mine and would a better contender....

Anyway, new fork stanchions, bushes and seals arrived today

100268-290316121912.jpeg


Plus new speedo drive and bearing lock ring for that Conical Triumph rear hub. Slightly different to my old Norton drive, so that's redundant now. I'll need a longer than normal cable for this as my clocks sit further forward in that fairing, so I can measure up for that anytime.

100268-290316122101.jpeg
 
UK Mark said:
Thanks BC, Yorkies bike will be done way before mine and would a better contender....

Anyway, new fork stanchions, bushes and seals arrived today

100268-290316121912.jpeg


Plus new speedo drive and bearing lock ring for that Conical Triumph rear hub. Slightly different to my old Norton drive, so that's redundant now. I'll need a longer than normal cable for this as my clocks sit further forward in that fairing, so I can measure up for that anytime.

100268-290316122101.jpeg

No reason it only has to be one - we've got 12 goes at it in one year !!!!!!!!!!!!!!!!!!!!
 
Got the front forks stripped and new stanchions & bits fitted tonight. Easy job that was and really straightforward.

100268-310316150006.jpeg


Front and rear mudguard bolted straight on. The great thing about that dry build is I know everything fits with no messing about

100268-310316150250.jpeg


Steering damper is a far cry from the old original Norton friction type, but the adjustment on this is fab. Yokes are billet machined from Minnovation Racing, so it doesn't look out of place.

100268-310316150340.jpeg
 
it's a roller again now and I will be collecting my engine this coming week, so that can drop straight in. Also treated it to a new seat and tried that on, but will store it away as it will only get scuffed.
 

Attachments

  • image.jpeg
    image.jpeg
    1.9 MB · Views: 246
Looking fabulous.....don't you just love the building back up stage ! All the freshly painted and polished bits going back together until it looks like a bike again.
 
im really enjoying putting it back together, even the time spent polishing all those fixings before bolting them on for the final time. So glad I Got all that work done on the tank and fairing a while back, as they're ready to drop straight on.

That dry build seemed to take forever, (well it was two years), but it was worth it.
 
Great feeling when it starts going back together and seeing all your hard work n worries disappear in ya shiny bits keep goin mate lookin good 8)
 
Picked my engine up this morning and bolted it in with temporary studs as I'm waiting for a new set to arrive. So glad I had the barrels blasted and powder coated

100268-110416114155.jpeg


Also sorted my gearbox as the kickstart shaft I'd fitted from a T150 made the lever stick out way too much compared to the original slick shift item. Must be at least 3/8, which doesn't sound much but just wasn't right.

Trimmed the gaskets and polished the casings, but also shaved off a projection in the casting on the centre casing that used to hold a gear indicator. This wouldn't work on mine after changing out the old 4 speed cluster and it also interfered with the oil lines, so I filed it off and cleaned it up. The casing still has the same section thickness, so it won't have weakened it. Clicks through all 5 gears nice and smoothly, so I'm happy with that

100268-110416114321.jpeg
 
DID o-ring chain for it today. Just a bit wider than the standard old chain I had before, but still clears everything ok. I'll crimp over the joint link in the morning.

Rear brake torque arm with a side stand on doesn't look too out of place I reckon.
 

Attachments

  • image.jpeg
    image.jpeg
    693.8 KB · Views: 235
My oil filter was going to bolt directly onto the inside of the engine plates behind the gearbox, but now I've used a full length stud with a spacer instead of a pair of bolts...it won't fit.

So I made this little bracket out of some steel plate

100268-150416151650.jpeg


Cut a template out in card first, then practised folding it from one piece before doing the same with sheet steel.

Sits nicely behind the gearbox and the oil lines have a smooth route to it. These hoses where laying around, so I just used them to make sure it fitted ok.
 
100268-150416151908.jpeg


Painted it with etch and 2k, which was a faff for such a little part, but it's worth it. New filter on and a couple of fresh hoses, so I can bolt it back onto the bike. Drilling it out made a noticeable difference in weight.

100268-150416152255.jpeg
 
Picked a service kit up for me carbs from Stafford Show last weekend. Pre-ordered them so I got all the bits I needed.

Just need to get a couple of intake stubs with gauze filters now, as space is tight.
 

Attachments

  • image.jpeg
    image.jpeg
    2.4 MB · Views: 228
  • image.jpeg
    image.jpeg
    1.5 MB · Views: 254
Made a couple of throttle cables up and fitted a Domino TZ type throttle which is much better than my old one. I bought a pair of Renthal bar ends quite some time ago, so nice to fit grips and those.
 

Attachments

  • image.jpeg
    image.jpeg
    1.6 MB · Views: 229
Back
Top Bottom