Follow along with the video below to see how to install our site as a web app on your home screen.
Note: This feature currently requires accessing the site using the built-in Safari browser.
We noticed you are blocking ads. DO THE TON only works with community supporters. Most are active members of the site with small businesses. Please consider disabling your ad blocking tool and checking out the businesses that help keep our site up and free.
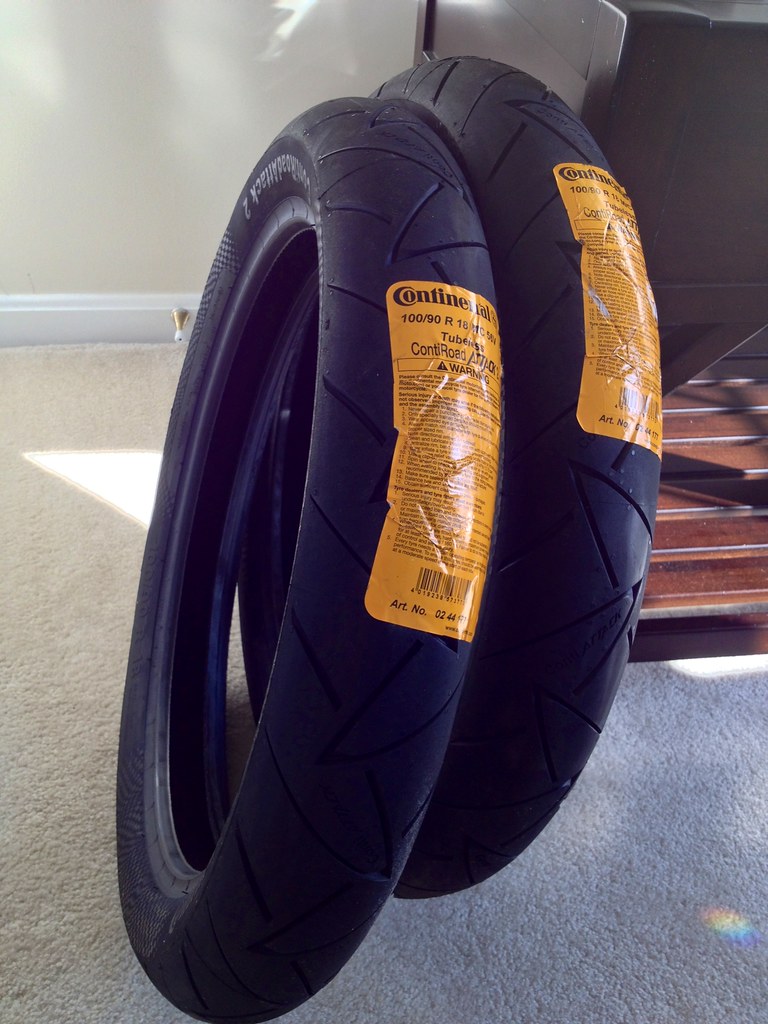
Installed new wheel bearings front and rear. On President's Day I sent my hubs to Buchanan's to get built up with WM3-18 Sun rims and SS spokes/nipples. I can't wait to get my wheels back so I can get these tires mounted up.
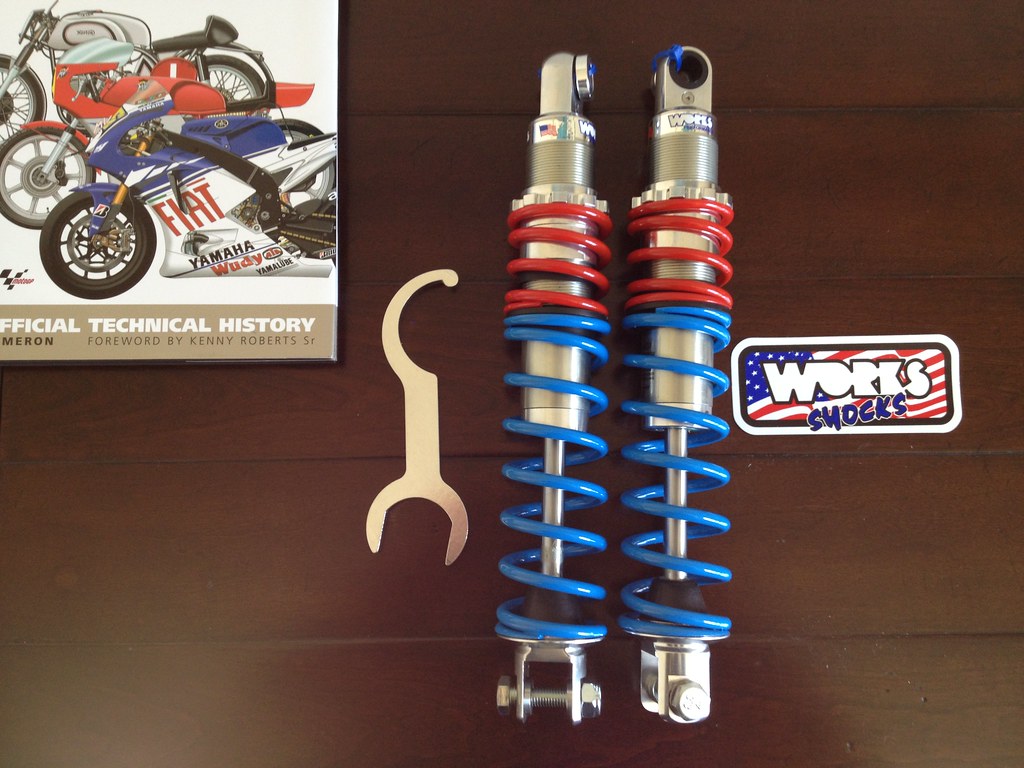
New shocks arrived for the CB350 from Works Performance. They're Gassers with Dual-Rate Springs and threaded pre-load adjusters. 13.25" center to center. Clevis mount bottom.
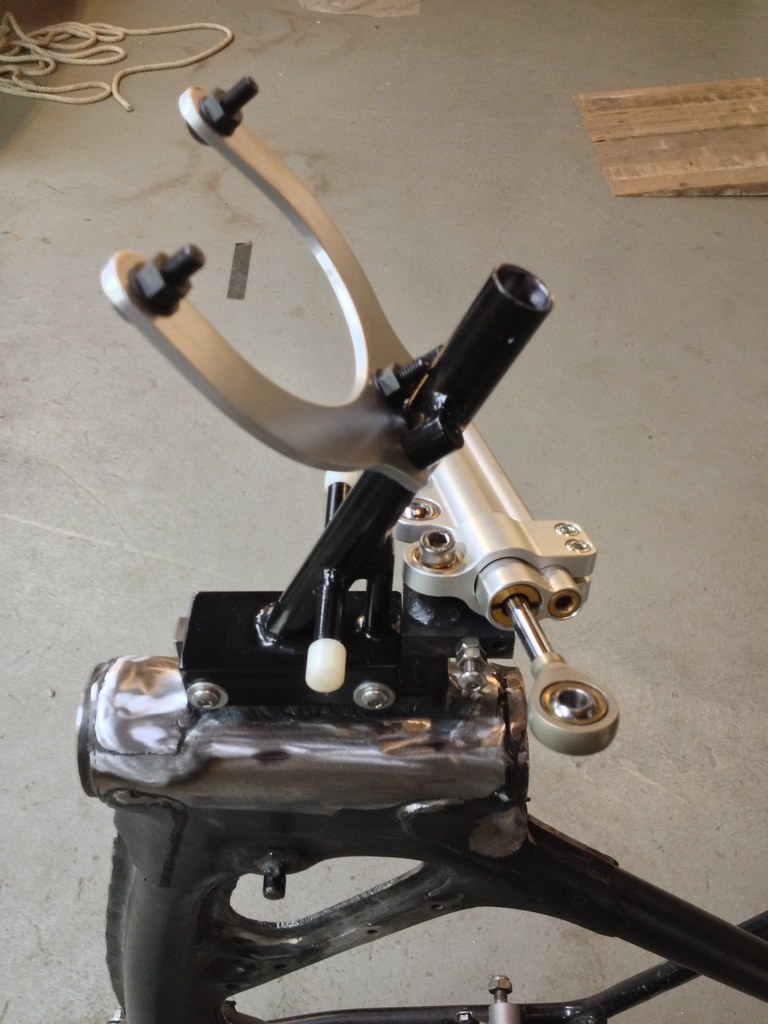
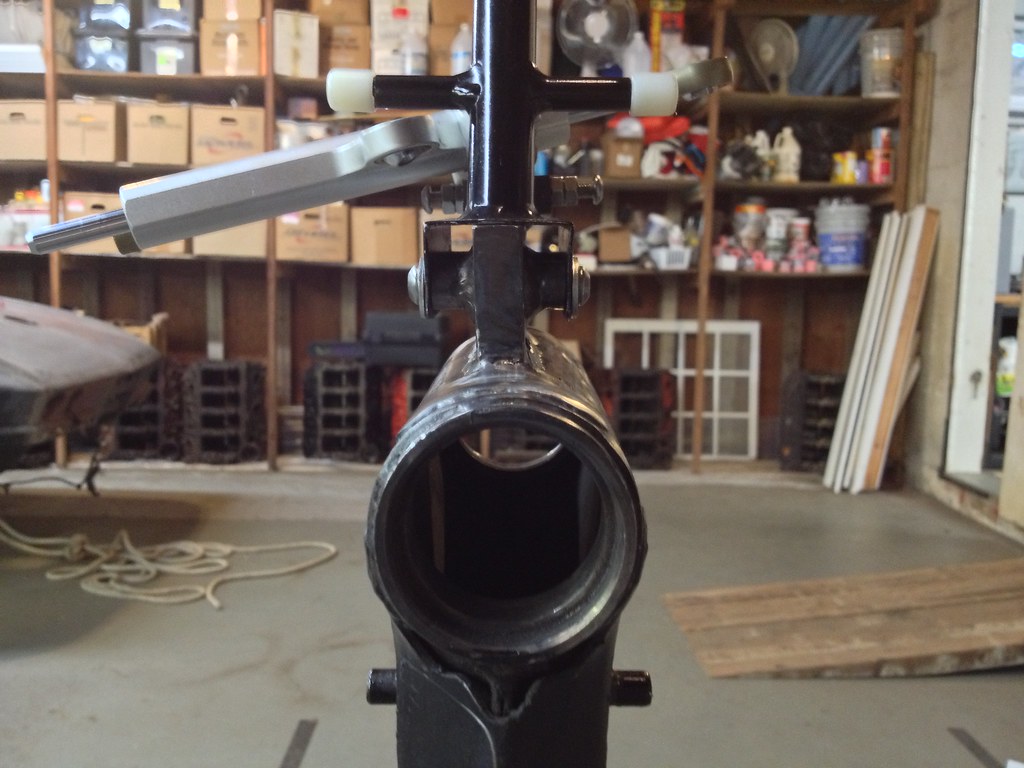
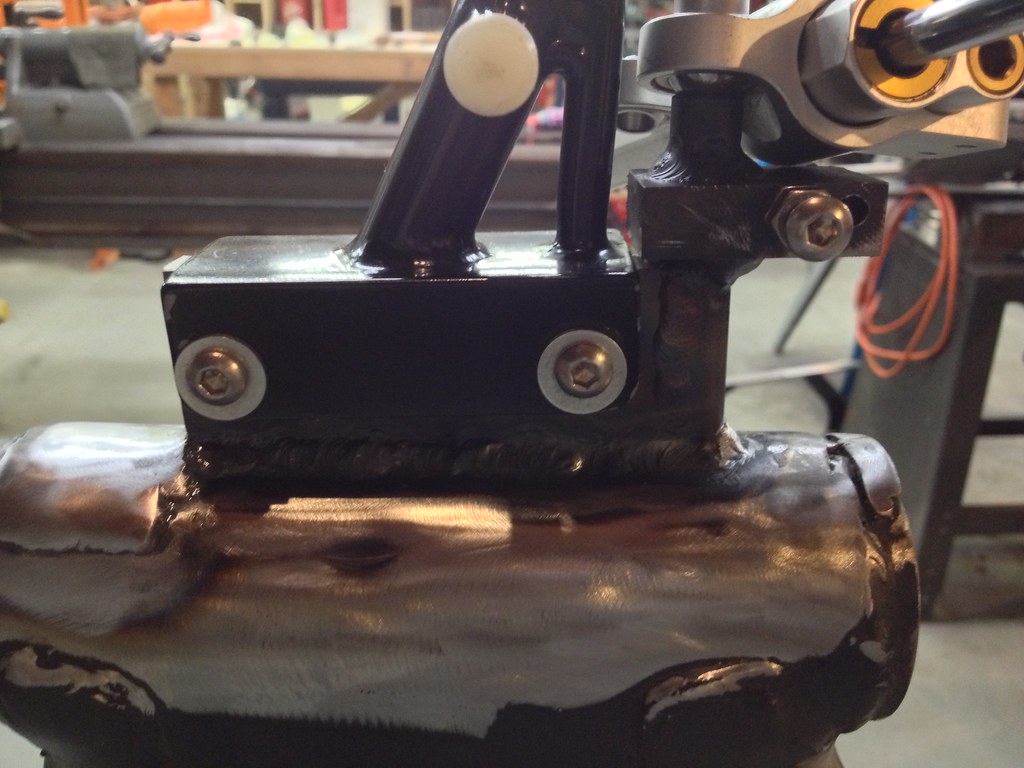
Also finished my latest do-it-all-bracket (steering stops, fairing/tach probe mount and steering damper mount) and welded it to the head tube. Promptly burnt a whole through the head tube because I forgot to turn the current down. This weekend I'll weld in a patch so the head tube remains strong where I eliminated the vertical seam. Almost ready for paint. Just waiting for the weather to improve. Also made some minor adjustments to the fairing mounting holes. It's just about ready for final body prep and paint also.
Thumbs up to www.americanmototire.com. While I wish they hadn't made a mistake in the first place they did a commendable job remedying the situation. They replied to my initial e-mail about the inner tubes within 24 hours and within 4 days I got the correct inner tubes. They sent me the right ones before I even got a chance to send the wrong ones back. And they fixed the situation all on their dime. Bravo.
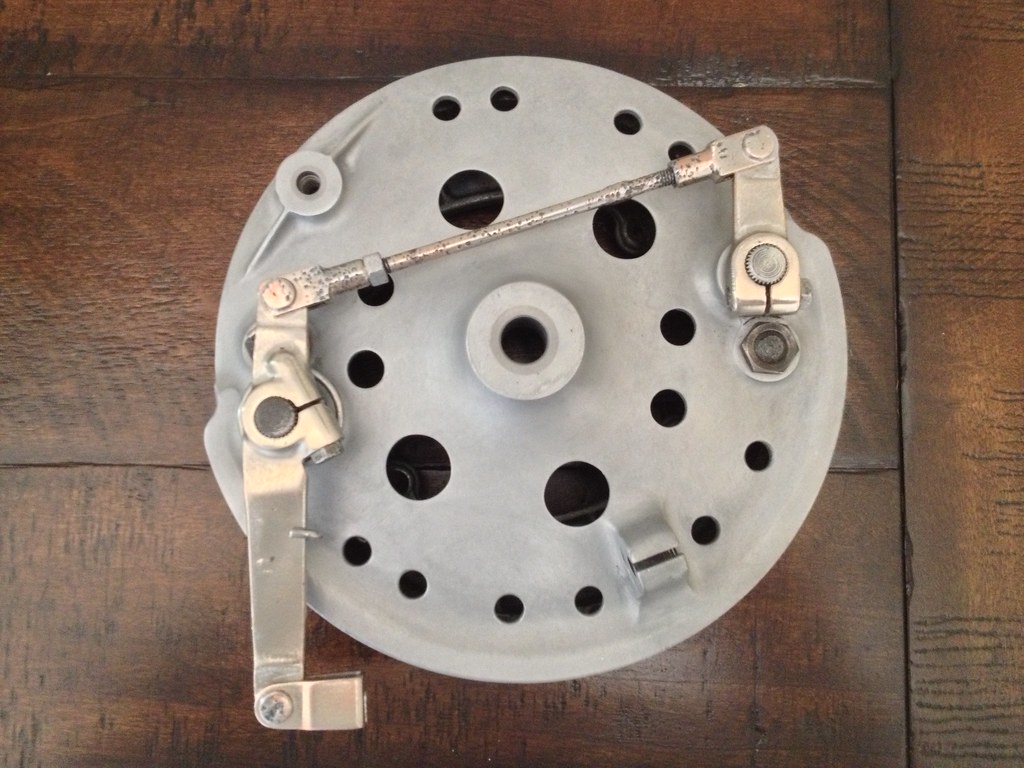
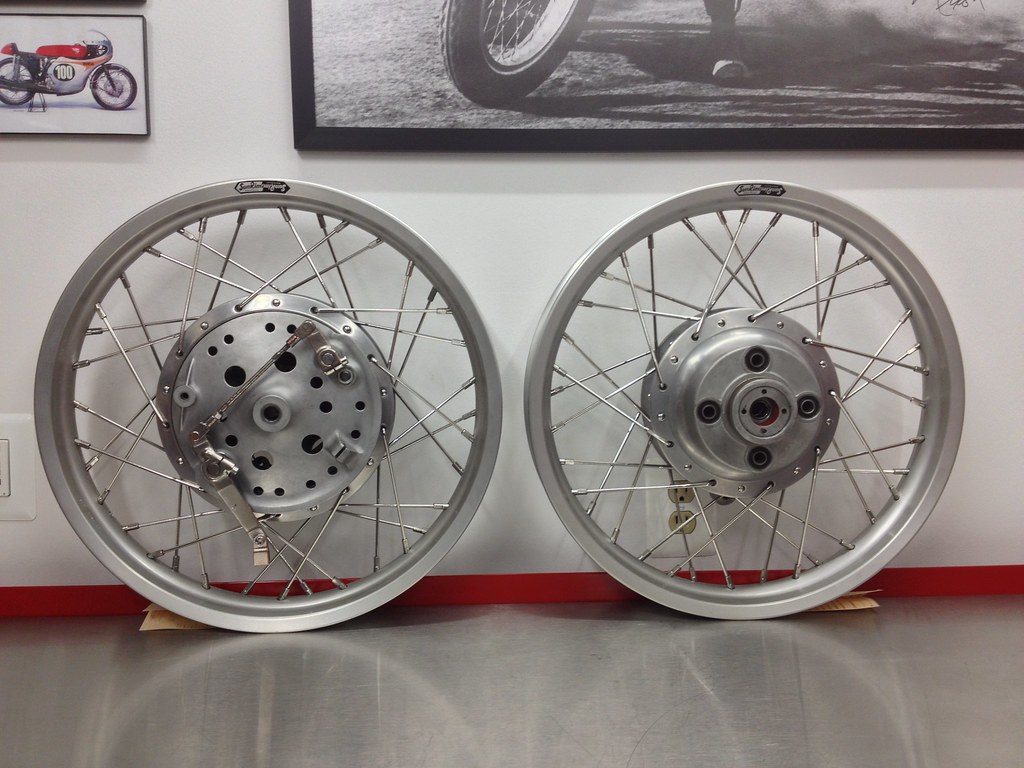
I turned the front brake backing plate into a spaghetti strainer. After pulling the shoes I discovered a small crack in the aluminum backing plate along the edge (apparent impact damage, possibly during shipping) so I removed the small chunk of material and filed it all smooth. No worries.
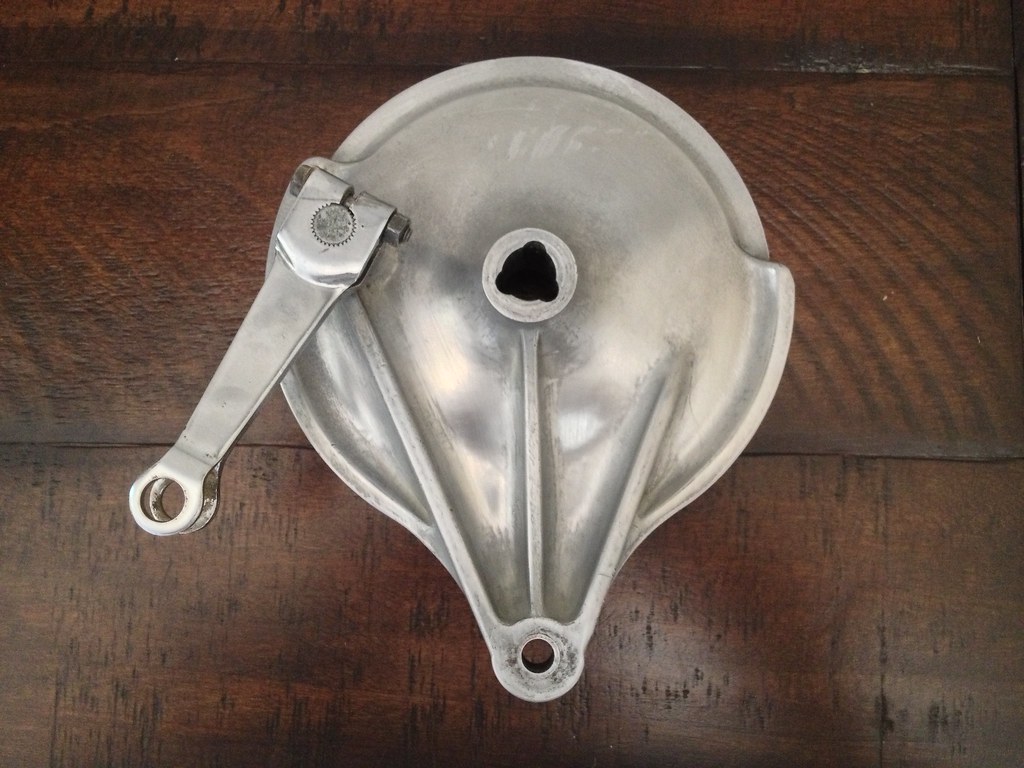
Also cleaned up the rear hub a bit. I figure I can always paint the brake plates in the off-season. Right now I'm just trying to get the dang bike back together so I can start shaking it down.
So the wheels are done and they're currently on their way to Vintage Brake along with the matching brake plates/ shoes to get turned, relined and arced.
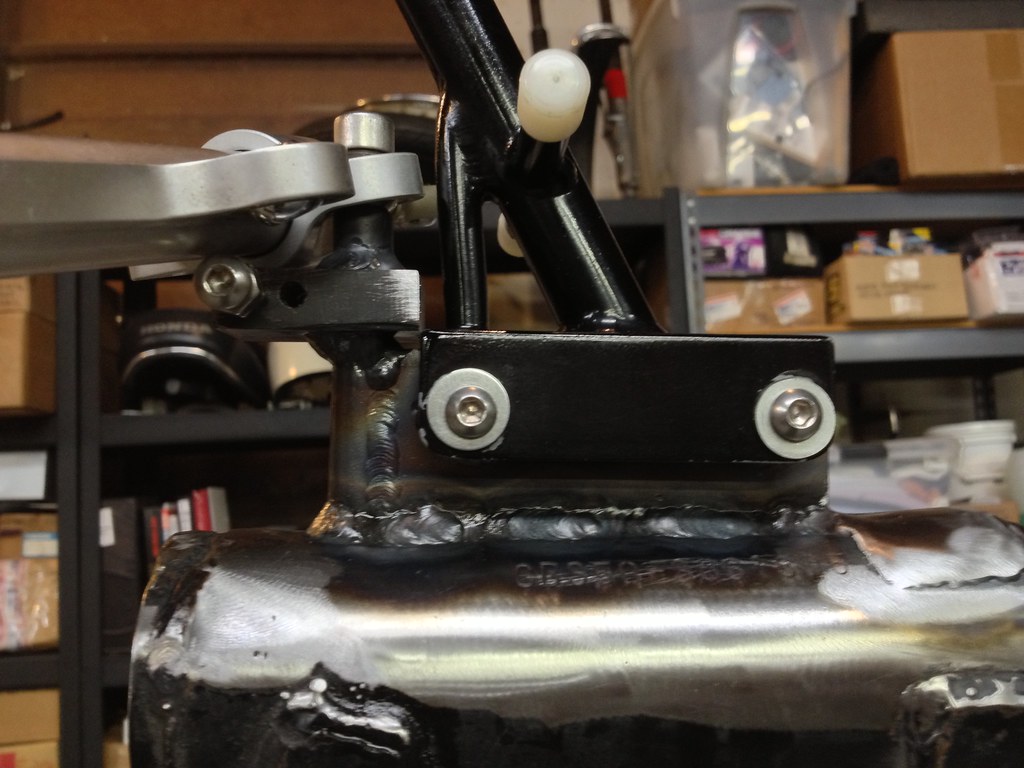
I also patched the head tube were I burnt a hole through it welding on the all-in-one fairing stay holder, steering damper mount and adjustable fork stops super bracket. Very Rube Goldberg.
I've also had 3 contractors over to the house to give me an estimate to finish our 1-car garage and turn it into a little workshop. While it would be a much smaller space I wouldn't have to drive an hour each way to work on my bike anymore. Hopefully this will get completed sometime in April.
Really enjoying your build, will be a fun race bike as the engines, even breathed on ones, are quite reliable and they handle really well with essentially little frame work. Welding the seams as you did is the best solution. The 35mm forks will stabilize the front end nicely as will the upgraded valving. What offset are you running? The offset offered on CB550 triples is 45mm and nicely stabilizes the front end at speed, not so twitchy and yet gives you flickability for snapping into the corners. Going with longer shocks will give you increased ground clearance and a bit more rake which helps corner entry turn in, all good. You may want a bit more hp than the 28.5 available from a stock engine to be competitive though as 45bhp at the rear wheel is the norm for a front running bike while the guys at Todd Henning Racing can produce over 50! Lovely welds and beautiful parts, will be an absolutely fantastic road racer and lovely to look at as well!!
My notes say the fork offset is 53 mm (2.09 in) and the fork width is 165 mm (6.49 in) center to center. But I'll have to double check that to be certain.
Kemp said:
You may want a bit more hp than the 28.5 available from a stock engine to be competitive though as 45bhp at the rear wheel is the norm for a front running bike while the guys at Todd Henning Racing can produce over 50!
Yeah, I need more than 28hp to haul my fat ass around! But my first goal is to get the bike safely on the track. Then I can focus on more power with the next motor, keeping this one as a spare in my "B" bike.
Kemp said:
Lovely welds and beautiful parts, will be an absolutely fantastic road racer and lovely to look at as well!!
Thanks! I keep getting better with the welding with each new project but I'm still no expert. Practice makes perfect. I've managed to collect a very pretty pile of expensive parts. I can't wait to paint the frame so I can get it all put back together so it looks like a motorcycle again.
Not much to report. This past weekend I stripped the 1-car garage down and cleaned it out so it can be remodeled into my little motorcycle shop. Met with the contractor again to discuss. VB notified me they have received my wheels from Buchanan's. Things are creeping along slowly but surely.
Contractor hired to do the garage renovations. The work starts tomorrow. Hopefully by next weekend I can start moving stuff from the old workshop to the new one.
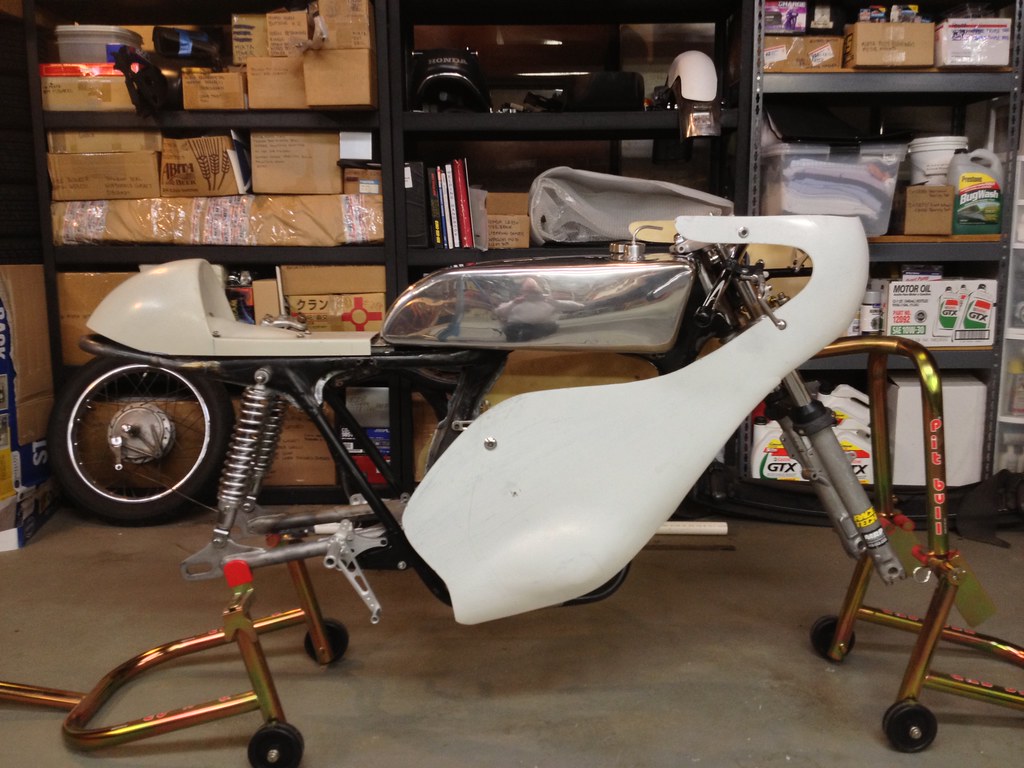
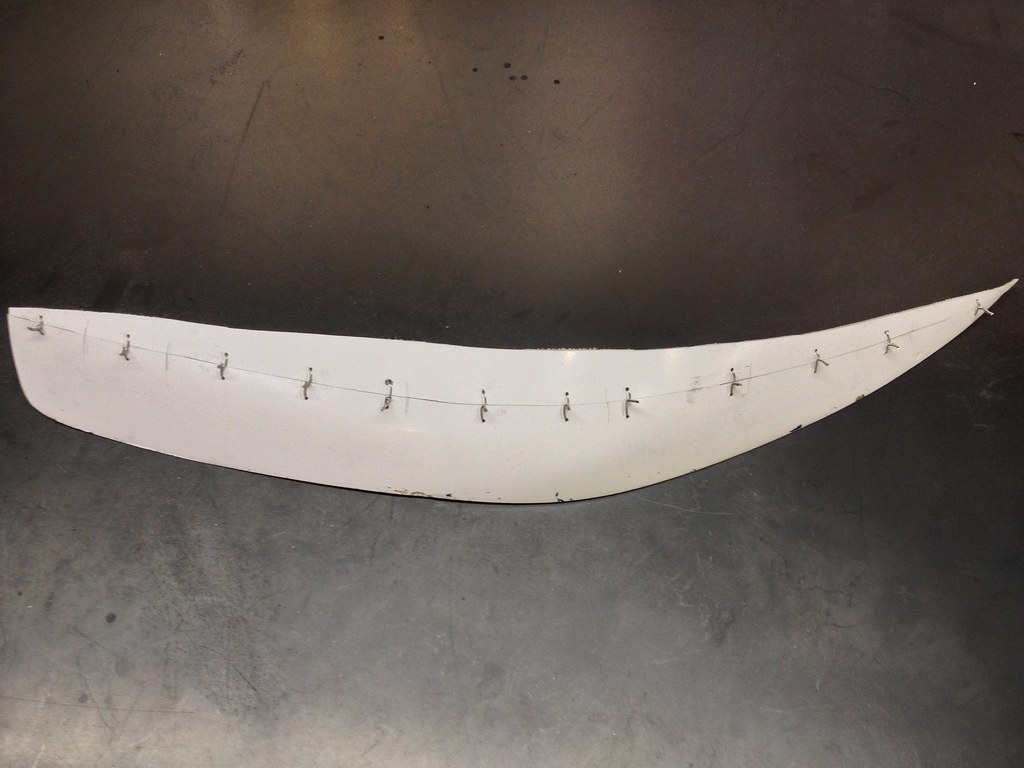
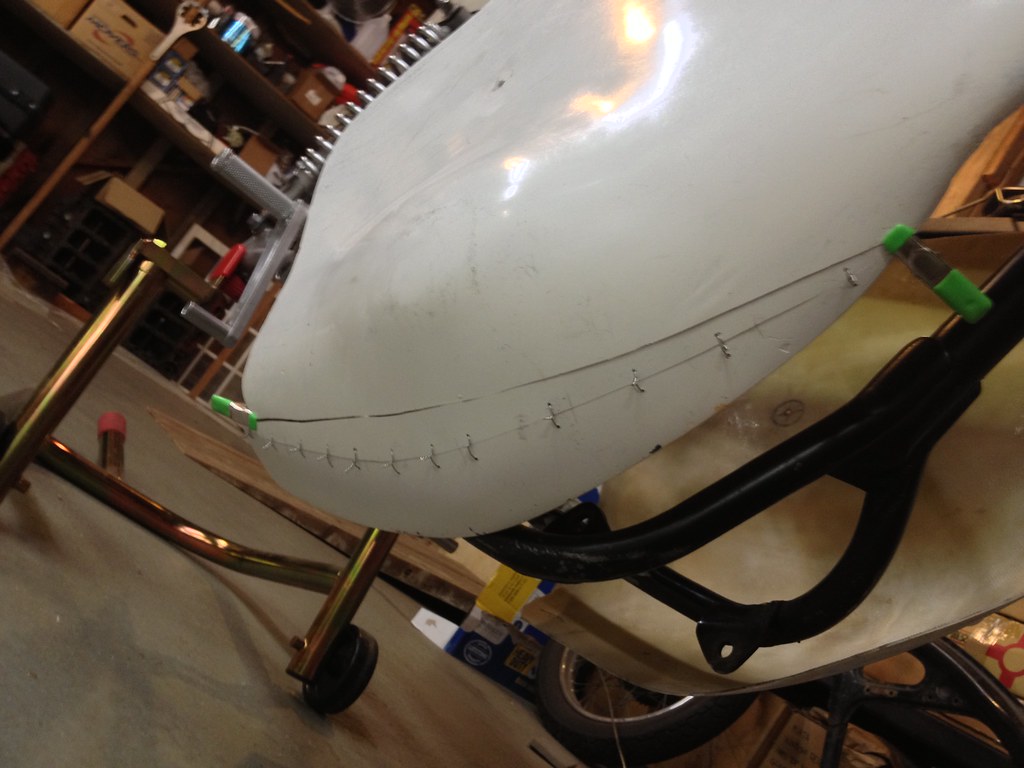
Try, try again. Remounted the bodywork. You can look at the old mounting hole vs. the new one to see how much lower it sits now.
Fortunately I saved the pieces I trimmed off previously when the body was too high and I thought I needed the clearance. Now I just need to bond them all back together and then do some very minor shaping.
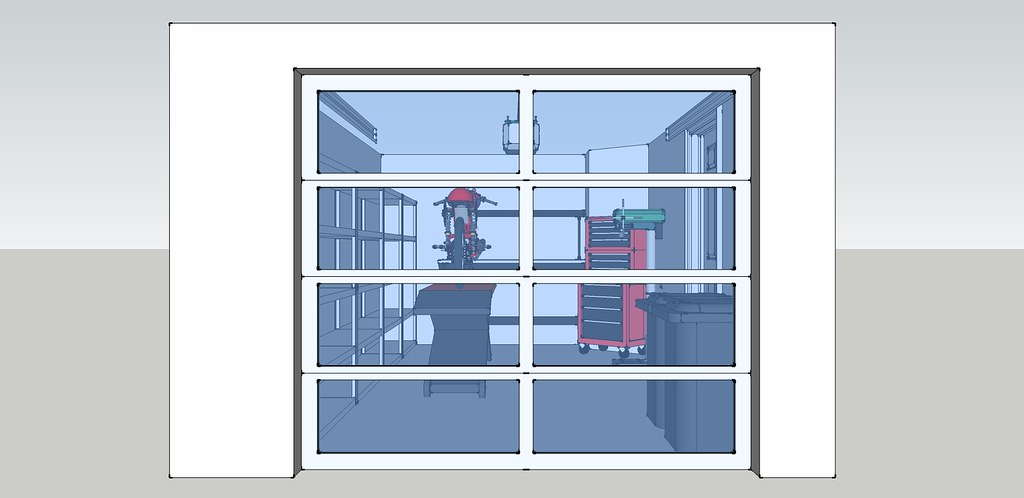
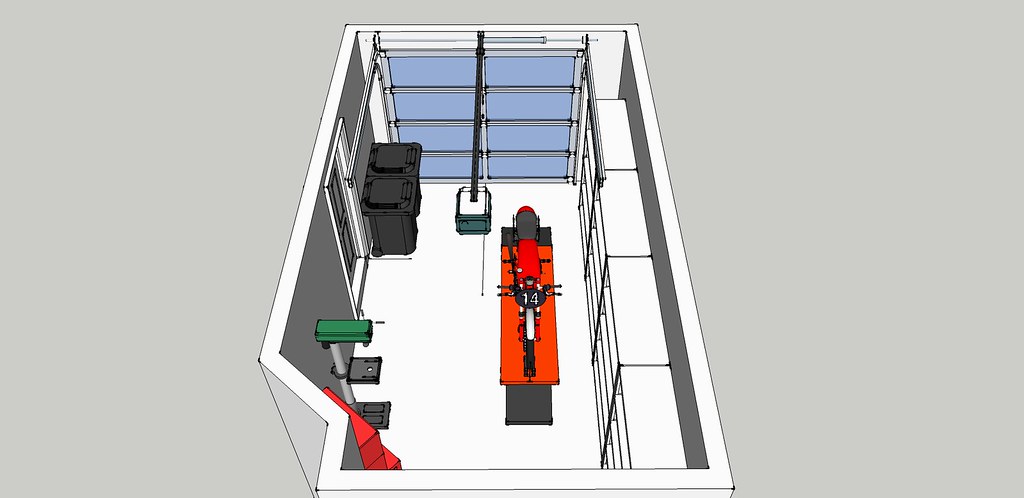
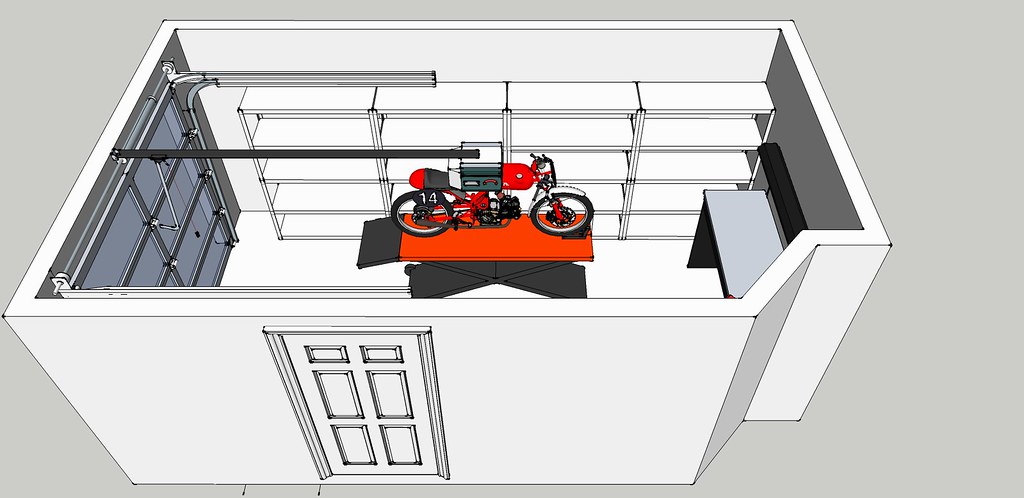
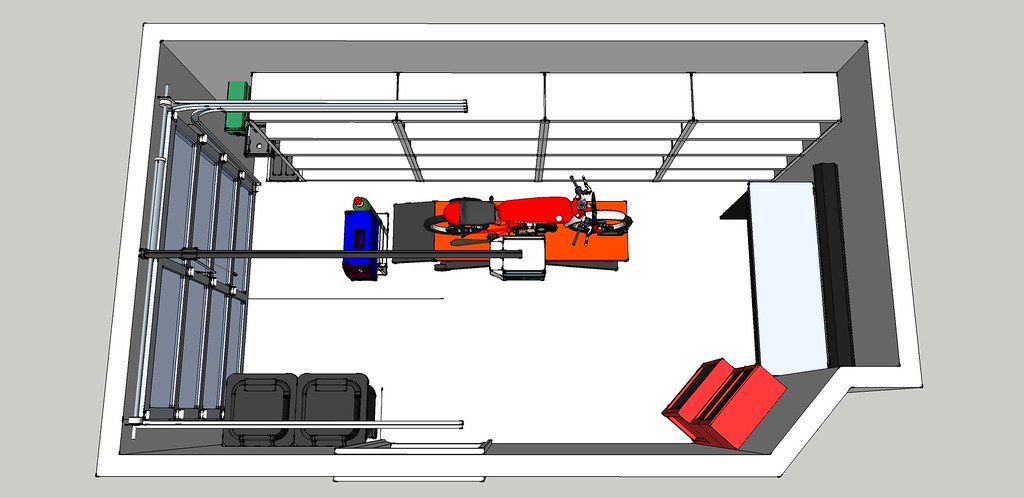
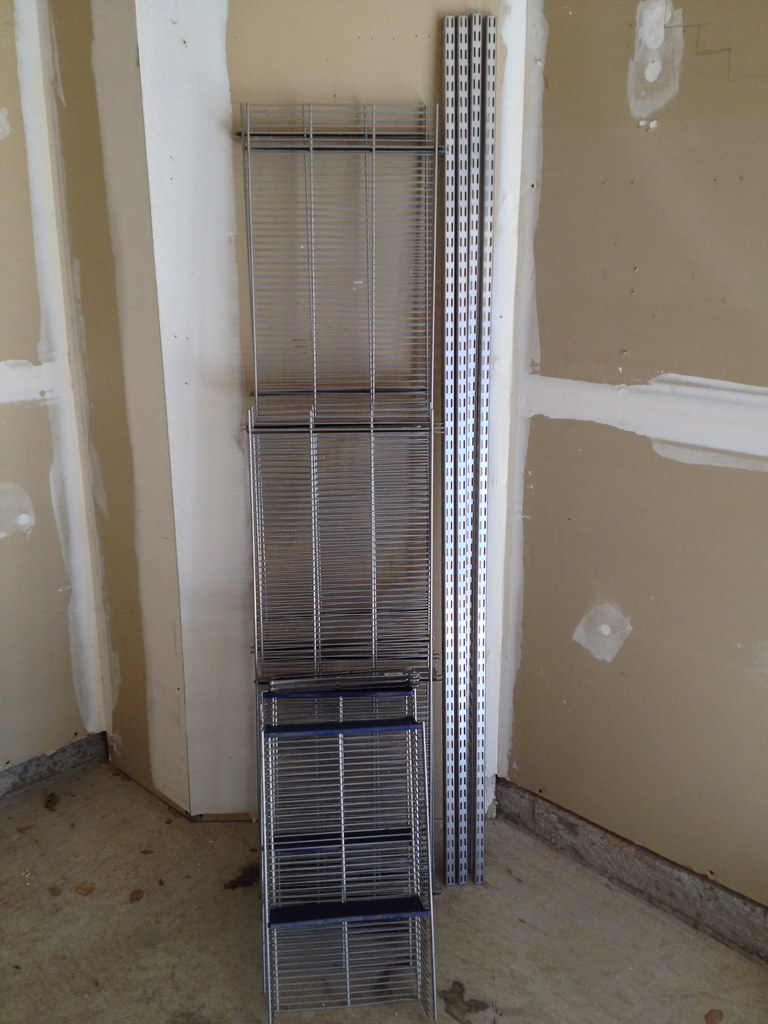
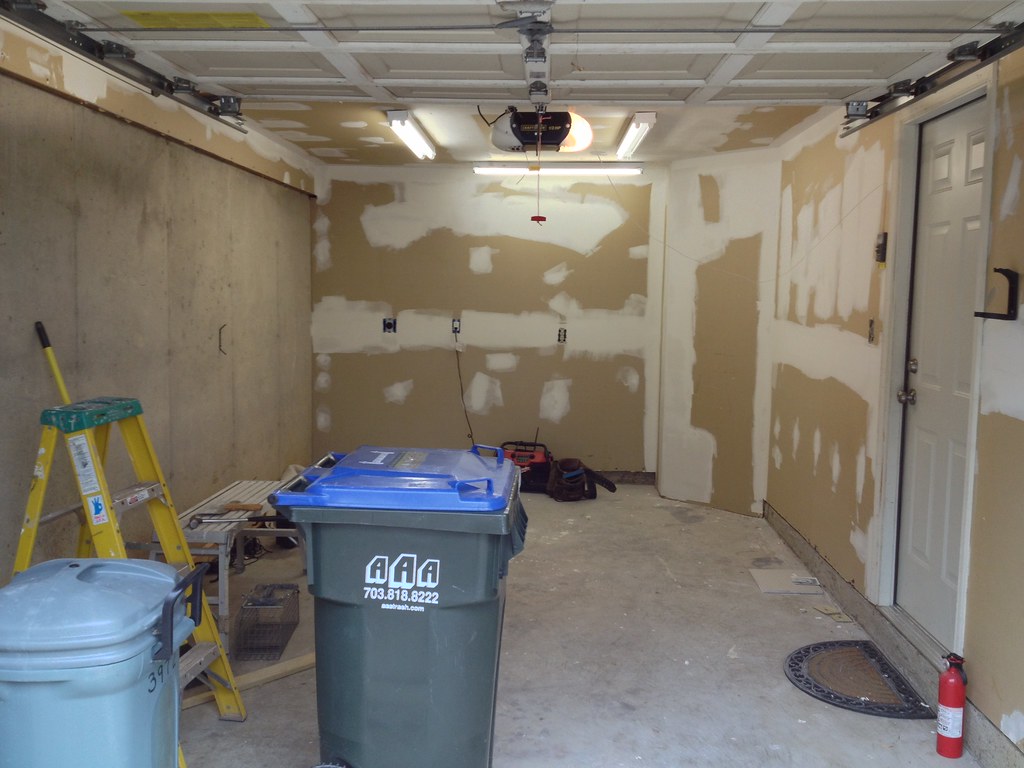
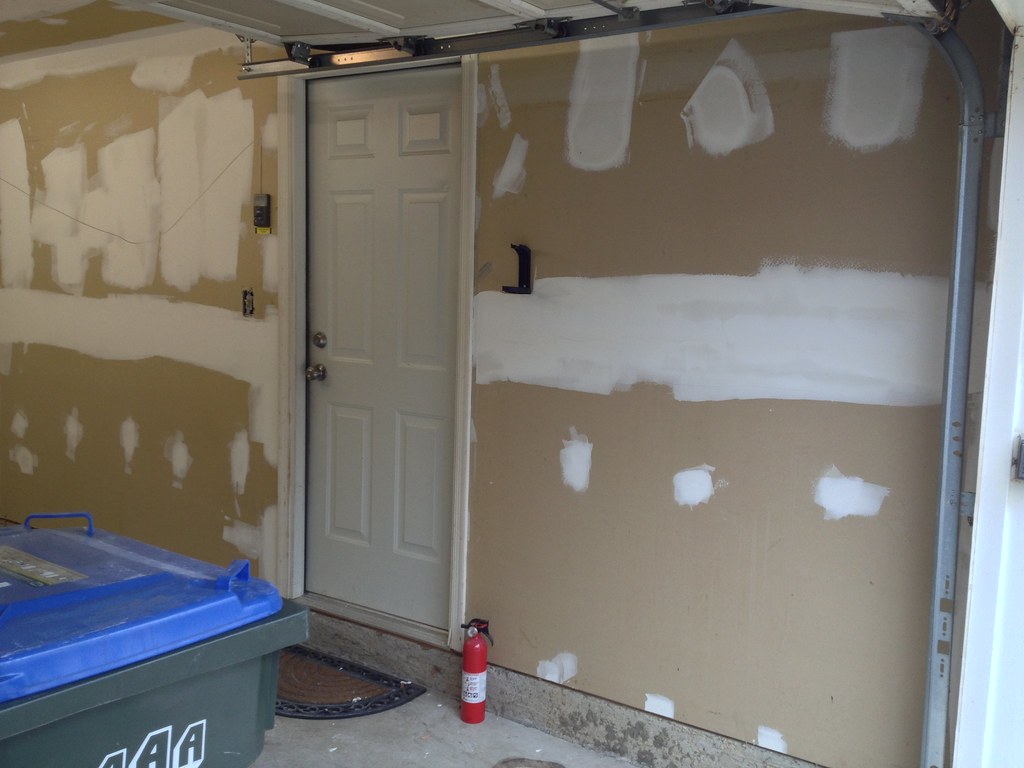
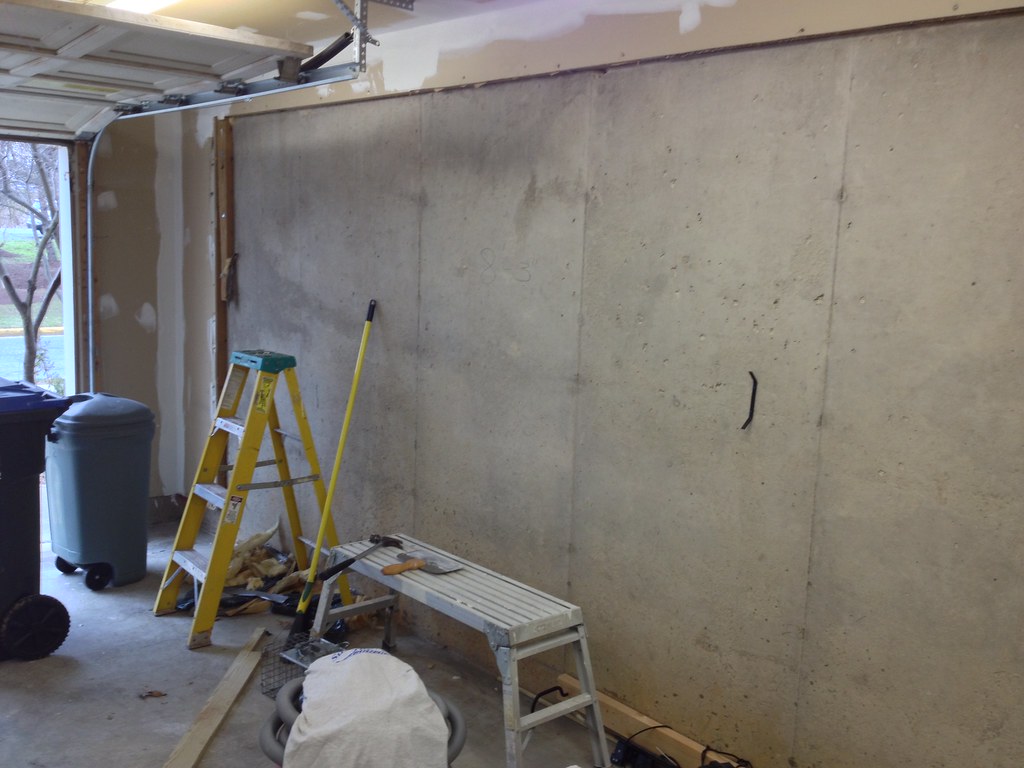
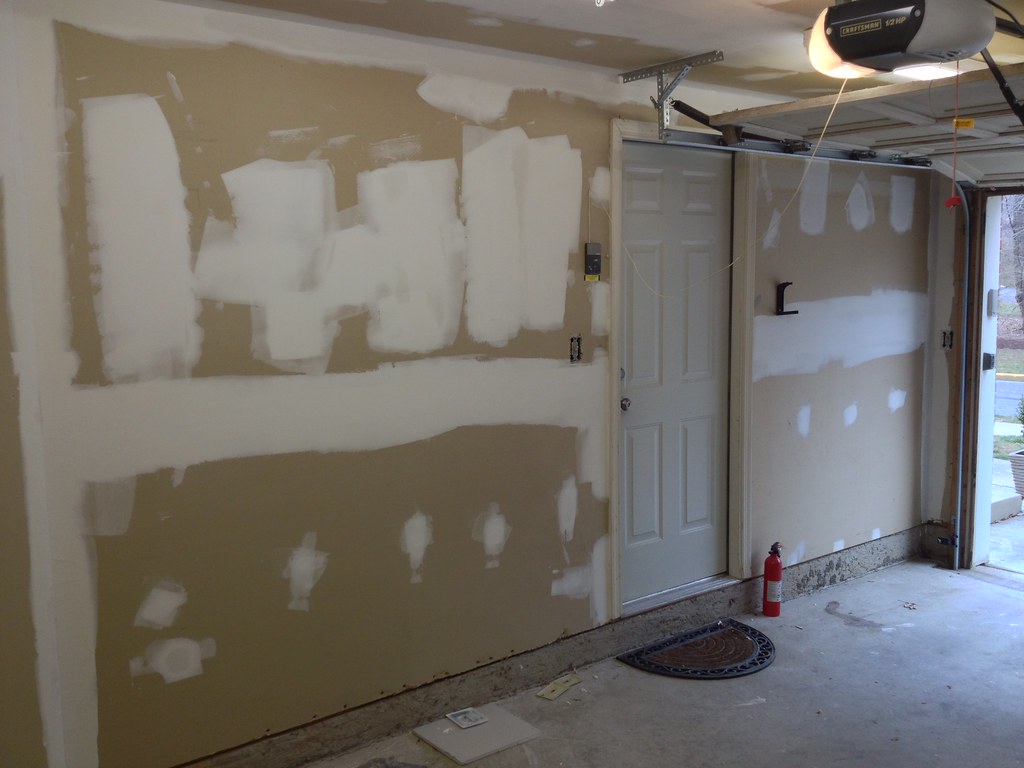
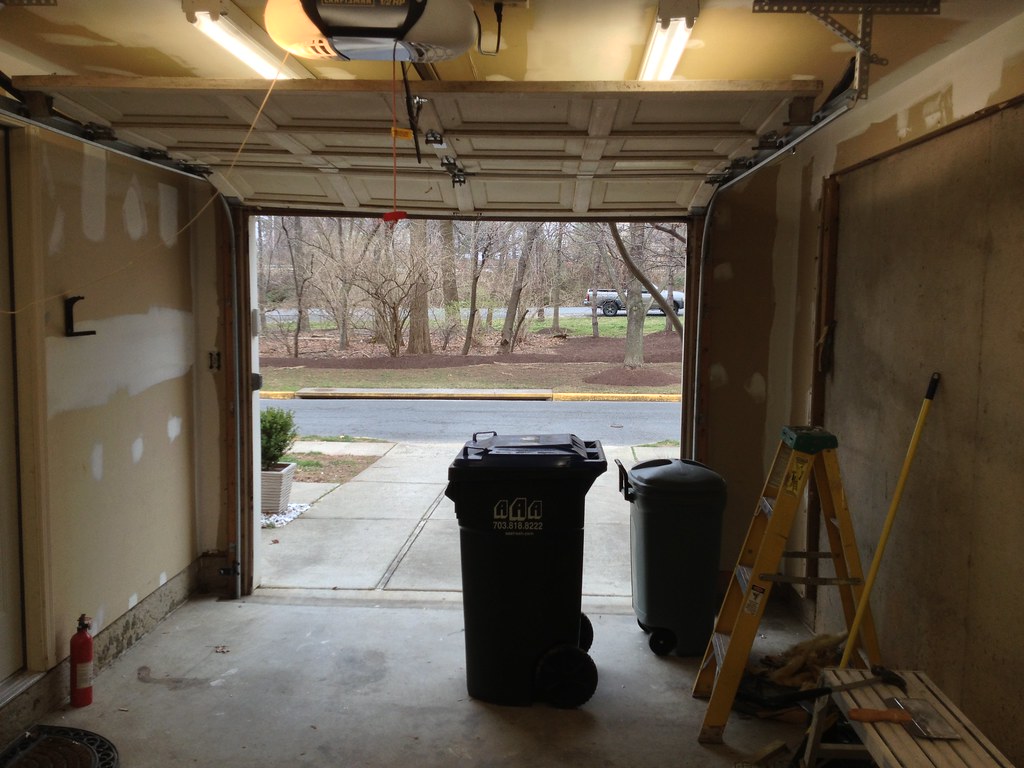
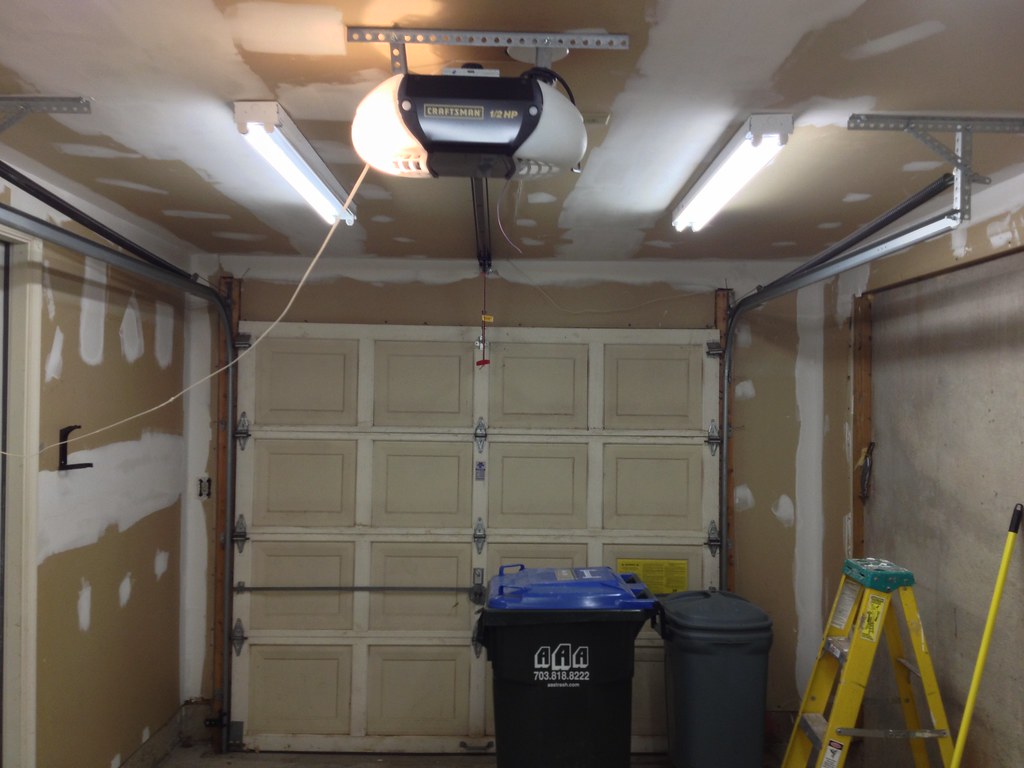
Also, in case anyone was interested, here is my garage remodel. We're converting the unfinished 1-car garage in our townhouse into a finished workshop. It will be primarily used as a space to build and maintain my motorcycle, but configured in such a way that it can still be used to park one car in the event of severe weather. Unfortunately I don't have any before pictures that show just how small this 1-car garage is with the car parked inside.
First I modeled everything to scale in Google SketchUp to determine if all my belongings will fit and also to play around with various layouts. I'm moving from a 3600 ft2 space that I shared with one other person to a 194 ft2 space that is dedicated for me.
We got 3 estimates from contractors we've worked with in the past and we're happy we could choose our friend's dad for the job. His company did a great job with our deck in 2011 so we know he'll do quality work. And because the weather is still kinda crummy and the busy season hasn't started yet he was able to get in right away and start work.
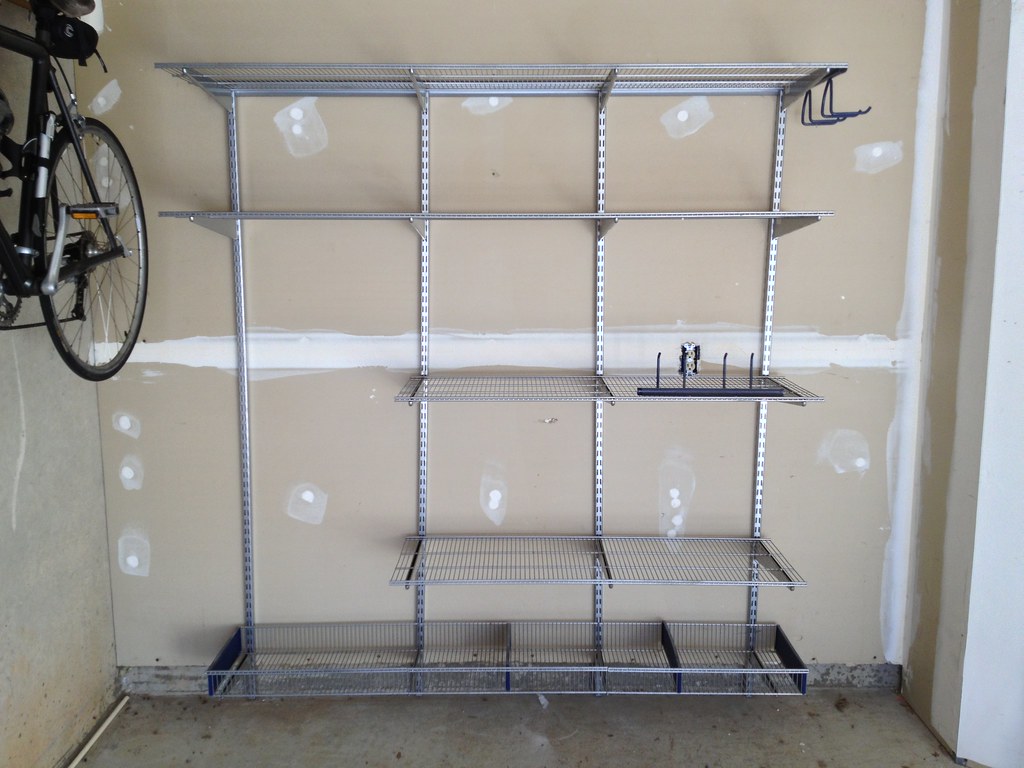
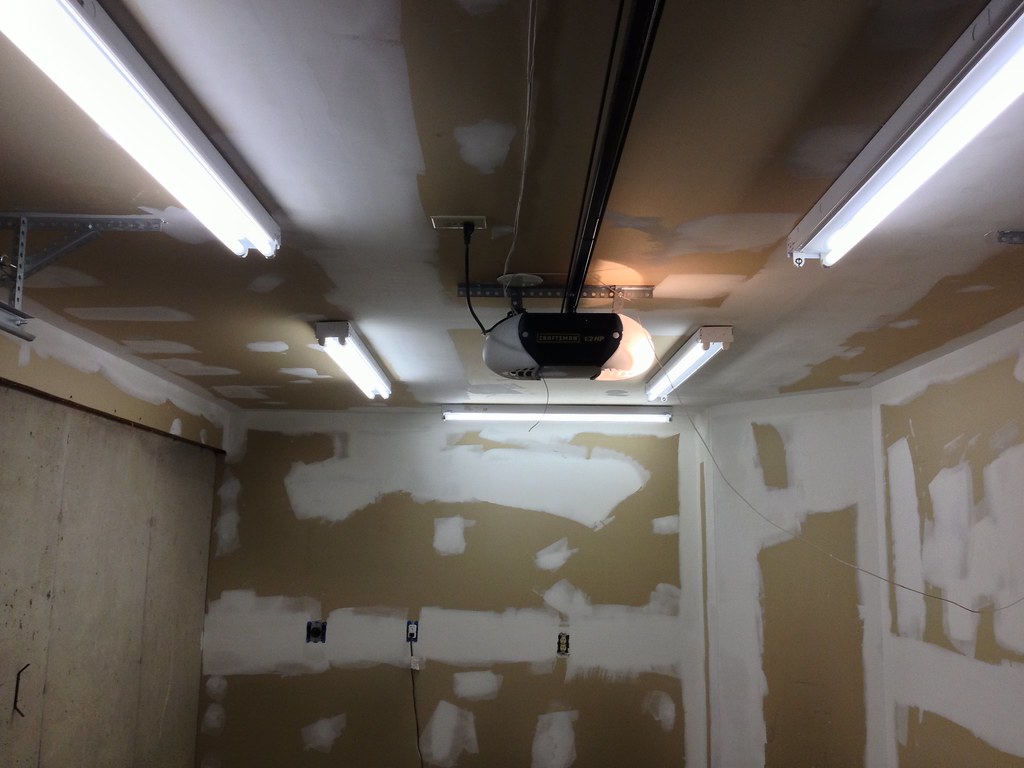
They ran 2 new electrical circuits from the panel: a 20amp 110v GFCI and a 50amp 220v for the welder/ air compressor. They also installed 5 basic flourescent lamp fixtures (Lithonia C232MV 4-ft General Purpose Striplights, 2 x 32W T8 Sylvania bulbs, Single Ballast). They also did lots of spackling to fix the drywall. Once it's sanded it will be primed and painted basic egg-shell white. The masonry wall will also get a primer/sealer and the same egg-shell white paint.
Work is progressing on the garage remodel in preparation for the big move. I also ordered some new tools off Amazon.com. Tools are great and all but they're not always what I would call fun. So I bought myself this new book, "Honda's Four-Stroke Race History 1954 - 1981" by Joep Kortekaas as a gift to myself.
The book doesn't list captions for the cover. It could be any of the early inline-4 racers. I'm sure there wasn't that many #1 bikes out there. Someone with knowledge of the number plate color schemes would be able to tell what class / engine displacement it was and go from there.
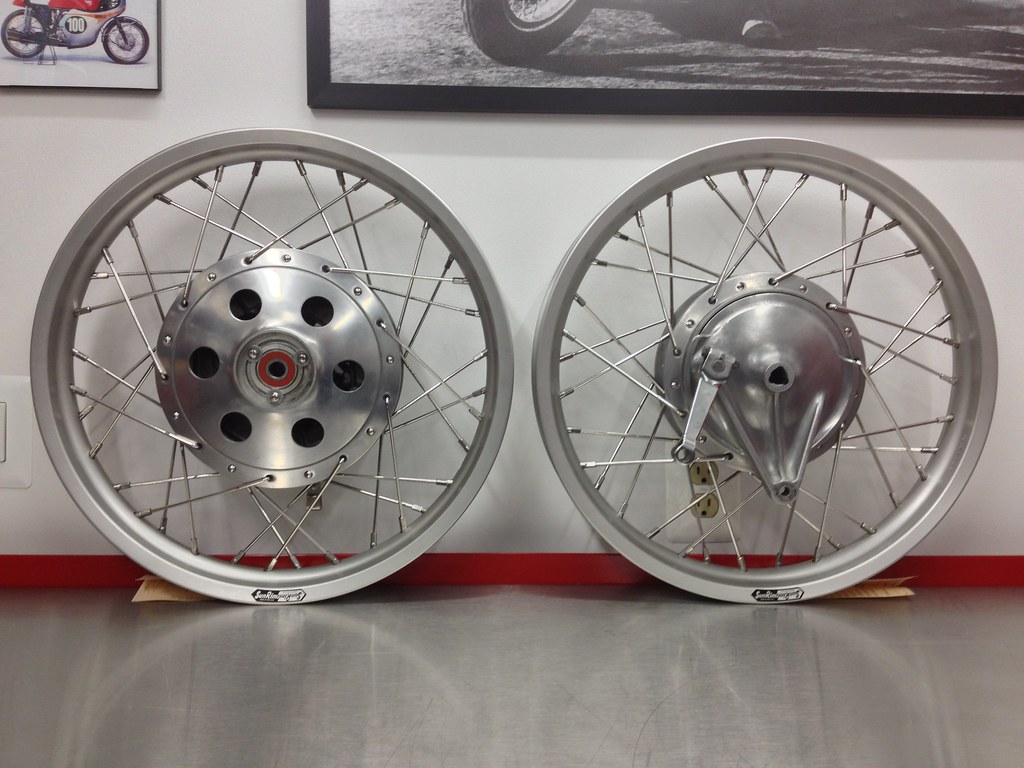
Wheels finally done! Time to get my rubber mounted and get this bike a little bit closer to the starting line.
Debating adding stainless steel mesh screen over those giant cooling holes to prevent foreign object intrusion.
I plan on running WERA mostly because they hold events at Summit (closest track to me) and their rule book has no requirement for putting mesh screen over vent holes. The AHRMA rule book states "Air scoops, if fitted, must have screens and be clear of all working parts." These holes are not air scoops. But that doesn't mean it's not a good idea anyways to cover them up with mesh screen. Just last season a fellow competitor (busapilot) picked up a screwdriver bit that locked his front wheel up. Fortunately this all happened in the pits at low speed with little consequence. I already picked up some cheap food strainers at the dollar store (the most economical source for small quantities of ss mesh). Only question now is do I JB Weld them in place or make my own swaged bezels and do I put mesh over the small holes on the brake backing plate? Or just the big holes in the hub? The holes are too small for soffit vents and its too difficult to enlarge them at this point. I dunno.
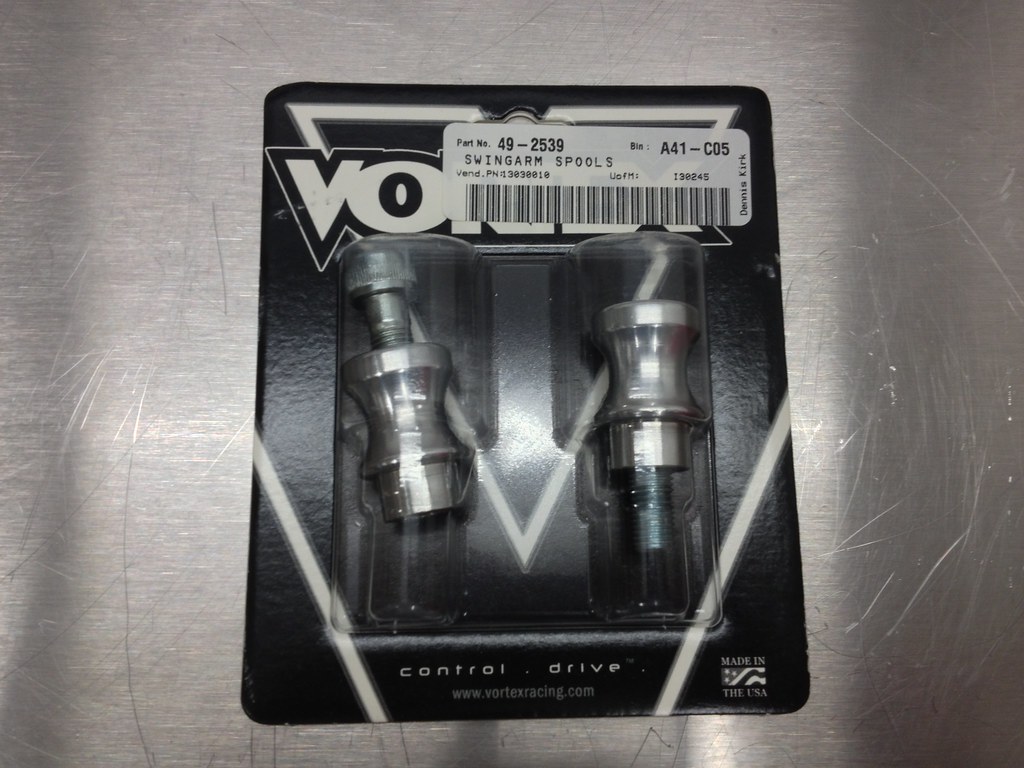
The plan is to mount these stand spools at the lower shock mounts using slightly longer grade 12.9 bolts.
This site uses cookies to help personalise content, tailor your experience and to keep you logged in if you register.
By continuing to use this site, you are consenting to our use of cookies.