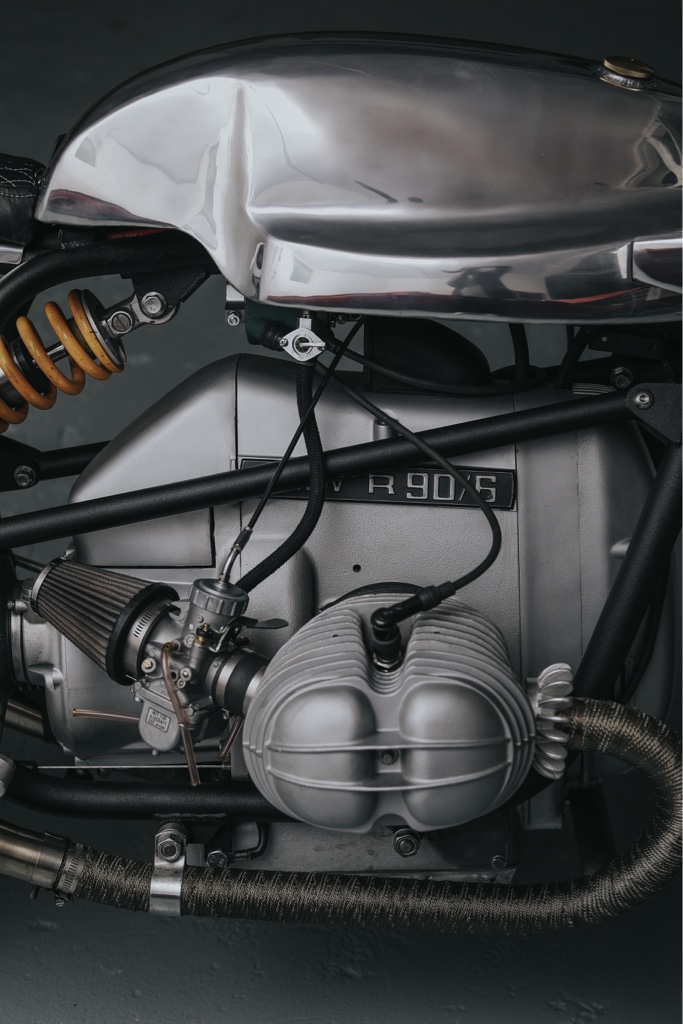
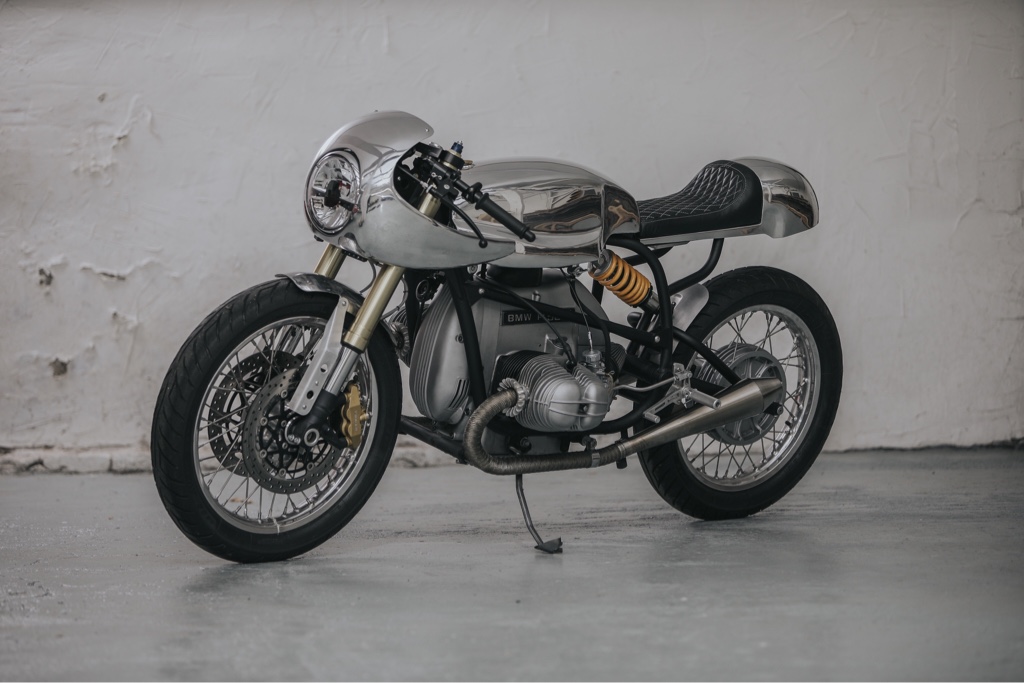
BMW R90/6 Cafe

ncologerojr said:
Thanks! Yeah, it’s tough stuff. I was able to shrink some of it with my power-hammer I built a while back, but some of it I had to tuck-shrink by hand. My arm still hurts.

You really want to avoid heat shrinking in cases like this, actually avoid it as much as possible in general. Anytime you heat shrink and then have to hammer a lot you’ll run into problems. I only use it when I have to shrink an area in the middle of a panel. It generally only comes into play when repairing a damaged panel.

Yeah, I've found it a little useful doing repairs on the VW, where I had a patch panel that had a larger radius than the actual corner of the bus. I was able to tack both ends and then work my way toward the middle shrinking as I went. Its not perfect and will need some filler, but it worked.

I have one deep dent I pulled in the middle of a panel that I just can't get to go away. I moved on and haven't touched it for a while, but I think my next course of action is to cut some metal out so the metal has somewhere to go.
 
advCo said:
Yeah, I've found it a little useful doing repairs on the VW, where I had a patch panel that had a larger radius than the actual corner of the bus. I was able to tack both ends and then work my way toward the middle shrinking as I went. Its not perfect and will need some filler, but it worked.

I have one deep dent I pulled in the middle of a panel that I just can't get to go away. I moved on and haven't touched it for a while, but I think my next course of action is to cut some metal out so the metal has somewhere to go.

There’s nothing wrong at all with a little filler used appropriately.

Those are perfect examples of when to use some heat shrinking. I would really advise against cutting. You lose metal when you cut, and then you shrink more when you weld the cut back up.

If you want, send me a pic of the dent and I can at least tell you how I’d approach it. I know that sometimes a different perspective helps me out.
 
It’s been a one step forward, ten steps back kind of week...
ec30785dcfd347054e5b73de180fc1f5.jpg


Out of nowhere I hear a terrible noise when cranking over the engine. It was
coming from the topside, so I removed the starter cover to find this.
212ce84b8f4ac0565a8a576acbfcca5e.jpg


Because I’m and idiot, I assumed that this was caused by a starter failure. I thought maybe it hung up and I didn’t hear it. I happened to have a second starter (long story), that I was able to swap in. The engine cranked perfectly for a second, and then bam, I watched the second starter buck and crack the same way. Something else had to be wrong. I slowly rotated the engine and found this broken flywheel tooth.

6ac89e78d066e0fd38c302f4697f796c.jpg


I have never seen this, and neither had anyone else I’ve talked to. I emailed the starter manufacturer, they’ve never heard of it. Usually the starter gear would break before a flywheel tooth. I really have no idea how it happened. Maybe just a weak tooth that couldn’t handle the higher-powered starter?

I ordered another flywheel and the awesome folks at Euro Motoelectrics are sending me a replacement nose cone free of charge.
 
Ah, bollocks. That could not have sounded good at all. Glad you found the culprit and good luck on the fix
 
There are two different tooth possibilities with these 70's engines. /5 and /6 ran an 8 tooth starter on a 93 tooth crank. 77/78 /7's ran a 9 tooth starter on a 111 tooth crank. Make sure you're correct there. A common issue that causes a broken nose is not having a good, tight and clean fit with the starter motor. Aftermarket starters such as the Valeo can tend to sit proud and require some metal removal where the nose fits through the engine case to get them to sit cleanly. Also, when running a Valeo starter, you want to re-use the Bosch screws and thread from the back without their nuts. Denso starters are also known to have fitment issues and require you to remove metal from the starter solenoid or the back casing. All this has to be checked when installing them.
 
Jimbonaut said:
Ah, bollocks. That could not have sounded good at all. Glad you found the culprit and good luck on the fix

It happens. Definitely sounded terrible though! The flywheel teeth were hitting that broken aluminum starter housing, and rattling it all over.
 
74702713afcf65ccccf7d2a6fd50b7ac.jpg


https://bmwmotorcycletech.info/boschvaleostarter.htm

Sent from my iPhone using Tapatalk
 
irk miller said:
There are two different tooth possibilities with these 70's engines. /5 and /6 ran an 8 tooth starter on a 93 tooth crank. 77/78 /7's ran a 9 tooth starter on a 111 tooth crank. Make sure you're correct there. A common issue that causes a broken nose is not having a good, tight and clean fit with the starter motor. Aftermarket starters such as the Valeo can tend to sit proud and require some metal removal where the nose fits through the engine case to get them to sit cleanly. Also, when running a Valeo starter, you want to re-use the Bosch screws and thread from the back without their nuts. Denso starters are also known to have fitment issues and require you to remove metal from the starter solenoid or the back casing. All this has to be checked when installing them.

The starter/flywheel combo was my first thought. BMW switched to the 111 tooth in 09/75, mine is a 74 with a 93 tooth 10mm bolt crank and 8-tooth starter, but most of the flywheels are interchangeable. I started to get concerned that the flywheel had been swapped at some point and I missed it. But, after disassembling everything it’s all correct. The starter mounts using the reversed bosh bolts and everything meshed together well, I was actually very pleased with the EnDuralast product.
 
I thought I’d check in and wrap up this thread for anyone who followed along.

The bike is done and delivered to it’s owner. The starter issues just turned out to be a manufacture defect, and replacing it with a higher quality unit did the trick.

The guys at Pipeburn just gave it a generous feature here: https://www.pipeburn.com/home/2019/11/26/shape-shifter-bmw-r90-by-catskill-mountain-customs-inc.html

Some finished photos shot by my buddy, photographer Matt Petricone.
c305e54ccd39336bf5f3ecd9bbbed0cf.jpg
23e861f94bcf7b8a7bced45031eaff7e.jpg
584fe4b2d5032d2c3b0f9a3b67f59ba3.jpg
2302076f68acf0d2c3f7a7c5df778c19.jpg
8f1ca2b30accda9b98c0b70f6ece38d1.jpg
97ca43cb5f82bd2eb13126c0673e89ef.jpg
633e622f40e0039d69d63534589bfce9.jpg
affd15ad808ac4c6772370c005b576f1.jpg
9fcd3b3834411e70822cd01cd28ee66e.jpg


Thanks to everyone who followed along with this one!
 
Wow - looks incredible.

Out of curiosity, do you have the Mikuni specs you used? I'm running VM32's on my R75/6 which also has the 1000cc Siebenrock kit.
 
Bravo my friend. Your craftsmanship is something to envy. That turned out beautiful.


Sent from my iPhone using Tapatalk
 
Wow - looks incredible.

Out of curiosity, do you have the Mikuni specs you used? I'm running VM32's on my R75/6 which also has the 1000cc Siebenrock kit.

Thanks!

VM32’s also. I believe, 30 pilot/ 210 main, slide needle on 2nd notch from bottom. I don’t recall the slide needle size...I’m at around 1200’ elevation.

Hope that helps.
 
Although things went a bit wobbly back there this is still my Bike of the Month!


Sent from my iPhone using DO THE TON
 
Hey I just read your Pipeburn feature (congrats man) and learnt you make custom steel exhausts. I'm working on an '82 CB750F and always finding new ways to spend a bunch of hard-earned on the thing. Do you have a website?
 
Back
Top Bottom