1966 Suzuki K10P Corsair

subrew

New Member
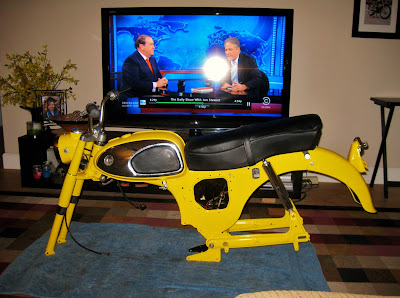
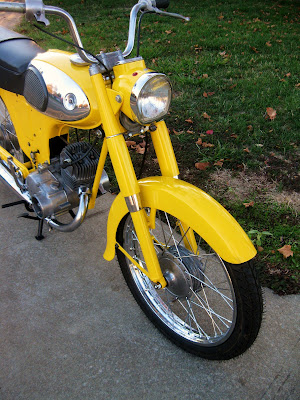
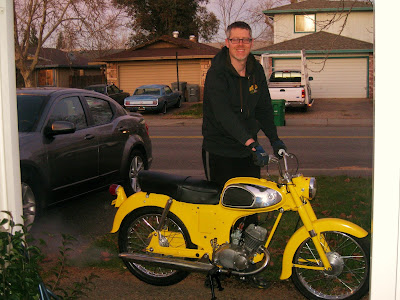
Finally got my latest project on the road and running. I still have a few little things to finish up on it, and need to source some hard to find trim parts. Here is a quick recap:

---

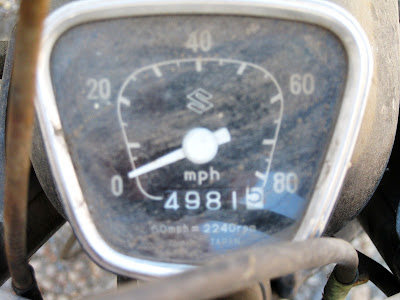
Yes, I have started another project. This time, I at least waited until after I got El Guapo fully up and running, with proper jetting and timing. I've had this little 80cc 2-stroke Suzuki sitting patiently for about five years, so I figured it was time to get it in the garage.

I'm not sure what my plans are for this bike. I've done several cafe racers, so I doubt I'll got that route. Also, some of the hard-to-find items like the chrome bits, are in excellent condition. So I would hate to ditch them just to replace them with new items. So I'll likely do a generic restoration of it.

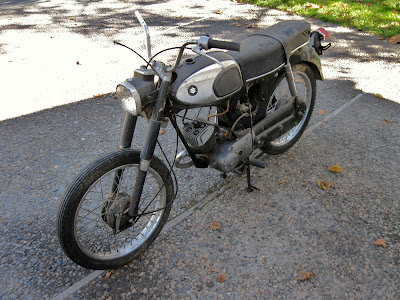
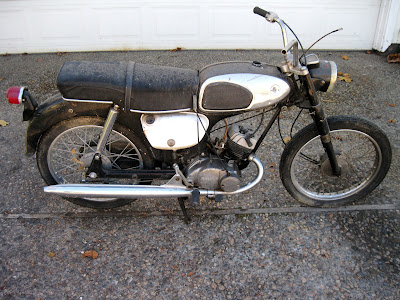
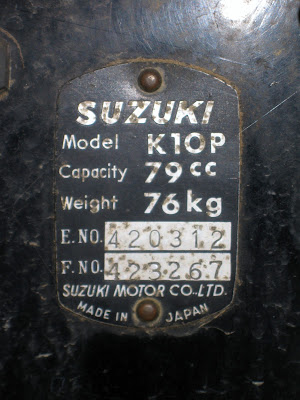
As found. This appears to a single year offering from Suzuki, with the K10P only showing up in the 1967 catalogs:
teardown+002.jpg


teardown+009.jpg


teardown+004.jpg


teardown+012.jpg


teardown+005.jpg


teardown+007.jpg


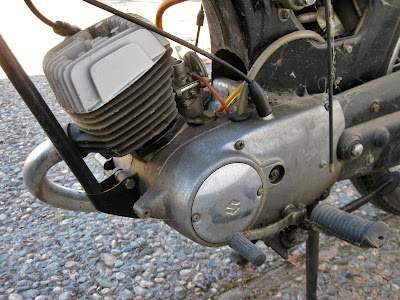
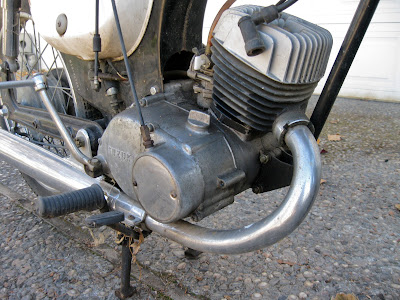
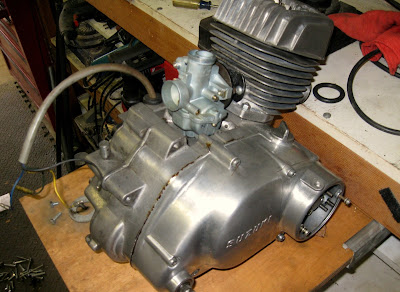
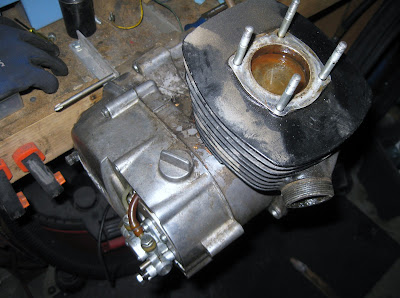
I snatched the engine out of the frame, and put it on the bench mount:
teardown+015.jpg


teardown+014.jpg


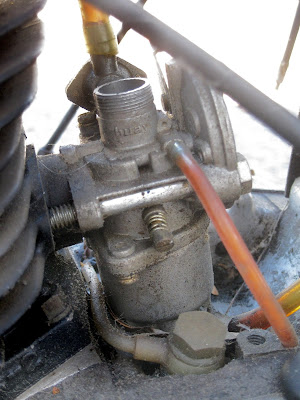
Crazy little carb. Never heard of the "Huay" brand:
teardown+013.jpg


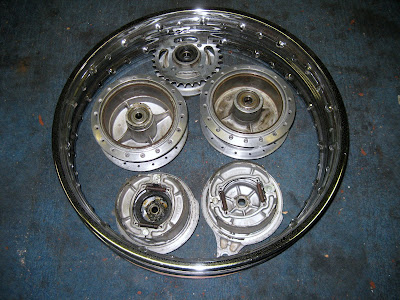
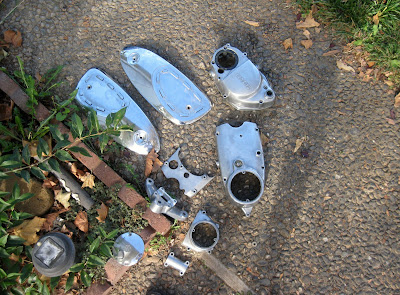
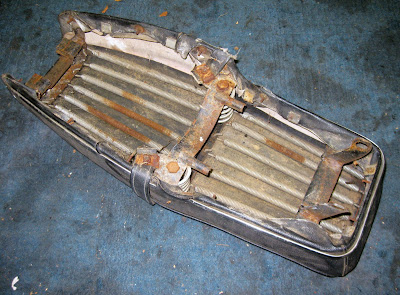
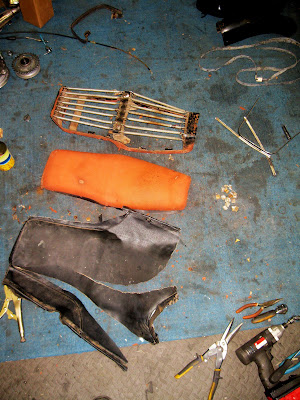
Down to the frame in less than an hour:
teardown+016.jpg


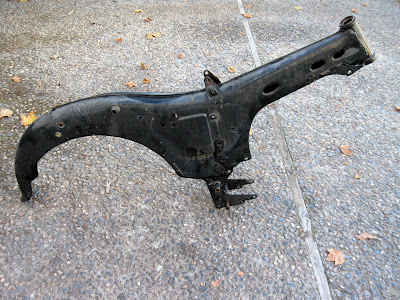
The pressed steel frame weighs a whopping 15.8 pounds. Roughly 5-6 pounds lighter than the same vintage Honda pressed steel frame. Also, the Suzuki was packaged much more cleanly than the little Hondas I'm used to. They use one bolt/nut to secure numerous items, such as the lower engine mount bolt also holding the footpegs and side stand. That means way less hardware for me to have to clean.

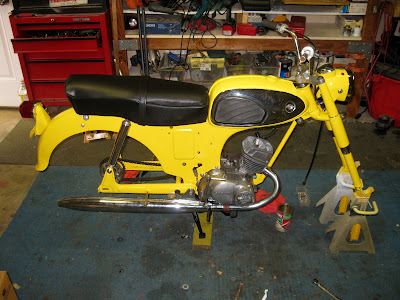
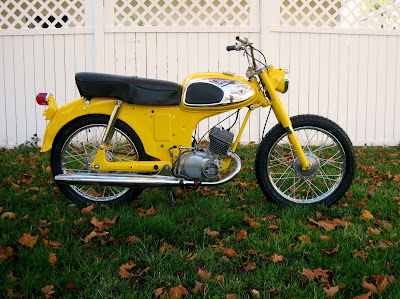
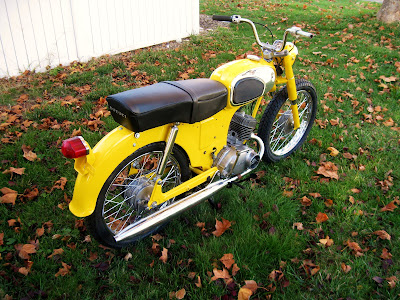
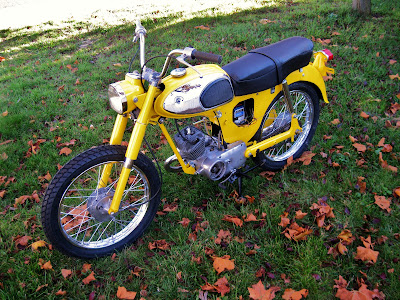
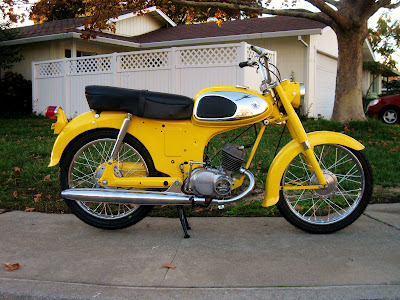
Because I already have a couple black bikes, I'm actually thinking of going bright yellow on this one. Yellow was a popular color for Suzukis back in the day.
 
An update! My folks visited from Southern Oregon, so I put pops to work doing the brakes. This was his first time working on a motorcycle, so he appreciated how incredibly simple 4" brake drums are. We also got both backing plates and hubs cleaned and polished up, and the original wheel rims too.

brakes+001.jpg


I also got quite a bit of the aluminum polished up. I don't go for a mirror finish, since these bikes never came that way stock. Instead, I used a 3M scuff pad to clean them, then some 00 stainless wool and a bit of hand cleaner goo to polish them. Gives them a nice clean look that is easy to clean up.

seat+004.jpg


I also tore down the seat, to get it ready for a new vinyl skin. The old vinyl was crusty with a few small rips:
seat+001.jpg


Instead of a hunk of foam on a seat pan, this sucker is sprung. It uses long extension springs, and two coil spring for the cushioning:
seat+002.jpg


Seat torn apart, showing the frame assembly, thin rubber and foam top pad, and the old vinyl cover:
seat+003.jpg


Made up an intake manifold to mount a 20mm Keihin carb I had on the shelf. The carb that came with the bike wasn't stock, was super tiny (12mm) and didn't really fit. So this should help solve that problem. The fact I run this carb on half a dozen other little bikes means I have lots of tuning experience and extra jets.

carb+002.jpg


I also got busy doing some assembly work. It went really quick, and I realized I didn't get any pictures until this point. The man that ate Mike Huckabee approves.

assembly.jpg


I also got most of the bike wired, made a little mount for a battery, and got a proper battery tie-down method figured out.

I spent a bit more time doing assembly work today. It was three beer's worth, so that meant I got the engine in, footpegs, center stand, kick stand, exhaust, rear brake arm etc. I'm still waiting on the new wheel spokes to arrive from oversees. Normally I have the wheels mounted before I do all this, and frankly, I like this way better. More room to reach around and through the bike to get to the fiddly shit. I also got the front fender painted Tuesday, so I'll likely get it mounted up soon.

assembly+002.jpg
 
Got my new wheel spokes and nipples via Thailand this morning, so I spent some time in the living room building both wheel assemblies.

wheel+assembly+001.jpg


One pot of french press and two episodes of "The Men Who Built America" on the History Channel later, and I had two complete wheels with fresh 2.75x17 Michelin Gazelle tires mounted up on the bike:

wheel+assembly+002.jpg


wheel+assembly+004.jpg


wheel+assembly+007.jpg


I need to mount up the front fender, chain cover, and the front brake cable and lever. I'll also likely see if I can get spark. I also need to grab a couple small metric bolts from the hardware store to mount up my new intake manifold, so I can get the 20mm Keihin carb on. Getting closer to running!

Suzuki actually used this yellow on bikes in the 60s. Back in the day, Suzukis were yellow, Kawasakis used a lot of orange, and Yamahas were white, Honda red, Bridgestone blue.

I got the front fender mounted up with new fabricated support brackets:
front+fender+002.jpg


front+fender+003.jpg


I also got spark! All the wiring is original, and in good shape, but I don't have a key for the main switch. I also don't have a wiring diagram on this bike, so I just used my knowledge gained from all my other bikes to figure out what needs to be conected to the battery, and what goes to ground. In this case, black from the magneto goes to black on the coil. And by grounding the grey wire off the engine harness, I get spark. The other wires are there for the lighting coil and charging circuit. I'll likely just run a pair of simple switches, one to cut power to the coil, and one for the lights.

It runs! About damn time too. Nothing like starting a new job, "dealing" with the holidays, and cold weather to stall out a project. That and the fact I was having mysterious issues that didn't let this little beast speak, I just pushed it in the corner for a month.

Turns out an $8 condenser fixed it. After getting busy with the solder gun this evening, I primed it up and it fired up for the first time in likely over 20 years.

Shit eating grin, two-stroke smoke:
running+001.jpg


And a really exciting 10 second video of it idling:
http://www.youtube.com/watch?v=CPa-XqBuSbk&feature=youtu.be

It just needs a little wiring work, a front brake lever, and I'll give it its first run down the road.

Chris H.
 
Nice work! That thing looks awesome in Yellow.......enjoy the ride
 
Back
Top Bottom