1970 VW Bus - Westfalia Resto

Blasty things happened today.

1920437.jpg

1920438.jpg

1920439.jpg

1920440.jpg
 
Well, I got home and started cleaning everything off. TONS of holes in the floor which didn't surprise me that much. What sucks is the guy missed a ton of areas on the undercarriage. He's "asking a guy if he can come out tomorrow, no promises."

I'm pretty pissed. I can't paint over this shit, I wanted to have all the bare metal primed tomorrow. Hopefully he makes it right. The one saving grace is that I haven't paid yet.
 
This weekend was rough, but productive. In the 90s with a heat index of over 100 makes not so fun work out of cleaning sand, prepping, and spraying.

After work Friday, I got home and started cleaning all the sand out the bus. Well I found a ton of areas that the blaster missed, and I was super pissed about it. I called him back and he ended up coming back out Saturday morning to hit the few spots that were missed. Overall the job was about 6/10 quality as a lot of areas were not done as thoroughly as I would've liked. Oh well, its done and paid for now.

So Saturday morning after they came back and finished up, I got to work. Wet blasting sucks. Sand caked to everything. 12 hours on Saturday prepping any missed areas and cleaning. I sprayed everything down with Ospho to kill any residual rust and flash rust that appeared.

Sunday morning I did a final clean and wipe down with acetone, then sealed all the bare metal with Epoxy primer.


1921222.jpg

1921221.jpg

1921220.jpg

1921218.jpg


Then I decided it would be a good idea to paint the seat frames (which I also had blasted) with a brush...so I spent the rest of the day doing that. I found one broken spring on the drivers seat in a spot that had rotted out. I think I have a plan to fix that but any suggestions are welcome.

1921219.jpg


And last but not least, late last week my rebuilt 34 PICT-3 came in from Tim at Volkzbitz. I'm thoroughly impressed. Here's a little before and after.

1921223.jpg

1921224.jpg
 
Thanks fellas. I was pretty down on this project after the whole sandblasting debacle, but now that I’m past that I’m feeling motivated again.

Tonight I worked some more on getting the nose ready for the transplant. I’ll post some pics on that later.

Also, 3/4” galvy conduit from the big box stores is a damn near perfect match for the main harness conduit. The blasting blew some holes in the original one. I got a 5’ piece for $4.50. Be sure to grind off the galvanization before welding. I bent a tiny bit of a crown in it so that any water will drain out the ends.


1921582.jpg


1921583.jpg


1921586.jpg


Sent from my iPhone using DO THE TON
 
Yesterday after work I knocked out a big dent at the front of the roof. It still needs a bit of work I think but we'll see after I get the rust cleaned up and some primer on it. Are the two holes higher up on the roof are supposed to be there (visible in second pic)

1922291.jpg

1922290.jpg


Then I rough cut and formed a small patch for the back side of the roof, where one of the luggage rack screw holes rotted out. It fit up really well and I took my time welding, but the metal seemed to pull in a little bit after it was all said and done so there's a bit of a low spot. I'm thinking I may want to keep my gaps a bit smaller to avoid this in the future.

1922287.jpg

1922286.jpg

1922285.jpg
 
I had last week off to work on the bus, and do some work on the house to get it ready for the market.

Decided to tackle the rear parcel shelf and the rotted corner so that I can get the engine bay buttoned up and ready for paint. Unfortunately I ended up having to cut out more metal than I had donor metal, so I had to piece it together with 7 pieces. The "before" pic makes it look better than it was, after blasting the deep pits between the ribs were probably as thin as paper. Pretty much hated myself during that entire repair. The interior corner went in really well, it was cut a bit short by the fuel filler so I had to fabricate some pieces to make it a bit longer, and then fabricate a small piece to patch up the shroud around the filler neck. Skimmed on some Dura-Glass, sanded and shot with epoxy primer. I also seam sealed the back side of the weld and primed the "roof" of the engine bay, got the gas tank shelf all patched up and sealed as well.

Parcel Shelf After Blasting:
1927605.jpg

Parcel Shelf Welded up:
1927594.jpg

Interior corner before, there was a HUGE ass mouse nest inside the cabinet. Gross:
1927593.jpg

Corner welded up and filler neck shroud tacked in. I replaced the whip on my MIG a few months ago and apparently I was too rough on the replacement. It started leaking gas, and I accidentally left the tank shut-off valve open one night and it emptied out my tank. Figures, the one time I've ever NOT closed off the tank, I have a leak in my line. I need to address that cancerous area above the corner I replaced. I welded up some holes but its pretty gnarly. I may just weld up the few more pinholes that popped up and slather some POR-15 on there. Those riveted sheet metal covers go over that anyways, but I do want it to be solid.
1927592.jpg

Had to refill my argon bottle and then got everything welded up, filled and shot with epoxy primer. I got pretty impatient on those long ass weld runs on the parcel shelf, so its a little bit wavy but it's going to be hidden by the "bed" so I'm really not worried about it.
1927590.jpg


Later in the week I powder coated and welded in the "mud flap" pieces I made forever ago. Just need to scuff and seam seal them up.

1927591.jpg
 
Time to revive this thread. I've been chipping away over the past few years but a big move, and first kid put the bus on the backburner. Bear with me, its going to take a while to find all the pics from the past five years and organize everything.

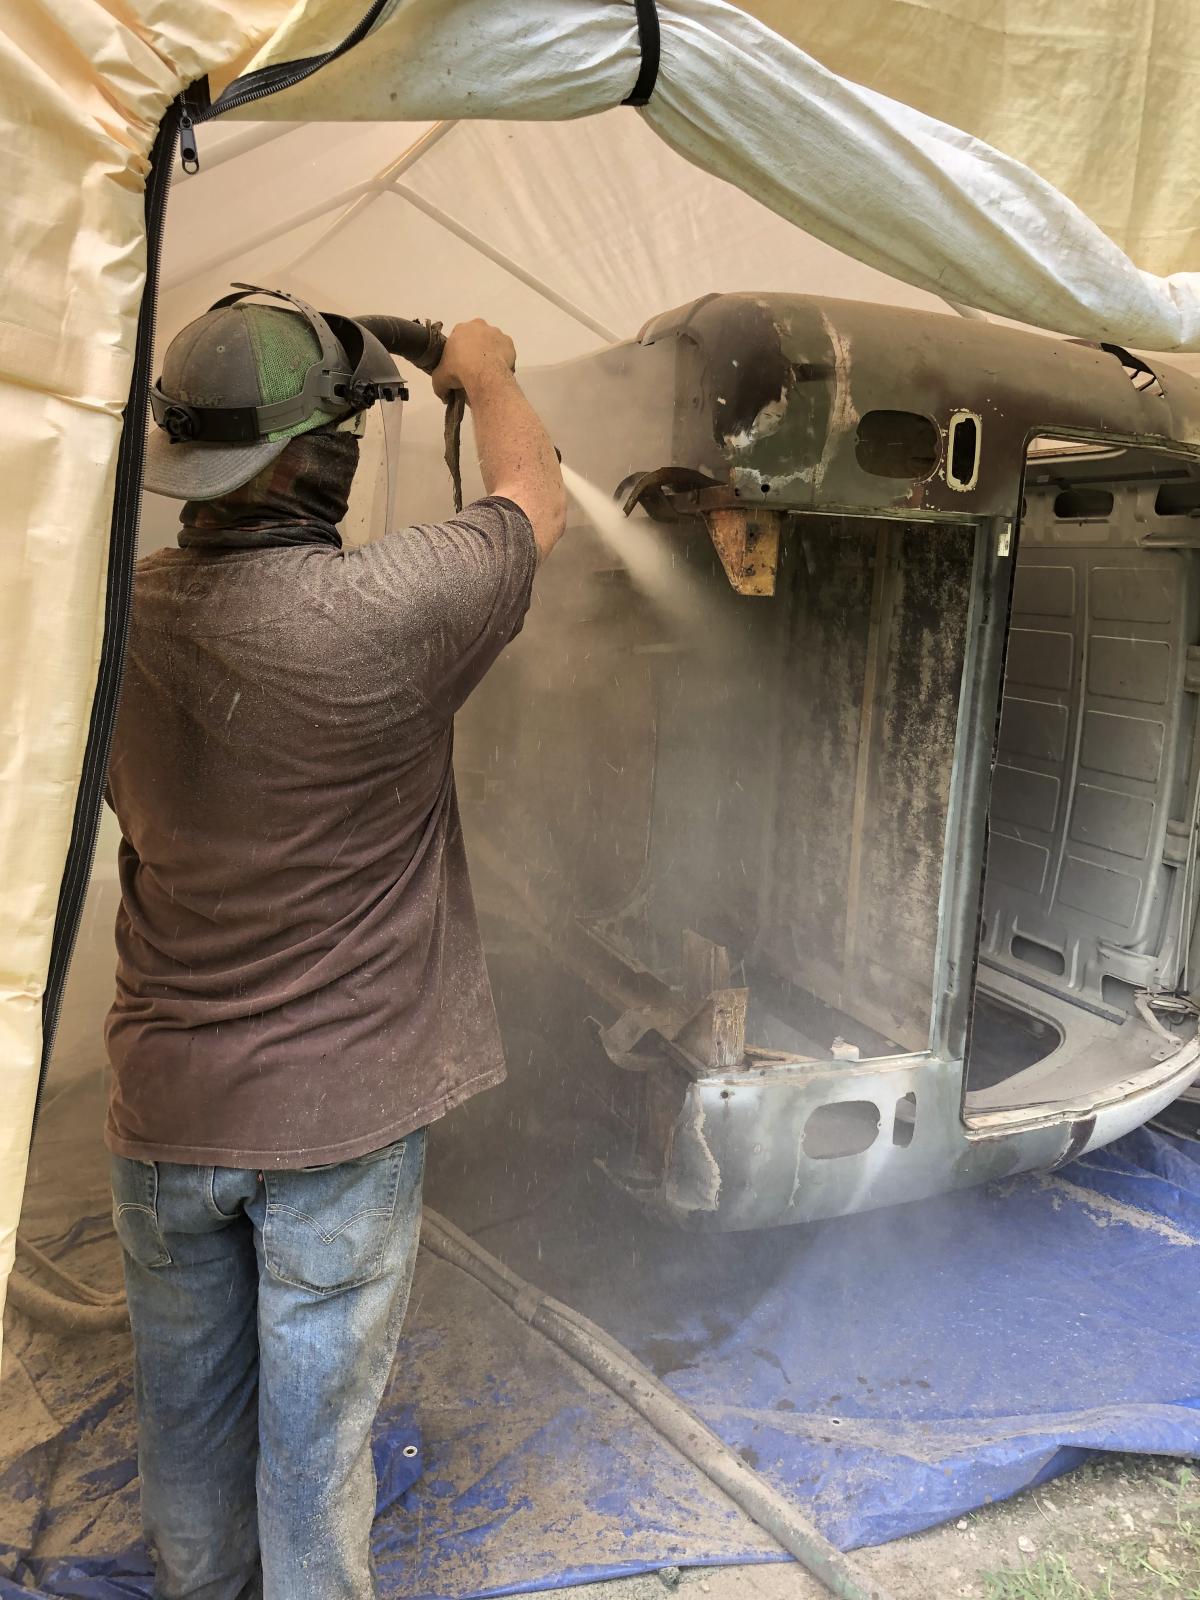
Let's travel back to the end of summer of 2019. Things got real interesting. I discovered that the front end collision damage was more severe than I thought. This included the frame rail which the steering box mounts to, which was trashed. No wonder I couldn't steer it worth a damn when I rolled it off the trailer...It was at this point I realized it was either scrap the damn thing or dive in head first. So down the rabbit hole we go.

2573110.jpg


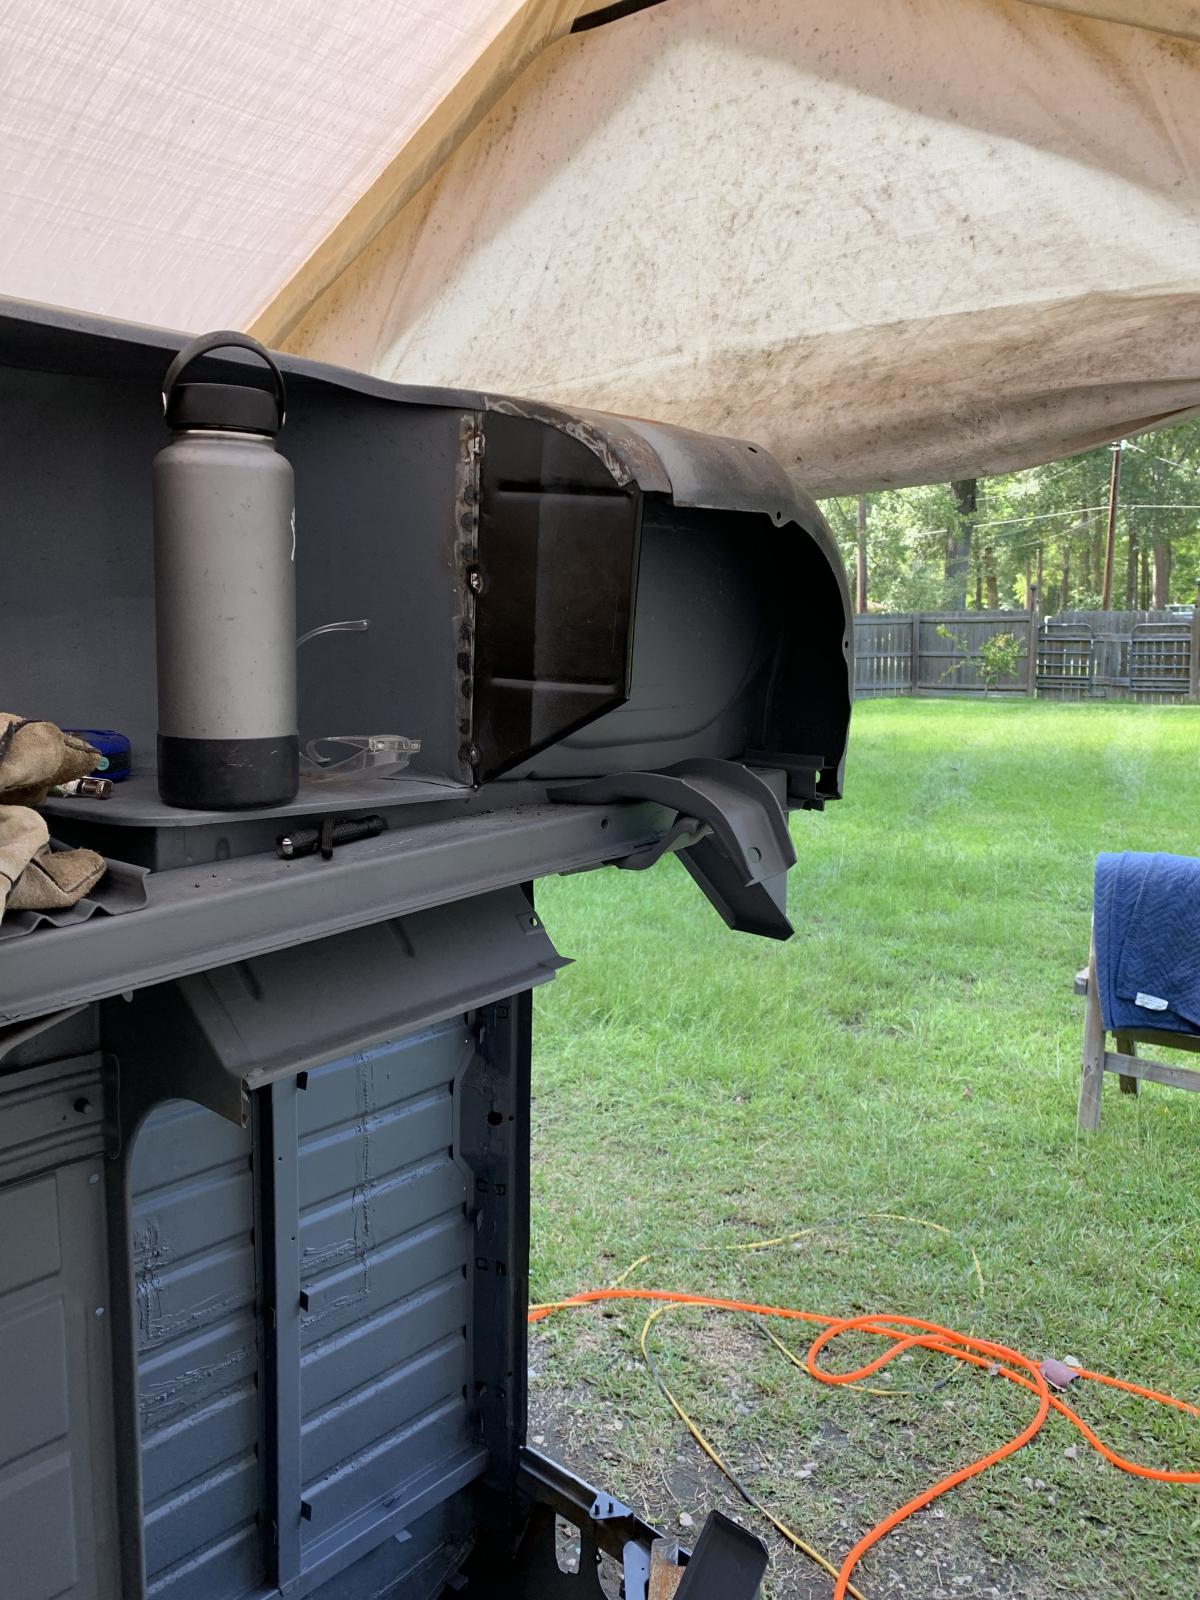
Damaged Frame rail cut out and next to the donor.

2573108.jpg


2573109.jpg


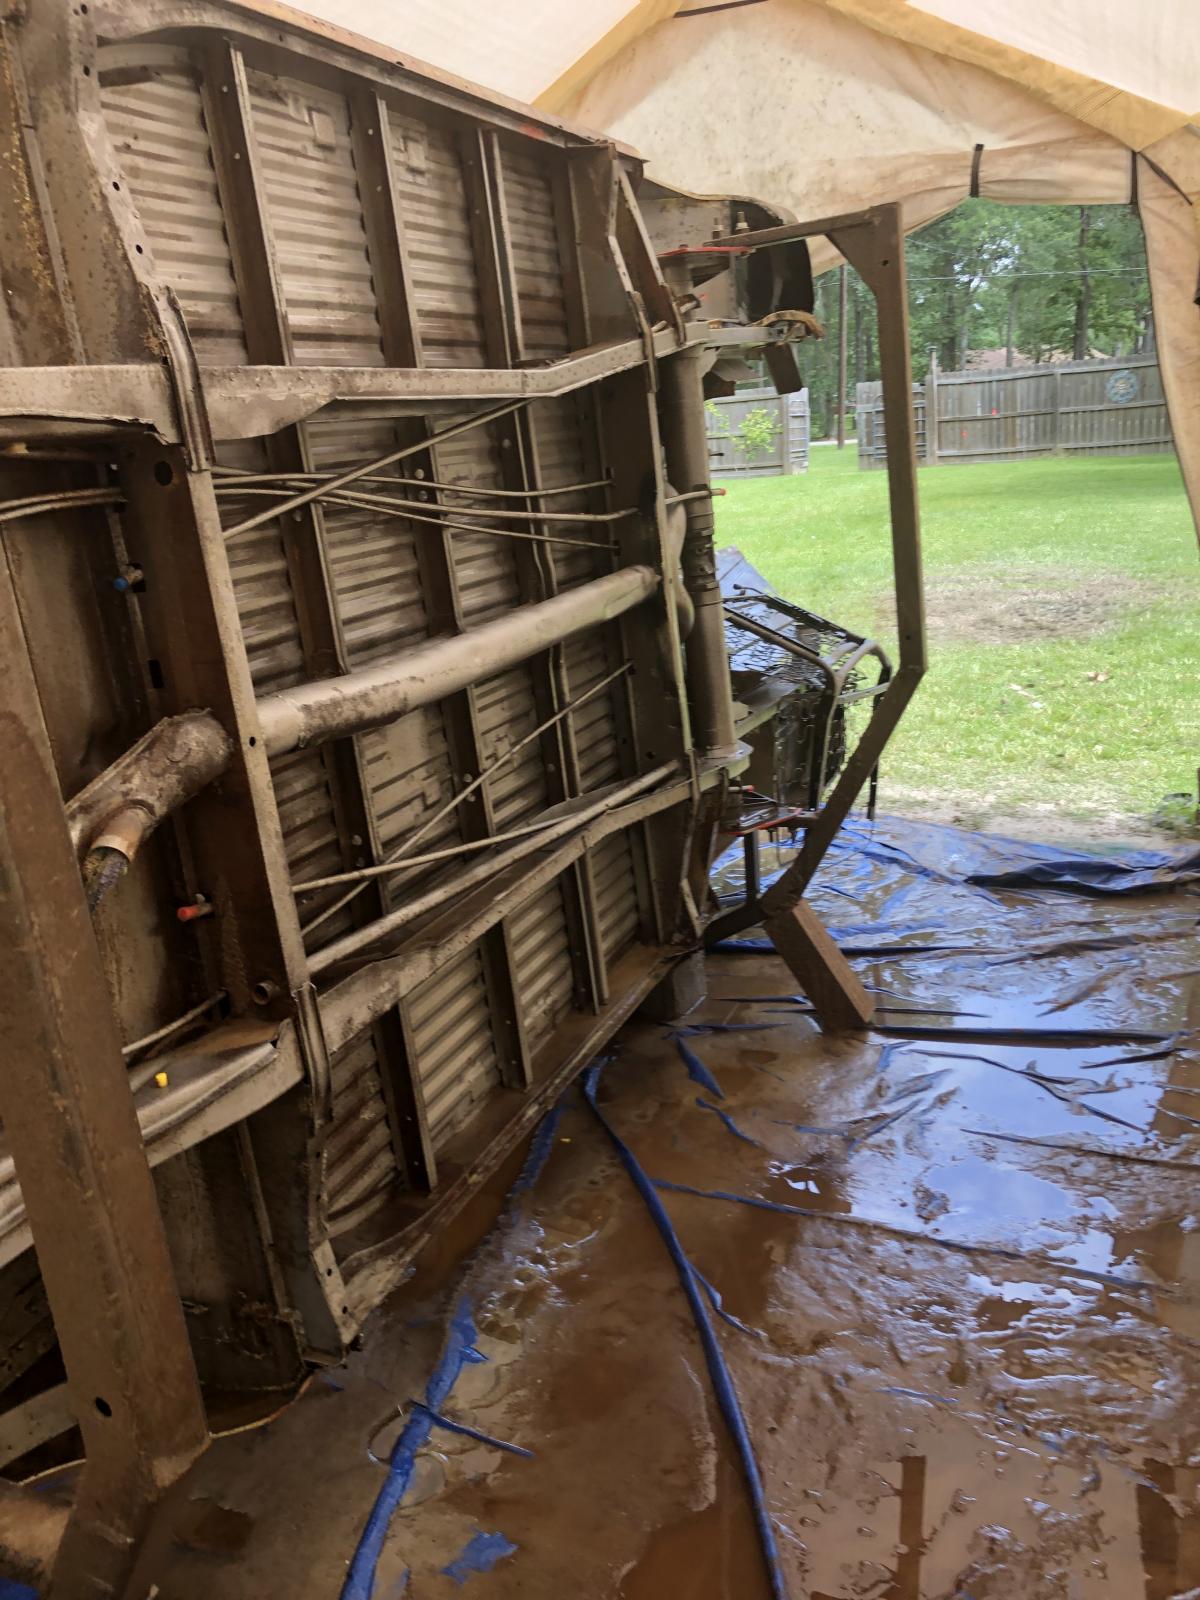
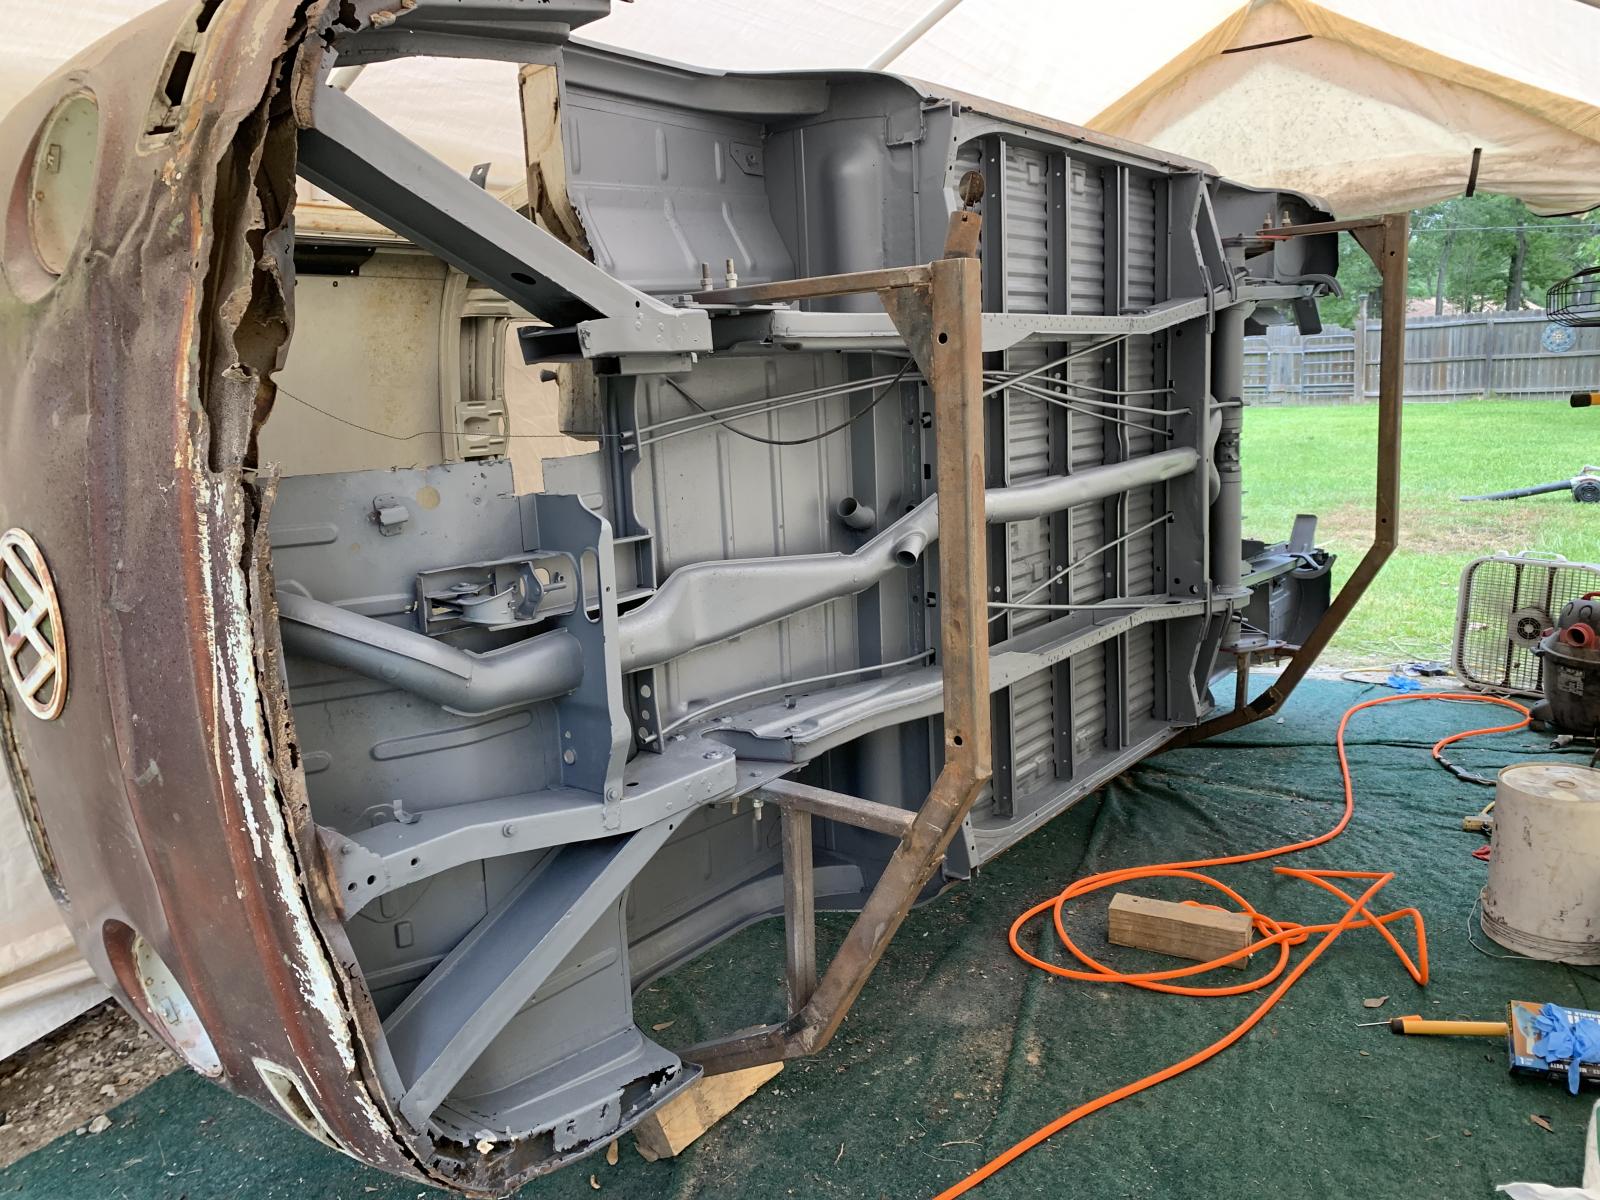
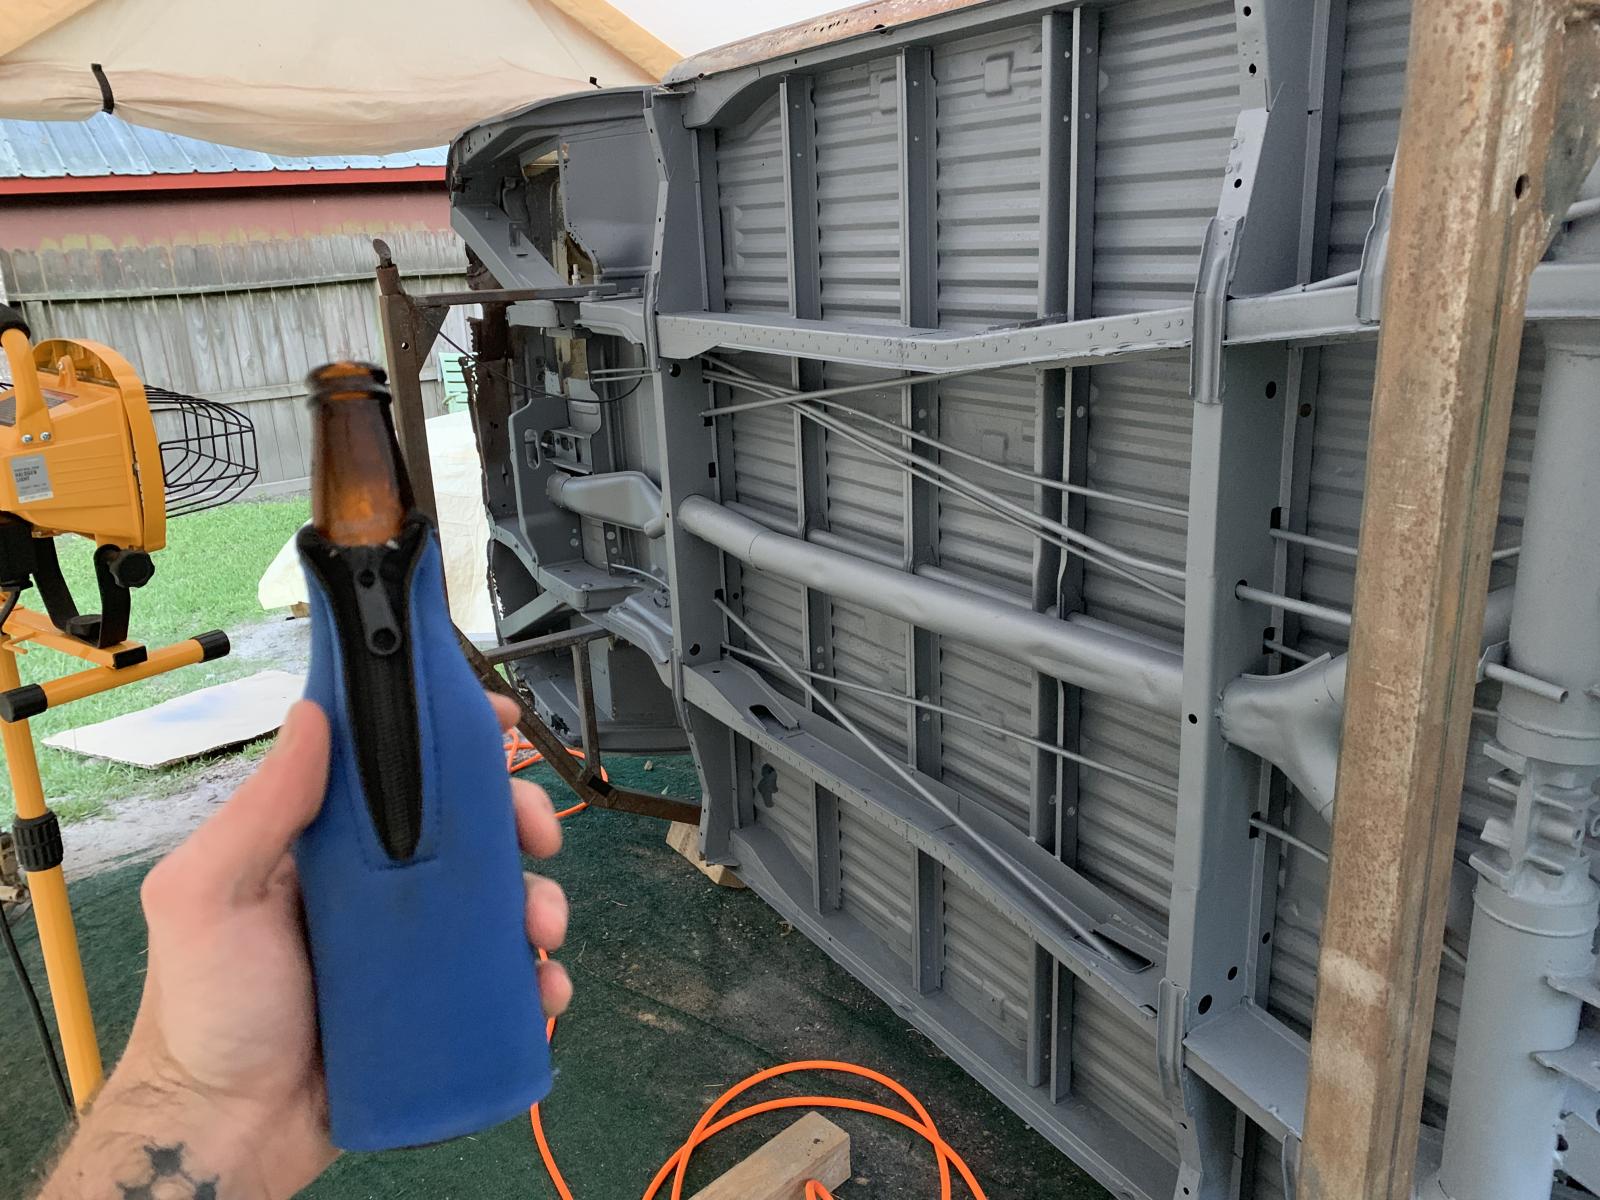
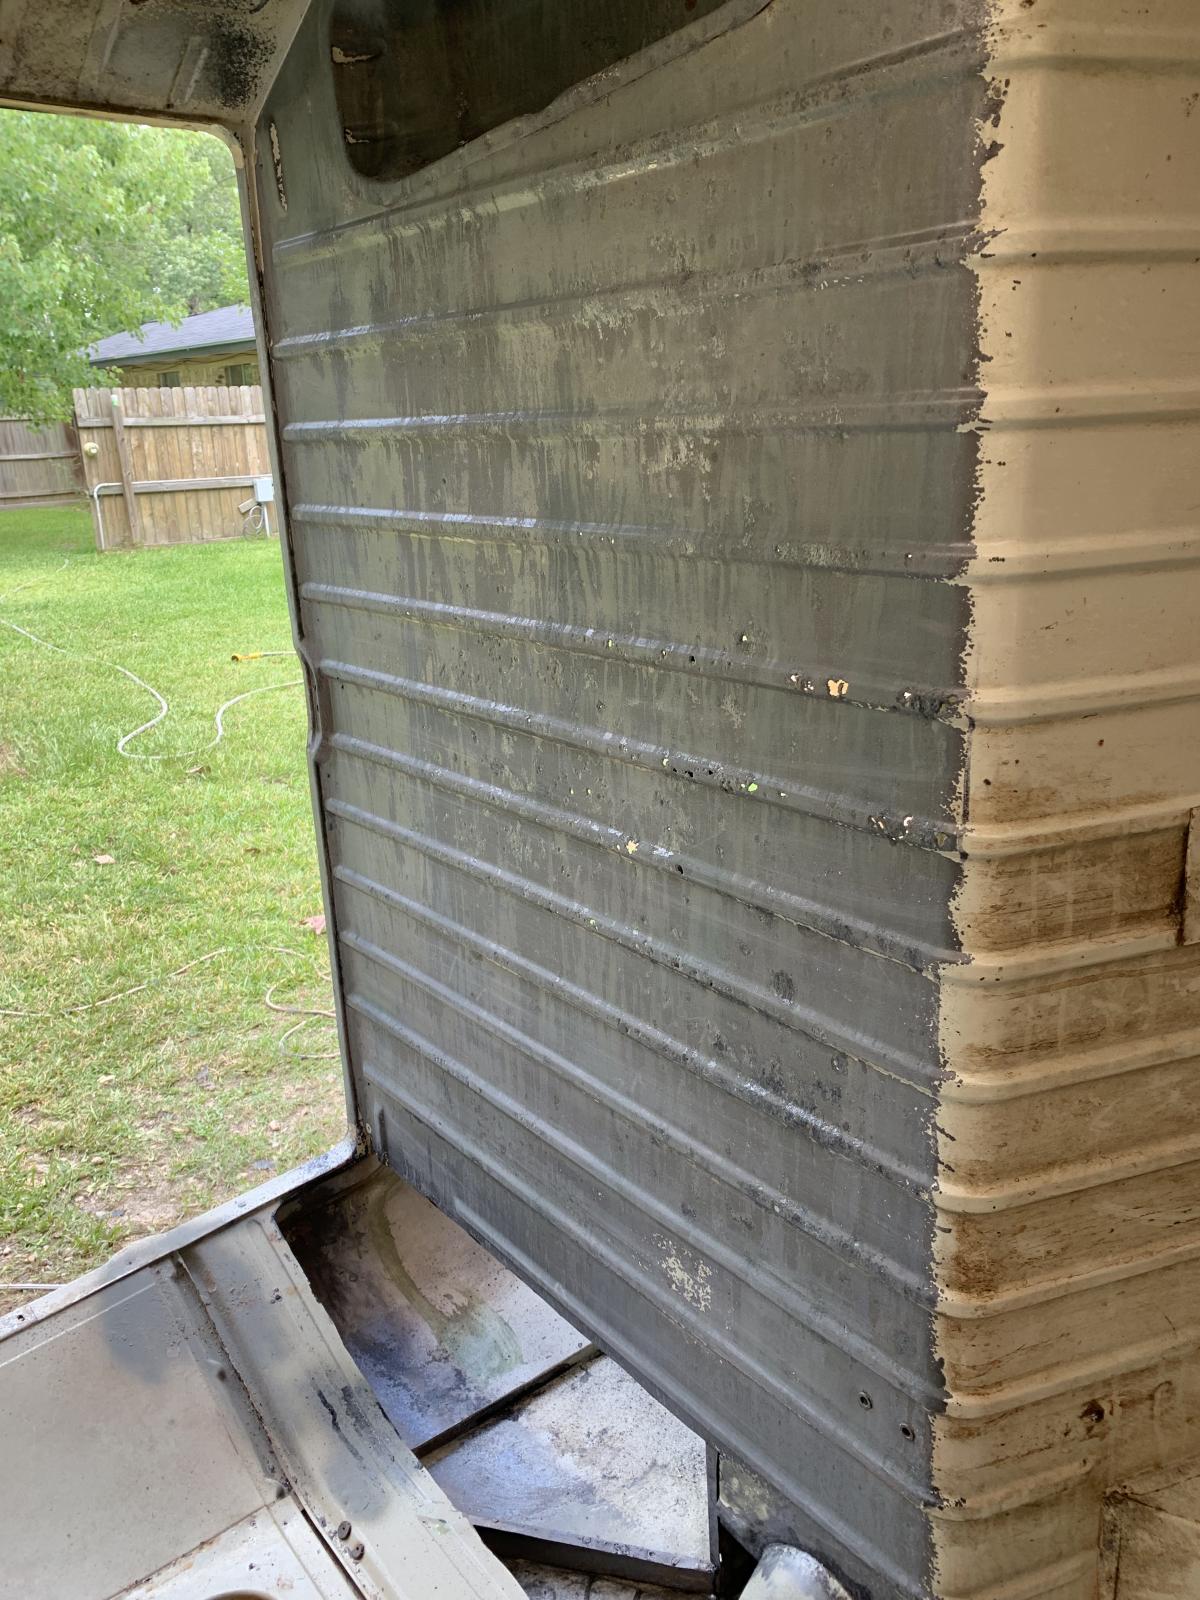
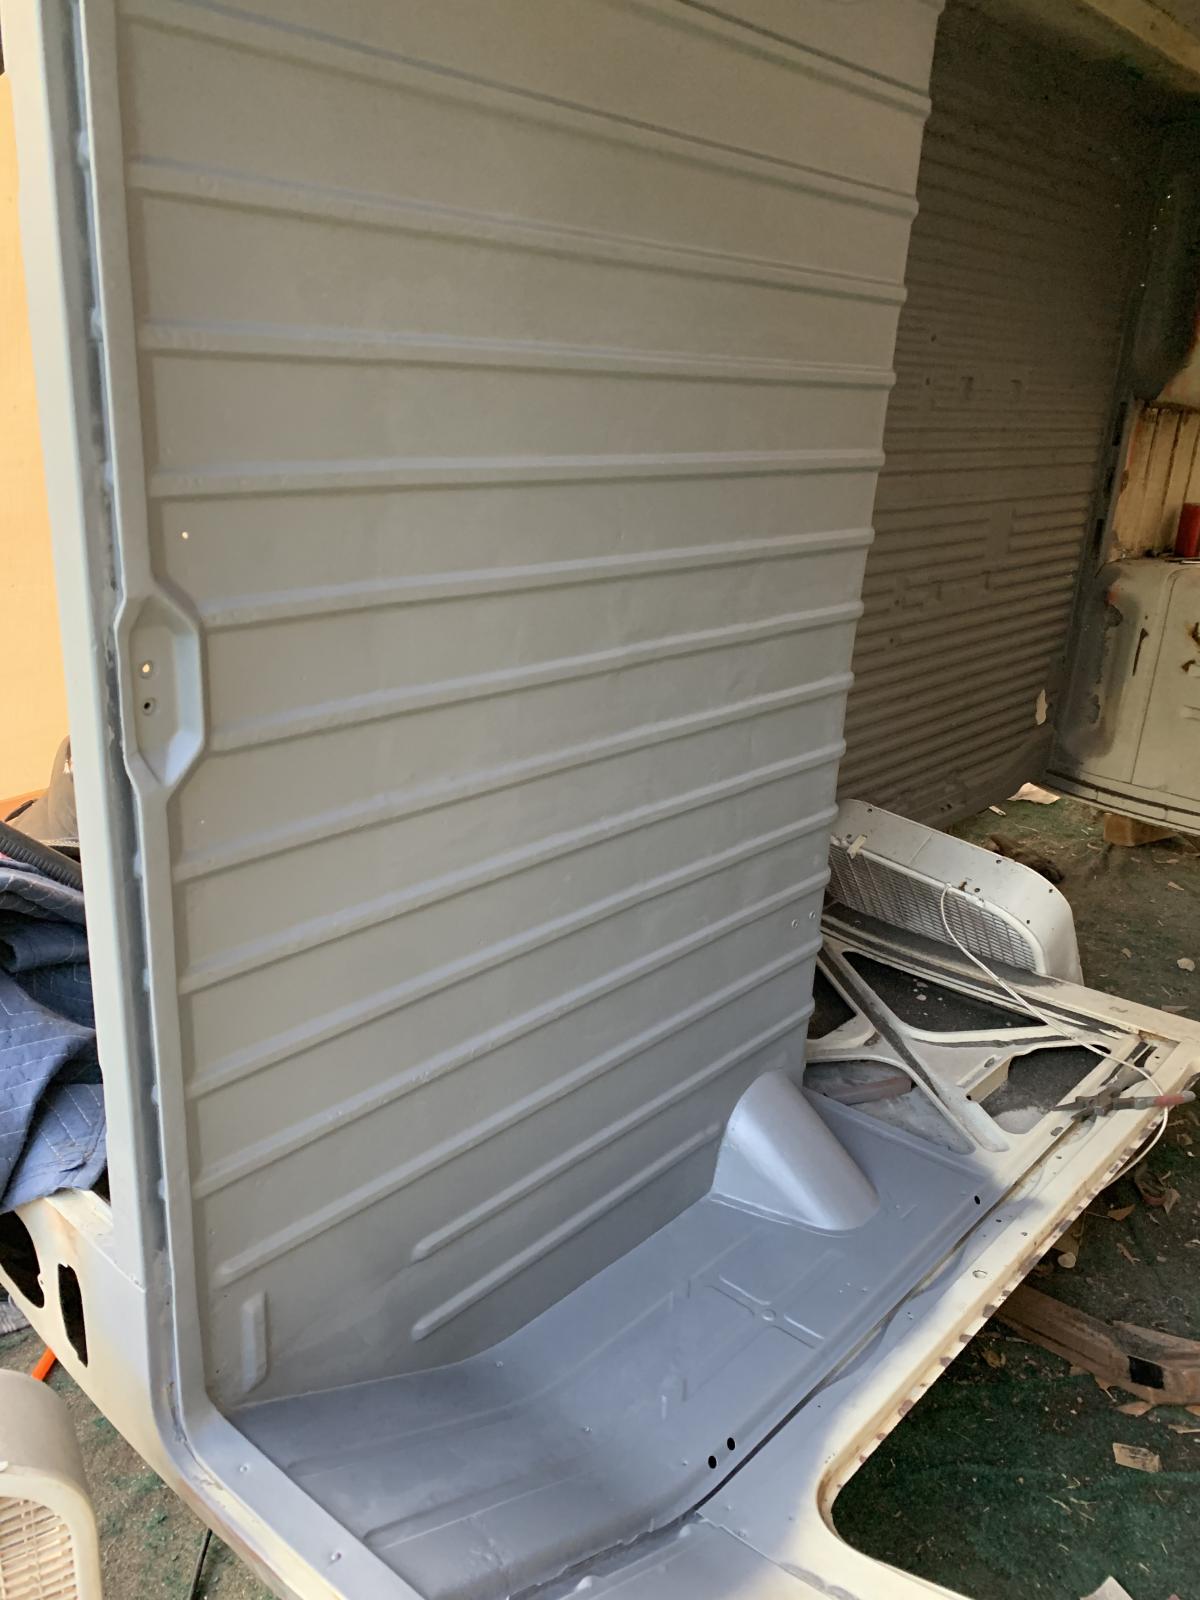
Being that the frame needed to be fixed, the nose was completely shot below the windshield opening and all along the lower valance, I decided to remove the entire nose and replace it with a better example. This would make repairing the frame a thousand times easier than trying to work around the nose. I braced the roof back to the seatbelt mounts and tied it all to the shifter mount so nothing would move when I performed the nose-ectomy.

2573105.jpg


It's always gotta look worse before it looks better.

2573104.jpg


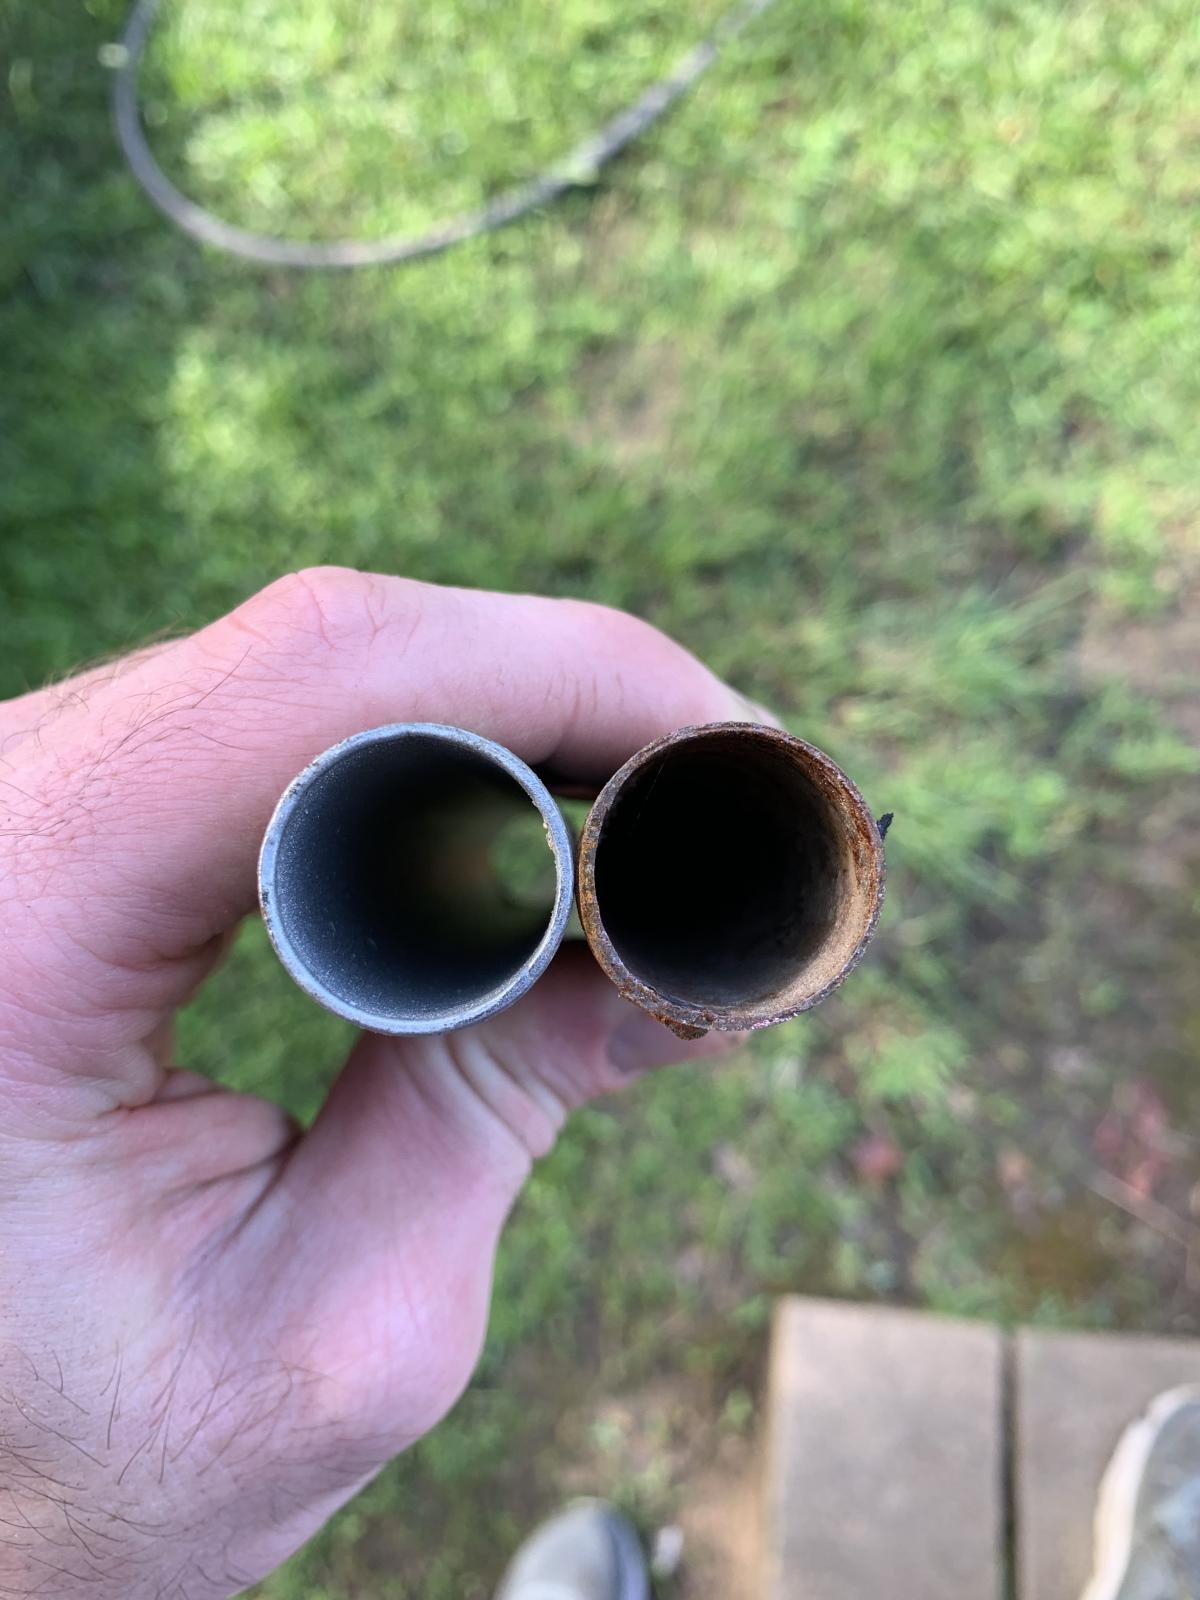
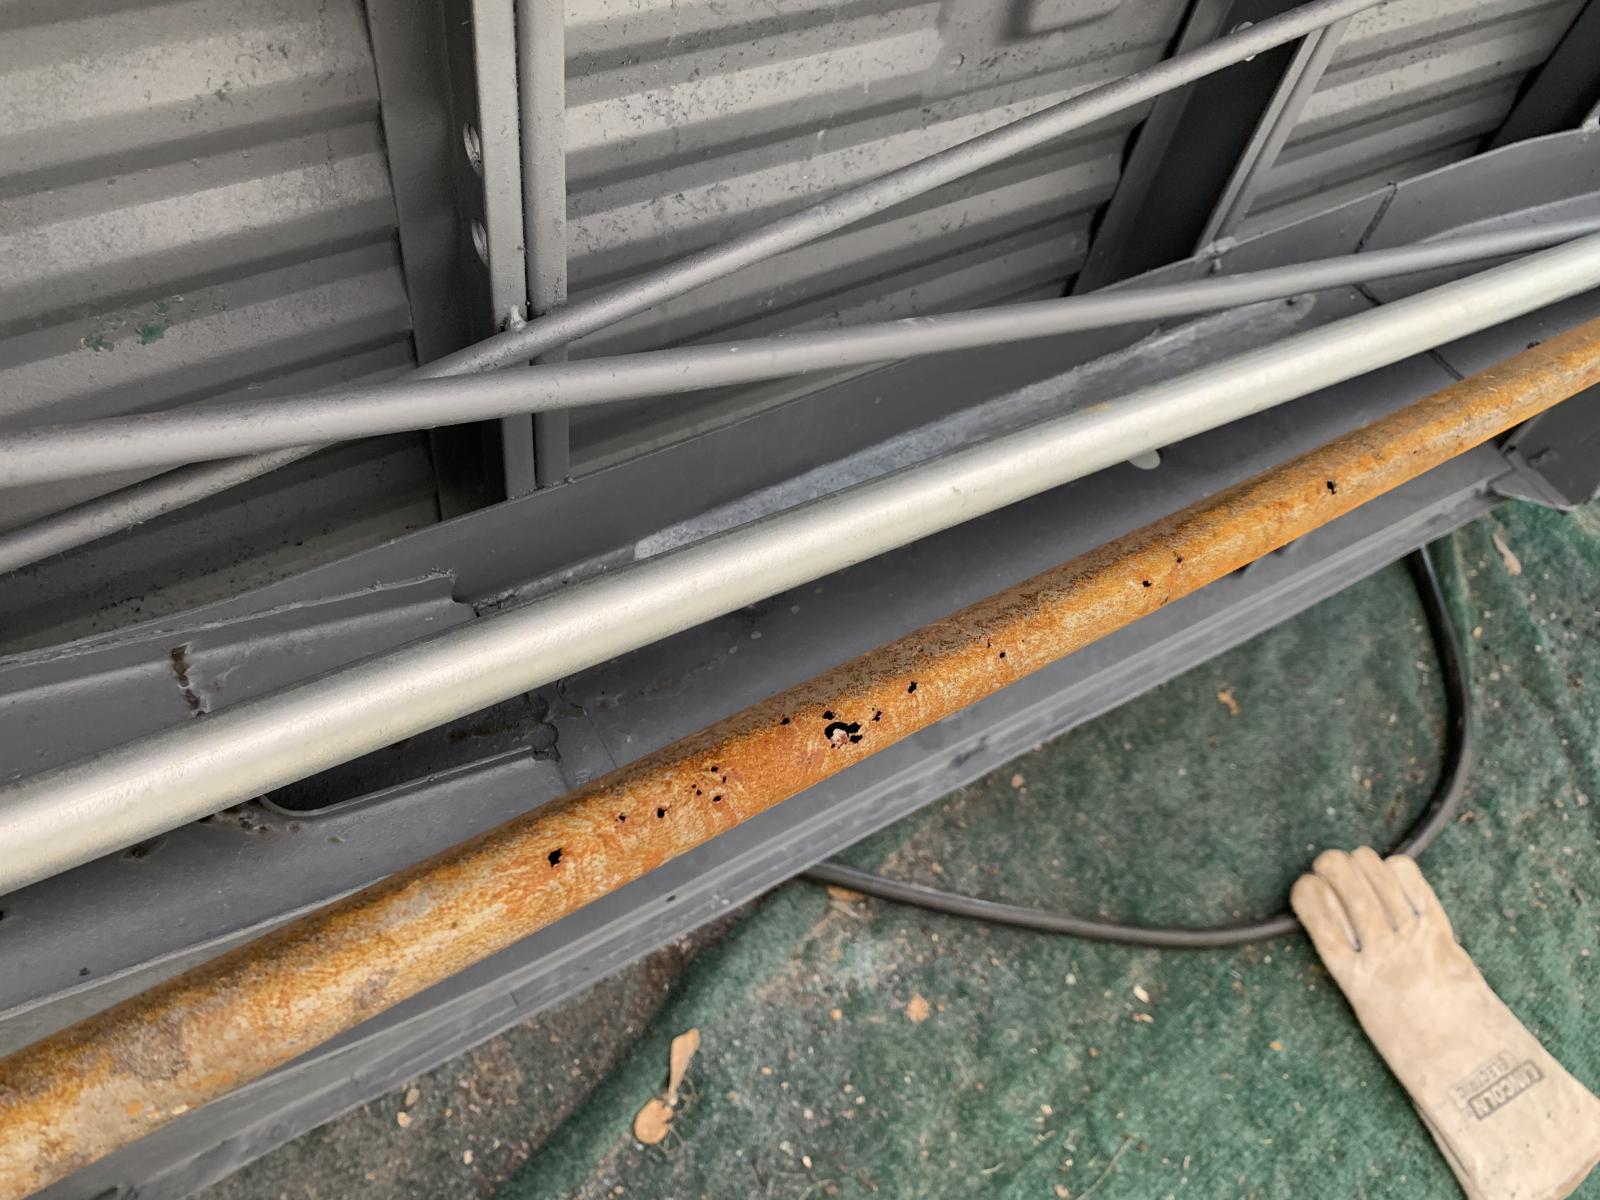
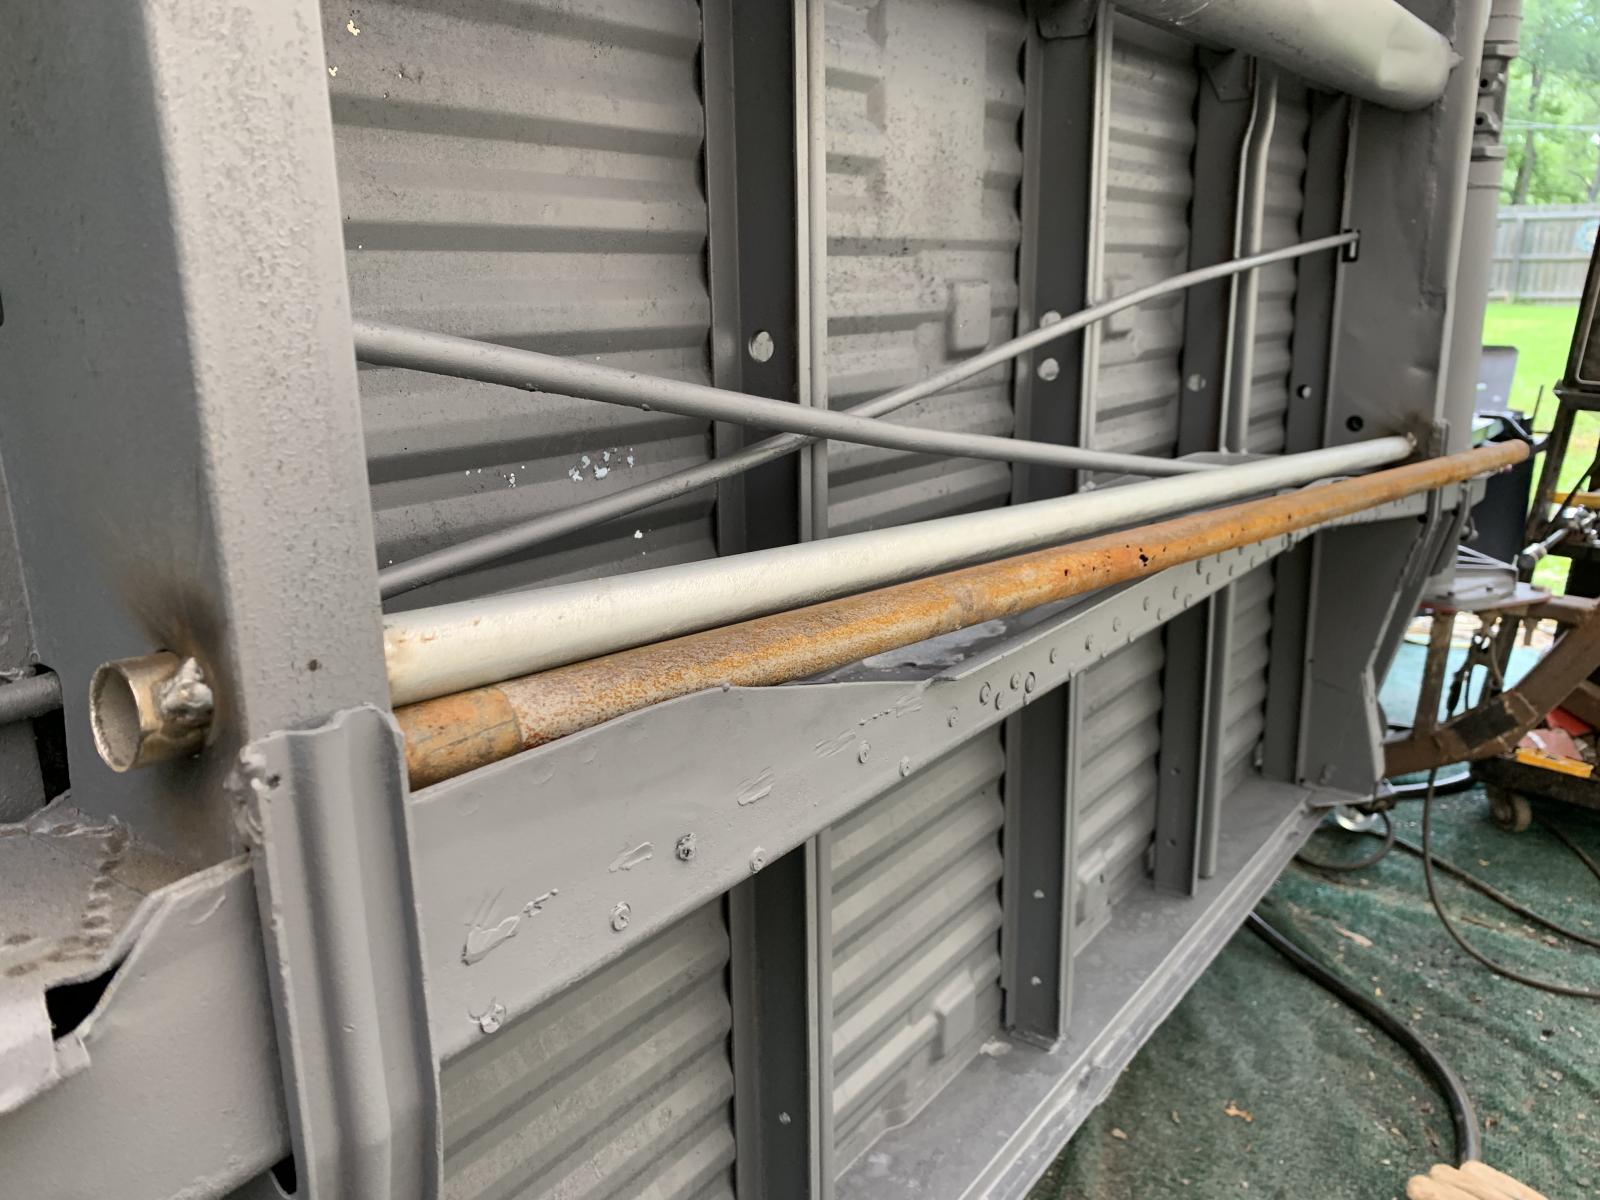
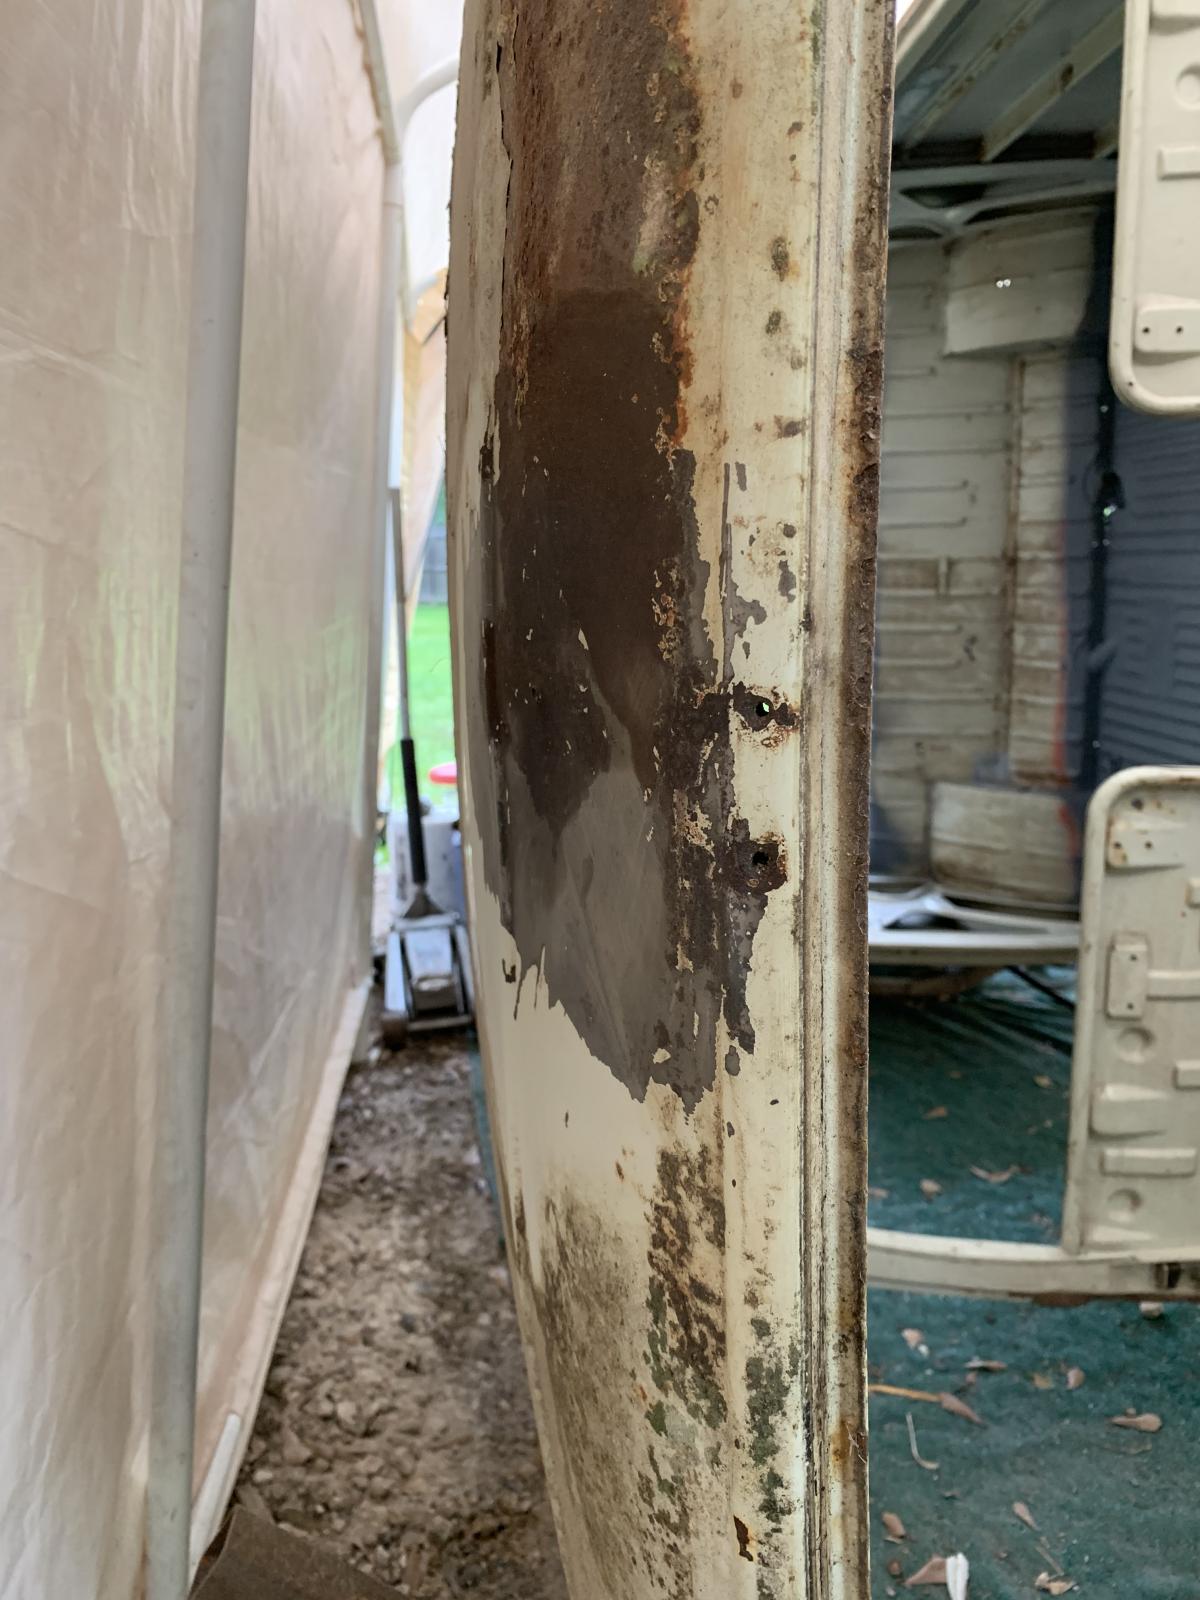
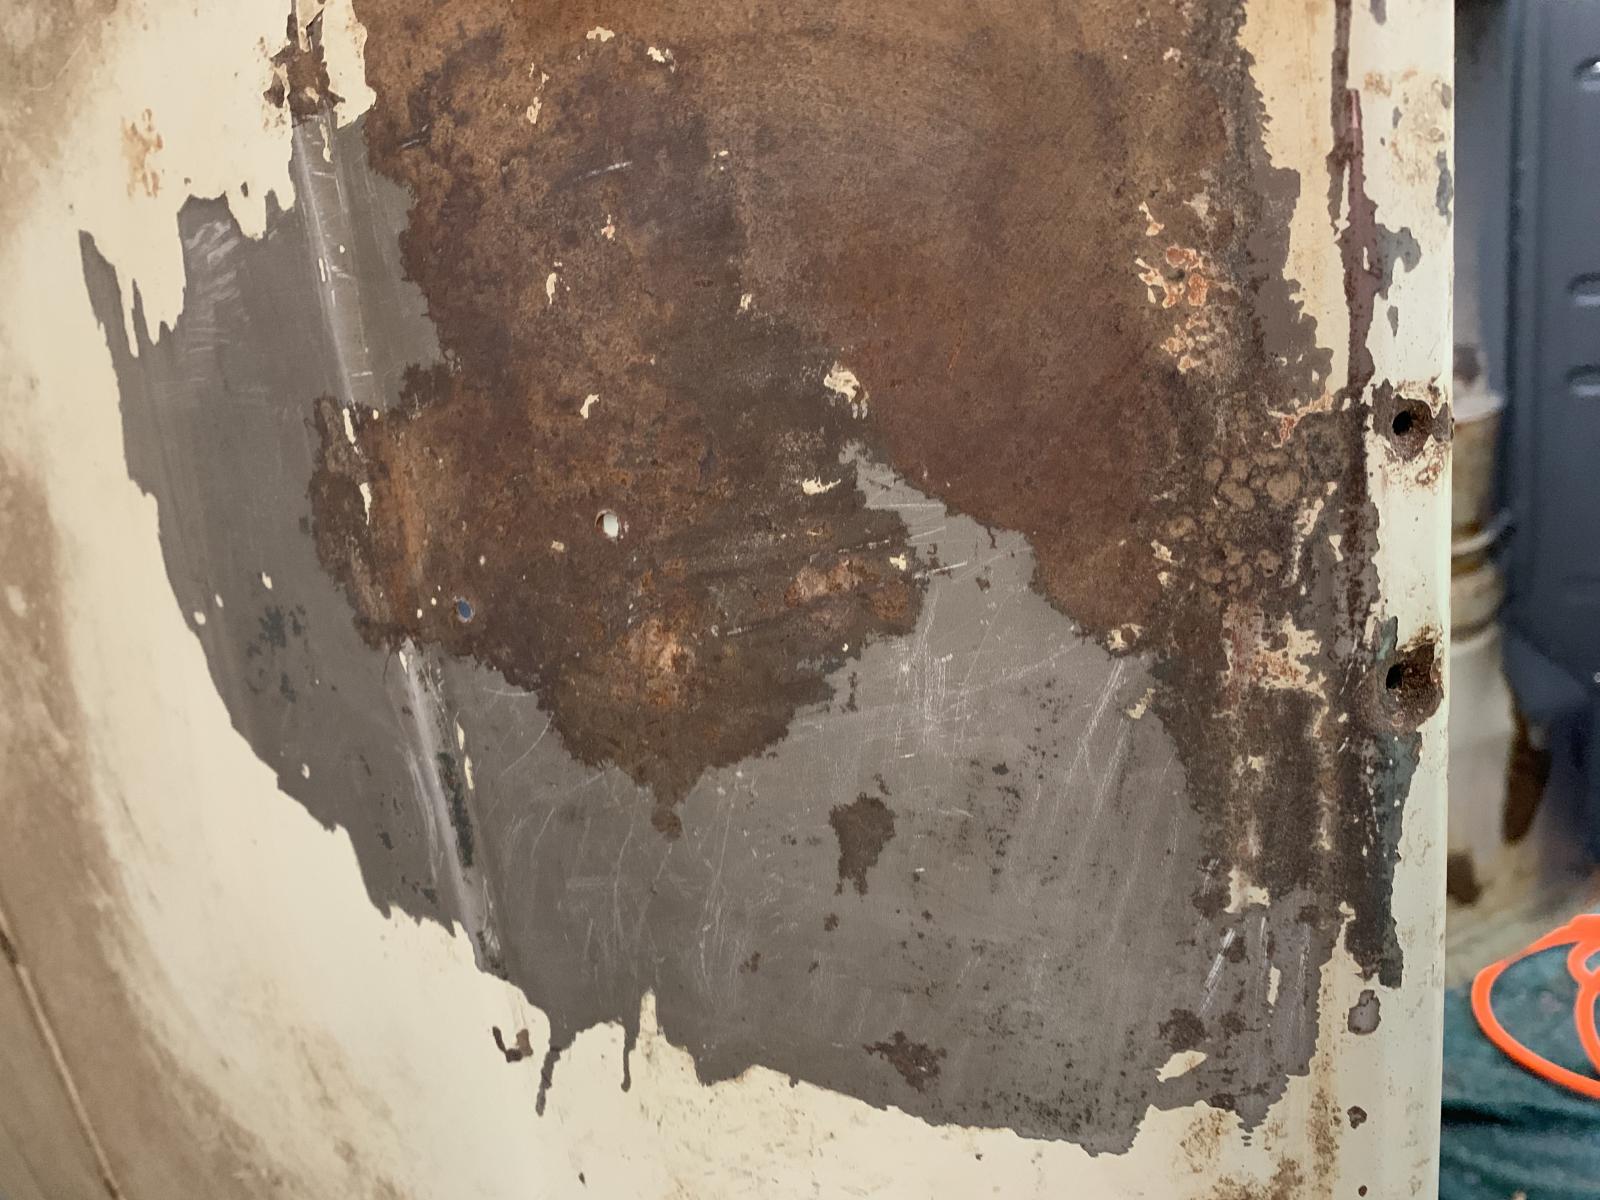
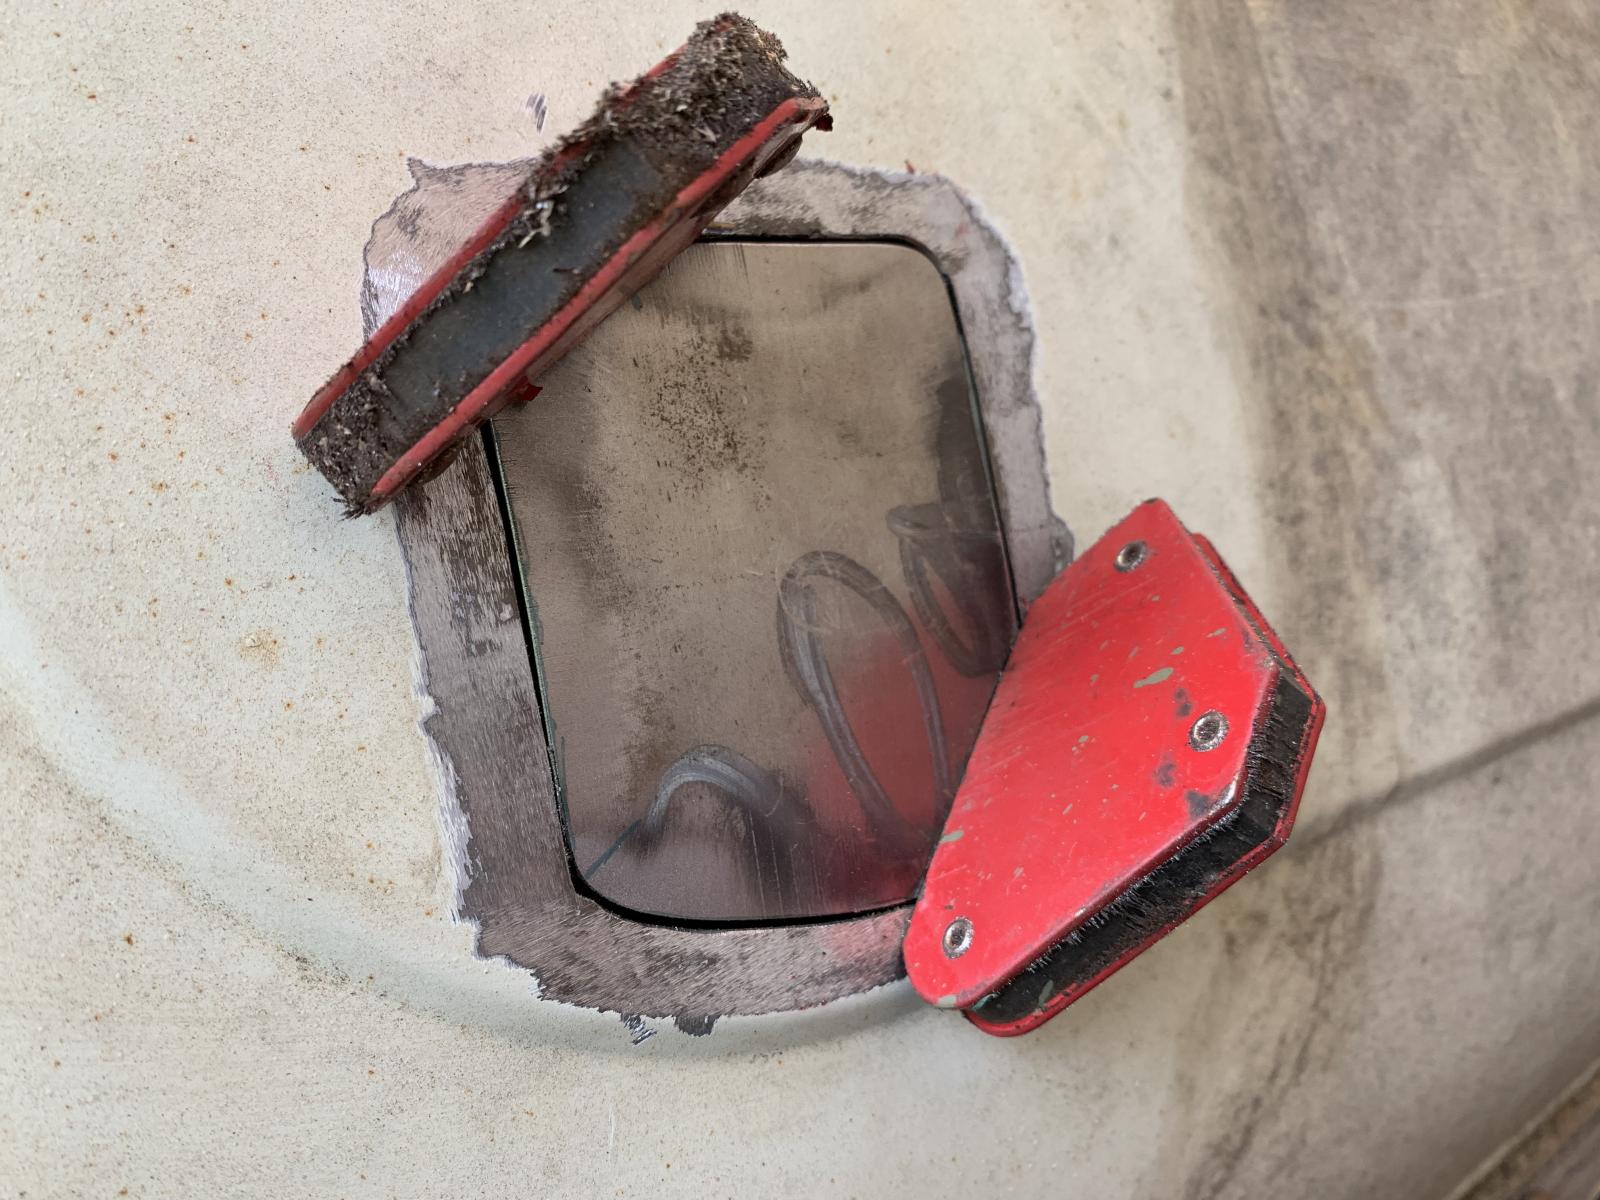
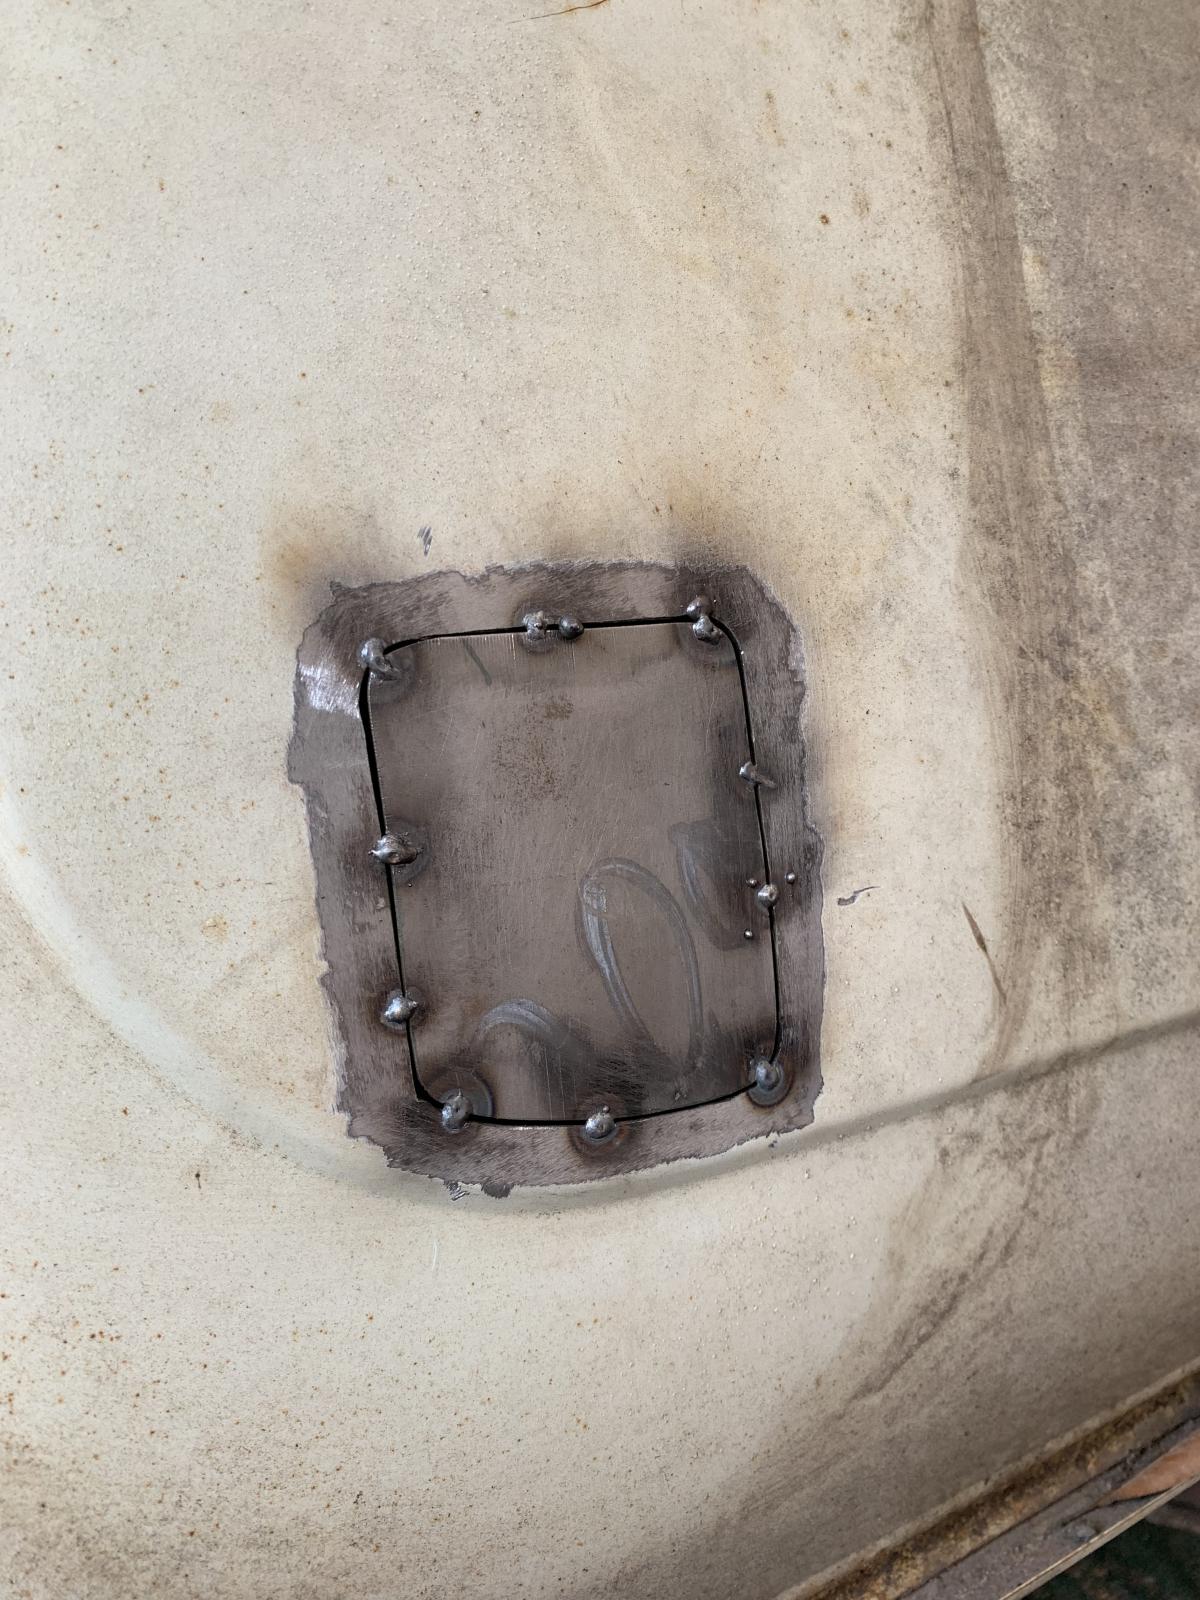
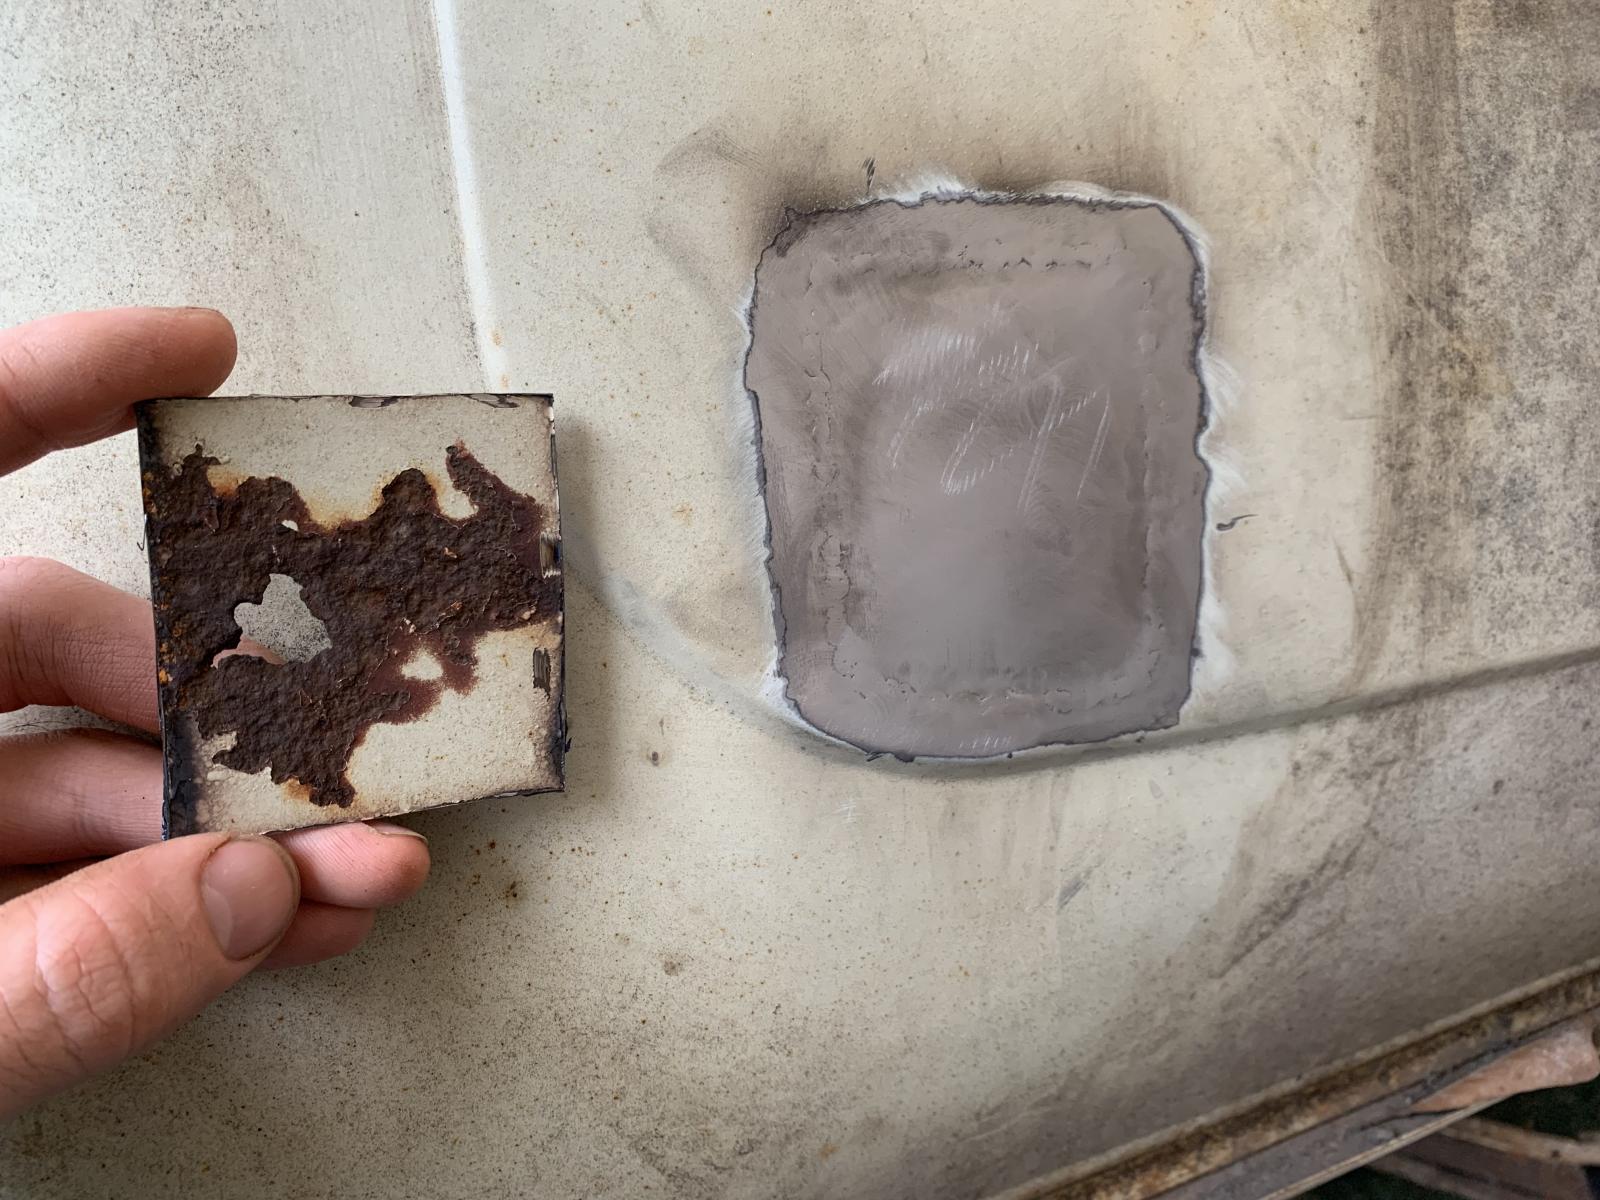
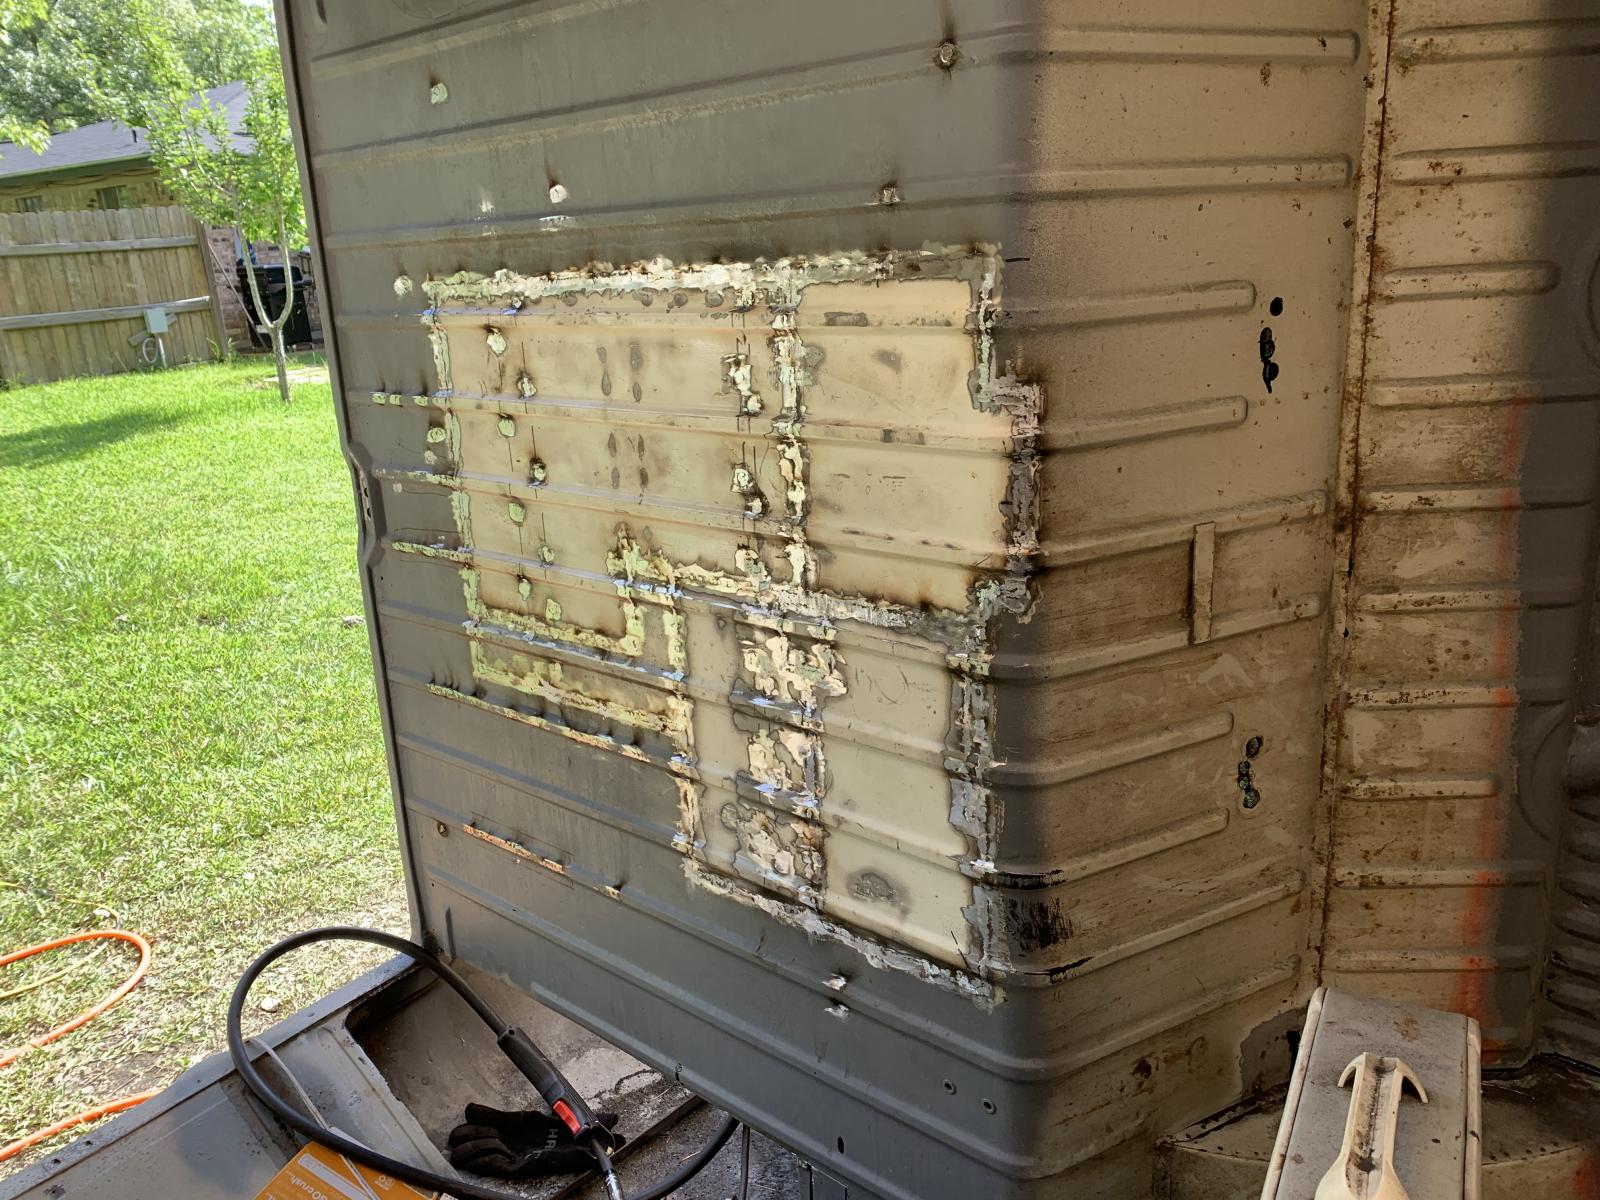
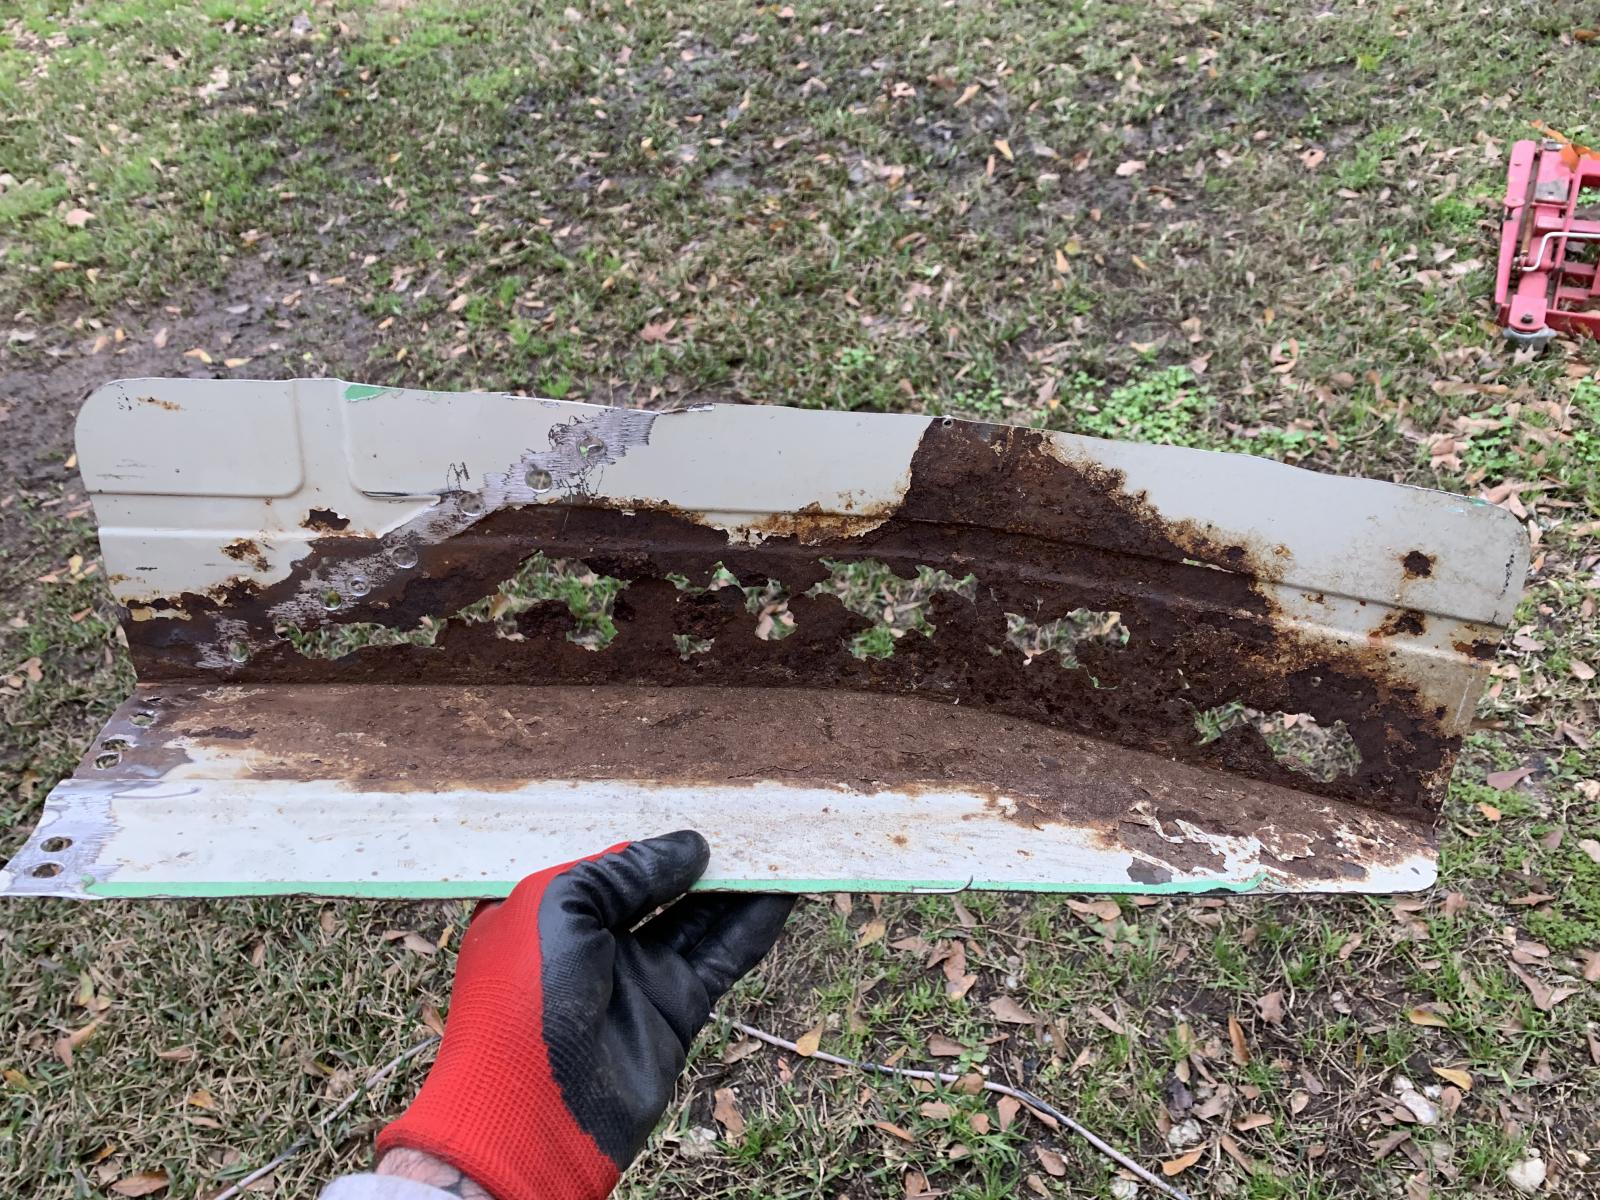
I test fit the nose, but despite thinking it was rust free, it indeed was not. Lots of rust on the valance mostly where the frame rails mount.

2573103.jpg


2573107.jpg


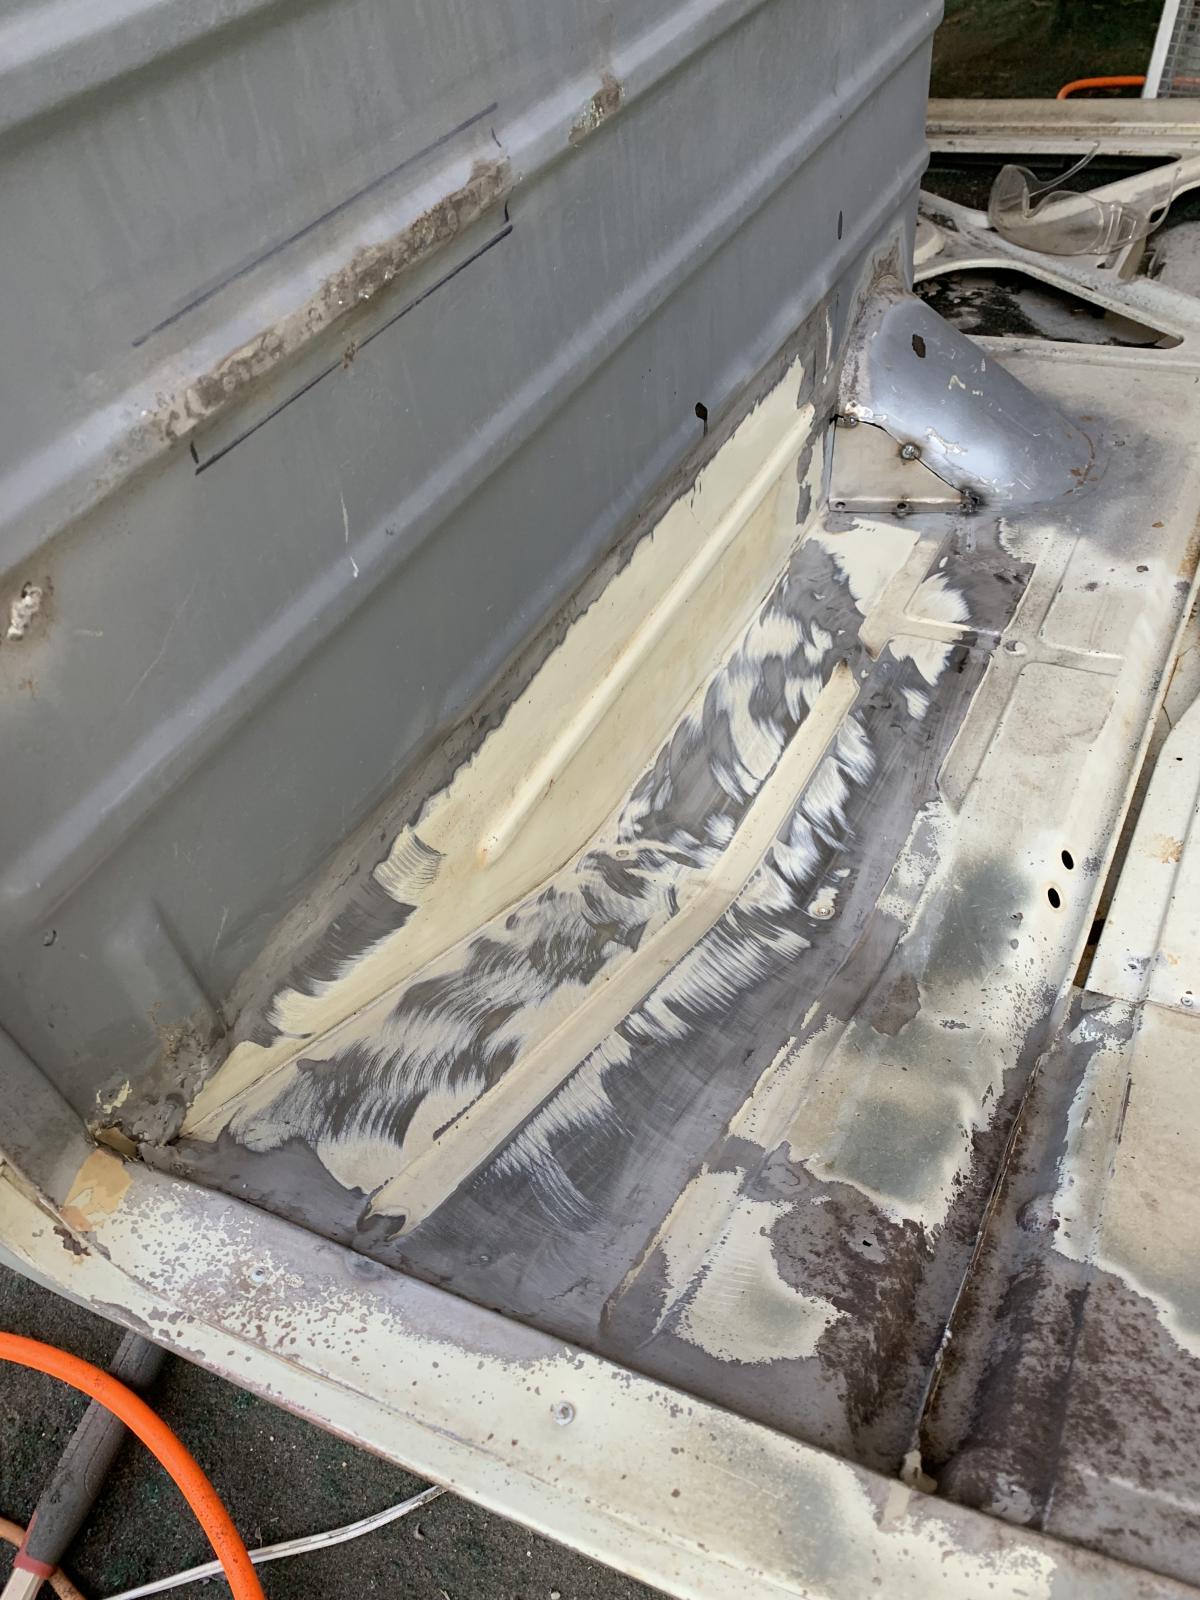
So first off, before I could get this thing on the bus I had to deal with that. Its like peeling back an onion, since there are two layers. Both were rusty, so I started patching things in.

2573102.jpg


It was September 2019 when all progress came to a halt, due to my wife's job being relocated to Chicago. So we packed up all our shit, I bought a trailer and found a friend with a barn where I could store the Bus until we found a house to buy.

2573100.jpg


2573099.jpg


2573098.jpg


The bus sat untouched while we were in an apartment, and a rental house, before buying our own place in the Spring of 2020. Our son was born that summer, so there was a hiatus for a good period of time.
 
Fast forward to about 2023, with the bus in its new home, I set out to finish repairing the nose. The outer skin was in pretty rough shape from first being shipped to me, then being (not quite so carefully) transported across the country by yours truly, and I decided to cut it off. I was going to be ordering the driver's side dogleg and front floor from KF, so I figured I'd get a new skin at the same time.

I got the pillars fit nicely and mocked up the entire nose so I could get it tacked in and rebuild the frame.


2573329.jpg


And removed the skin. The outer valance was very dry despite some surface rust which was sandblasted later.

2573328.jpg

2573327.jpg


Couldn't resist mocking up the green skin. Going to look good.

2573326.jpg


Basically all 4 areas where the frame is welded to the nose needed repair. One section above the valance needed to be cut out for welding access. This was a huge pain in the ass but I eventually got it all back together and solid.

2573325.jpg


2573323.jpg


2573321.jpg


2573322.jpg


2573337.jpg


I don't have a great pic but this is a previous repair that I had to cut further back and repair before skinning over.

2573340.jpg


2573339.jpg


2573338.jpg


2573336.jpg
 
With that done, time to tackle the frame. First, I had to cut out a bunch of pieces to get the frame cut back far enough to tie in. I wanted the splice to be behind the triangle gusset for added strength.


2573503.jpg


The sheet metal flange that mounted to the nose was pretty rusty, so I decided to cut it off and remake it.

2573501.jpg

2573510.jpg


With that done, it was time to tack the nose in place, fit the frame piece nice and snug, and tack it in.

2573509.jpg


2573508.jpg


Then I refit the crossmember and the box section that reinforces it from the rear, and welded them in.

2573507.jpg


Finally a new gusset was welded on top to tie everything back together.

2573506.jpg


Sandblasted, epoxied, and painted. Job done.

2573505.jpg


2573504.jpg
 
Back
Top Bottom