Follow along with the video below to see how to install our site as a web app on your home screen.
Note: This feature currently requires accessing the site using the built-in Safari browser.
We noticed you are blocking ads. DO THE TON only works with community supporters. Most are active members of the site with small businesses. Please consider disabling your ad blocking tool and checking out the businesses that help keep our site up and free.
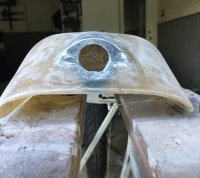
My original plan was to use the hump design from my seat to build a custom piece for my running/brake light and turn signals. But I am going to have to do some more measuring to make sure I won't have any wheel clearance issues. I found the tail light after seeing Derek Kimes XJ750 on BikeExif. http://www.bikeexif.com/turbocharged-yamaha-xj750-maxim-restomod
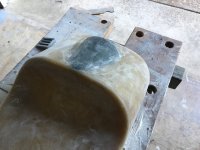
Lots of sanding, a few more layers of fiberglass, and lots more sanding...hours. I went through about 10 paint brushes, lots of plastic cups (some of which melted on contact with the resin...sending me back to find some more durable ones).
I burned through to the fiber a few times when sanding. I wasn't 100% sure if just another layer of resin would hold up, so just to be safe I added another layer of fiber/resin. There are also some areas where the cloth version developed air pockets. But I cut/sanded those back down and built up the areas with chop. The spots still show up in the photo, but there isn't any air in there.
I think I am ready to put a thin coat of bondo on it to even everything out.
I am going to raise the front lip of the pan to keep the bottom line of the pan lined up with the bottom line of the tank.
I did end up trimming off about two inches from the rear of the frame, but arch across the frame rails for the rear fender is still in place. I cut the frame and left the ends flat, but I may need to come back and trim it up at an angle so my tail/turn piece will fit without too many problems.
I forgot to mention that I am going to tape the seat back up and make a fiberglass pan for the cushion/upholstery to sit on based on the seat's current shape. I am having trouble deciding if I want to glass in some bolts to the pan that will pass through the seat body (?) that sits on the bike, and use some type of nut to tighten everything down...or if I want to put some rivet nuts in the pan and and tighten everything down using some cap head bolts from underneath.
I forgot to mention that I am going to tape the seat back up and make a fiberglass pan for the cushion/upholstery to sit on based on the seat's current shape. I am having trouble deciding if I want to glass in some bolts to the pan that will pass through the seat body (?) that sits on the bike, and use some type of nut to tighten everything down...or if I want to put some rivet nuts in the pan and and tighten everything down using some cap head bolts from underneath.
For the tail on Luna...I used some of those rubber plugs with threaded inserts embedded into them, drilled holes and epoxied them right into the tail. I had to replace one because it decided to spin on me, but the rest of them worked well for 4 years. I notched the rubber so it would have some teeth for the epoxy to grip. Figured it might give a bit of dampening. I ran 3 allen head bolts with flat washers and split locks and never had an issue.
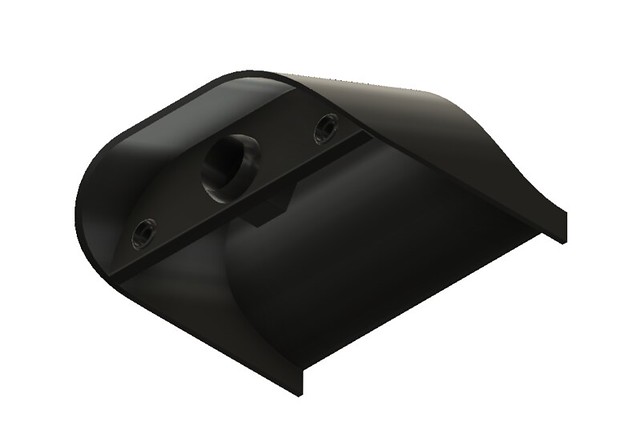
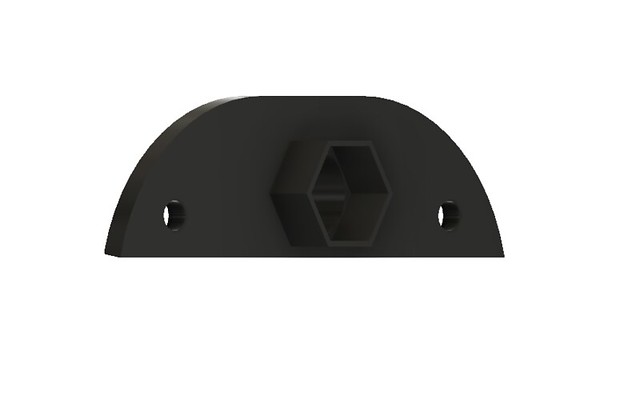
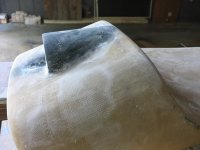
It was so painfully obvious that my taillight section was going to be destroyed on my first bump - so I spent a little time working out how to add my taillight to the rear hump without changing the profile too much. I 3D printed the black piece you can see through the glass to make sure I got a consistent slope.
Appreciate it! I have been working on some projects around the house for the past couple of weeks and haven’t been able to spend much time on it.
Thankfully I have my first seat to use for experimenting with mounting points. I tried using some t-nuts, but I didn’t feel like the would hold without cracking in the long run.
They are called well nuts. You can do a search for rubber well nuts. The proper way to run them is the flange acts like a washer between the parts being mounted together, the screw threads in and pulls the bolt from the other side and expands the rubber to hold the part.
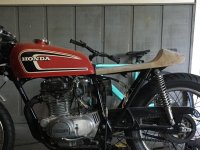
Been crazy - having a teenage daughter has kept me busy. I finally got a seat upholstered. The only shop I found in town that could do it for me didn't any foam that felt firm enough, so I ordered foam from a few different places, but never found anything that I really liked. I ended up pulling off the seat cover from my stock seat and taking the foam from it to the upholsterer.
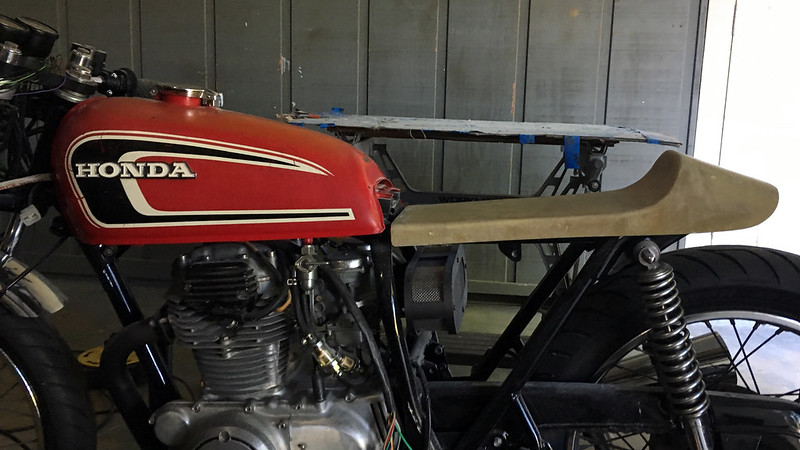
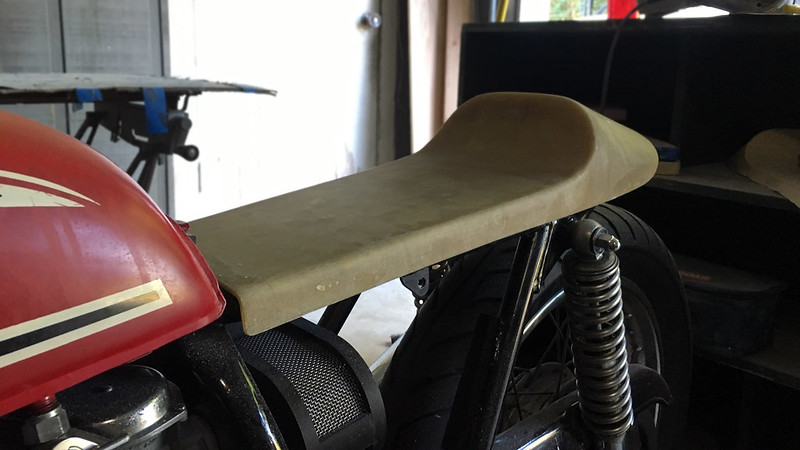
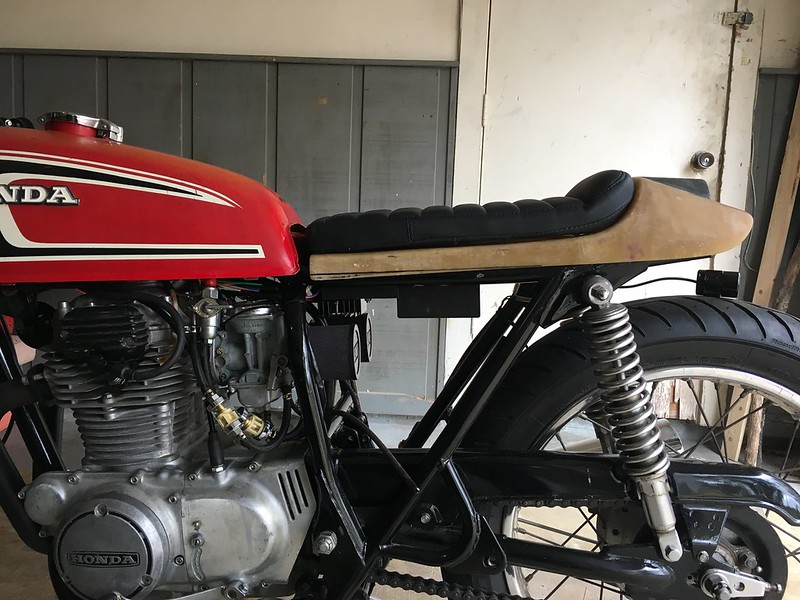
I used the seat pan on the bike as a mold and glassed a separate sheet for the upholsterer to use as a guide, and to give the seat cushion some strength for when I need to take it off and on (using a few strips of industrial velcro). I will get a few shots of how I ended up mounting the seat pan, using some stock mounting points.
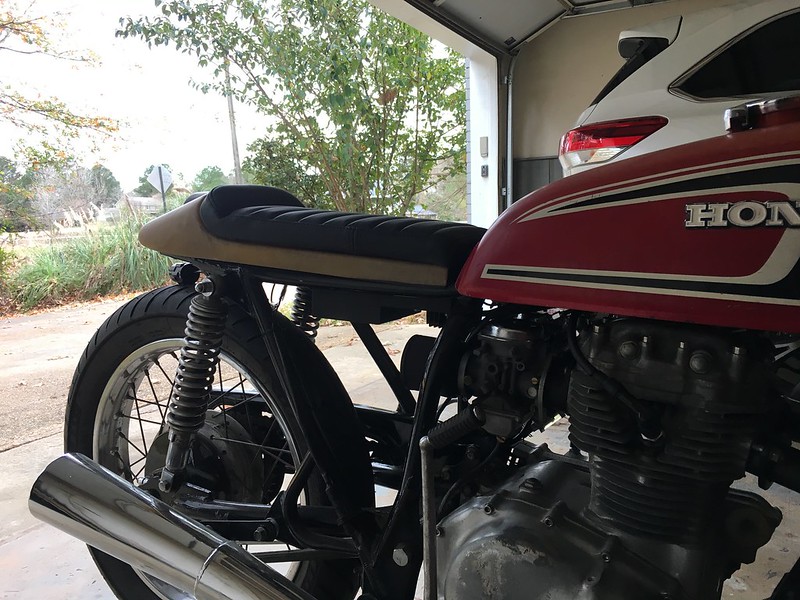
The pan isn't bolted down in the photos, it sits a little lower on the frame, with the bottom of the seat running level with the bottom of the tank.
The hump on the pan sits above the stock rear fender mounting points, so it won't interfere with rear wheel travel.
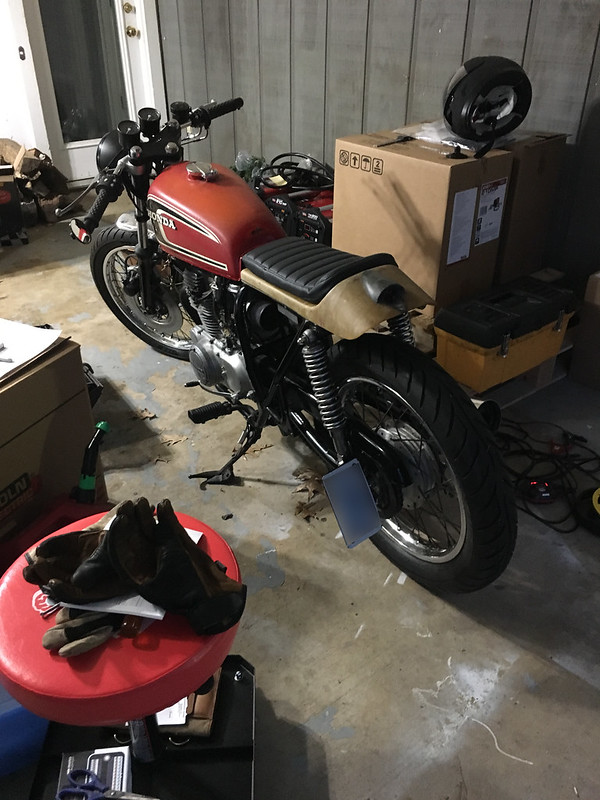
I threw on some Uni pods for a couple of test rides while I figure out a way to get my airbox to stay in place. They aren't permanent.
I am going to add a rear fender of some sort to prevent crap getting all over the engine. That is why the battery tray looks pushed forward. I wanted to have plenty of room for wheel travel.
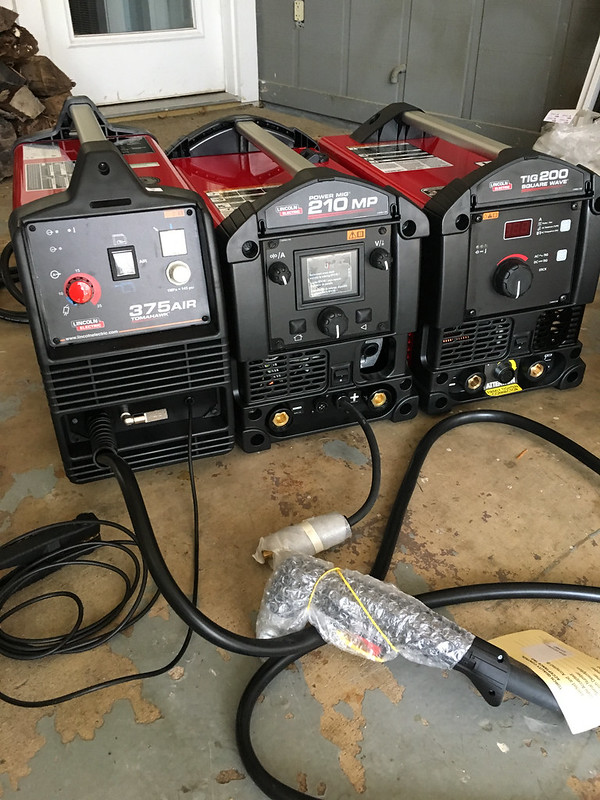
Oh, and I freaking won Revival Cycle's Handbuilt Show Lincoln Electric giveaway!!! I thought I was getting scammed, even after I talked with a guy at their shop. Two welders, a plasma cutter, and (not pictured) all the other gear I need to get started. I don't know the first thing about welding...but thankfully I know the welding instructor here at work, and will hopefully be able to take a few night classes with him.
This site uses cookies to help personalise content, tailor your experience and to keep you logged in if you register.
By continuing to use this site, you are consenting to our use of cookies.