Follow along with the video below to see how to install our site as a web app on your home screen.
Note: This feature currently requires accessing the site using the built-in Safari browser.
We noticed you are blocking ads. DO THE TON only works with community supporters. Most are active members of the site with small businesses. Please consider disabling your ad blocking tool and checking out the businesses that help keep our site up and free.
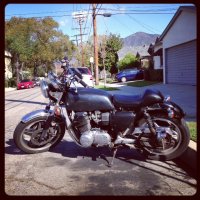
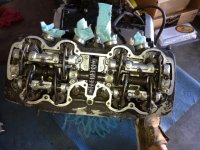
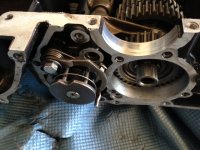
So I got a 1978 CB750F about a year ago. I've been slowly fixing it up and finally decided to go all out. After rebuilding the engine once and having a very leaky head gasket I had to do it all again.
Unfortunately I lost some of my pictures on my phone but you can still see them through my old post. I'll try to repost some of the pictures here so you can get an idea of what I started with.
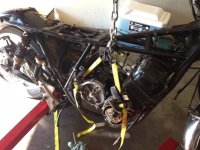
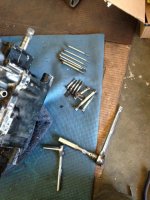
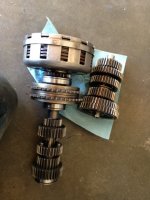
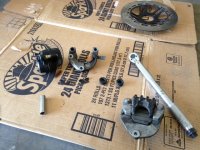
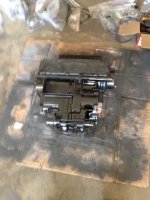
More of the tear down...Also sent the transmission out to the boys at CycleX. Got a new Race Cut Transmission, Super Clutch set, new timing chain, new cylinder stud bolts, all new MLS gaskets.
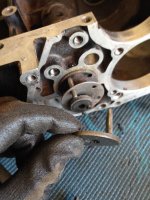
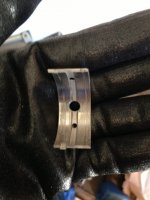
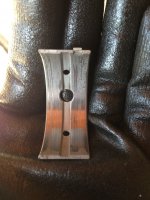
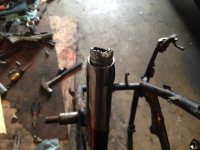
I just replaced the main bearings with All New Green mains from CycleX. I think they're possibly a little tight because you can see major wear on them already. I barely rode it and 400 miles later this is what I see...It was running on almost no oil due to the oil leakage of the head gasket...Can I reuse these or should I measure and reorder a new set?
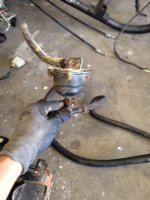
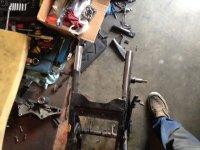
working on the worn Brake calipers...these things are so rusty...I have to definitely clean these pieces out and possible replace the bolts. Some of the bolts are rusted together...already tried PB blaster but to no avail...might need to cut them off.
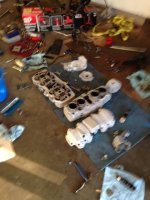
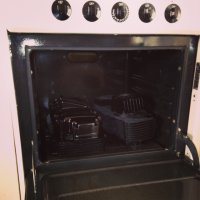
Engine is back from the sandblasters! I'm using VHT rattle cans to paint the engine block gloss black. Also of note, the sandblasters broke a piece of the engine block when they were handling it...don't think it's a major part but they said they would weld it back together at no charge. Thank god...
They broke it right where the engine mounts to the frame. Should get that back this week.
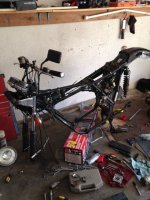
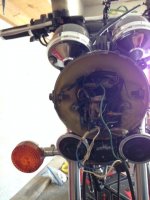
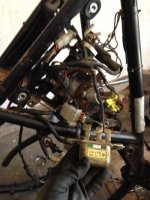
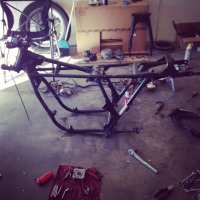
The bike almost apart and the rat's nest of wires from the headlight. I have no clue how I'm going to plug everything back together but hopefully I'll be able to clean it up some.
Haha, thanks! It's a mix of Gonzo's in there. Hunter S. Thompson's (aka Gonzo) Fear and Loathing in Las Vegas in there with "Gonzo" from the muppets pictured. To add to it my name is Gonzo as well. haha...
Update: Came across a small portion of money to devote to the build. No longer a poor man's build!
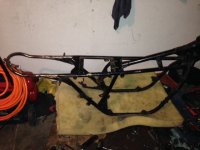
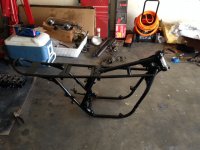
Rattle canned the engine this last weekend and stripped the wiring from the frame. The frame is now ready for powder coating, which will be done this week along with some extras! Woohoo!
So it's been a while but here are some updates of what I've done.
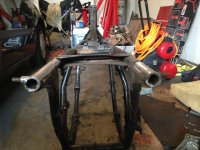
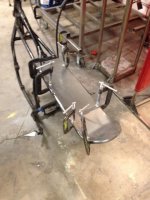
-Chopped the frame
-Welded on rear hoop
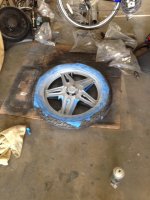
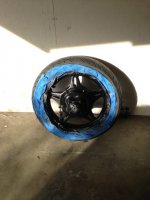
-painted the wheels (rattle can)
-Sent the frame and parts to get powder coated.
Powder coater was going to charge me 425 dollars for everything. I ended up talking him down to 325. But I definitely feel like I could have gone lower. Oh well. done and done.
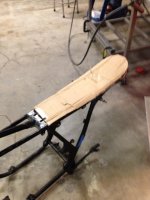
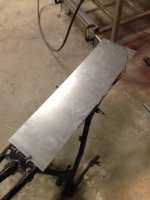
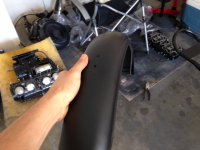
Just got back from this Local place here in Burbank, CA called Foam Mart. It has all kinds of foam for very cheap prices. I highly recommend. Bought all my foam for under 60 bucks. This seat is going to be the most comfortable seat in the world! I'm thinking a brat style seat with a little mini cafe type bump in the back. Not sure yet. As for the foam, I have three types: Closed-Cell firm foam (think wrestling matts), open cell cushiony foam for (sofa style foam) and memory foam. Man, this memory foam feels amazing! I'll post pictures soon.
This site uses cookies to help personalise content, tailor your experience and to keep you logged in if you register.
By continuing to use this site, you are consenting to our use of cookies.