
We noticed you are blocking ads. DO THE TON only works with community supporters. Most are active members of the site with small businesses. Please consider disabling your ad blocking tool and checking out the businesses that help keep our site up and free.
You are using an out of date browser. It may not display this or other websites correctly.
You should upgrade or use an alternative browser.
You should upgrade or use an alternative browser.
1980 cb 750c CAFE?
- Thread starter korndog12
- Start date
YogiBear
Over 1,000 Posts
Re: 1980 cb 750c Need input
yes it is
flatcurve said:That's the guy from vietnam, right? There's a few posts on here about those seats.
yes it is
Re: 1980 cb 750c Need input
So a little update. I need help sourcing the largest length eye to clevis shocks on the cheap. I have stock 13 inch inside to inside length or currently 330mm on the bike.
I would like larger shocks so I may run an undertail exhaust.
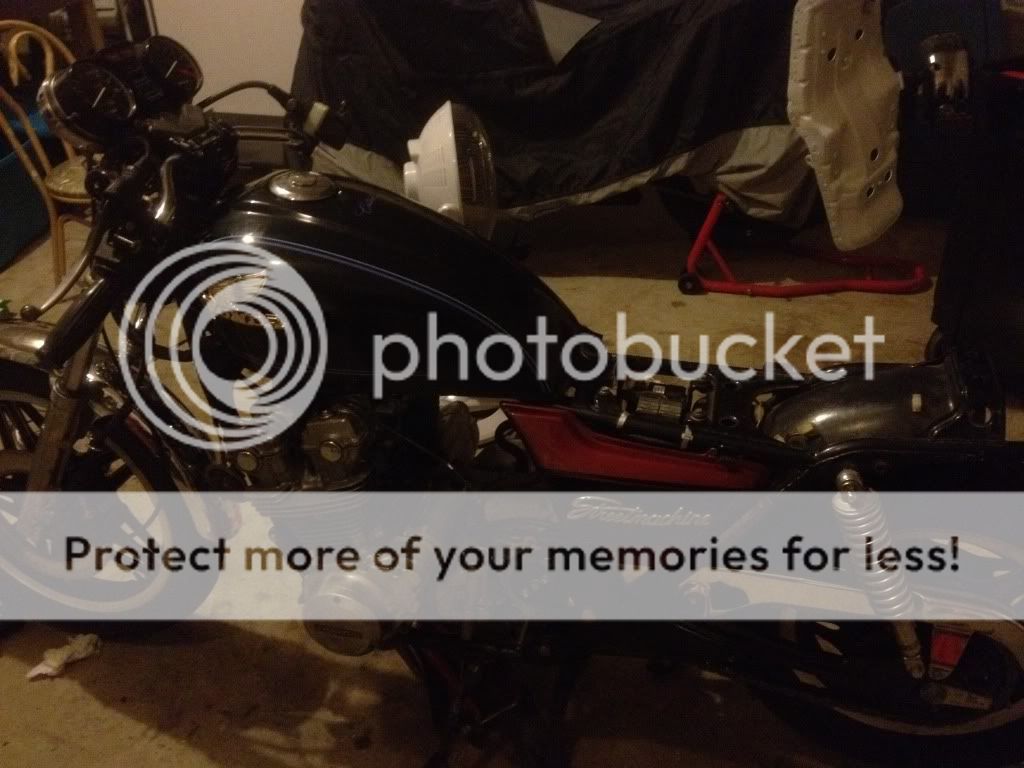
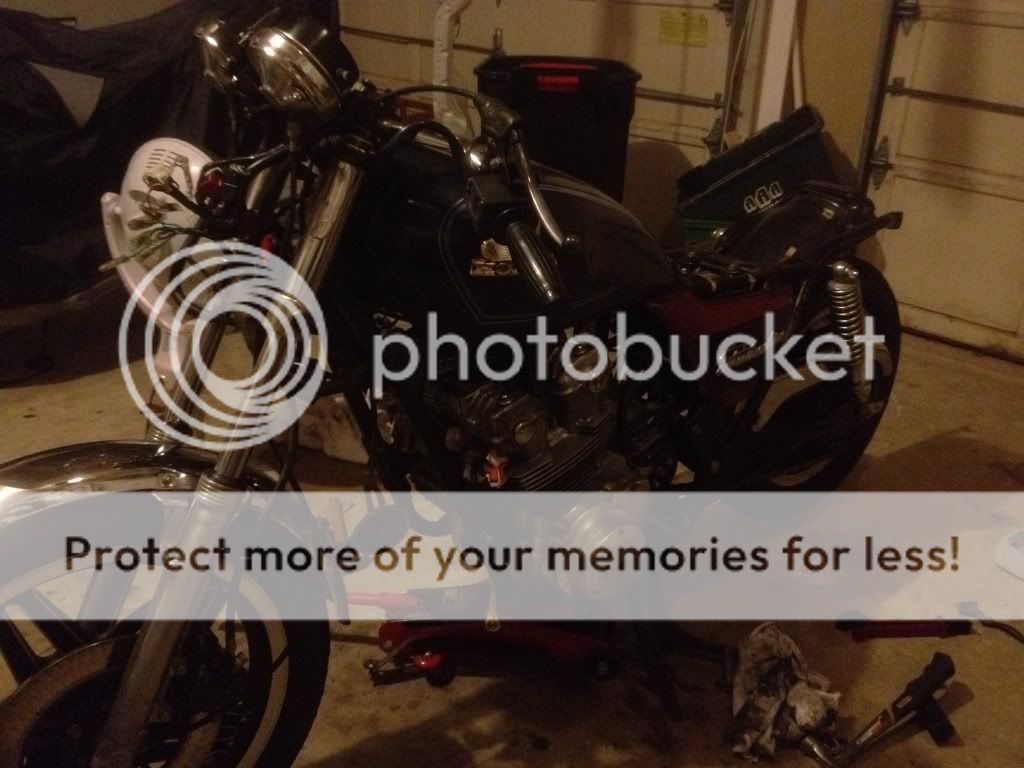
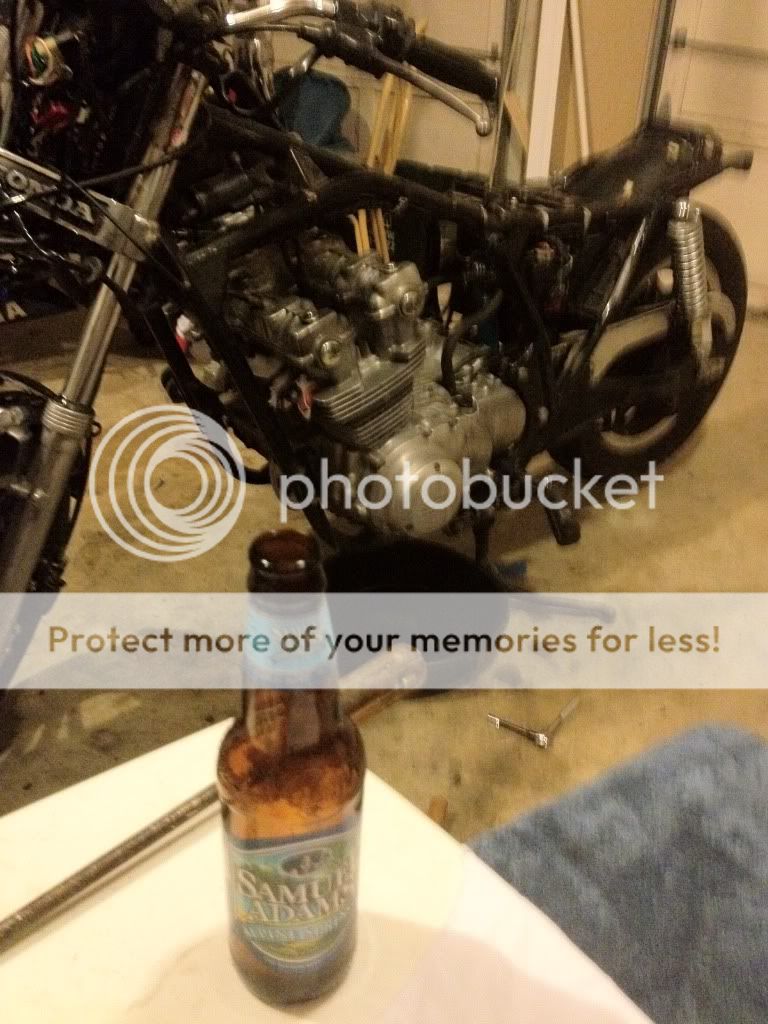
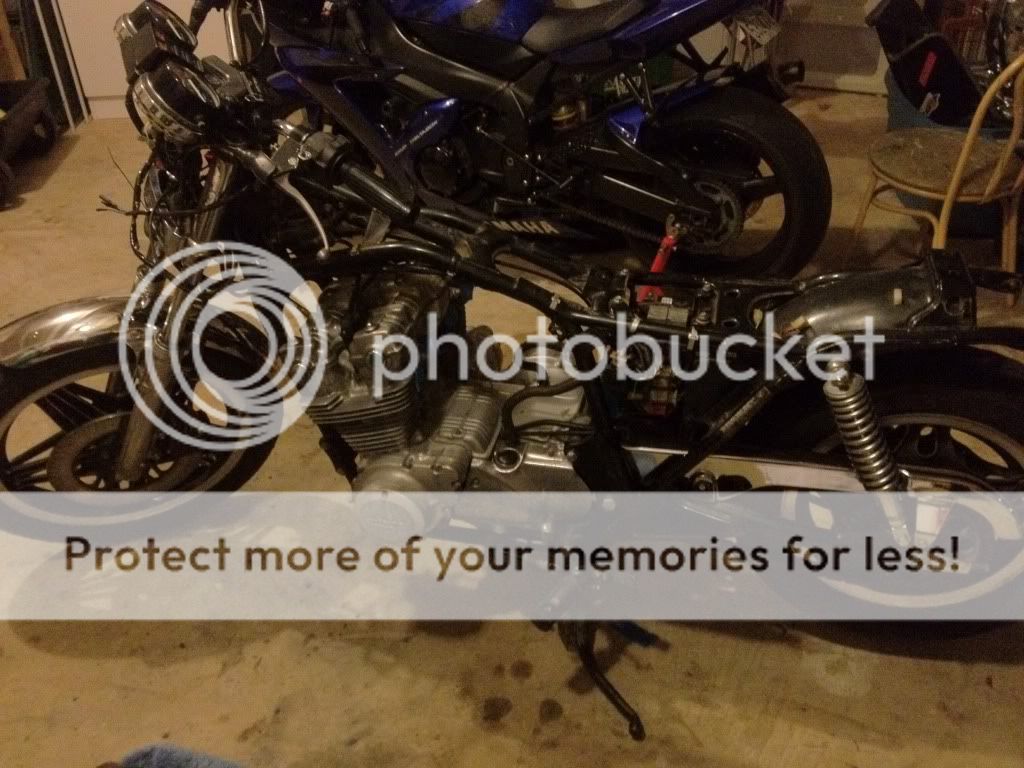
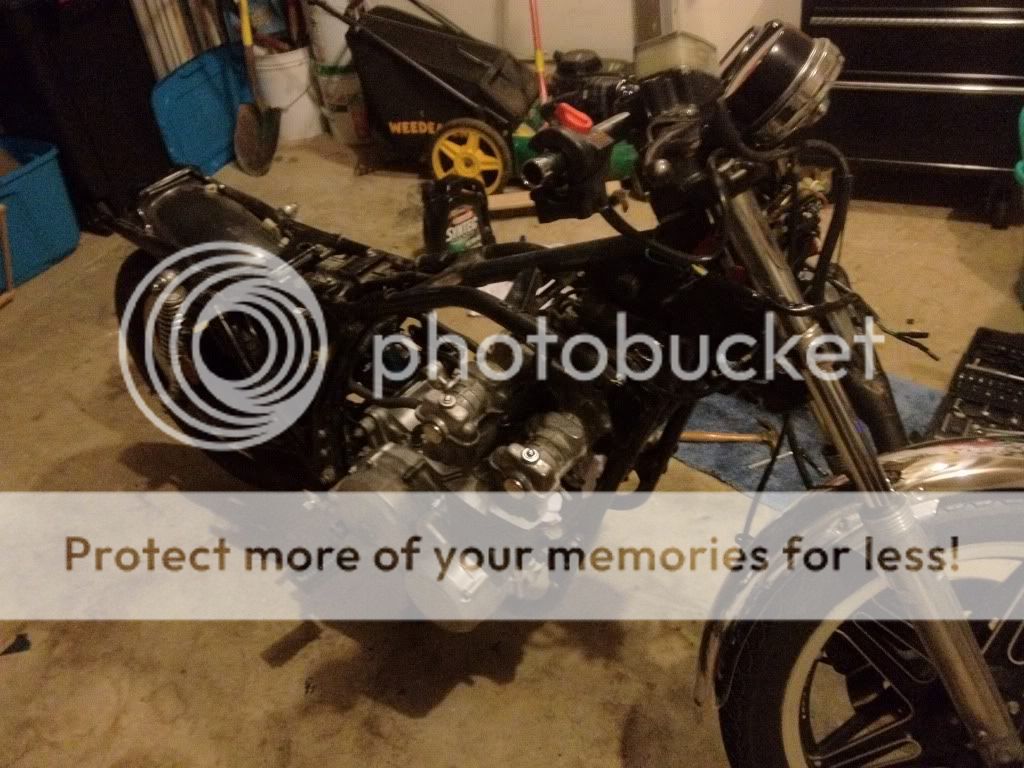
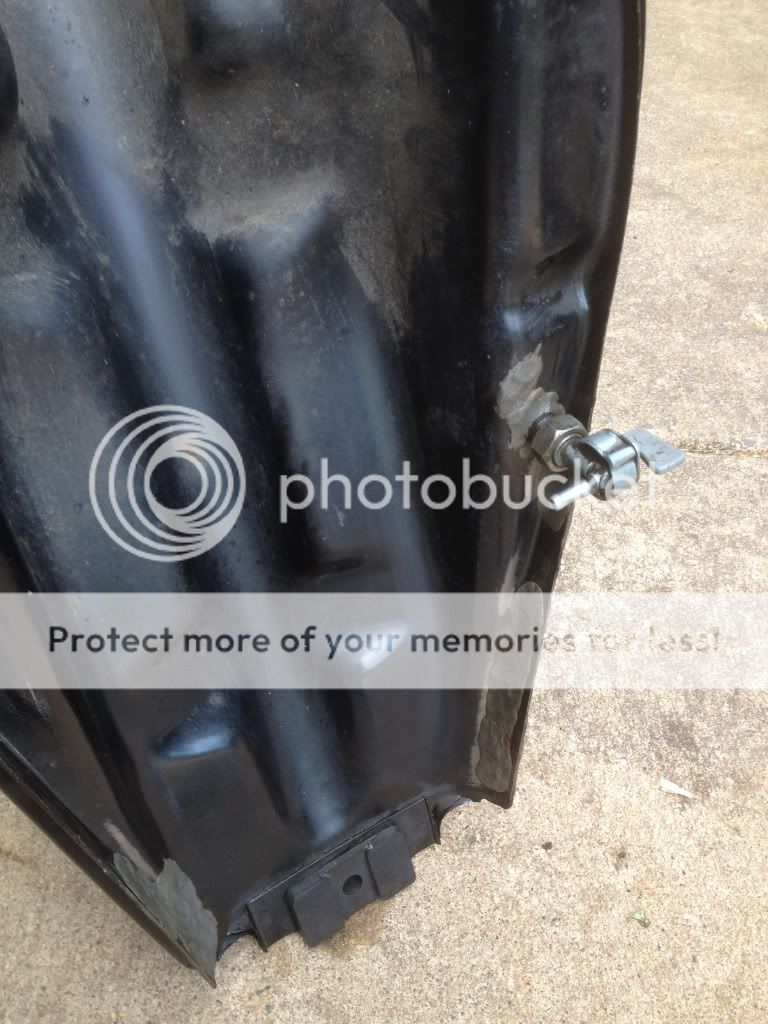
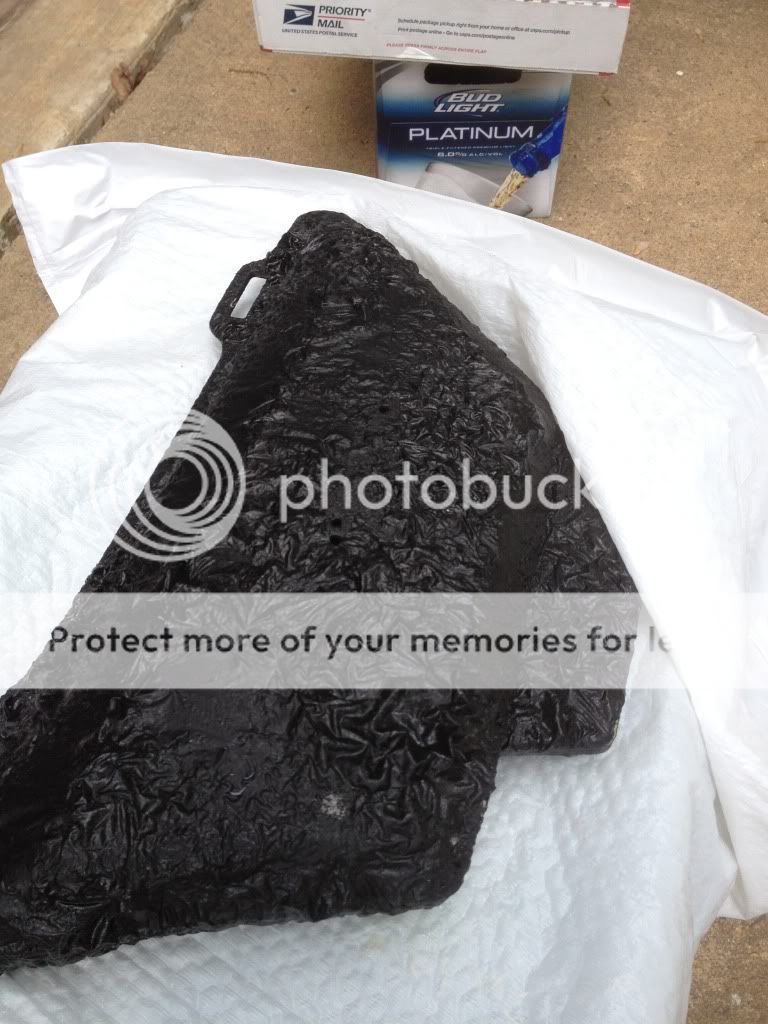
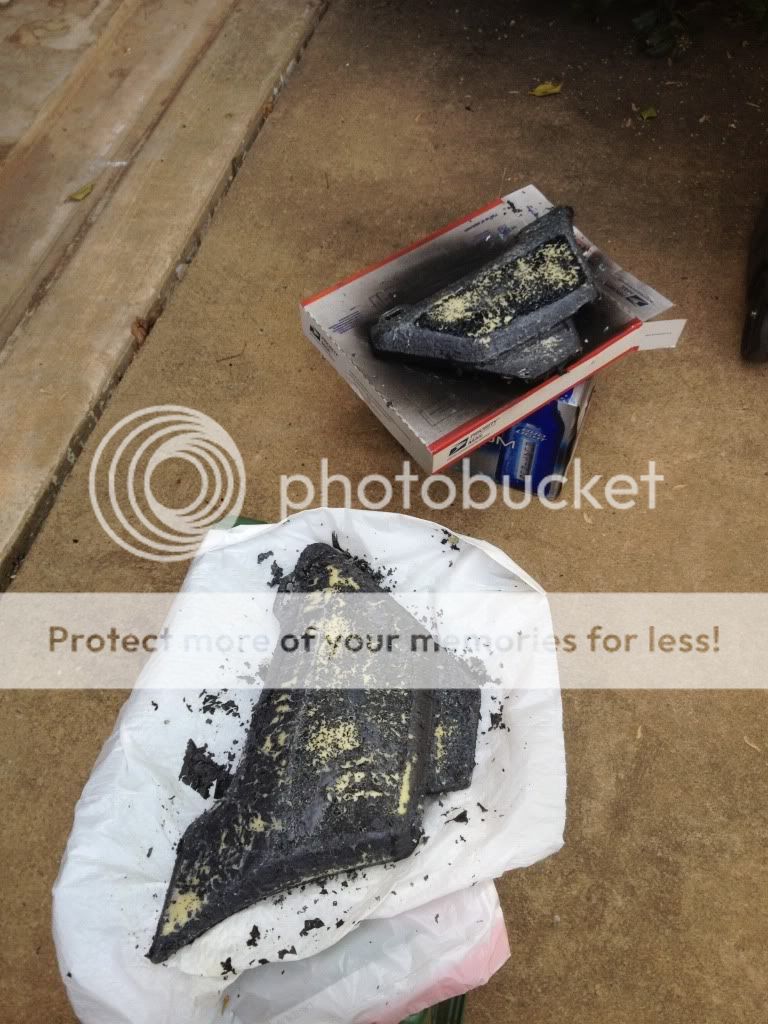
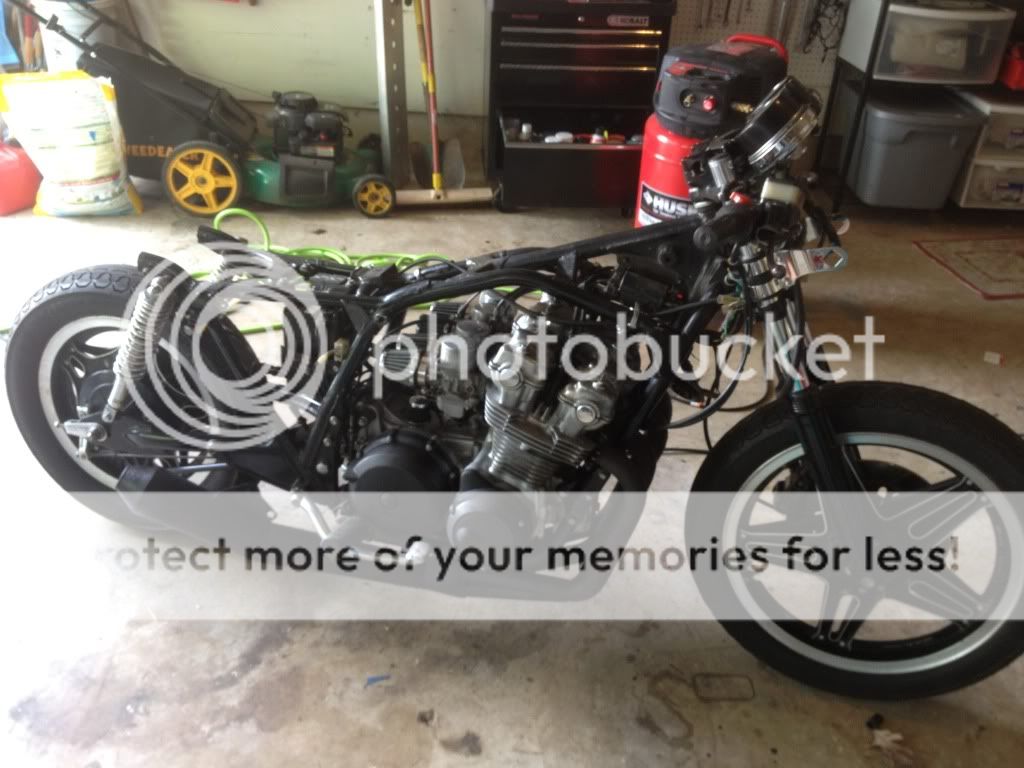
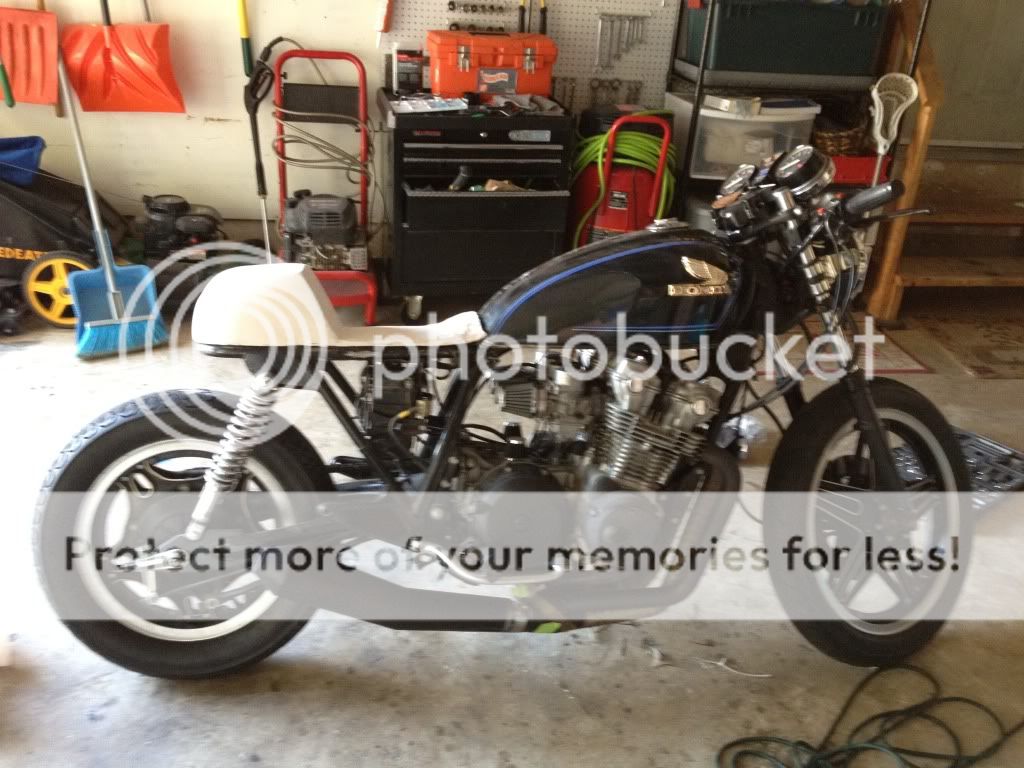
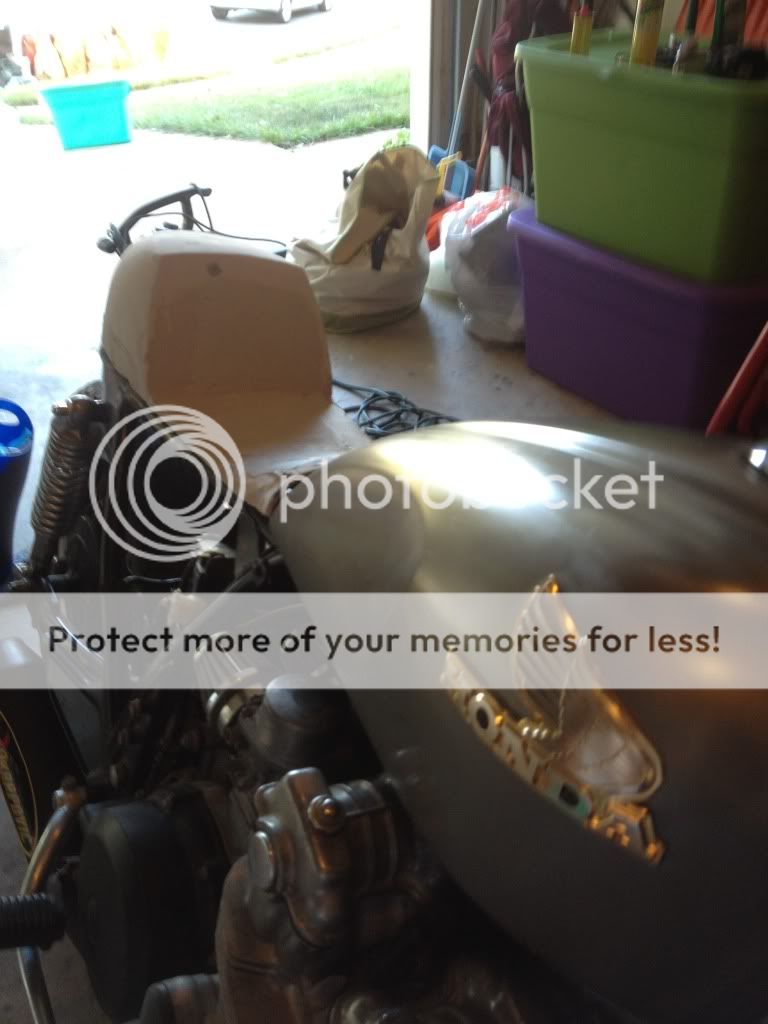
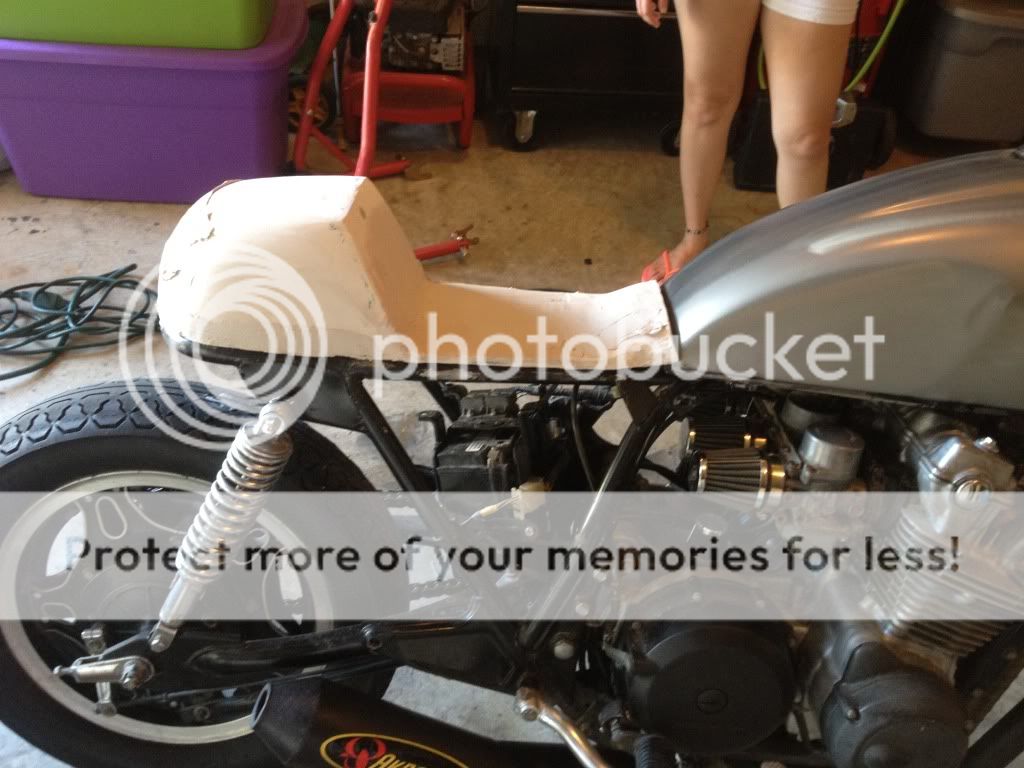
Some pictures. I mostly have been just giving the bike some much needed TLC. Removed some covers and started painting them. Also ripped off the nasty seat. I am going to try and glass my own cowling for the rear and use the original pan as much as possible. Some of the parts are actually in pretty good condition. I will let the pictures speak for themselves.
Got a side cover from fleebay. Just need to source a batteryside cover now.
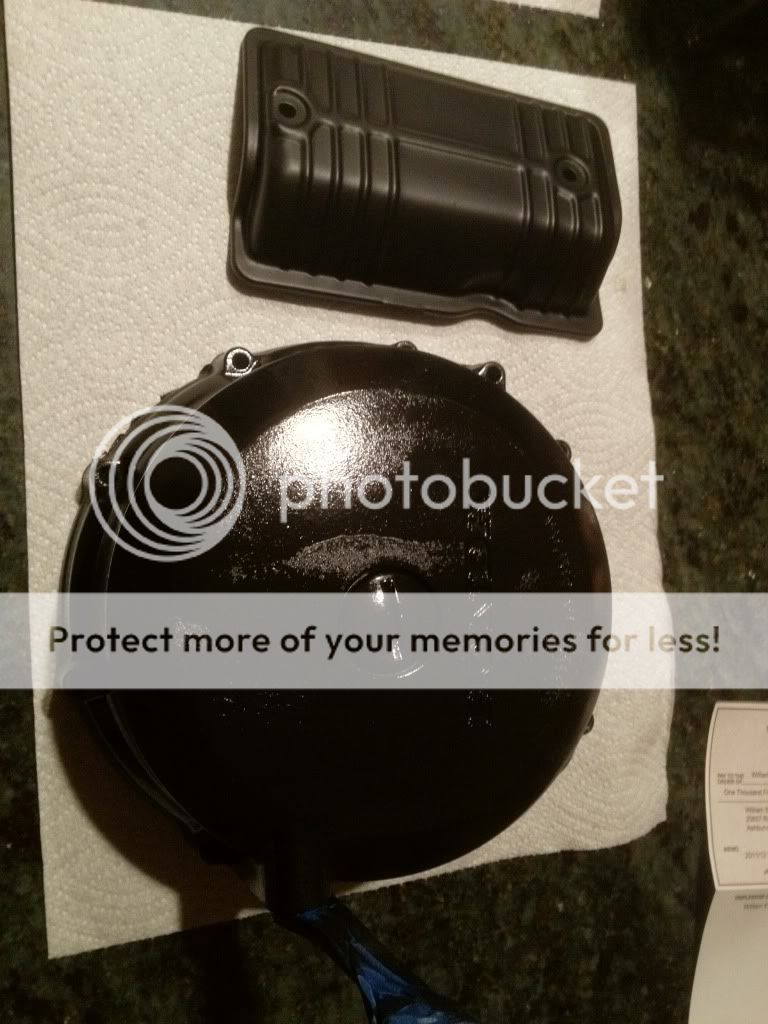
Clutch cover needs another coat of wrinkle but you can see it start its mojo.
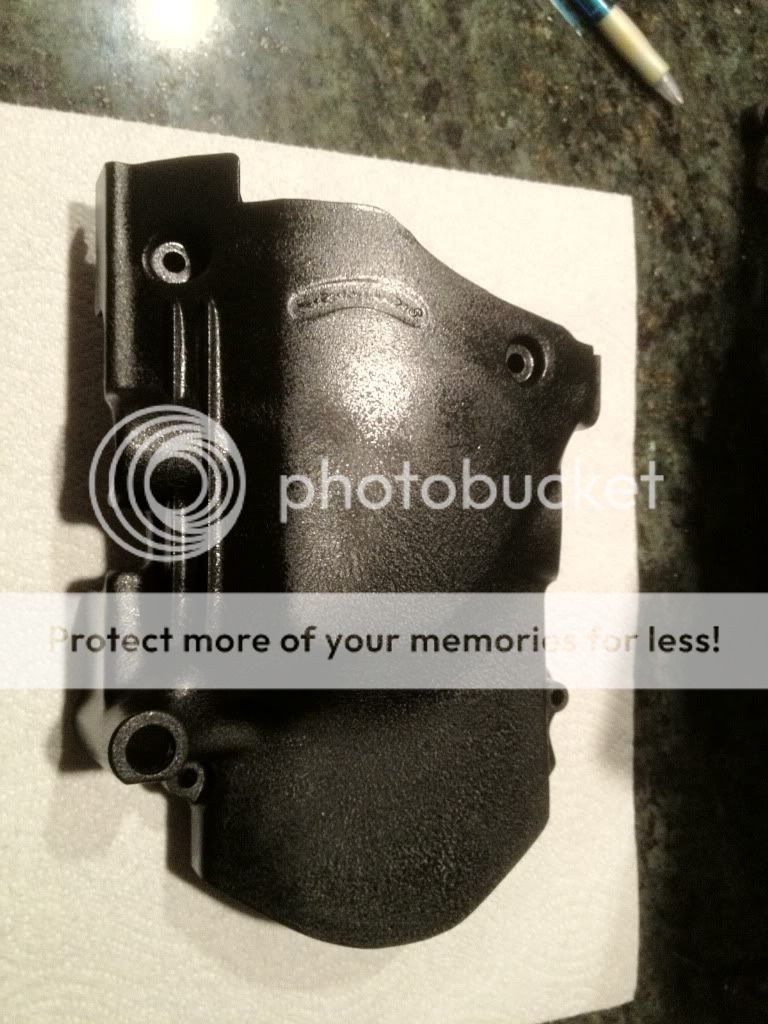
Sprocket cover is looking good however.
Cant work without beer. Its a fact.
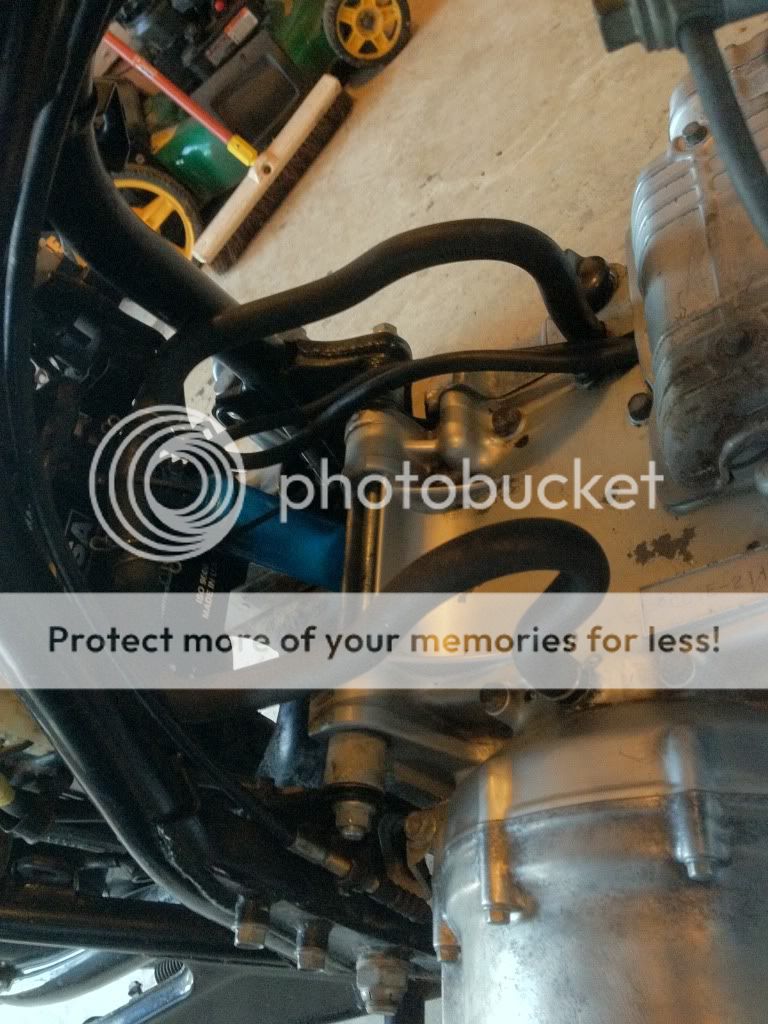
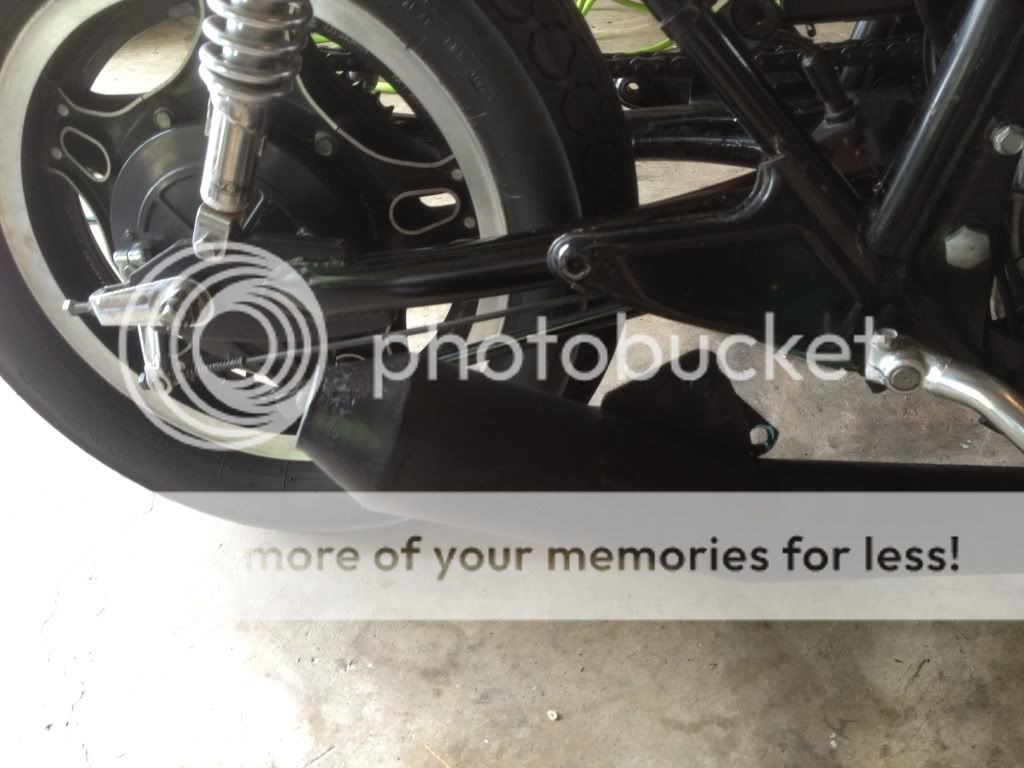
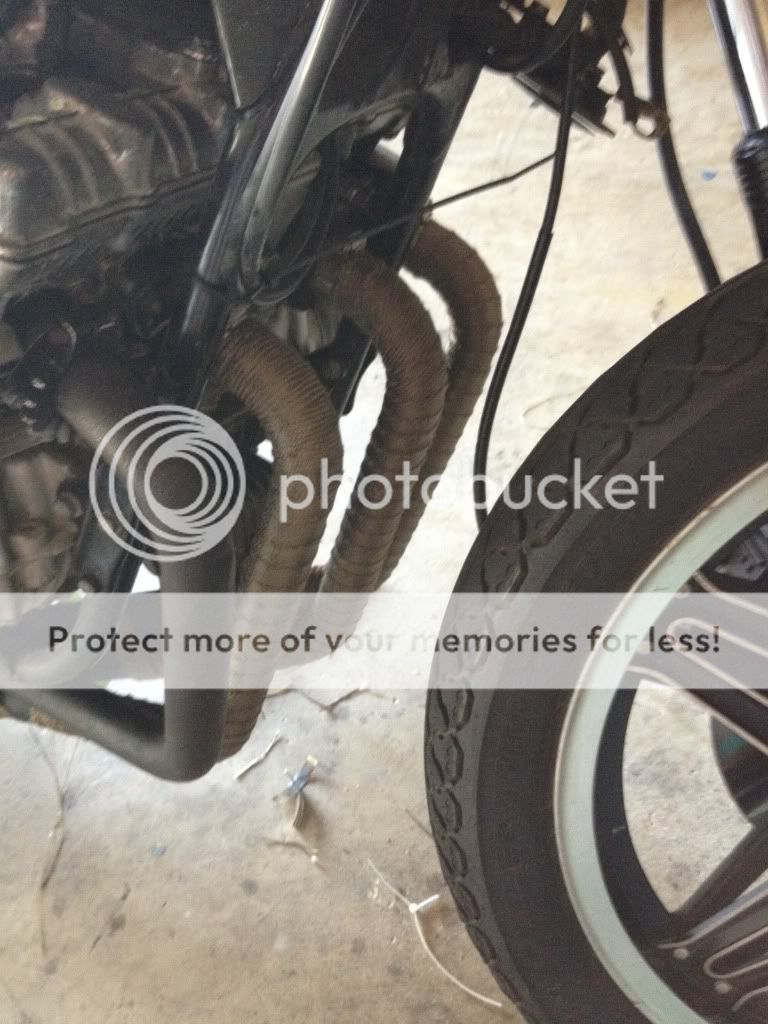
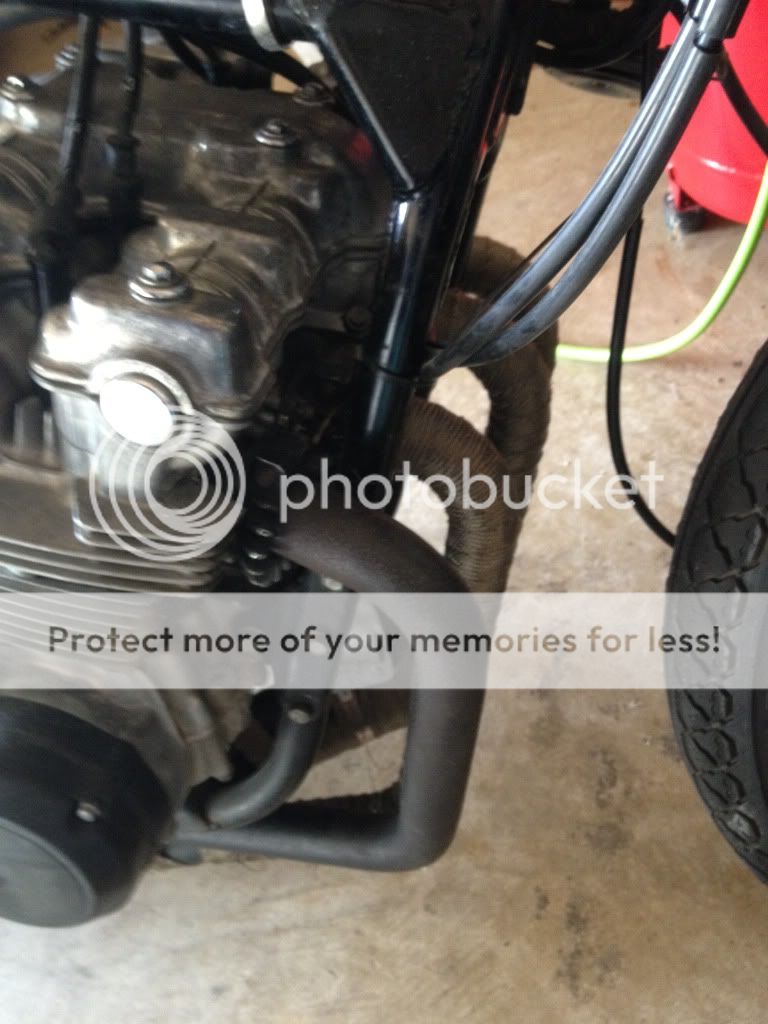
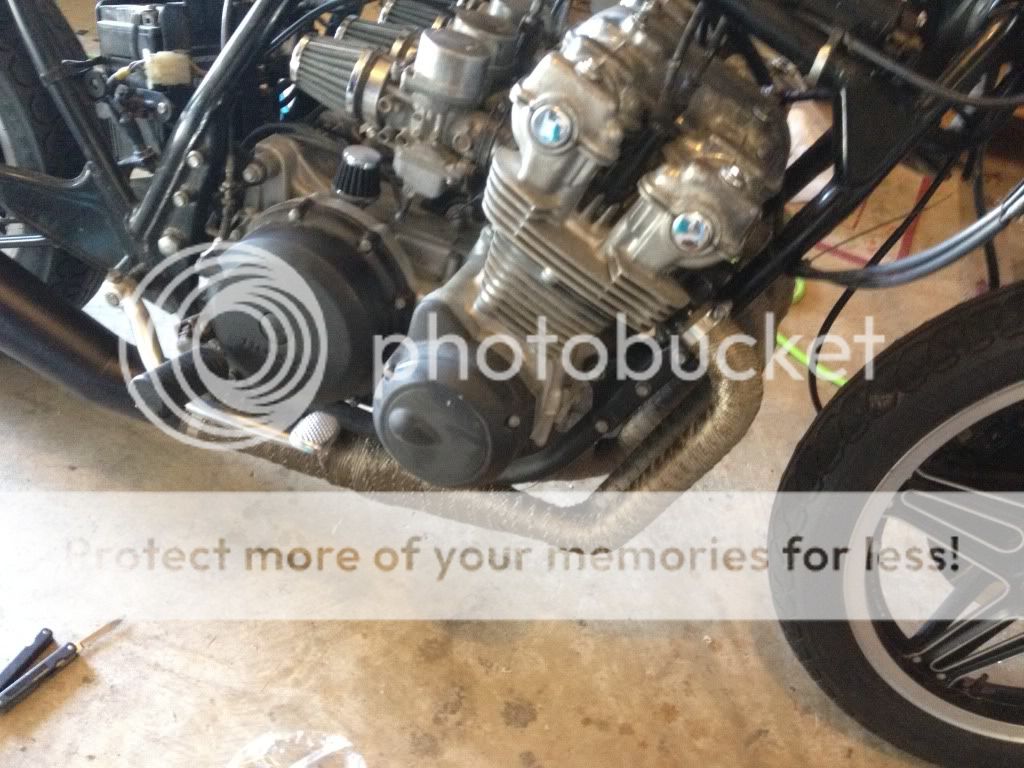
So this is where the headers end. I would like to slip something and use bends to route it to an undertail.

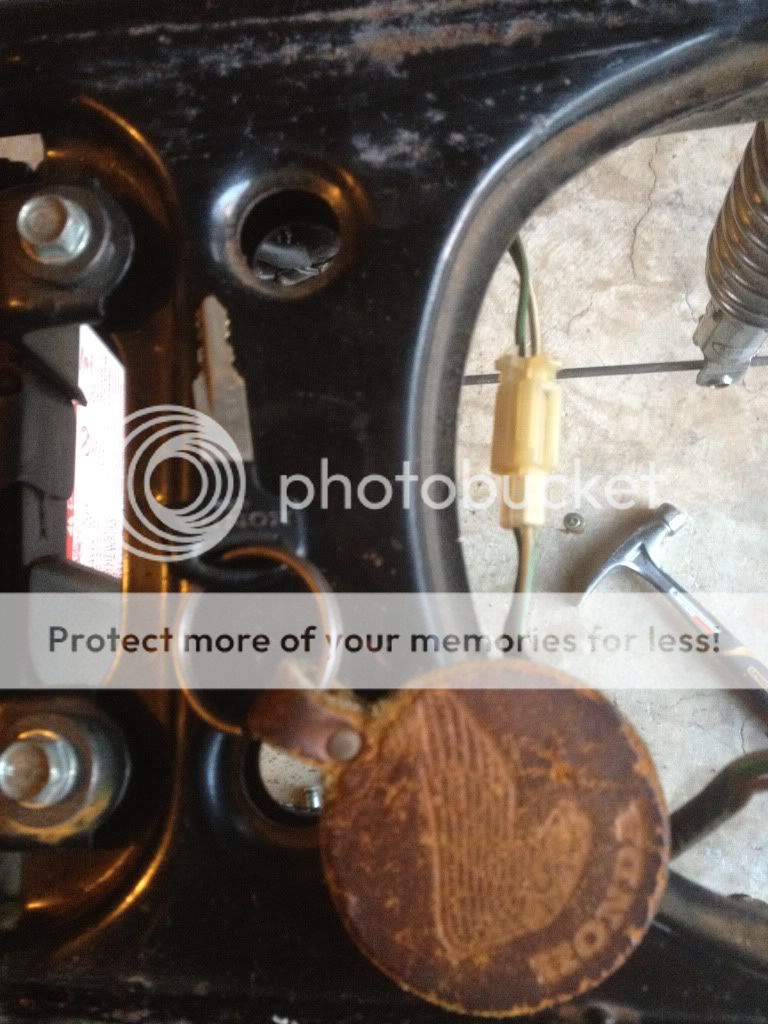
This is how the bike came as a "fuel filter" Ideas how to fix this atrocity
So a little update. I need help sourcing the largest length eye to clevis shocks on the cheap. I have stock 13 inch inside to inside length or currently 330mm on the bike.
I would like larger shocks so I may run an undertail exhaust.
Some pictures. I mostly have been just giving the bike some much needed TLC. Removed some covers and started painting them. Also ripped off the nasty seat. I am going to try and glass my own cowling for the rear and use the original pan as much as possible. Some of the parts are actually in pretty good condition. I will let the pictures speak for themselves.
Got a side cover from fleebay. Just need to source a batteryside cover now.
Clutch cover needs another coat of wrinkle but you can see it start its mojo.
Sprocket cover is looking good however.
Cant work without beer. Its a fact.
So this is where the headers end. I would like to slip something and use bends to route it to an undertail.
This is how the bike came as a "fuel filter" Ideas how to fix this atrocity
so here is a very rough intent sketch.
Sorry for quality was about 3 min of work. So really need help for those shock ideas or I will have to get tab welded on and use that as an extension for the shocks.
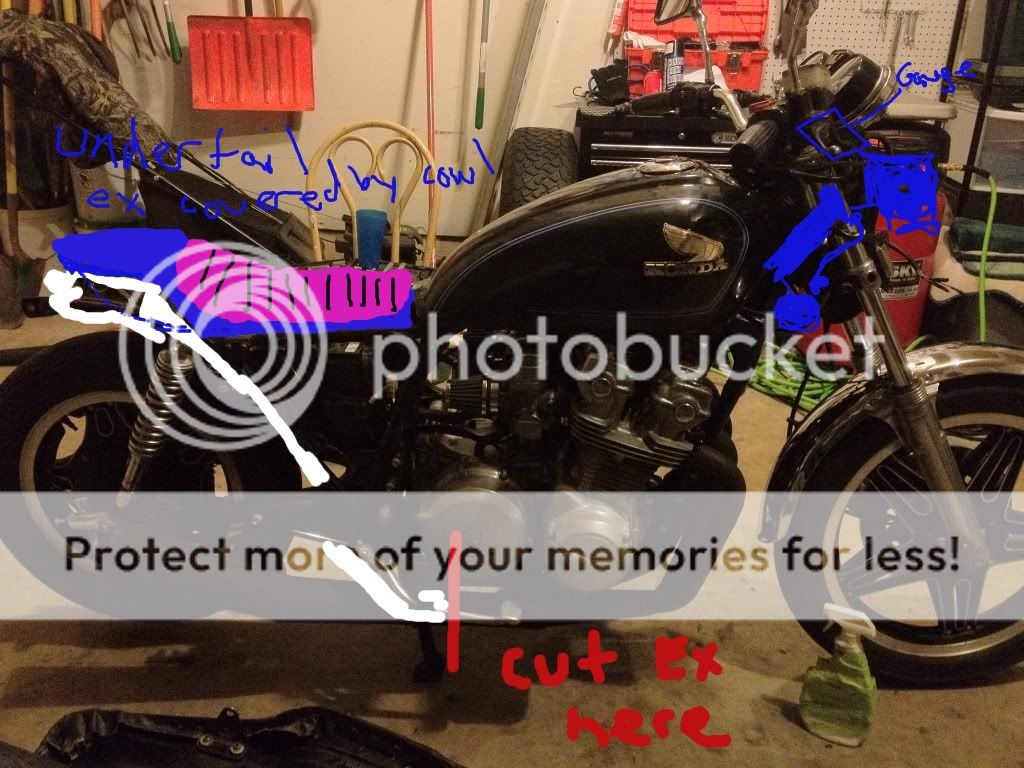
I feel with a longer rear shock set up and a fat squishy seat the bike should have attractive lines.
note color is for contrast only.
Sorry for quality was about 3 min of work. So really need help for those shock ideas or I will have to get tab welded on and use that as an extension for the shocks.
I feel with a longer rear shock set up and a fat squishy seat the bike should have attractive lines.
note color is for contrast only.
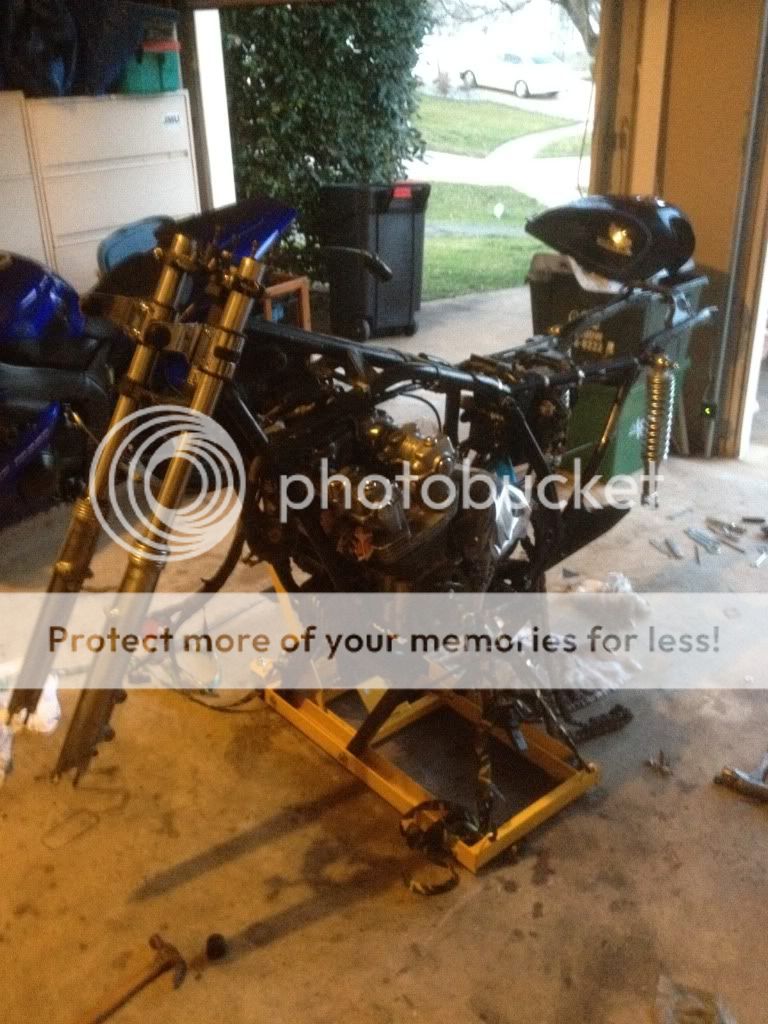
Thanks to mike and the new lift. Progress was made. Forks surprisingly look very nice. No pits or anything.
It always feels great to unbolt just garbage weight that is unnecessary.
digging the vintage looking keychain
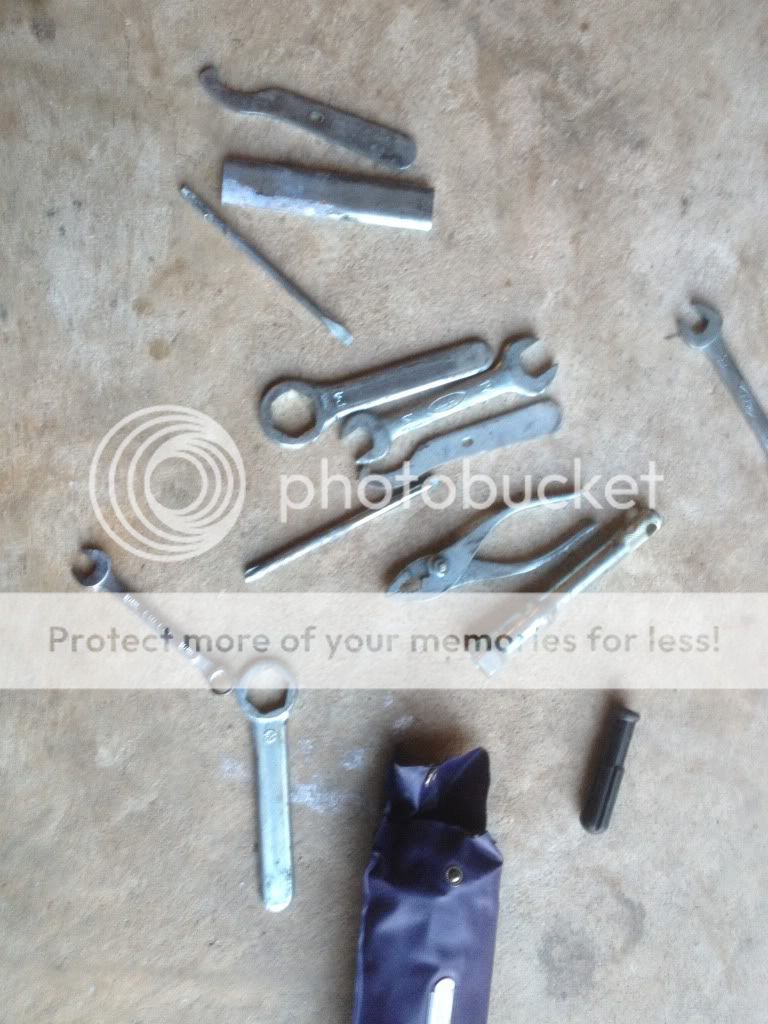
Tool kit that came with the bike, They have probably been in there for 31 years unused.

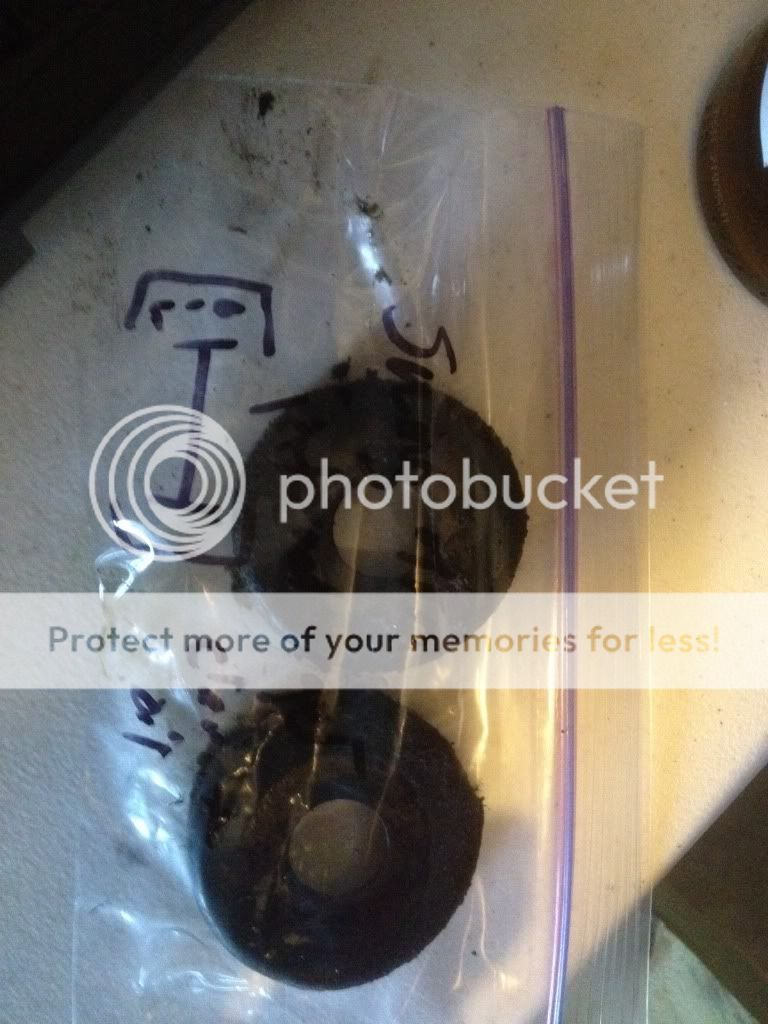
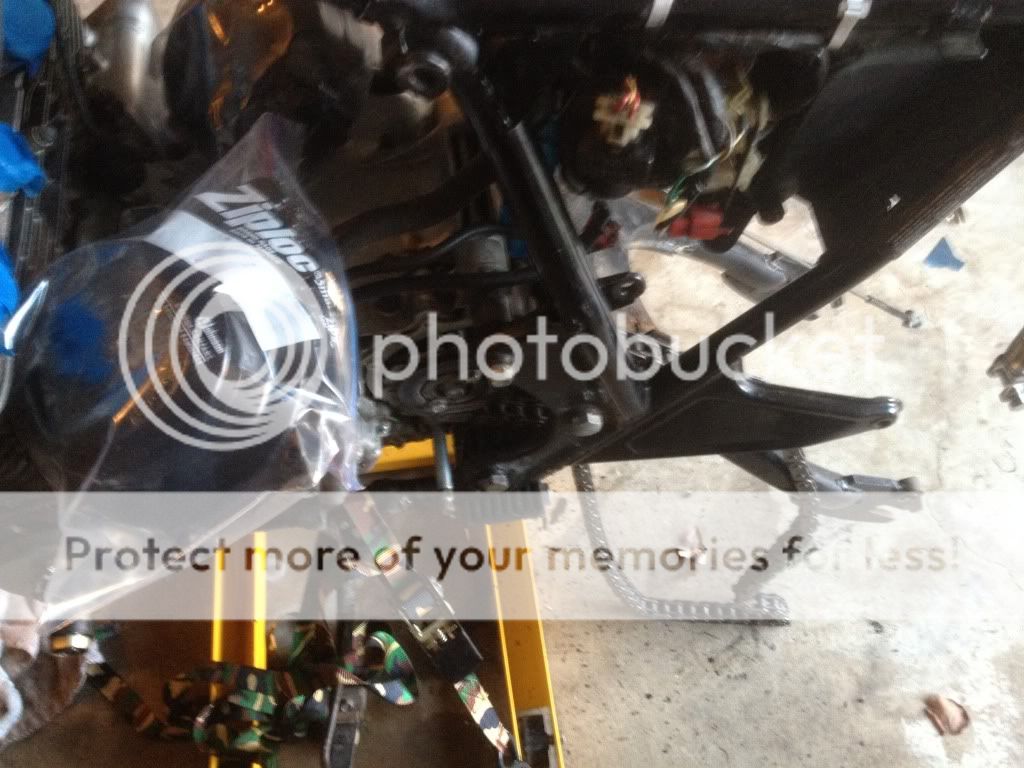
My system for breaking down parts is to baggie bolts and nuts and whatever.
Write a small description and sometimes even a small diagram of how the part was mounted. Helps when you end up working maybe once a week on the bike and things get lost.
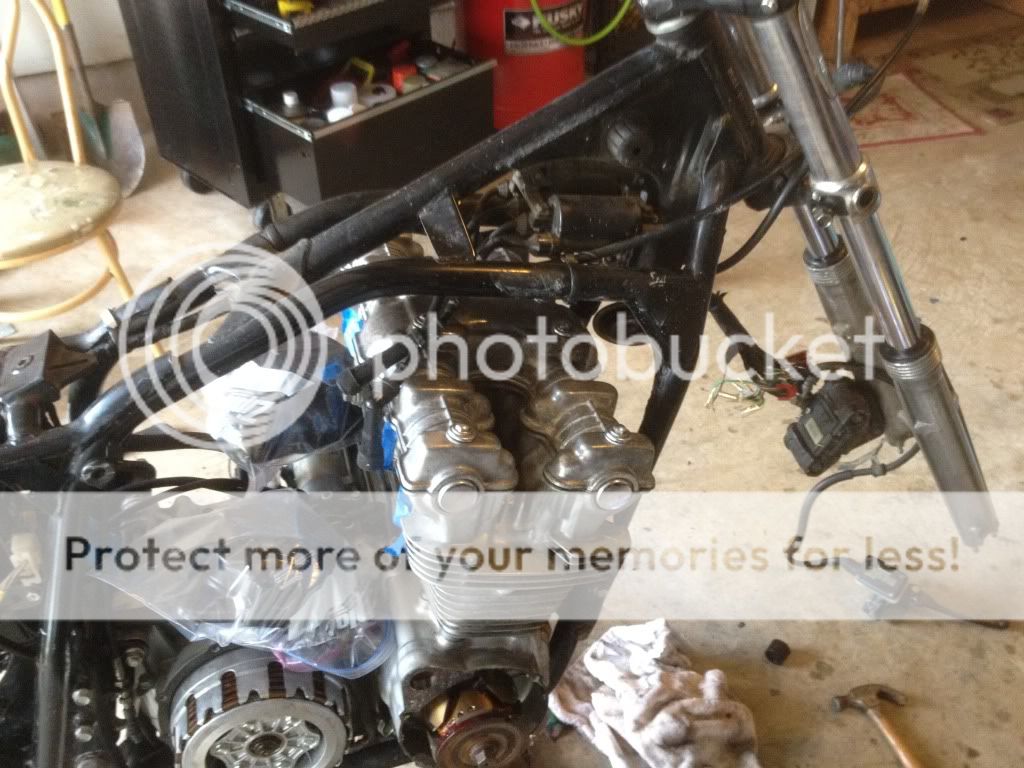
Pulled the forks and mocked up the headlight ears.
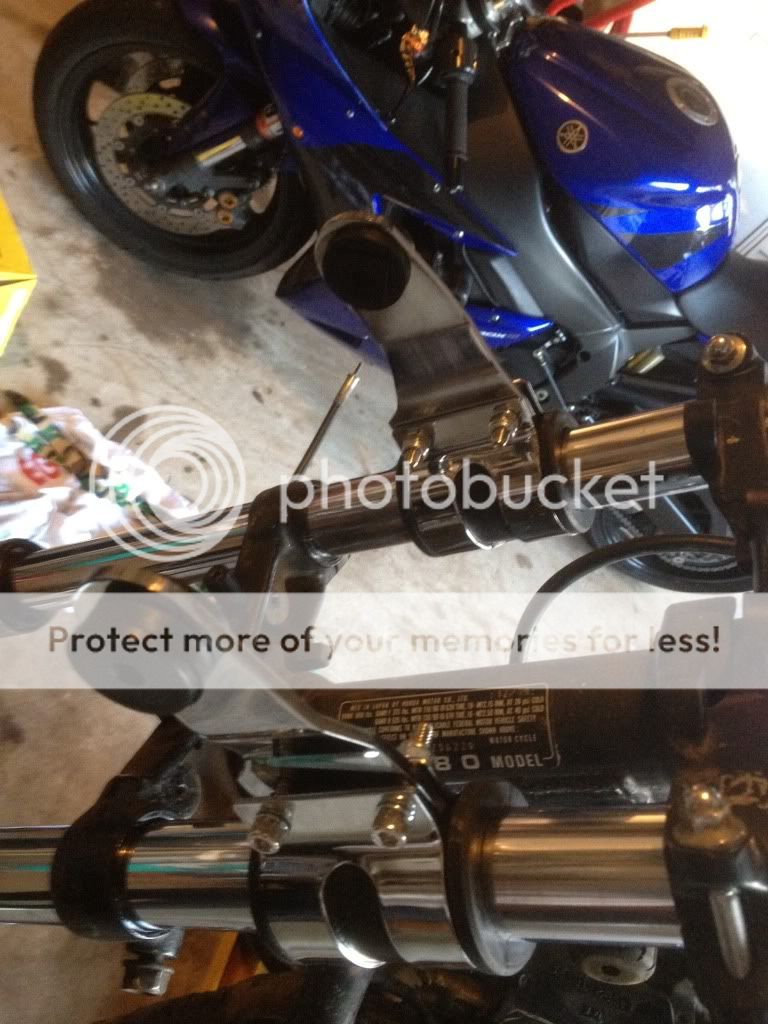
I have to decide to go clipons or clubmans. Clubmans would make life easier as I wouldn't have to grind down the mounts on the upper triple tree.
Swingarm off. Felt like I needed a tetanus shot by just being close to it.

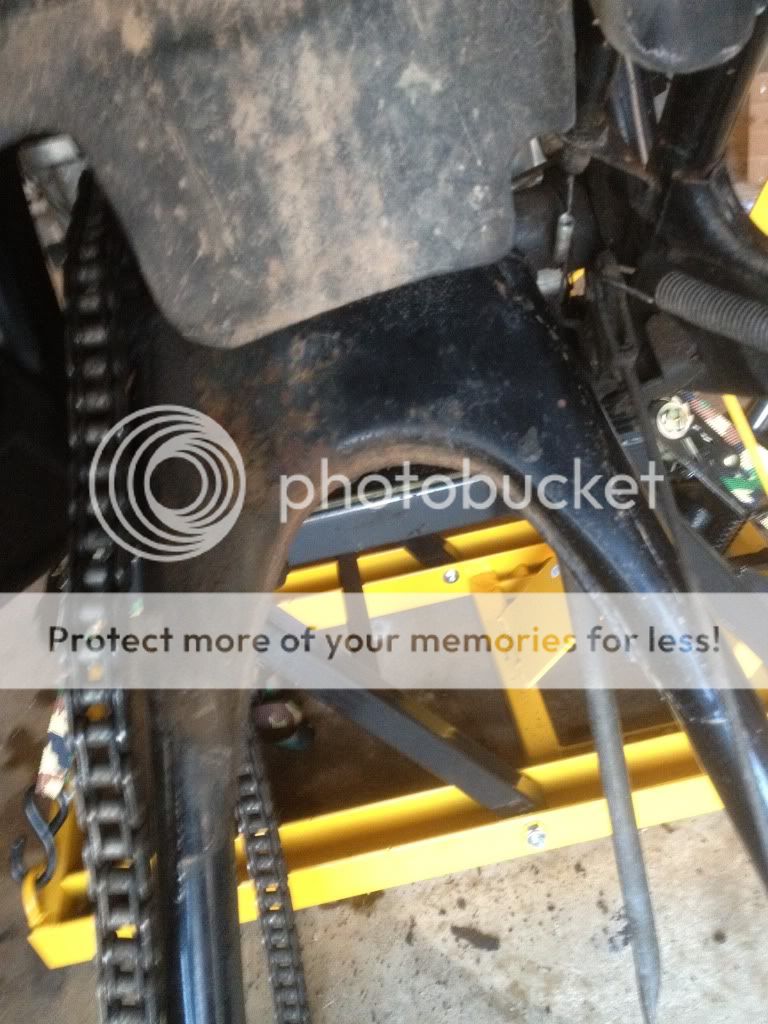
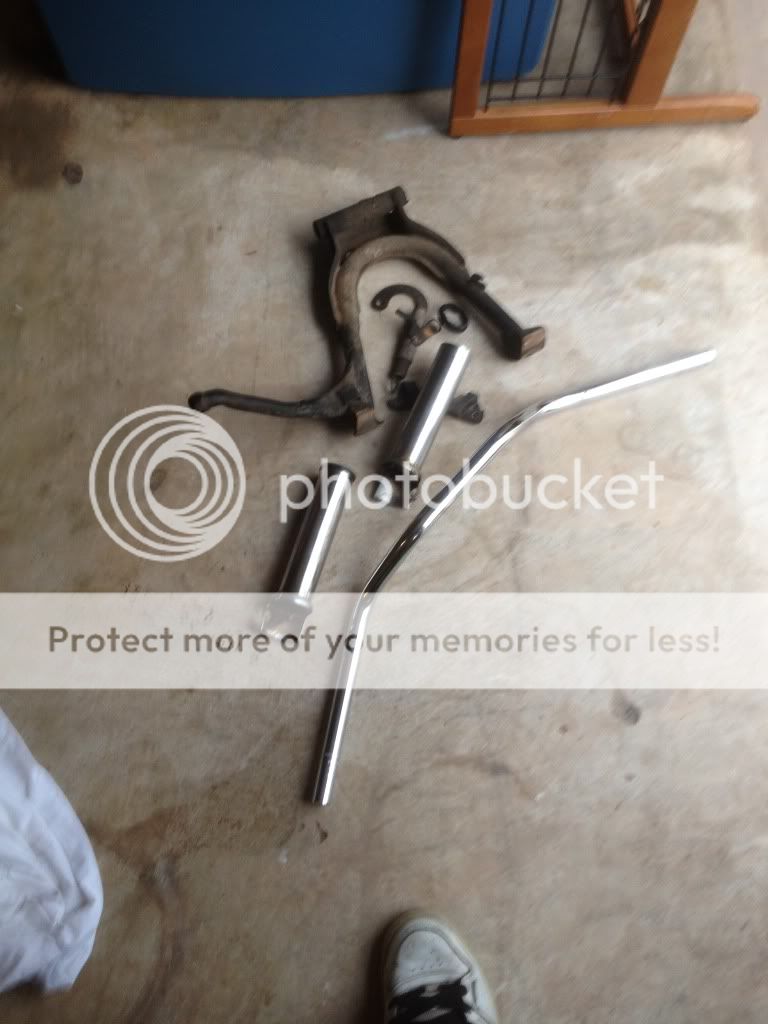
Also pulled the center stand. More dead weight removed.
keeping shit connected and being lazy to paint. This was my solution to keep shit off the paint.
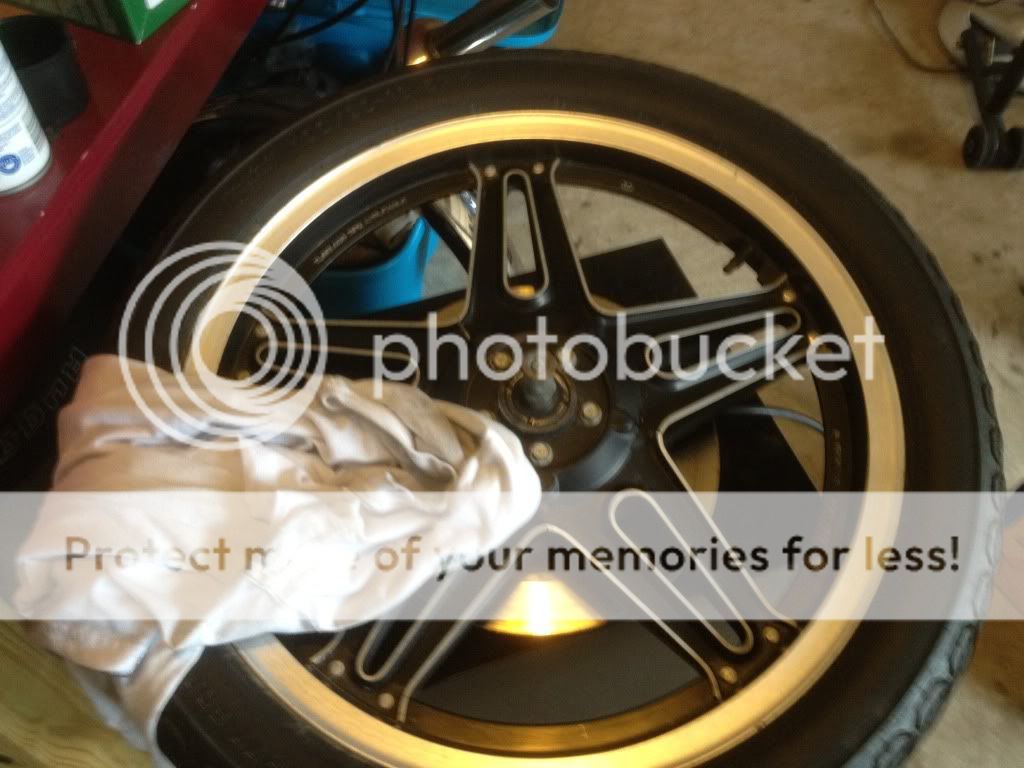
I will most likely get new wheels but will rock these for the moment as the tires have good tread.
Little tlc cleaning them up.

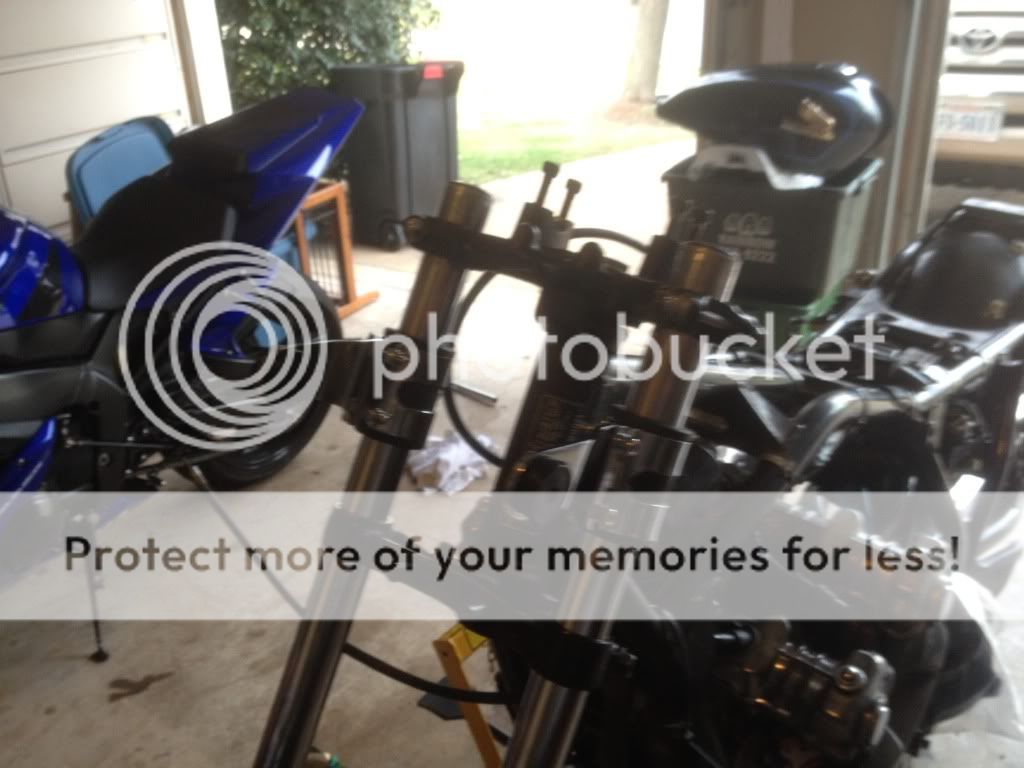
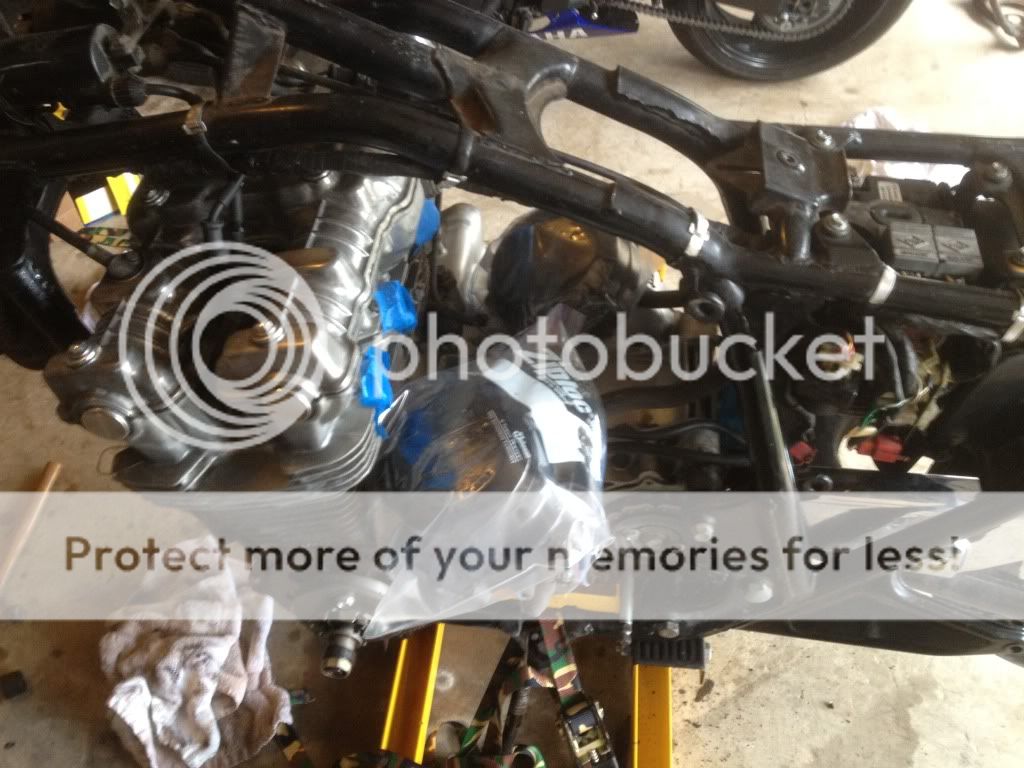
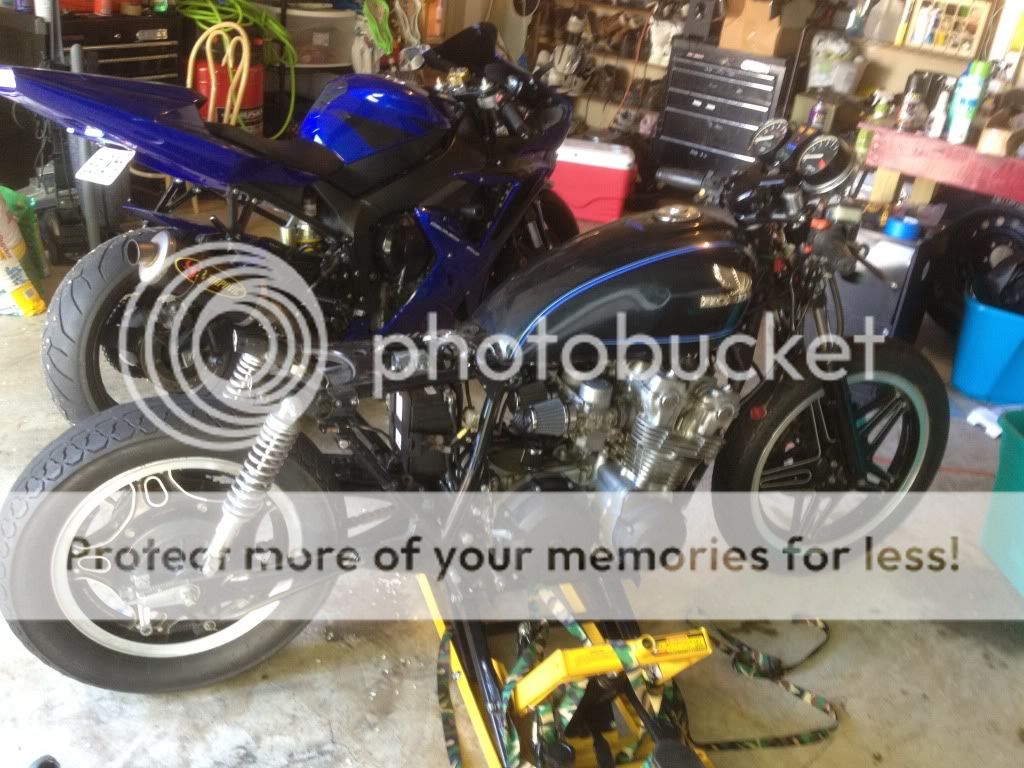
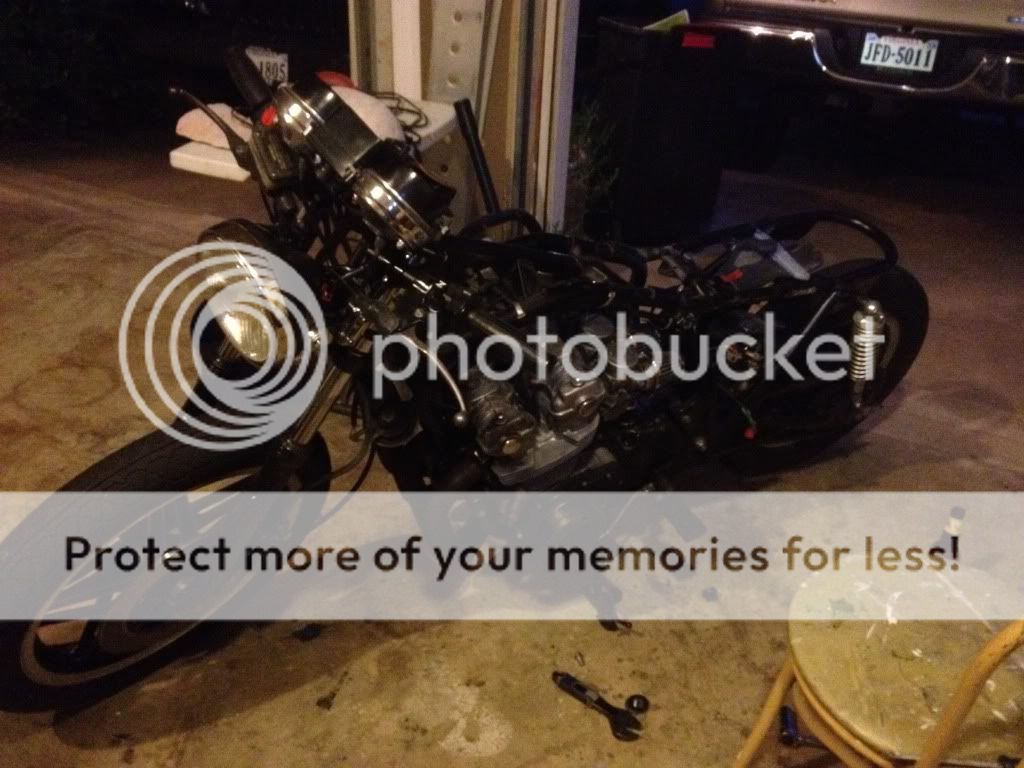
So this is pretty much how the bike sits now waiting for next wrench day.
I have an exhaust now and midpipe that I should be able to work with.
I need to learn how to weld and pick up a welder.
Anyone recommend a starting welder that wont break the bank and doesnt need a 220V. I was looking at the one from harbor frieght oxy/acet.
Need to source rearsets bars/clipons and now work on the seat.
It always feels great to unbolt just garbage weight that is unnecessary.
digging the vintage looking keychain
Tool kit that came with the bike, They have probably been in there for 31 years unused.
My system for breaking down parts is to baggie bolts and nuts and whatever.
Write a small description and sometimes even a small diagram of how the part was mounted. Helps when you end up working maybe once a week on the bike and things get lost.
Pulled the forks and mocked up the headlight ears.
I have to decide to go clipons or clubmans. Clubmans would make life easier as I wouldn't have to grind down the mounts on the upper triple tree.
Swingarm off. Felt like I needed a tetanus shot by just being close to it.
Also pulled the center stand. More dead weight removed.
keeping shit connected and being lazy to paint. This was my solution to keep shit off the paint.
I will most likely get new wheels but will rock these for the moment as the tires have good tread.
Little tlc cleaning them up.
So this is pretty much how the bike sits now waiting for next wrench day.
I have an exhaust now and midpipe that I should be able to work with.
I need to learn how to weld and pick up a welder.
Anyone recommend a starting welder that wont break the bank and doesnt need a 220V. I was looking at the one from harbor frieght oxy/acet.
Need to source rearsets bars/clipons and now work on the seat.
Fox
I've still got those patches...
Are you painting your engine on-frame? While I can't say that won't work, I'm not sure how good your results will be without giving it the proper cleaning beforehand. I'm going through that right now, and it's a bitch, but I know it will be worthwhile when my paint lasts longer than 6 months.
Those headlight brackets look good, as do the rims. Congrats on a hard day ofwork fun.
Those headlight brackets look good, as do the rims. Congrats on a hard day of
Some progress on the bike. Yogi, quick question in one of the pictures I bought a breather pod but what did you do to complete the other side of it?
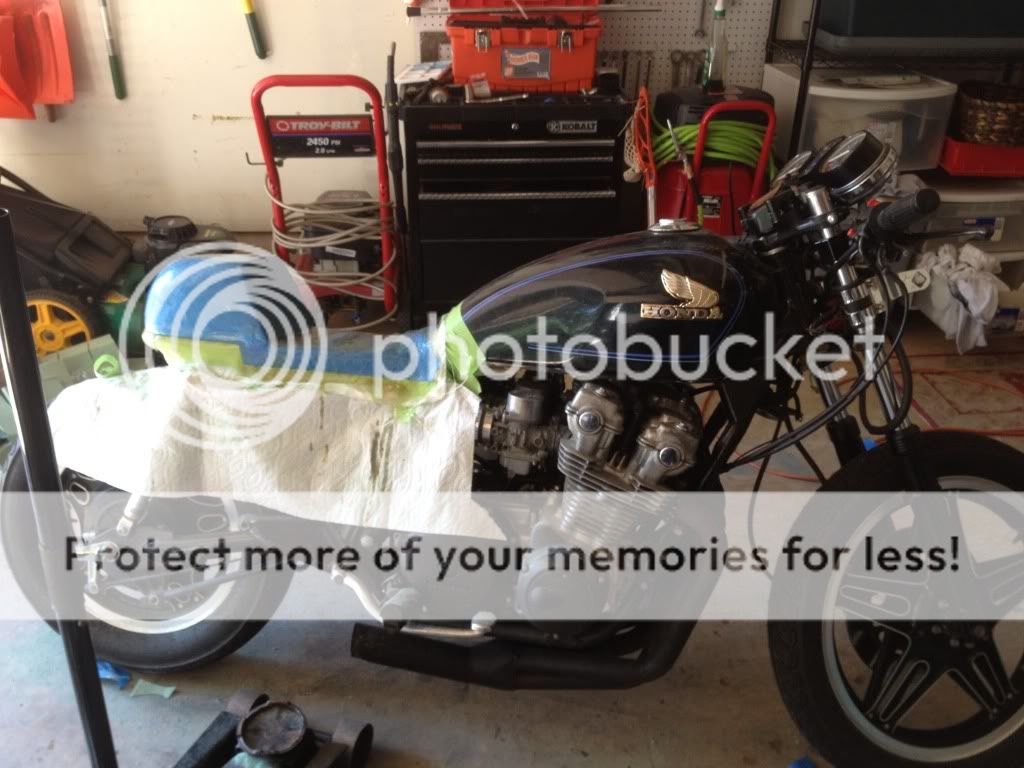
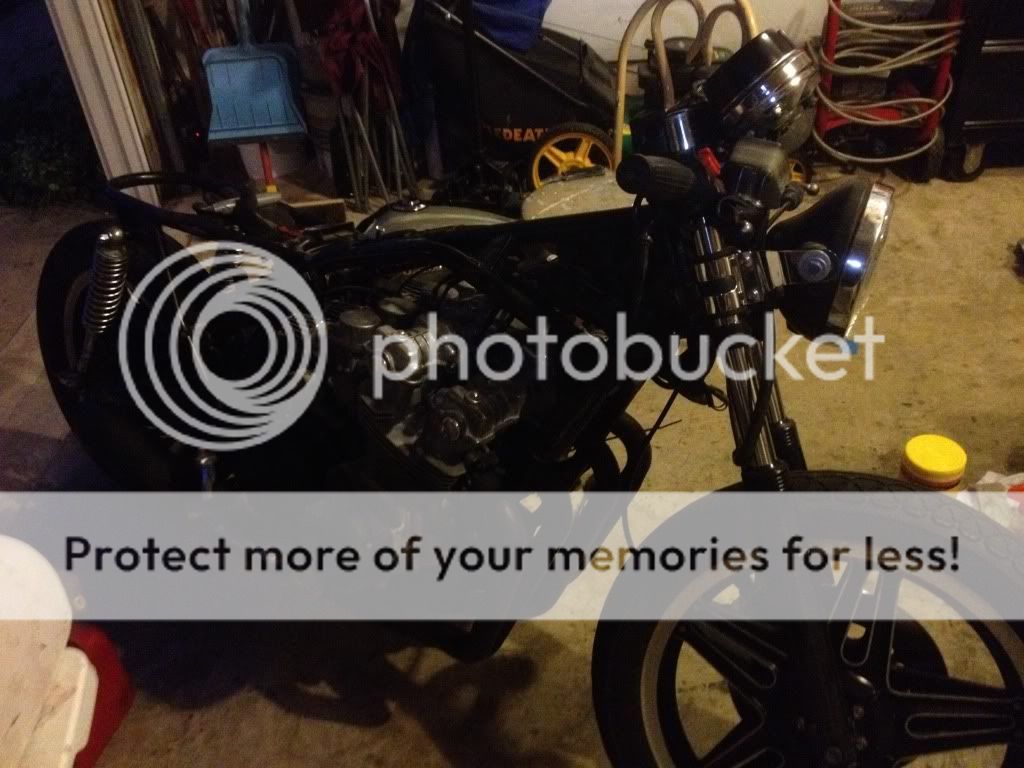
Clipons on, new breather pod. Some paint and grinding. New parts from ebay and other random stuff is on the way. Bike is going to a welder shortly.

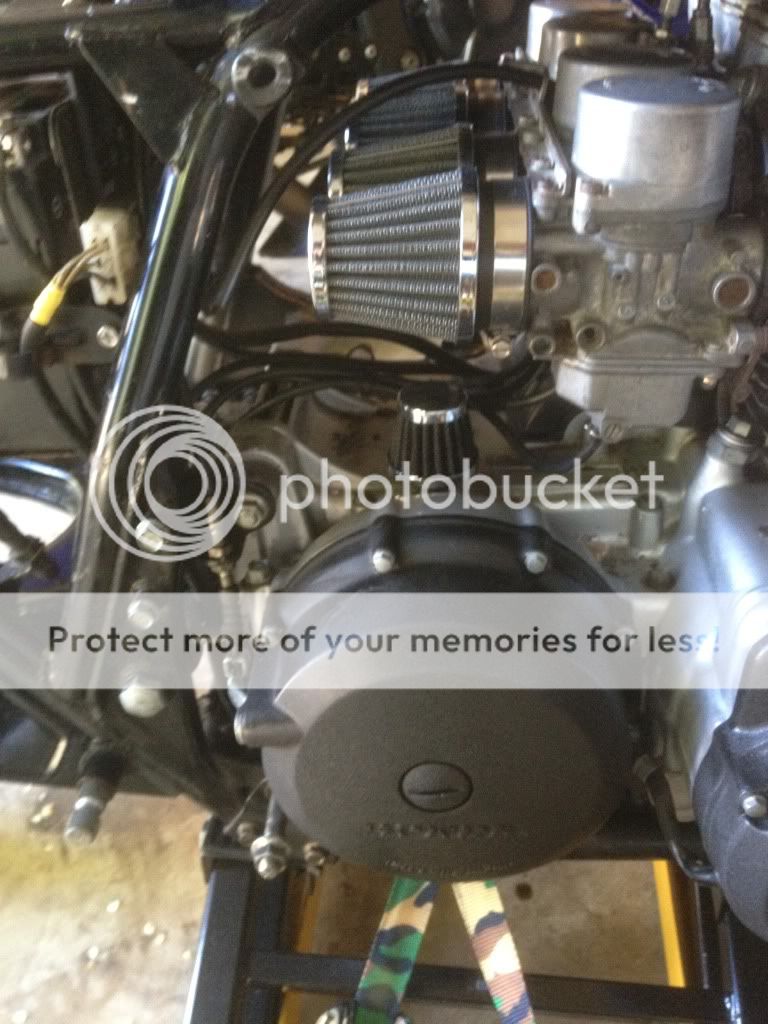
Clipons on, new breather pod. Some paint and grinding. New parts from ebay and other random stuff is on the way. Bike is going to a welder shortly.
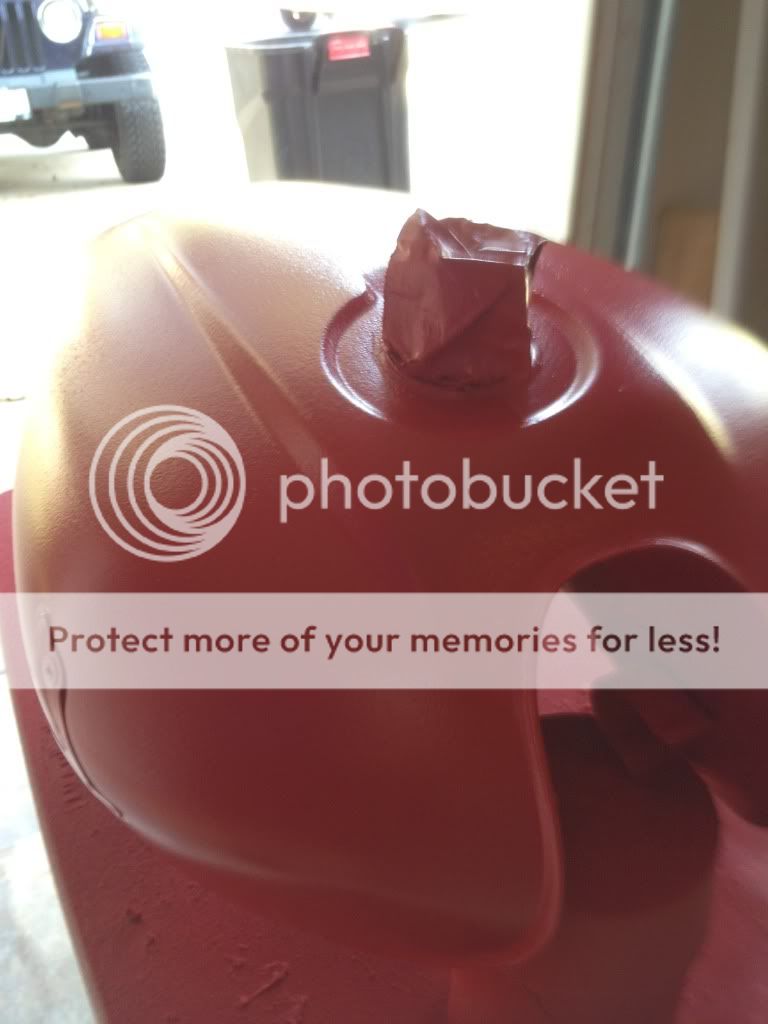
Gas tank is leaking out of the previously ghetto sealed areas. I need to fill it with a bernzo kit like plumbing but unsure where to go from here.
removed the petcock and might be able to plumbing kit seal it up. It might not look pretty but it wont cost more then 50$.
Stripping covers to get a nice clean start surface.
Decided that I didnt like the way the exhaust looked at the end. Took the grinder and a few beers and now its got a more conical attractive shape.
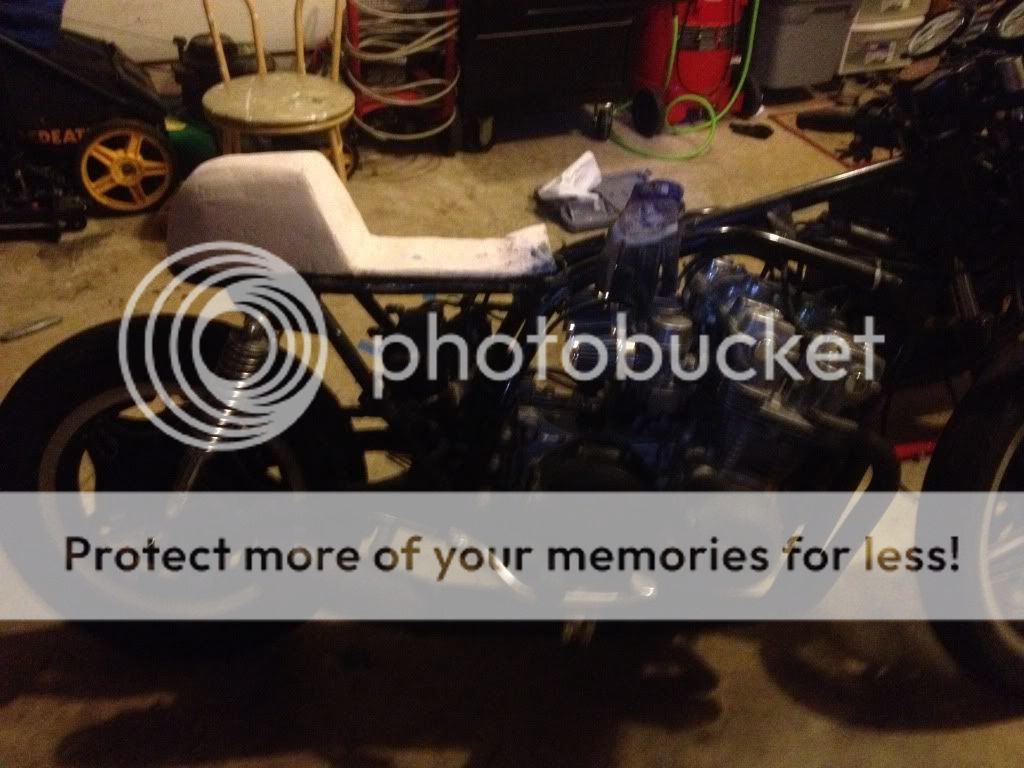
Current state waiting for seat hoop and tank solution.
removed the petcock and might be able to plumbing kit seal it up. It might not look pretty but it wont cost more then 50$.
Stripping covers to get a nice clean start surface.
Decided that I didnt like the way the exhaust looked at the end. Took the grinder and a few beers and now its got a more conical attractive shape.
Current state waiting for seat hoop and tank solution.
rewindstuff
Active Member
wow! looking good! keep the updates coming!! 8)
Update since it has been a while. A bit of progress follows.
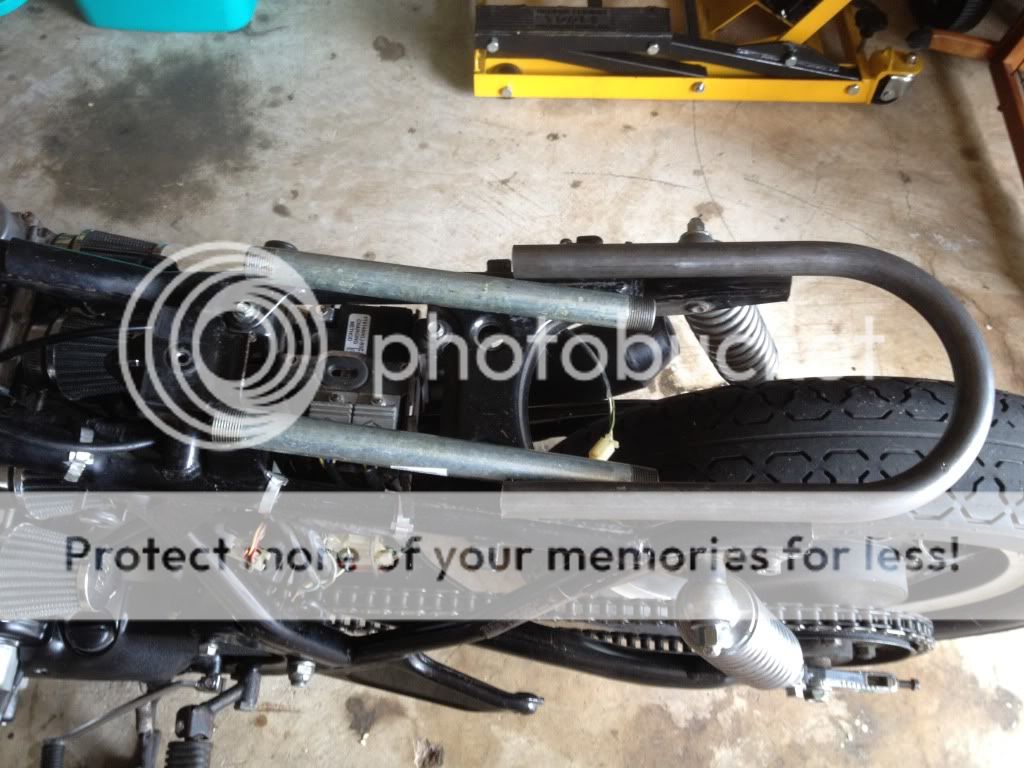
-seat hoop welded
-shock mounts to raise the rear
-new headlight
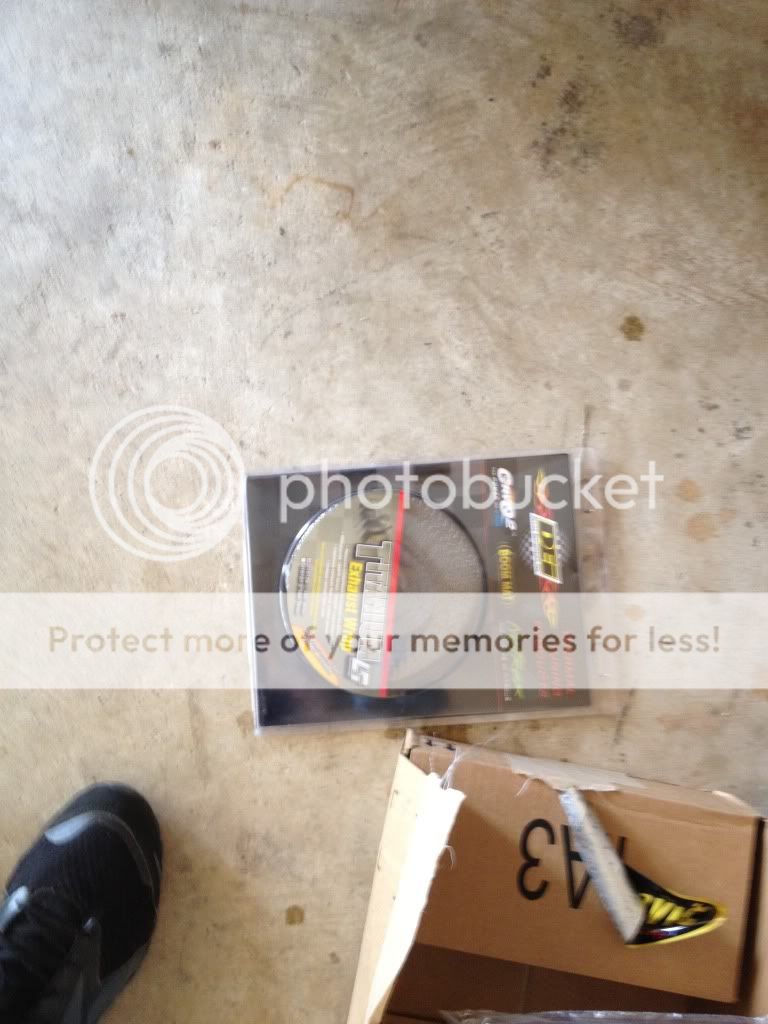
-heat wrap
-shortened exhaust
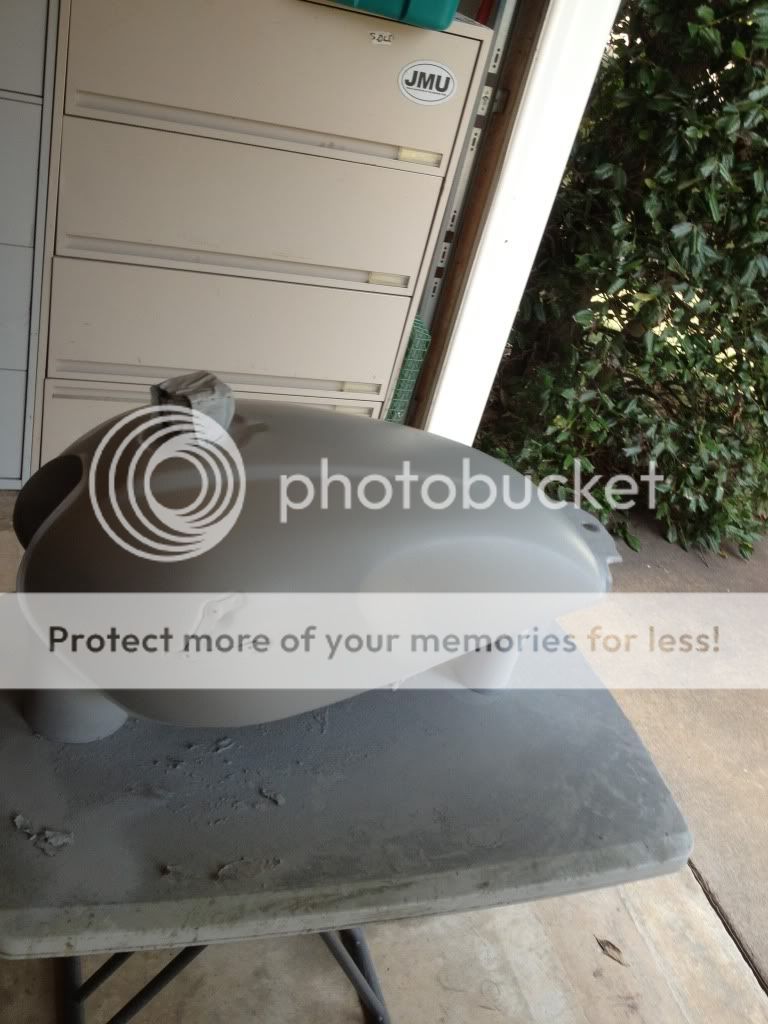
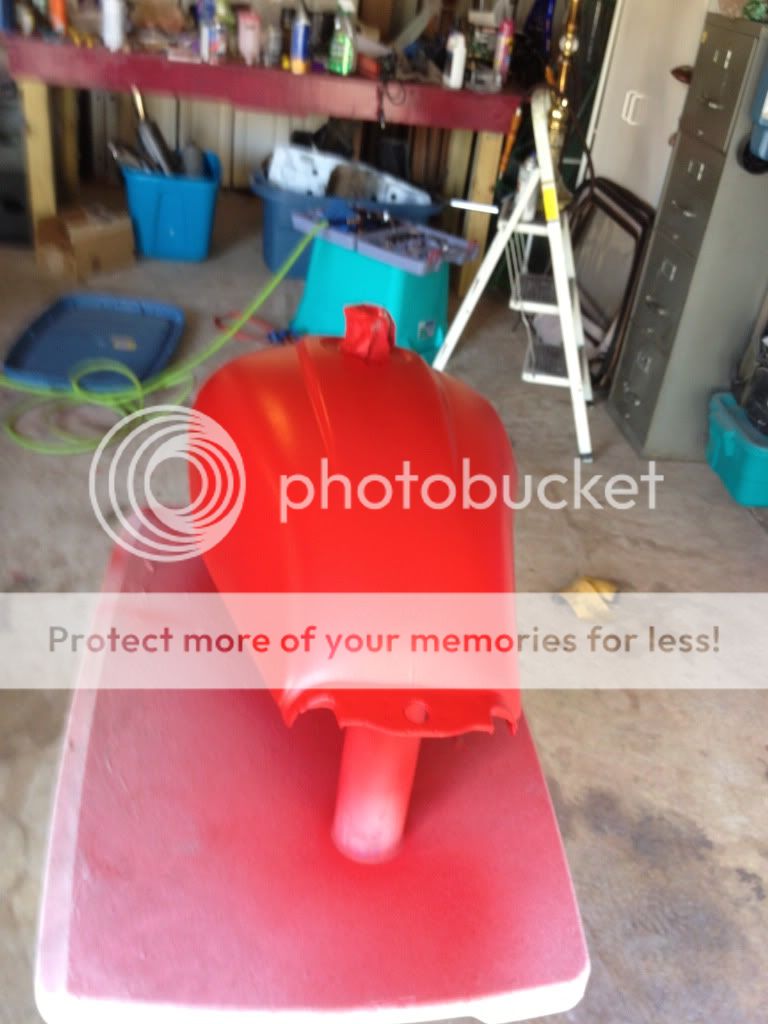
-stripped primd and a few coats of paint on tank.
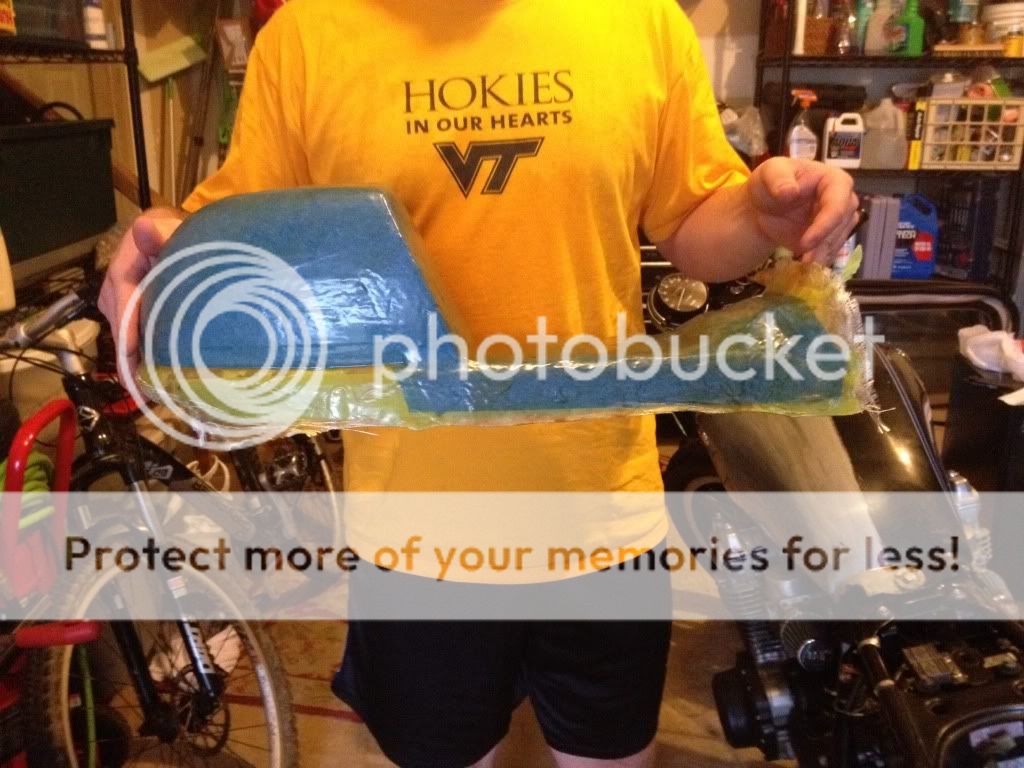
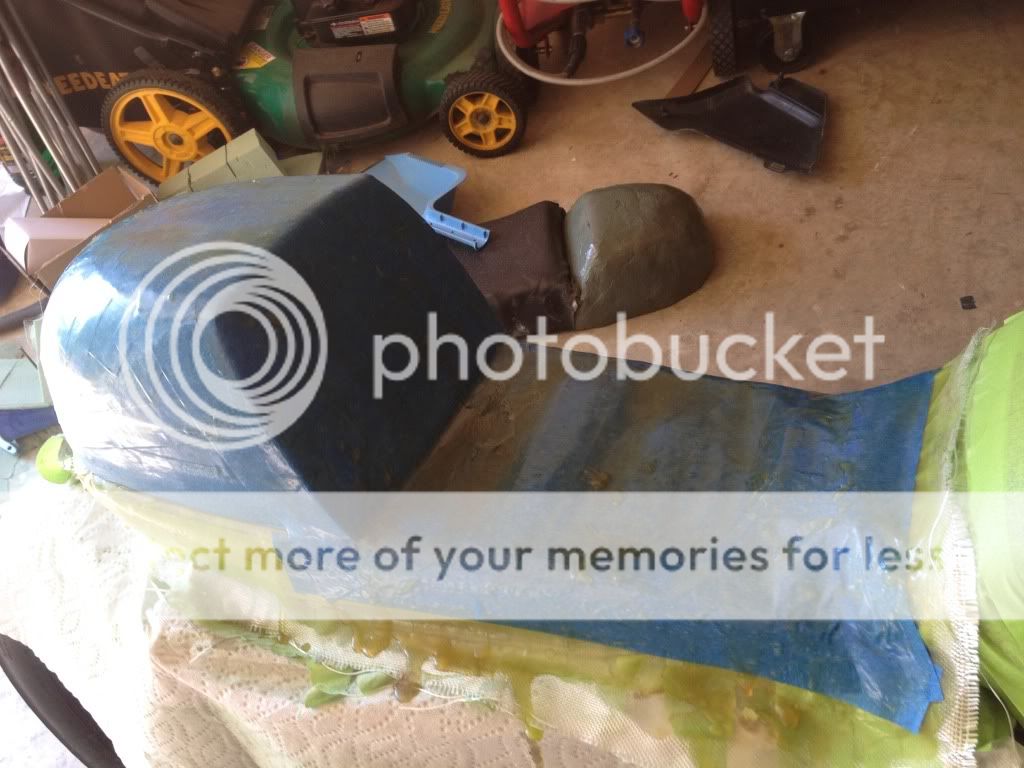
-fiberglass seat almost finished.
pics.
stripped tank
finished heat wrap
and currently still finishing the seat. The seat build has been much harder then I thought it would to make a nice clean product. It takes a lot of patience and a lot of sanding.
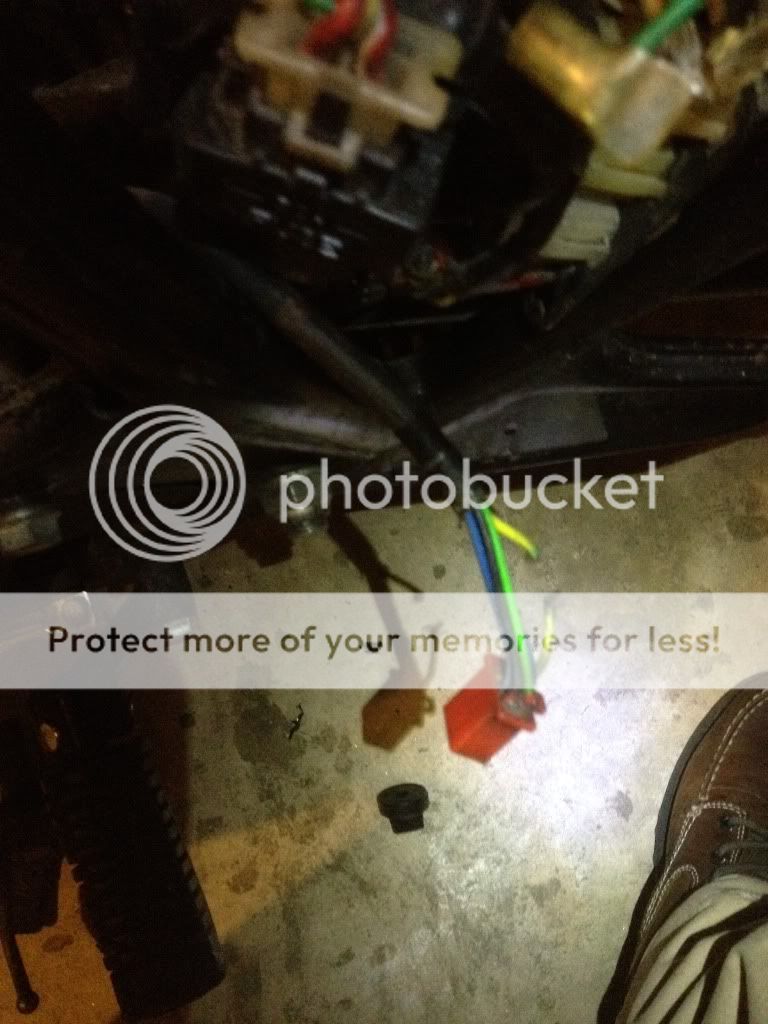
Finally I took the bike for a spin without remembering that the battery box was just sitting. Cut one of the coil wires with the chain. Ended up just reconnecting them with a splice and it is firing on all 4 again.
pic
-seat hoop welded
-shock mounts to raise the rear
-new headlight
-heat wrap
-shortened exhaust
-stripped primd and a few coats of paint on tank.
-fiberglass seat almost finished.
pics.
stripped tank
finished heat wrap
and currently still finishing the seat. The seat build has been much harder then I thought it would to make a nice clean product. It takes a lot of patience and a lot of sanding.
Finally I took the bike for a spin without remembering that the battery box was just sitting. Cut one of the coil wires with the chain. Ended up just reconnecting them with a splice and it is firing on all 4 again.
pic


