
Dannomite
New Member
I'm hesitant to call this a "build" since I'm not going to be stripping it down and starting fresh, even though it could use it. Yet.... This thing is my daily commuter and I can't afford to having off the road for a long period of time. Anyways, I picked it up last October and decided right away that I was going to give it the cafe treatment which was inspired from building this, http://www.dotheton.com/forum/index.php?topic=48346.msg536579#msg536579. I quite my job and went back to school, so I have to try and keep this as low budget as I can. TRY!
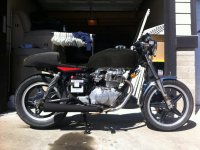
This picture is how I received it, with the exception of the seat. It had the torn up original on it. I purchase this new foam and cover off of ebay and installed it over the original pan myself until I could get a better seat setup.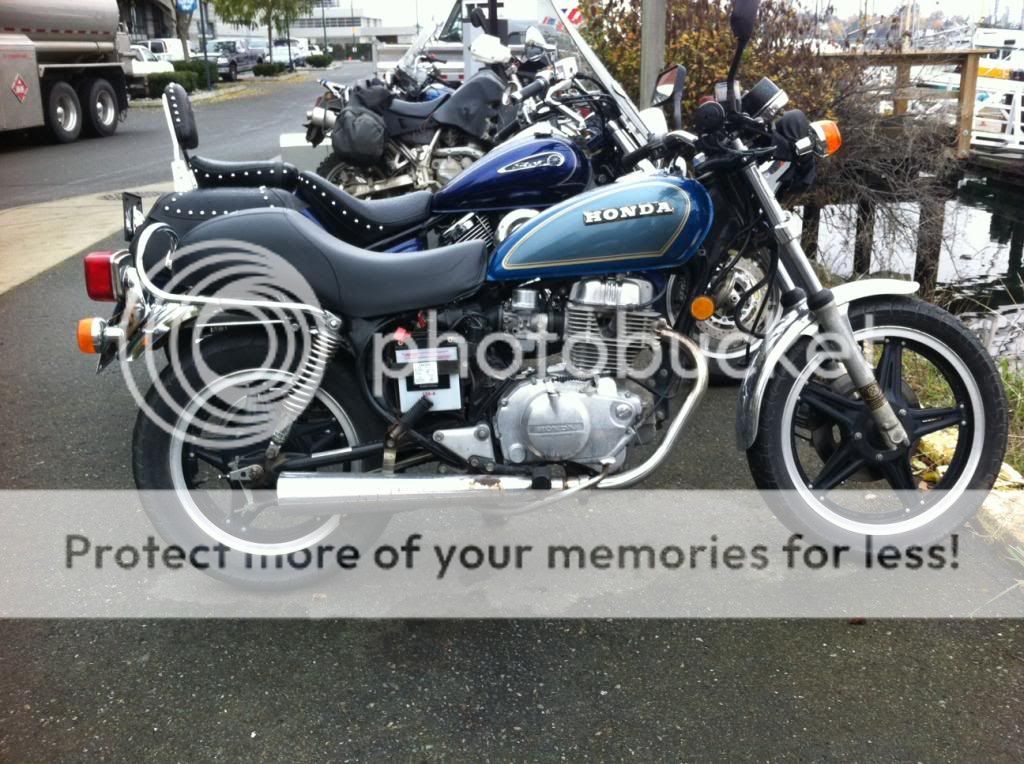
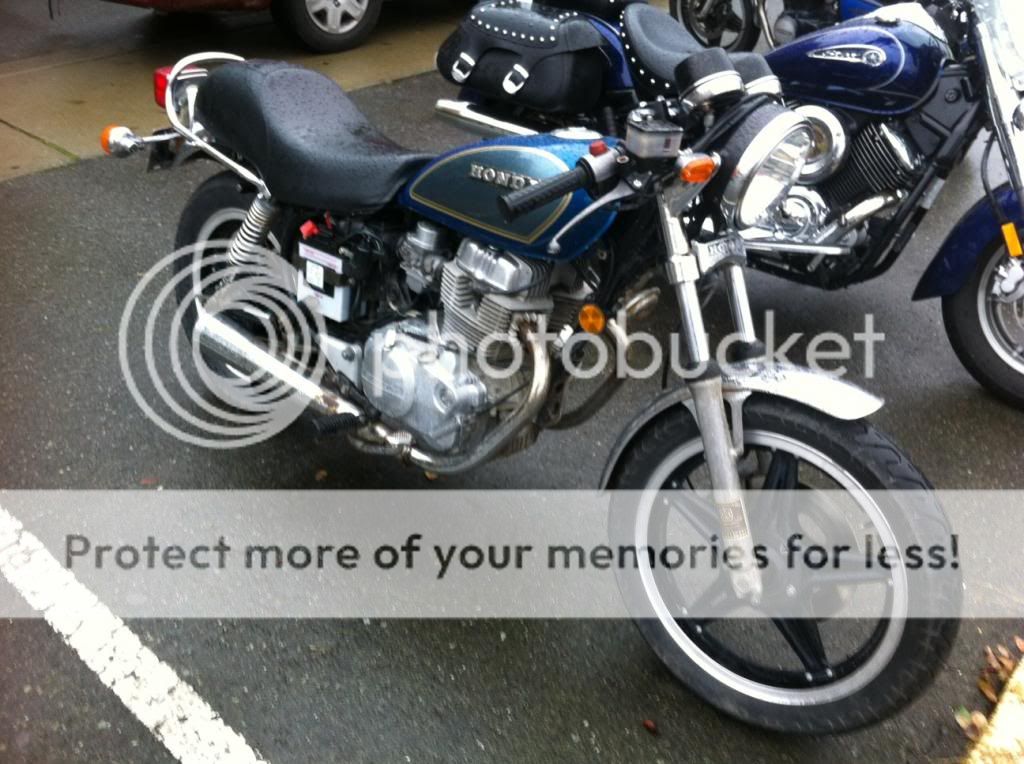
I was horny to put clubman bars on it, so I bought a set and also got a Rocket 4 seat for my future plans.
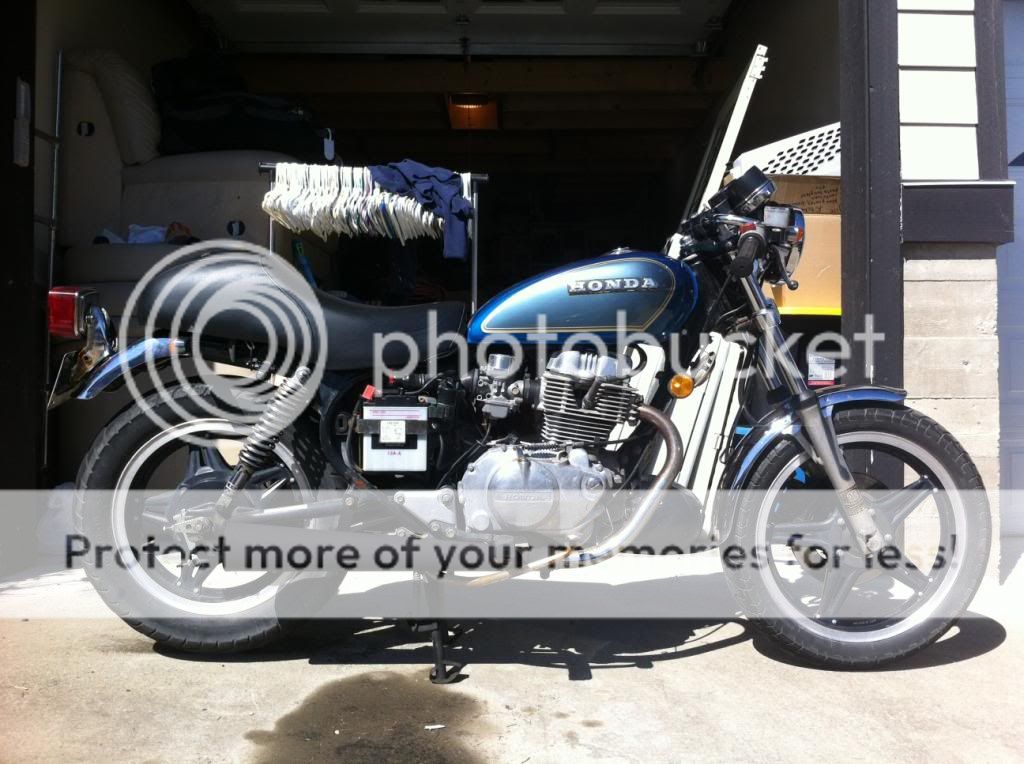
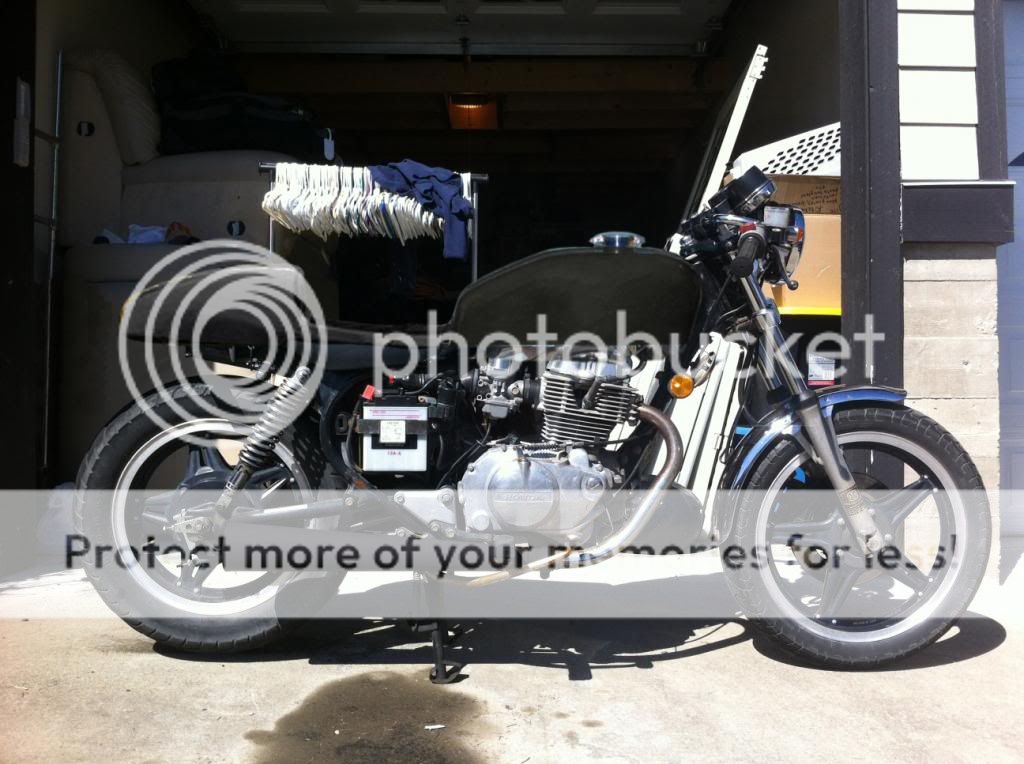
These two are more recent. I rode up to the inlaw's and did a bunch of maintenance and painted the pipes for shits and giggles. New oil, chain lube, filter, blah blah blah.
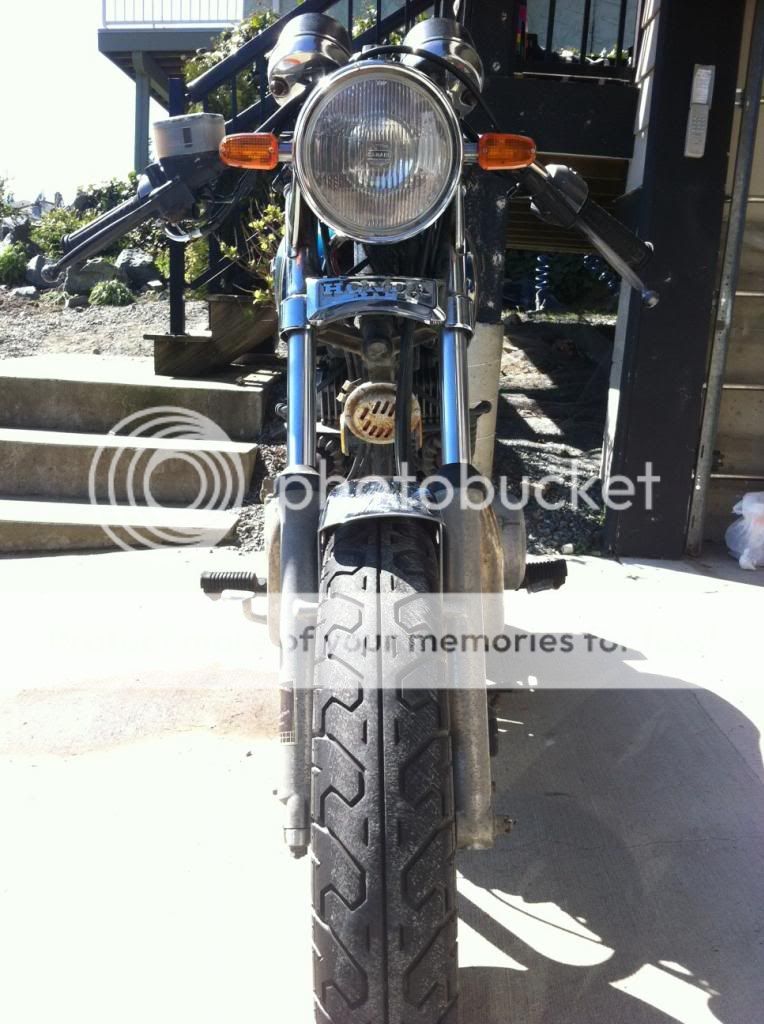
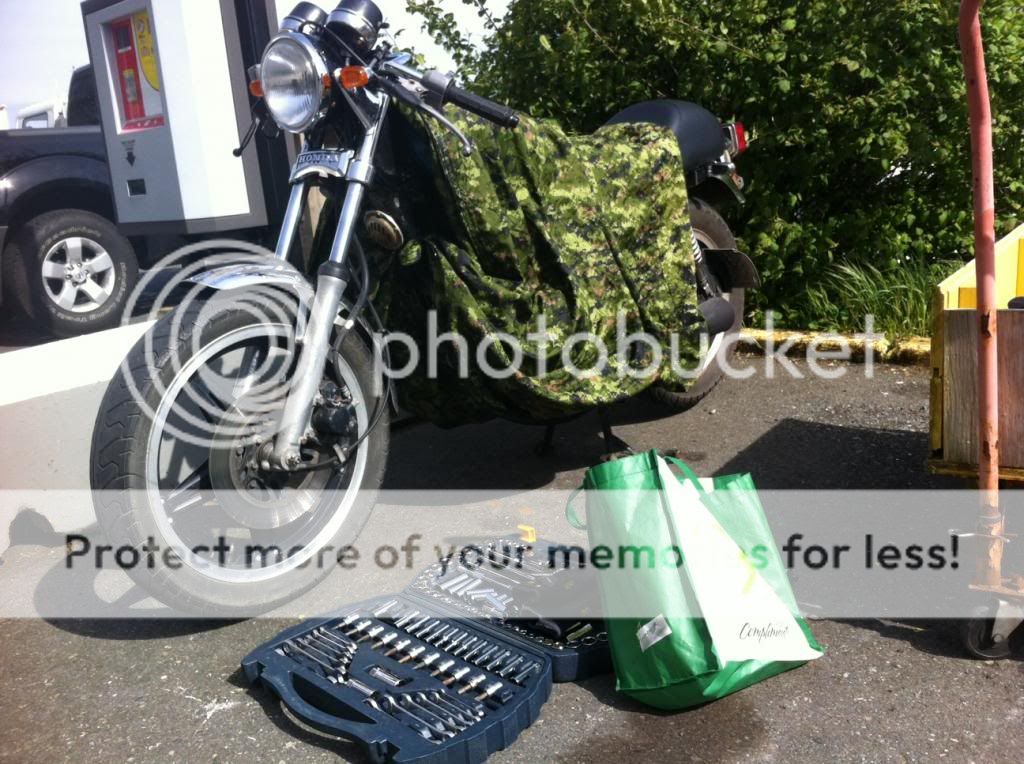
I live at a marina, so my work space is quite often the same place that I park it. I just adjusted all the valves and had to zip tie my old ranger blanket to prevent anything from blowing into the bike. It's always a bit windy and it was necessary. This job was a nightmare! Once I adjusted the valves, I started torquing them down to what the factory service manual dictates and SNAP! The local salvage shop is only opened two days a week and I needed to get the bike ready for a trip I'm taking soon. I had to pay $12 to get a new tappet screw rushed in from a local shop to insure my bike was ready to go. As I was installing the new tappet yesterday, I noticed that two of the other tappet screws are twisted and about to snap themselves. Something I should have checked prior to ordering..... Luckily though, the salvage shop was open yesterday and I bought three more (one more for safety!). Everything is adjusted and looking good now and all I had to do was put the valve cover back on and SNAP! Valve cover screw.... What ham fisted knuckle dragger was working on this thing before!? Really! Back to salvage.... Luckily for me, the bolt that snapped off was well lubricated and easily spun out with a punch.
I'm taking a huge amount of inspiration from fresh_c's Ugly Duckling build (http://www.dotheton.com/forum/index.php?topic=36439.0) and I plan on making a very similar seat frame for my rocket 4 seat. Eventually, I plan on hiding all the electronics and battery under the seat as well. I purchase a '77 CB400f tank and I'm looking forward to making that work with my bike. I'm trying to gather as much info on this chrome paint from Spaz Stix as I can and hoping to paint both the tank and seat with it. All the images online and videos on youtube look very promising and they even claim it can be used with a 2K clear for protection. I've emailed them with a few questions, so we'll see what happens.
For now, here's a VERY crude photoshop example of what my bike will look like with the new tank and seat combo (minus the paint). A set of Viet's rearsets should be in the near future as well.
This picture is how I received it, with the exception of the seat. It had the torn up original on it. I purchase this new foam and cover off of ebay and installed it over the original pan myself until I could get a better seat setup.

I was horny to put clubman bars on it, so I bought a set and also got a Rocket 4 seat for my future plans.

These two are more recent. I rode up to the inlaw's and did a bunch of maintenance and painted the pipes for shits and giggles. New oil, chain lube, filter, blah blah blah.


I live at a marina, so my work space is quite often the same place that I park it. I just adjusted all the valves and had to zip tie my old ranger blanket to prevent anything from blowing into the bike. It's always a bit windy and it was necessary. This job was a nightmare! Once I adjusted the valves, I started torquing them down to what the factory service manual dictates and SNAP! The local salvage shop is only opened two days a week and I needed to get the bike ready for a trip I'm taking soon. I had to pay $12 to get a new tappet screw rushed in from a local shop to insure my bike was ready to go. As I was installing the new tappet yesterday, I noticed that two of the other tappet screws are twisted and about to snap themselves. Something I should have checked prior to ordering..... Luckily though, the salvage shop was open yesterday and I bought three more (one more for safety!). Everything is adjusted and looking good now and all I had to do was put the valve cover back on and SNAP! Valve cover screw.... What ham fisted knuckle dragger was working on this thing before!? Really! Back to salvage.... Luckily for me, the bolt that snapped off was well lubricated and easily spun out with a punch.

I'm taking a huge amount of inspiration from fresh_c's Ugly Duckling build (http://www.dotheton.com/forum/index.php?topic=36439.0) and I plan on making a very similar seat frame for my rocket 4 seat. Eventually, I plan on hiding all the electronics and battery under the seat as well. I purchase a '77 CB400f tank and I'm looking forward to making that work with my bike. I'm trying to gather as much info on this chrome paint from Spaz Stix as I can and hoping to paint both the tank and seat with it. All the images online and videos on youtube look very promising and they even claim it can be used with a 2K clear for protection. I've emailed them with a few questions, so we'll see what happens.
For now, here's a VERY crude photoshop example of what my bike will look like with the new tank and seat combo (minus the paint). A set of Viet's rearsets should be in the near future as well.


")


