
We noticed you are blocking ads. DO THE TON only works with community supporters. Most are active members of the site with small businesses. Please consider disabling your ad blocking tool and checking out the businesses that help keep our site up and free.
You are using an out of date browser. It may not display this or other websites correctly.
You should upgrade or use an alternative browser.
You should upgrade or use an alternative browser.
1990 KZ1000 police cafe build
- Thread starter roman_dog
- Start date
roman_dog
Ain't nothin' to it but to do it.
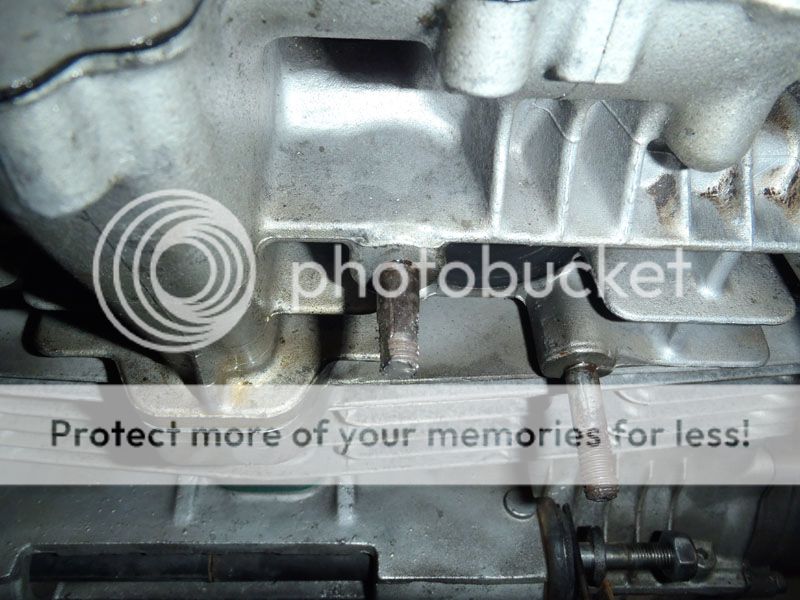
Alright, tackled another annoying issue with the engine: a broken exhaust stud. This little bastard gave me the fight of my life, it felt like a 4 hour battle royale. Everything that could go wrong, did go wrong. First the Snap On extractor set broke, then several drill bits broke in it, or rounded out. Heating it didn't help, but I won out in the end. Thanks go out to my dad for having tons of machinist tools and know how on hand, haha.
Here's the broken stud:
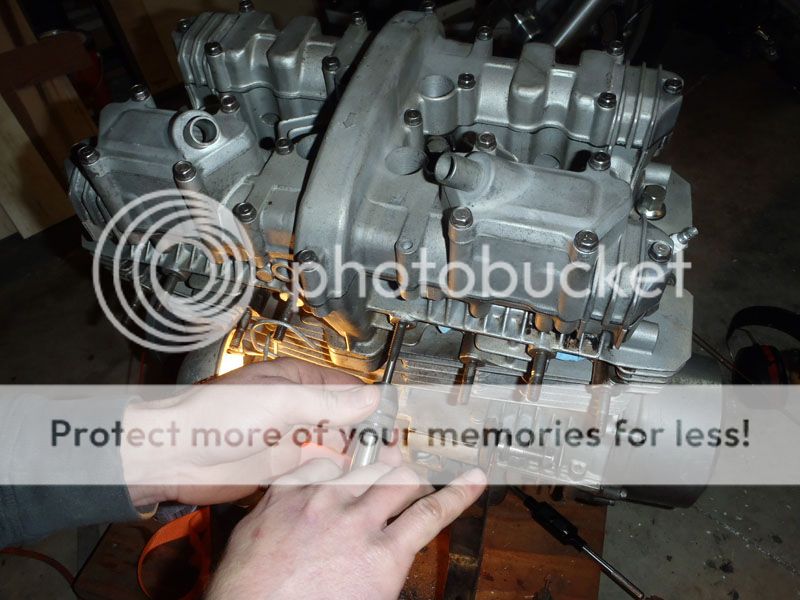
stepping up the drill sizes
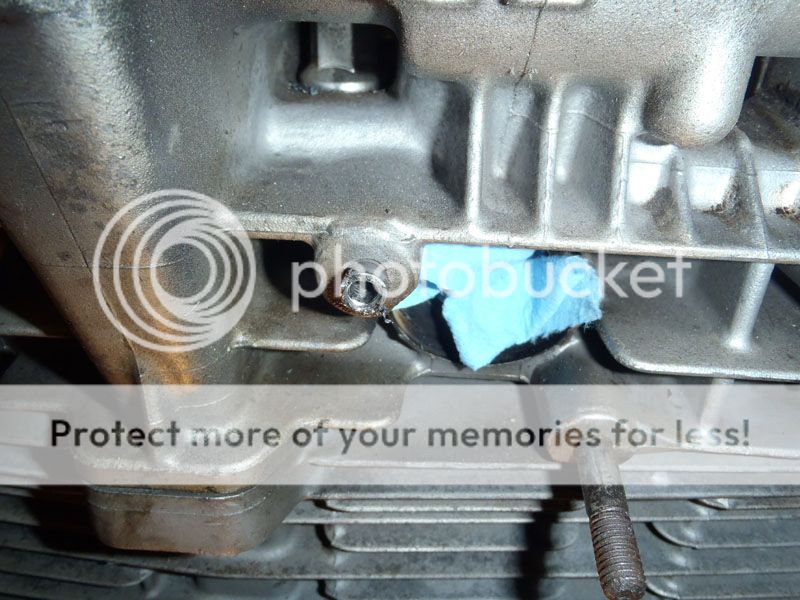
chasing the threads
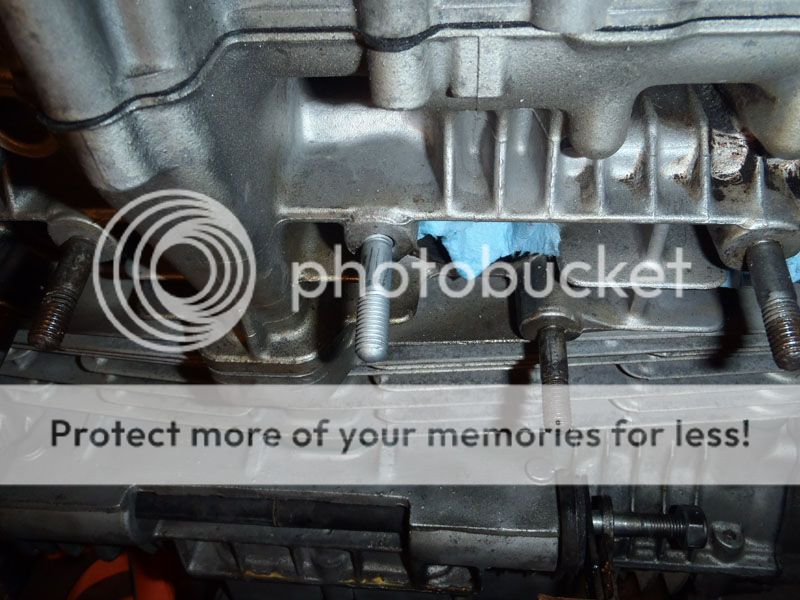
replacement stud. Get there.
Here's the broken stud:
stepping up the drill sizes
chasing the threads
replacement stud. Get there.
roman_dog
Ain't nothin' to it but to do it.
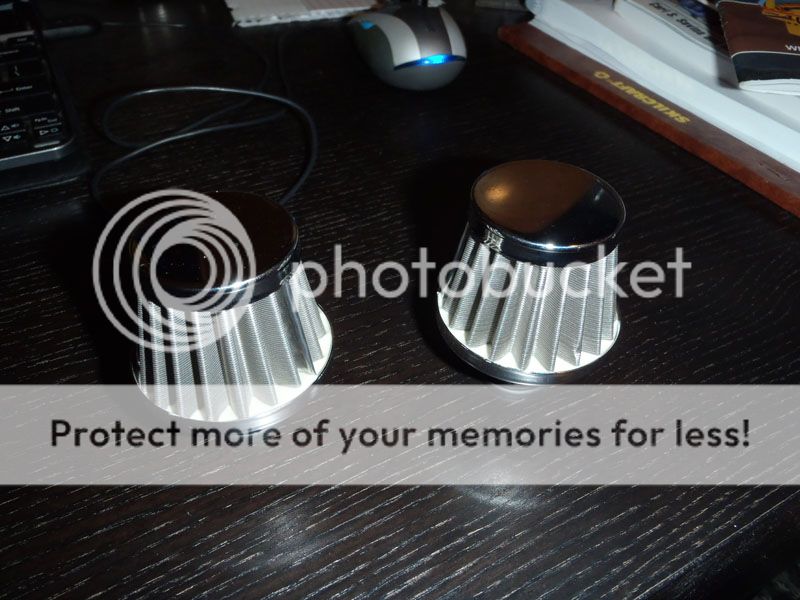
I just realized that I never mentioned I dropped it off at the powdercoater last week. I should have it all back in a few more days, then its back to reassembling it. I've been prepping the fenders and tank for paint, and after hours of sanding and cleaning, it snows and is too cold to spray.  Oh well, they're ready to go when the weather picks up. I also bought some mini air filters for my crankcase breather and vacuum switch.
Oh well, they're ready to go when the weather picks up. I also bought some mini air filters for my crankcase breather and vacuum switch.
MotorbikeBruno
Over 1,000 Posts
I dig the boots, but I'm biased.
evilaugust
Been Around the Block
Re: Re: 1990 KZ1000 police cafe build
I like the boots.
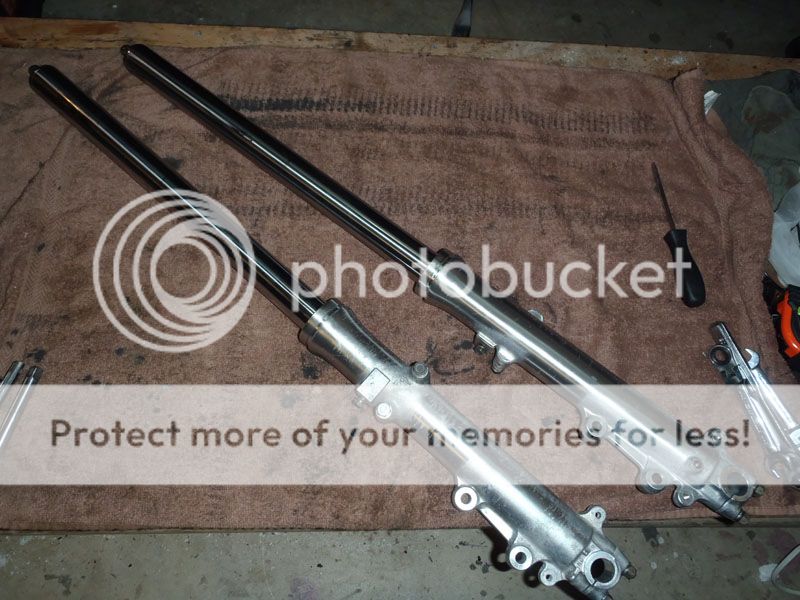
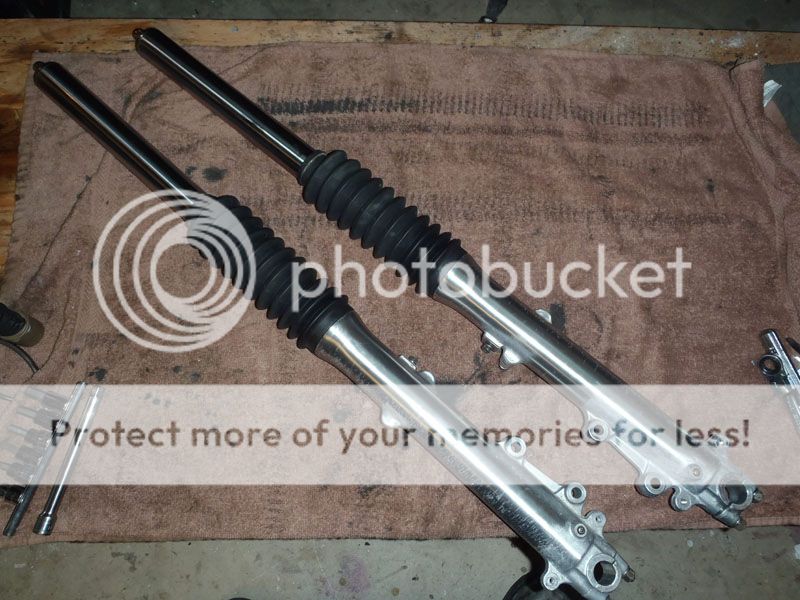
roman_dog said:Forks are done, and feeling strong. What do you guys think, boots or no boots? I guess I'll have to see it on the finished bike.
I like the boots.
evilaugust
Been Around the Block
Re: Re: 1990 KZ1000 police cafe build
When it comes to bastard things like this, dads are priceless!roman_dog said:Alright, tackled another annoying issue with the engine: a broken exhaust stud. This little bastard gave me the fight of my life, it felt like a 4 hour battle royale. Everything that could go wrong, did go wrong. First the Snap On extractor set broke, then several drill bits broke in it, or rounded out. Heating it didn't help, but I won out in the end. Thanks go out to my dad for having tons of machinist tools and know how on hand, haha.
Here's the broken stud:
stepping up the drill sizes
chasing the threads
replacement stud. Get there.
roman_dog
Ain't nothin' to it but to do it.
Ya, I'm thinking boots as well.
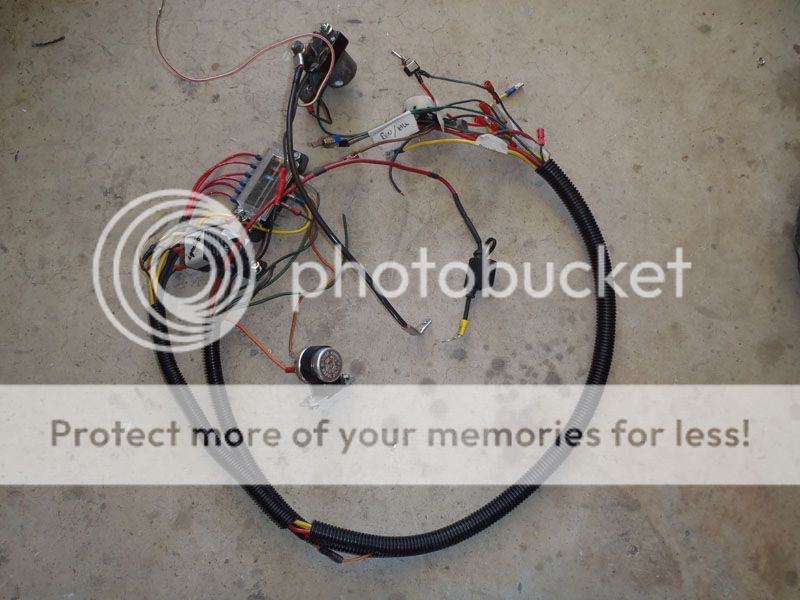
So I've already done a ton of cleaning on all the parts I've removed, which is all of them, only to realize that they're not even close to clean enough. It seems I'm in for a lot of tedious cleaning. You'd think I'd be used to it by now after a lifetime of making things. HA!
I also decided against the pods. The guys at Dynojet told me they don't have a jet kit for a 1990 KZP, and I don't fancy the headache or cost of going trial and error to jet them properly. This means the next challenge is to make the stock airbox look good and low key. I won't stand for an eyesore!
downtown809
Trying to keep out of trouble
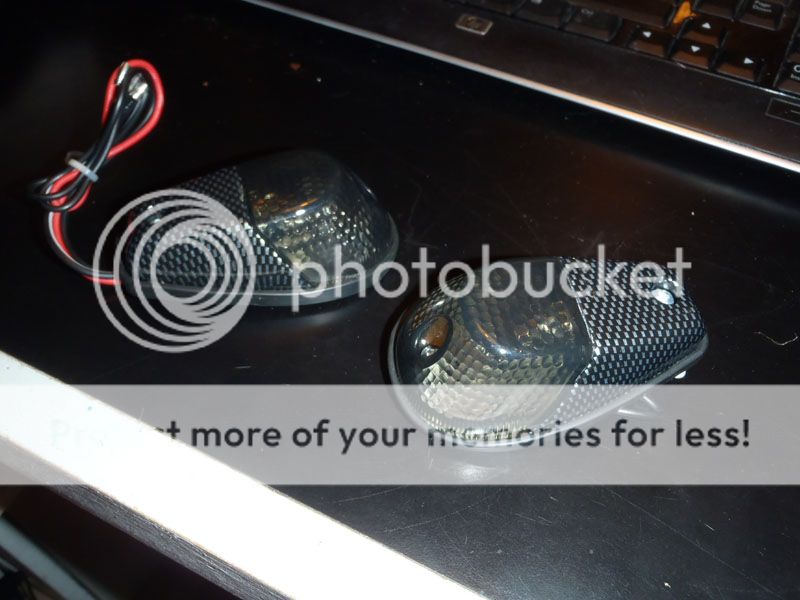
On the turn signals this is where I ended up at but I am also mid project and haven't seen them on yet. Remember until any project hits the road it is strictly a museum piece.. they cost $40 for all 4..
Attachments
roman_dog
Ain't nothin' to it but to do it.
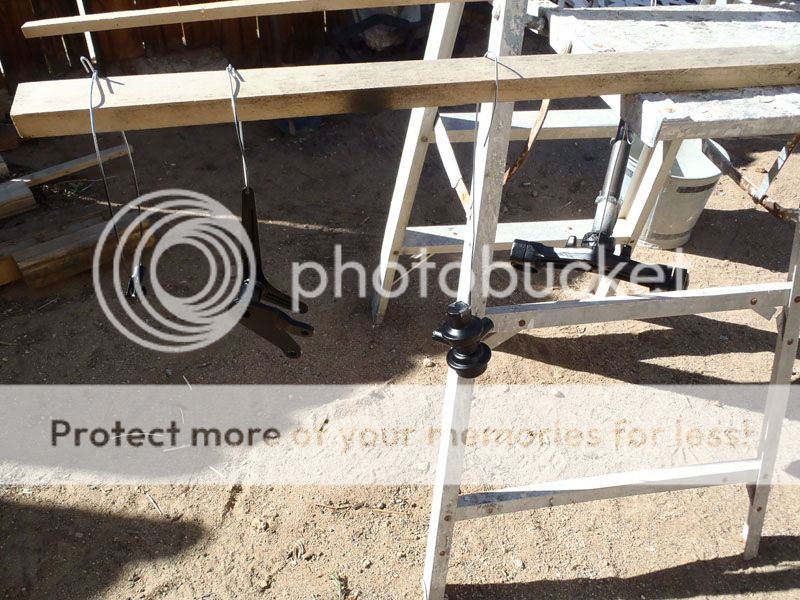
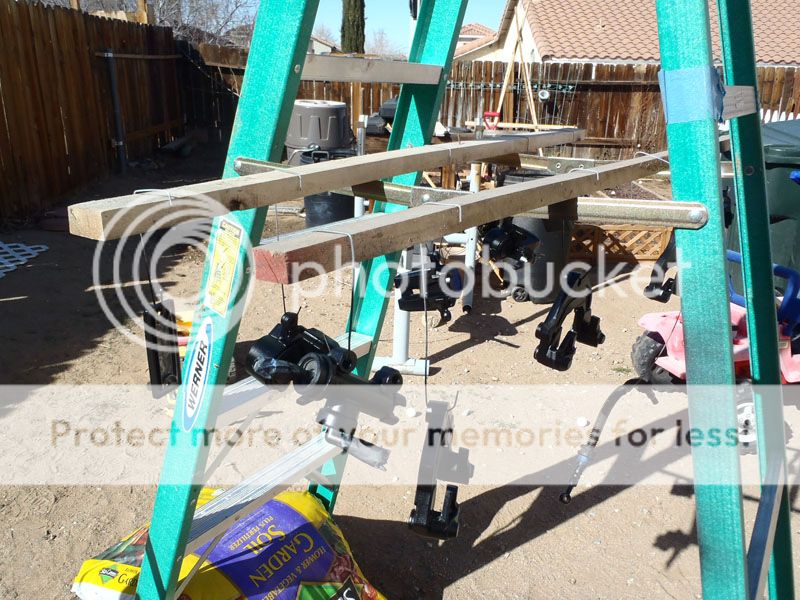
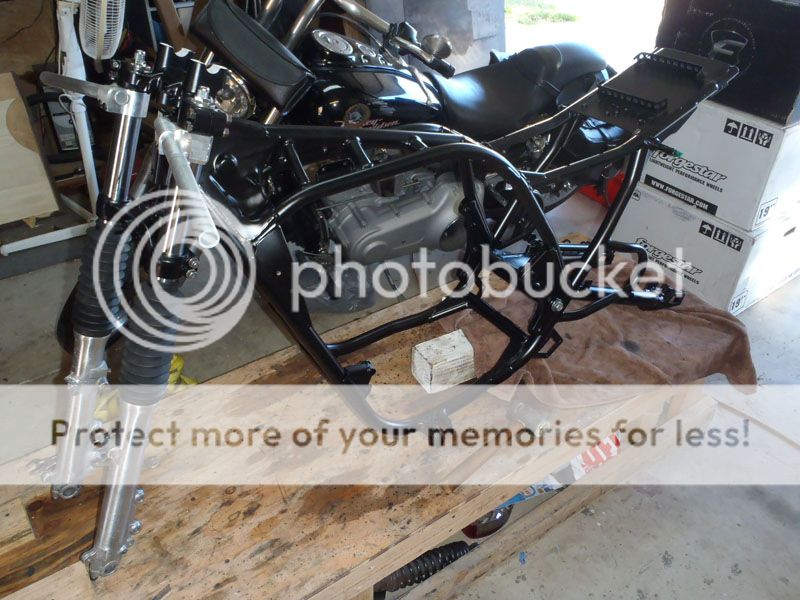
So here's a couple pics of pieces that I needed to paint. Some of them didn't get sent to powder coat because of rubber bits, others cuz I just plain forgot. Regardless, they're looking pretty good for a rattlecan job. I sprayed everything, let it dry, them made a makeshift oven with a couple car windshield sun reflecters and a plug in heater. Sorry, no pics of that. Everything seems pretty solid though, I'll let it sit and spray some clear on it. I should also get the frame back tomorrow.
roman_dog
Ain't nothin' to it but to do it.
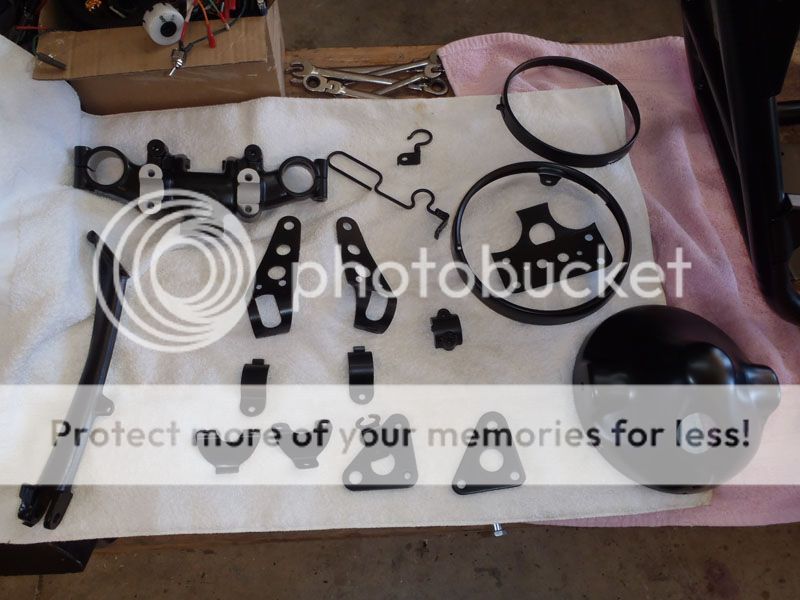
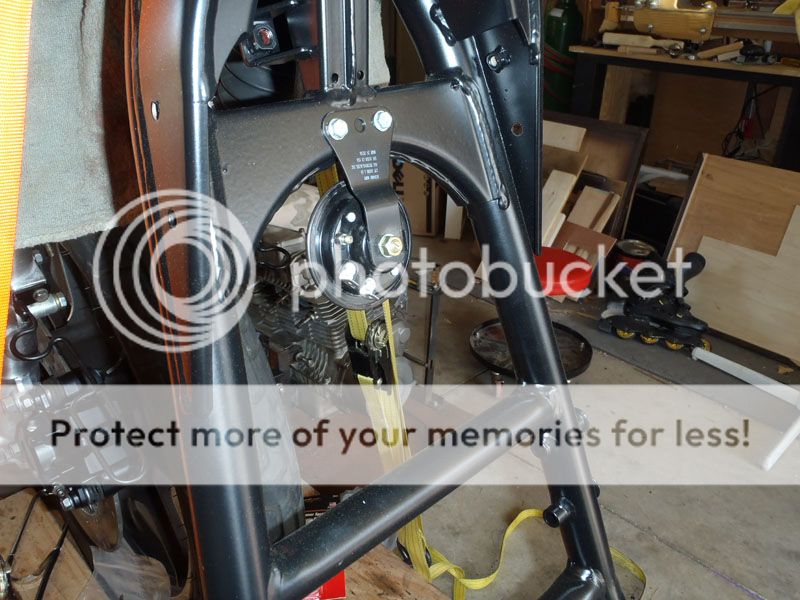
So I got the parts back from the powdercoater on Friday and they look fantastic! Immediatley started putting it back together, but the going is slow. I didn't do too much cleaning of the hardware before, so I need to make sure every single bolt is free of corrosion before it goes back together. A light coat of CPC and I should be good.
Here's some of the pieces:


Here's some of the pieces:
roman_dog
Ain't nothin' to it but to do it.
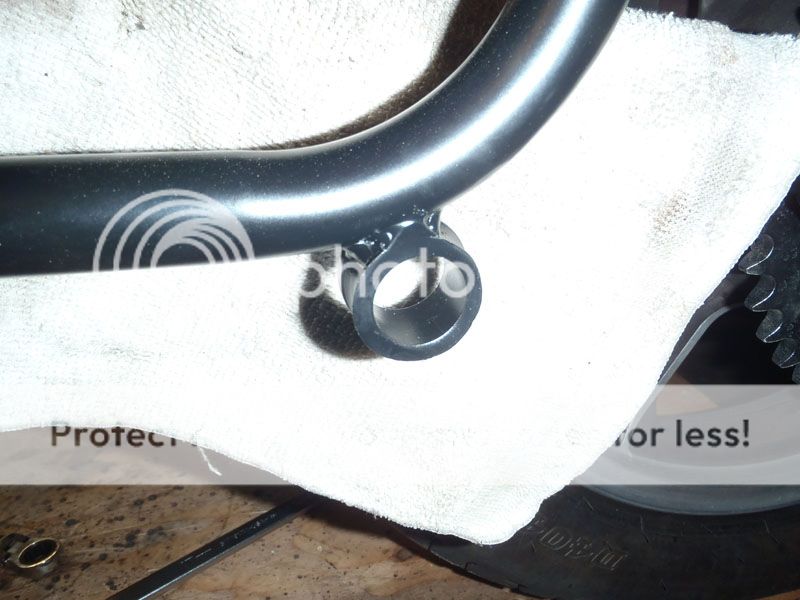
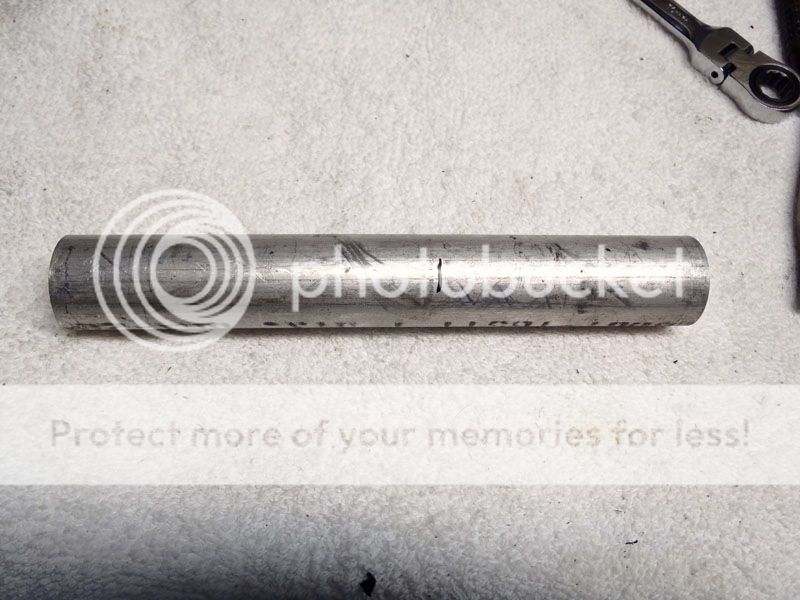
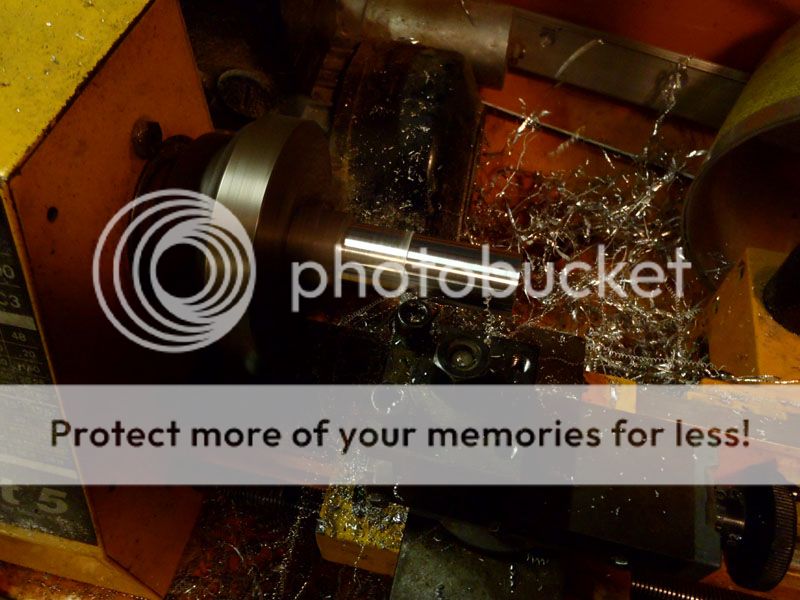
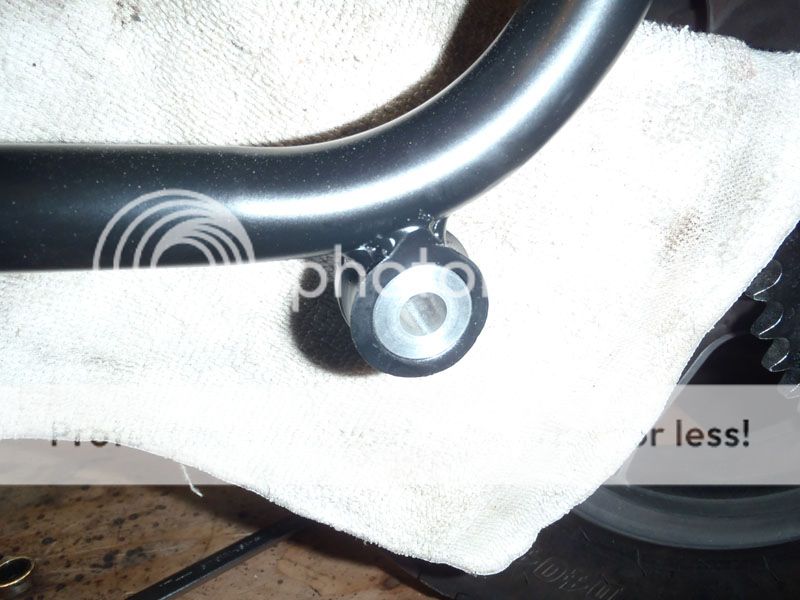
I ran into a problem as I was trying to install the pegs. There was a bushing when I sent it to get powdercoated, it was gone when it came back. Since there was none to be had at the local hardware stores, I decided to make my own.
Here's the problem:
aluminum barstock.
turning it to the proper size:
Finished product.
Here's the problem:
aluminum barstock.
turning it to the proper size:
Finished product.

roman_dog
Ain't nothin' to it but to do it.
Autotek said:Diggin it! Gonna be sweet!
Thanks, I'm pretty stoked to start bringing it together.
roman_dog
Ain't nothin' to it but to do it.
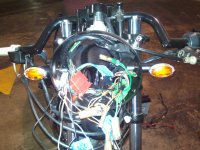
So I need some input from the masses here. My next challenge is to fit the airbox, but the stock airbox is one heck of an eyesore. I'm thinking about cutting it down a little on the aft part where the filter sits, then rebuilding that wall with some fiberglass. Now I know the airbox is designed to allow for air of equal pressure and density to enter each carb, and that is achieved with the larger diffuser part up front. Here's the question: if I leave that alone and chop the back part that holds the filter, I should still retain those flow characteristics right? The second picture shows where I want to cut it, then I would have to use a foam air filter or something like that. What do you guys think? The whole reason here is for looks, I'd like to avoid that unsightly protrusion...
Here it is now:
And where I want to cut it:
Here it is now:
And where I want to cut it:
roman_dog
Ain't nothin' to it but to do it.
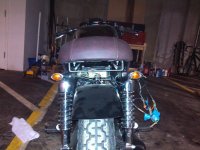
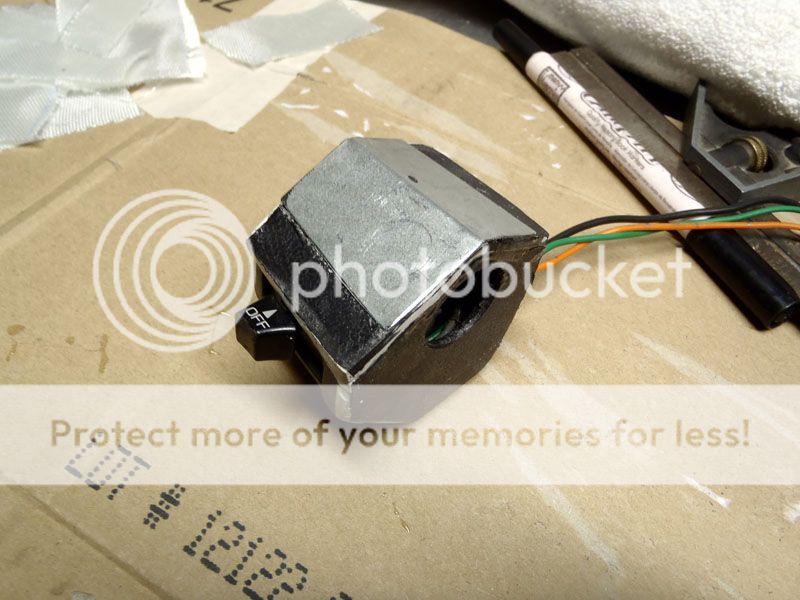
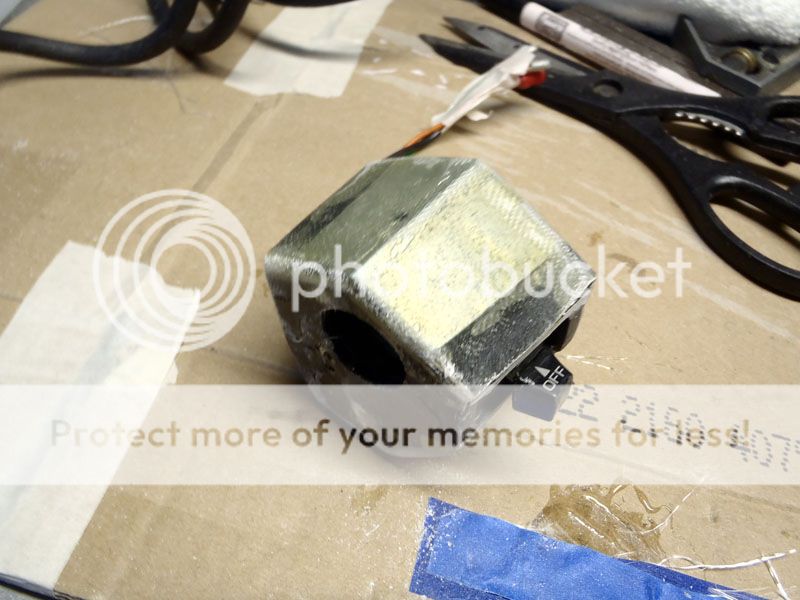
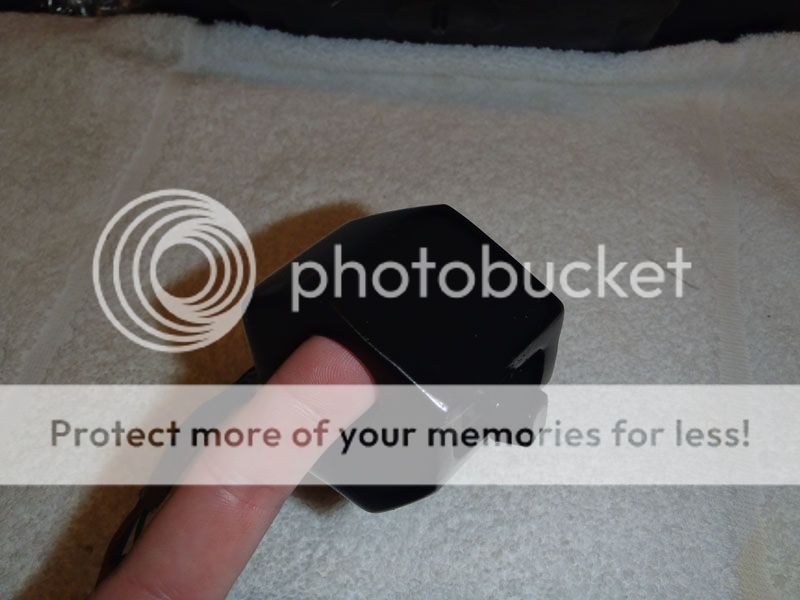
So today I was playing with fiberglass again; its definitely a love/hate relationship. I built my turn signal switch housing and started on the airbox. For the turn signal switch I bought one from a 2000-something Ninja off ebay, chopped all the extra buttons off, and streamlined it to just hold the switch lever and wrap around the handlebar. I can get away with this since all the other controls are being mounted in the center, above the triple tree. The downside of this is that if there's a problem, I'll actually have to cut the switch housing open. Oh well.
Here's a metal plate on top for reinforcment where I plan to mount it with set screws.
Wrap the whole thing in fiberglass for strength.
Paint and clear, looking good.
Here's a metal plate on top for reinforcment where I plan to mount it with set screws.
Wrap the whole thing in fiberglass for strength.
Paint and clear, looking good.


