74' Yamaha RD350 - Crawlin' along

FlyinRyan350

Been Around the Block
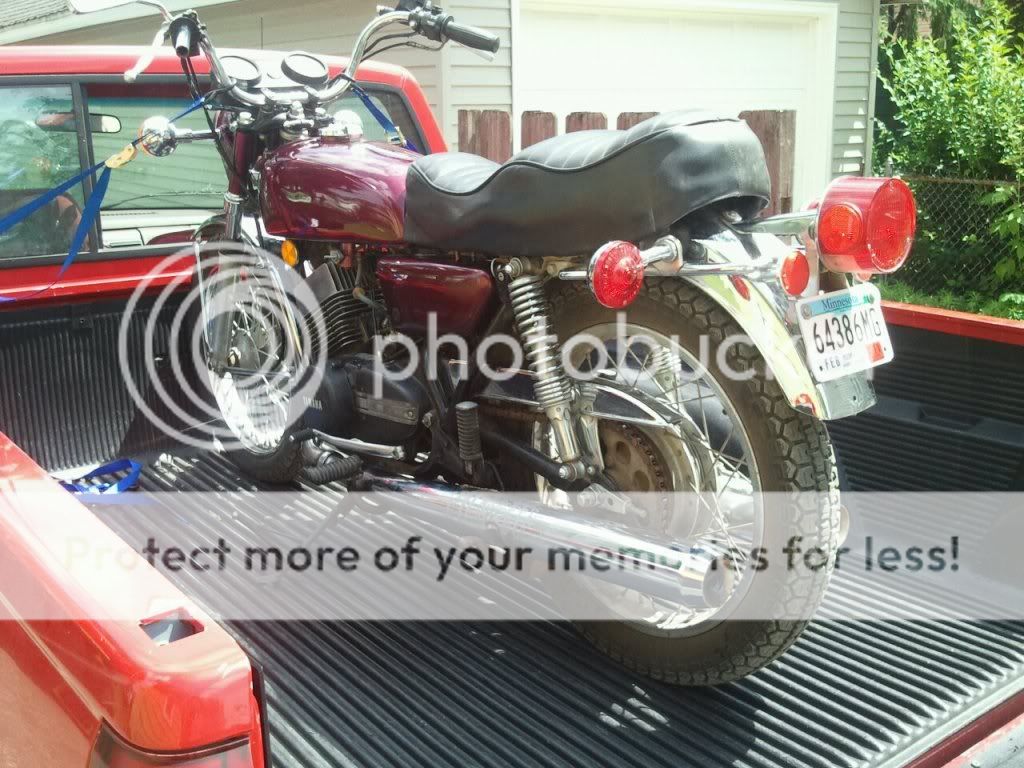
Welp, even though this North Dakota winter has been the mildest on record it still doesn't allow for riding so it's time to tear down and build up. After about a year of searching for an RD350 in good shape, with a title and at a reasonable price I finally found one. Showed up on the list at 10:45 pm this summer...called the owner and asked if he would be awake at 2am because I was coming. Got back home around 5 and went to bed. This is what I had waiting when I woke up.

266575_740430065389_33800020_36693911_2053324_o.jpg


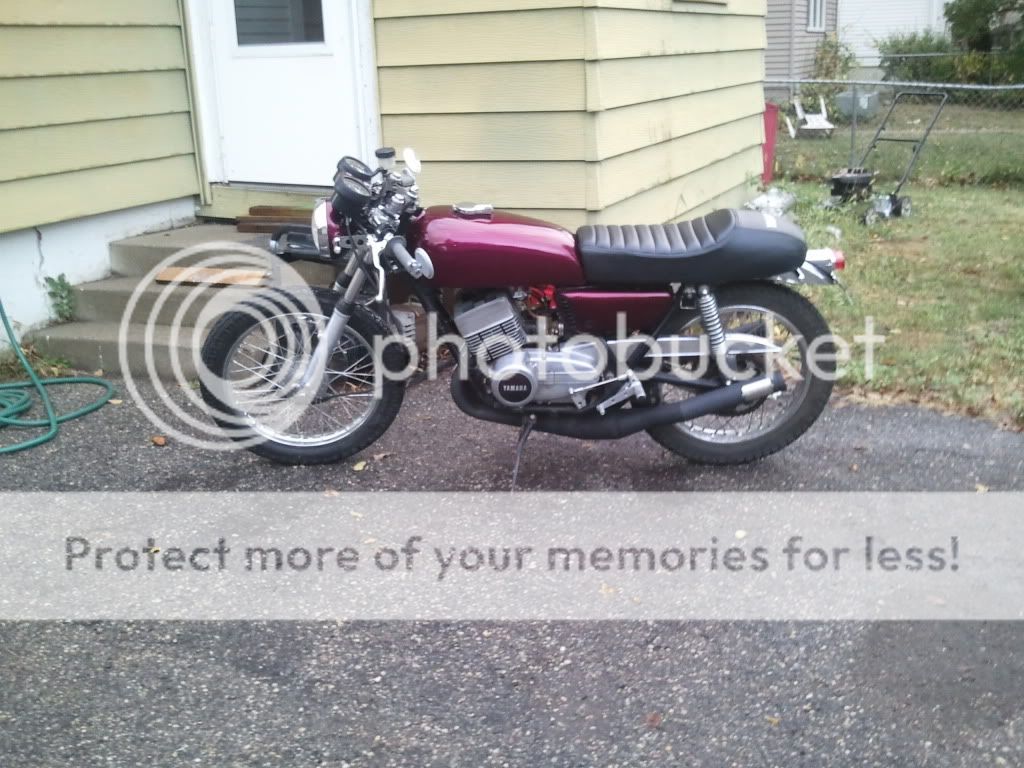
It was mid summer and I was lookin' to ride so only essential things were done. New front brake master and line, new clutch cable, carb rebuild, points adjustment, numerous other things I don't remember and of course pipes and miscellaneous cafe parts so I could ride in style.

Which got me here. Excuse the shotty college rental house and yard in the background...hard to mow the lawn with so many beer bottles in the way. Moving on.

2011-10-10182430.jpg


I put about 600 miles on throughout the fall, lots of random trouble shooting...changed jets and needle position roughly a million times. Gettin' pretty fast at it.
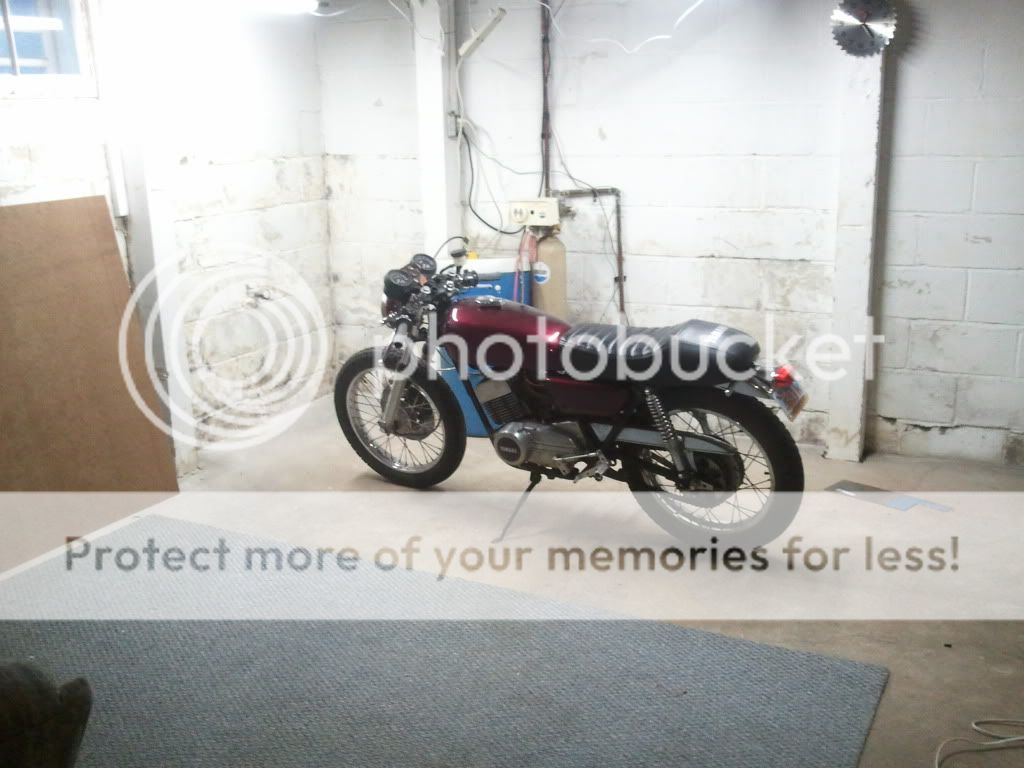
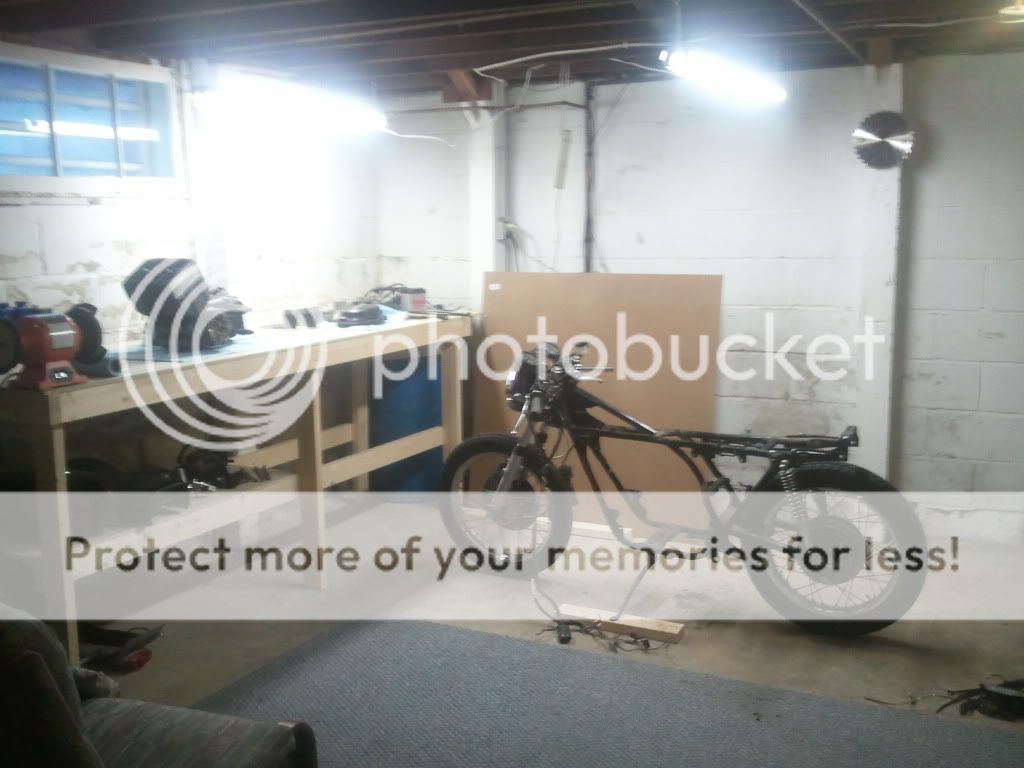
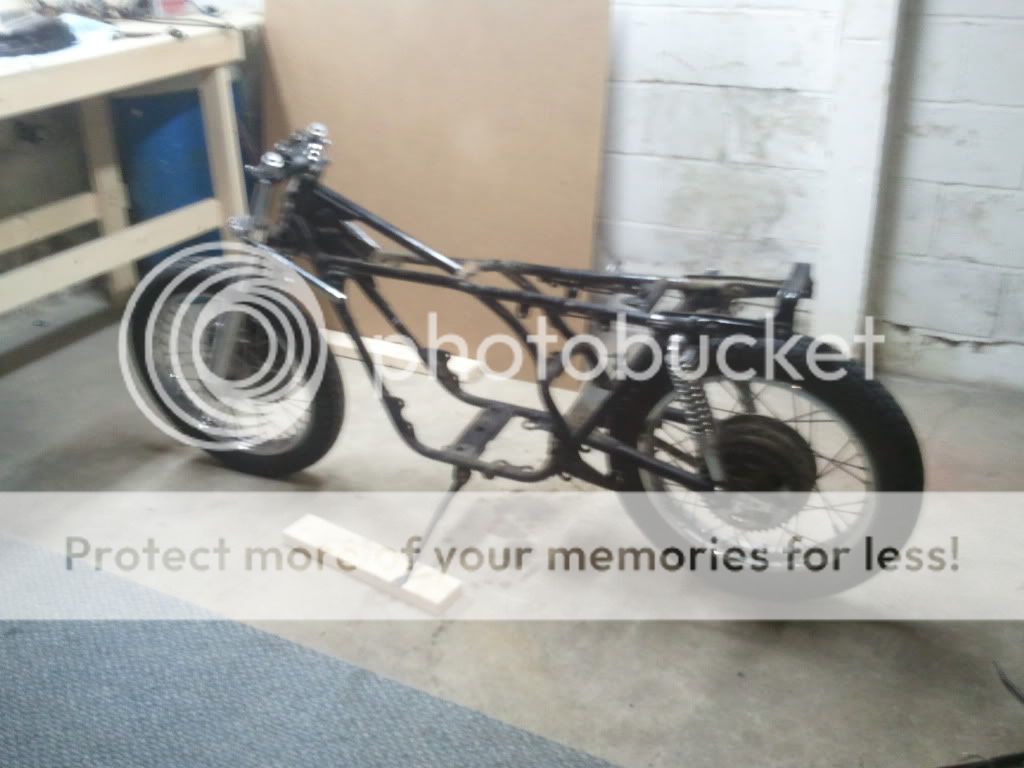
Anyway, after riding by everybody on a 1000 pound cruiser with a massive grin on my face and having to apologize to countless women for not having a passenger seat winter came. At which point I pulled the exhaust off and rode the RD up into our back porch(pretty much its garage) and continued through a door and into the basement.

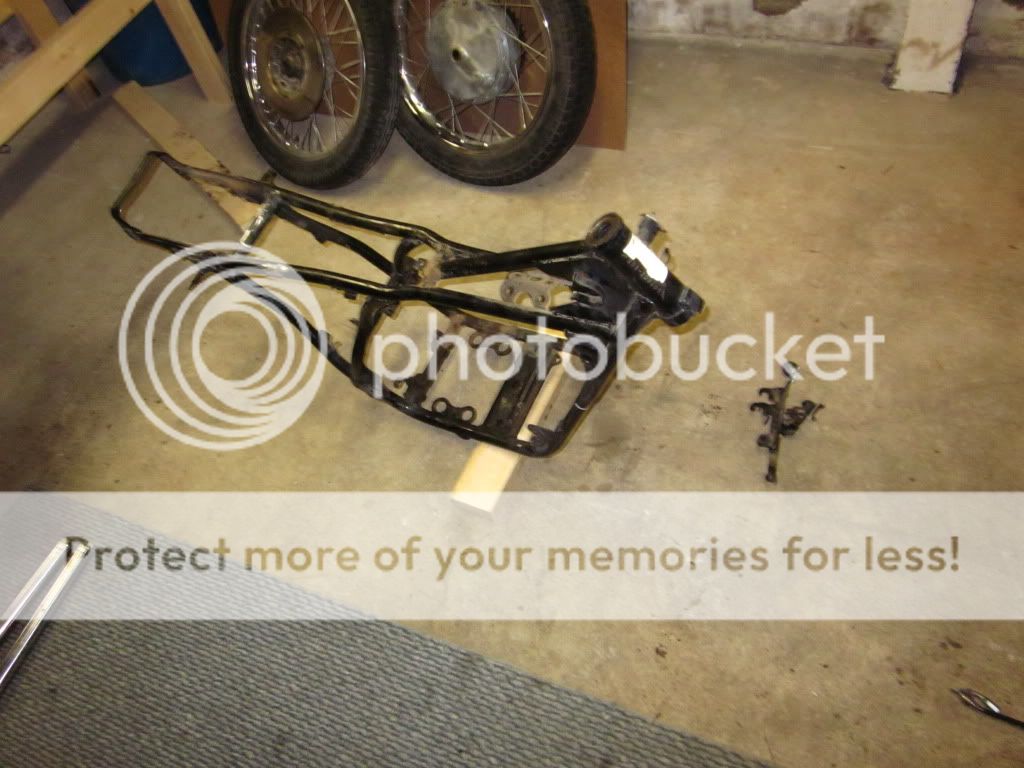
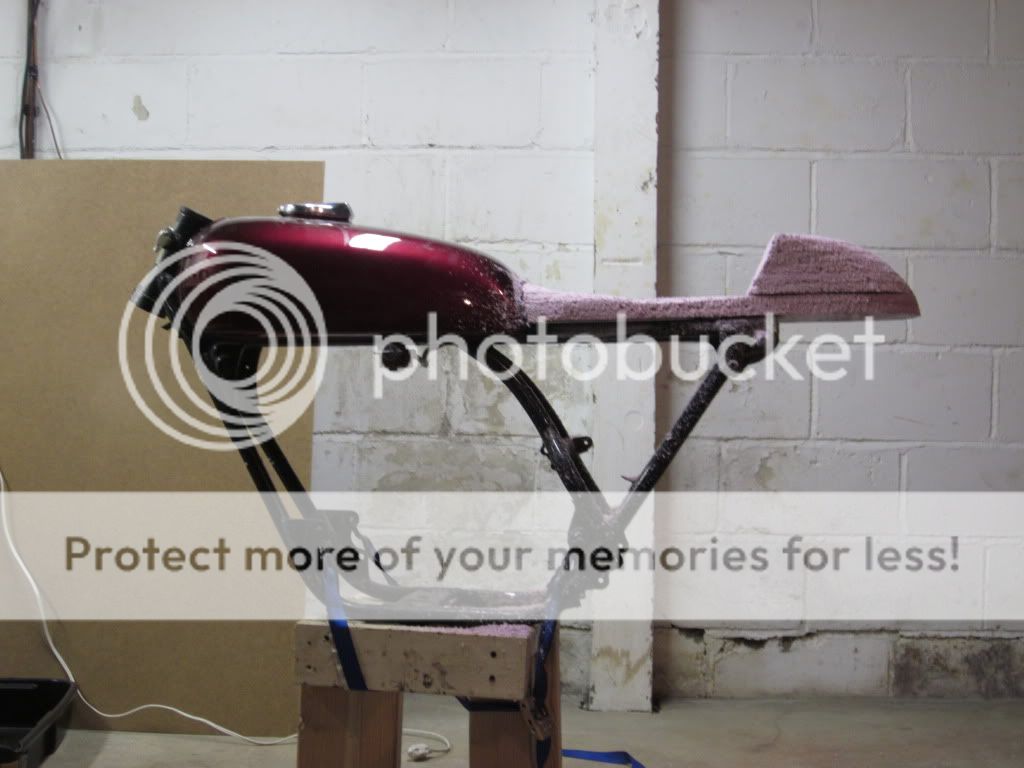
Shown here. Sadly no photos of the stair ride.

nobench.jpg


But I needed a workbench so I built one yesterday.

bench.jpg


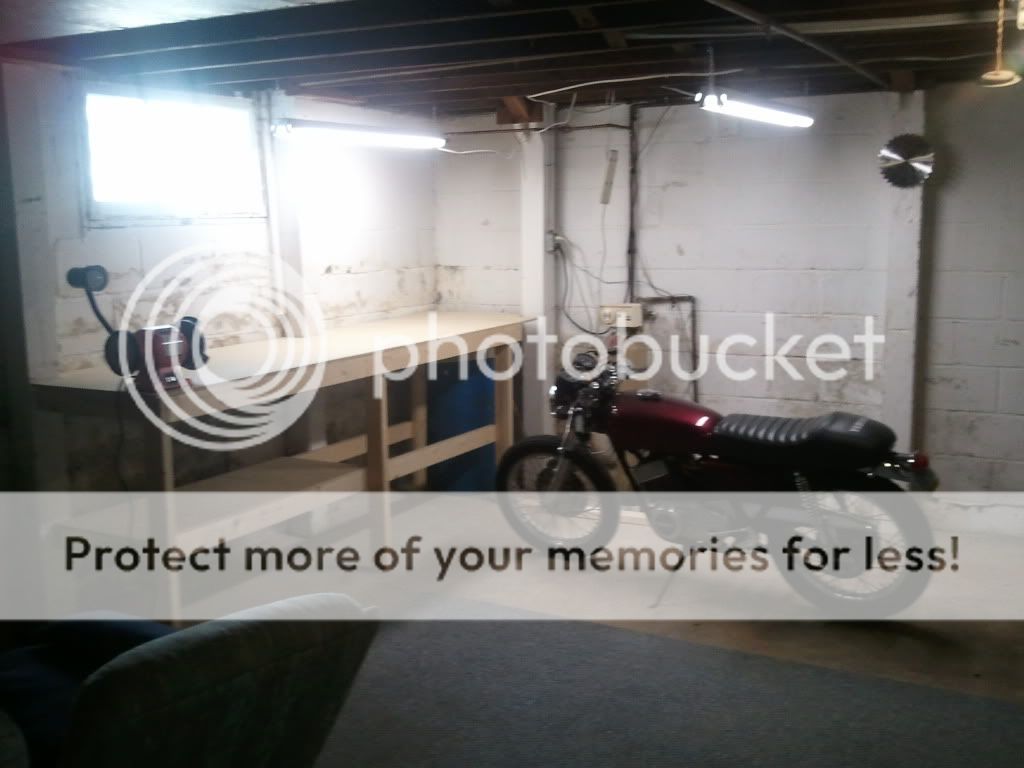
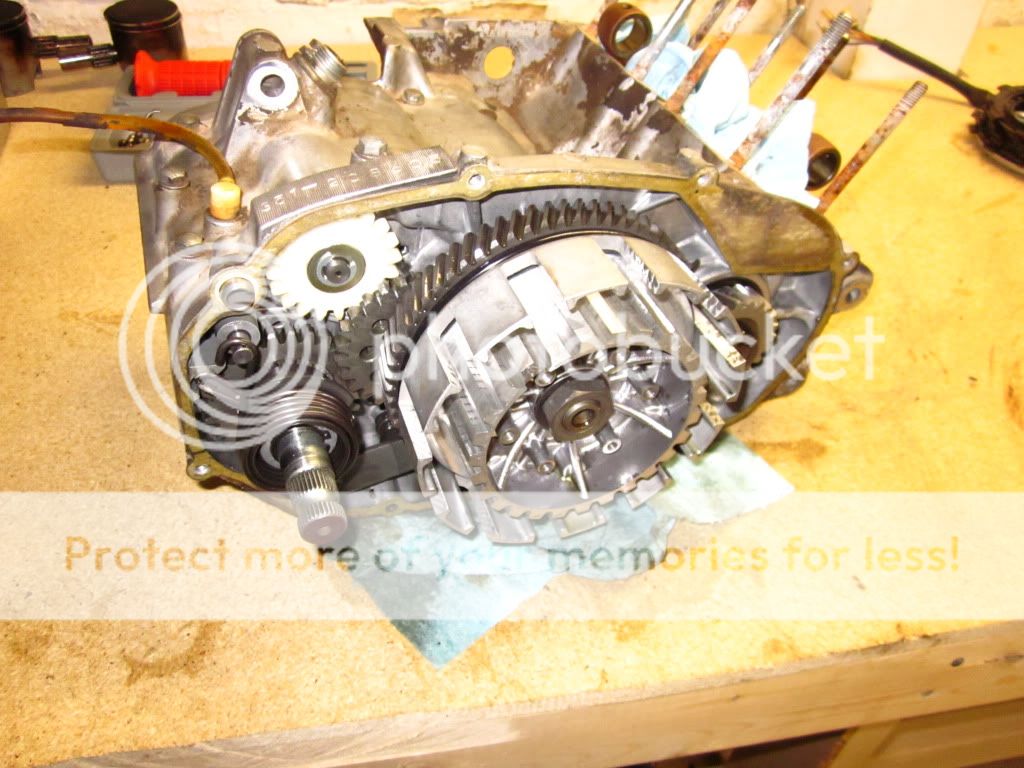
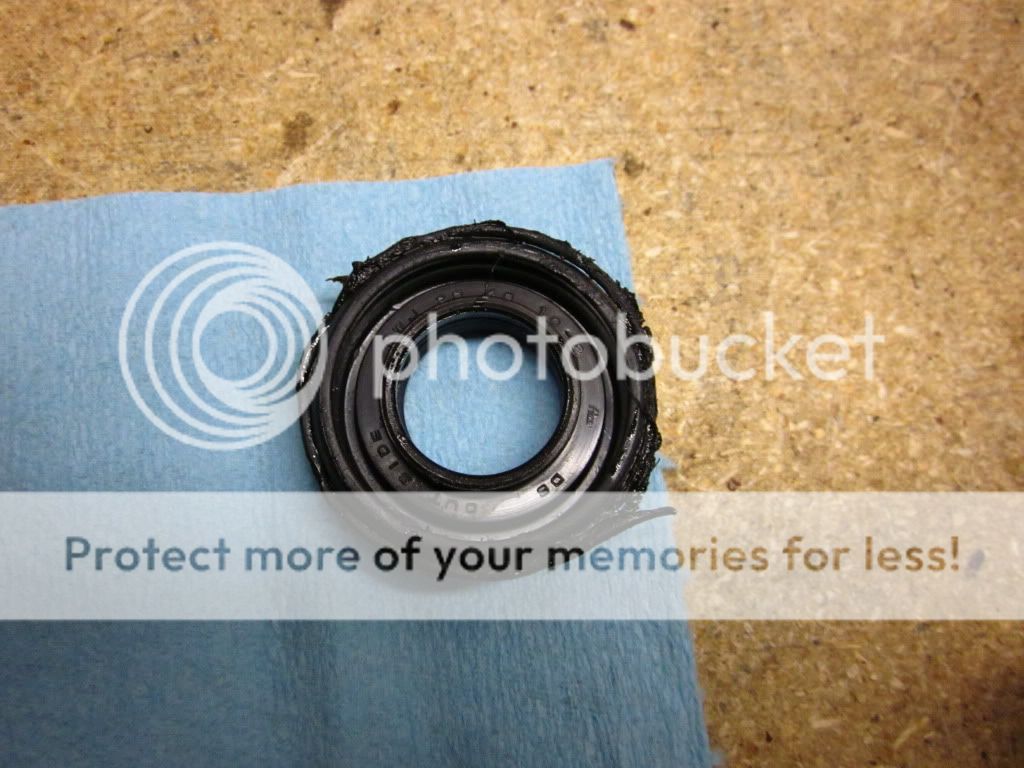
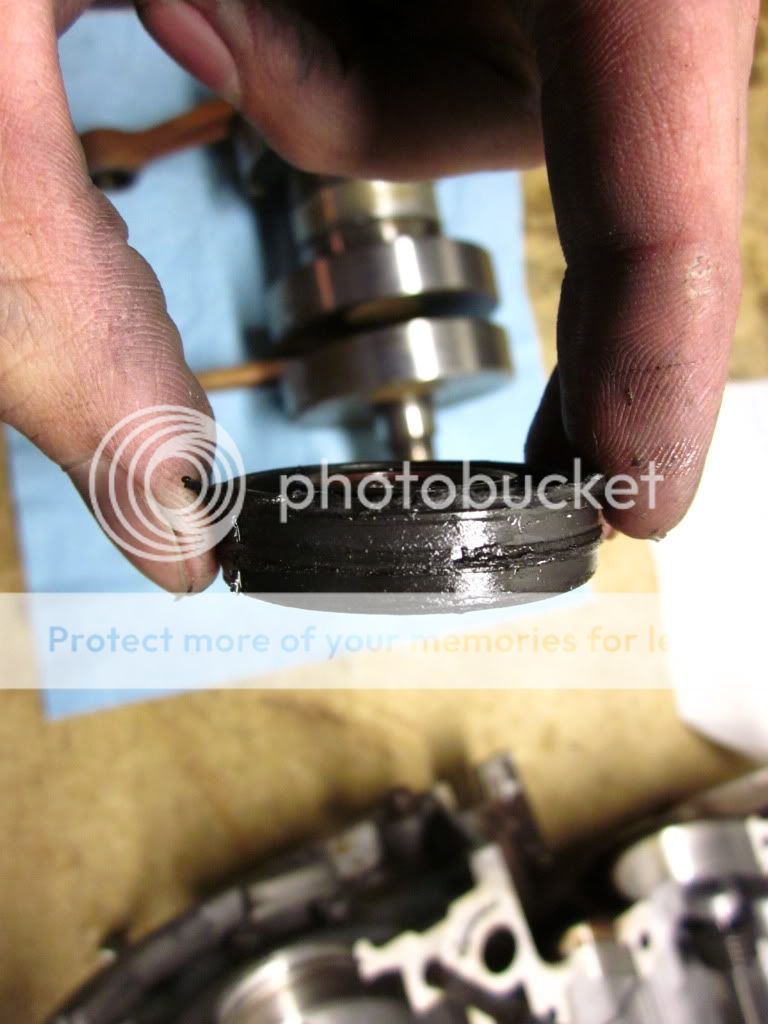
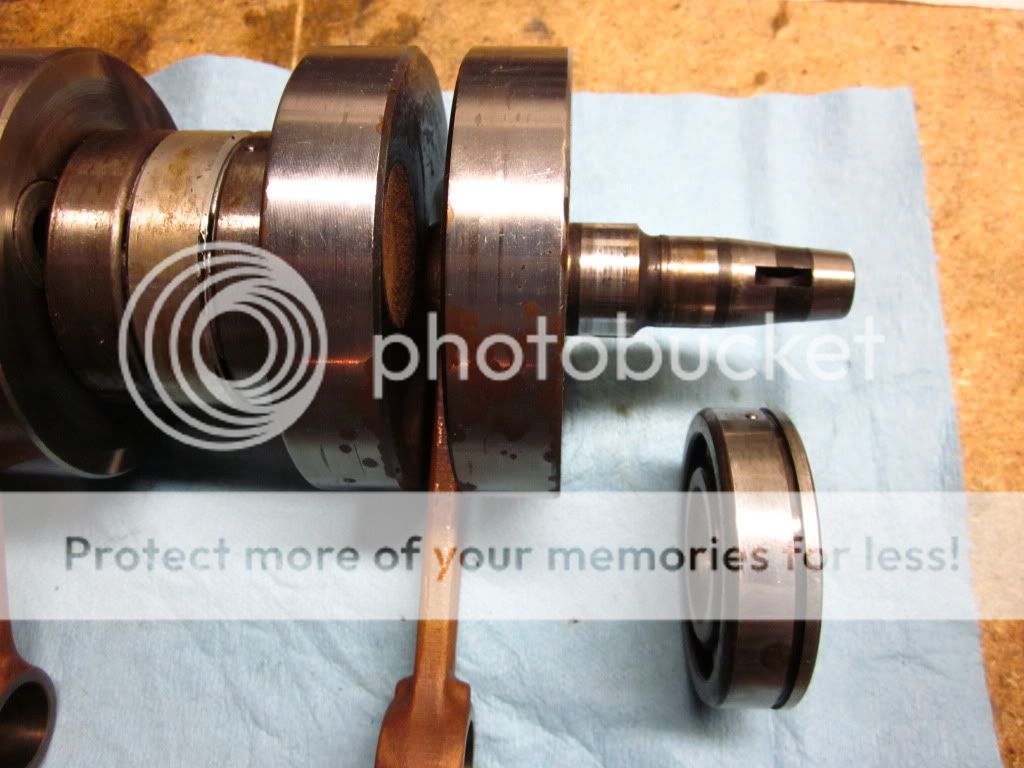
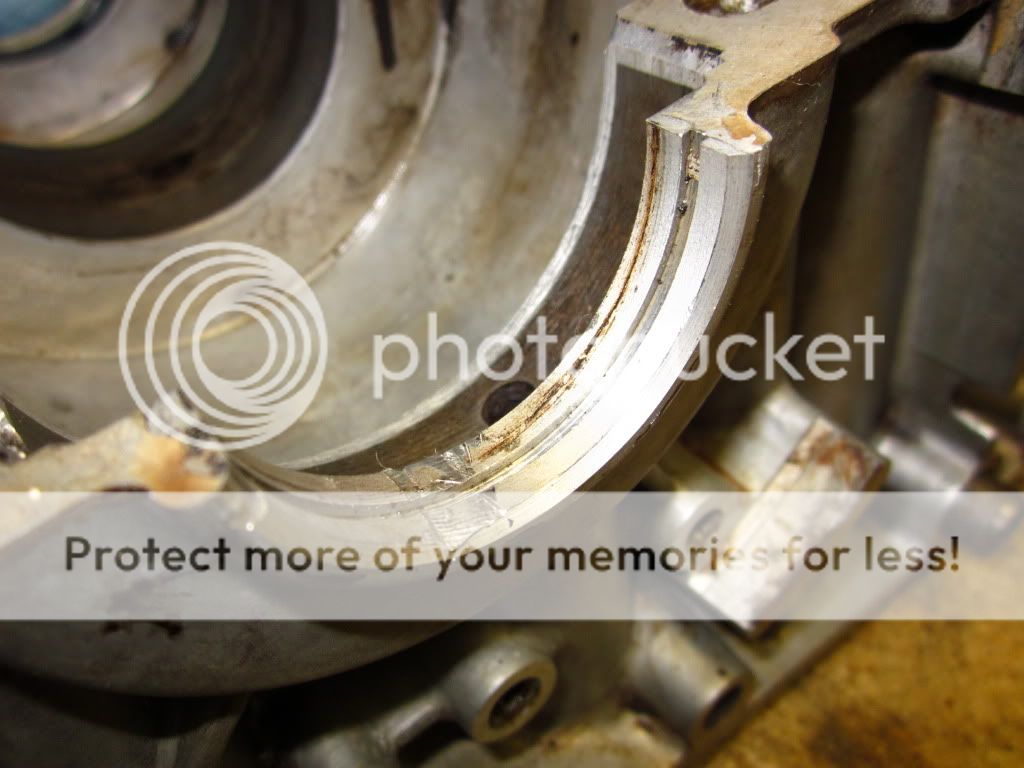
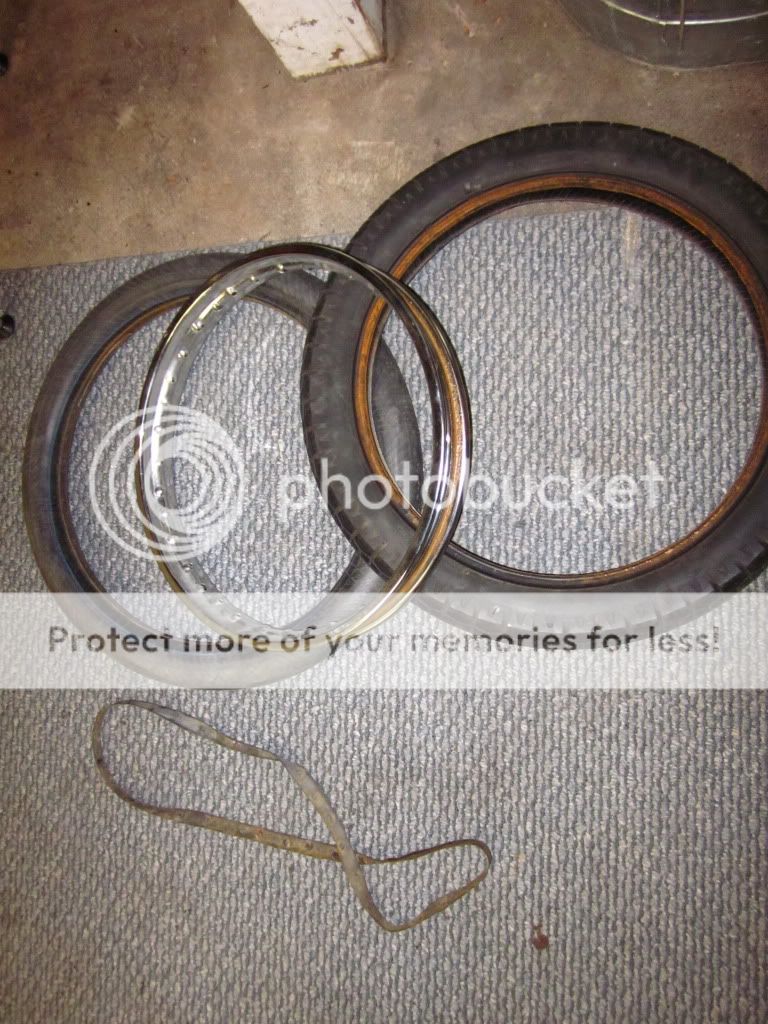
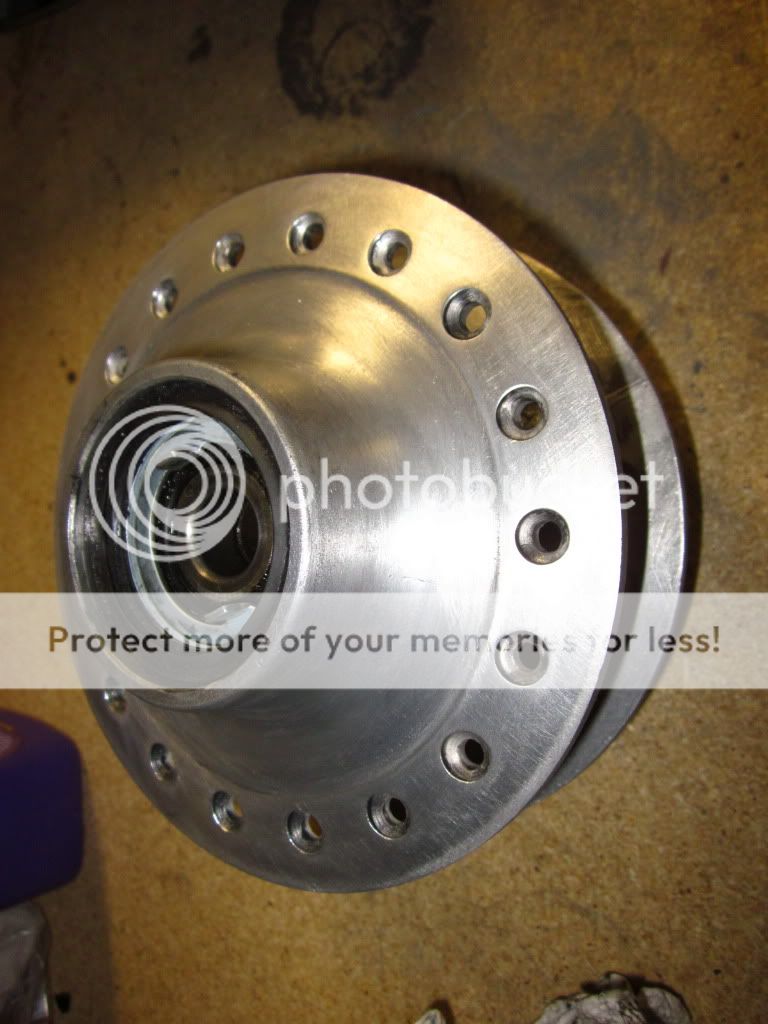
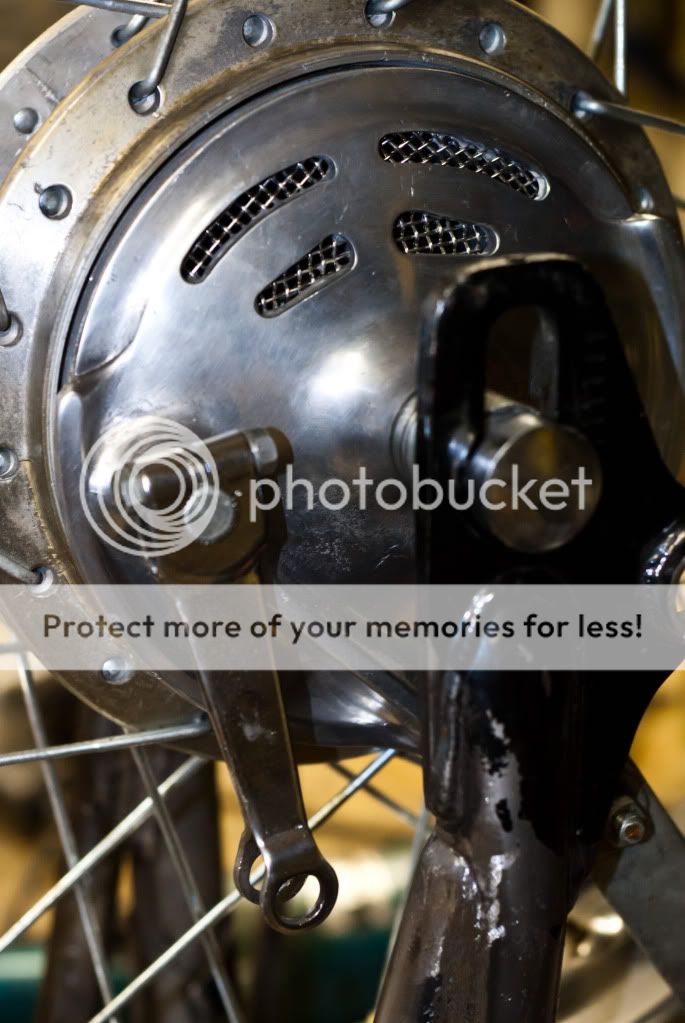
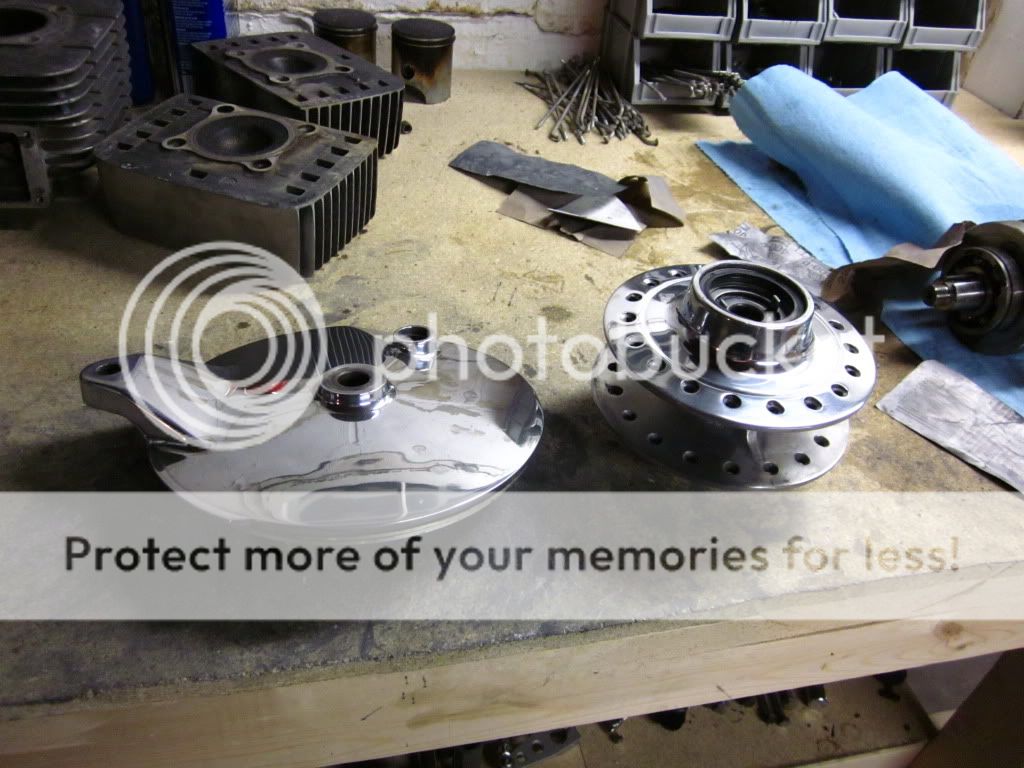
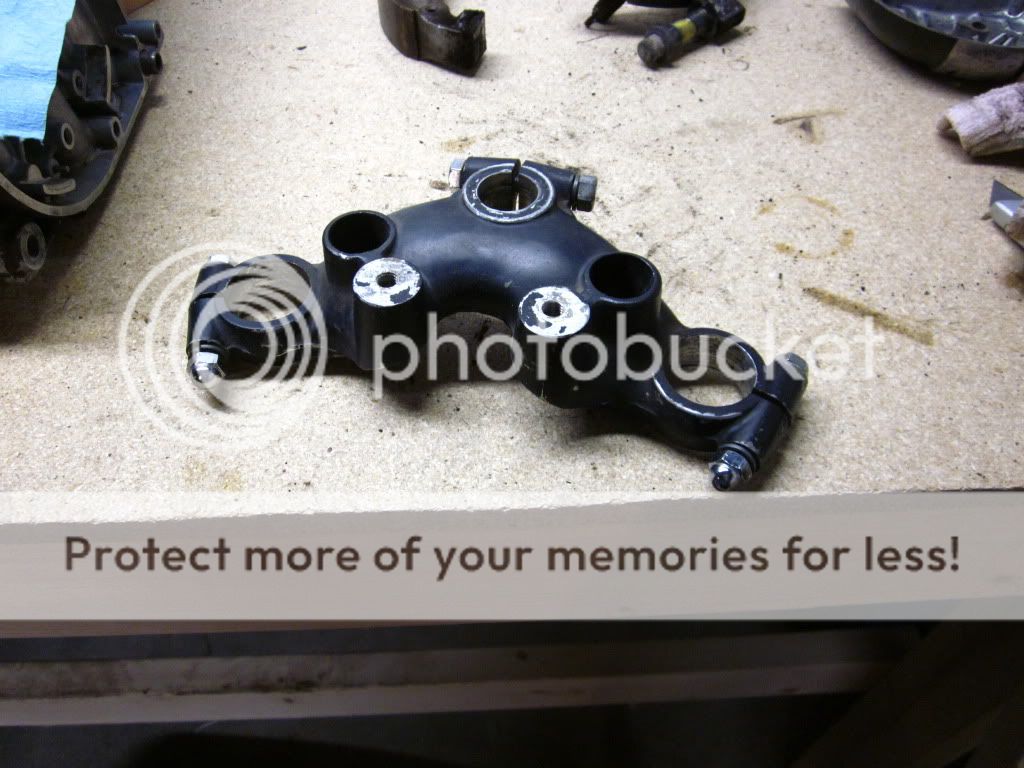
Today, I tore down. Sorry for the cell phone pics...I get excited and don't stop for actual photos.

wire.jpg

roller.jpg


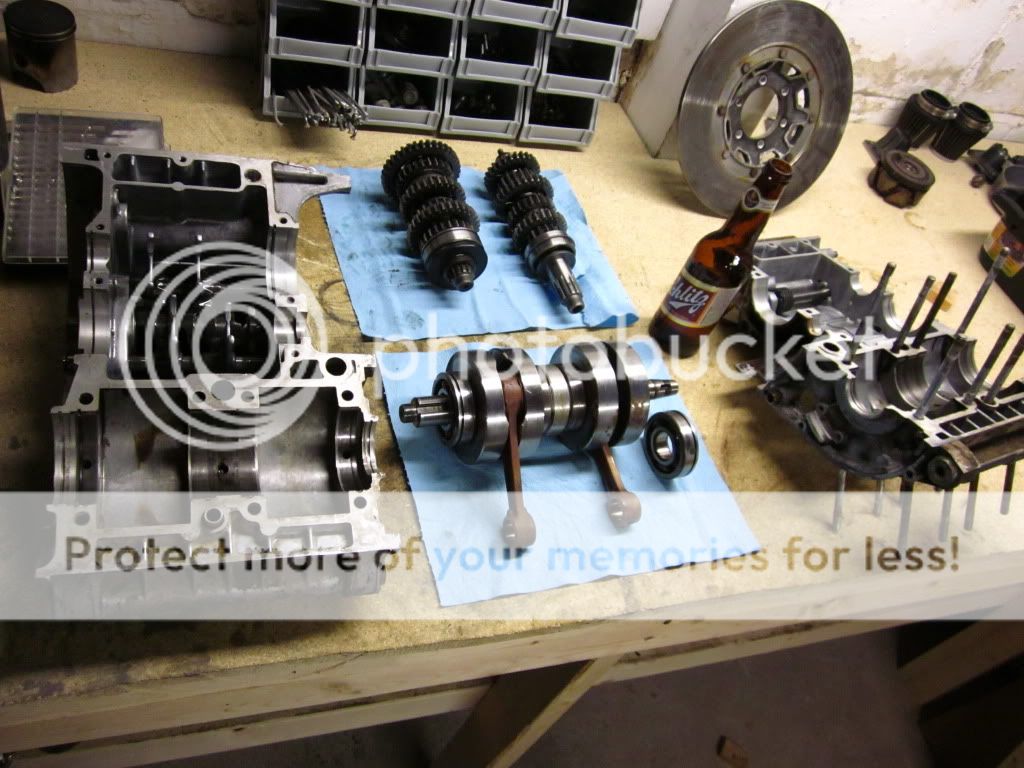
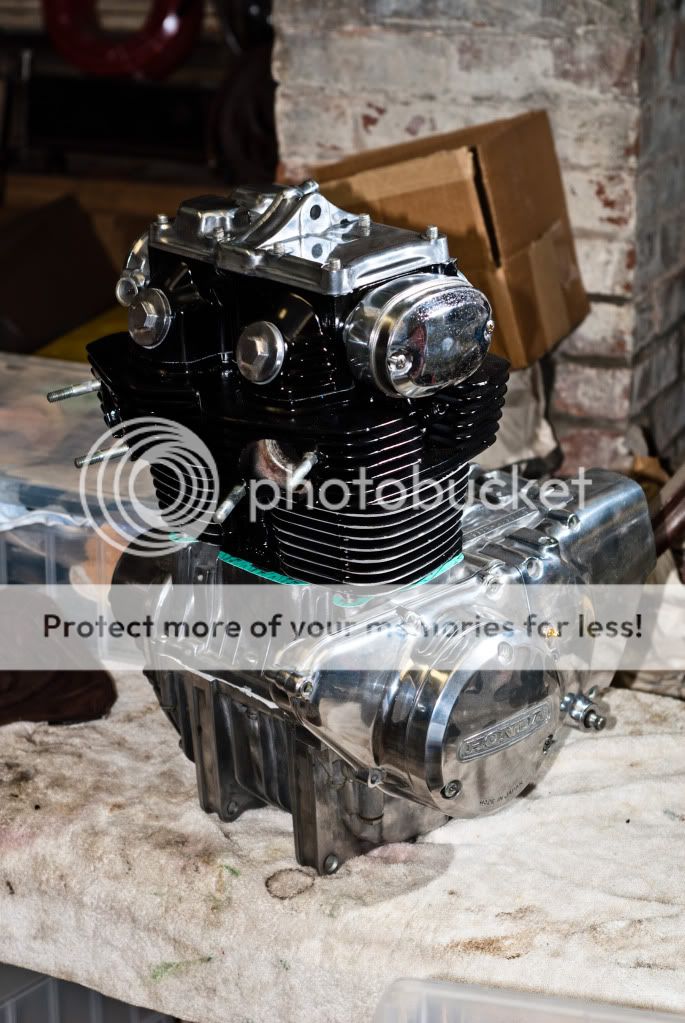
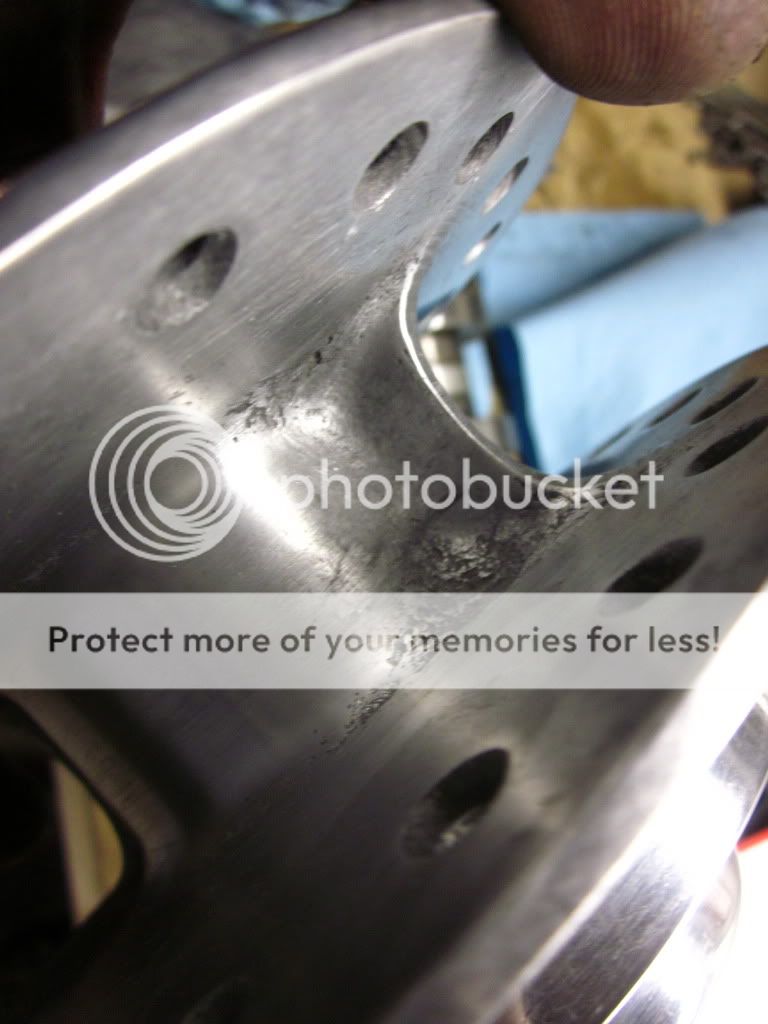
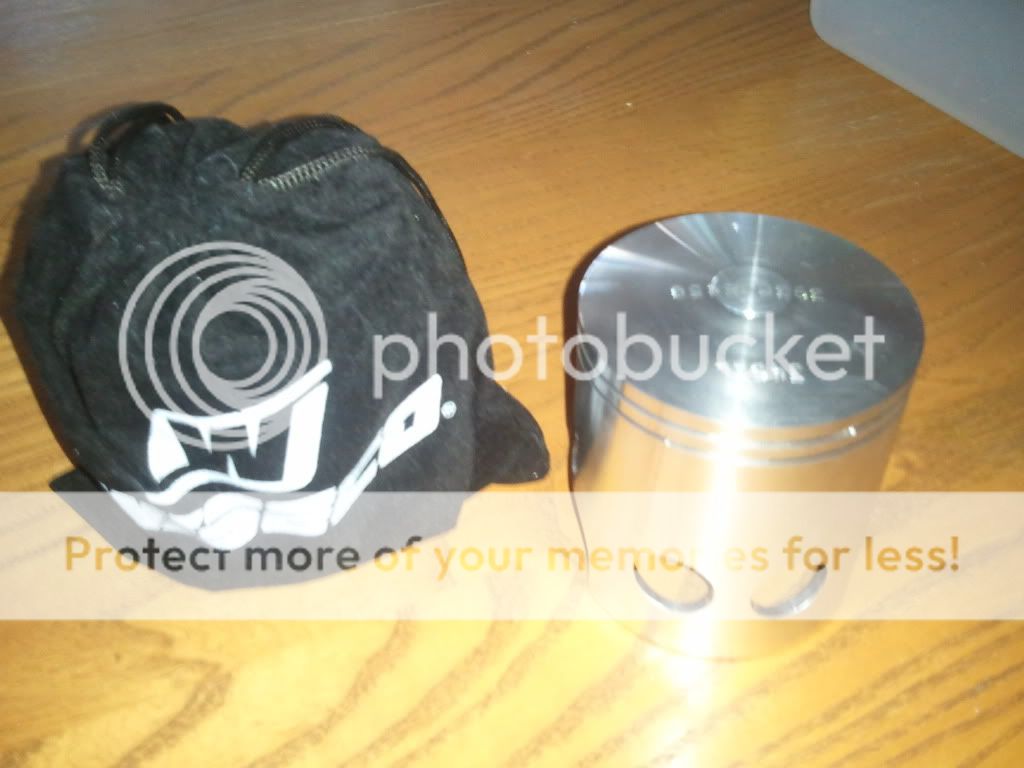
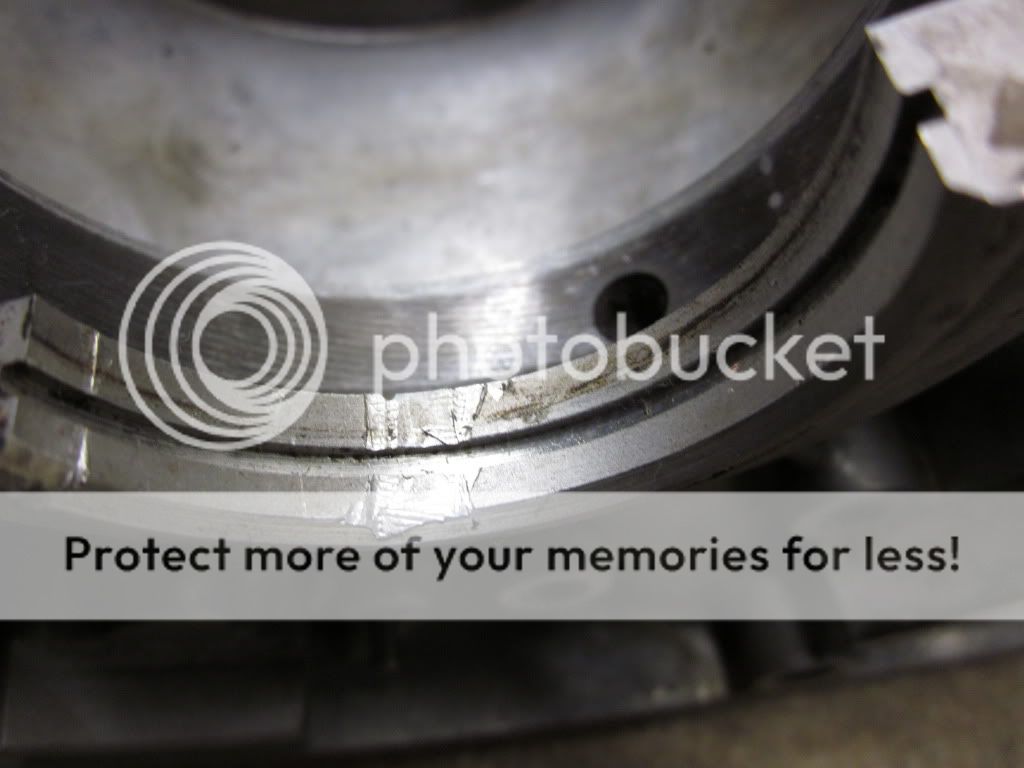
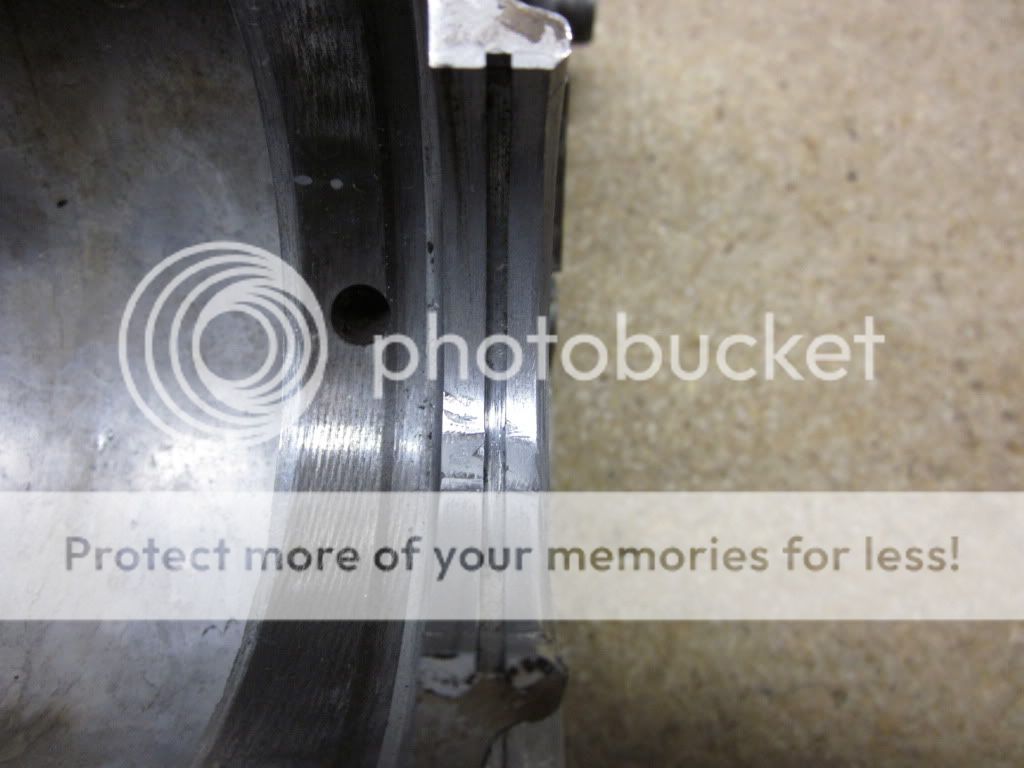
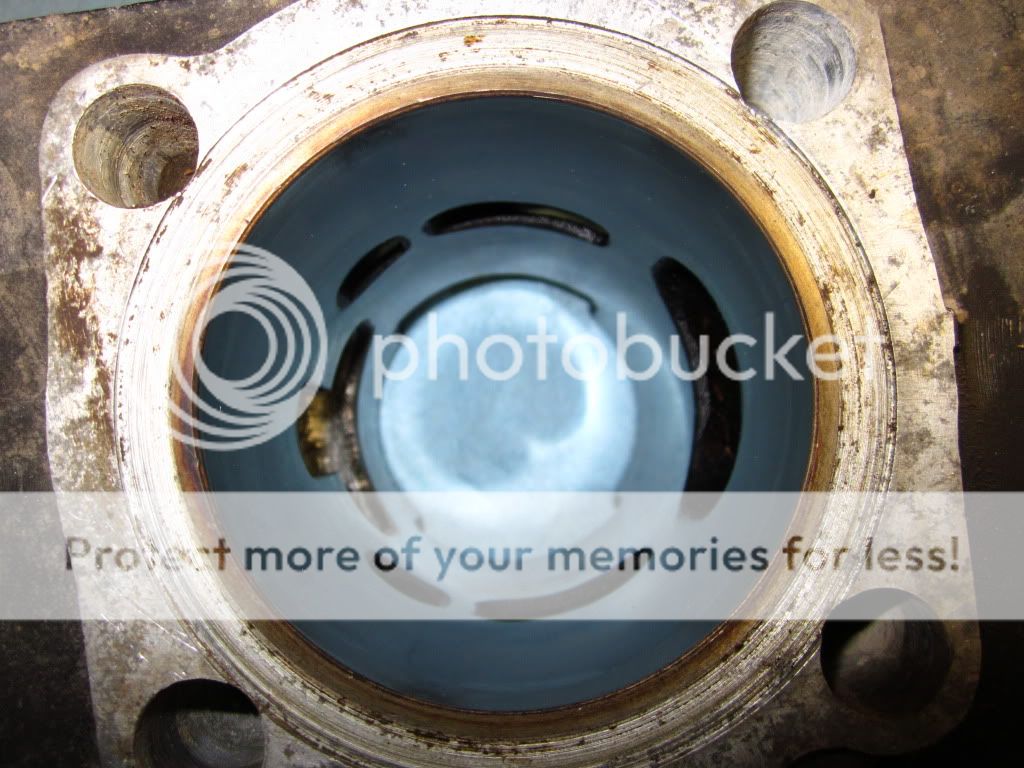
I'll be taking the cylinders to an engine builder tomorrow to find out how much material should be removed from the sleeves. They're as smooth as glass but they may be out of round and I don't have precision measuring tools. Once I learn that part I'll order some pistons and we'll get borin'. I'm not sure if they've been bored previously or not so if anyone knew what the stock diameter is that would save me some googling.

IMG_0567.jpg


I was hoping to split the case tonight but I did not have the correct puller so that will have to wait until tomorrow as well.

IMG_0570.jpg


Once I get all of the brackets that will no longer have a use scraped off the frame I'll be playing with fiberglass for the first time and making a hidden oil bottle so follow along. I would love to mono-shock the rear suspension and put on modern forks but I don't think my budget will allow for it. This is my first cafe build so I'll be looking for plenty of advice...the color scheme has been decided on though. The yellow, black, and white of the Yamaha racers of the period.

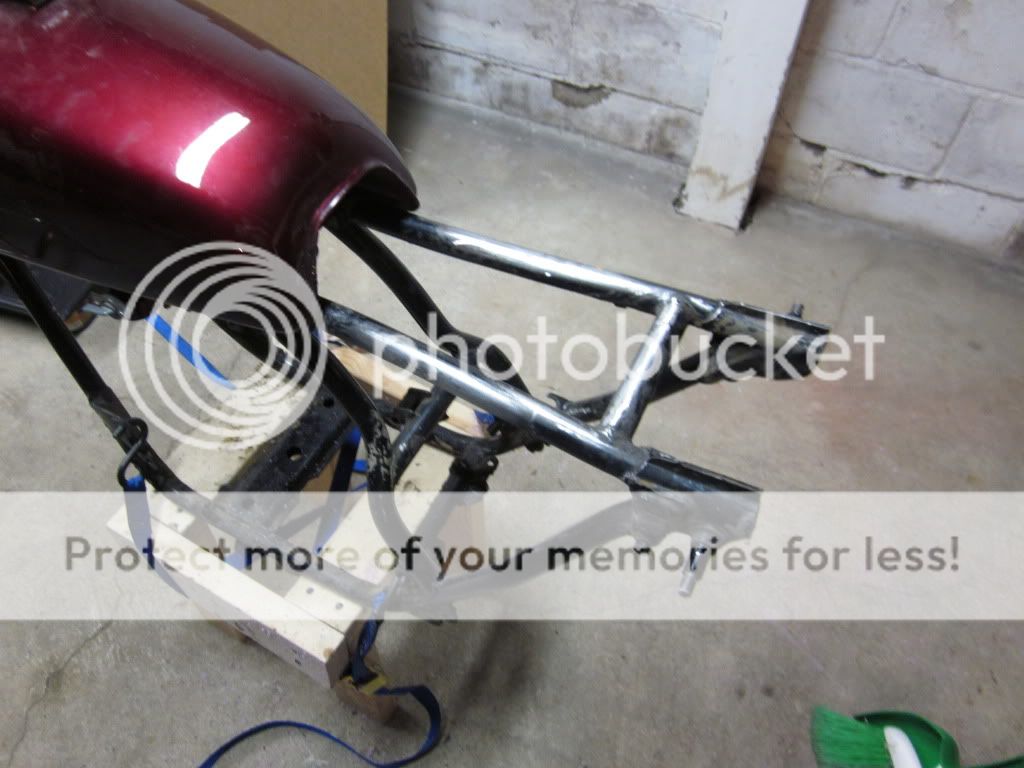
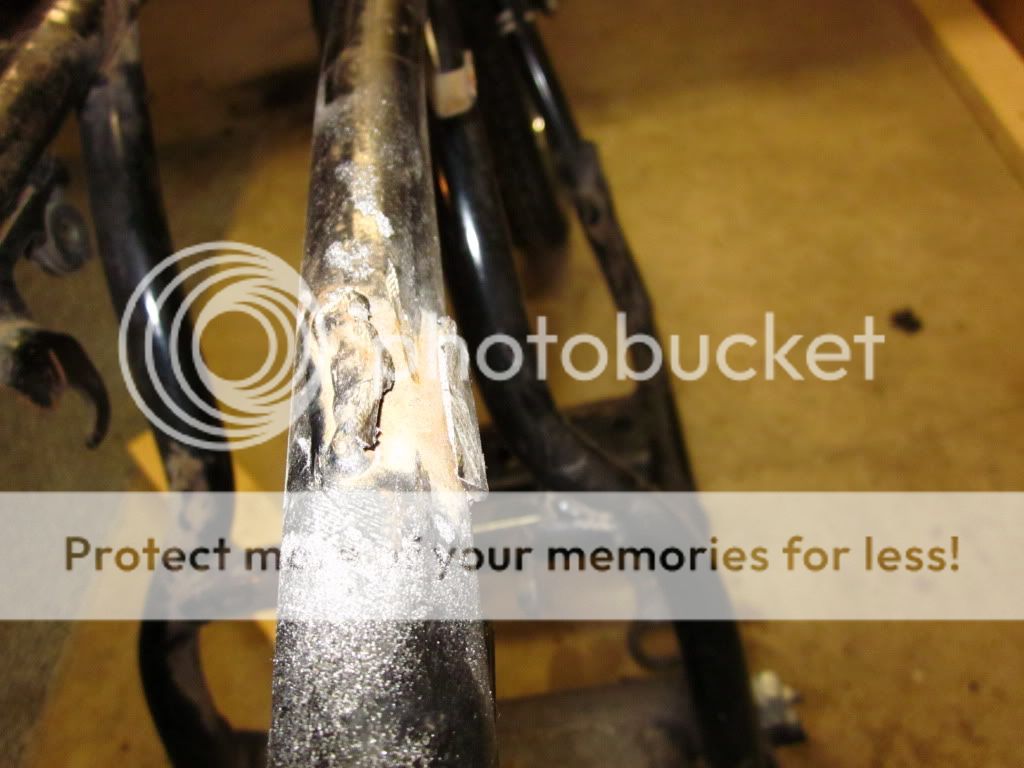
I had to hack into one of the old seat brackets tonight just so I knew I was serious about it.

IMG_0568.jpg
 
Re: 74' Yamaha RD350 - Basement Build

love this so far. will be following undoubtedly!

funny how beer bottles share so much in common with garden gnomes. always in the grass, even when nobody wants them.
 
Re: 74' Yamaha RD350 - Basement Build

Looking forward to watching your build! I love the old RDs! I GAVE away a purple 74 with Bassani pipes last year. I know what was I thinking right? lol. I was just on a mission cleaning the garage and I just didn't have room for it any more! Kicking my ass now though!
 
Re: 74' Yamaha RD350 - Basement Build

Had one that looked EXACTLY like that last summer, sold it to a gent at the beginning of the summer too!! I was hoping it was him, then saw the North Dakota bit. Haha

Great choice for your first build, RD's rock. Clean, clutter/B.S. free workspaces rock. DO IT
 
Re: 74' Yamaha RD350 - Basement Build

FlyinRyan350 said:
I was hoping to split the case tonight but I did not have the correct puller so that will have to wait until tomorrow as well.

If memory serves me right, I'm pretty sure one of the engine mounting bolts will thread right into the stator. tighten it right down and give it a wack and it'll pop off.

Do some digging online and you'll get your confirmation.
 
Re: 74' Yamaha RD350 - Basement Build

danfr said:
If memory serves me right, I'm pretty sure one of the engine mounting bolts will thread right into the stator. tighten it right down and give it a wack and it'll pop off.

Do some digging online and you'll get your confirmation.

I used that same method on mine! ;)
 
Re: 74' Yamaha RD350 - Basement Build

These 350s were a real giant killer back in the day, and very closely related to the TZ350 that enjoyed massive track success. In 77 a mate of mine had a silver one, and I had an RD400...we raced like lunatics all over the place, and the bikes couldn't be seperated. I allways thought that the 350 was the ultimate Yamaha stroker of the era. I have very fond memories of these great bikes, so I shall be watching the rebirth of yours with great interest.
 
Re: 74' Yamaha RD350 - Basement Build

danfr said:
If memory serves me right, I'm pretty sure one of the engine mounting bolts will thread right into the stator. tighten it right down and give it a wack and it'll pop off.

Do some digging online and you'll get your confirmation.

Tschiffely said:
I used that same method on mine! ;)

Wish I had saw these posts earlier, the manual 4eyes posted made it seem like I should have the bolt necessary on hand but I didn't take it seriously. Instead I found a bolt that would thread in and hooked a slide hammer to that. Came off without too much fuss. Thanks for trying to point me in the right direction tho!

Should be finally splitting the cases later this weekend...lacking massive metric sockets at the moment. Harbor Freight here I come. Looks like tonight will be spent grinding.
 
Re: 74' Yamaha RD350 - Basement Build

Decided to make it a quick night...I love working on this thing but it is a Friday night so I better go waste money on something else for a bit. 8) My laziness after work has left the engine at this stage.

IMG_0589.jpg


Sunday will probably see the splitting. I finally pulled the wheels and suspension and hacked away at some brackets. Used a sawz-all to pull off the big pieces. I thought of using an abrasive disc for a second then I remembered that I was in a basement and burning metal smells bad so that was scrapped. I'll have some fun with that outdoors tomorrow since I really don't like our neighbors anyway. :p

IMG_0584.jpg


I've spent some time thinking about tires and I think I like the look of the cheng shin's that are currently mounted on the rim. They're in good shape and they say "I could leave the street if I was feeling that badass...but I won't because gravel chips paint." They probably won't knee drag well but I think they look period correct...not for the race bikes of course.

IMG_0586.jpg
 
Re: 74' Yamaha RD350 - Basement Build

Finally got around to splitting the cases.

IMG_0614.jpg


Ran into some less than good things.

The seal on the armature/generator/flywheel (whatever you want to call that) side was shot.

IMG_0609.jpg


IMG_0610.jpg


Which ruined the bearings on that side. The outside main bearing slid right off the shaft and doesn't roll smooth. The inner main has issues along with the rod bearing.

IMG_0608.jpg


Further inspection of the case revealed what I am guessing is poor Japanese assembly because I don't think the cases have been split before since every bolt, screw and nut looked untouched.

IMG_0606.jpg


Looks like a tool hit the case pretty hard in possibly the worst spot. I'm hoping some very careful filing can get rid of the sharp edges so a new seal will have a chance.

So, my brother is currently using all of his channels to try and find a good crank. His adventures into vintage power-sports(well pretty much all power-sports) go much deeper than mine. I could probably scrounge up the parts for about $300 and then use another one of his connections to rebuild it on the cheap but for now I'm hoping a good crank shows up for less.

In the mean time I've been fiddling with the frame and wheels.

IMG_0616.jpg


Started cleaning up the front hub.

IMG_0617.jpg


Quick question. What is everyone using for a polishing compound and how fine of sandpaper are you going to for prep?
 
Re: 74' Yamaha RD350 - Basement Build

FlyinRyan350 said:
Further inspection of the case revealed what I am guessing is poor Japanese assembly because I don't think the cases have been split before since every bolt, screw and nut looked untouched.

IMG_0606.jpg


Looks like a tool hit the case pretty hard in possibly the worst spot. I'm hoping some very careful filing can get rid of the sharp edges so a new seal will have a chance.

Looks more like someone has jammed a screwdriver in there to try and pry the seal out with the cases still bolted together.

You should be able to file / sand down the marks for the new seal. Put a smear of 3bond on the outer of the seal to make sure it seals properly.
 
Re: 74' Yamaha RD350 - Basement Build

hillsy said:
Looks more like someone has jammed a screwdriver in there to try and pry the seal out with the cases still bolted together.

You should be able to file / sand down the marks for the new seal. Put a smear of 3bond on the outer of the seal to make sure it seals properly.

This is also very possible, I was leaning away from that theory a bit just because the generator needs to be pulled off before attempting something so dumb but yes, definitely grooves like a flat head screwdriver. I guess there are mechanics and then there are people who own tools.
 
Re: 74' Yamaha RD350 - Basement Build

I really should make a proper polishing guide.

If your hand polishing to a mirror shine, you need to spend a good number of hours wet sanding.

if your starting with a clean surface without and deep scratches, then you can go

250 grit, 400, 600, 800, 1000, 1500, 2000, then a good metal polish (autosol) to buff out to a nice shine.

for the time wasted though, your far better off investing in buffer and wheels. on small parts I polish to 800 grit then use sisal wheel with emory bar, followed by sewn cotton wheel with tripoli bar, and on some parts final light buff with white bar on an unsewn cotton wheel. On large parts I can usually get away without any hand sanding by using my dry buffing compounds.

theres a large difference between "shiny" and "polished." the scratches present in that hub will need a good amount of wet sanding with 400 grit to get a nice uniform finish (IN ONE DIRECTION!), then go at it with 600 grit in the perpendicular direction to get a uniform finish, getting out all the 400 grit scratches.

With enough practice, you can tell when sanding is done simply based off of sound of the paper on the metal. but it takes a lot of time.

Inspiration:

_DSC0008.jpg


Shiny, not polished:

_DSC0013.jpg
 
Re: 74' Yamaha RD350 - Basement Build

Thanks for the tips Rocan. Props to everyone who has polished parts...what a pain in the ass. Thankfully I'm only polishing the rest of the rear hub and the fork lowers cause I have not been enjoying it. I finally hit my stride once I realized that excessive amounts of violence and compound are necessary. Anyway, I got a couple parts done.

IMG_0628.jpg


I'm leaving the inside of the front hub a uniform 400 grit sanded finish because of this mess. Unless I run out of things to do.

IMG_0626.jpg


Crank parts have been ordered, they should all be here by next week and then the crank will be off for its rebuild.

I was looking at smoothing out the upper triple clamp because it is easily the least sexy part on the rd's(well the stock taillight contraption is pretty bad too but that is residing in a box and will not find itself back on the bike) but after talking to my brother who is a mechanical engineer, the decision has been made to fab one up.

IMG_0629.jpg


So the stock clamp will be on it's way to his residence this week for measuring and design.

It's hard to not feel overwhelmed at the moment but once the engine starts to come together I think I'll be feeling a bit better about having the project done by spring.
 
Re: 74' Yamaha RD350 - Basement Build

The polished parts look great! I was too lazy to put in all that effort so bead blast and painted my hubs. Looking forward to seeing what you come up with for the Triple clamp.
 
Re: 74' Yamaha RD350 - Basement Build

Making some slight progress...the crank is off being rebuilt and the cylinders are being bored.

The new pistons came in some sweet little bags, pretty stoked about that.

2012-01-26143012.jpg


Old vs. New , The old one has grown some hair thanks to the buffing wheel

2012-01-26142703.jpg


Lightened up the frame a bit, getting fairly close to adding new things back to it but I wanted to know how long the hoop should be so I started shaping some foam

IMG_0675.jpg


The proportion looks about right(opinions welcome), I don't want to take the bump down too far because I plan on squeezing a battery in there somehow

IMG_0674.jpg


Cleaned up the blip in the case a bit too

IMG_0677.jpg


IMG_0679.jpg


Planning on putting the engine back together over spring break, still need to order some clutch parts but the crank and pistons used up a good bit of money I had set aside for this thing so more parts will have to wait a bit
 
Re: 74' Yamaha RD350 - Basement Build

Everything looks great, you might want to try some high density foam on that seat so you do not get those big chips in it. This is going to be a good looking bike.
 
Back
Top Bottom