78 CB550.

andrew

Been Around the Block
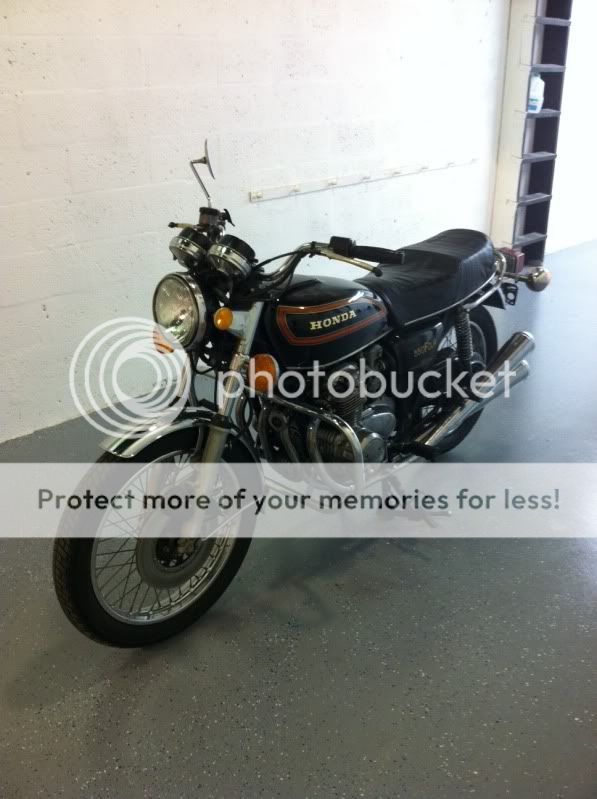
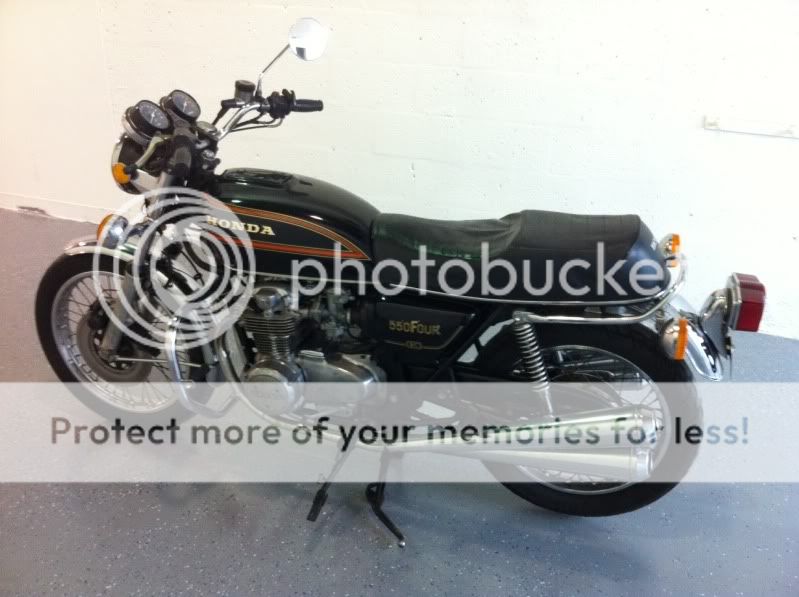
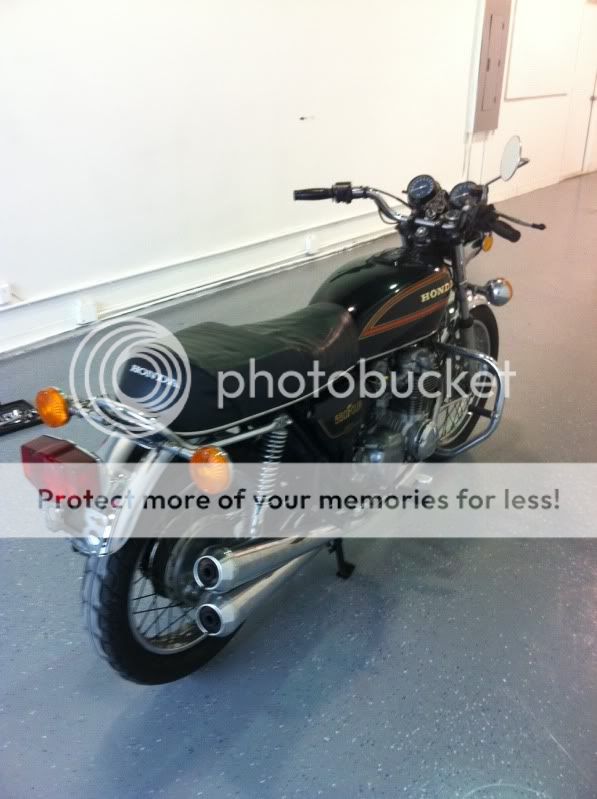
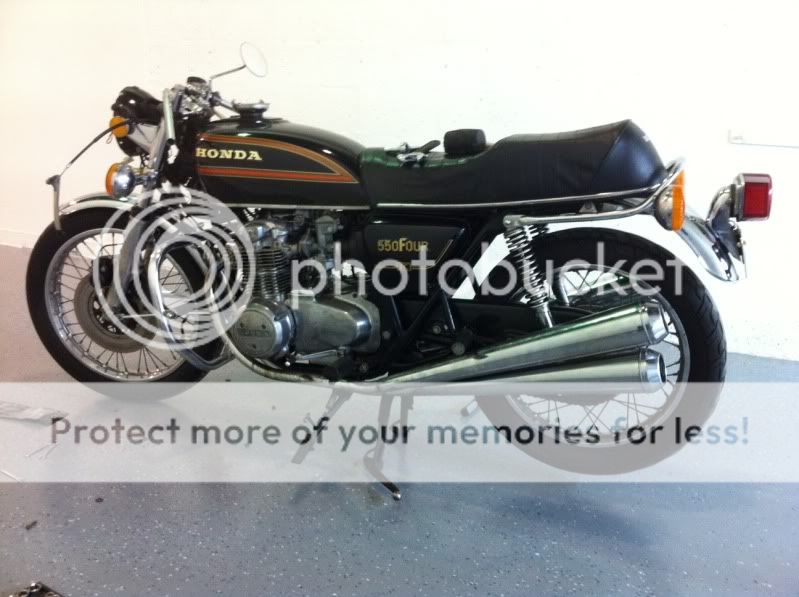
recently picked up a 78 CB550. found it on craigslist local to me. the bike is rough, but complete. it came with an almost complete parts bike as well. the guy who had if said it was from new york and he has had it for the last 5 or so years. after riding it down his street, i haggled a deal with him and loaded it up and brought it home.
photo4-20.jpg

.
photo3-44.jpg

.
photo1-55.jpg

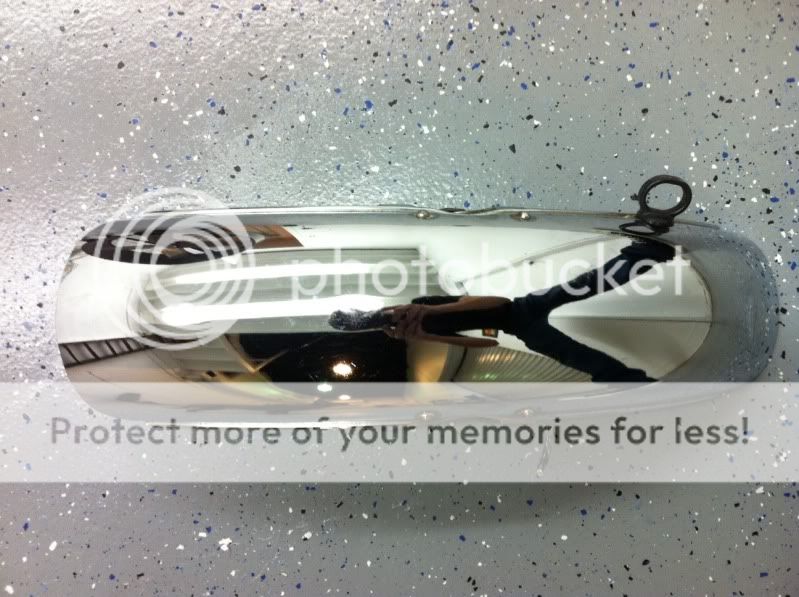
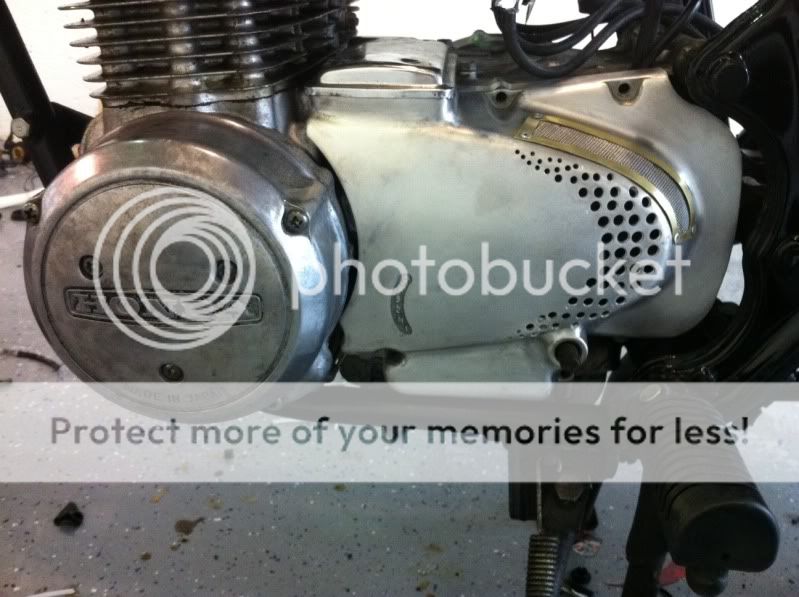
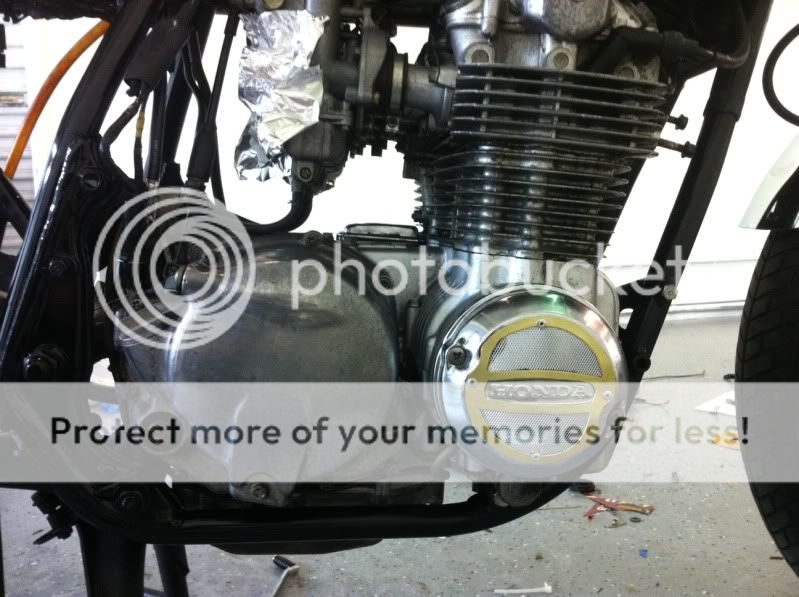
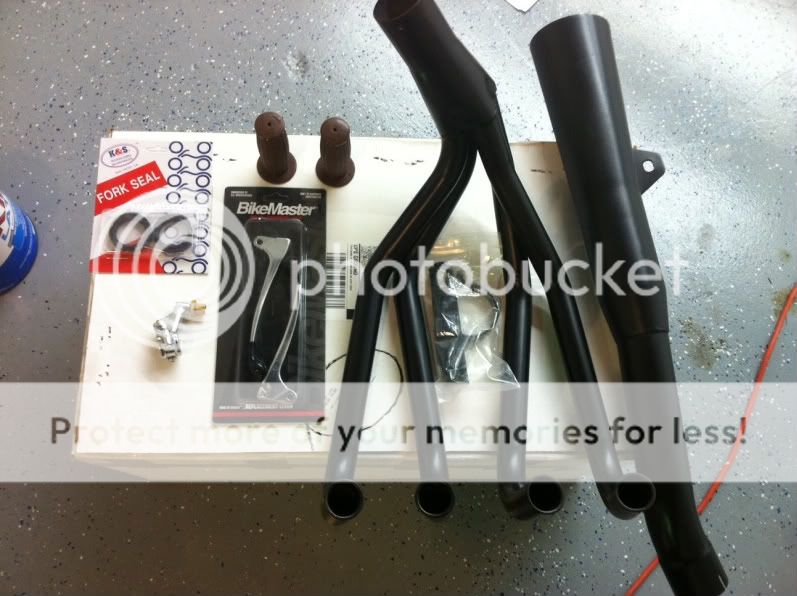
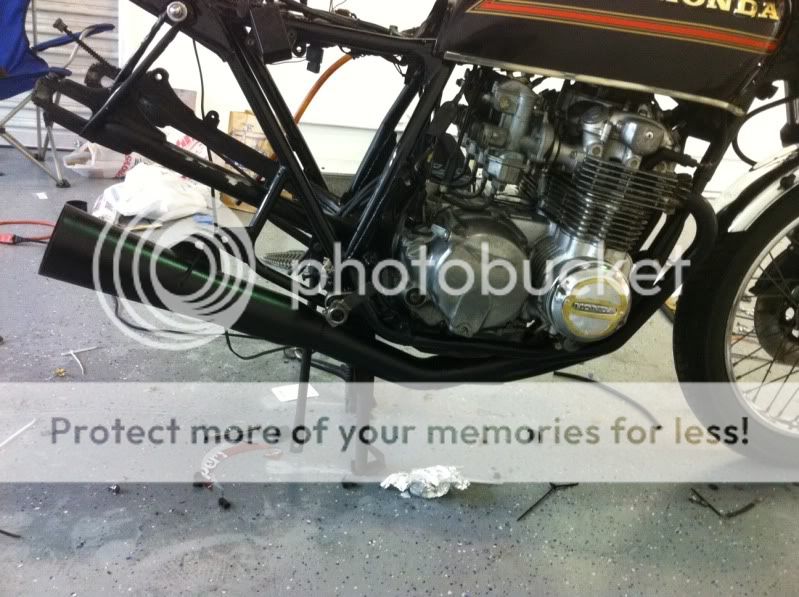
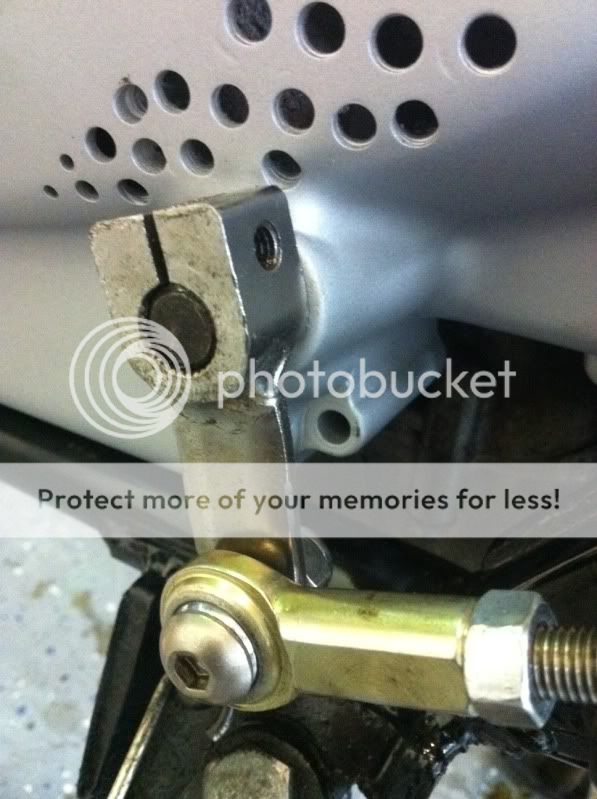
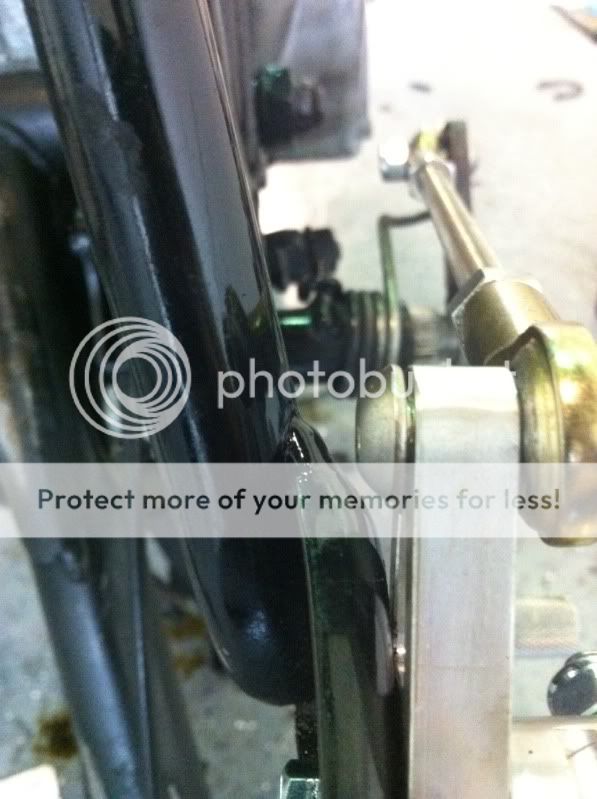
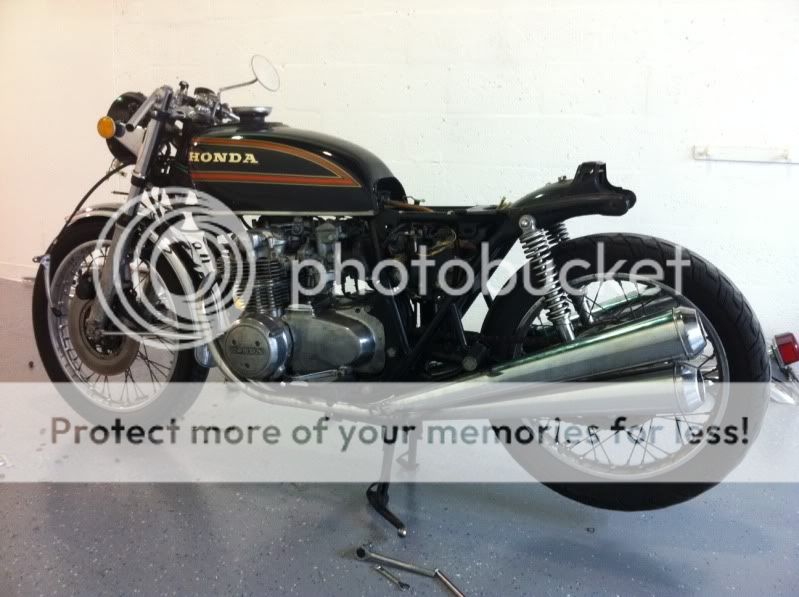
i started to tear into it and found it to be worse than i thought. the caliper had seized up some how, about half of the rear spokes/nipples were hand tight, tires almost flat, bad wheel bearings, headlight and tail light didnt work, and the kick start shaft was snapped off at the engine case, and possibly a bad head gasket (theres oil all over the front of the motor). oh boy. the guy had made some jumper wire from the battery to his headlight, (male and female spade connectors hanging out from the tank) that you "simply connect and disconnect to use the headlight" (his exact words) well, that didnt even work too. so after finding nothing but disappointment and makeshift "remedies" i figured id tear it apart and fix each thing as it came along.
photo2-59.jpg

.
photo2-58.jpg

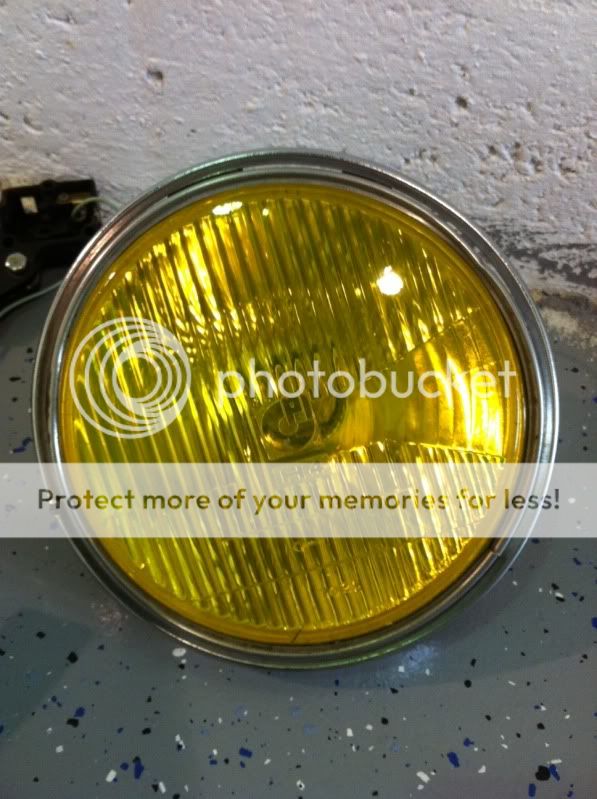
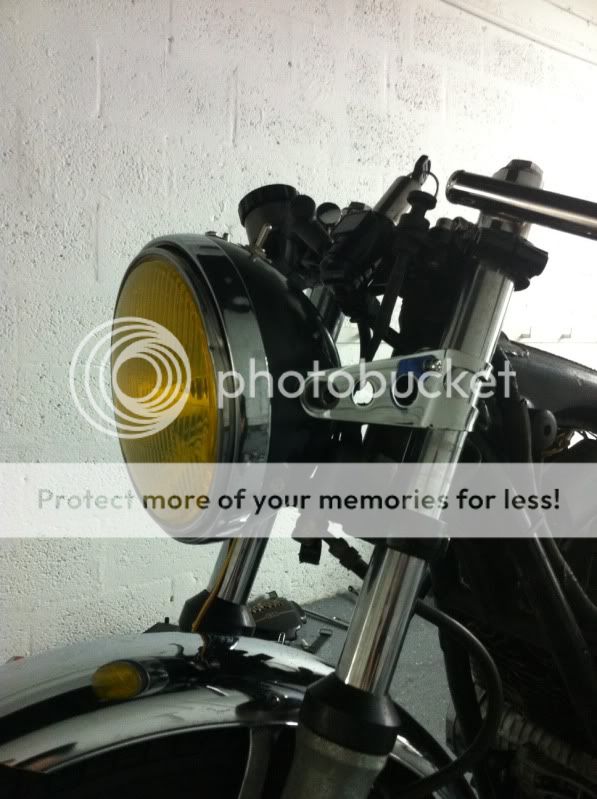
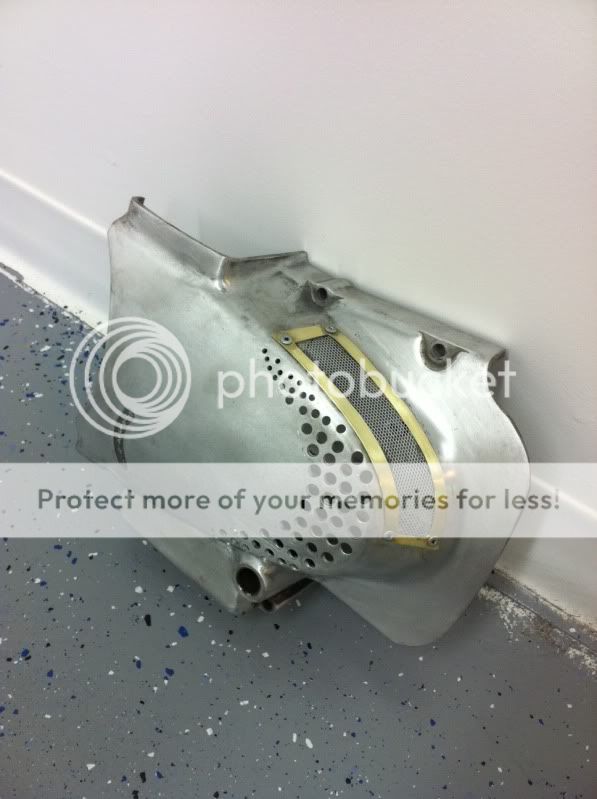
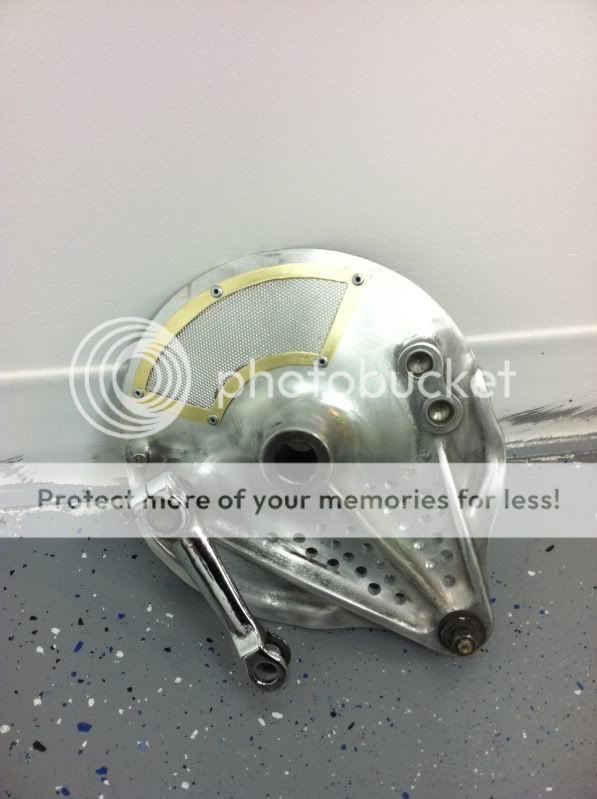
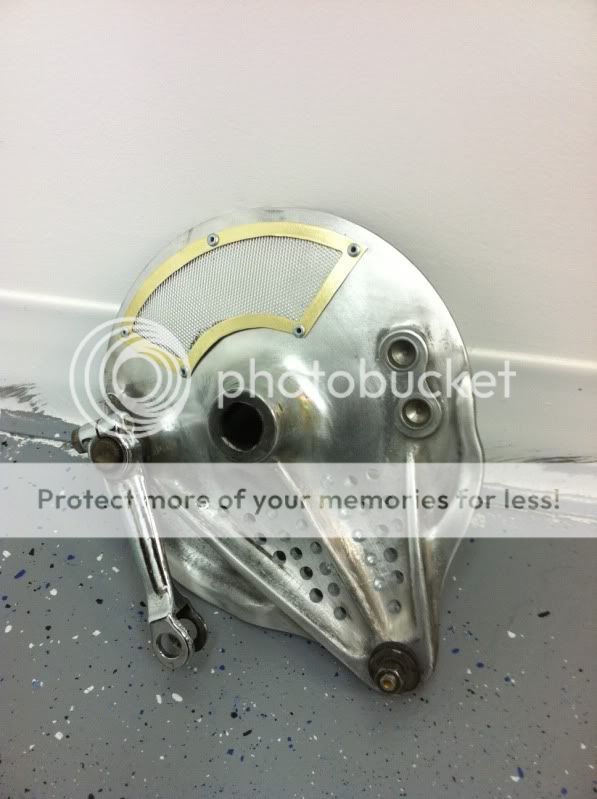
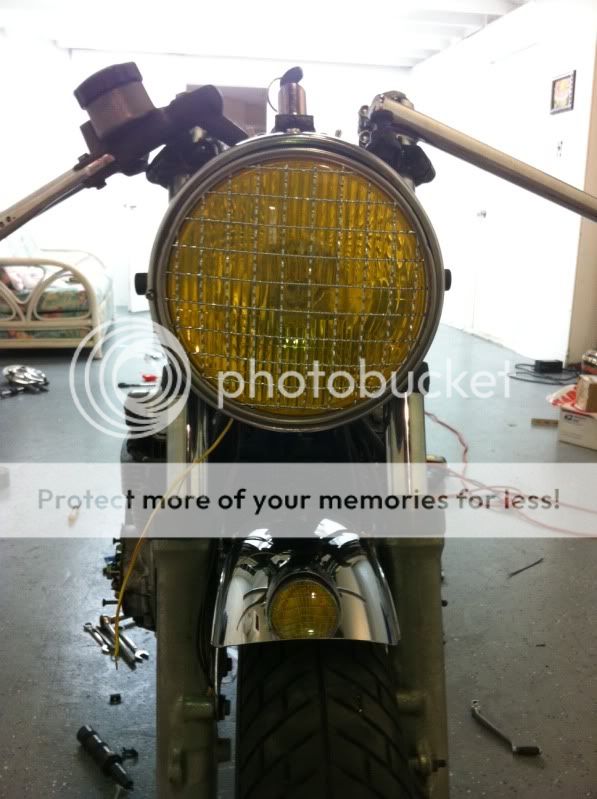
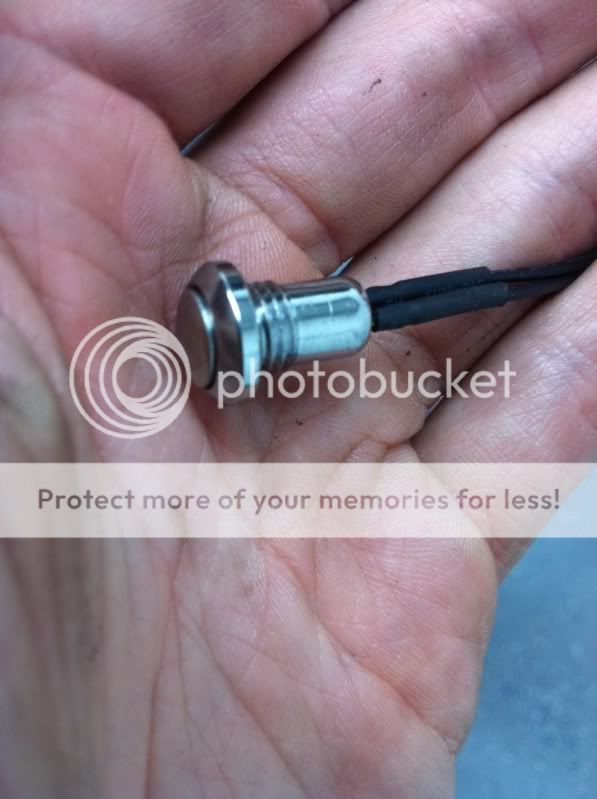
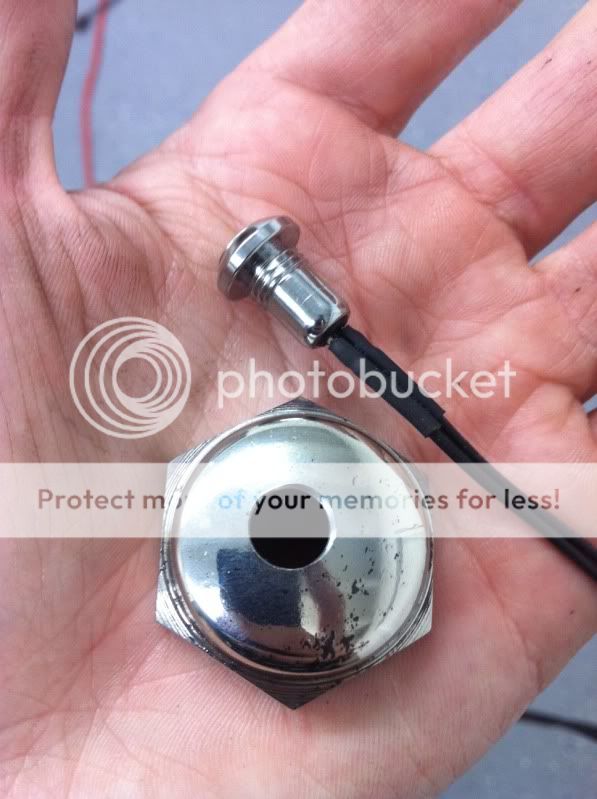
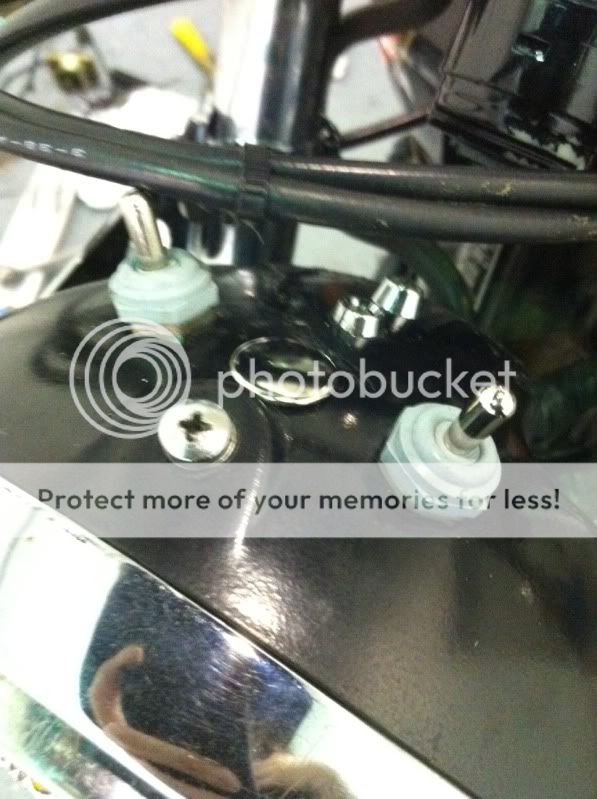
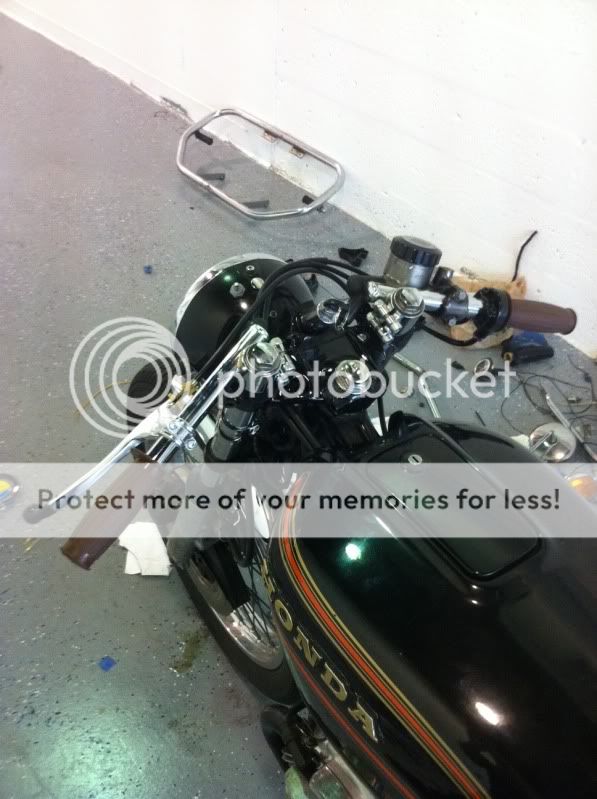
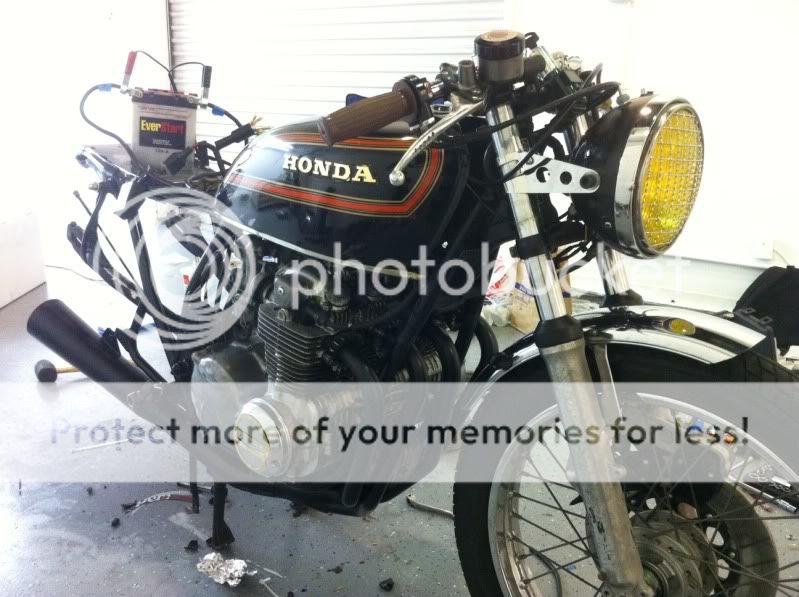
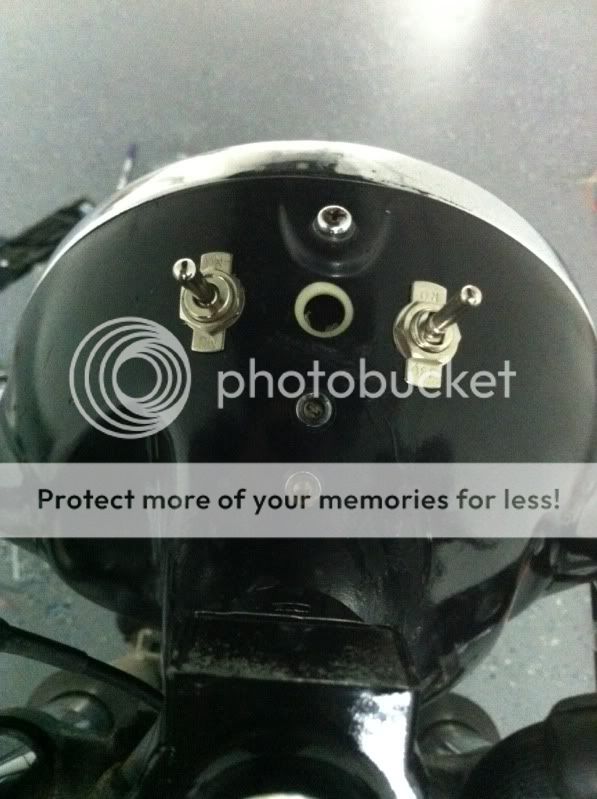
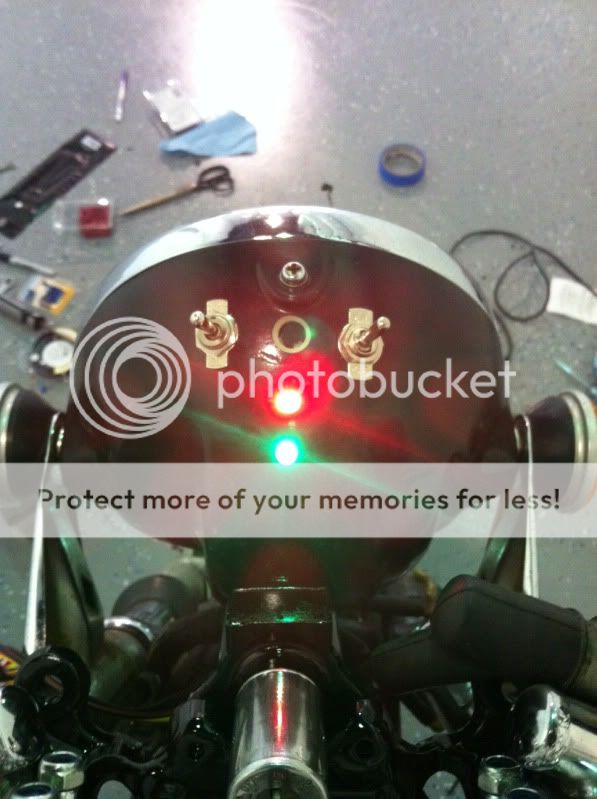
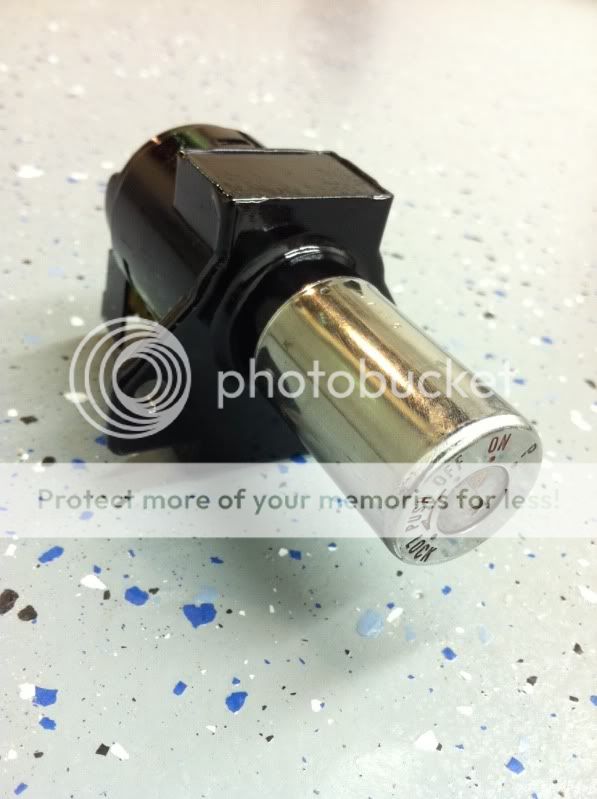
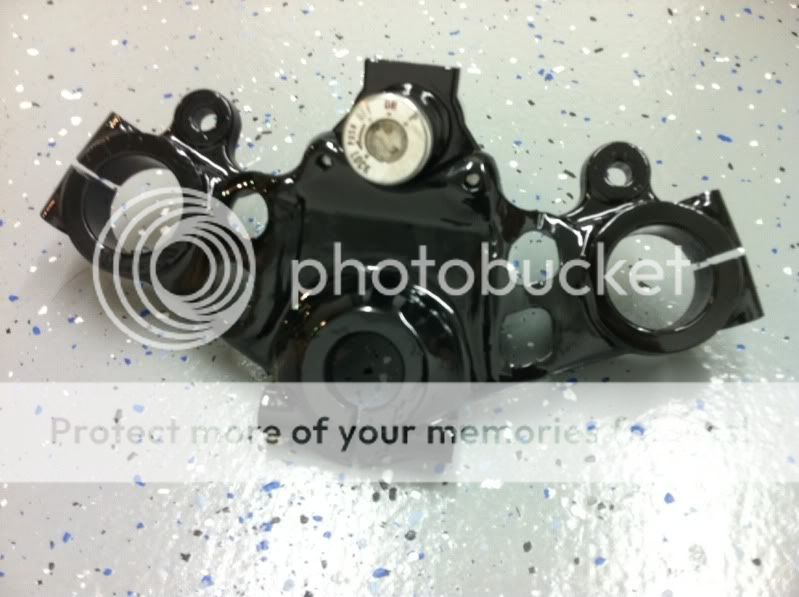
so far ive completely gotten rid of all the useless wiring from the hand controls, signals, and neutral safety switch. i took the stock switches part and studied them for a minute before i started cutting wires. i put two toggle switches in the headlight. left is hi/off/low headlight and right is run/kill for motor. the center hole is for the small stainless push button start. (still waiting for it to arrive) the two led's are for my oil light and neutral indicator. this will most likely be a temp. set up untill i find a nicer headlight bucket, as then i will hide them better so theyre not so pronounced.
photo4-21.jpg

.
photo1-58.jpg

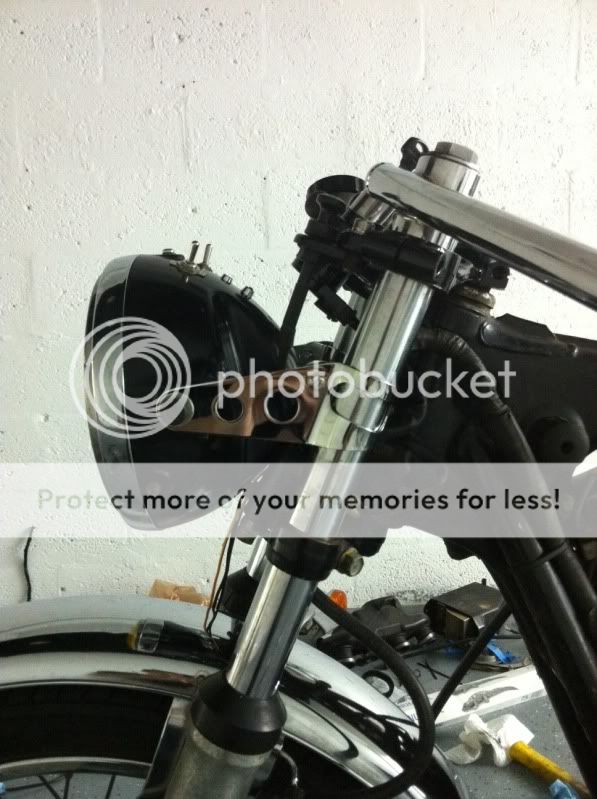
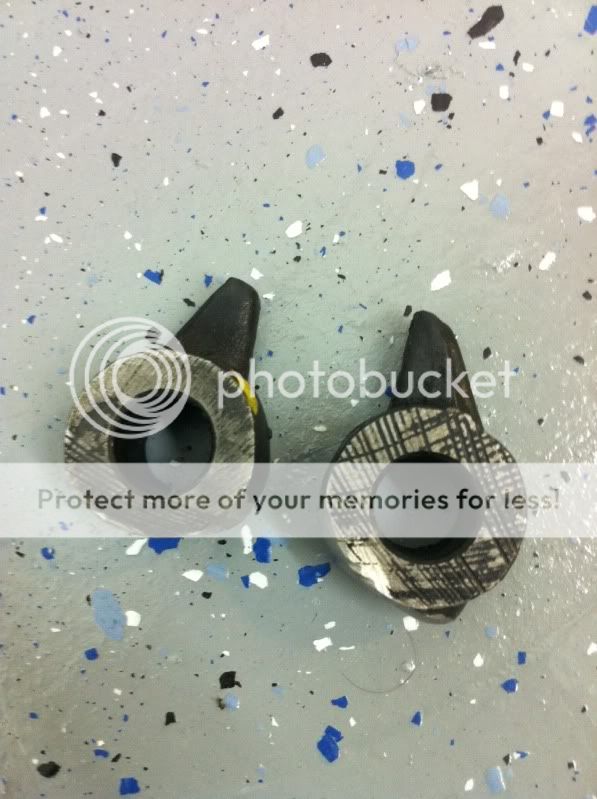
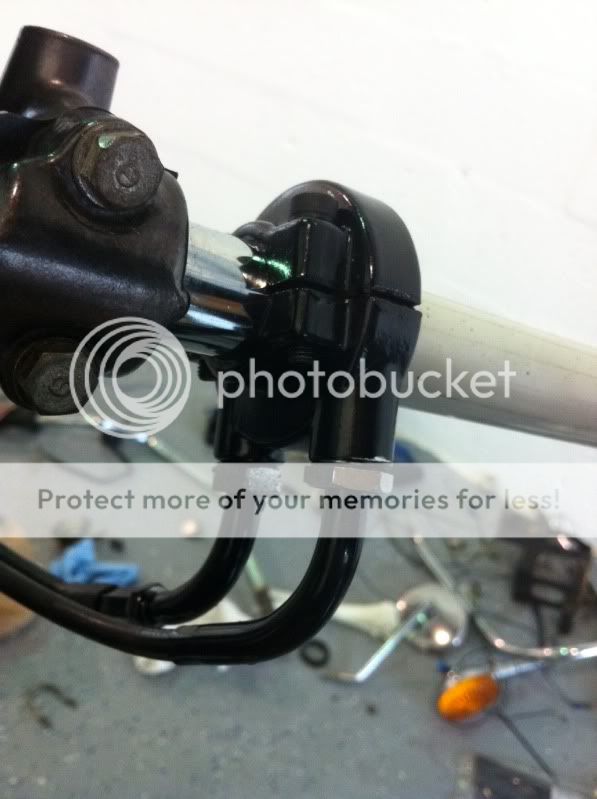
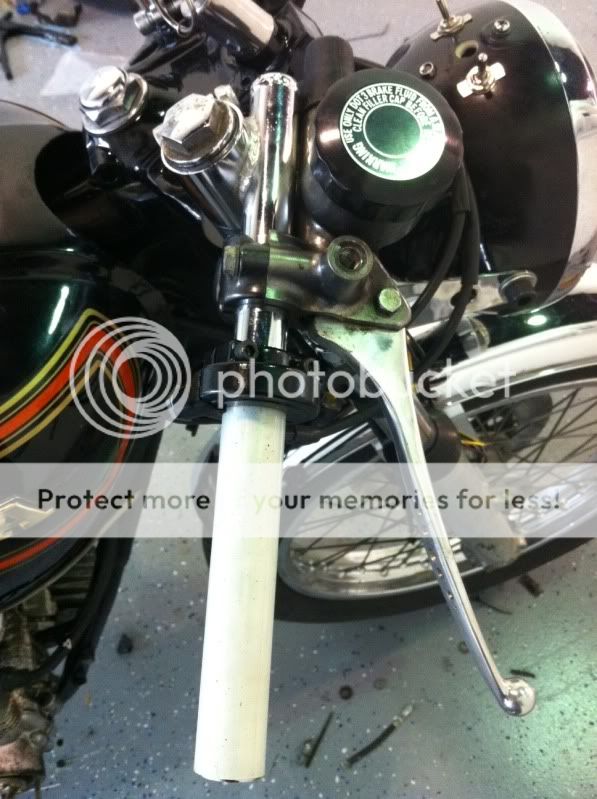
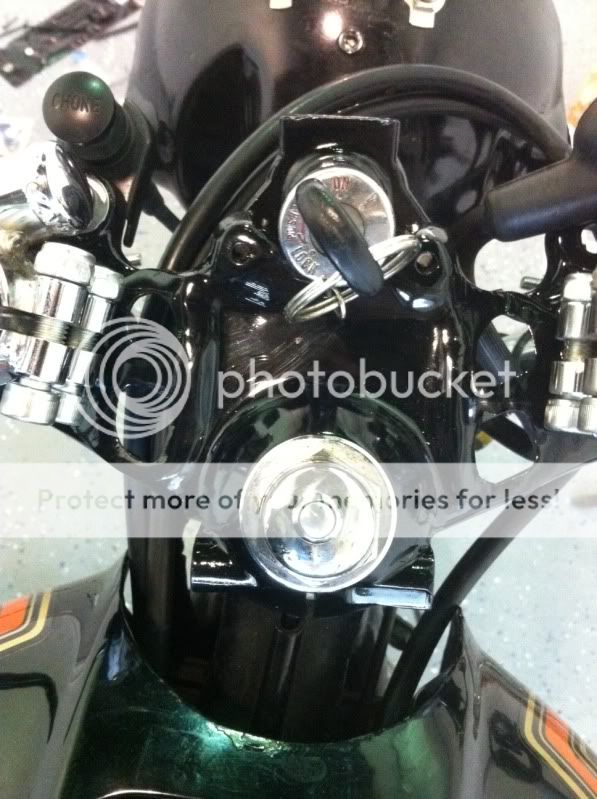
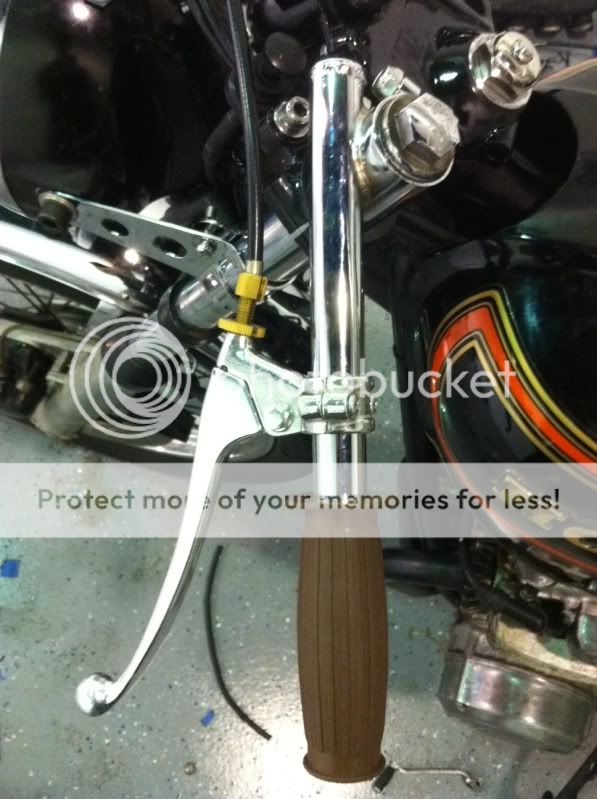
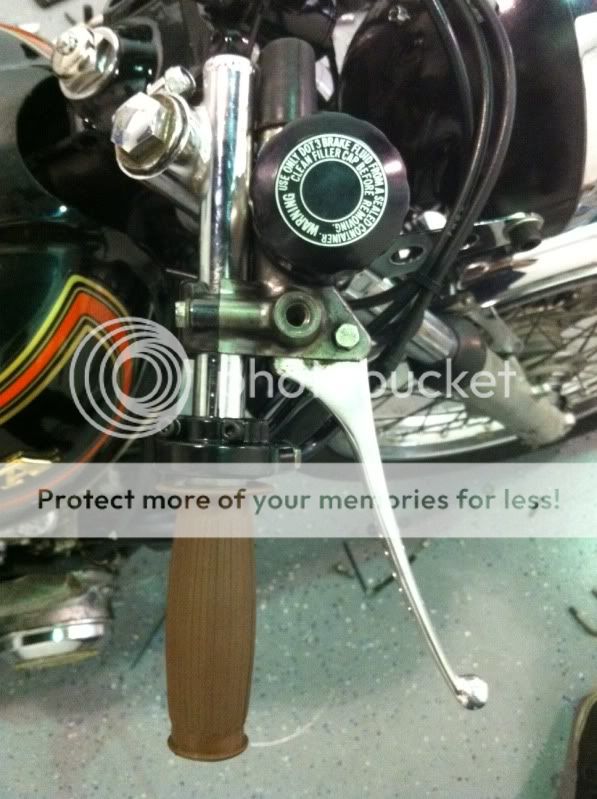
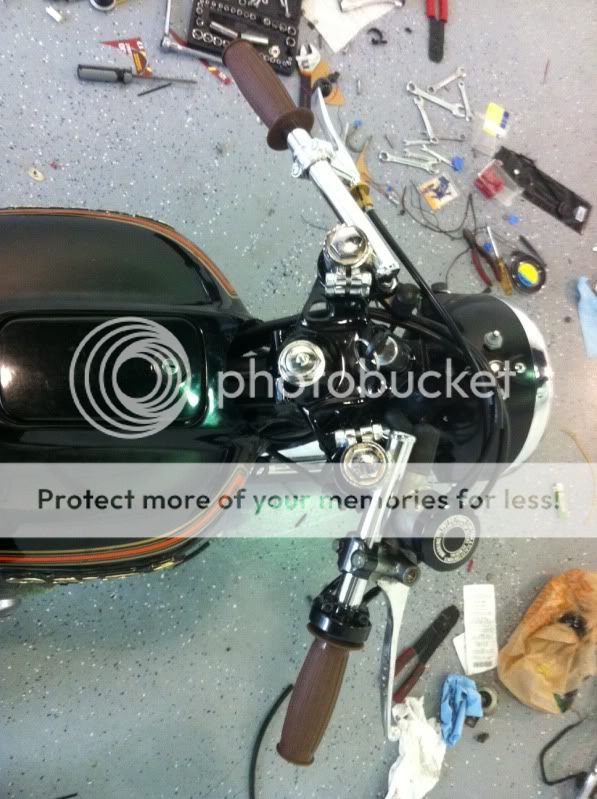
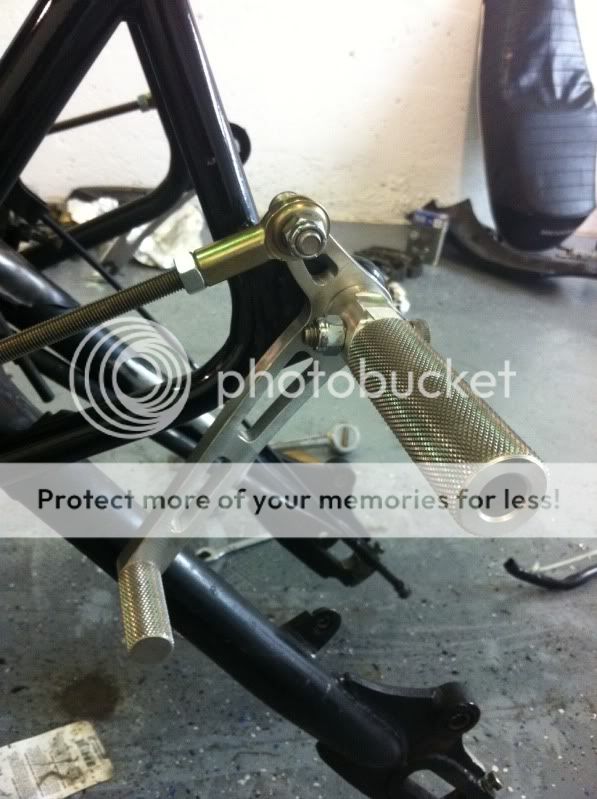
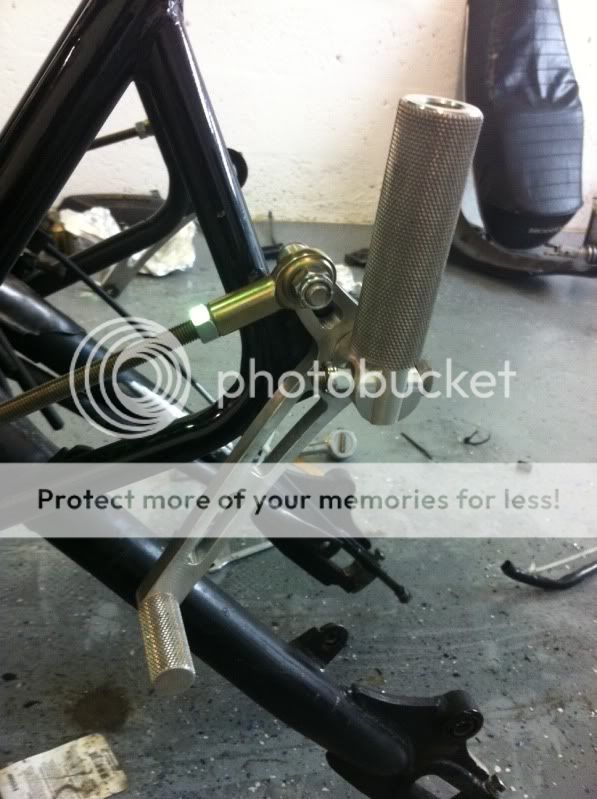
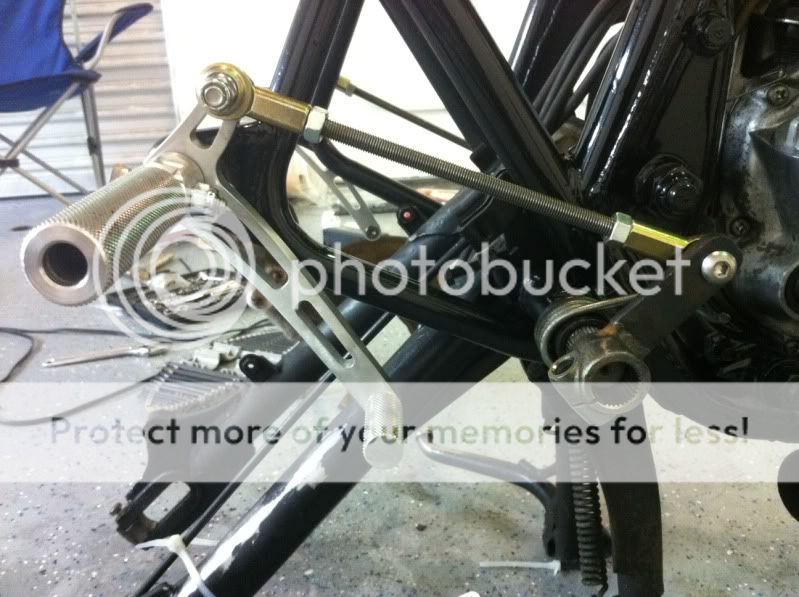
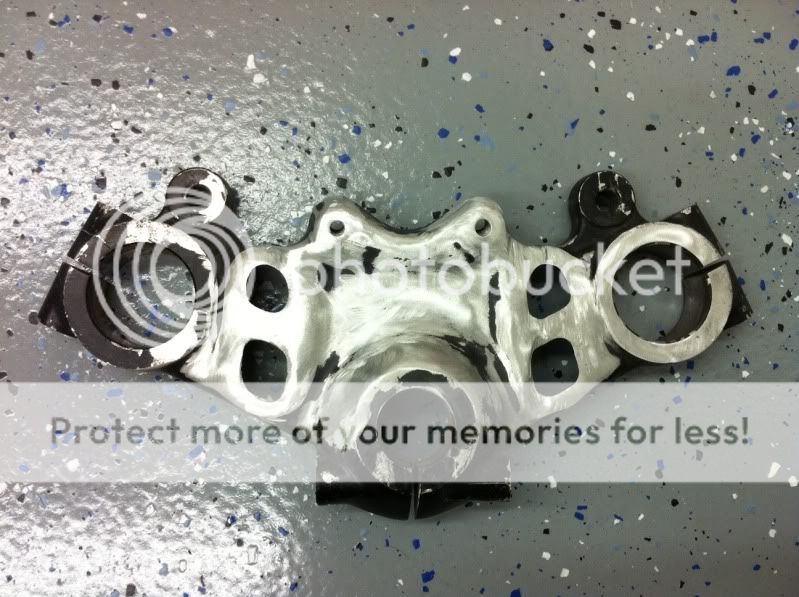
i knew i was going to run clipons so i robbed the pair off of my xs650 project as theyre both 35mm. i opted to run them above the triple tree this time to see if the riding position would improve any. by doing this i had to shave down the handle bar clamps because they were in the way of the hardware on the clipons.
rough cut and sand:
photo2-60.jpg

.
photo3-43.jpg

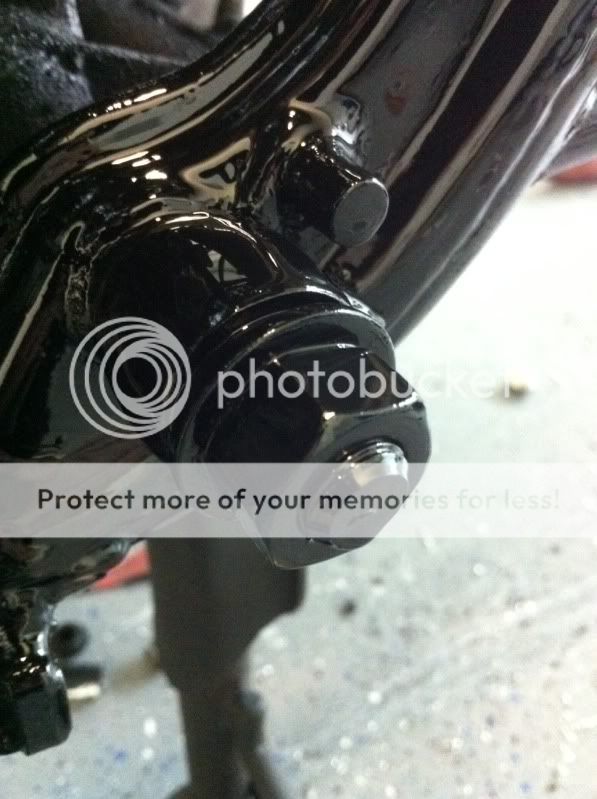
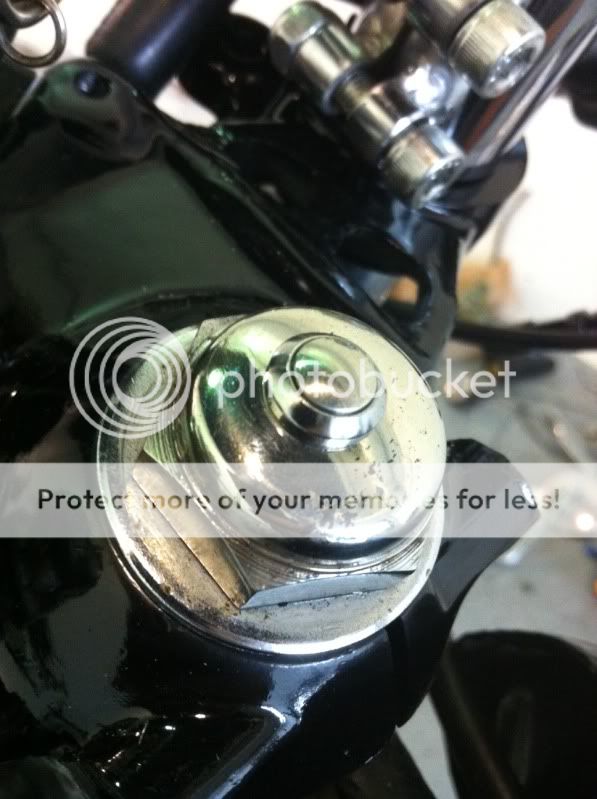
i then sanded them more and hit them and the ignition switch with a few coats of epoxy.
photo1-56.jpg

.
photo2-61.jpg
 
had some yellow laminex left from another project so i decided to slap some on the h4 conversion that came in the box of parts with this bike. also grabbed a pair of headlight ears from work and slapped them on too.
photo4-19.jpg

.
photo2-63.jpg

.
photo3-46.jpg

continuing with the front end, i took the front fender off and have it a good shortening and a reshape.
photo1-57.jpg

.
photo2-62.jpg

forgot to take a picture of it back on the bike.
 
i had this idea in my head that i wanted the engine to be a brushed aluminum color with a few subtle brass touches, so yesterday i went to a few places and picked up some supplies. i cut out a rectangular hole in the sprocket cover and then cut out a rectangular "frame" out of brass, sanded each one and then jb welded a piece of screen to the back side of the brass. after that was tackey i set it, drilled and riveted the piece in place. after that was set, i started drilling some "speed" holes and then gave it another sanding. the engine covers will all get a coat of "aluminum look" engine paint.
heres the cover so far.
photo2-57.jpg

.
photo3-41.jpg

and on the bike.
photo4-18.jpg

picking up paint tomorrow. should look much better once smooth and painted, as well as the rest of the side covers matching.
 
tonight i took the rear wheel off to turn my attention to the brake plate as well as clean up the swing arm for paint. i wanted to continue the brushed and brass theme here so i went to town again and made another brass frame, added some screen, and drilled some holes. this will get the same "brushed aluminum" paint that the engine cases will have.
photo1-53.jpg

.
photo2-56.jpg

it still needs a good cleaning and some more sanding, but should be ready for paint soon. i took the foot pegs off as well as ill be running rearsets. i cut the rounded mounting oart off the arms and sanded them down in order to use them to fill space left from the long motor mount bolt.
photo3-40.jpg

on and painted.
photo4-17.jpg

got tired so i called it a night.
 
this week im hoping to have a few more updates, as im waiting for a bunch of parts to show up. so far i have ordered: -clutch perch, levers, motion pro throttle assembly, grips, mini stainless momentary push button (for electric start), mac 4-1 exhaust, tail light, stone guard for headlight, cb900f shocks. i still need to order tires, filters, a seat, rearsets, fork seals, chain, sprocket, and whatever else i think of as i go. updates soon, as parts come in.
 
I'm loving the brass and screens, man! If you carry that look throughout the engine, its gonna be sick. Keep it up
 
some parts showed up today. i got my tail light, stone guard, and throttle. got those parts on the bike.
throttle.
photo3-48.jpg

.
photo4-23.jpg

stone guard on.
photo1-61.jpg

.
photo2-66.jpg

cut off the old wires from the stock tail light and spliced them into the pigtail of the new one. this is the same light that is on my 350. it has a rubber grommet that goes around it, allowing it to be flush mounted into the tail piece. 2" OD, lights at two brightnesses.
photo5-13.jpg
 
cut out another brass piece today for the points cover. not too sure if im gonna keep this one as im not 100% sold on it. perhaps itll grow on me.
photo3-47.jpg

.
photo4-22.jpg

i also gave the sprocket cover another sanding, prep, primer and paint. here it is in high build, sanded and ready for paint. hope this stuff holds up to the heat. :eek:
photo2-65.jpg

first coat of aluminum silver:
photo5-12.jpg

and second coat, unmasked and done:
photo1-59.jpg

.
photo2-64.jpg

now i just have to gibe the rear brake plate this treatment.
 
big box o' parts is supposed to show up tomorrow from DCC. looking forward to getting those parts on the bike. updates tomorrow.
 
Love where this project is going. Keep it up. Looking forward to the progress. I almost bought a cb550, but got a yamaha rd350 instead. A 550 may be in my future though, so this build should be good inspiration.
 
Keep on truckin! Looks good so far. Make sure you post it to your Facebook page etc. using the new little FB share button :)
 
mini switch finally showed up this afternoon. was going to put it in the hole in the headlight bucket, but for some reason only a little bit of the switch was threaded, and of course the headlight bucket was too thick. after i drilled the hole in the bucket for this switch i had some second guesses as i wanted to put it on the triple tree bolt. so i did. heres the starter button. it was difficult to get a good picture of it to show how tiny this thing really is. my hi tech camera (iphone) couldnt focus on it. haha
photo2-70.jpg

drilled the hole in the nut and wired it up.
photo1-65.jpg

and all together. it works great and is very nicely hidden. as for the headlight bucket, i just put a stainless cap in the switches place for the time being.
photo4-26.jpg

.
photo3-52.jpg
 
mid afternoon the man in brown dropped off my box of goodies. on the way home i stopped by a marine parts store to pick up some toggle switch caps to make them weatherproof. i dont really care for them, the color is horrible and one is the wrong size. :mad: maybe ill look for some better ones, or just black ones on ebay.
parts!
photo1-64.jpg

put the toggle covers on and blah. oh well, for the time being they will atleast keep the switches a little happier in the moisture and rain down here in florida.
photo1-62.jpg

after the switches, i moved onto the grips and the clutch perch and levers.
photo3-49.jpg

and the throttle and brake lever. the grips i got are pretty short in length, so i had to cut off a good inch or so off the throttle sleeve to get it all to look right.
photo2-67.jpg

and a few over view shots of the completed controls.
photo2-69.jpg

.
photo5-14.jpg

.
photo1-63.jpg
 
also fitted the exhaust. i drilled out the rivet holding the baffle in and removed the baffle. cut the weird mac baffle in half and put it back in the pipe with a small nut and bolt. i wanted to hear how it sounded so i mounted the header to the bike and just slipped on the muffler and zip tied it to the passenger peg hole. (as it will come right back off once the rearsets are here) after a good few minutes of the poor starter working its ass off, she fired and the bike was running. not great, but running. the baffle sounds great. not too loud, but doesnt have the wimpy tingy sound that the stock baffle gives off.
photo3-50.jpg

.
photo2-68.jpg

.
photo4-24.jpg
 
got the rearsets on today for mock up. i cut the stock brake lever arm off, smoothed it out, and had a buddy weld on a piece of steel i cut for the new brake arm.
photo1-72.jpg

.
photo2-76.jpg

cut the stock shifter arm and straitened it.
photo3-58.jpg

hung everything in its place and cut the rod to length.
photo4-31.jpg

folding pegs!
photo5-18.jpg

brake side.
photo1-71.jpg

here you can see how close everything is, but for once i got lucky and it all works without any hang ups or interference.
photo3-57.jpg


now that everything is on and functioning, i can take the brake/shift arms off to give them a coat of epoxy.
 
Back
Top Bottom