Follow along with the video below to see how to install our site as a web app on your home screen.
Note: This feature may not be available in some browsers.
We noticed you are blocking ads. DO THE TON only works with community supporters. Most are active members of the site with small businesses. Please consider disabling your ad blocking tool and checking out the businesses that help keep our site up and free.
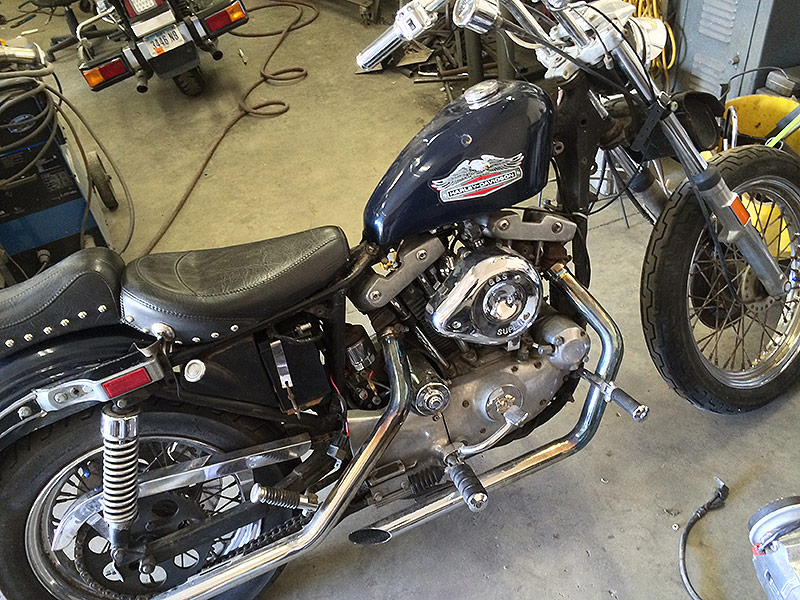
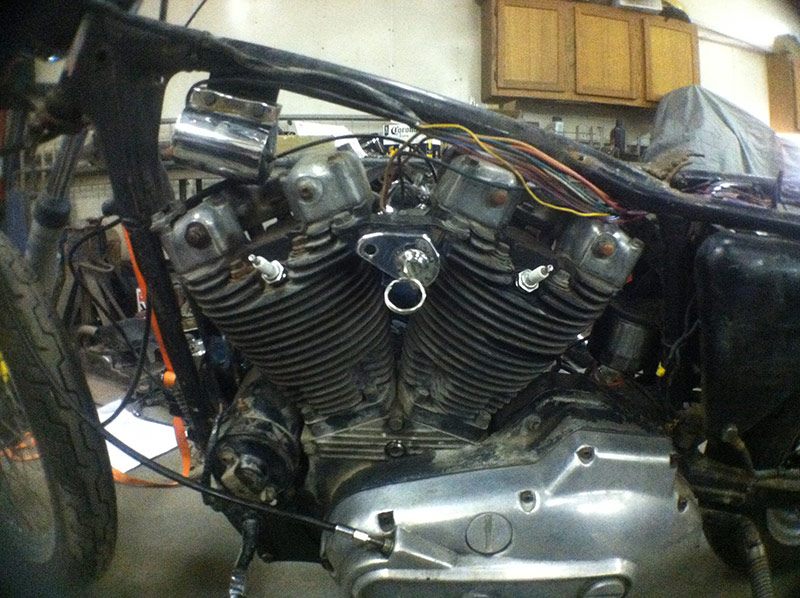
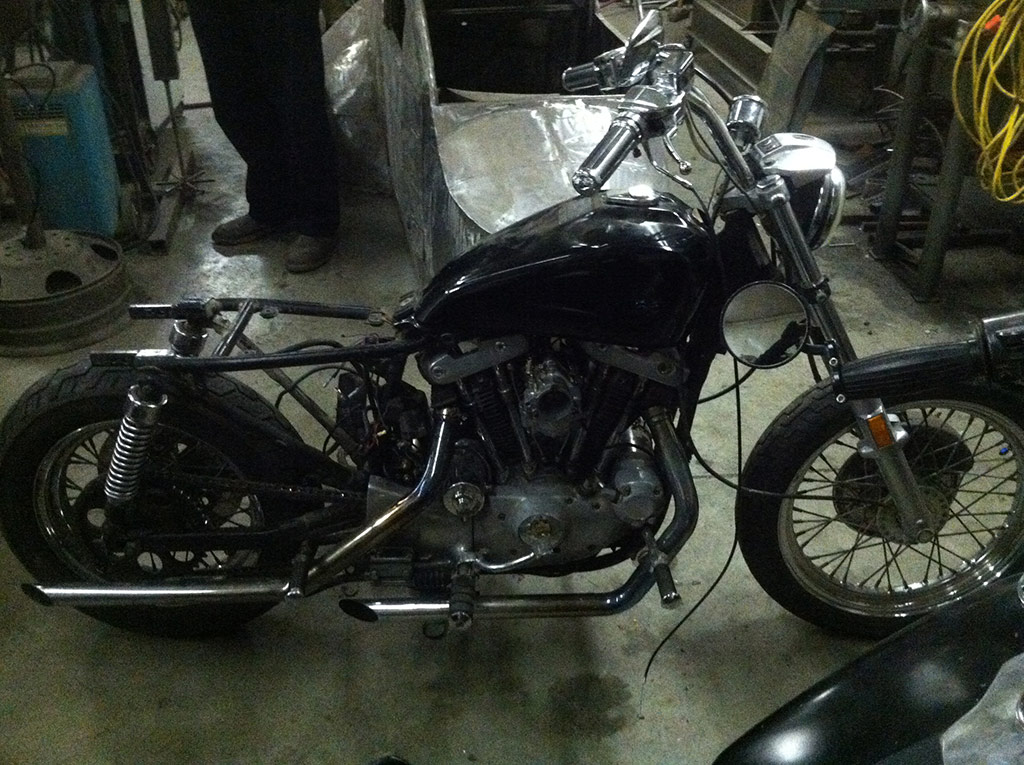
But over the weekend I picked up my next project. This one to be a cafe racer. Found an 80 ironhead sportster on craigslist, talked him down to $1,300. I feel like I got a good price on it. He said the bendix was bad and wouldn't start. Turns out it was just the solenoid, and I had an extra one layin around. Fires up just fine. Everything seems to work as well.
Ordered a rebuilt kit for the S&S carb, it was less than ideal condition. Should be here anyday now. After that, i may have nothing else to do mechanically. And I can start tearing it apart. Pretty much everything you see will be gone. But I'll be figuring it out as I go along. I just have an general idea of what i want to do.
Sportsters never go below $2,500 unless they're in boxes and missing something major.....great deal. I just finished reading through a nice ironhead featherbed build thread on here.
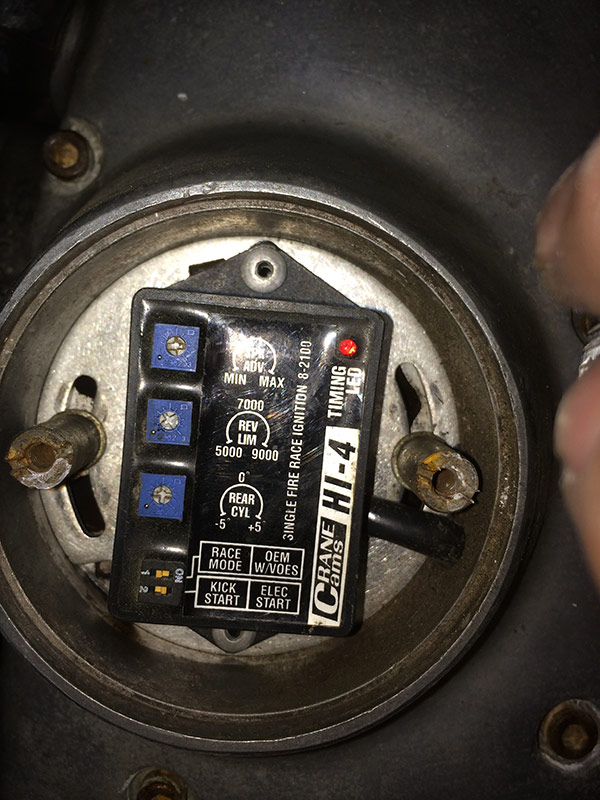
Getting closer to working order. Rear cylinder isn't firing yet. It has great compression, spark, gas. But this ignition module is junk. 2 of the trimpot controls are busted. So I'll either find a replacement of this unit, or go with a better elec ignition setup for it.
May need to first get my hands on the stock points tho, to be sure of where the issue is.
I've ordered a couple new things. Ultima elec igntion kit (module, plug wires, coil) and new starter solenoid. Should be here any day now. Once I get it installed and running right ill share the settings im using. I'll be able to hook it up to the computer to fine tune it.
Fixed a few other wiring issues. And the original coil and ignition weren't where they belong so put them in the right places.
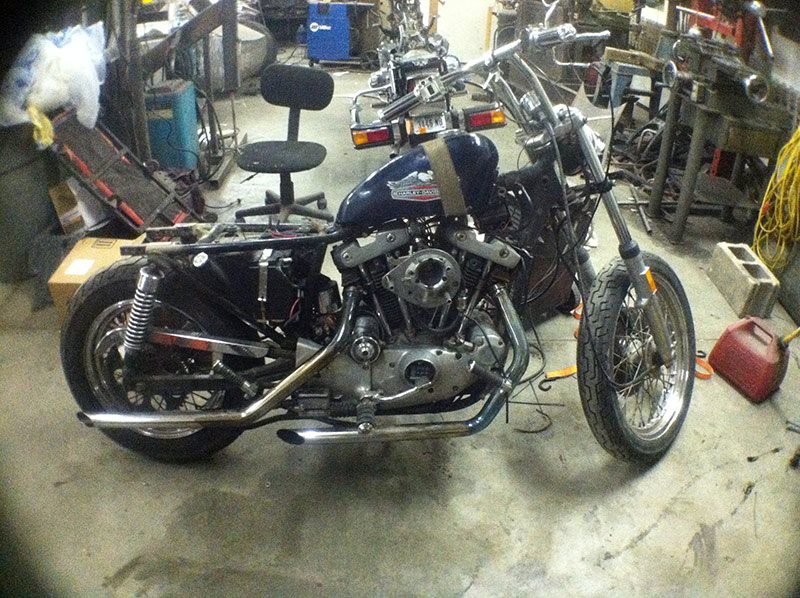
And started removing some pieces that won't be going back on.
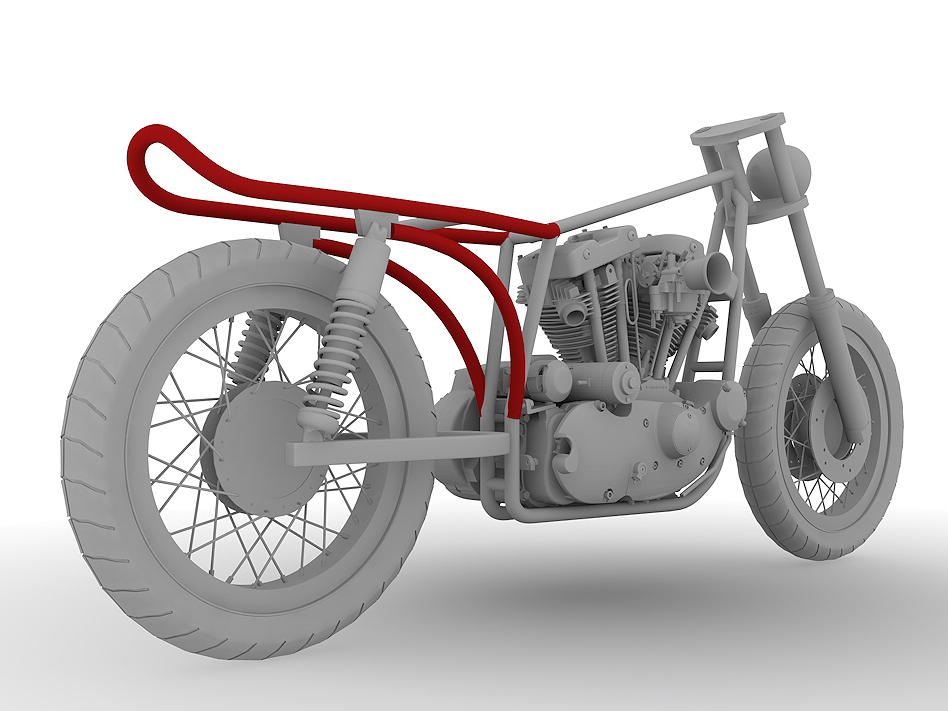
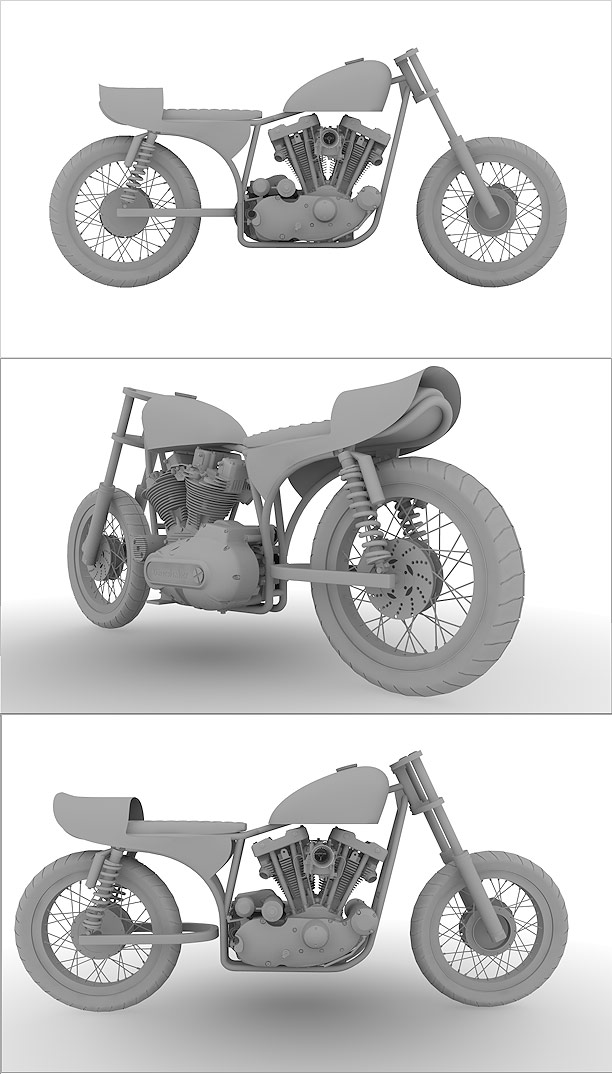
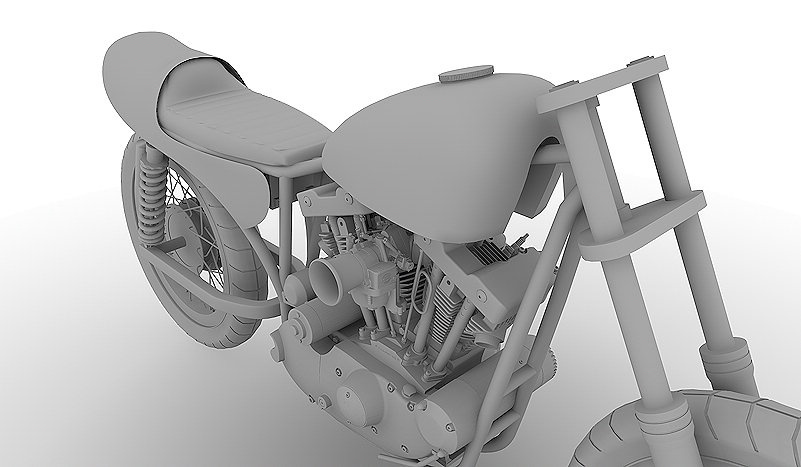
I did everything but the motor. The motor i got lucky on and found a free model out there. Really sped up production.
I use Cinema 4D to do my 3D stuff. This makes it a lot easier planning major modifications. Using correct dimensions, i can move objects around to find good new placement, and plan ahead before tearing something apart.
Love Harley cafe projects. Two points of concern that I see. One the seat it looks like there is a solid "shell" for the bump on the seat and the padded seat just sort of slips in, won't that leave a lip of hard seat to dig into your ass when you accelerate? Why not put the seat up to form a lip and snap the cover over the hard shell? Two, the seating position looks like a back breaker. Perhaps higher bars or the pegs moved back to rear-sets? Either way you will get a more natural fit. I'd go with bars that are up above the height of the triple, as most modern sport bikes use.
I'll be watching this as a Harley Cafe is just too cool.
Thanks rundown. One thing you should know about me and my bike projects is that comfort and practicality is never really a part of the design process. All valid points, but this is going to be all about design and the raw experience.
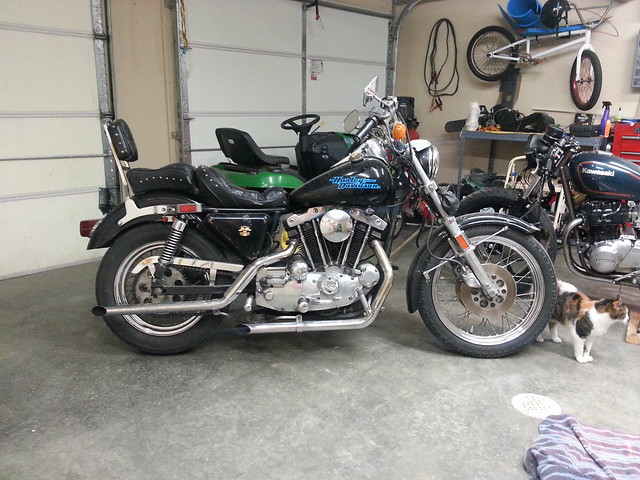
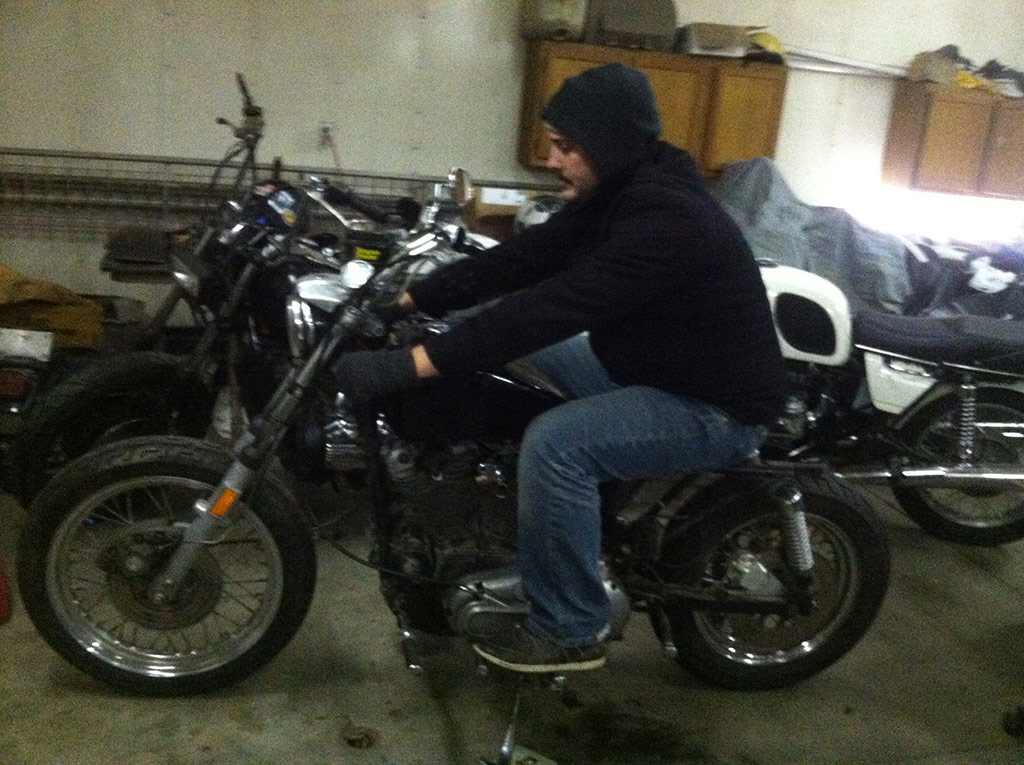
heres an example: this goldwing of mine i did below. Put 22,000 miles on it since may, and on one trip went all the way from Des Moines, Iowa to Jasper, Canada and back. On THAT flat steel seat. First day, covered 750 miles on it. I have an iron ass haha.
There will be a few design tweaks. And i may end up take a different direction as the bike moves forward. Same thing happened with the goldwing. The main ideas stay, but I find another way of doing something that works better. I can see myself redoing the shape of the seat more than once.
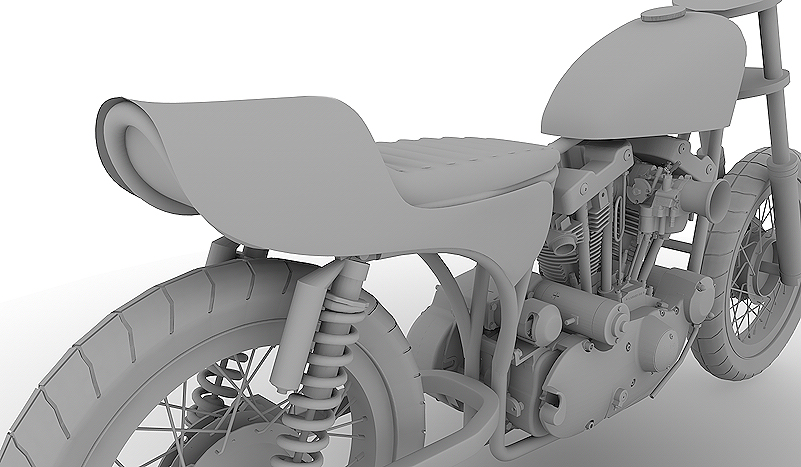
One of the aspects to the seat design though is that i want it to look like its only designed for one person. But if the ol' ball and chain wants to hop on the back, the entire cowl will slide backwards and be removed, simply revealing the rest of the padded seat.
so what happens to the upholstered bump in your drawings?
its an interesting idea to have a "convertible" seat... maybe if the bump is attached to the cowl and the seat is actually a brat/tracker style 2 up you could slide it back and the bump moves back but the seat just reveals an extra spot with the same basic curves, just more room...
ive never heard of that idea before and im looking forward to you doing it!
This site uses cookies to help personalise content, tailor your experience and to keep you logged in if you register.
By continuing to use this site, you are consenting to our use of cookies.