A tale of two GT550s'- cafe bike almost done!

Re: A tale of two GT550s'

Got the bars, seat, and tank mocked up and managed to take some pics-

2010-03-10164816.jpg


2010-03-10164936.jpg


2010-03-10164912.jpg


I really like the tank and seat combination, glad I went with the Roc City "Roadster" seat, it just works IMHO. Several of my customers and a my employee (who is a near professional motorcycle "stunter" ) were in today and they all commented on how cool the stance of the bike is, especially with the larger front tire. I just really like the look so far and cant wait to get it into paint!
 
Re: A tale of two GT550s'

Not much done today, but I have come to the conclusion I need to make a hoop for the rear end to really give the seat a nice finish. Probably use 5/8" 4130 tubing thats on-hand and tig it in. This means more than likely the bike will need to come down to the frame and be painted or powdercoated. Oh well, its only time and a little money.

Jacked around with seat mounting. Pretty much decided on using DZUS fasteners , one on each side of the tail and one more right behind the tank. Mostly because they are just laying around, but also because they are cool. Also have some cool black leather for the seat pad that I mocked into place and it looks great!

Also-
Going to have to use rearsets. Once the bars and seats were mounted up and I sat the bike I just would feel a lot more comfortable with rearsets. Looking like they will be fabricated from whatever is in the shop, possibly a steel trellis sort of construction
Found a nice NOS tach that I hope will work, still looking for a speedo
Got the carbs all cleaned up but no kits just yet
Thinking about dirt bike throttle to get rid of the switchgear
Really considering fabricating an aluminum oil tank and hiding the battery somewhere to clean up the middle of the bike, even though I actually sorta like the side covers. Thoughts?

So the plan changes slightly-

All of the mock and fitting work will be done, the bike might as well be started and everything function tested, then torn completely down so the frame can be painted or powdercoated. A lot more work that what was hoped for, but the finished product will be well worth it.
 
Re: A tale of two GT550s'

Spent a couple hours in the shop-

Chopped the frame ends, seat tabs, and a few other gadgets off, then bent up some 4130 thinwall for the hoop.

2010-03-20151525.jpg


Mounted the seat with a DZUS 1/4 turn fastener, it will have at least two more before its done, but this is a start-

2010-03-20151328.jpg


With the new rear hoop you see nothing but the tail, looks cool I think.
2010-03-20151318.jpg


Going to make up a tailight that follows the curve of the tail and tucks underneath at some point..

Mounted the DZUS by welding a tab to the battery box

2010-03-20151520.jpg


then trimmed that up a bit, will need a bit more work before its "done" and ready for paint, but its good for the moment-

2010-03-20152122.jpg


Also got the headlight bucket and speedo test fit. The brackets you see are the OE brackets flipped around, but I have some pretty sweet ones I am fabbing up out of aluminum tubing-

2010-03-20152707.jpg


2010-03-20152717.jpg


2010-03-20151924.jpg


The bucket is a CEV bucket used on Ducati and Benelli, and I went ahead and picked up a matching switch as well, which is that little black thing in front of the speedo. The speedo fits perfectly, and has the four lights in it for signals, oil p, high beam, and neutral.

I also picked up a NOS Suzuki tach, and it is nearly flawless with just the tiniest crack in the lens, which is probably why it was on the shelf for 30 years lol, anywho I can barely see it and think its going to be really cool with the speedo-

2010-03-20151356.jpg


I also managed to fill and sand some on the thank, clean the motor, and a few other small things-

Clean motor :)

2010-03-20151540.jpg
 
Re: A tale of two GT550s'

Been a while since I updated this, had to get the CB750 in shape because its ridden to work daily now, so the GT550 cafe bike has been more or less just piddled with. Did manage to get the carbs all cleaned and ready to be re-assembled, and I have sanded on the tank for what feel like forever, but it is alllllmost ready for paint, and have given serious thought ot fabbing up an alloy oil tank. Just need to make the last few decisions, make sure it all fits together into something resembling a motorbike, and then tear it down for paint.
 
Re: A tale of two GT550s'

Got the bike torn down to the frame over the weekend. Sanded on the side covers, sanded on the tank, and then sanded some more. I love sanding, its my fave!
Will be cleaning the frame up, doing the finish welding work, and prepping it for paint over the next few evenings, as well as sending out a few bits to be polished. And you guessed it, more sanding! :)
Since the frame and some other bits are going to be painted now, I am really leaning towards doing it in Liquid Gunmetal rather than just black. Still bouncing ideas around in my head, and likely to be doing so until I am literally mixing the paint. I am pretty set on using the HyperBlue paint, although now i am considering toning it downa bit and using a combination of Liquid Gunmetal and Hyperblue, most likely with the Gunmetal as the base and then using the HyperBlue in maybe a old-school hot-rod scallop pattern, maybe racing stripes? Just not sure yet, need to get it layed out then decide. Hell I might even throw in a little bright yellow just to be different.
Once the paint and polish is done, I think the bike is ready for re-assembly. Should have recent pics of everything up soon, just need to bring the camera home from the shop.
 
Re: A tale of two GT550s'

OK so no updates in a long while. I got really busy, we had a kid, usual stuff really. I also managed to move my shop across town, build a couple of new race cars, and have some other fun along the way.

All this time the GT550 has been just a pile of parts in boxes getting shuffled about. I DID manage to find time to get the frame painted in a gloss black single stage paint before the move, but that was about it until about three weeks ago. I set the frame on one of the work tables and decided to get after it in earnest.

First, I prepped the bodywork for the last time. The side panels were pretty beat up and it took a lot of work to get them presentable. I am going to keep my eyes out for a nicer set, but these will work for now. The Roc City seat is awesome. Prepped out nice and easy. If you had to pick at it, its a little wavier than I would like on the flat, but all that will be covered by the upholstery so I am not going to stress about it. The tank was the bane of my existence. It had a _very_ minor dent in it as well as a few ripples from the forming process. I shaved the badges, fixed the dent, then primed it. It really seemed to take forever to get the area where I filled the badges in to the right contour. If I had it to do over again (and I might do it over again anyway) I would definitely use a metal filler like JB Weld or similar, or just make steel inserts and weld them in.

The paint ended up being 3 coats of filler/primer, a lot of sanding, then three coats of colour, then three more coats of clear. Base colour is a metallic blue not too far off from the classic GM "Deep Blue". I might do another couple coats of clear once the bike is up and running and if I have to do any touch up. The seat and tank I actually did two coats of Championship White before I did the blue to make it "pop" a bit more in the sun. What it really needs is some sort of graphic to finish it out. I might lay down some racing stripes or maybe just have some vinyl work done.

I also gave the covers a light polish and am working on polishing out the "ram air" scoop. This is one of those times I wish that I was working on a more common bike for sure, as the covers were pretty rashed from past incidents. This took a lot of quality time with abrasives to get anything even close to workable. Still, the covers are coming out pretty decent. Not as nice as some of the work I have seen posted around here, but better than OK for a "rider".

The bike is now almost assembled, and I am down to:

Work needed-
Wiring- not using the stock dash obviously so all the switch wiring needs to be sorted out and cleaned up.
I need to figure out which brake light I want to use and get that wired in
Assemble a set of carbs
Fab a seat pan and upholster it, have some sweet black leather for it.
Fab a "tray" under the seat to keep road crap out and maybe store some stuff in there
Mount headlight- decided not to use the CEV unit. Once it was in paint it just looked small compared to the tank etc.
Fab a "dash" to hold the speedo and tach
Bleed front brake
Clean and polish front and rear wheel rims and hubs- these really arent that bad, but they are a tick dirty and need some attention


Parts needed as of today:
Grips- leaning toward a set of superbikes, going to the bike store this weekend to check them out
Throttle cable- actually only need the return cable I think
Ignition lock/switch- and find somewhere to mount it
Headlight mounts- can use the OEM ones and they still look OK, but sort of thinking about a set of "universal" ones in chrome or black. I have been intending to make my own but the time just is not available right now to do so.
brake light- looking into a slimline LED unit
battery
Rearsets- Durgan K is putting some together so as soon as he has them I will get them on the way
New set of levers- again, going down to the bike shops to see what they have around town that might be cool
 
Re: A tale of two GT550s'

So a couple days pass and things get done. sorta.

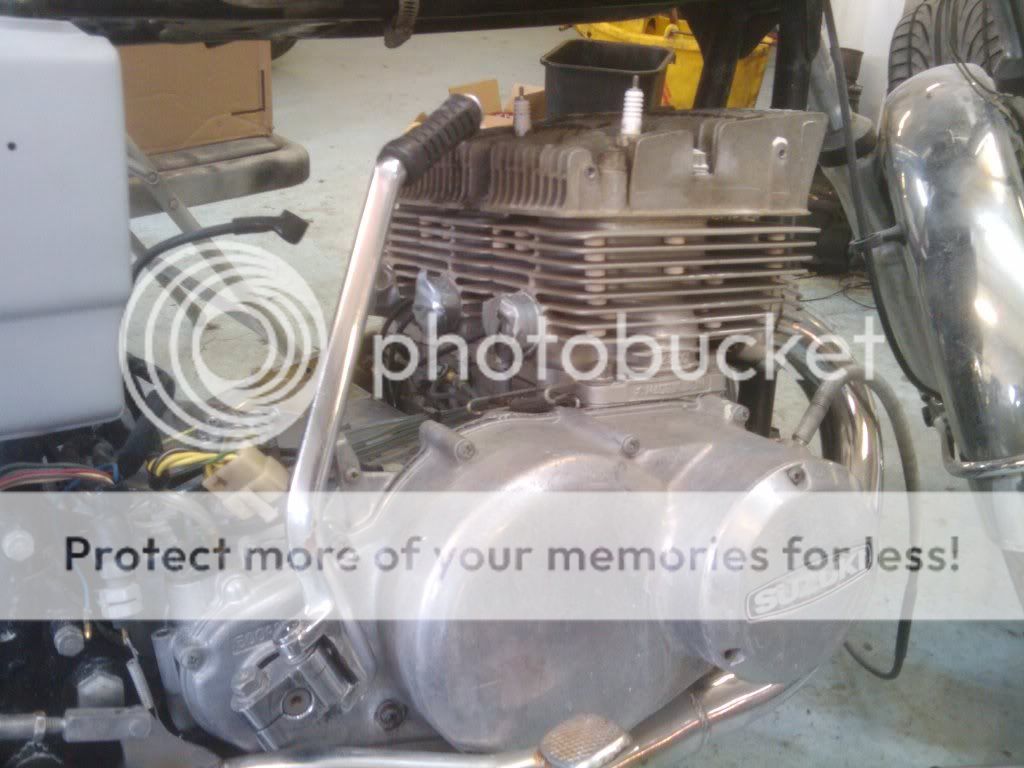
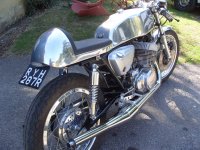
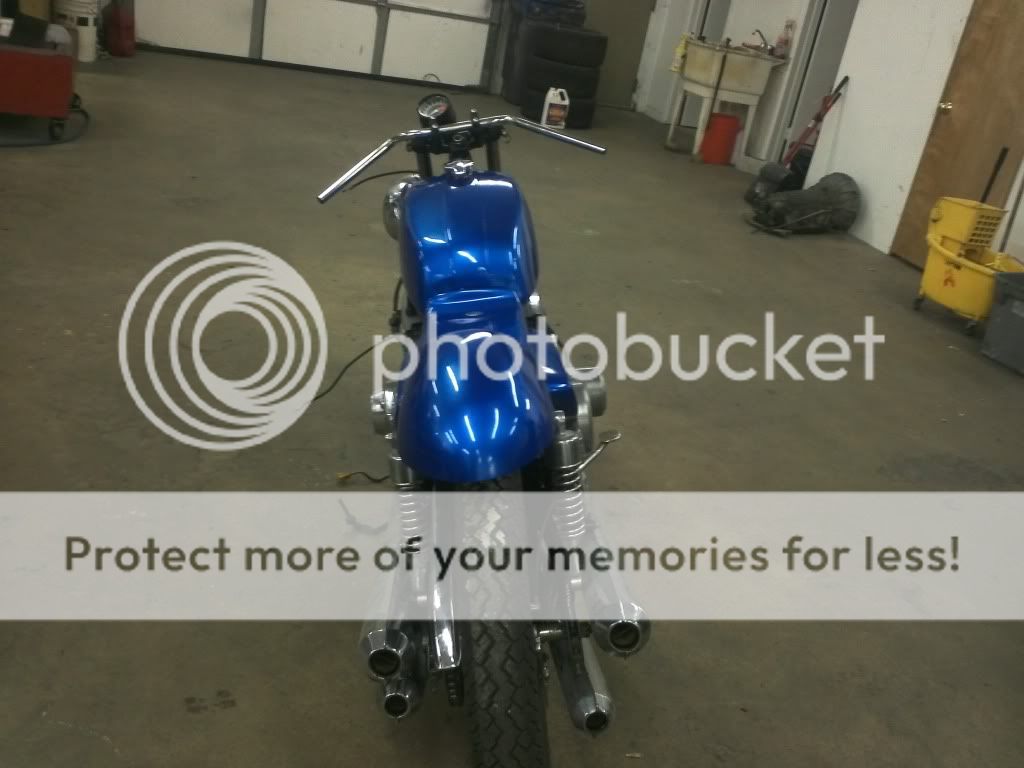
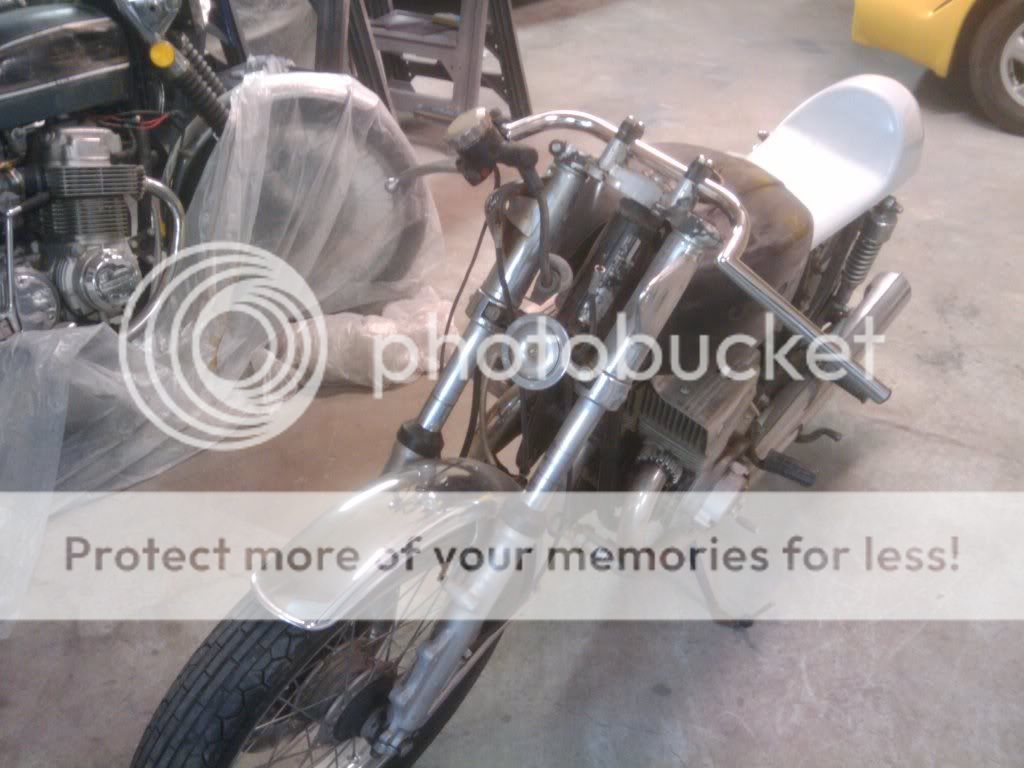
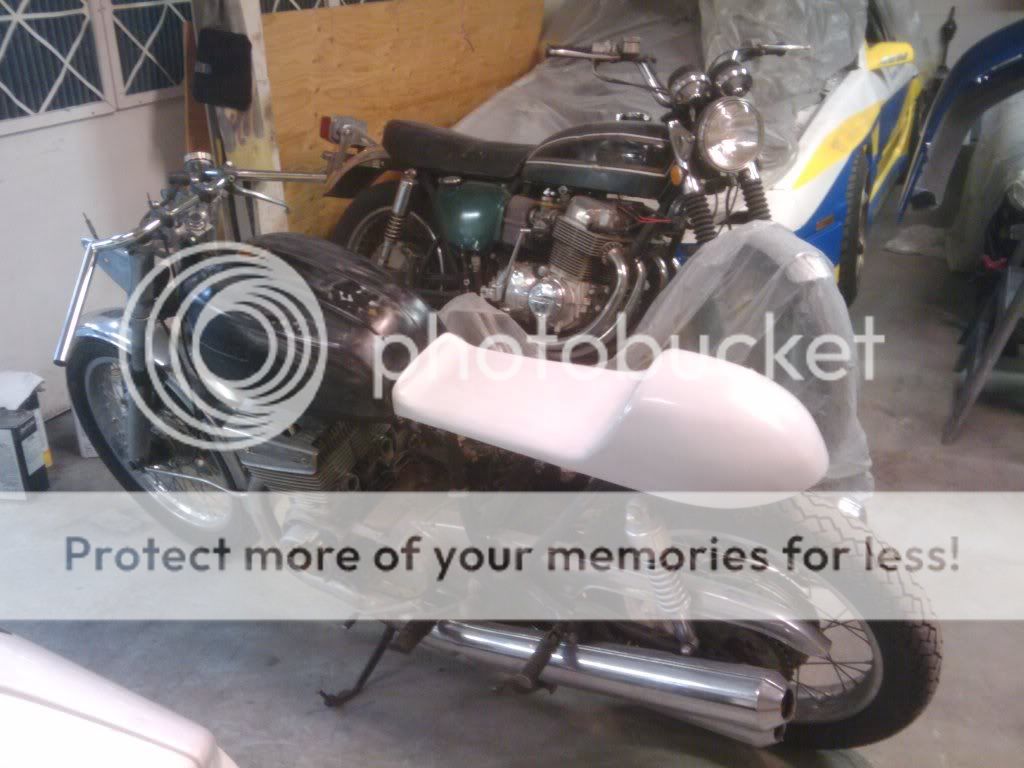
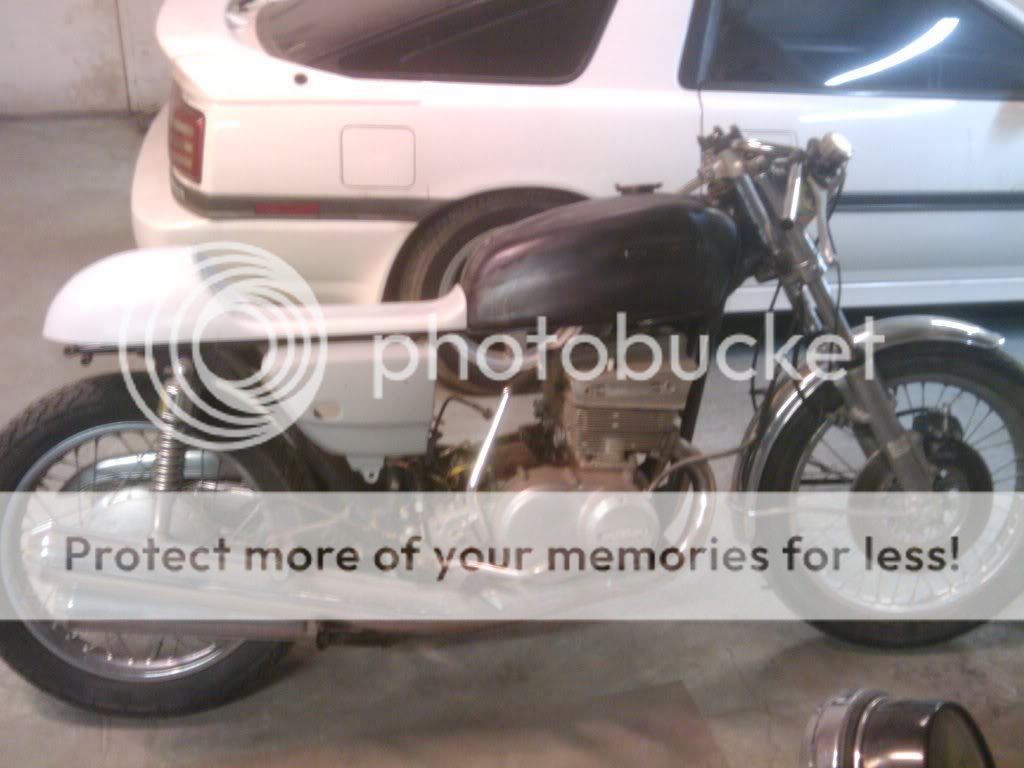
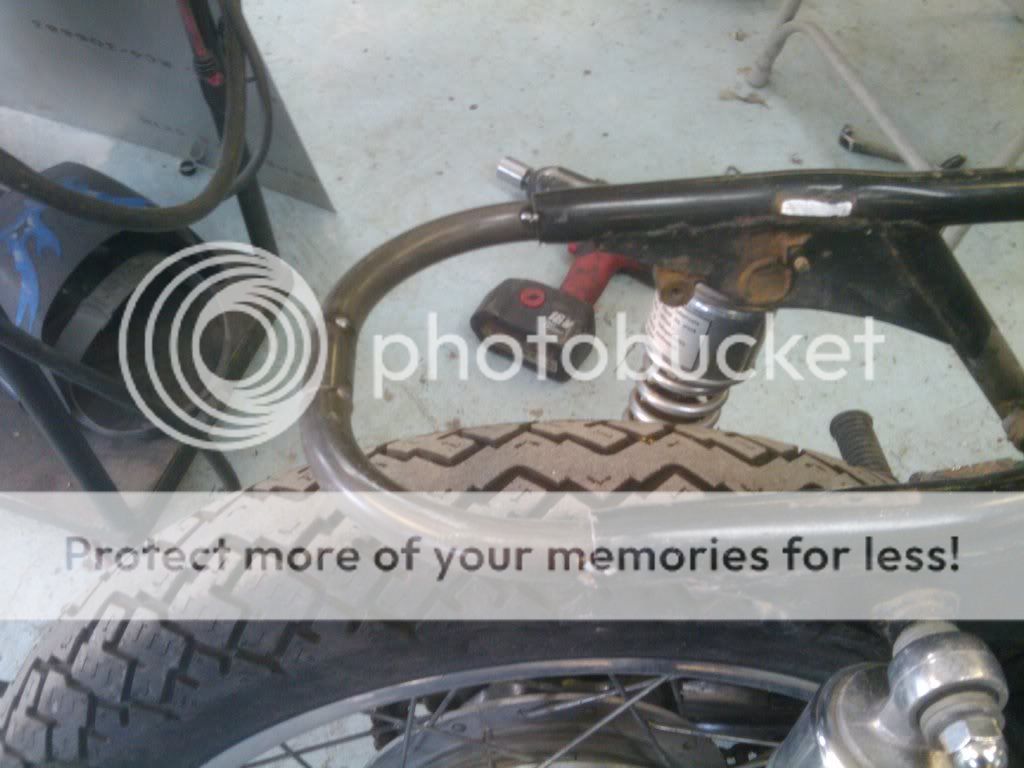
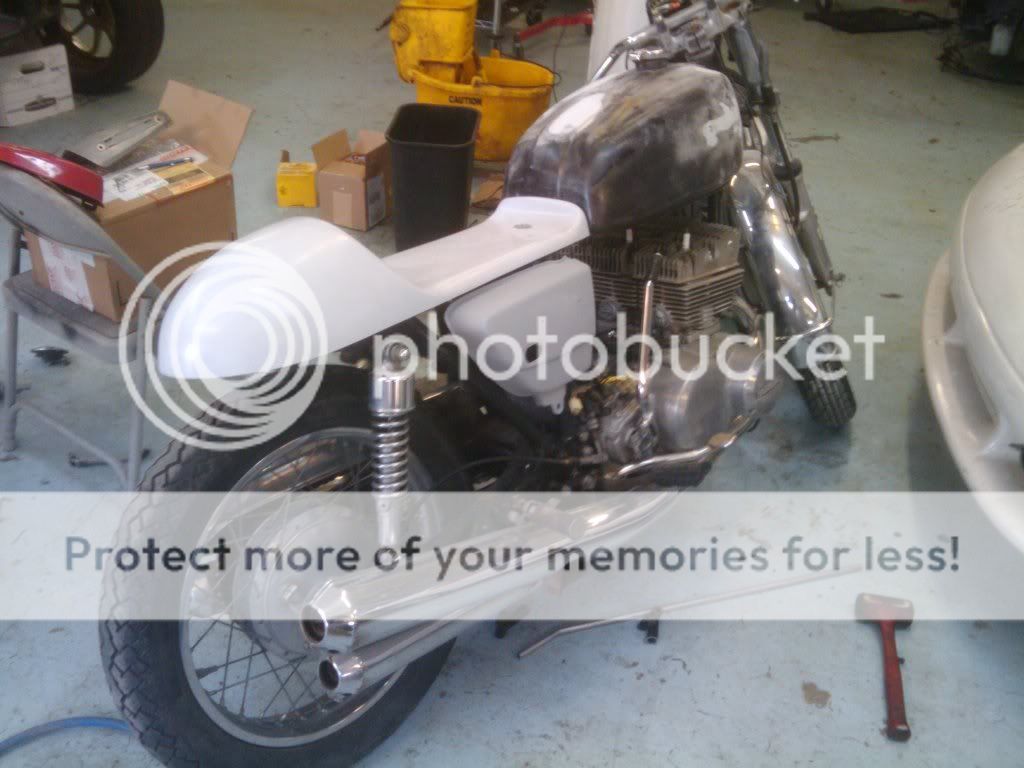
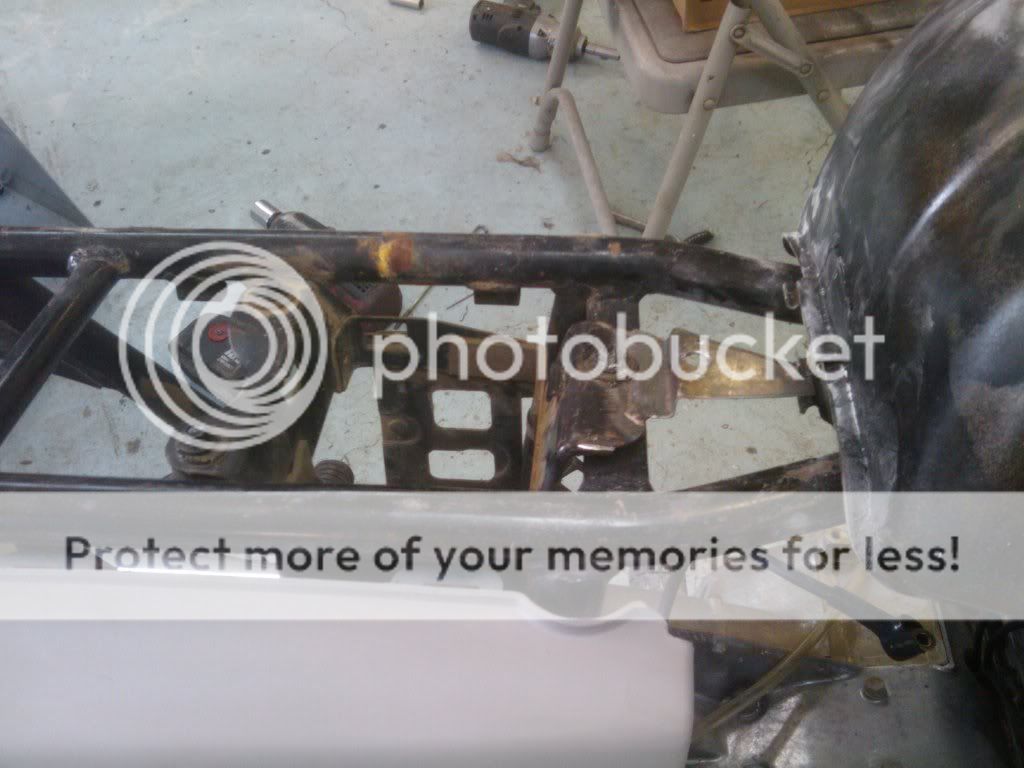
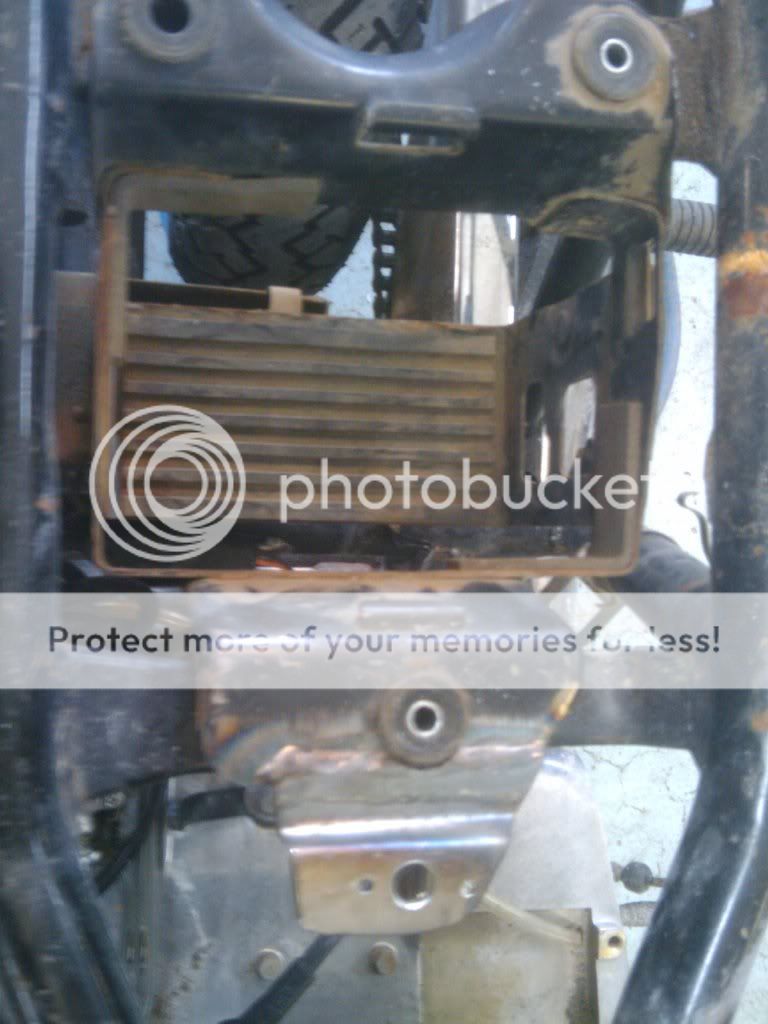
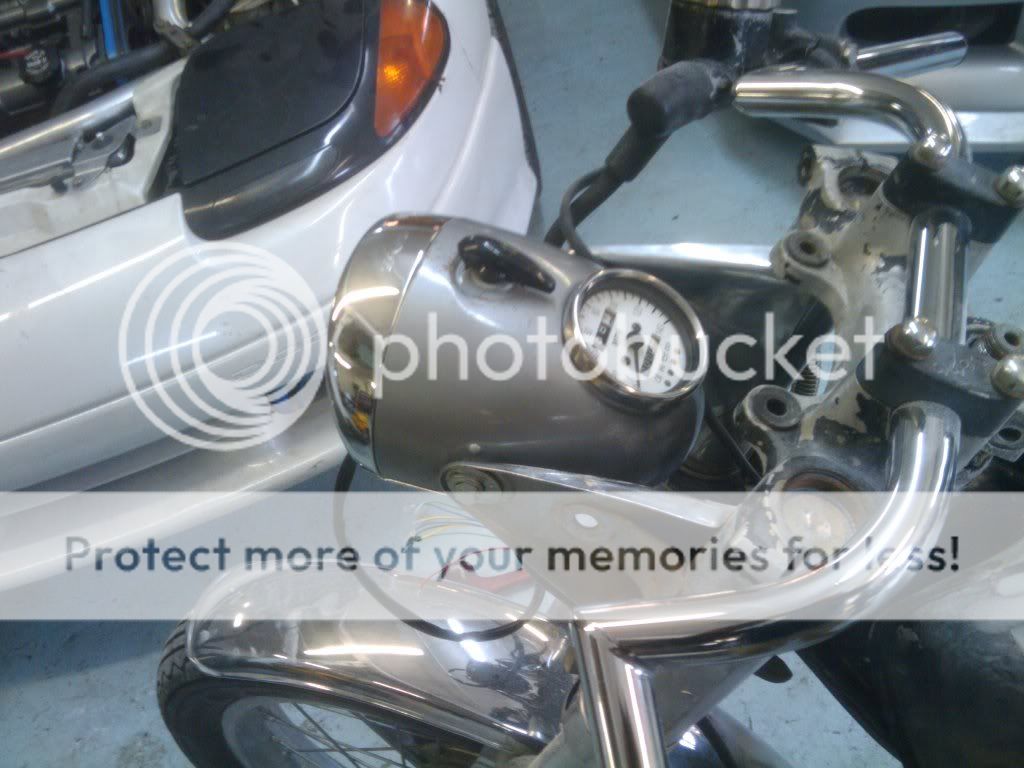
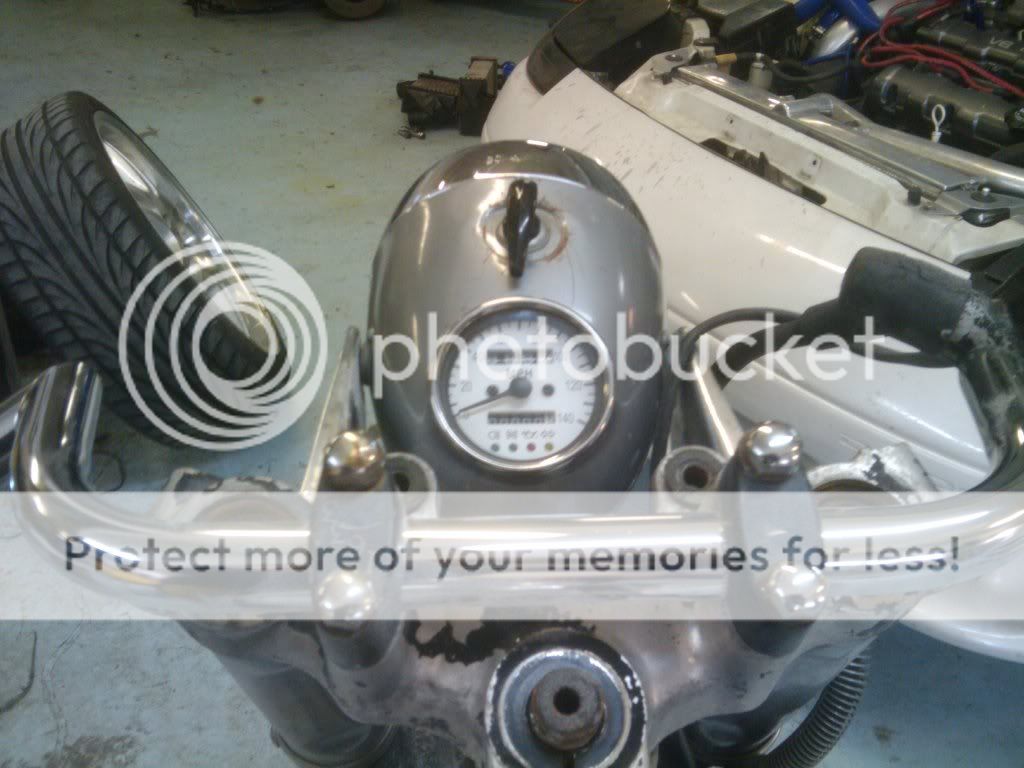
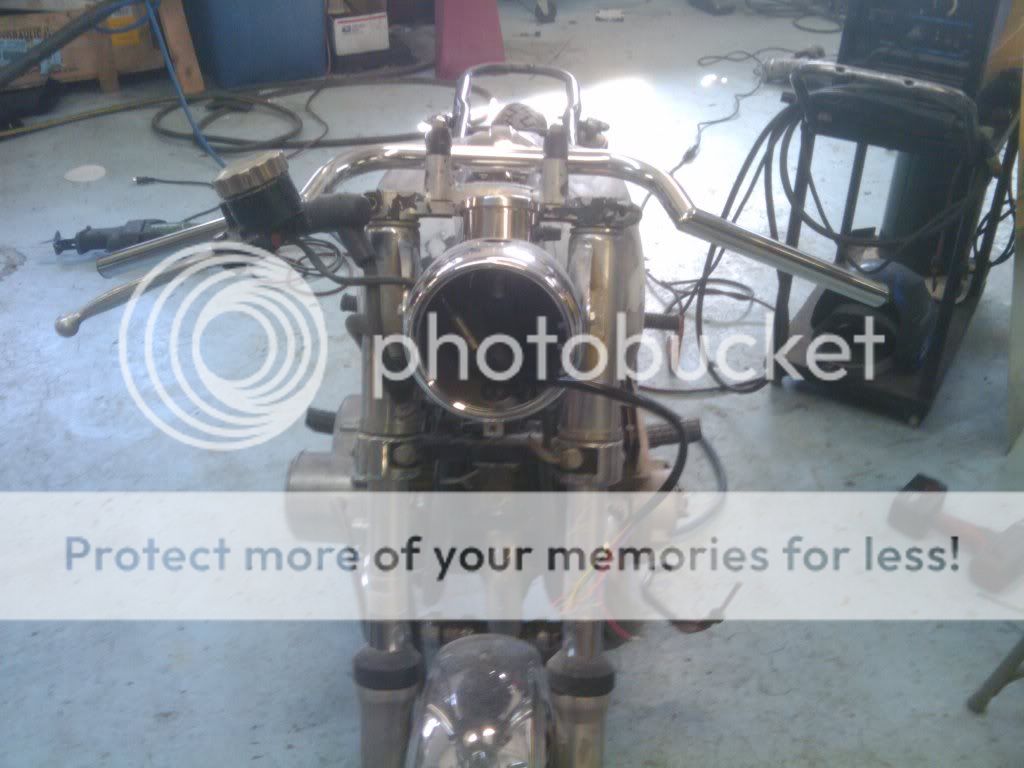
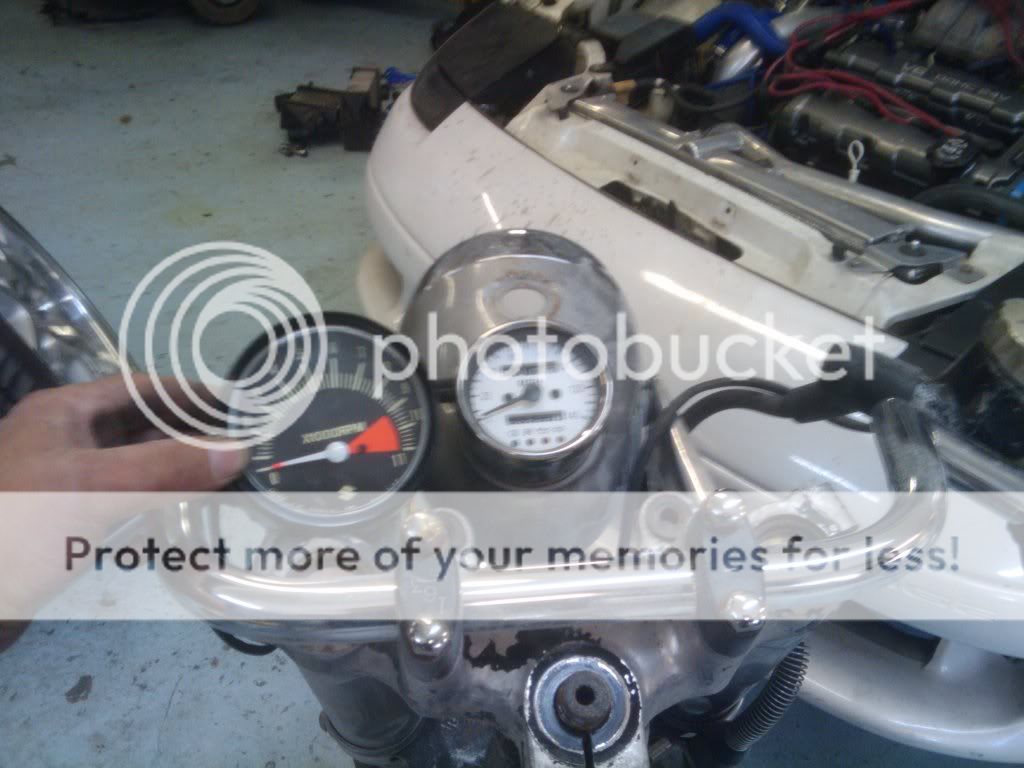
Pics of the bike about half-assembled-

IMG_20120313_135108.jpg


IMG_20120313_135056.jpg


IMG_20120313_135036.jpg


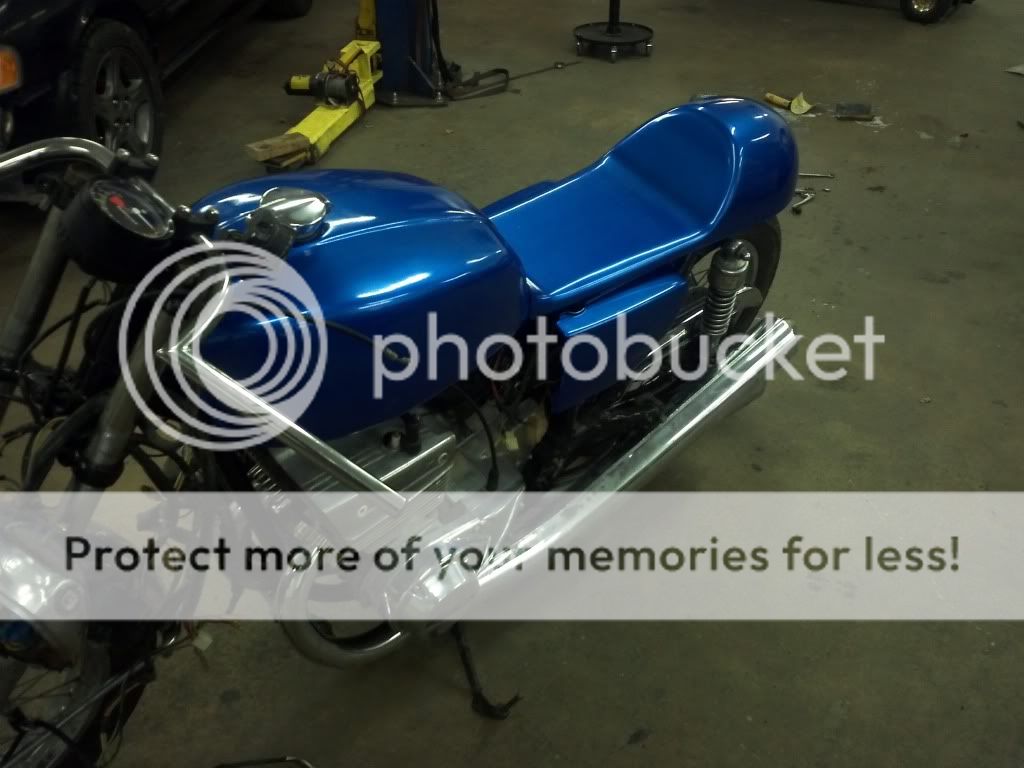
As my thread in the help section covered, I had intended to fit a set of VM34 Mikunis in place of the VM28's the bike came with. I have spent a lot of time searching out a set of the original plate mount carbs with very little luck, so a set of VM34's came up from a crashed 580cc triple snowmobile and I wanted to give those a whirl. However, I needed a set of carb boots to make my VM34's to fit, and headed down to the cycle salvage to wander the yard. Even though I have asked a half a dozen times about GT550s' when I have gone there they have always told me they really didnt have anything other than maybe a couple picked over wrecks. The other day I had a fair amount of time, the weather was nice, and it wasnt crowded, so I literally covered every inch of the yard. SURPRISE! I found 5 GT550s, three with complete sets of cars I need and two with the earlier model carbs. I walked out with a fuel filler lid, some misc bits, and a rack of carbs for a whopping $53 bucks.
Now, these carbs were not in good condition at all when I first saw them, and I didnt want them really because they did not have filters etc and had been left open to the elements. However, I had limited tools and they were all I could get pulled off a bike. Anyway, they were completely seized, the linkage rusty, and I wasnt really expecting much beyond a long few days work.
I first pulled the plate mount and separated the carbs. other than the bolts being a bit rusty it all came apart OK after a couple shots of Knock'er Loose.
Next I needed to get the Carbs torn down and again, was expecting the worse. Surprise again! I pulled the float bowls first, the screws were easy to remove and not a single one stripped. The float bowls were clean, very little varnish and no corrosion. Hmmm, thats not what I am used to seeing. Main jet, needle/seat, etc all just unscrewed like they were brand new carbs. Now onto the slides. Here we go! Completely seized in the bores. Knock'er Loose etc. had no effect. Damned the bad luck. A soak in ATF overnight had little effect, so I moved onto to ATF and Lacquer thinner mix. Was taking too long so I dragged out the heat gun and heated the carb bodies. Bingo. Slides did thier job and slid right out.
The more I looked over everything I came to believe the carbs had been kitted pretty much right before the bike was wrecked. The downside to being out in the elements without air filter or any coverage was the muck found in the air passages, which included insect remains.
Reassembled the carbs with new 0-rings, gaskets, etc. and fitted them to a mounting plate that had already been cleaned and lubed. Presto! A nice fresh set of carbs. Mounted them on the bike and called it a day.

Now onto routing wires and cables, figuring out a Headlight mount, etc. Its nice here now and I really want to be riding rather than building!
 
No chance to go to the shop today so I am surfing around the net looking for the last bits I need for the GT, then hopefully go look at an Aermacchi 125 I might pick up as a new project.

On another note, I have been looking into expansion chambers since I got the bike. I can make my own, but the math and calculations involved is above my current knowledge level. I looked into just buying a set from Jemco or similar, but the more I think about it the more it makes sense to just get the bike up and running, then build a set as I have time and opportunity. For now though, the stock pipes will just have to do, so out comes the chrome polish to get the shine back into them.
 
Lovely colour FS.....that will look good with some nice shiney bits.
We make a plate to fit under the seat unit and mount the battery and electrical components in the seat void. We then use an after market tank for the oil which gives a tidy, and less heavy look to the centre of the bike.
 

Attachments

  • dotheton16.jpg
    dotheton16.jpg
    181.9 KB · Views: 763
You know I had considered those exact mods. I actually build tanks all the time, and was sorely tempted to fab something up. The thing is is that with the stock pipes though I think it looks a little odd to have that all open, not really balanced.
Some pics of some of my fabwork over the years-

Pic of a water tank that fits in the spare tire well for a water/air intercooler setup
IMG_3237.jpg


Pic of a smaller "fill tank" in the engine bay
IMG_3241.jpg


downpipe for a subaru, 3" to 4"

IMG_2557.jpg


Close up
IMG_2561.jpg


Engine bay of that car-

IMG_2600.jpg


So anywho,
Once I get around to doing expansion chambers I am going to do some sort of fabbed oil tank, relocate the electrics, etc. much as you show in that pic. With the "lighter" look of the chambers on the bike, the openness created by moving those components will really change the look of the bike. I know, its probably a weird sort of thing, but thats my view.
 
I agree.....the stock pipes look so bulky and heavy. The more minimal look will be better suited to a set of chambers.
You do some nice tidy fab work there. Do you have a sheet metal roller? We work out the templates for own cones, then get them waterjet cut, and I roll them on an Edwards sheet metal roller which is over 100 years old. We don't have your welding skills, but we have a competent guy with tig, who assembles them for us. We use stainless, which we mirror polish for a chrome-like finish.
Looks to me that you are more than capable of making your own !
 

Attachments

  • stainless pipes 003.JPG
    stainless pipes 003.JPG
    236.7 KB · Views: 250
  • stainless pipes 002.JPG
    stainless pipes 002.JPG
    226.3 KB · Views: 262
Thanks for the comment! Been doing this sort of thing a log time, although not with bikes.
I do not have a slip roller in house, but I have friends that do. If I had a set of templates or could get a set then it would be no issue to build a set up. Still think the first thing to do is to get the bike up and running, then worry about the chambers. Perhaps by then I can plot out a set of chambers or find a set of templates somewhere.
 
Any chance you have a 550 tank sitting around? If I could buy you a beer to take some measurements for me I would in a heartbeat!

I hope so :)
 
Back
Top Bottom