I love polished aluminium. But sometimes a polished finish isn't appropriate either because you can't easily access the part, because you want it coloured or a host of other reasons.
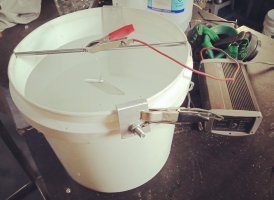
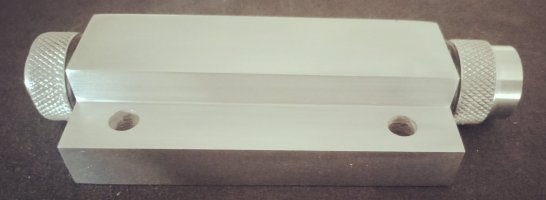
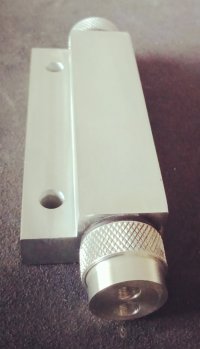
I recently made a cable splitter,, but because it's mounted under the tank it's difficult to get to to polish. So, Ii decided to anodise it. Anodising is not difficult, there are a plethora of websites explaining the process, so you can either buy a kit or do as I did and set up your own. I already had some parts, a heavy duty plastic bucket, a battery charger/power supply unit and some aluminium for the cathode. All I had to buy was some acid, some demineralised water and some acetone.
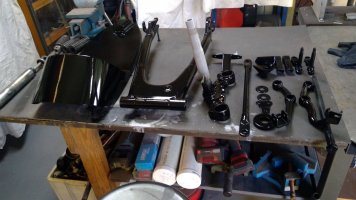
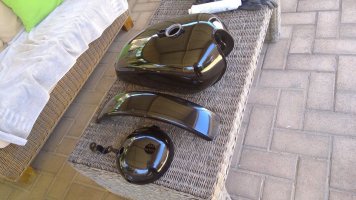
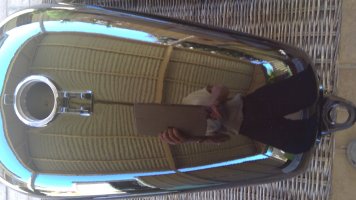
Once I'd put it all together, I assembled the splitter and blocked the cable holes because I didn't want the bore anodised. I thoroughly cleaned the part with soap and water and acetone, diluted the acid, connected the power supply, immersed the part in the bath and switched on. This is the result.
I recently made a cable splitter,, but because it's mounted under the tank it's difficult to get to to polish. So, Ii decided to anodise it. Anodising is not difficult, there are a plethora of websites explaining the process, so you can either buy a kit or do as I did and set up your own. I already had some parts, a heavy duty plastic bucket, a battery charger/power supply unit and some aluminium for the cathode. All I had to buy was some acid, some demineralised water and some acetone.
Once I'd put it all together, I assembled the splitter and blocked the cable holes because I didn't want the bore anodised. I thoroughly cleaned the part with soap and water and acetone, diluted the acid, connected the power supply, immersed the part in the bath and switched on. This is the result.