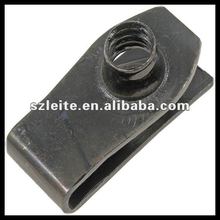
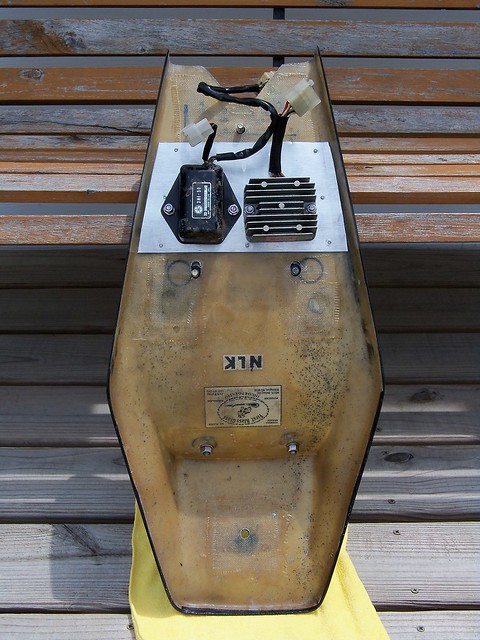
Here is another way to do it. Cut some scrap sheet metal and drill holes for bolts. The smaller holes are for aluminum pop rivets to secure these brackets to the pan. The bolt heads then are tack welded in place (so they don't spin when tightening or loosening the nuts), and then a quick coat of paint on the brackets.
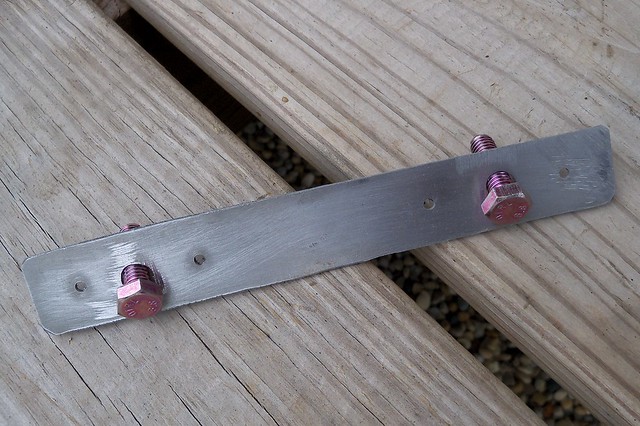
The brackets in place in the aluminum pan. Not shown here, but next is drill holes around the edge of the pan for aluminum pop rivets to attach the upholstery.
The seat foam being shaped here. I use a hot glue gun to attach it to the pan since it sets in a few seconds, and can be removed without much trouble if you need to take it back off for some reason. The foam is closed cell floor padding tiles, which come in a pack big enough for a couple small seats for about $8. I got the foam at Menards, same as the aluminum for the pan. After first doing a rough cut an angle grinder with a flapper wheel makes shaping the foam very easy, but you need to use a very light touch as it removes the material almost instantly. To protect the upholstery it is a good idea to use an edging around the pan, which can either be bought at an auto parts store, or cut some small diameter tubing down lengthwise to use as edging.
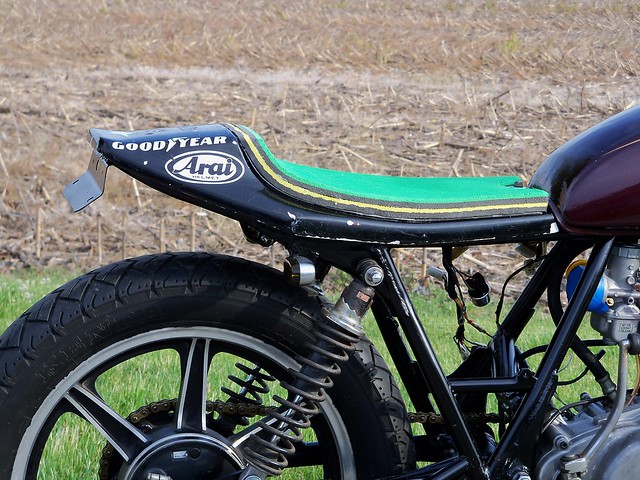
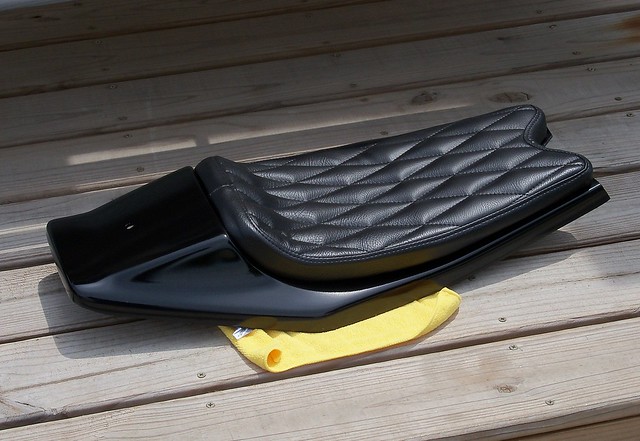
Painted and upholstered. I had the upholstery done at a shop.
The front three pan mounting bolts also attach the seat base to the frame. The bolts just need to be slug, not very tight, so nylon lock nuts or blue loctite work good.

")