Hannibal Smith
Active Member
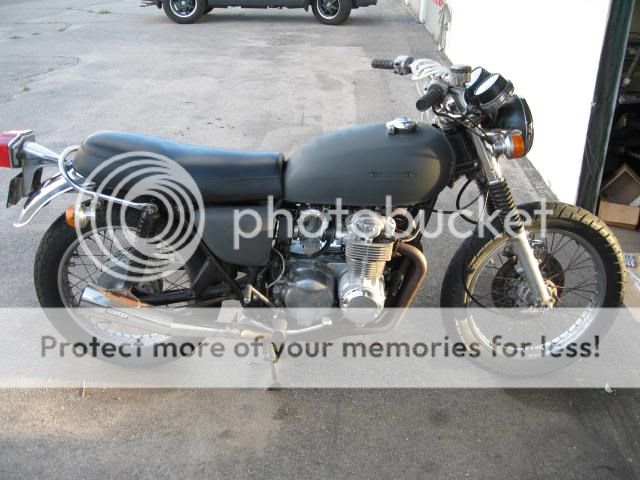
1974 CB550 going cafe style.
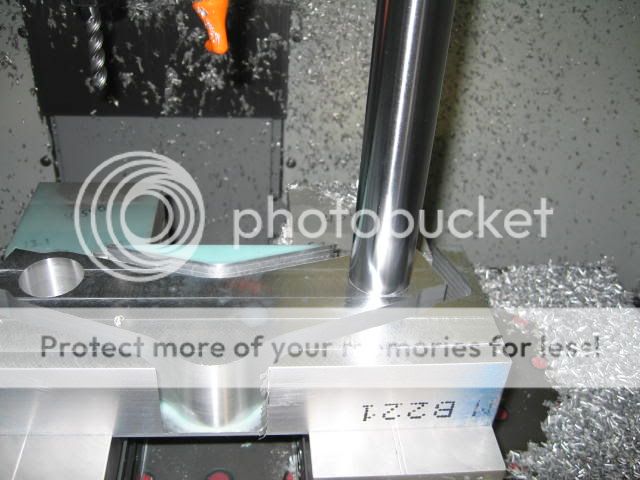
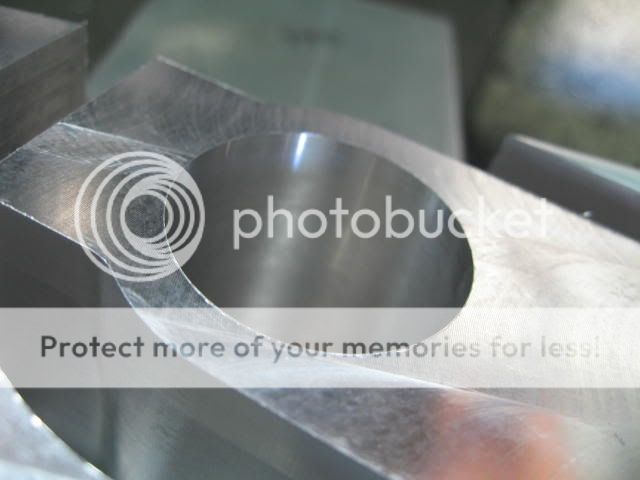
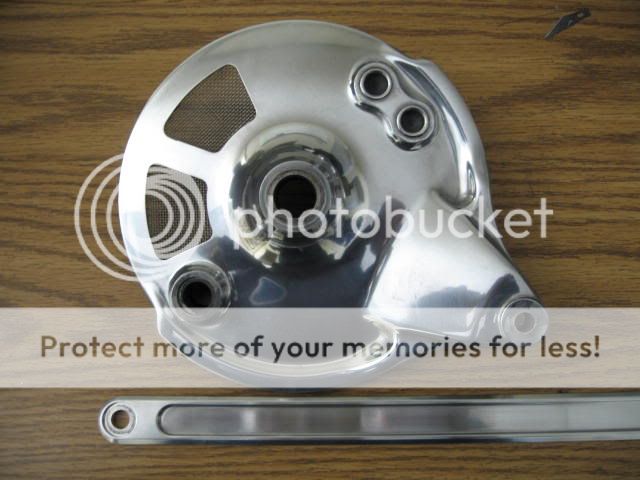
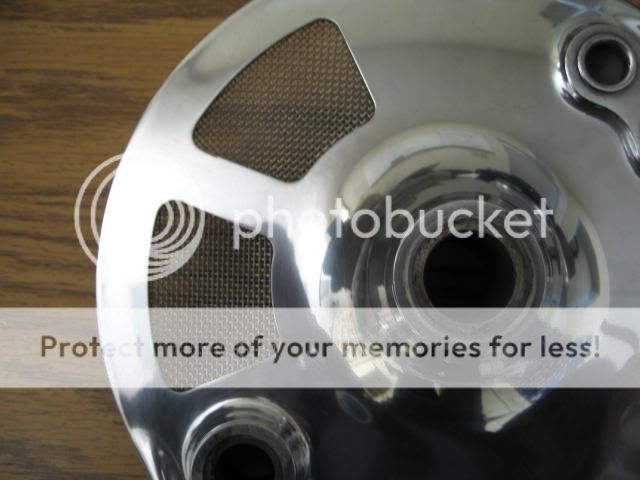
Got to the rear drum today. Programmed two vents on a 2.5" radius to clear the internal webbing and spice up the back end a bit. I will install perforated stainless steel sheet after the drum gets polished.
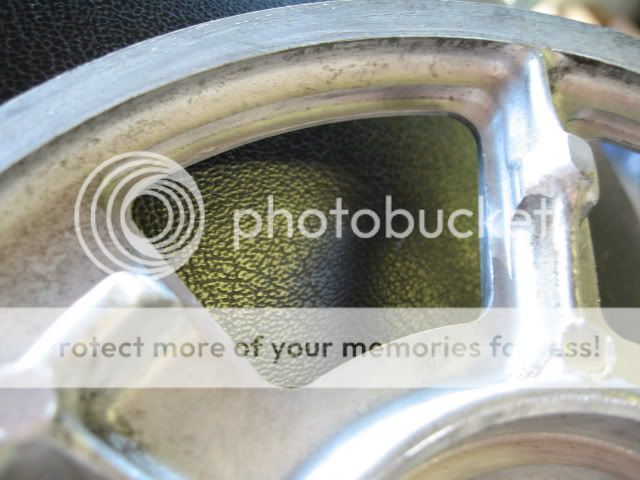
Machined the vents from the backside and cut a shelf so that the stainless screen sits nice and tight against the outer plate, it will be epoxied once I cut the screen.
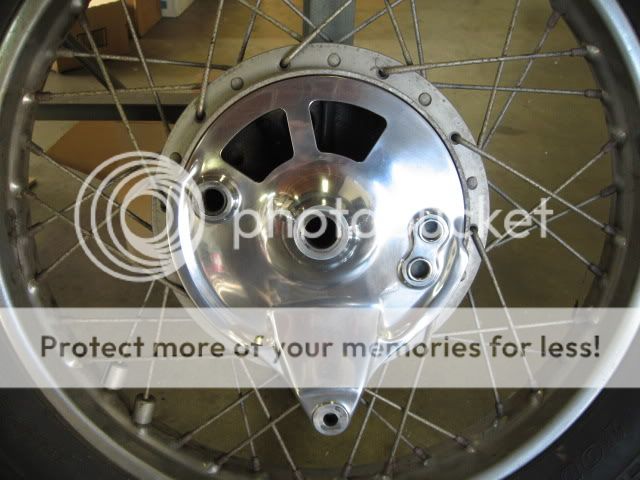
Wheel is filthy, but the vents add some "racer" to it.
The machining was straightforward, I just machined a precision pillar that went into a CNC mill, and then secured the plate. I cut from the inside, and the program follows the drum radius, and I also keep the rib in the casting.
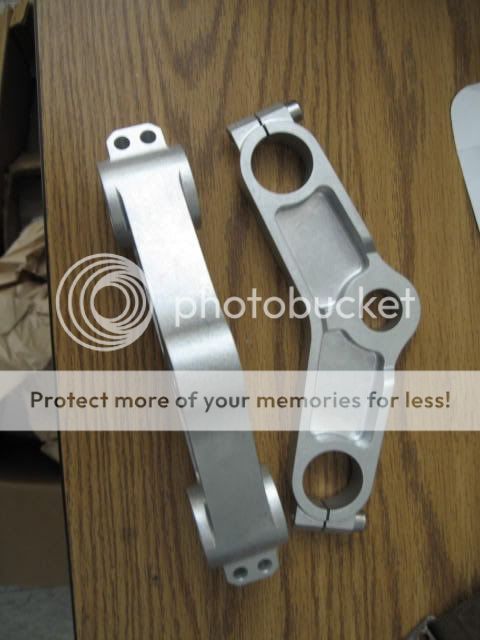
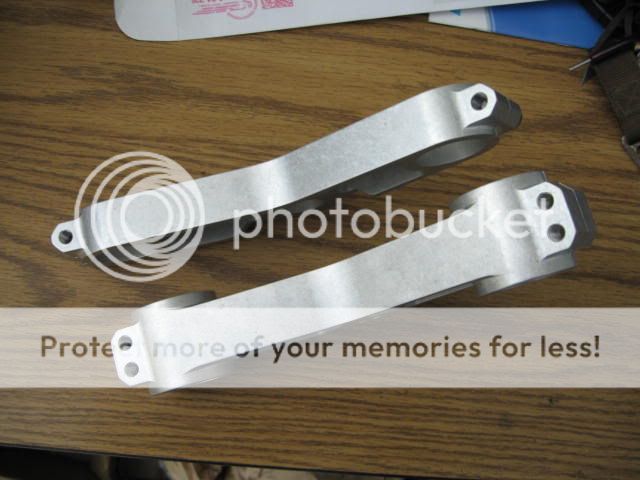
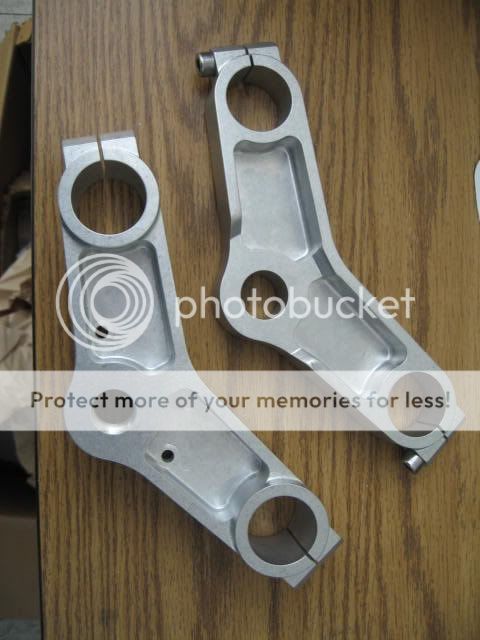
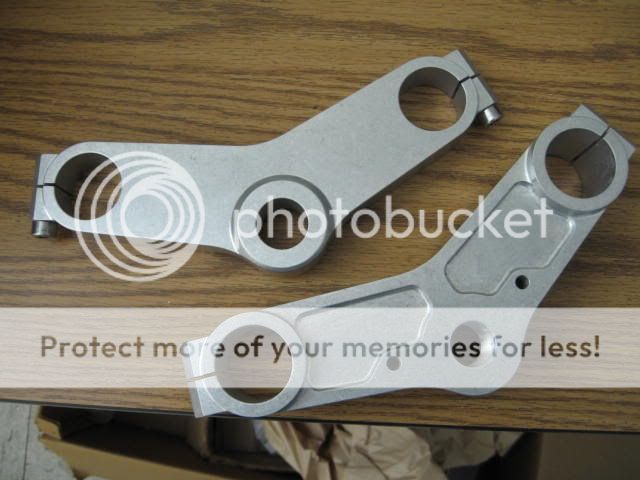
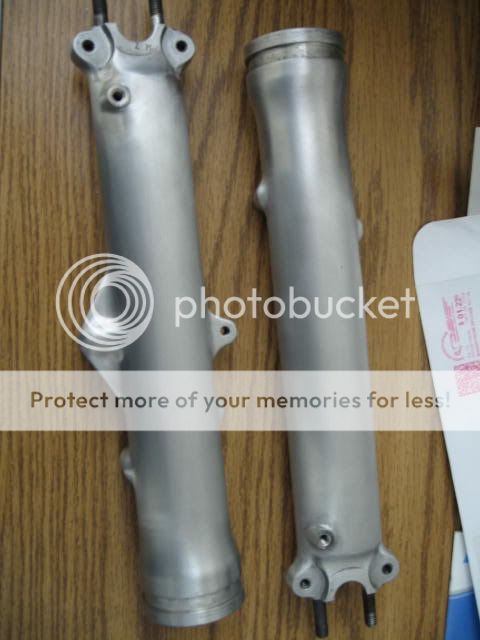
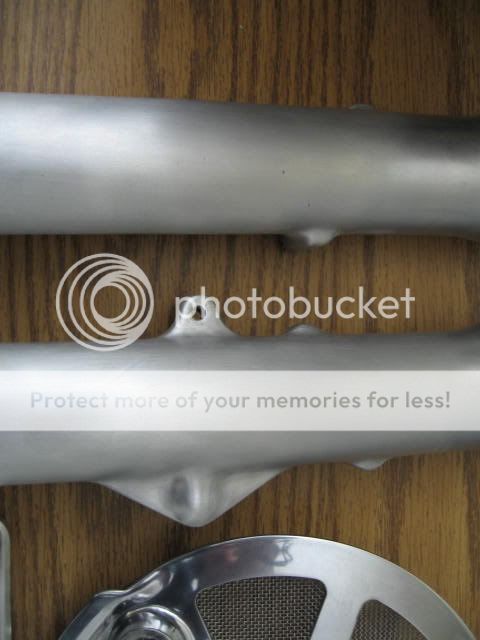
Triple clamp and clip-ons are to be machined next.
Got to the rear drum today. Programmed two vents on a 2.5" radius to clear the internal webbing and spice up the back end a bit. I will install perforated stainless steel sheet after the drum gets polished.
Machined the vents from the backside and cut a shelf so that the stainless screen sits nice and tight against the outer plate, it will be epoxied once I cut the screen.
Wheel is filthy, but the vents add some "racer" to it.
The machining was straightforward, I just machined a precision pillar that went into a CNC mill, and then secured the plate. I cut from the inside, and the program follows the drum radius, and I also keep the rib in the casting.
Triple clamp and clip-ons are to be machined next.