Follow along with the video below to see how to install our site as a web app on your home screen.
Note: This feature currently requires accessing the site using the built-in Safari browser.
We noticed you are blocking ads. DO THE TON only works with community supporters. Most are active members of the site with small businesses. Please consider disabling your ad blocking tool and checking out the businesses that help keep our site up and free.
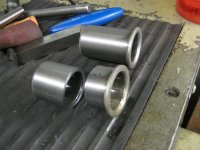
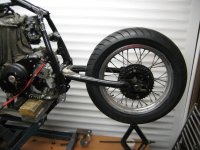
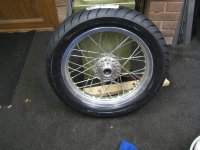
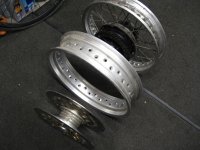
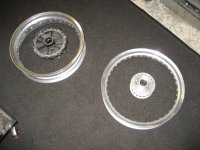
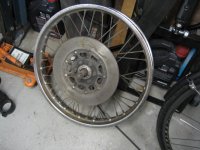
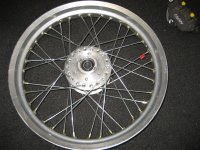
The wheels needed a strip down. The plan is/was........
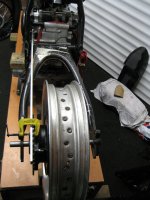
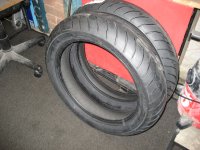
Remove the hub from the rear rim and put it into the wider replacement rim I've bought so I can get a bigger tyre up back. Then re-lace the front hub into the rear rim........you following me... ;D
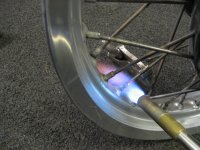
The rear hub had become attached to the spokes after a very long relationship, and they did not want to divorce without a fight :welder:......eventually managed to get them all in the right places. Will get some stainless replacements on order but for the time being the old rusty ones will be used during the build.
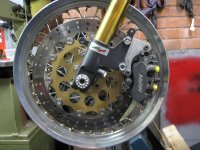
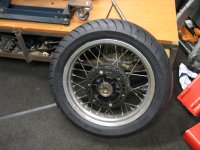
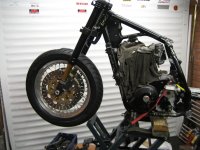
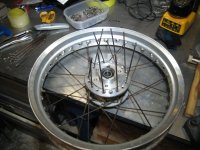
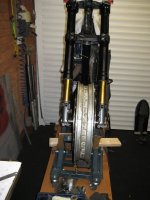
Been mostly working towards getting the front wheel sorted this week. Plan is to try and get it the bike sitting on its wheels and tyres before the end of the year.......
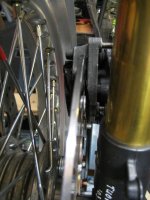
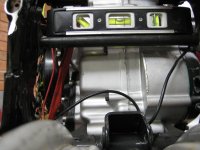
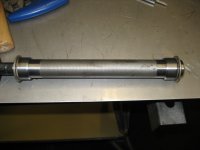
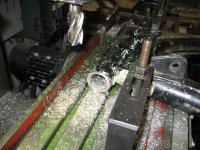
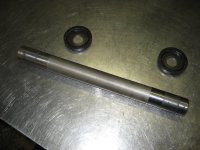
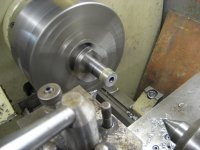
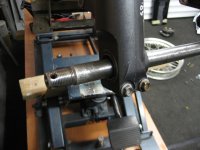
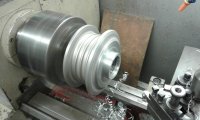
First job up was to shorten the front wheel spindle. I'd forgotten it was too long after the end of the last season. So a quick zip with a parting tool in the lathe and a bit of threading and all is good.
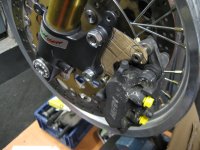
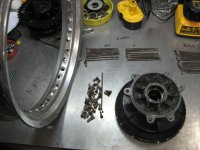
As I was truing the wheel up ready to start messing about with it, I realised I had forgotten to machine the hub to even up the bearing housings as one is longer than the other. Want to get it looking symmetrical and it should help with the brake disc adaptors I need to make. Time to strip the wheel down again and build it back up. This time with some spare spokes I found at the bottom of a pile of misc bike parts I've been hoarding for years.....the rusty spokes were making the place look untidy anyhow
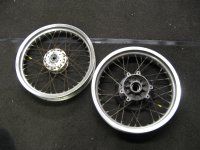
I'm getting quite quick at re-spoking wheels these days !!
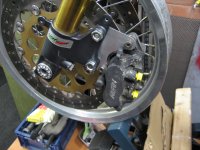
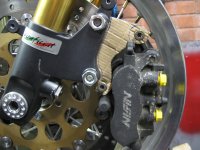
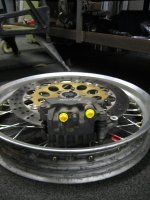
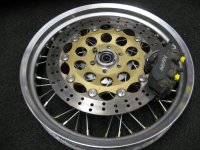
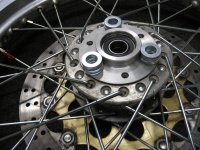
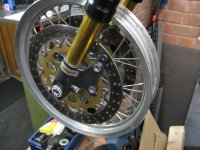
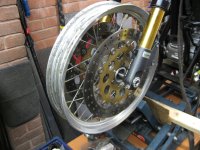
She should have a decent amount of stopping power up front compared to the old set up
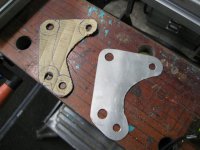
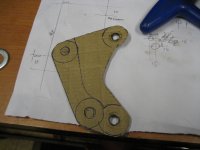
Need to get the brake rotor and caliper brackets sorted. So out with the scissors and cardboard............
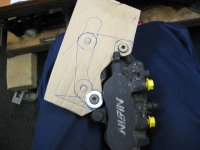
Don't think the cardboard adapter plate will be able to handle the forces of the Nissin 3 Pots, so I made a stronger one out of 1mm aluminium.....................should be fine :
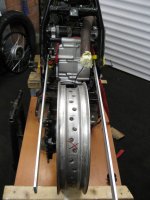
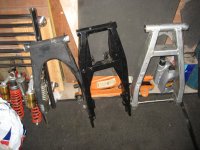
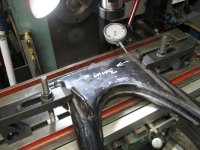
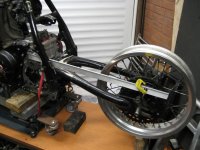
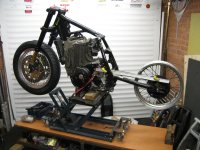
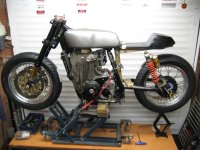
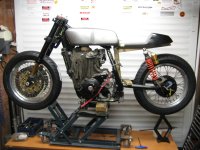
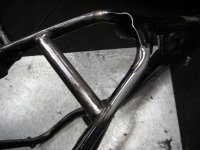
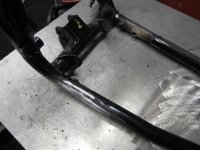
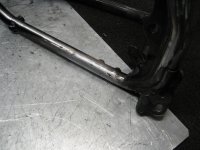
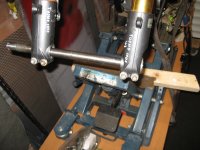
Have been managing to get the odd hour or two on the bike over the Xmas holidays. I've been accumulating a few swing arms in my quest to convert this thing to twin shock and get away from that drag bike look using the original setup. After trying a few different ones, I've settled on an old CB350. So first things first i need to get a rough idea if a) its going to fit and b) i can get the wheel centralised and lining up at the crucial points.
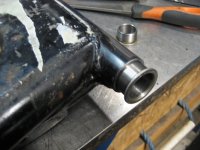
Next job is to shorten the main swing arm spindle. It was tough as old boots......several tungsten tips later its all good
Then onto making the swing arm a bit narrower to fit in the frame.
Next up is to temporarily refit the steel bushes after reaming, back into the swing arm tube. I'll be changing these to some sort of bronze on final assembly.
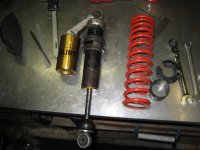
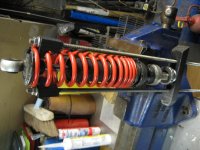
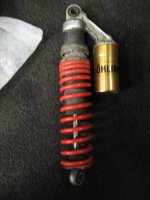
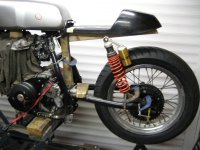
Managed to score a nice set of used Ohlins shocks............but all that glisters is not gold ::....they are a bit worse for wear, but with few hours elbow grease should clean up ok? First things first was to take the springs off so I could confirm they were actually damping !!..........Fabricated a small set of puller out of what was lying around.
All good with no leaks or any mechanical damage. The reservoir on one shock looks worse than what it is. It had a throw away bush where the spring rubs on it, this had cracked allowing rust to eat away over the years ....i'll sort that out, for the price I cant complain...
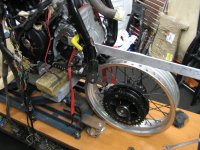
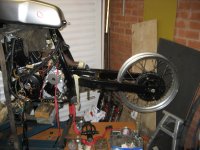
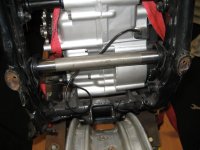
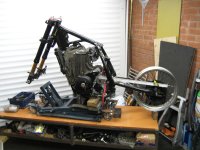
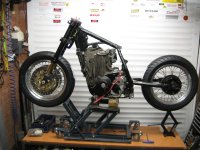
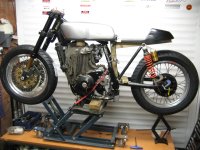
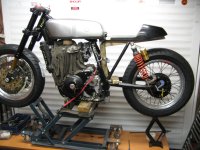
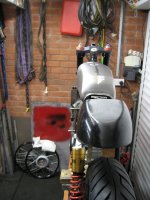
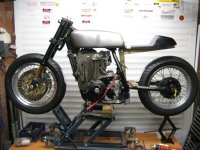
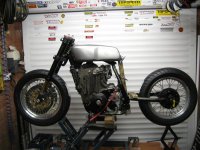
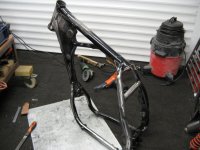
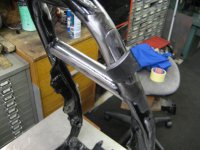
Time to get some of the other bits precariously balanced on the frame, just to see what it will all come together like........was running out of G-clamps at one point ;D ;D ;D
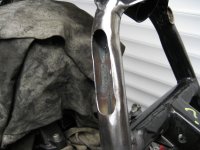
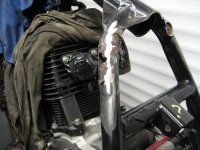
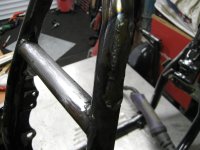
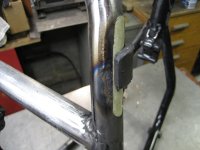
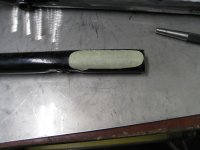
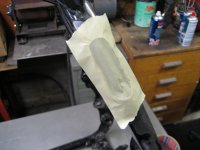
Next up is to mount the tank and fabricate the seat hoop. Before this takes place there were a few "lumps" under the powercoat where I'd be welding in some brackets etc which needed further investigation!!!
So out with the wire brush and flap wheel..................... :-\
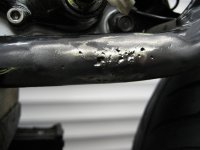
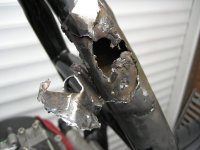
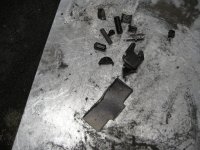
believe it or not this bike, as I bought it was "only needing a few bits to finish" type of project. Purchased from a supposedly reputable mechanic who was running his own business and "had worked with a lot of the top British riders" in his past : : : :
say no more
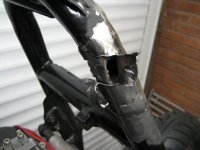
Looks like a few bracket removal jobs went horribly wrong in the past :-[
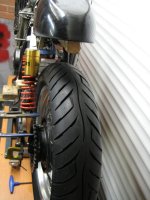
Great build. Reminds of my old super moto that had a big Rotax single, a fun bike. Have you checked your ground clearance since you fitted tyres? In the pics it looks it like rides a little low. Thanks for posting
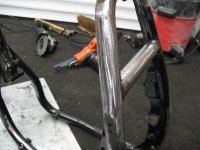
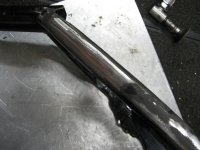
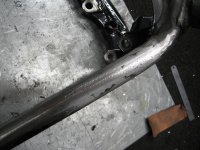
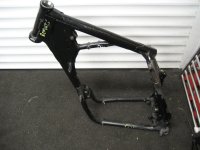
Just a quick few pics on the repair jobs to the frame. I went to town a bit and ground back all the suspect areas, filled in where needed and re-dressed. The frame looks to be in decent condition with a no obvious major damage which was my main concern. Abandoned the TIG and got the big guns out with the mig .....I've sorted the suspect filled holes and bad de-lug jobs. Took the opportunity to remove a few extra lugs while I was at it. I'm confident its not going to collapse underneath me and spit me into a hedge now : : :
This site uses cookies to help personalise content, tailor your experience and to keep you logged in if you register.
By continuing to use this site, you are consenting to our use of cookies.


")